Use Intel Optane SSD: Cheat your System Memory for Proxmox or VMware

I have done a lot of experimenting with my vExpert-provided Intel Optane 280 GB drives as a caching tier in front of my vSAN OSA configuration. However, since I have gone with mini PCs there is just not enough room for the very “thick” intel optane drives. This is one of the downsides that I have had with the Minisforum MS-01 is that it supports U.2 drives, but not the Intel Optane due to their size. However, since I have recently built my Proxmox home server build, one thing I wanted to test with VMware ESXi and Proxmox is throwing in an Intel Optane SSD for VMware ESXi memory tiering or Proxmox swap. Let’s dive into running Intel Optane SSD storage for memory over NVMe and as a very fast swap for Proxmox.
Table of contents
Why memory is an issue in home lab
It is often the case that a lack of memory is an issue in a home lab environment. Especially when using mini PCs, this is still the one area where hardware resources are often lacking. Today’s mini PCs can use the latest 48 GB DDR5 SODIMM modules. But, even with that, that only totals 96 GB of system memory. There is news that 128 GB of SODIMM memory is on its way due to Crucial announcing 64 GB SODIMM modules. However, memory is still usually the resource you run out of way before you run out of CPU with today’s modern processors.
However, with an ultra fast, low latency drive, we can essentially “cheat” our way to having more system memory than we have. I wanted to test another use case for the Intel Optane drives I have laying around and use these for NVMe memory tiering and Proxmox swap.
Being creative
One of the cool things about a home lab is that it allows you to be creative and solve problems in unique and creative ways. Since memory is often a premium in lab environments, using ultra fast storage as NVMe memory tiering (VMware) or ultra-fast swap (Proxmox) can be a creative way to cheat your system memory quite a bit and not be limited by the lack of resources as would be the case otherwise.
Why Intel Optane SSD?
Intel Optane is seriously built for these types of applications. It has ultra endurance for using it as a caching tier and the Random Read and Write IOPs are off the charts. Take a look at the below.
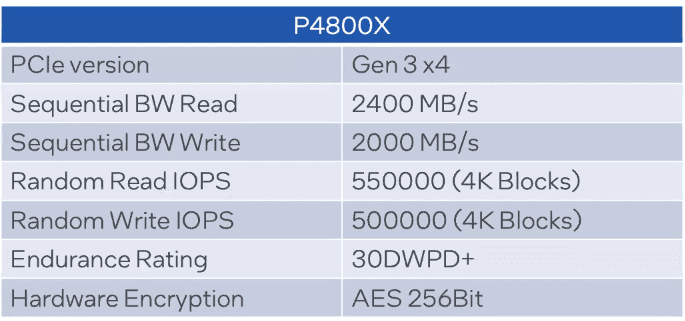
It is also a type of drive that can successfully be used as persistent memory in many applications for memory-tiering type technologies.
The main difference with Optane and NAND drives is they don’t have trasistors. NAND uses data “paging” to write and read data. These can become stale over time. As a result, NAND drives have to use processes in the background to migrate data to a new page. To write the data they have to write to that new page and data is replaced using this process.
Optane doesnt have or need this process as it writes the data in place so no data has to be moved to make a change. This helps to keep the performance of the drive and also greatly improves on the endurance rating.
Intel Optane SSD variants come in three different form factors, including:
- PCI card
- U.2 slot
- M.2 slot
The hardware that I am using with my Intel Optane SSD
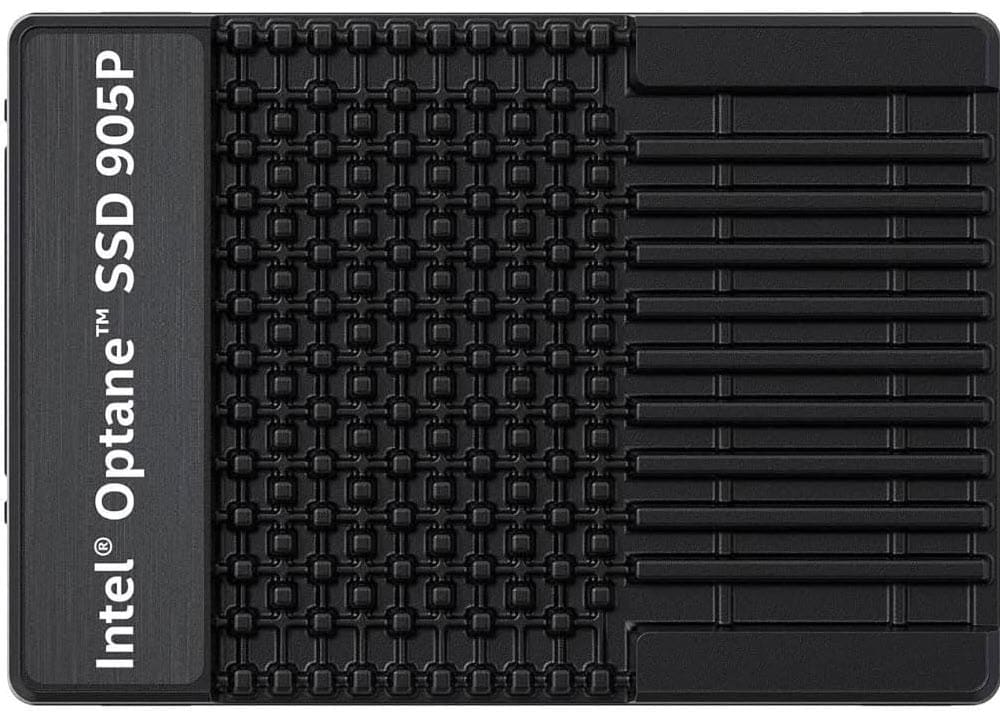
Which model of Intel Optane am I using? I have the U.2 version of the Intel Optane 280P drive with 280 GB of storage. You can find these on Ebay for cheap, or on Amazon, such as here: https://amzn.to/4aHnWRR.
I am using an NVMe to U.2 adapter found here: https://amzn.to/40FZY4N. It looks like the following:
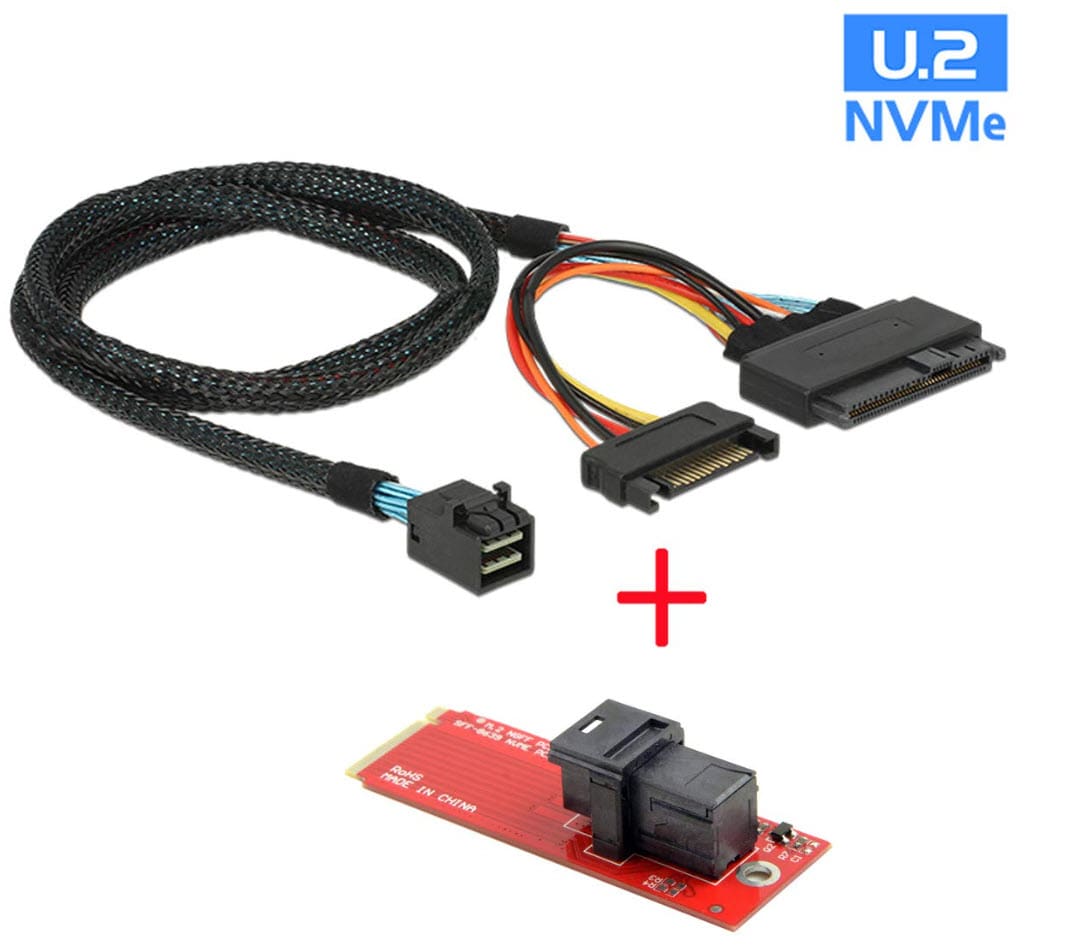
Using the adapter kit above, you can use one of your NVMe slots to plug in the adapter, and then the cable from that connects to your Intel Optane Drive.
Kit
My U.2 kit is below (I get a small commission from Amazon affiliates):
Proxmox Swap storage on Intel Optane SSD storage
With Proxmox we can configure the Intel Optane SSD storage as the storage we can use for swap. Let’s look at the steps to use and configure Intel Optane storage for Proxmox.
Step 1: Find your Intel Optane drive
Run the following command to list available drives:
lsblkLook for your Intel Optane drive, will look like /dev/nvme0n1. To make this part of the process easier, I like to run this command before I add the Optane drive, so you know which drive shows up as new and takes all the guess work out.
Step 2: Partition the Optane Drive
If you want to dedicate the entire drive to swap, you can run the following command and replace the device with the device that represents your Optane drive:
sudo mkswap /dev/nvme0n1You can also create a dedicated partition:
sudo fdisk /dev/nvme0n1- Press
nto create a new partition. - Choose the default partition number.
- Select the desired size.
- Press
wto write changes.
Then format the partition as a swap partition:
sudo mkswap /dev/nvme0n1p1Step 3: Enable the Swap drive/partition
You can activate the the swap space with the following command (partition) or
# For a dedicated partitionsudo swapon /dev/nvme0n1p1
# For a dedicated drive
sudo mkswap /dev/nvme0n1
Step 4: Make It Persistent
To make sure the swap drive or partition is active after reboot, we need to ad it to /etc/fstab:
# For a dedicated partitionecho "/dev/nvme0n1p1 none swap sw 0 0" | sudo tee -a /etc/fstab
# For a dedicated drive
echo "/dev/nvme0n1 none swap sw 0 0" | sudo tee -a /etc/fstab
Step 5: Adjust the swappiness value
Yes the word swappiness is a real thing. It is the value that controls how aggressive the swapping mechanism is in Linux operating systems. Since an Intel Optane SSD is faster than normal SSDs or even many of the NVMe drives on the market, you might want to tune swappiness to balance RAM and swap usage:
echo "vm.swappiness=70" | sudo tee -a /etc/sysctl.conf
sudo sysctl -p
The default swappiness value in Linux is generally set to 60. Lower swappiness values decrease swap usage and higher numbers increase its “assertiveness” and use.
Step 6: Make sure your swap is active
You can see if the swap is recognized with the following command:
free -h
cat /proc/swaps
VMware NVMe memory tiering
I have written quite a bit about NVMe memory tiering. It is a solution that allows you to essentially extend your system memory by adding a second “tier” to your system memory that utilizes NVMe storage as this secondary memory layer.
VMware uses this in an intelligent way to tier memory over to NVMe storage. You can go all the way from 100 percent to 400 percent on the tiering amount. VMware doesn’t recommend over 100 percent memory tiering so essentially doubling your memory. However, if you are like me, in the home, lab I have pushed it all the way to 400 in my testing.
Intel Optane SSD storage is almost purpose built for this kind of use case, since the durability and latency of Intel Optane is incredible.
Here are the steps to enable NVMe memory tiering on the Intel Optane drive
# Enable memory tiering
esxcli system settings kernel set -s  MemoryTiering -v TRUE

# Configure the NVMe device you want to use for NVMe tiering
esxcli system tierdevice create -d /vmfs/devices/disks/t10..NVMe____Samsung_SSD_960_EVO_1TB_________________9167C0615B282400

# Set the percentage of memory tiering you want to implement
esxcli system settings advanced set -o /Mem/TierNvmePct -i 400

# Reboot
reboot
You can take a more detailed look at VMware NVMe memory tiering in my post here: NVMe Memory Tiering Configuration in VMware: 4x Your RAM!
An example of pushing Proxmox swap to its limits
I recently went through an exercise for fun of seeing just how many virtual machines I could run on a mini PC. With Proxmox installed (reached 250!), I was able to keep spinning up virtual machines due to the use of swap in Proxmox and the dynamic memory management that the Proxmox host is able to do when memory pressure builds.
Wrapping up
Hopefully, this write up will help to spur along thinking a bit outside the box when it comes to running workloads in the home lab, even when you may be short on RAM or even the possibility of upgrading. Using these ultra fast drives as a cache tier can be a helpful way to extend the “feel” of having more system memory on a device that is maxed out on the available memory you can install.


Thanks Brandon, this was really interesting … well, certainly food for thought !
I wonder with whatever setup you are using what actual memory access speeds you were able to see (probably not easy to measure as we’re talking about swap here) and with what hardware – or maybe there’s some other measure which would be useful.
I realized that my 5 year old AMD motherboard wouldn’t support these sorts of drives (because of the need for PCI port bifurcation, if I read right) but it also led me to investigate alternatives and why even “Intel Optane” has been discontinued since 2022.
As it seems the onward march of NVMe SSD performance is the reason for Optane being discontinued I wonder just how feasible it would be to use “standard” NVMe PCIe cards as swap these dats and what sort of performance we might get.
I might try that in my own AMD motherboard running Proxmox, but I have to determine if my M2 Gen4 slot is free (how could I not know that !!).
Anyway, thanks for opening up these possibilities …
Hey Michael, see my recent bill of materials here: https://www.virtualizationhowto.com/2025/01/proxmox-home-server-build-2025-ryzen-9-7945hx-96gb-and-10gbe/ One of the reasons that I really love Optane for these use cases is the endurance. These types of operations will wear out a normal NVMe disk much more quickly than optane. So, that is another consideration.
Brandon
Excellent, thanks Brandon.
I like you definition of “recent” … like yesterday 🙂
That’s a really useful link, I was having trouble finding trustworthy info on what these Optane cards can be used with … time I got ordering !
Awesome Michael. I hope this serves you with good results as I am seeing. Of course that is what makes home labbing fun to begin with 🙂
Brandon