NVMe Memory Tiering Configuration in VMware: 4x Your RAM!

There have been a lot of new features added recently in the VMware vSphere world, and especially with VMware vSphere 8.0 Update 3. Just when you think that you might find a vSphere alternative or think there is another solution that is better, VMware proves they still lead the pack and for good reason. One of the great new features in vSphere 8.0 Update 3 is a new feature that is in Tech Preview called NVMe memory tiering. What is this and what can you do with it? Also, I give you some real world findings in using it as well as some stability issues to note.
Table of contents
What is NVMe memory tiering?
The new NVMe memory tiering (vSphere memory tiering) is a new feature that intelligently allows memory to be tiered to fast flash drives such as NVMe storage. It allows you to use NVMe devices that are installed locally in the host as tiered memory. This is not “dumb paging” as some have asked about the new feature. No, it is more than that. It can intelligently choose which VM memory is stored in which location.
Memory pages that need to be in the faster DRAM in the host are stored there. Then memory pages that can be tiered off into the slower NVMe storage can be tiered into that tier of memory so that the faster memory storage can be used when needed. Very, very cool.
You can read more officially about the new vSphere memory tiering feature in the official Broadcom article here: https://knowledge.broadcom.com/external/article/311934/using-the-memory-tiering-over-nvme-featu.html.
***Update*** – Limitations I have found after using it for a while
There are a couple of limitations and oddities that I wanted to list here after using the feature in real world testing in the home lab. These are things you should be aware of:
- You can’t take snapshots on virtual machines currently with memory included with VMs running on hosts with memory tiering enabled.
- I haven’t found this specifically in the callouts on the official documentation, but storage migrations fail for me as well. So, if you are simply doing a move of a VM from one datastore to another datastore, this will fail, likely due to underlying snapshot limitations that tie in with the above.
- I have had a couple of purple screens on my Minisforum MS-01’s with this feature enabled. I didn’t grab a screenshot of the purple screen error, but it was related to memory tiering.
Update to vSphere 8.0 Update 3
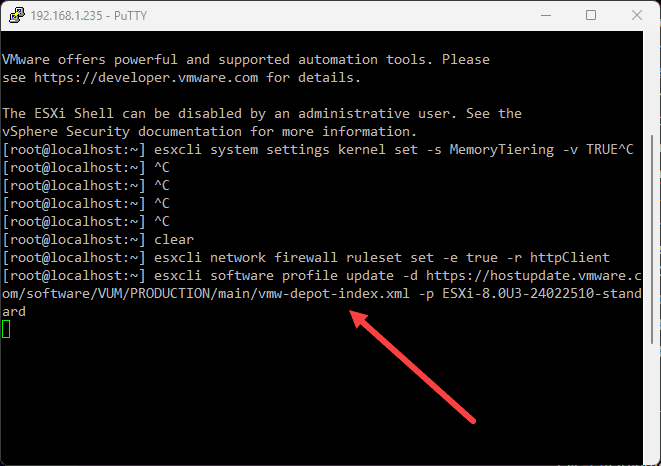
The steps to enable the NVMe memory tiering are fairly straightforward. First, you will need to make sure you are updated to vSphere 8.0 Update 3. If your ESXi host is not running ESXi 8.0 Update 3, you can easily update your ESXi host to this version using the command:
##Enable the HTTP client
esxcli network firewall ruleset set -e true -r httpClient

##Pull the vSphere 8.0 Update 3 update file
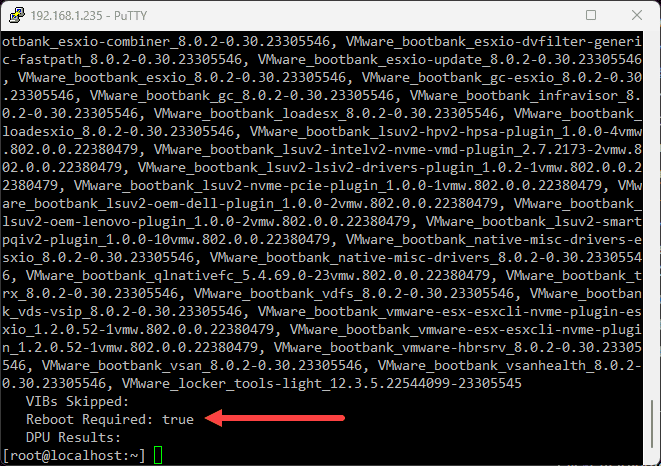
esxcli software profile update -d https://hostupdate.vmware.com/software/VUM/PRODUCTION/main/vmw-depot-index.xml -p ESXi-8.0U3-24022510-standardAfter a few moments, the update applies successfully. We need to reboot at this point.
Configuring NVMe memory tiering
Now that we have the version we need for the tech preview of NVMe memory tiering, we can enable the new feature in three short steps:
Step 1
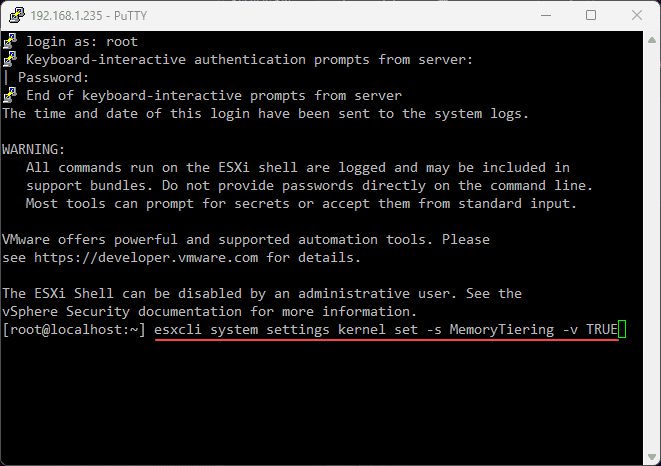
To actually enable the new feature, there is a simple one liner to use:
esxcli system settings kernel set -s MemoryTiering -v TRUEStep 2
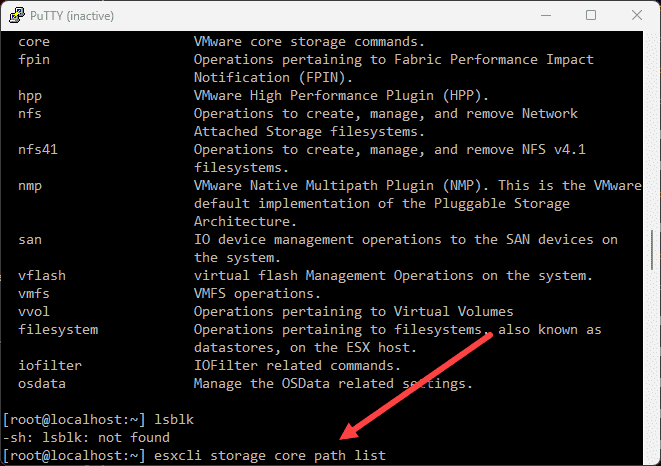
You need to find your NVMe device. To see the NVMe device string, you can use this command:
esxcli storage core path listStep 3
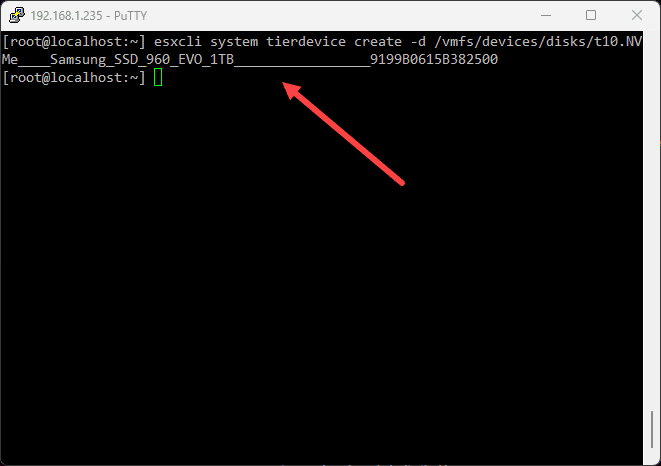
To configure your NVMe device you do the following. I had an old Samsung EVO 960 1 TB drive on the workbench to use. So, slapped this into my Minisforum mini PC and enabled using this command:
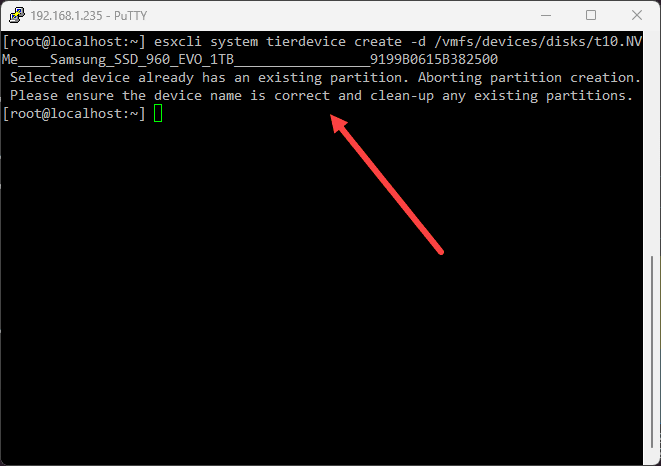
esxcli system tierdevice create -d /vmfs/devices/disks/t10.NVMe____Samsung_SSD_960_EVO_1TB_________________9199B0615B382500Note: If your NVMe drive already has partitions found on it, you will see an error message when you run the above command to set the tier device:
You can view existing partitions using the command:
partedUtil getptbl /vmfs/devices/disks/t10.NVMe____Samsung_SSD_960_EVO_1TB_________________9199B0615B382500Then you can delete the partitions using commands, with the “1, 2, and 3” being partitions that display in the output from the above command.
partedUtil delete /vmfs/devices/disks/t10.NVMe____Samsung_SSD_960_EVO_1TB_________________9199B0615B382500 1
partedUtil delete /vmfs/devices/disks/t10.NVMe____Samsung_SSD_960_EVO_1TB_________________9199B0615B382500 2
partedUtil delete /vmfs/devices/disks/t10.NVMe____Samsung_SSD_960_EVO_1TB_________________9199B0615B382500 3
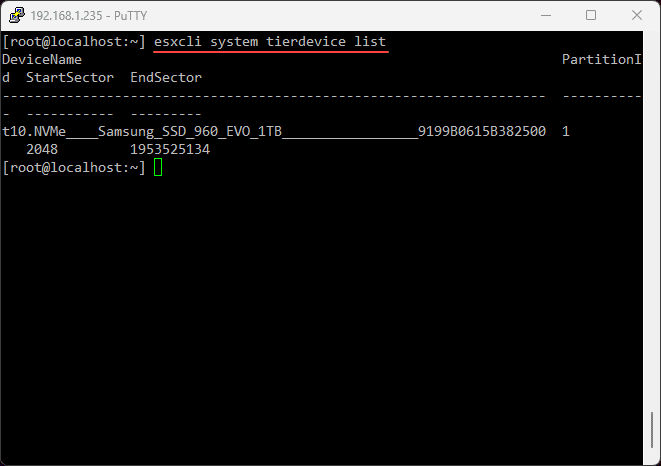
After you clear all the partitions, rerun the command to configure the tier device. To see the tier device that you have configured, you can use the command:
esxcli system tierdevice listStep 4
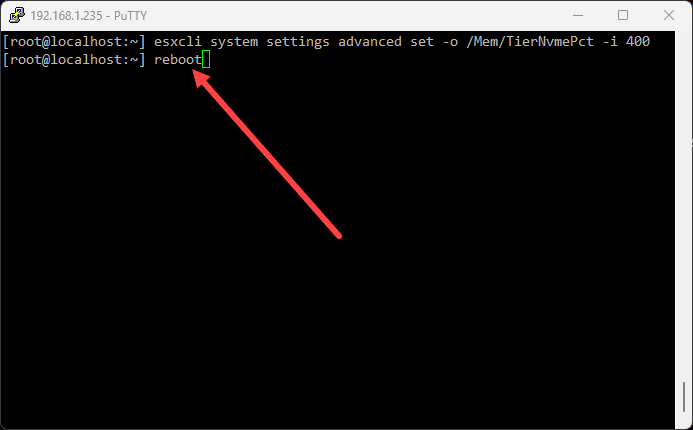
Finally, we set the actual NVMe memory tiering percentage. The range you can configure is 25-400.
esxcli system settings advanced set -o /Mem/TierNvmePct -i 400Step 5
The final step in the process is to reboot your ESXi host
Viewing the memory of the mini PC after enabling
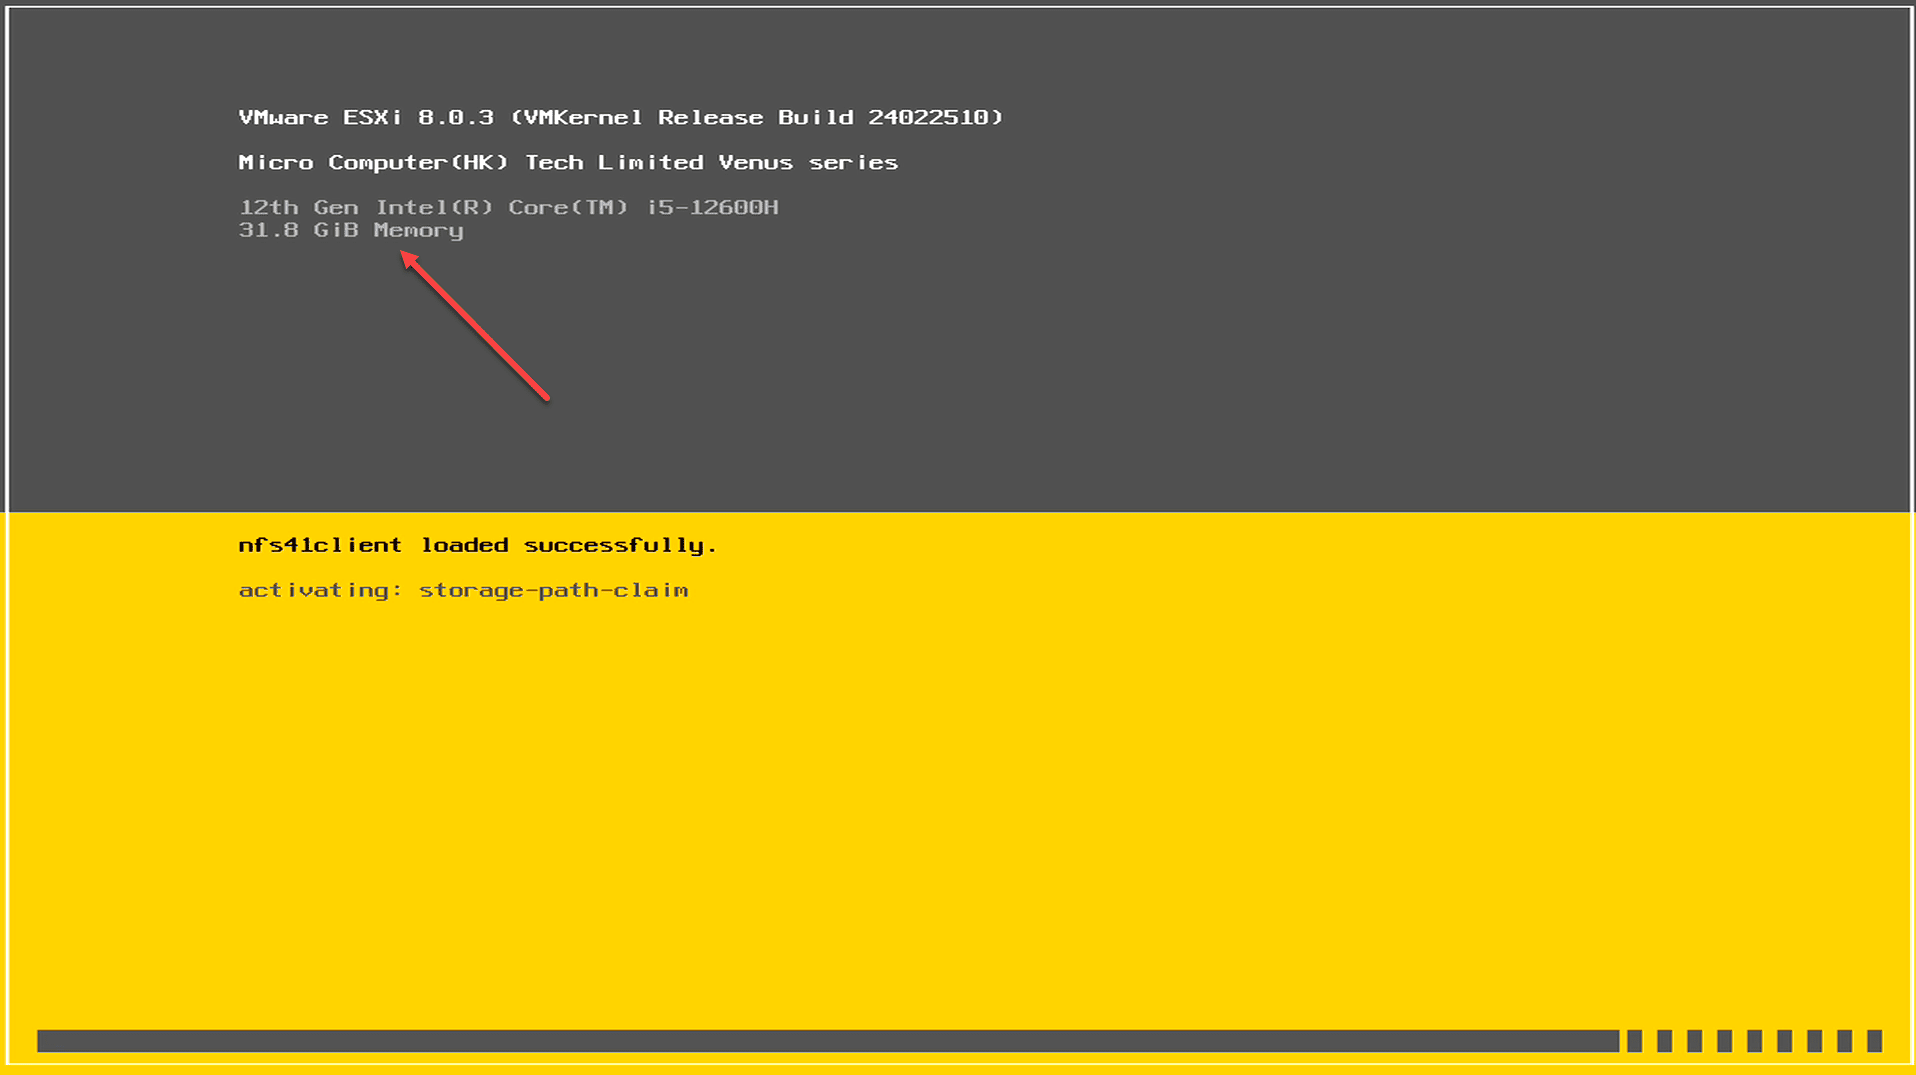
AFter the reboot, you can see the new memory, not when it is first booting, but wait a few moments after the boot process finishes. It will update the splash screen.
For example, this was after I enabled with the value of 400 on my device with 64 GB of RAM. When the box is still booting, you will see this:
But, after it finished loading everything:
Would I recommend using it?
In your home lab, this can be a great tool that allows you to go far beyond the amount of physical memory you have available in your system. If you have only 32, 64, or even 96 GB of memory which is common for mini PC configurations, this could definitely be a game changer to allow having many more workloads than you would otherwise be able to have in your home lab.
However, if you have “mission critical,” or “production” workloads running in your home lab that you want to make sure are as stable as possible, I wouldn’t recommend running this for those types of workloads, simply due to the limitations I mentioned in the outset, as well as I have seen a couple of purple screens, albeit after running it for a month or more with tiering turned on.
Wrapping up
This is definitely an extremely exciting development and the possibilities of being able to extend home labs and edge environments with this new functionality is pretty incredible. Keep in mind this is still in tech preview, so it isn’t fully production ready yet, although in the home lab, we are not limited by those kinds of recommendations.




Nice post as always. I have been setting it up but haven’t been testing it enough yet, so didn’t know about the limitations as storage migration might fail and cause crashes. Does log say anything particular?
Marc,
I didn’t get a chance to examine logs unfortunately. However, I have had the instability happen a couple of times on my MS-01s in a cluster. Once I disabled NVMe memory tiering, the instability went away. However, this is to be expected with a preview feature. It isn’t quite ready for production workloads that you want to run 24x7x365 as of yet. I would imagine we will see the feature grow and mature quickly. Do keep me posted with your experience with it.
Thanks Marc,
Brandon
“on my device with 64 GB of RAM. ”
Your screenshot shows 32GB 😉
war59312 thank you for the comment! I think I had a couple of different machines at the time, an MS-A1 and MS-01, one of which I had 32 and the other 64GB. So probably got the screenshots crossed there. Definitely cool to see your memory quadruple.
Brandon
Thanks for the post, Brandon.
The limitations you mention have already been addressed, they have been tested already and will be fully supported with VCF 9 (GA release).
We have now tested and do also plan to support mission critical workloads like SQL and Oracle.
Please note: We fully expect customers to use the memory tiering feature for production workloads with VCF9.
Could you perhaps share the details on the PSODs?
Please note that we are testing memory tiering rigorously, and we do require customers to run on certified server hardware, and use NVMe devices (wide range, large number) with specific endurance/perf ratings.
Excellent post. I had a lot of trouble with nested virtualization using NVMe tiering, but I also tried to set up a Nutanix environment within VMware. Do you think these limitations will be resolved in the ESXi 9.x version?
Frederico,
Thank you for the comment! I definitely think we will see most if not all the limitations of NVMe memory tiering go away in VCF/ESXi 9.x. Since this release was technically just a “preview” type release, they had placed limitiations on the tech to begin with. But, it should be fully baked in vSphere 9 and ready to go. I am looking forward to seeing things mature with this as I think it has a lot of potential.
Brandon