New Proxmox Datacenter Manager Released Download and Install
In case you haven’t heard, Proxmox has released a new Proxmox DataCenter Manager project that is set to help admins have a centralized view of all their individual Proxmox VE server nodes and Proxmox clusters. You can also do basic operations with it at this point from a central console. Let’s look at the new Proxmox Datacenter Manager download and install and get more info on this cool new tool!
Table of contents
What is Proxmox Datacenter Manager?
Well, it is currently in ALPHA stage at this point so still rough around the edges as can be expected. But, it provides that centralized view of your Proxmox estate which is something that has been needed for quite some time now, especially for admins managing multiple standalone nodes or clusters.
You can also perform basic operations management for your Proxmox environment using the tool. You can do things like migrate virtual machines and can do this without some of the cluster requirements needed.
Proxmox has made note that in the ALPHA stage there will be features that won’t make it into the release until after the 1.0 GA release is final. They make note many of the features being considered will help with “pain points that one currently faces when managing big and/or physically distributed Proxmox VE and Proxmox Backup Server setups.
Here are some of the details of the release itself:
Released 19. December 2024
- Debian Bookworm (12.8) platform
- Latest 6.8.12-5 Kernel as stable default
- Newer 6.11 Kernel as optional
- ZFS: 2.2.6 patches for Kernel 6.11)
Download Proxmox Datacenter Manager here:
Installing Proxmox Datacenter Manager
Let’s look at the process of installing Proxmox Datacenter Manager. The process is very much akin to installing Proxmox VE Server, Proxmox Backup Server, etc as the screens will be very familiar.
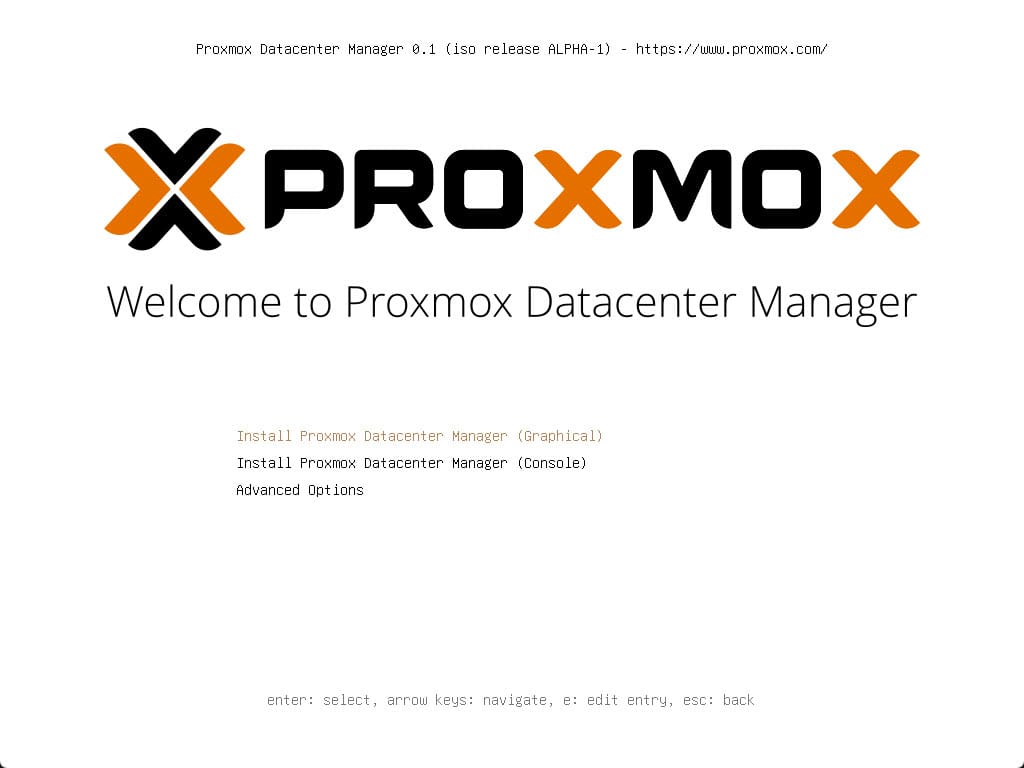
Select Install Proxmox Datacenter Manager (Graphical).
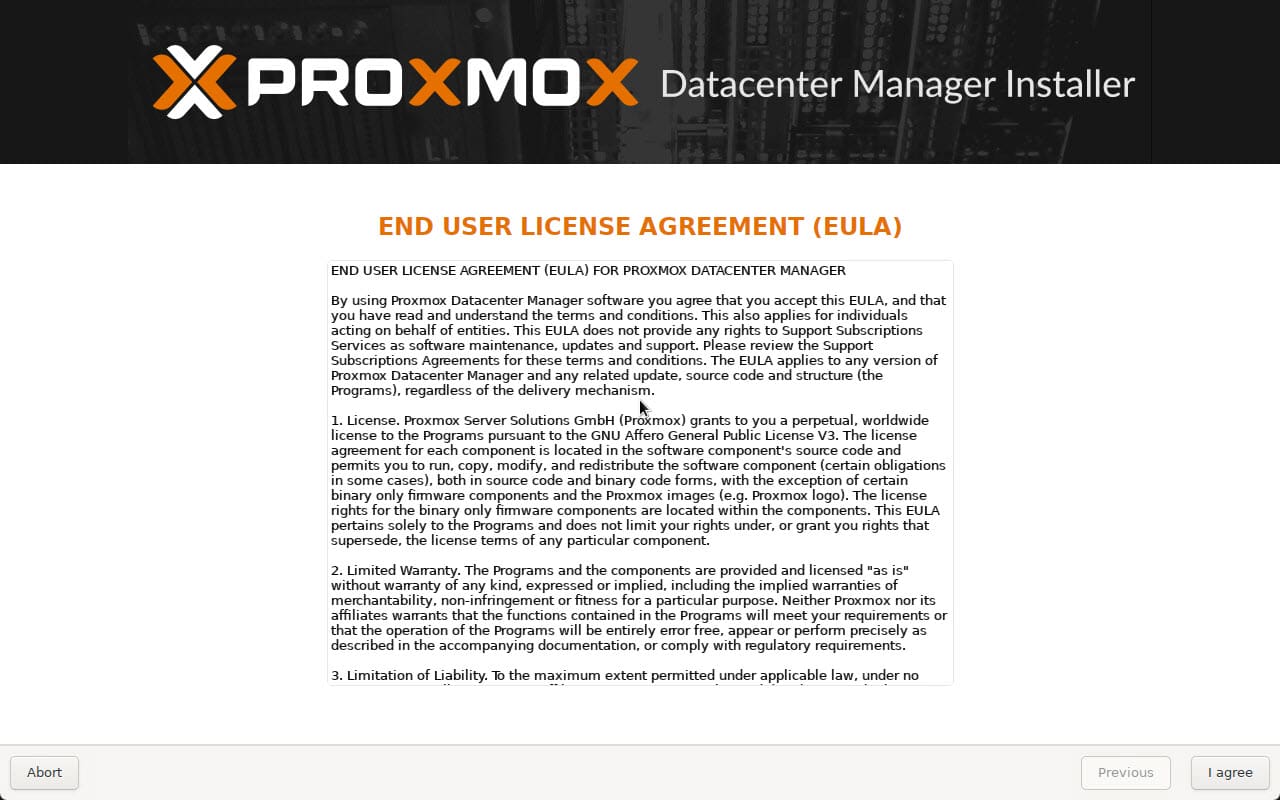
Accept the end user license agreement.
The machine will boot and should grab a DHCP address to get started.
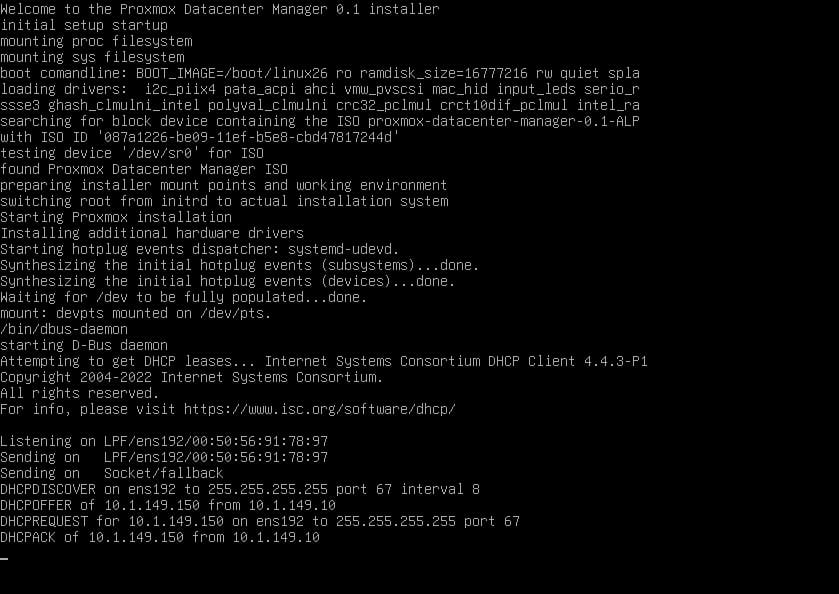
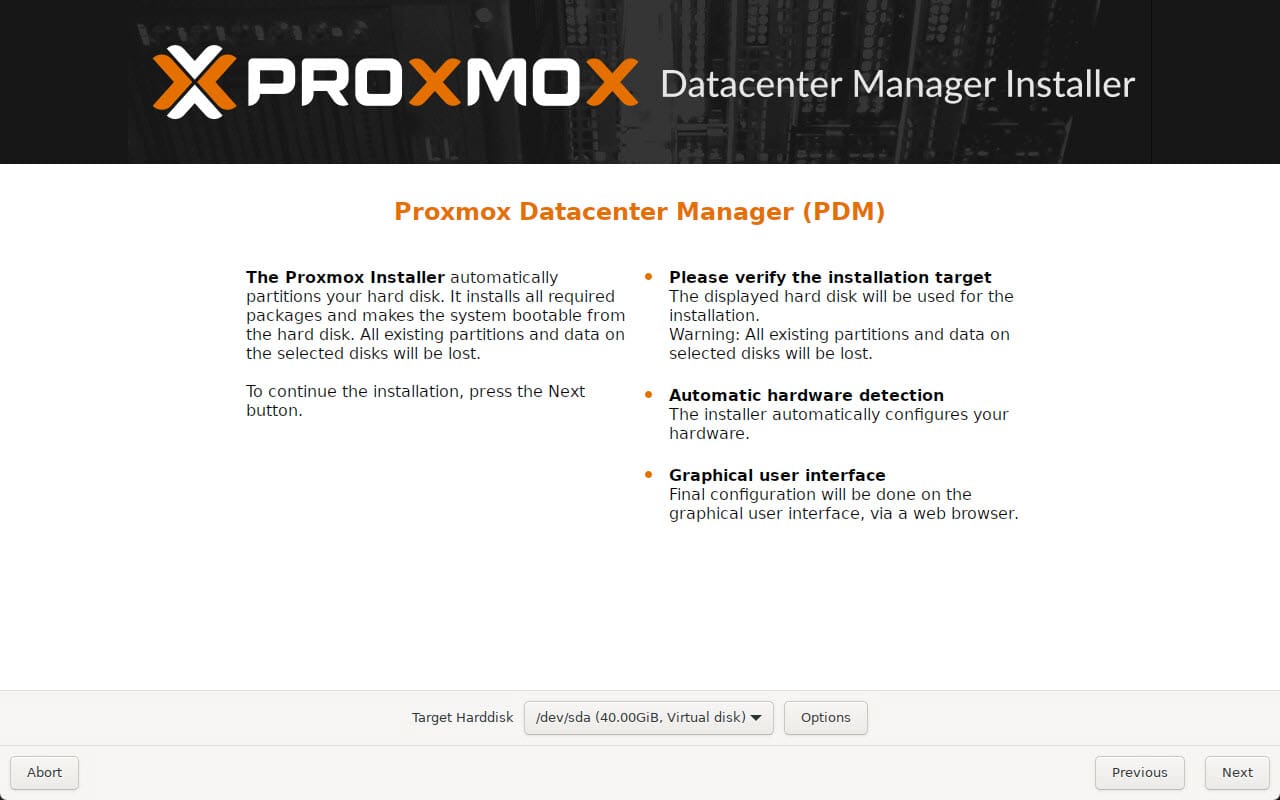
Select the target disk for installation.
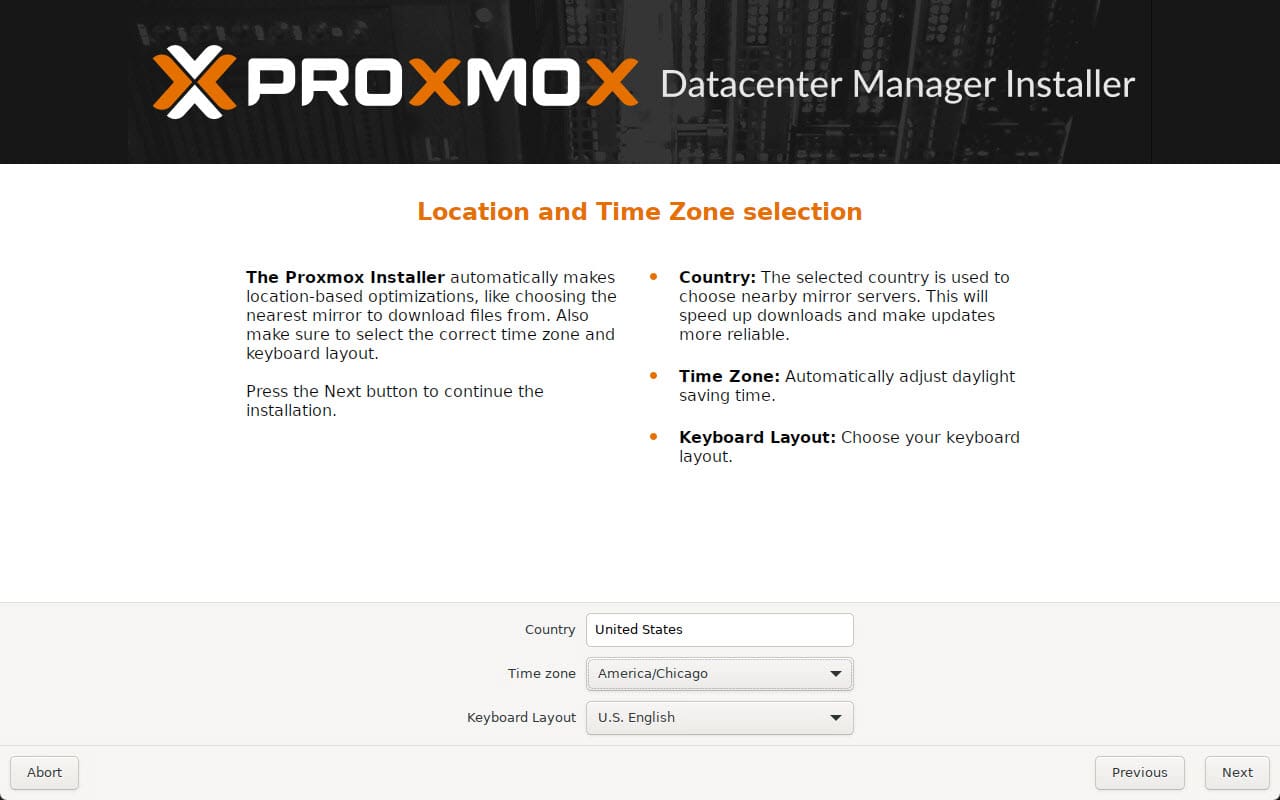
Choose the country, time zone, and keyboard layout for the installation. Click Next.
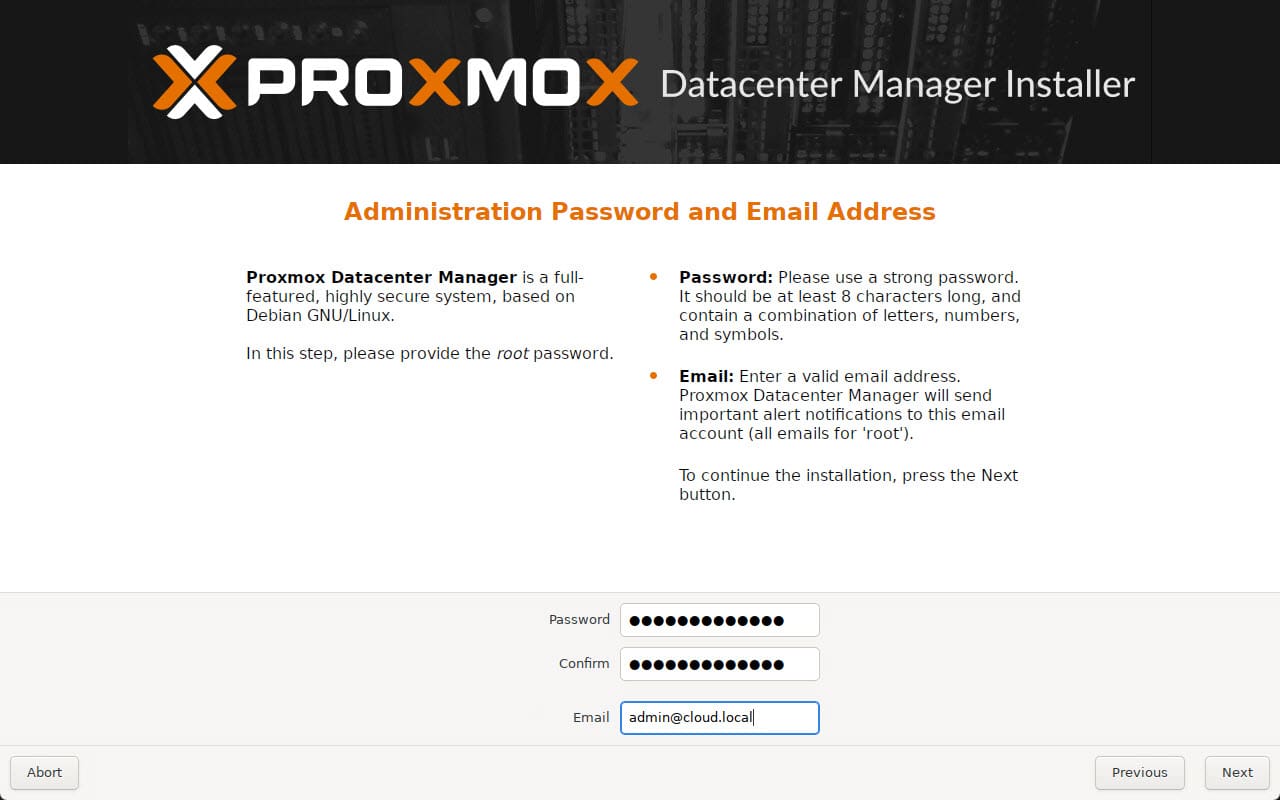
Configure your root password and email address. Click Next.
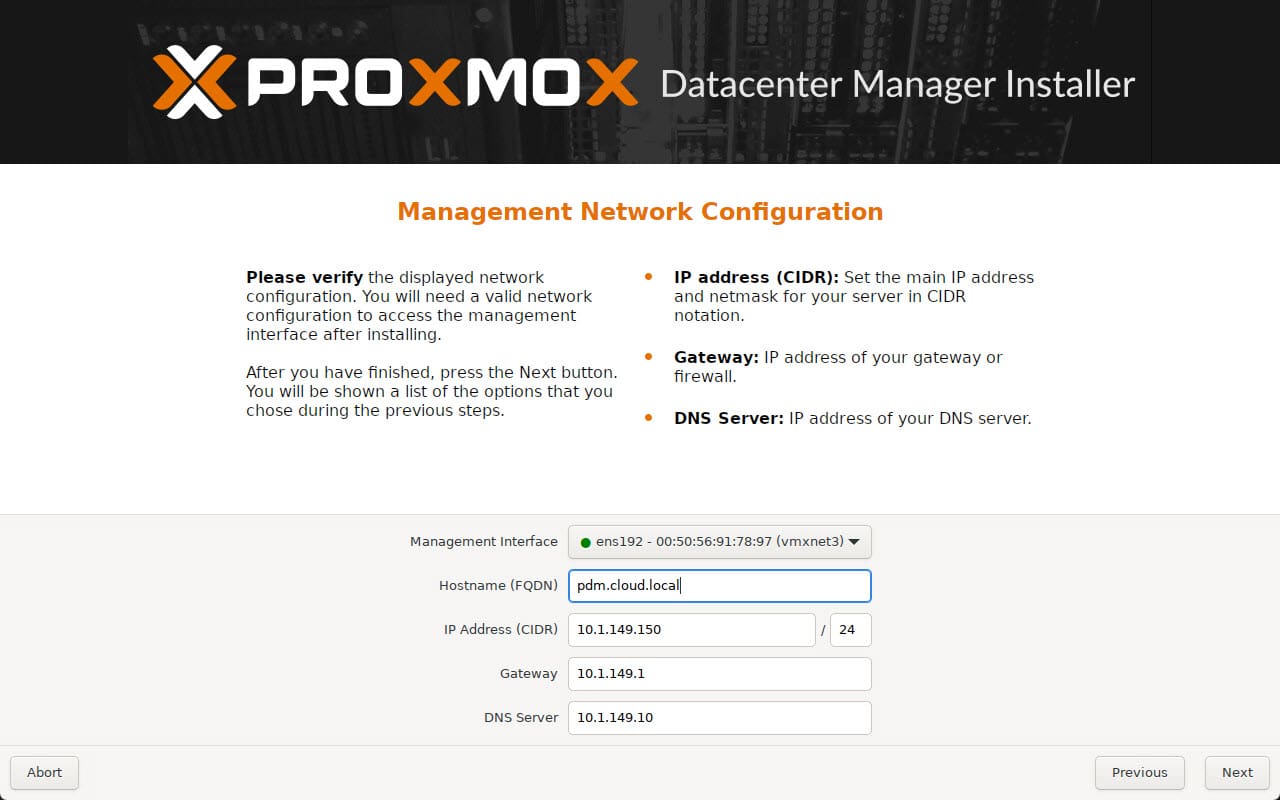
Set your hostname, IP address, Gateway, and DNS server. Click Next.
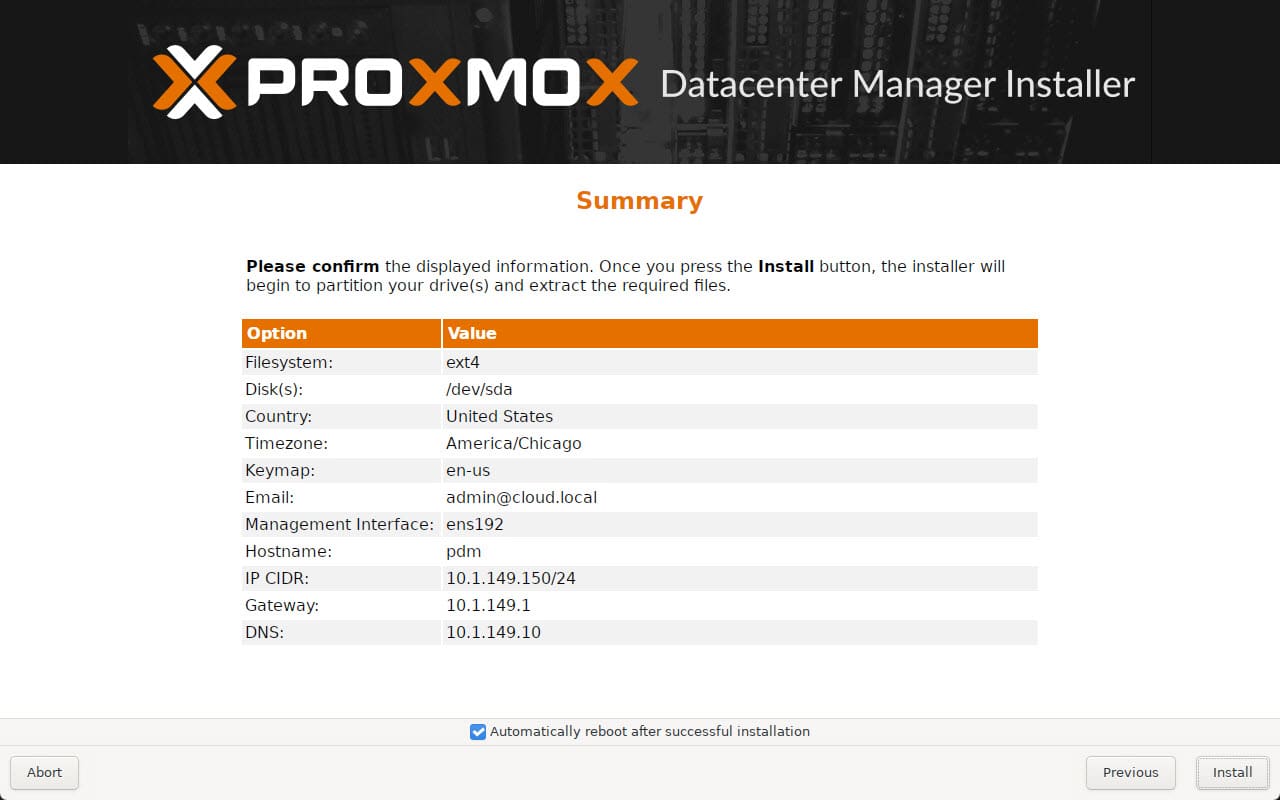
View the summary screen and by default it will leave the automatically reboot after successful installation checked. Click Install.
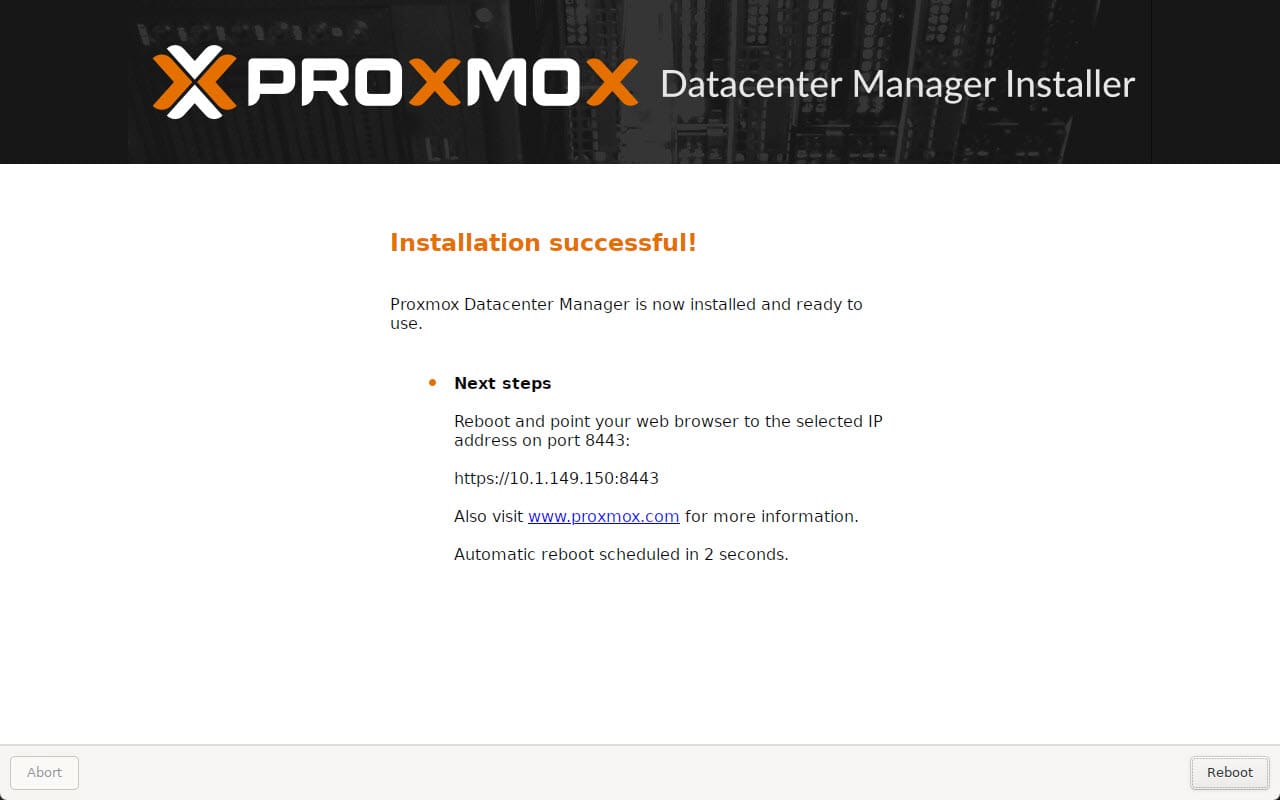
The installation is successful. Click Reboot.
The Proxmox Datacenter Manager will boot.
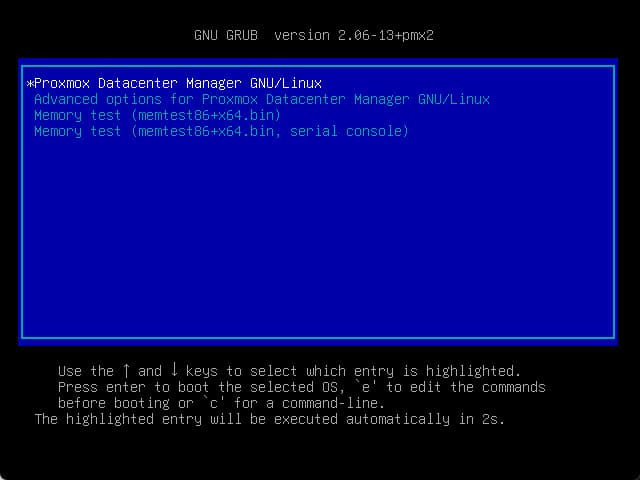
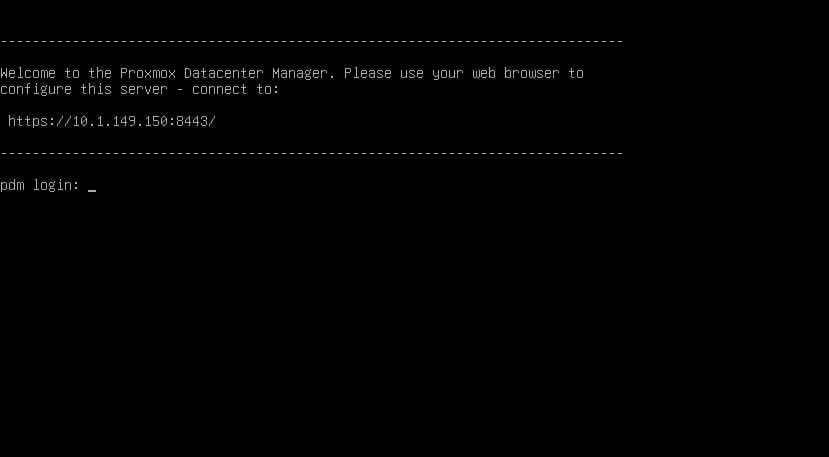
Below is a view of the console. Looks familiar.
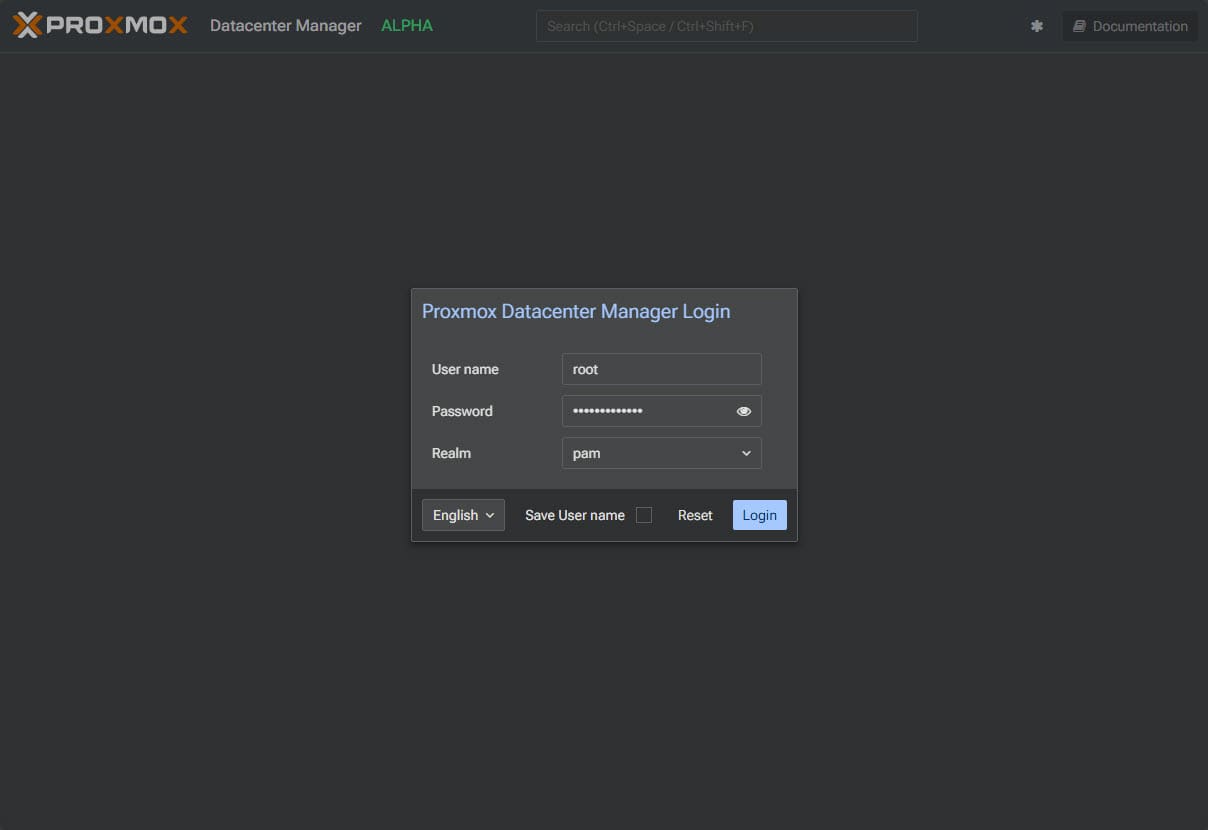
Below, we are logging into the Proxmox Datacenter Manager as our configured root account.
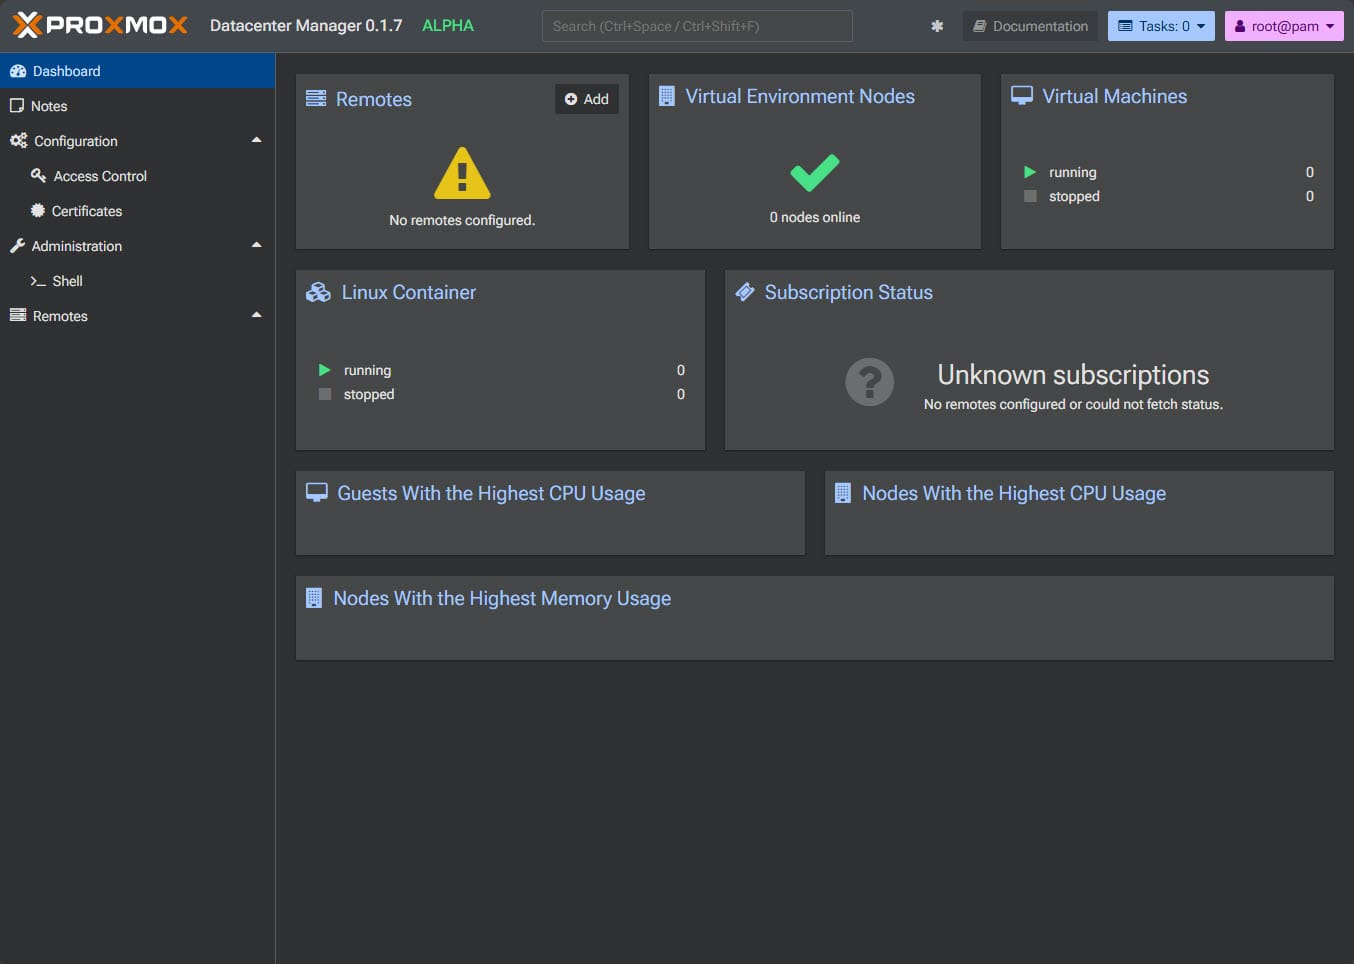
Viewing the dashboard for the first time.
Adding a Proxmox VE Server Node to PDM
Now let’s look at how to add a Proxmox node to our Proxmox Datacenter Manager instance. In the Remotes tile, you will see an Add button in the top right-hand corner.
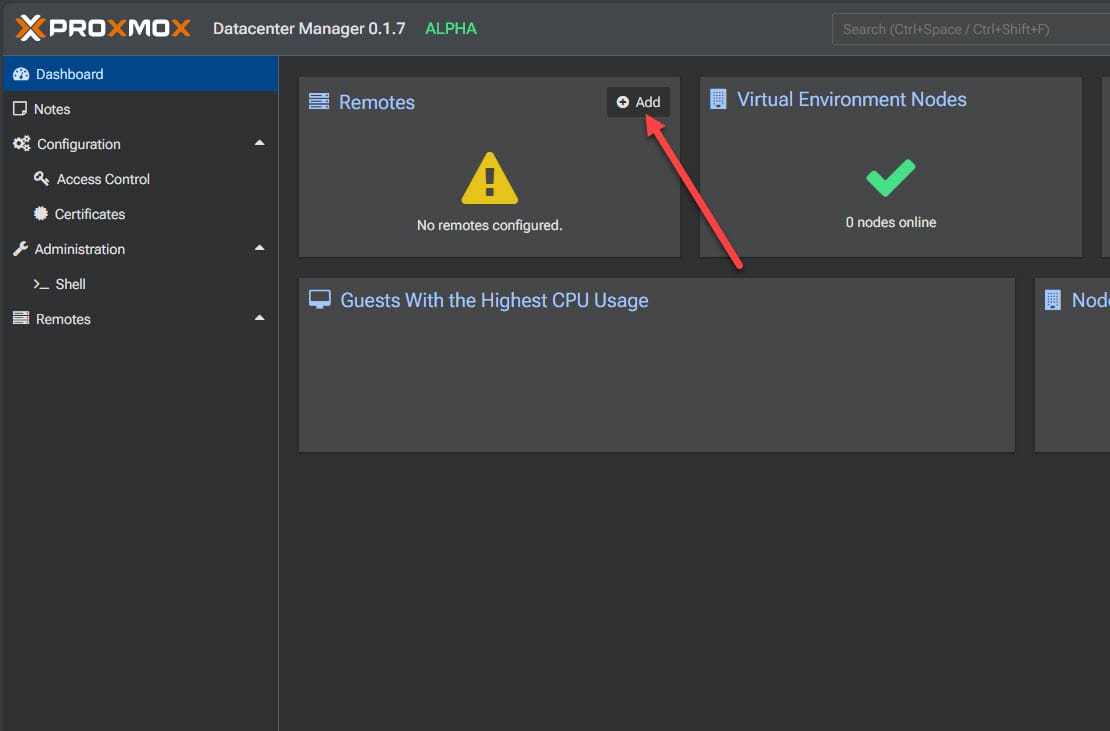
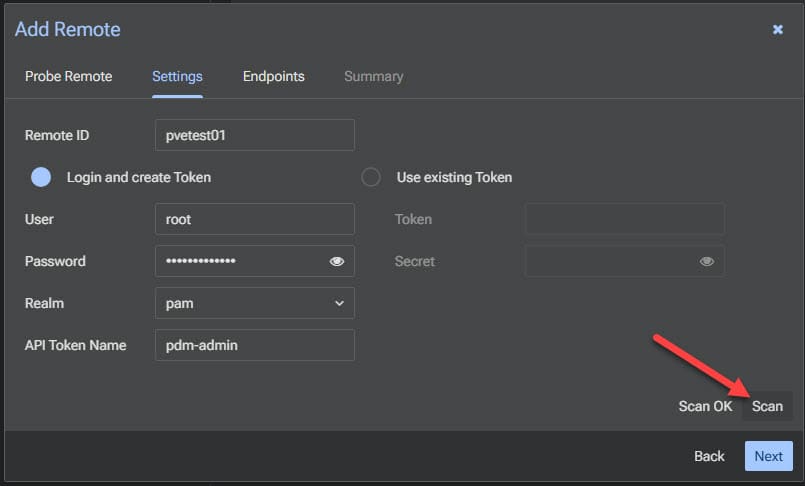
This will launch the Add Remote dialog box. The first tab is Probe Remote. There are a couple of fields here of information we need to populate to connect to a node. The server address and Fingerprint.
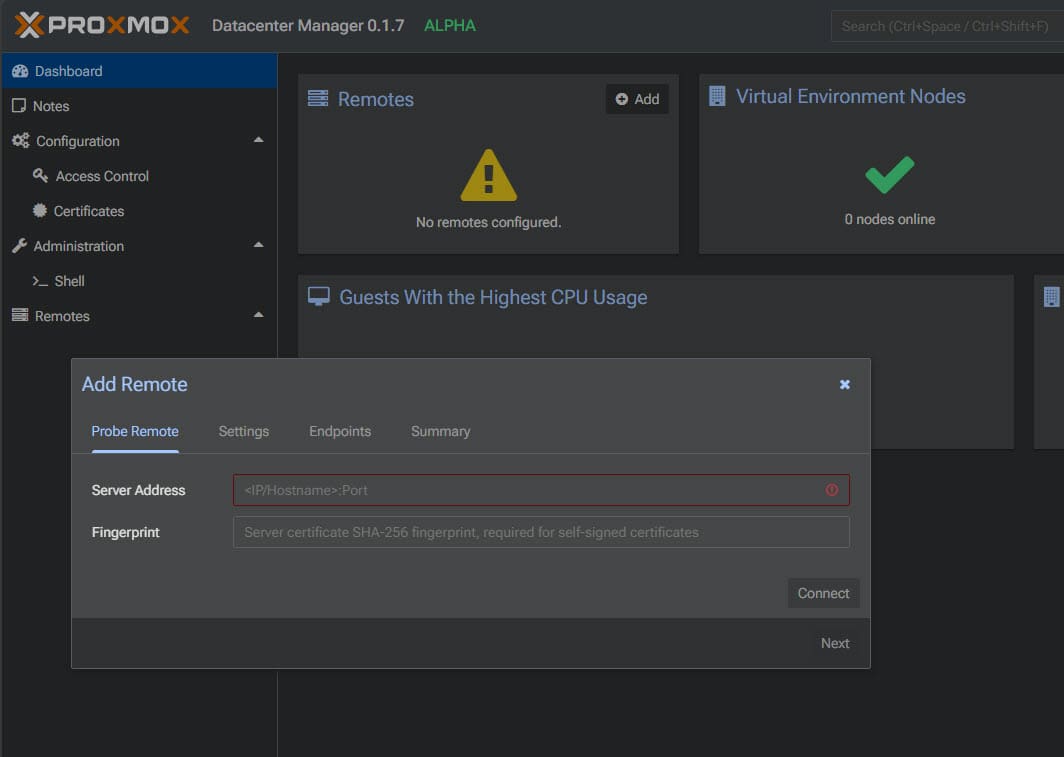
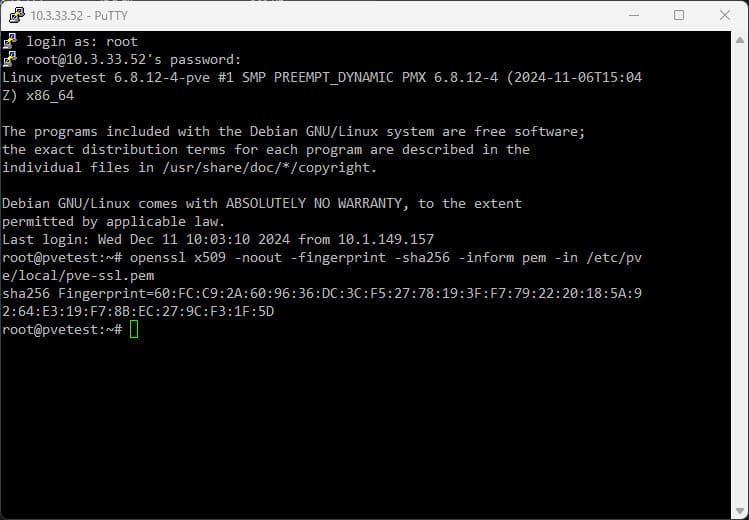
You can get the fingerprint of the certificate you will need for the above screen using this command:
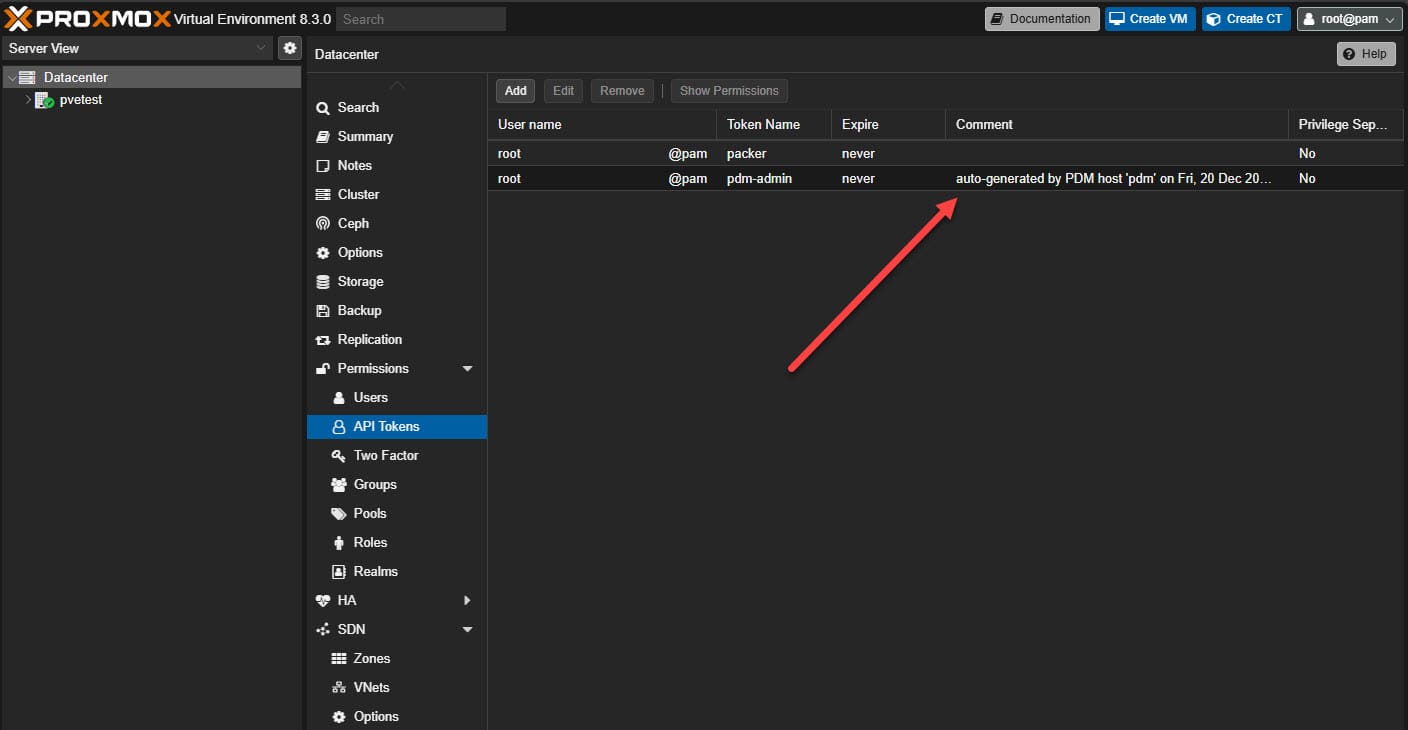
openssl x509 -noout -fingerprint -sha256 -inform pem -in /etc/pve/local/pve-ssl.pemAt this point, if we look at our PVE node that we are adding directly, navigate to Datacenter > API Tokens, we will see the API token that is autogenerated by the PDM add node process for onboarding.
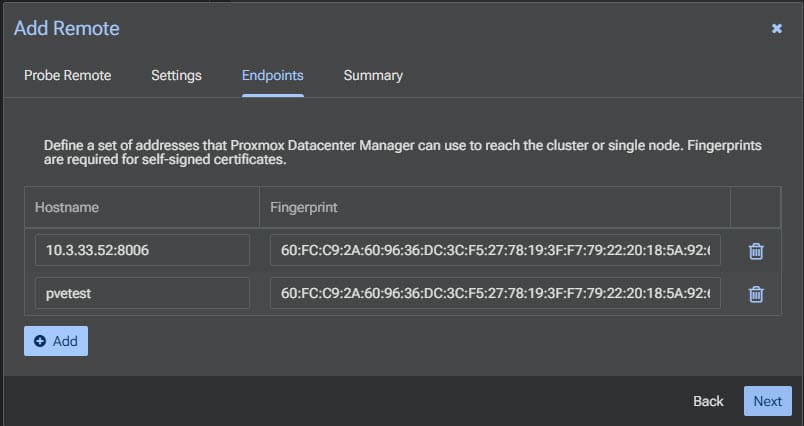
Going back to the Add Remote dialog, next we go to Endpoints. here we can just click Next.
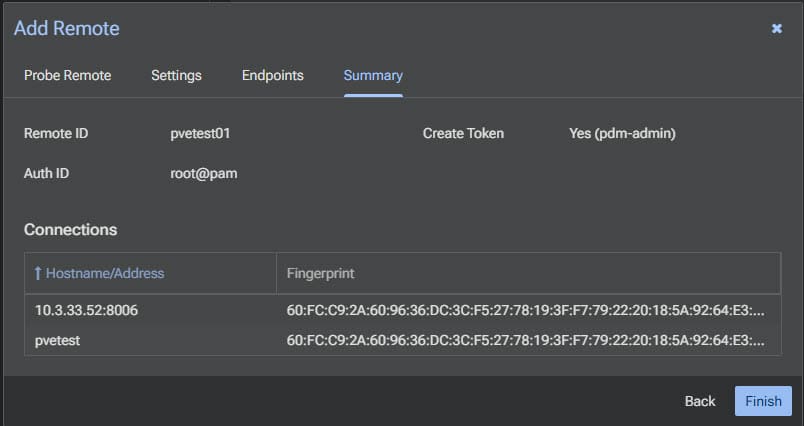
Finally, the Summary screen. Click Finish.
On the dashboard we see the message Could reach all remotes.
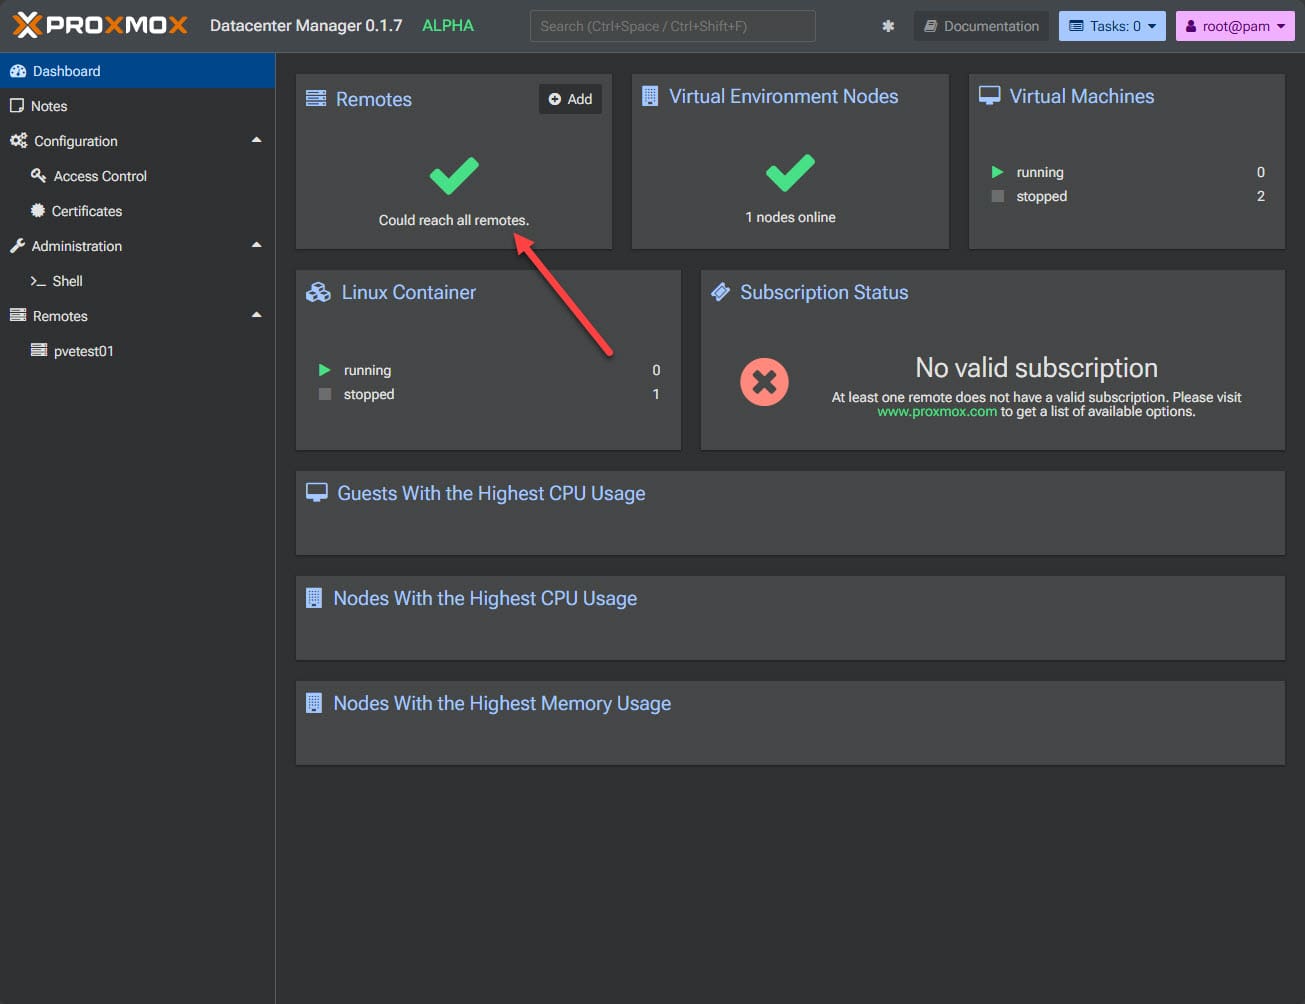
Viewing remote node in Proxmox Datacenter Manager
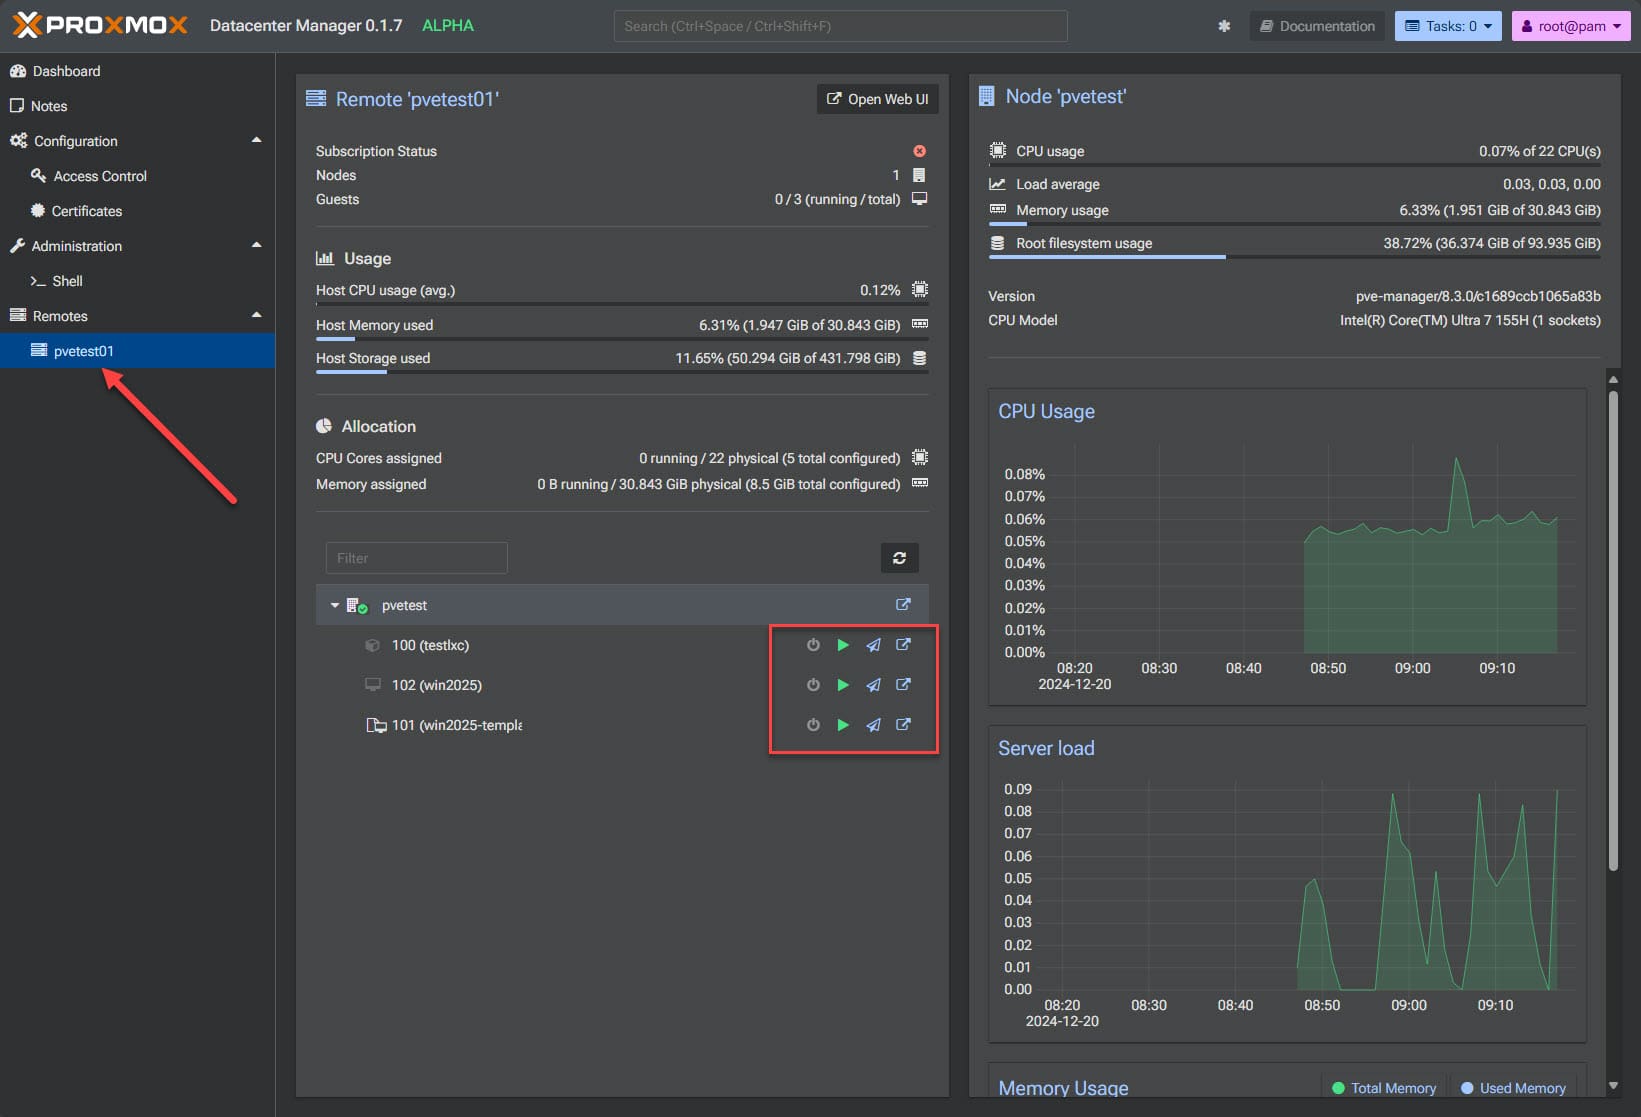
Now that we have a node added to Proxmox Datacenter Manager, we can click the node and see various information about the node, including the node details like CPU usage and Server load. As a side point, I like the color scheme better in this UI than the node UI for the proxmox host. Just my personal preference and observation.
By the VMs shown under the node, you will see the little power button, play button, “airplane” button, and maximize looking button. These are:
- Power status
- Start, stop, etc
- Migration
- Shortcut to go directly to the VM in the PVE host interface
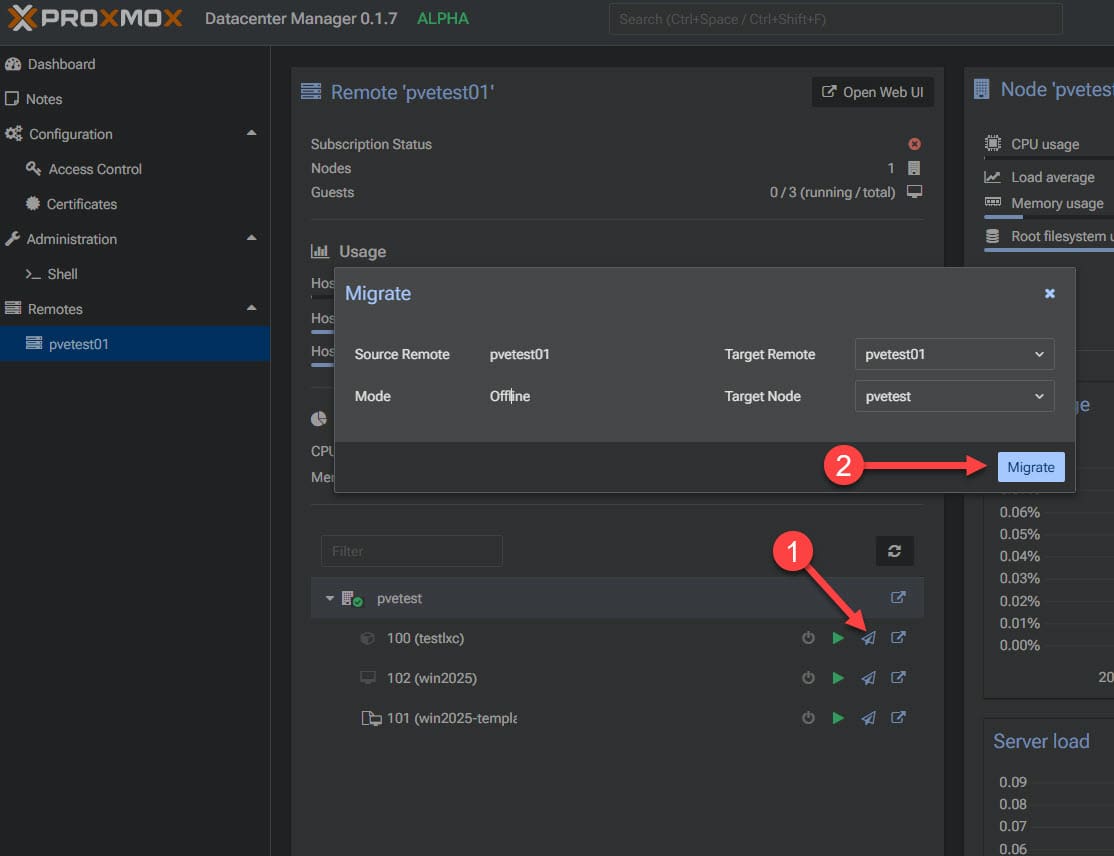
If we click the migrate button you will see the Migrate dialog box. We can see some of the capabilities here. I just have a single host added so don’t really have a target in this case. But Proxmox has noted this tool allows for migrating between nodes that don’t meet cluster requirements.
Proxmox Datacenter Manager permissions management
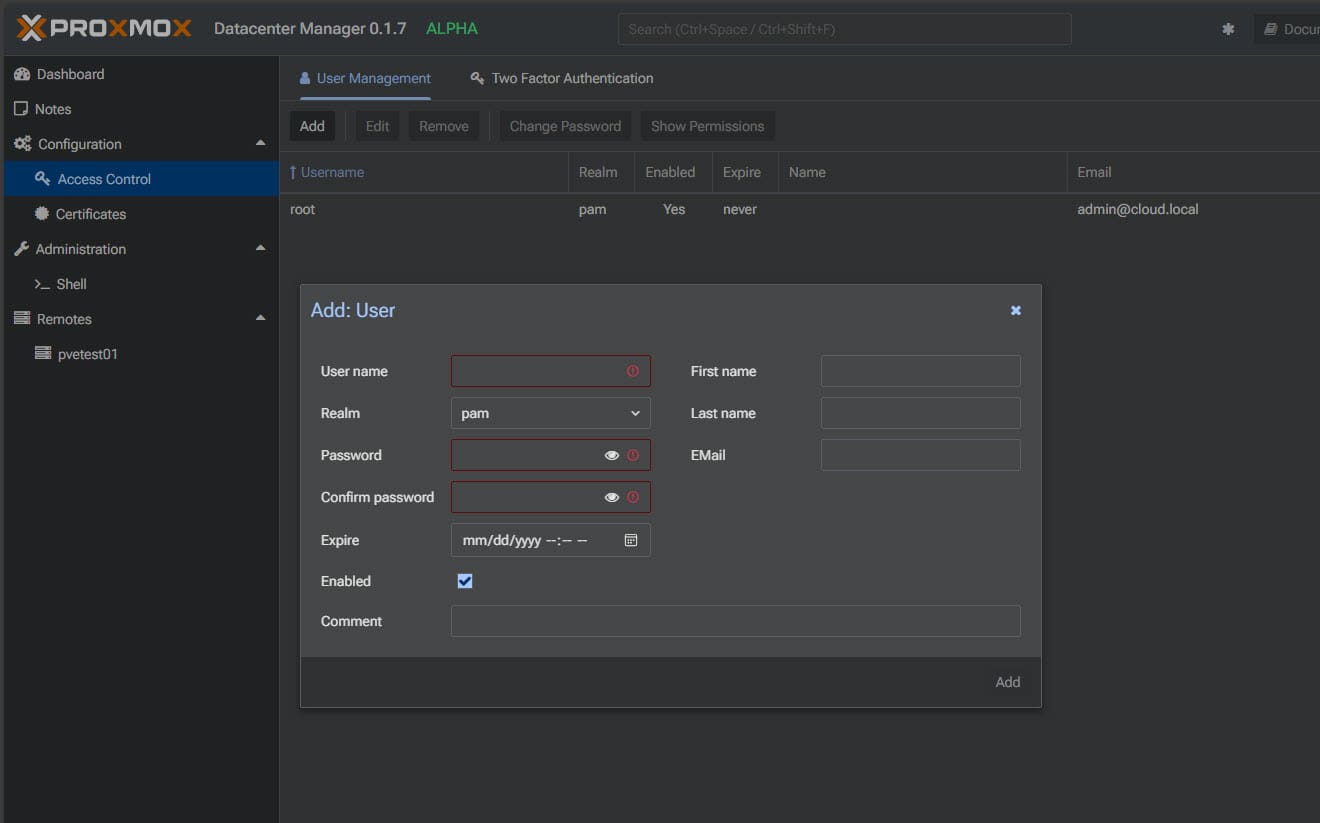
One of the advantages of having a tool like this is centralized permissions management. Using Proxmox Datacenter Manager, admins will be able to add users and hopefully manage access to various nodes and resources using the permissions model here instead of granting access to individual Proxmox nodes.
One of the things I really like that Proxmox has natively is two-factor authentication. You can also set that up directly in the Proxmox host web UI, but this looks to also be available in Proxmox Datacenter Manager which is great to see.
Thoughts about the new tool
The new Proxmox Datacenter Manager looks to be Proxmox taking things in the right direction. With its explosive growth and interest in the platform, they are no doubt looking to provide the types of tools needed to take Proxmox as a platform to the next level of enterprise adoption. Having a centralized management tool is a great step for that.
Up until now, VMware had vCenter Server, XCP-ng had Xen Orchestra, but Proxmox didn’t really have a tool. Now the Proxmox Datacenter Manager (PDM) will provide that missing link for managing your Proxmox environment at scale.


