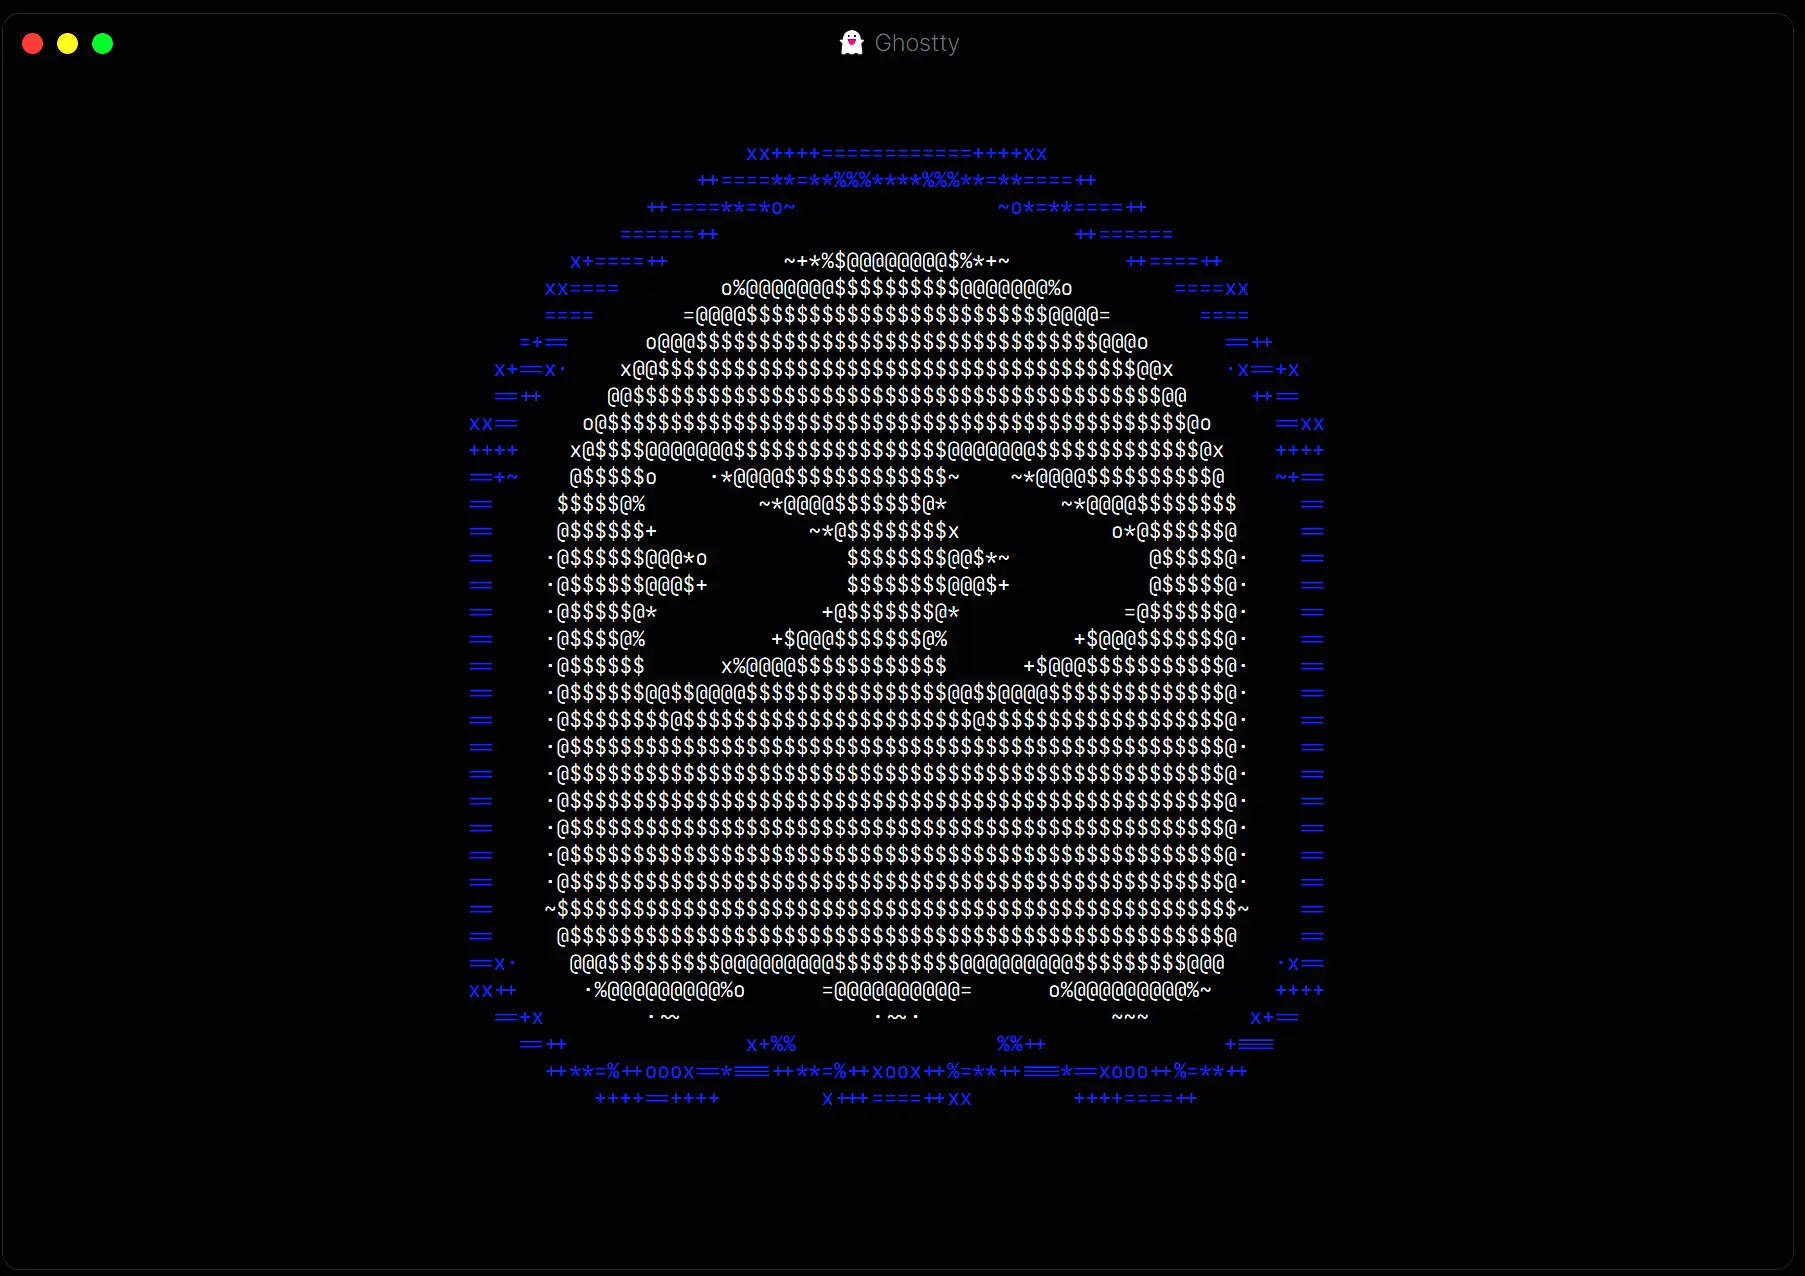
In case you haven’t heard, there is a new terminal emulator that hit the scene, called Ghostty. It is the creation of Mitchell Hashimoto, the co-founder of Hashicorp. While this terminal emulator by Mitchell’s own words is not supposed to be revolutionary in itself, it is a breath of fresh air as a really great terminal emulator that natively integrates into macOS and Linux environments. While Ghostty isn’t said to be compatible directly with Windows Subsystem for Linux, it does work in Linux in general, so I wanted to try it out in an Ubuntu WSL environment. Let’s see how to install Ghostty in Windows Subsystem for Linux.
Table of contents
Not released for Windows yet if at all
I haven’t seen anywhere listed that Ghostty will be released for Windows natively. It seems to be purpose-built for Linux and macOS and there is no talk of it being released any time soon if at all. However, one tool that we have if using Windows that is awesome is Windows Subsystem for Linux (WSL).
I have seen some chatter on Reddit where some users have already ported it over as a Win32 application, but the PR for the project has not been accepted as of yet.
As you all know, WSL allows you to run Linux applications natively in Windows using a native terminal. So can Ghostty run in WSL?
Install Ghostty in WSL by building it from source
You can install Ghostty in WSL by building it from source from Github and the running it from WSL to try it in Windows. Let’s look at the steps required.
Install dependencies and Zig
First, we need to install the dependencies to build it from source:
sudo apt install libgtk-4-dev libadwaita-1-devNext, install Zig using the snap package:
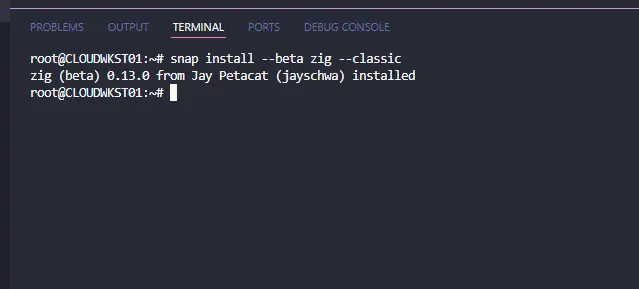
sudo snap install --beta zig --classicClone Ghostty from Github
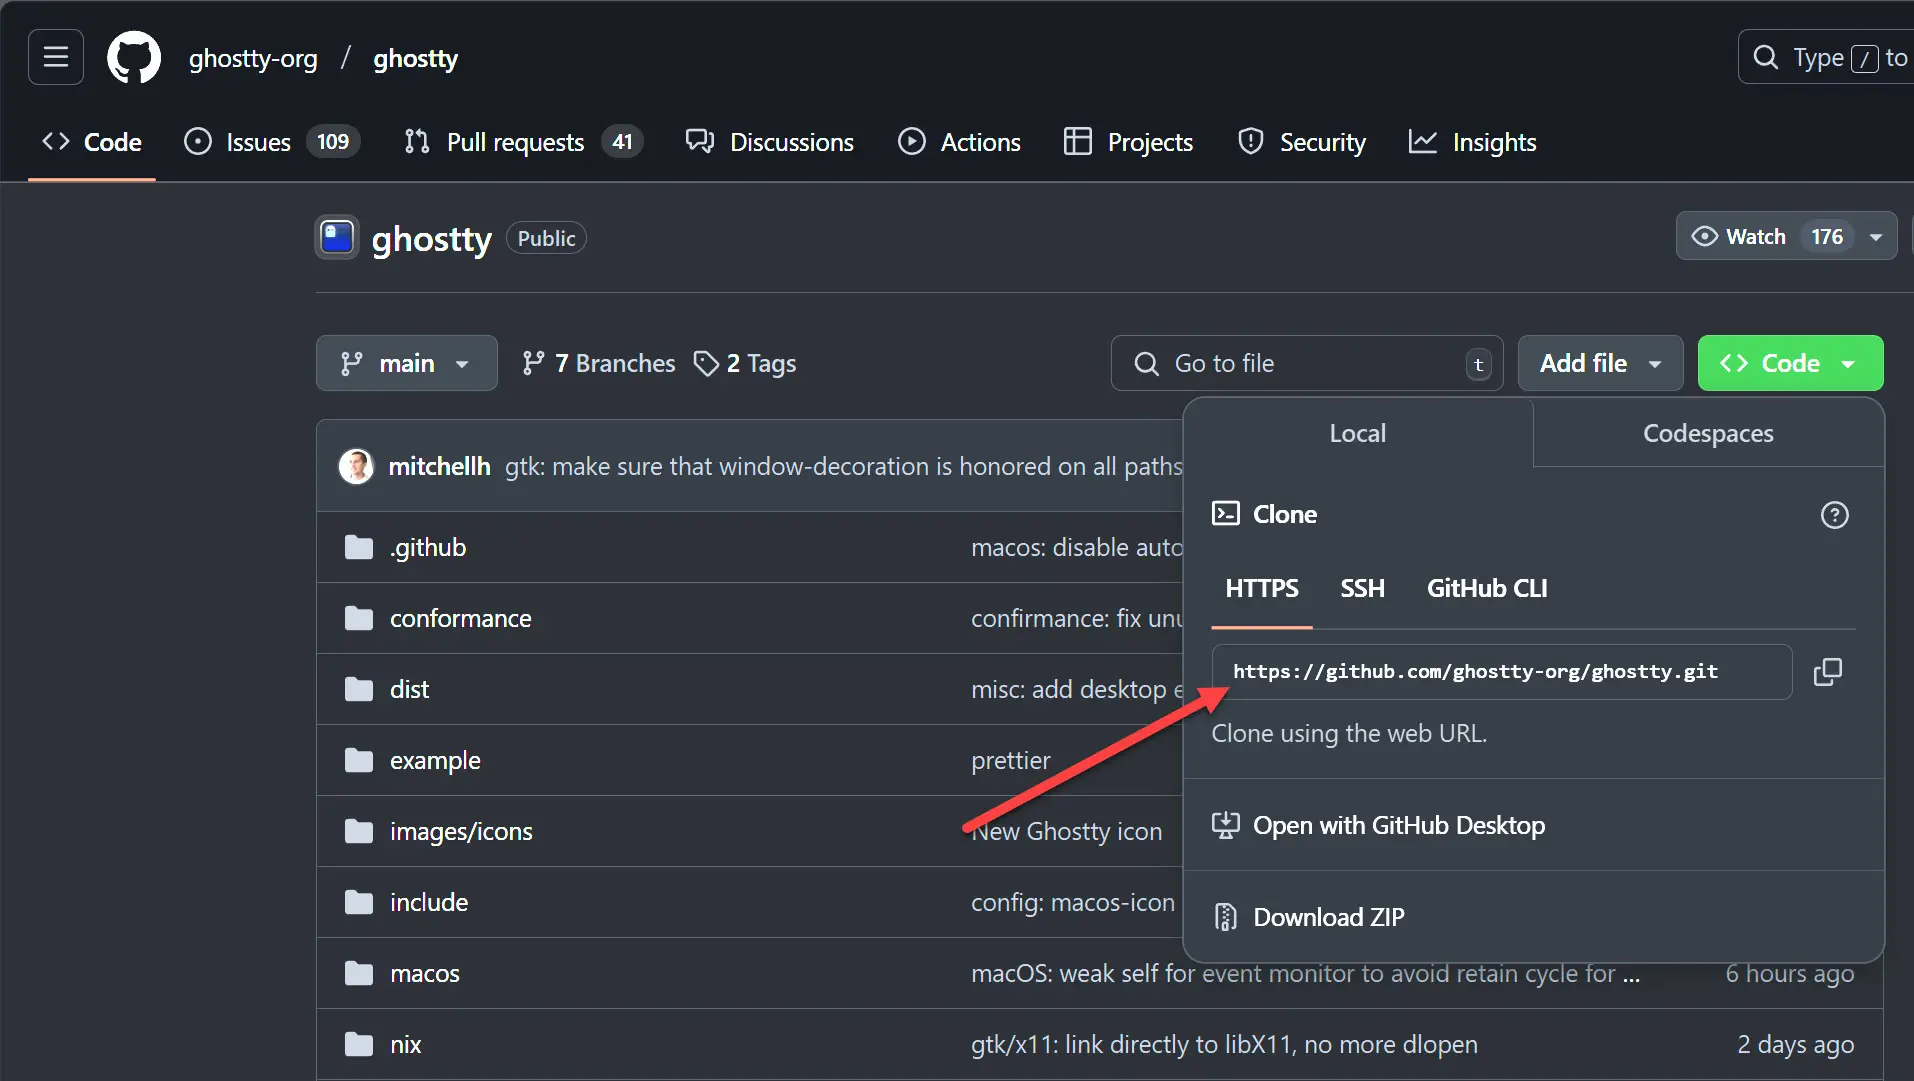
Now that we have the prerequisites and Zig installed, we can clone down Ghostty from source. To do that, you need to clone it down from the official GitHub repository URL:
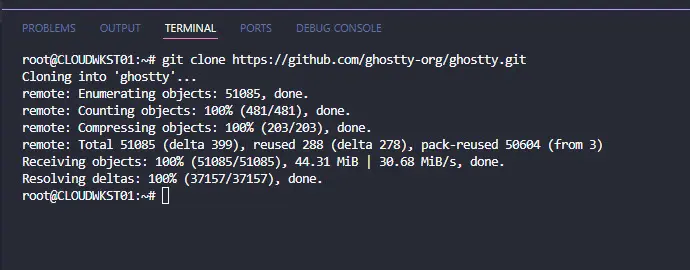
https://github.com/ghostty-org/ghostty.gitBelow, I am cloning down the repo into my WSL environment.
Build it from source code
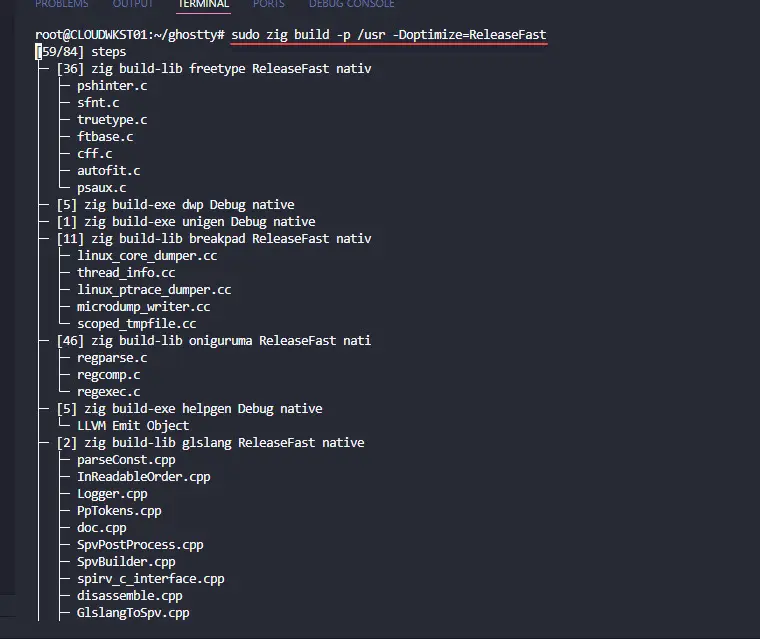
Now that we have the project pulled down, change into the cloned ghostty directory and run the following command:
sudo zig build -p /usr -Doptimize=ReleaseFastViewing help options
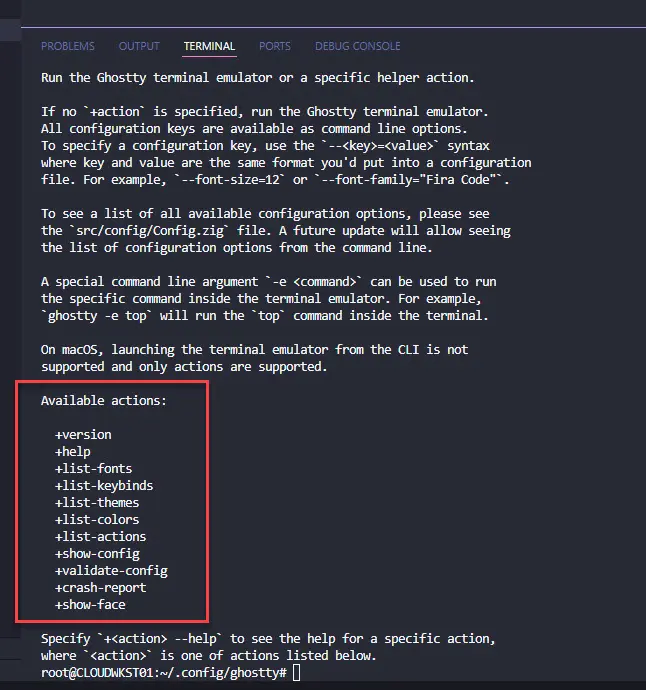
You can view the available action commands and help options with the command:
ghostty --helpLaunching Ghostty
Once the build of Ghostty from source completes successfully, you can launch it using the simple command in WSL:
ghosttyIt will pop open a new terminal window in Windows that you can then interact with. You can open additional tabs, and other features.
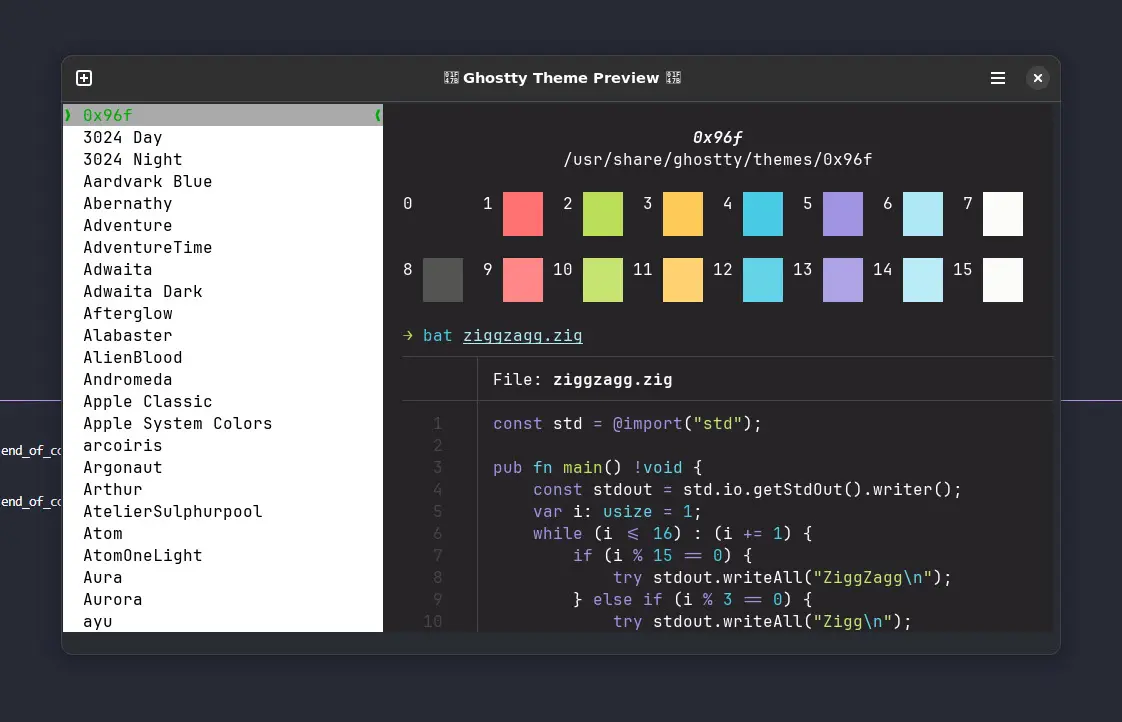
Viewing Ghostty Theme Preview
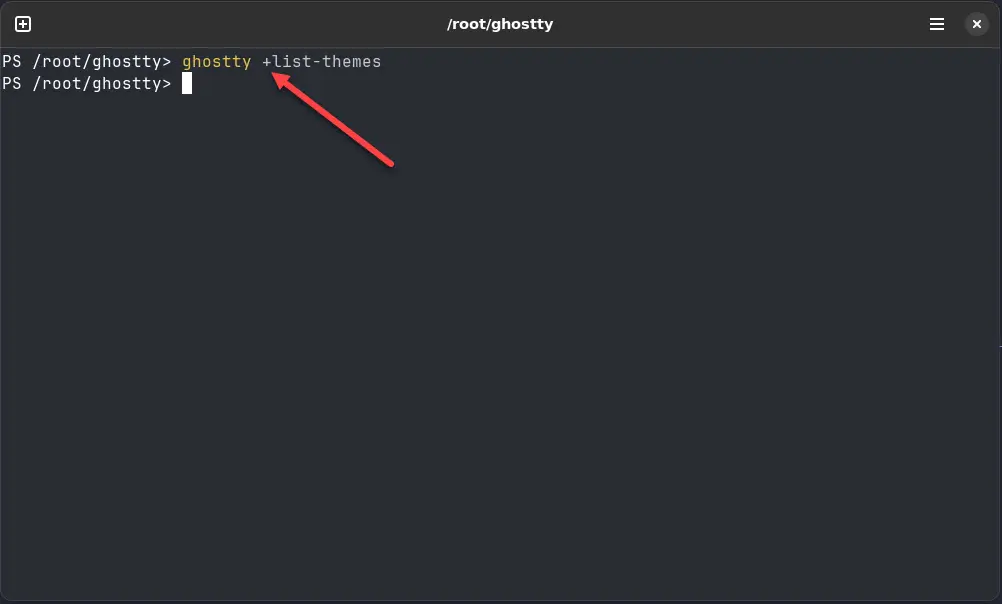
You can launch the Ghostty Theme Preview using the command:
ghostty +list-themesIt will launch the Theme Preview utility. You can scroll and click to view the look of each profile in the window.
You can select themes in your configuration file
~/.config/ghostty/configFor instance, to select one of the popular themes like the Catppucin theme:
theme = catppuccin-frappeYou will need to copy the contents of the theme to your directory:
~/.config/ghostty/themesImpressions?
One of the first impressions you will have with Ghostty is how fast it is. It is extremely fast in native environments like macOS and Linux. It also has GPU acceleration so you really feel this when running the Ghostty terminal.
I would love to see this implemented natively so it can be used as a terminal in WSL in VSCode in a seamless way. I know there are a lot of smart people out there already likely working on this. I want to have more hands on with the terminal to provide a more longterm review of using it in WSL in Windows.
Helpful links for Ghostty
There are helpful links for Ghostty documentation and other resources to note:
Windows Subsystem for Linux tweaks
Check out my video covering Windows Subsystem for LInux tweaks and mods that you need to know here:
Wrapping up
Have you tried Ghostty yet? Are you planning on trying it? If you were wondering if you can use it in Windows, well, at least not natively. You have to install it in WSL by building it from source. However, as the steps above show, there isn’t much to doing this. Let me know in the comments if you have tried it yet or installed it in WSL.
It’s amazing how much buzz and excitement these types of projects generate and just how much we all know and love the CLI on various systems.
Google is updating how articles are shown. Don’t miss our leading home lab and tech content, written by humans, by setting Virtualization Howto as a preferred source.



I wished it worked, but trying this i got some snapd errors,
root@Win11i9:~/ghostty# sudo snap install –beta zig –classic
error: cannot communicate with server: Post “http://localhost/v2/snaps/zig”: dial unix /run/snapd.socket: connect: no such file or directory
Because systemd something, no snapd service etc.
If only.
Weirdly i don’t see my earlier post but got it to work. Don’t know exactly how.
Started changing stuff in sshd_config + shutdown wsl and restart ‘et voila’.
It is running but somehow it feels laggy.
Thanks for this. Also checked the other one to get snapd running on WSL, whish was easy.
Weirdly i don’t see my earlier post but got it to work. Don’t know exactly how.
Started changing stuff in sshd_config + shutdown wsl and restart ‘et voila’.
It is running but somehow it feels laggy.
Thanks for this. Also checked the other one to get snapd running on WSL, whish was easy.
For some reason posting a reply is hard? Not sure if this goes through. (It just hangs after editing all fields and nothing so not sure if this shows).
Ran through a few of your videos and got it running.
Maybe you should add requirements like :
Snapd needs to work.
X11-apps/utils/system (not sure what they are called) stuff needs to be installed.
SSHD needs some editing to get the output/open window working.
Took me some time but it’s running now but it isn’t running ‘snappy’. feels kinda laggy.
Hi there,
Got the same error: cannot communicate with server: Post “http://localhost/v2/snaps/zig”: dial unix /run/snapd.socket: connect: no such file or directory
After applying these 3 commands, I was able to install zig and go further.
sudo apt-get update && sudo apt-get install -yqq daemonize dbus-user-session fontconfig
sudo daemonize /usr/bin/unshare –fork –pid –mount-proc /lib/systemd/systemd –system-unit=basic.target
exec sudo nsenter -t $(pidof systemd) -a su – $LOGNAME
But now I’m stuck during the compiling process with a few errors like :
error: ld.lld: undefined symbol: adw_split_button_set_dropdown_tooltip
If anyone have a hint to overcome this…
Lionel,
Thanks for the comment! Which base WSL installation are you using?
Brandon
new version of ghostty requires blueprint-compiler as well
sudo snap install blueprint-compiler –classic
BV,
Thank you for sharing the additional component in the latest build! This will be great to note.
Brandon