FluxCD Install and GitOps Simple Example

If you are wanting to learn more about GitOps, there is a great way to easily get going and that is FluxCD. Let’s take a look at the FluxCD install and a GitOps simple example that will help you understand the ins and outs of learning how this tool works and what you can do with it.
Table of contents
Brief overview of FluxCD
FluxCD is a Kubernetes GitOps solution that allows you to have a great way to implement GitOps in your environment. You can install the FluxCD command line and then bootstrap your Kubernetes cluster with the FluxCD components.
Once you have the FluxCD components installed, you can then use Flux to “watch” your git repos and then synchronize your Kubernetes cluster from the git repo.
Brief definition of GitOps
I wrote a recent article about GitOps vs DevOps just a couple of days ago, so definitely check that out if you want to read a more detailed overview of GitOps and how it relates and compares to DevOps. However, just in brief, GitOps focuses mostly on the deployment and has the single source of truth as the Git repository. This is what Flux watches when deploying our services to keep things updated and deployed.
When you push a change to your Git repository, FluxCD will look at the changes to the deployment and then sync these changes with your Kubernetes cluster.
Flux CLI Install
Let’s first see how to bootstrap FluxCD. To bootstrap FluxCD in your Kubernetes cluster, you need to have the Flux CLI installed. You can check out the following link to see how to install the Flux CLI in macOS, Linux, and Windows:
Bootstrapping FluxCD in your Kubernetes cluster
Once you have the Flux CLI installed, we can then bootstrap FluxCD in your Kubernetes Cluster. There are a couple of things to also have configured:
- Make sure you have your Kubeconfig file pointed to the cluster you want to work with using Flux
- Test your connection using kubectl, etc
Now we can use the specific Flux CLI command for bootstrapping:
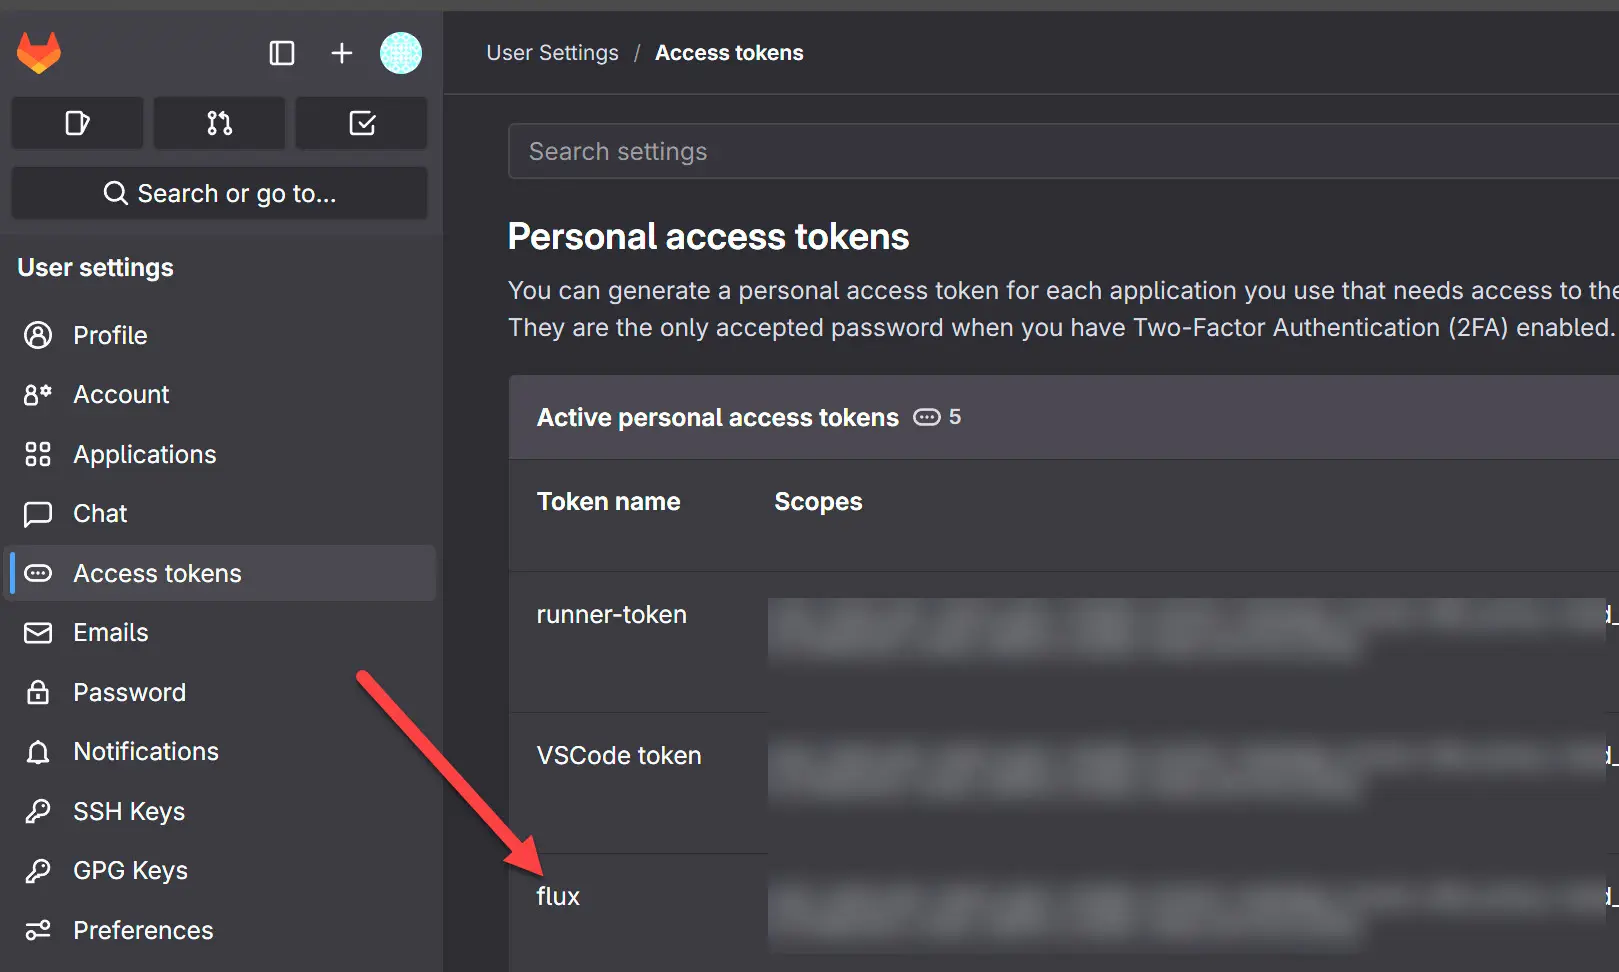
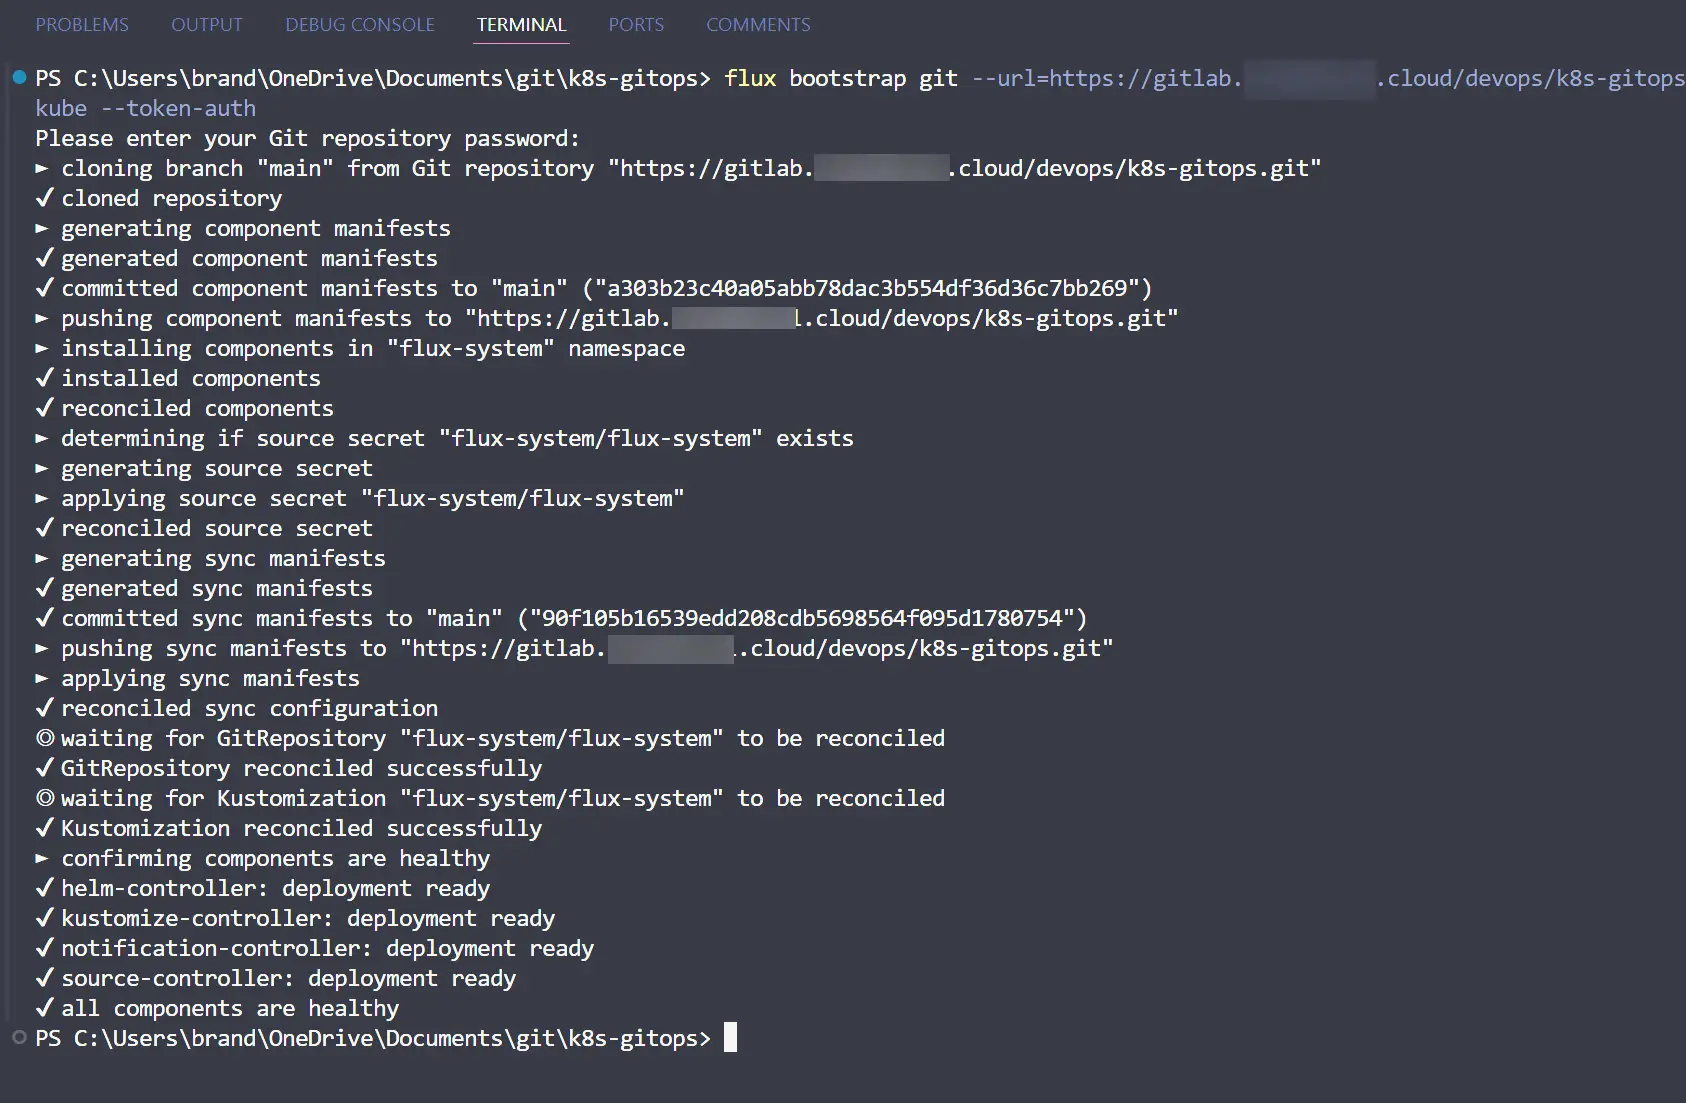
flux bootstrap git --url=https://<git server URL>/devops/k8s-gitops.git --branch=main --path=clusters/clkube --token-authAbove, we pass in the git server URL, the branch, the path to the cluster config, and here I am using token auth. You can also use SSH, etc. Since I am self-hosting GitLab, I chose token auth and created a personal access token for authenticating.
Below, is a screen grab of me running the flux cli command to bootstrap the FluxCD installation in Kubernetes.
Organizing your directories for FluxCD
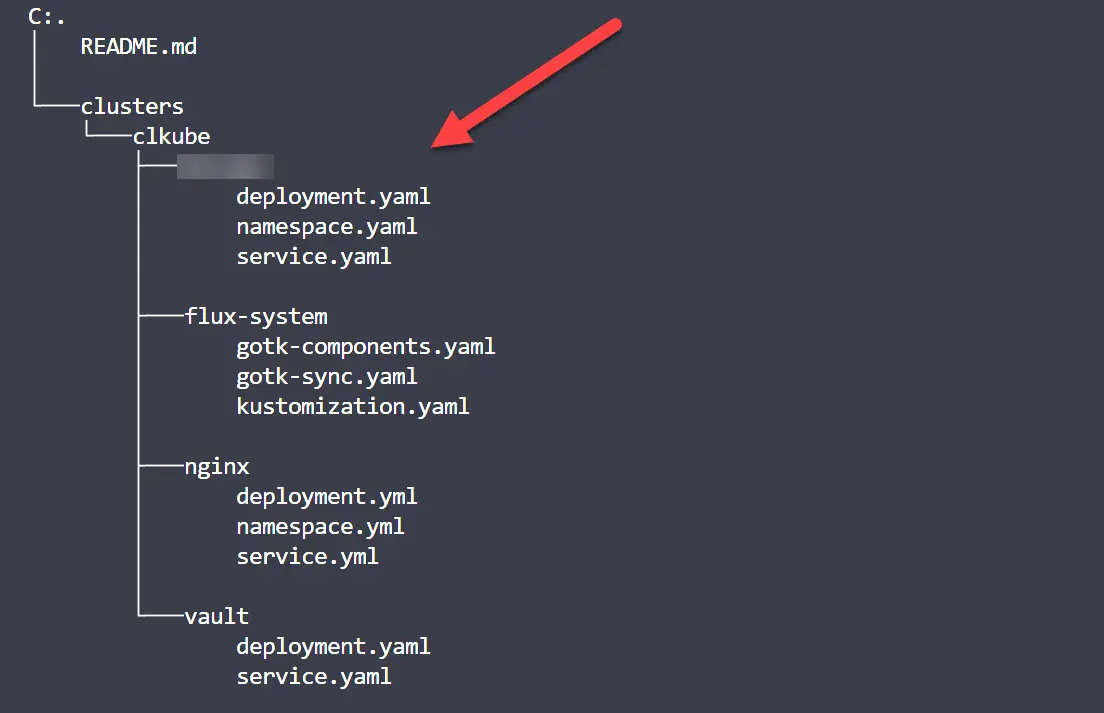
The way I have organized my directories looks like the following. I have a folder created for each app that I want Flux to deploy. The flux-system folder gets created automatically and has the following files:
- gotk-components.ymal
- gotk-sync.yaml
- kustomization.yaml
The kustomization file
I had some confusion when I first installed FluxCD in my Kubernetes cluster and thought you needed a kustomization file located in each directory and thought I needed to put the path for the other folders in the flux-system kustomization file. However, this is not the case. After seeing errors with this approach, I reverted back to the default kustomization file with the default contents, which is the following:
apiVersion: kustomize.config.k8s.io/v1beta1
kind: Kustomization
resources:
- gotk-components.yaml
- gotk-sync.yaml
When you have the directory structure as I have shown above, FluxCD will automatically traverse the folders in your cluster folder without having to be told where to look. It will look at the manifests you have located in each folder and act accordingly.
Simple FluxCD deployment of Nginx
Now, let’s take a look at a simple deployment of Nginx using FluxCD and see the contents of the files.
deployment.yaml
apiVersion: apps/v1
kind: Deployment
metadata:
  name: nginx
  namespace: nginx
  labels:
    app: nginx
spec:
  replicas: 2
  selector:
    matchLabels:
      app: nginx
  template:
    metadata:
      labels:
        app: nginx
    spec:
      containers:
        - name: nginx
          image: nginx:latest
          ports:
            - containerPort: 80
service.yaml
apiVersion: v1
kind: Service
metadata:
  name: nginx
  namespace: nginx
spec:
  selector:
    app: nginx
  ports:
    - protocol: TCP
      port: 80
      targetPort: 80
  type: ClusterIP
namespace.yaml
apiVersion: v1
kind: Namespace
metadata:
  name: nginx
Now, you just need to run the following git commands:
git add -A
git commit -m "committing files for flux automation"
git push
This will add, commit, and push your changes to the git repository.
Checking the status of the Flux kustomization
Once you have committed your code, wait for 10 seconds or so, and then check the status of the kustomization using the command:
flux get kustomizationsThis command will display the hash that has been used to sync the Kubernetes cluster. This should match your commit hash in your Git repo for your commit that you performed to commit the manifests for your application.

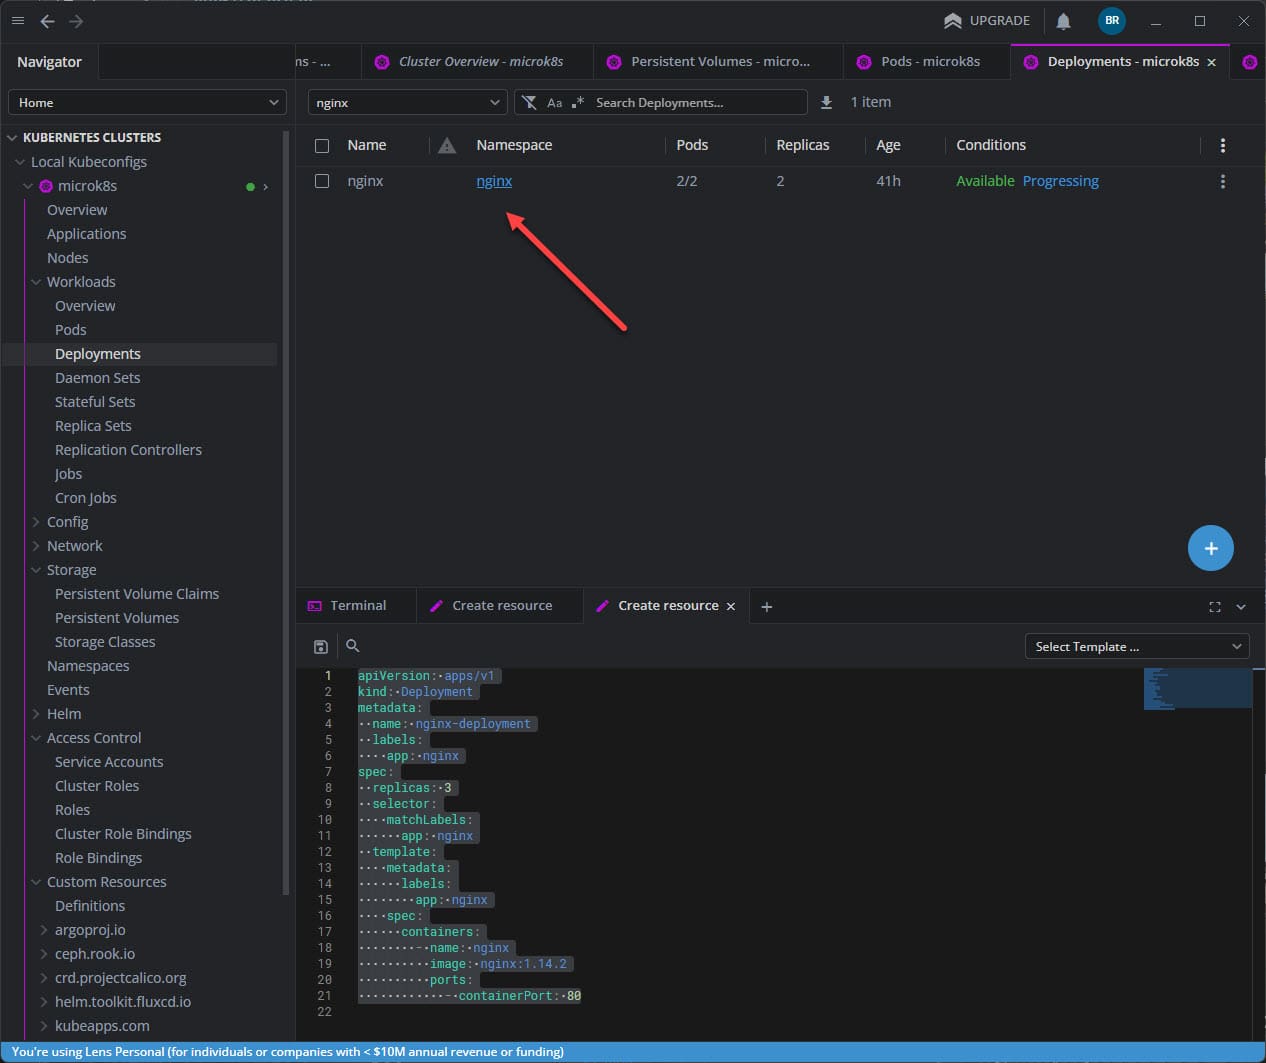
You should be able to look at your Kubernetes cluster after the synchronization and see that the nginx deployment was successful.
Troubleshooting
If you run into any issues with the deployment, there are a few commands you can use to check the deployment, including the command we looked at above. Note the following:
# Check flux to make sure it is operating correctly
flux check

# The command we looked at above to check the deployment
flux get kustomizations

# Check the source of your deployments
flux get sources git
You can also check logs using the following:
flux logs --kind Kustomization
kubectl logs -n flux-system deployment/kustomize-controller
Wrapping up
Hopefully this simple example will help ones to install FluxCD and get started with a simple example, deploying an Nginx pod to your Kubernetes cluster. FluxCD is a great way to have your git repo as the single source of truth with your Kubernetes cluster and make sure your applications and current state of your infrastructure matches what you have defined in your git repo. Let me know if you have any questions or issues you have run into with your Flux installation or deployment.


