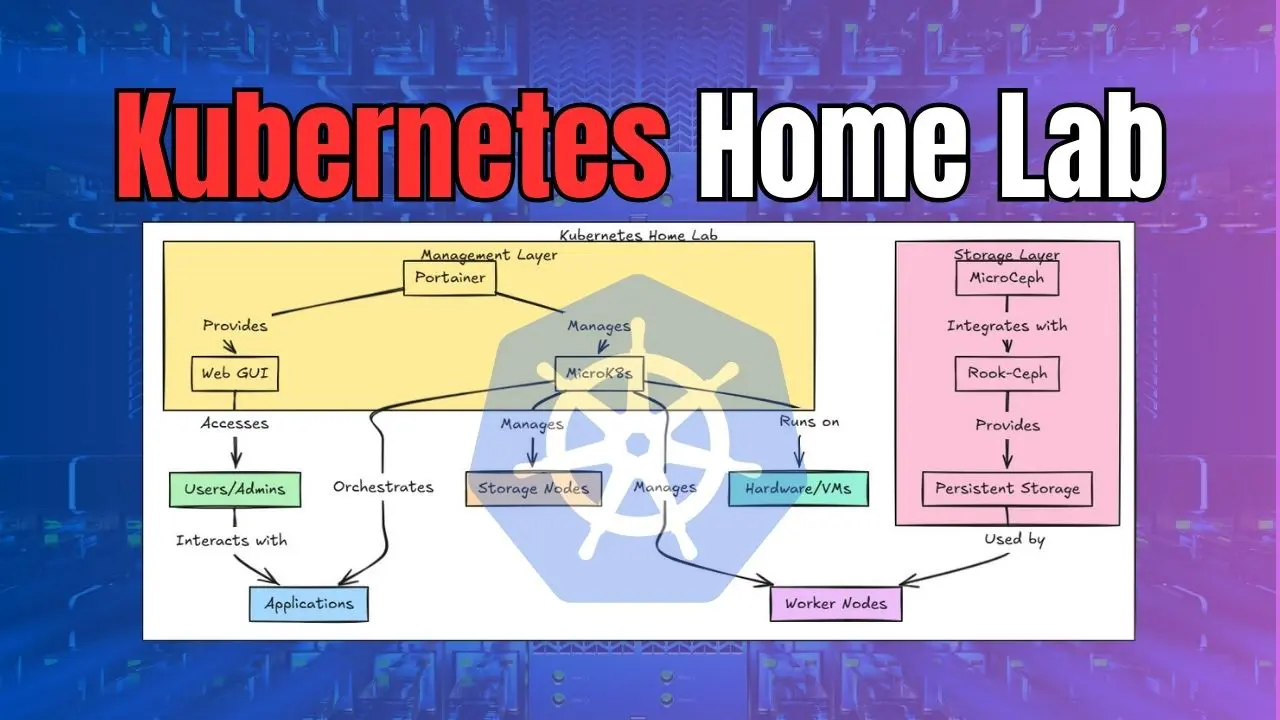
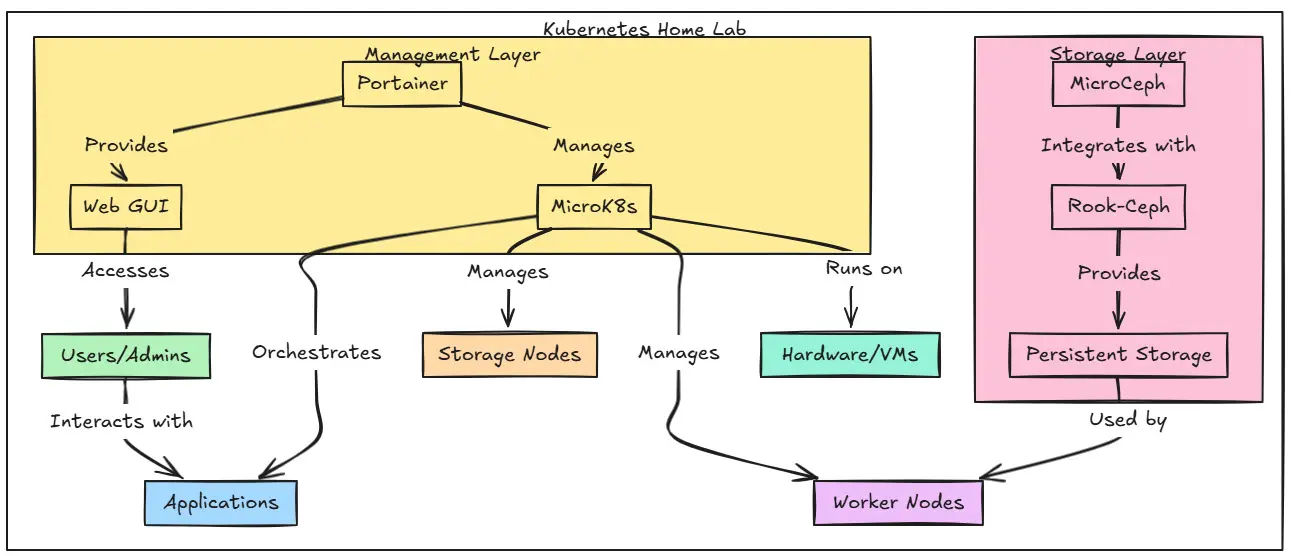
As you guys know I have been exploring what I think are really great setups from a standpoint of a home lab and also for learning purposes in production. Recently, I explored how viable it was to run a Docker Swarm cluster and found this to be an extremely good solution for home lab and even production environments, with the right tools. I wanted to take this forward into a Kubernetes configuration with Microk8s, Rook-Ceph, and Portainer as the UI management interface, which I used with the Docker Swarm configuration.
Table of contents
Why Kubernetes instead of Swarm?
When you compare the two, Kubernetes is much more complex than Swarm. However, it is the defacto standard that everyone is using in production environments and cloud. It is a great idea to learn Kubernetes as more than likely, you will run into it at some point in the future.
However, as I mentioned in my previous post, I think Docker Swarm is a very viable solution and is often overshadowed by Kubernetes when it probably shouldn’t be. In smaller environments, Swarm could be a perfect fit without the complexity.
Let’s take a look at the three components of my current Kubernetes home lab that I think are great building blocks for not only lab environments but also production:
- Microk8s
- Microceph
- Portainer
Microk8s
Microk8s is a solution from Canonical (makers of Ubuntu) that provides a production-ready Kubernetes you can easily spin up in a home lab environment. It is simple and easy to use and can be installed with a simple single command:
sudo snap install microk8s --classicAlso, I will get more into Portainer below, but it actually has an automated installation of Microk8s cluster using the Portainer environments tool. Instead of just adding an environmment you already have, you can go through the wizard and point it to 3 clean Linux servers and it will install Microk8s and onboard it into Portainer management all in one process.
I have written about this before and shown how to do this here: Mikrok8s Automated Kubernetes Install with new Portainer Feature.
To generate codes to add nodes, you just use this command:
sudo microk8s add-nodeOn your other nodes, just install microk8s using the first command and then use one of the commands generated by the add-node command to add the additional nodes to the cluster.
You can learn more about Microk8s from the official documentation here: MicroK8s – Zero-ops Kubernetes for developers, edge and IoT.
Microceph
For storage, Microceph is a purpose-built software-defined storage solution based on Ceph that you can use to provide persistent storage for pods that you want to create PVCs or persistent volume claims. Once the PVC is created, a persistent volume is bound to the pod.
You can install Microceph using the same simple one-liner snap command as we did with microk8s.
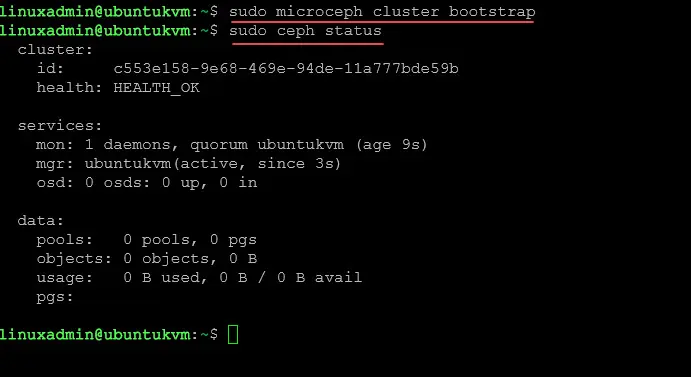
sudo snap install microcephNext, to bootstrap the cluster, we can run the command:
sudo microceph cluster bootstrapTo add disks you use:
sudo microceph disk add /dev/sdb --wipeEnable rook-ceph in Microk8s
Now that Ceph is installed and bootstrapped along with adding disks, you can connect this with Microk8s:
sudo microk8s enable rook-ceph

sudo microk8s connect-external-ceph
Learn more about Microceph here: MicroCeph documentation.
Portainer
As I detailed in my blog post covering Docker Swarm, using Portainer is like the icing on the cake. It provides all the GUI bells and whistles that allow you to control your Microk8s cluster and perform day-to-day operations.
Also, for home lab, you can get a free 3-node Business license (personal and student), or spring for a 15-node license for home lab that costs $125. Either of these are great option that allow you to fully explore the features and capabilities of the solution.
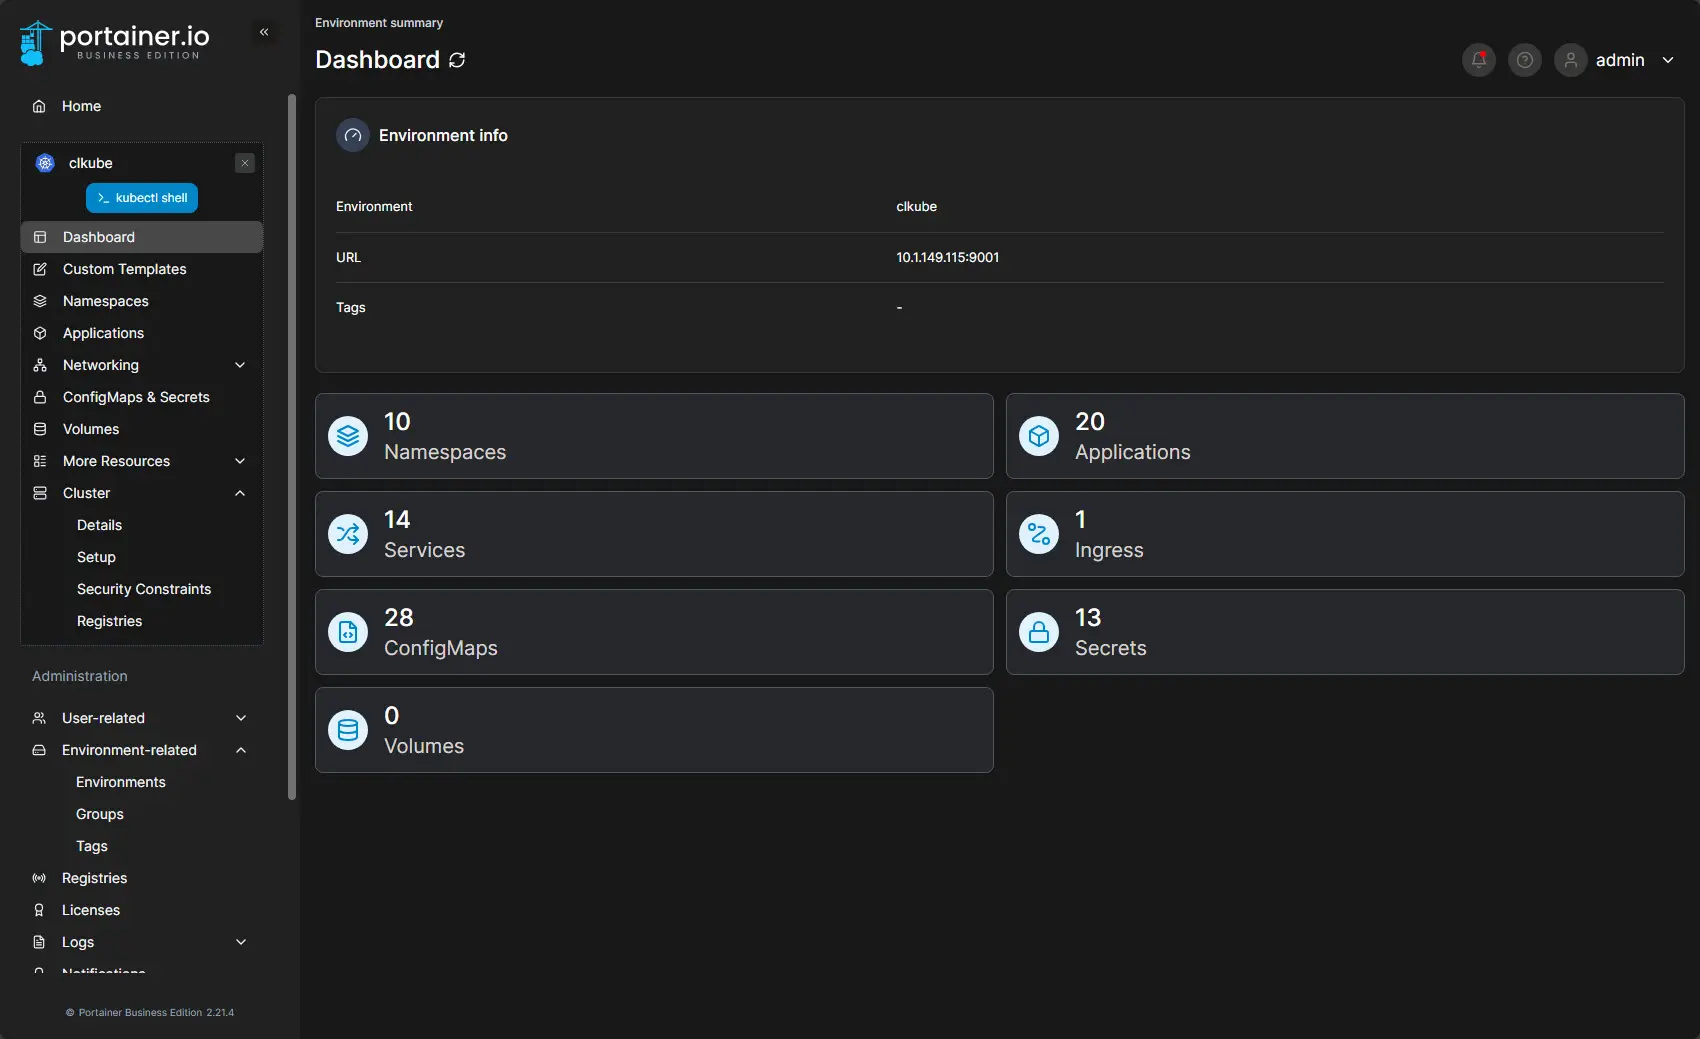
Portainer provides just a fantastic view of your Kubernetes environment, as it does with Docker Swarm.
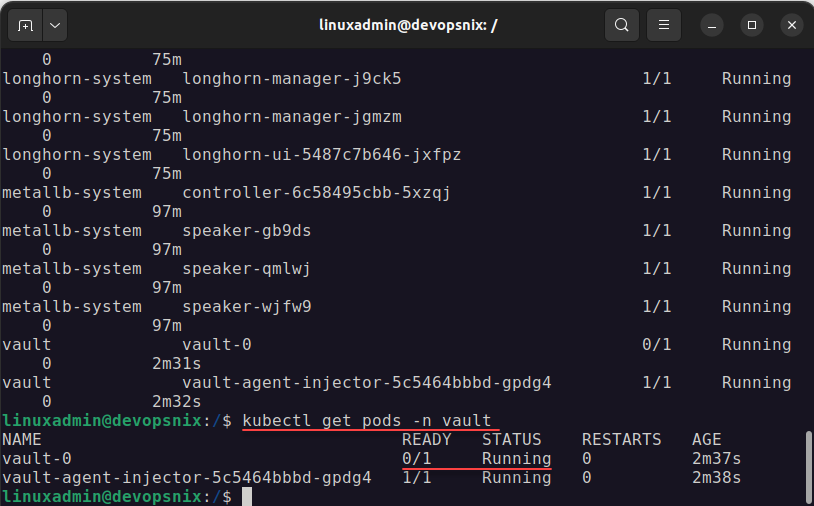
You also have quick and easy access to your kubectl command shell. Another benefit of this running in Portainer when connected to a Microk8s cluster is you don’t have to prefix your commands with microk8s. Instead you can just use the normal kubectl commands.
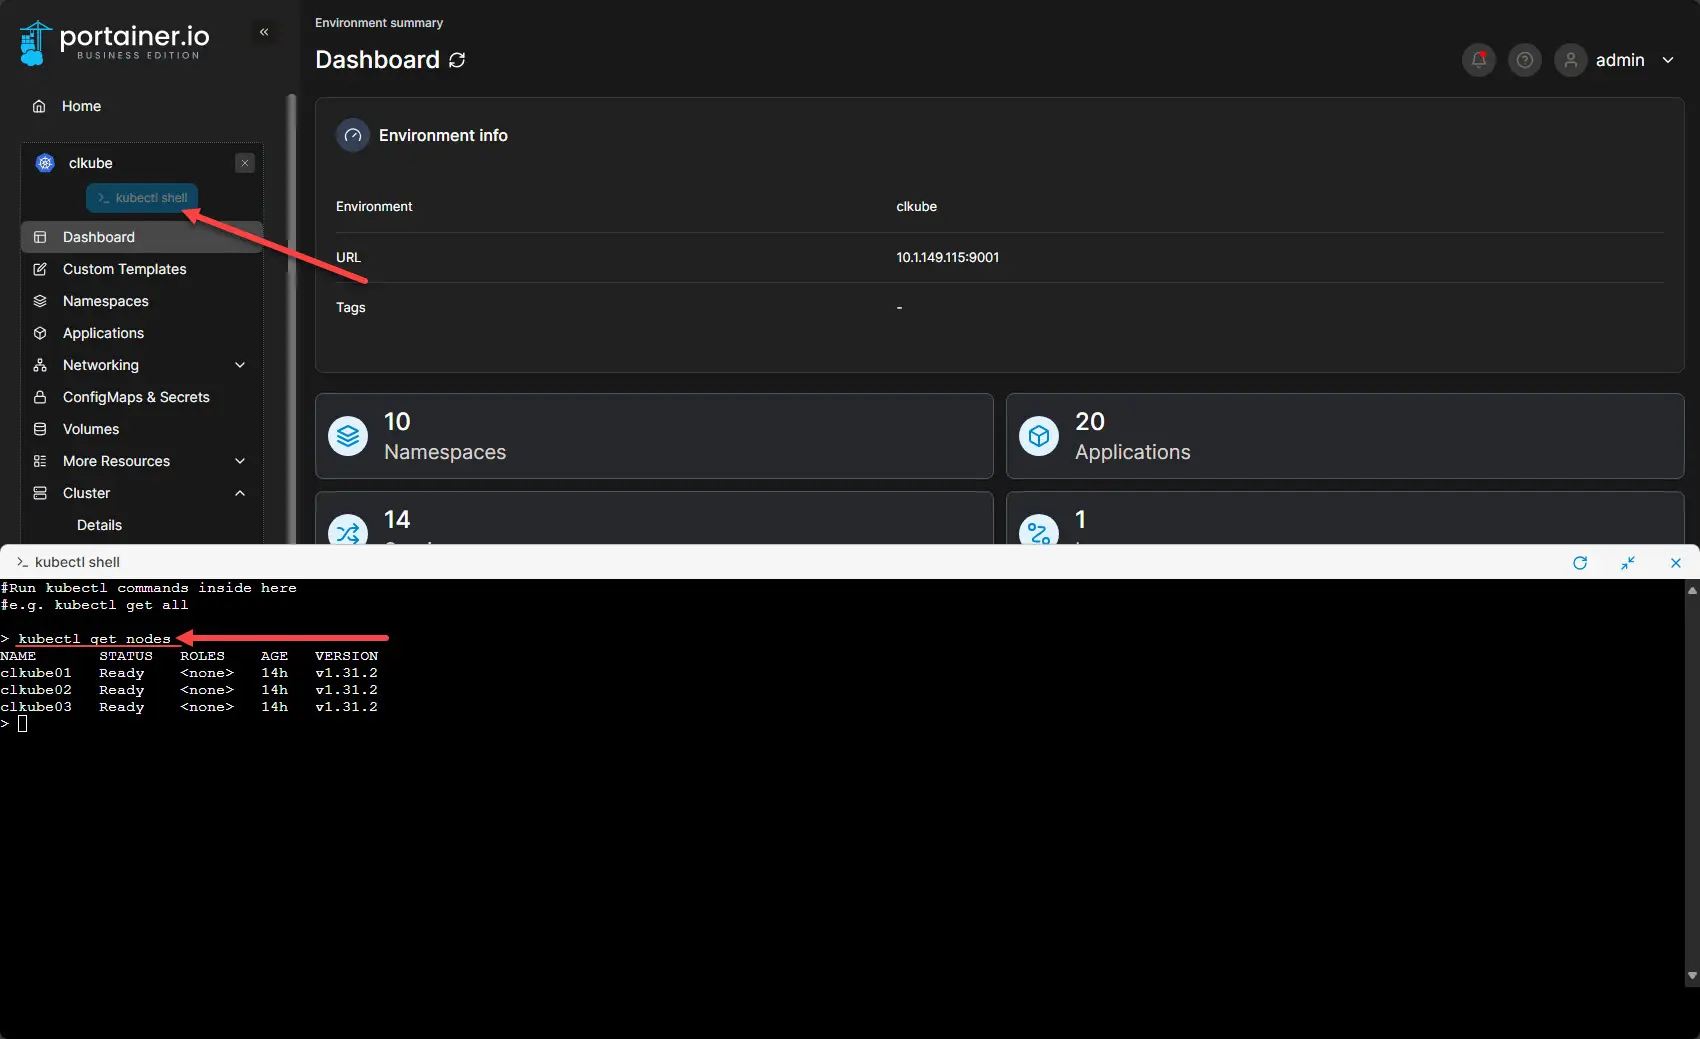
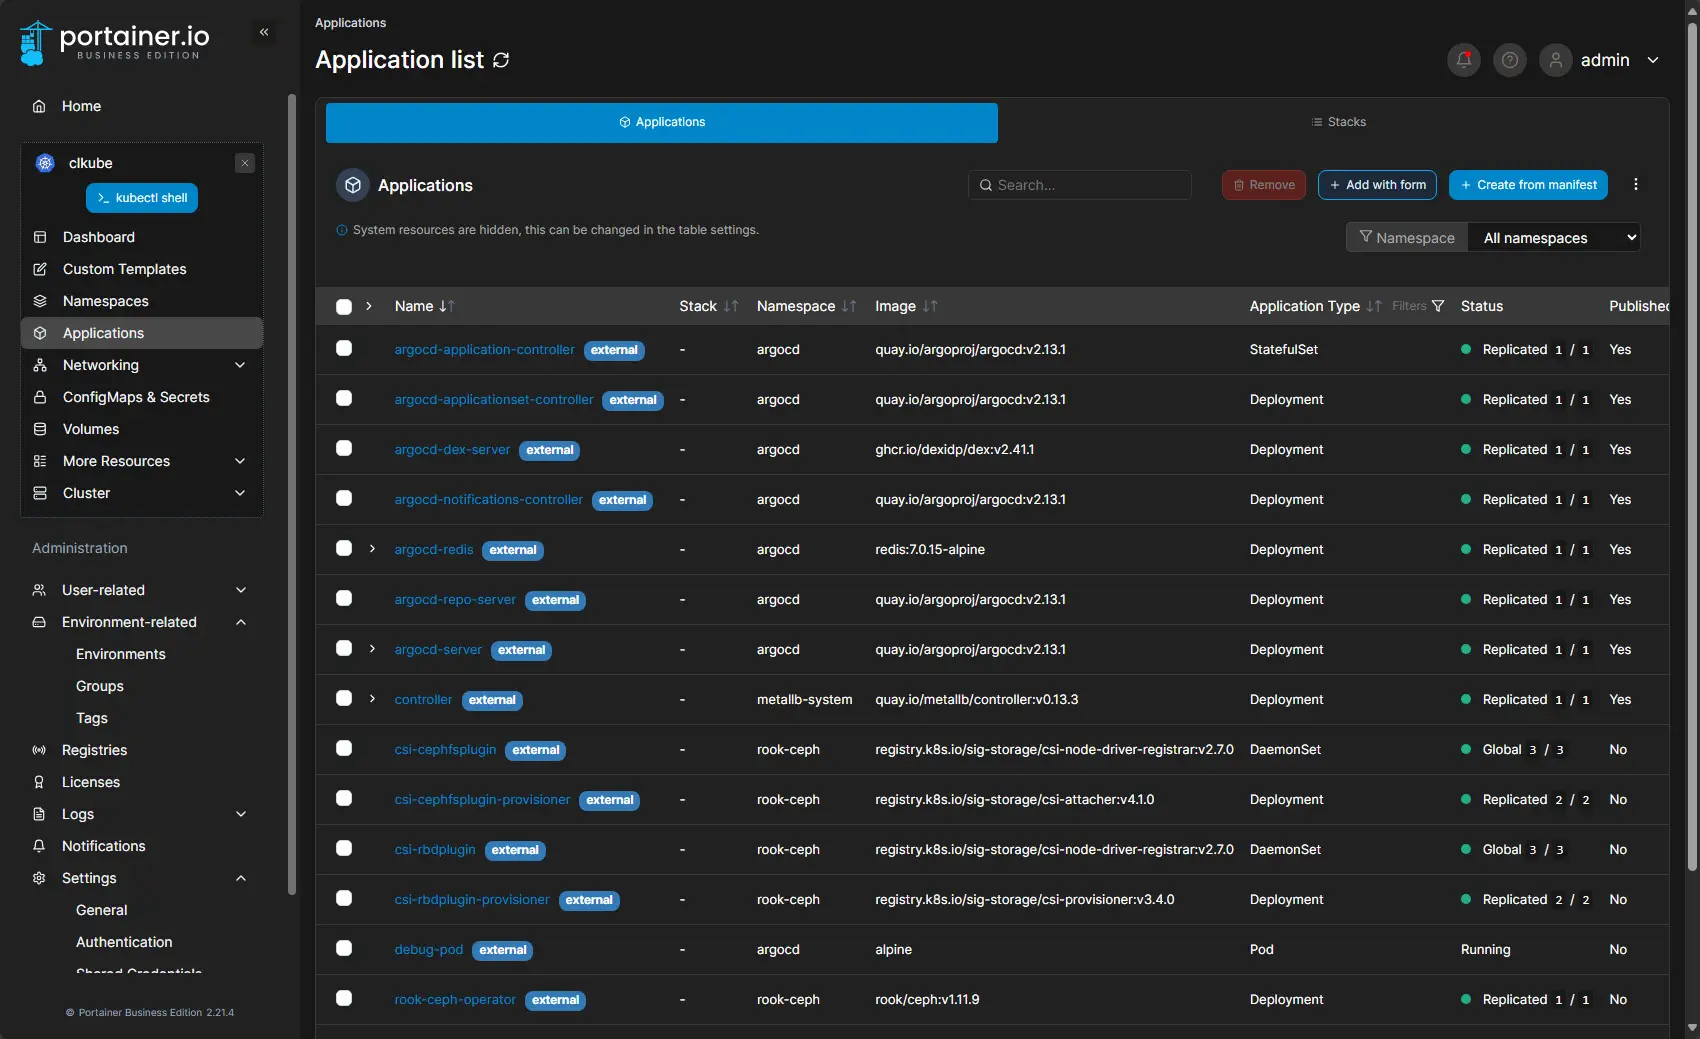
You can quickly and easily see your applications running in the cluster and edit these if needed.
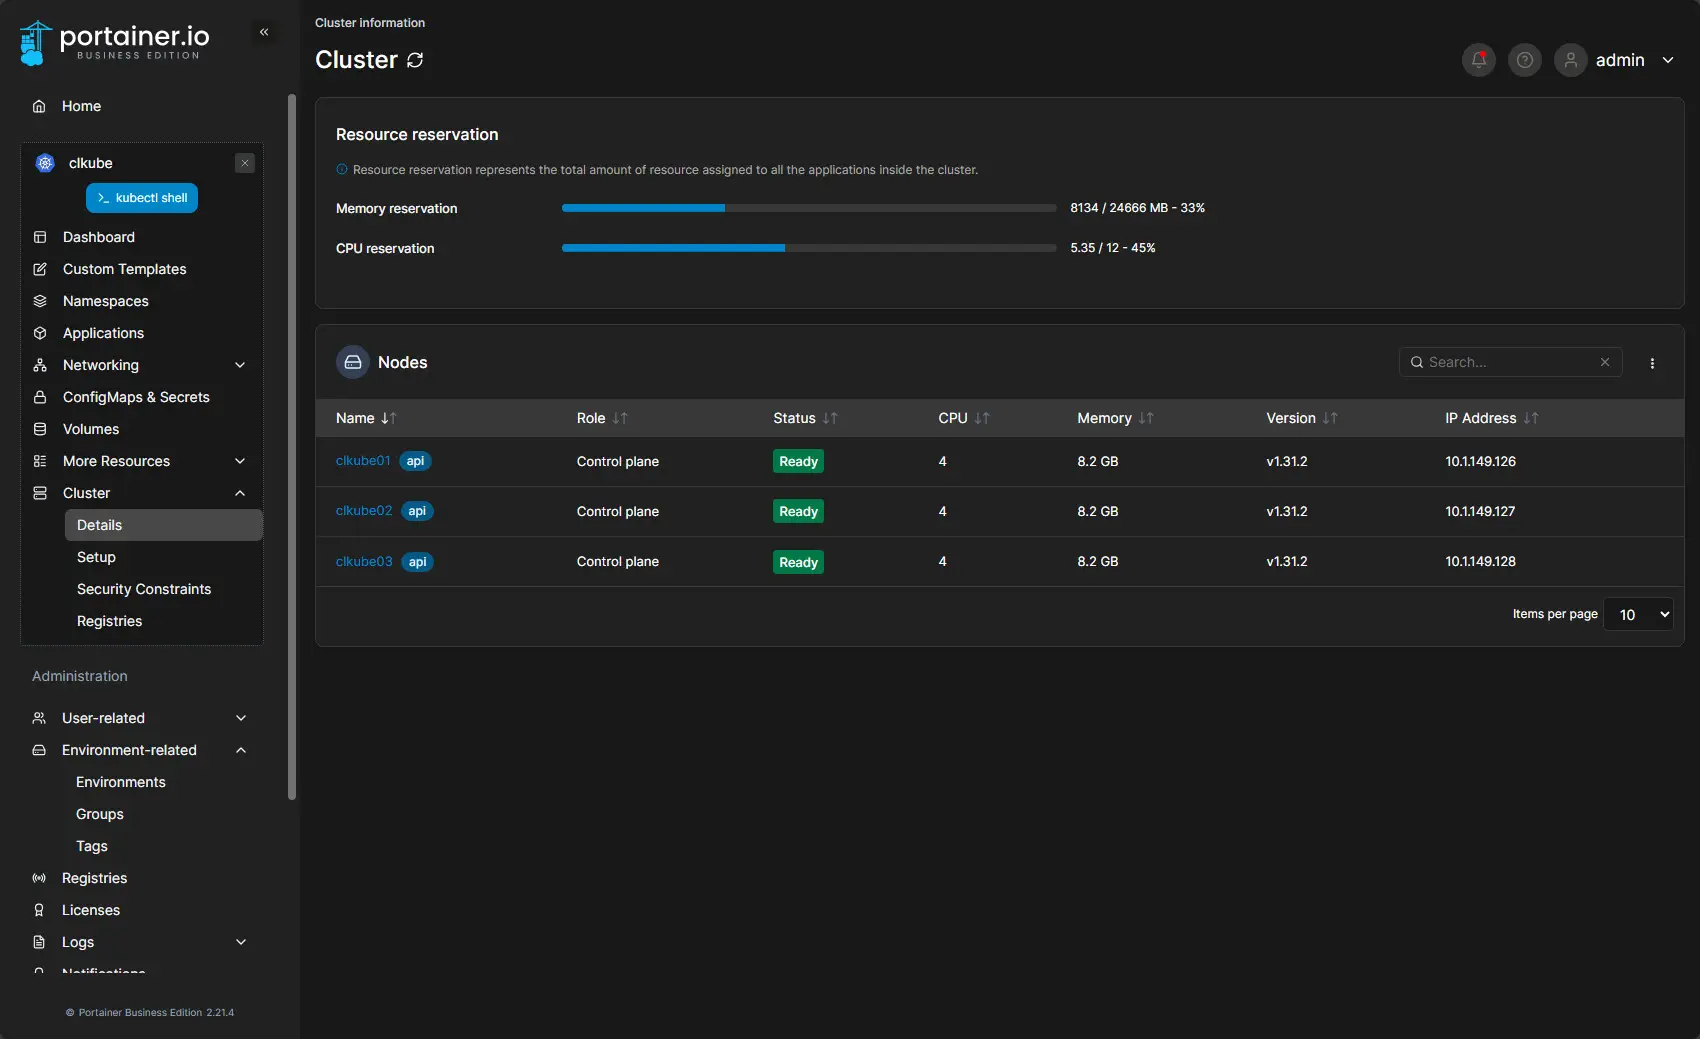
Viewing cluster details.
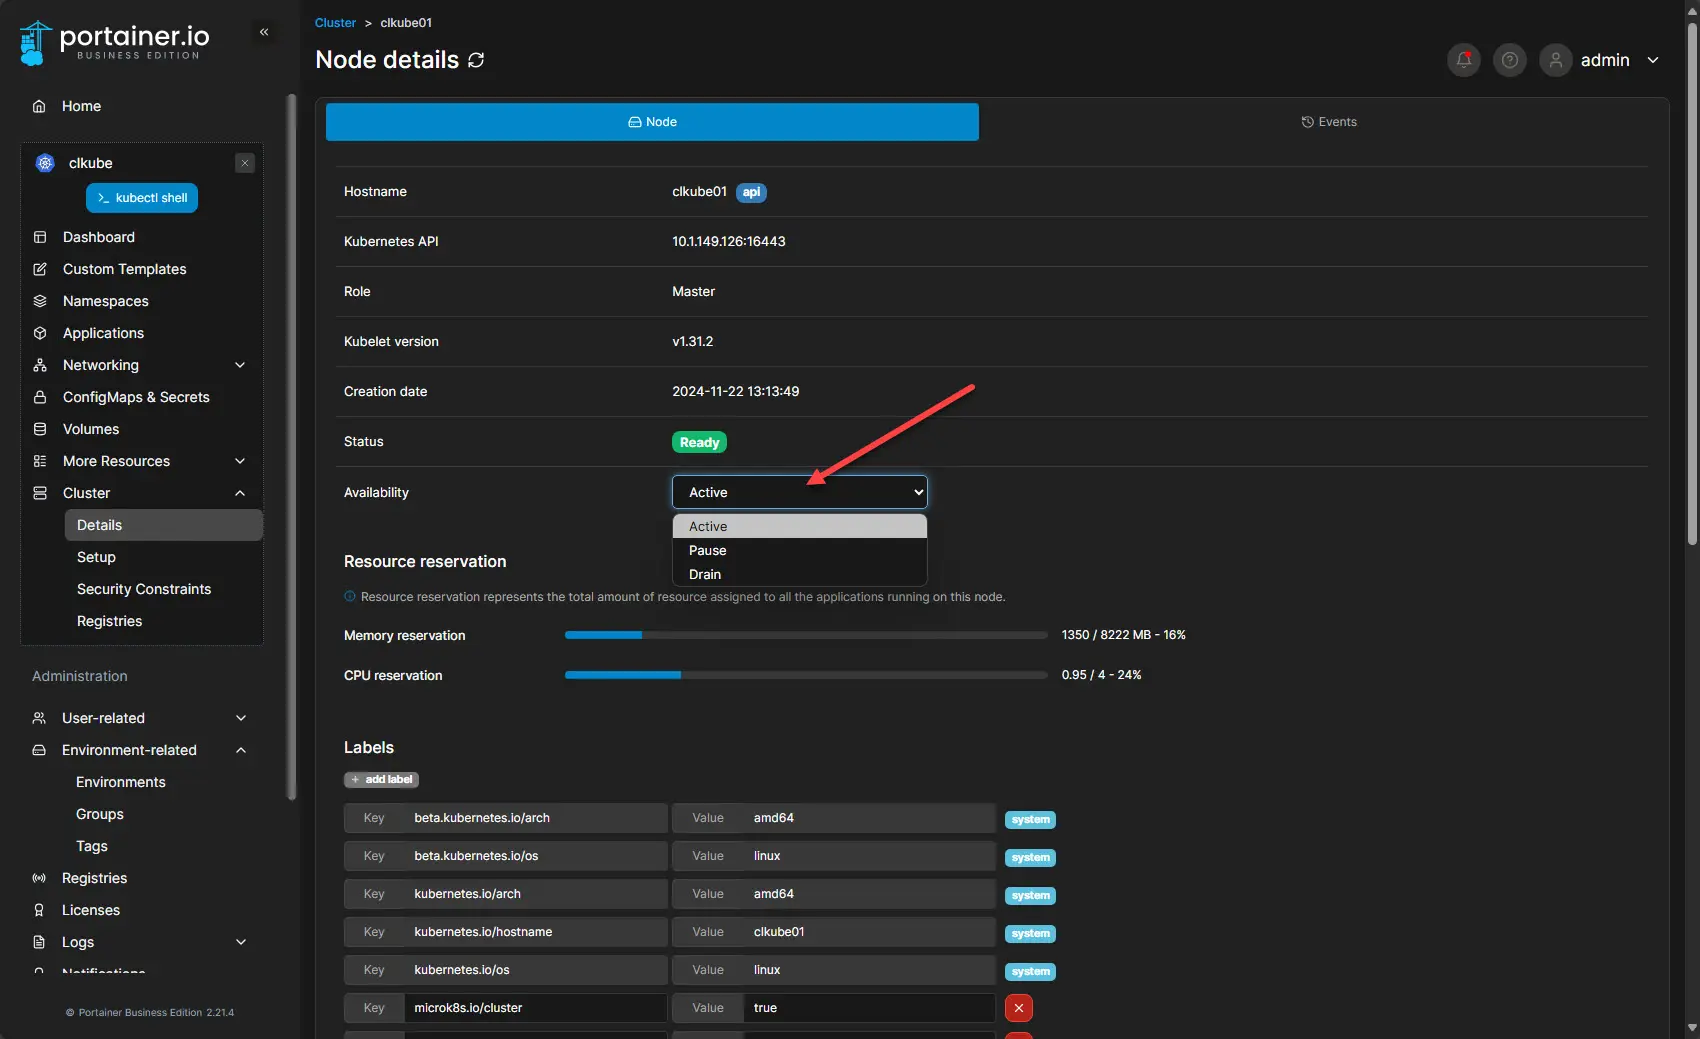
If you drill into a host, you will see the options to quickly change the availability status of a cluster node.
You can learn more about Portainer here: Kubernetes and Docker Container Management Software.
Thoughts and impressions
So far, my Kubernetes home lab based on microk8s, microceph, and Portainer are serving me well. It was quick and easy to build and Portainer even has the automated build out of your Microk8s cluster if you want it to do the heavy lifting. Otherwise, you can still build it yourself and then connect Portainer to your Microk8s cluster after the fact. One benefit of that is that I have found when building out Microk8s with Portainer, it seems to default to a non-HA configuration. You can go in and turn on HA for the cluster after, but that is just one observation. Also, I could be missing a setting or configuration somewhere in Portainer on that front.
Google is updating how articles are shown. Don’t miss our leading home lab and tech content, written by humans, by setting Virtualization Howto as a preferred source.

