I have been using GitLab for ages now, and I am very familiar with it. However, one thing I haven’t been happy about with GitLab is the solution’s performance. It feels very laggy and bloated at times. In all fairness it is the Cadilac solution for self-hosted git in my opinion and does a LOT of things really well. I wanted to have a fresh look at git solutions for my home lab environment and see what else I might be happy with. I landed on trying out Gitea and adding CI CD to the solution with Drone server. I want to take you through the Gitea install with Docker and also add a Drone CI server to the solution for CI-CD projects.
Table of contents
What is Gitea?
First of all, let’s talk about what Gitea is exactly. It is a self-hosted and open-source git solution that you can use to host your code repositories. It is written in the Go programming language and is very, very performance-driven. It is so snappy. If you are coming from GitLab, the performance of Gitea will blow your socks off.
It is much more streamlined for those that want simple code repo hosting and also with add-ons some CI/CD functionality which I will talk about what you can use on that front below. One of the things most will comment on when they see Gitea repos is just how much like GitHub it looks. It has an uncanny appearance that looks almost identical to GitHub. Also, it supports API-driven automation and integration with various systems for notifications and CI/CD functionality.
Learn more about Gitea here: Gitea Official Website.
Gitea Install steps
It is also easy to install with Docker Compose running fully in containers. However, you do want to make sure of a few details when you create the Docker Compose code for getting up and running with Gitea.
For a simple basic installation of Gitea, you can begin with the following code:
version: "3"

networks:
  gitea:
    external: false

services:
  server:
    image: gitea/gitea:1.22.3
    container_name: gitea
    environment:
      - USER_UID=1000
      - USER_GID=1000
    restart: always
    networks:
      - gitea
    volumes:
      - ./gitea:/data
      - /etc/timezone:/etc/timezone:ro
      - /etc/localtime:/etc/localtime:ro
    ports:
      - "3000:3000"
      - "222:22"
For me, I started with the above and expanded out to include some configuration that I wanted to set in the Docker Compose code, including pointing it to a MySQL D and seeing a few things mail related.
version: "3.8"

services:
  gitea:
    image: gitea/gitea:latest
    environment:
      - USER_UID=1000
      - USER_GID=1000
      - GITEA__database__DB_TYPE=mysql
      - GITEA__database__HOST=gitea-db:3306
      - GITEA__database__NAME=gitea
      - GITEA__database__USER=gitea
      - GITEA__database__PASSWD=gitea
      - GITEA__service__DISABLE_REGISTRATION=true
      - [email protected]
      - GITEA__mailer__ENABLED=true
      - GITEA__mailer__SMTP_ADDR=<your server ip and port>
      - [email protected]
      - GITEA__mailer__PROTOCOL=mail
    networks:
      - npm-stack_nginxproxy
    volumes:
      - /mnt/cephfs/gitea/data:/data
    restart: on-failure

  gitea-db:
    image: mysql:8
    environment:
      - MYSQL_ROOT_PASSWORD=gitea
      - MYSQL_USER=gitea
      - MYSQL_PASSWORD=gitea
      - MYSQL_DATABASE=gitea
    networks:
      - npm-stack_nginxproxy
    volumes:
      - /mnt/cephfs/gitea-db/mysql-data:/var/lib/mysql
    restart: on-failure

networks:
  npm-stack_nginxproxy:
    external: true
Creating an admin account
I found some variables that can supposedly be added to the Docker Compose for creating the admin user from the compose code, but I had problems getting this to work. However, I did find that you can exec into your Gitea container as the user git and run the following command:
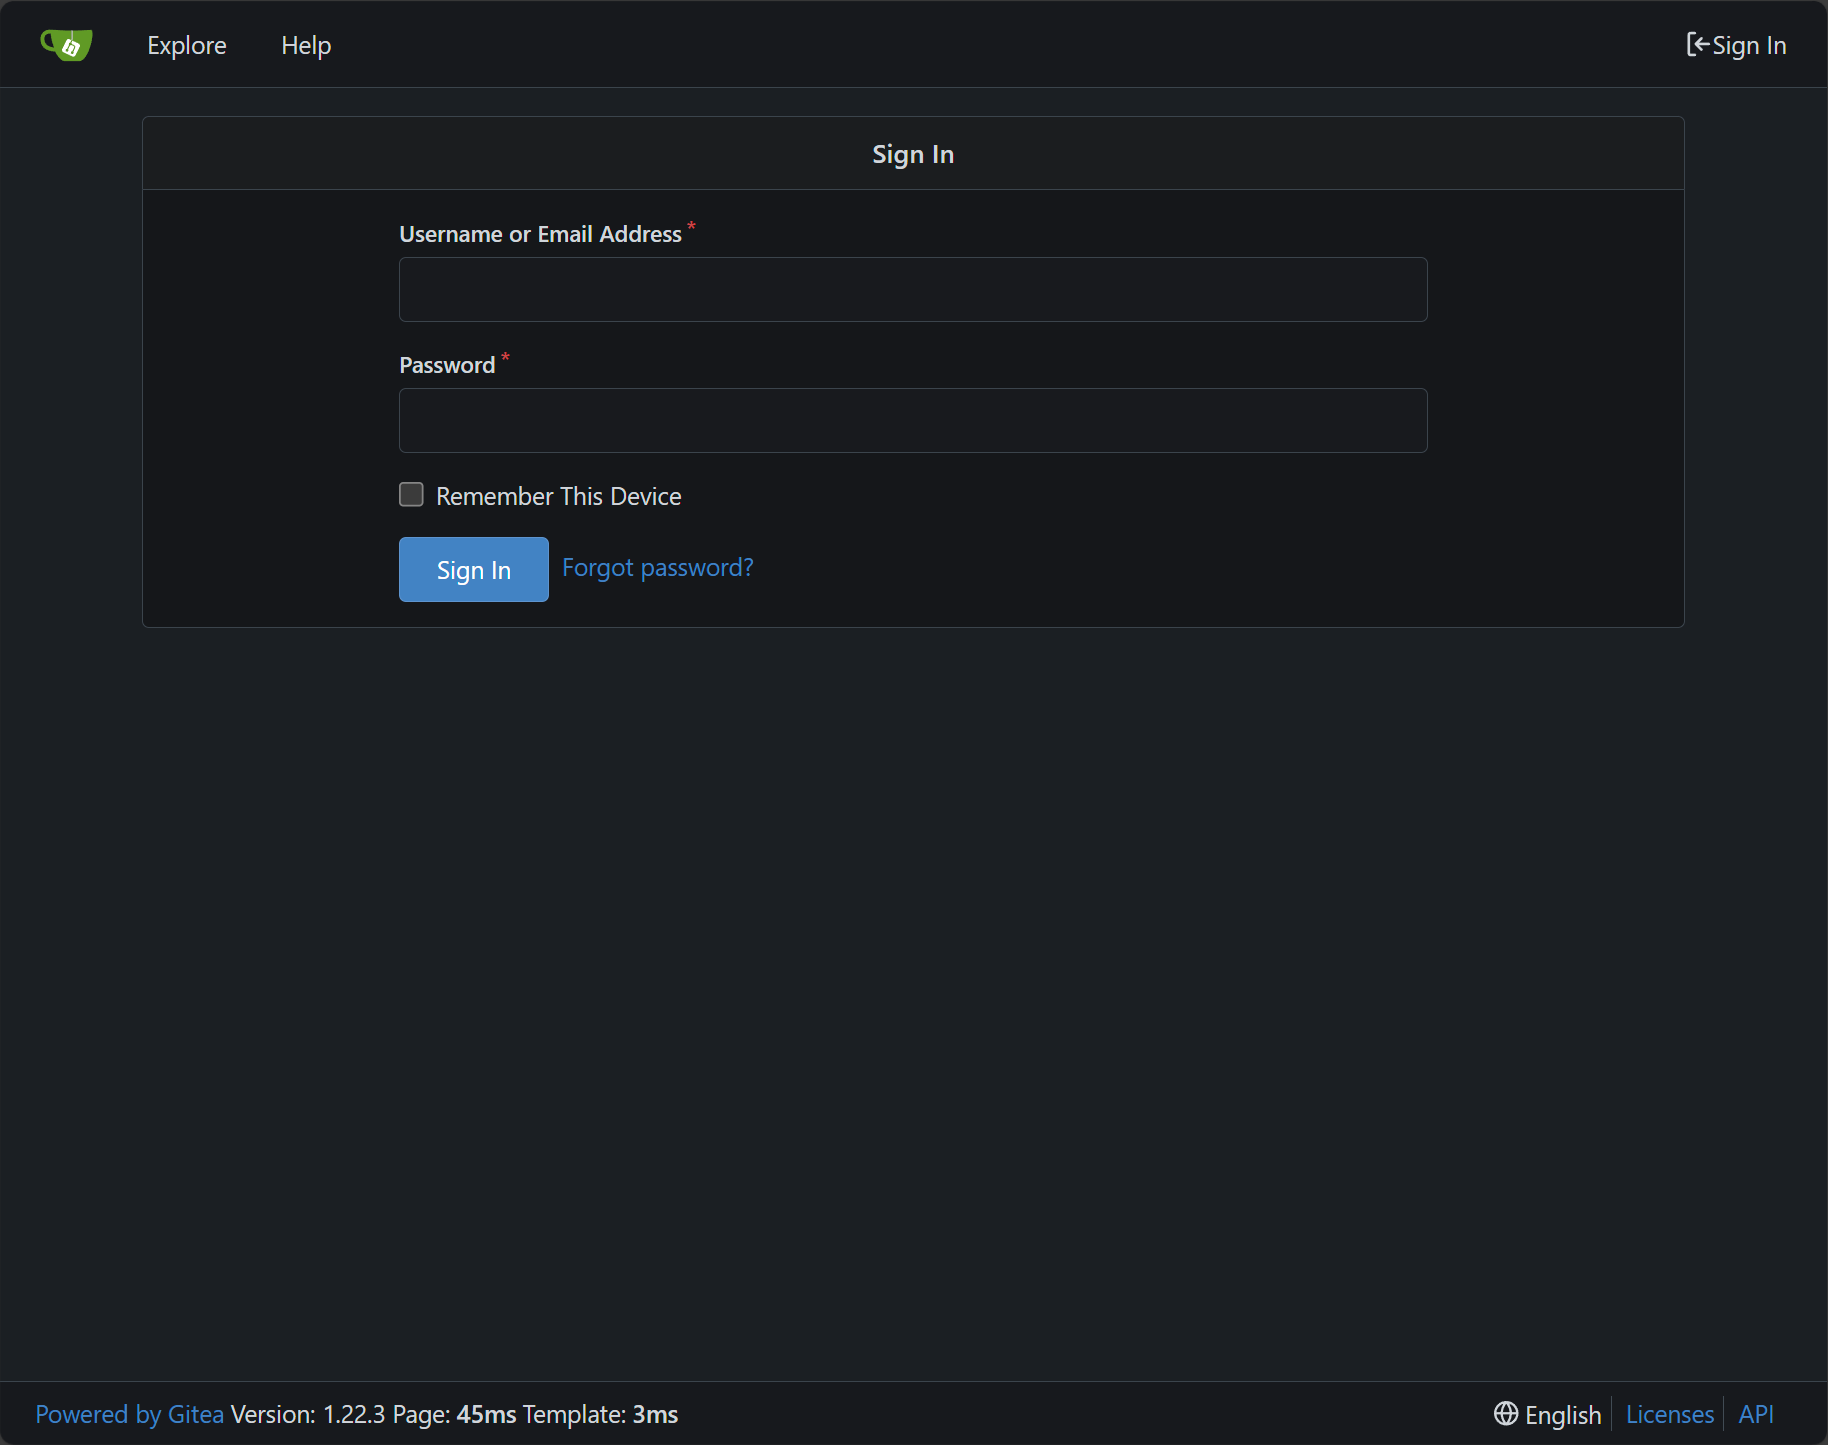
gitea admin user create --username superadmin --password password --email [email protected] --adminAfter you get your admin user squared away, you can navigate out to your Gitea address and click Sign In.
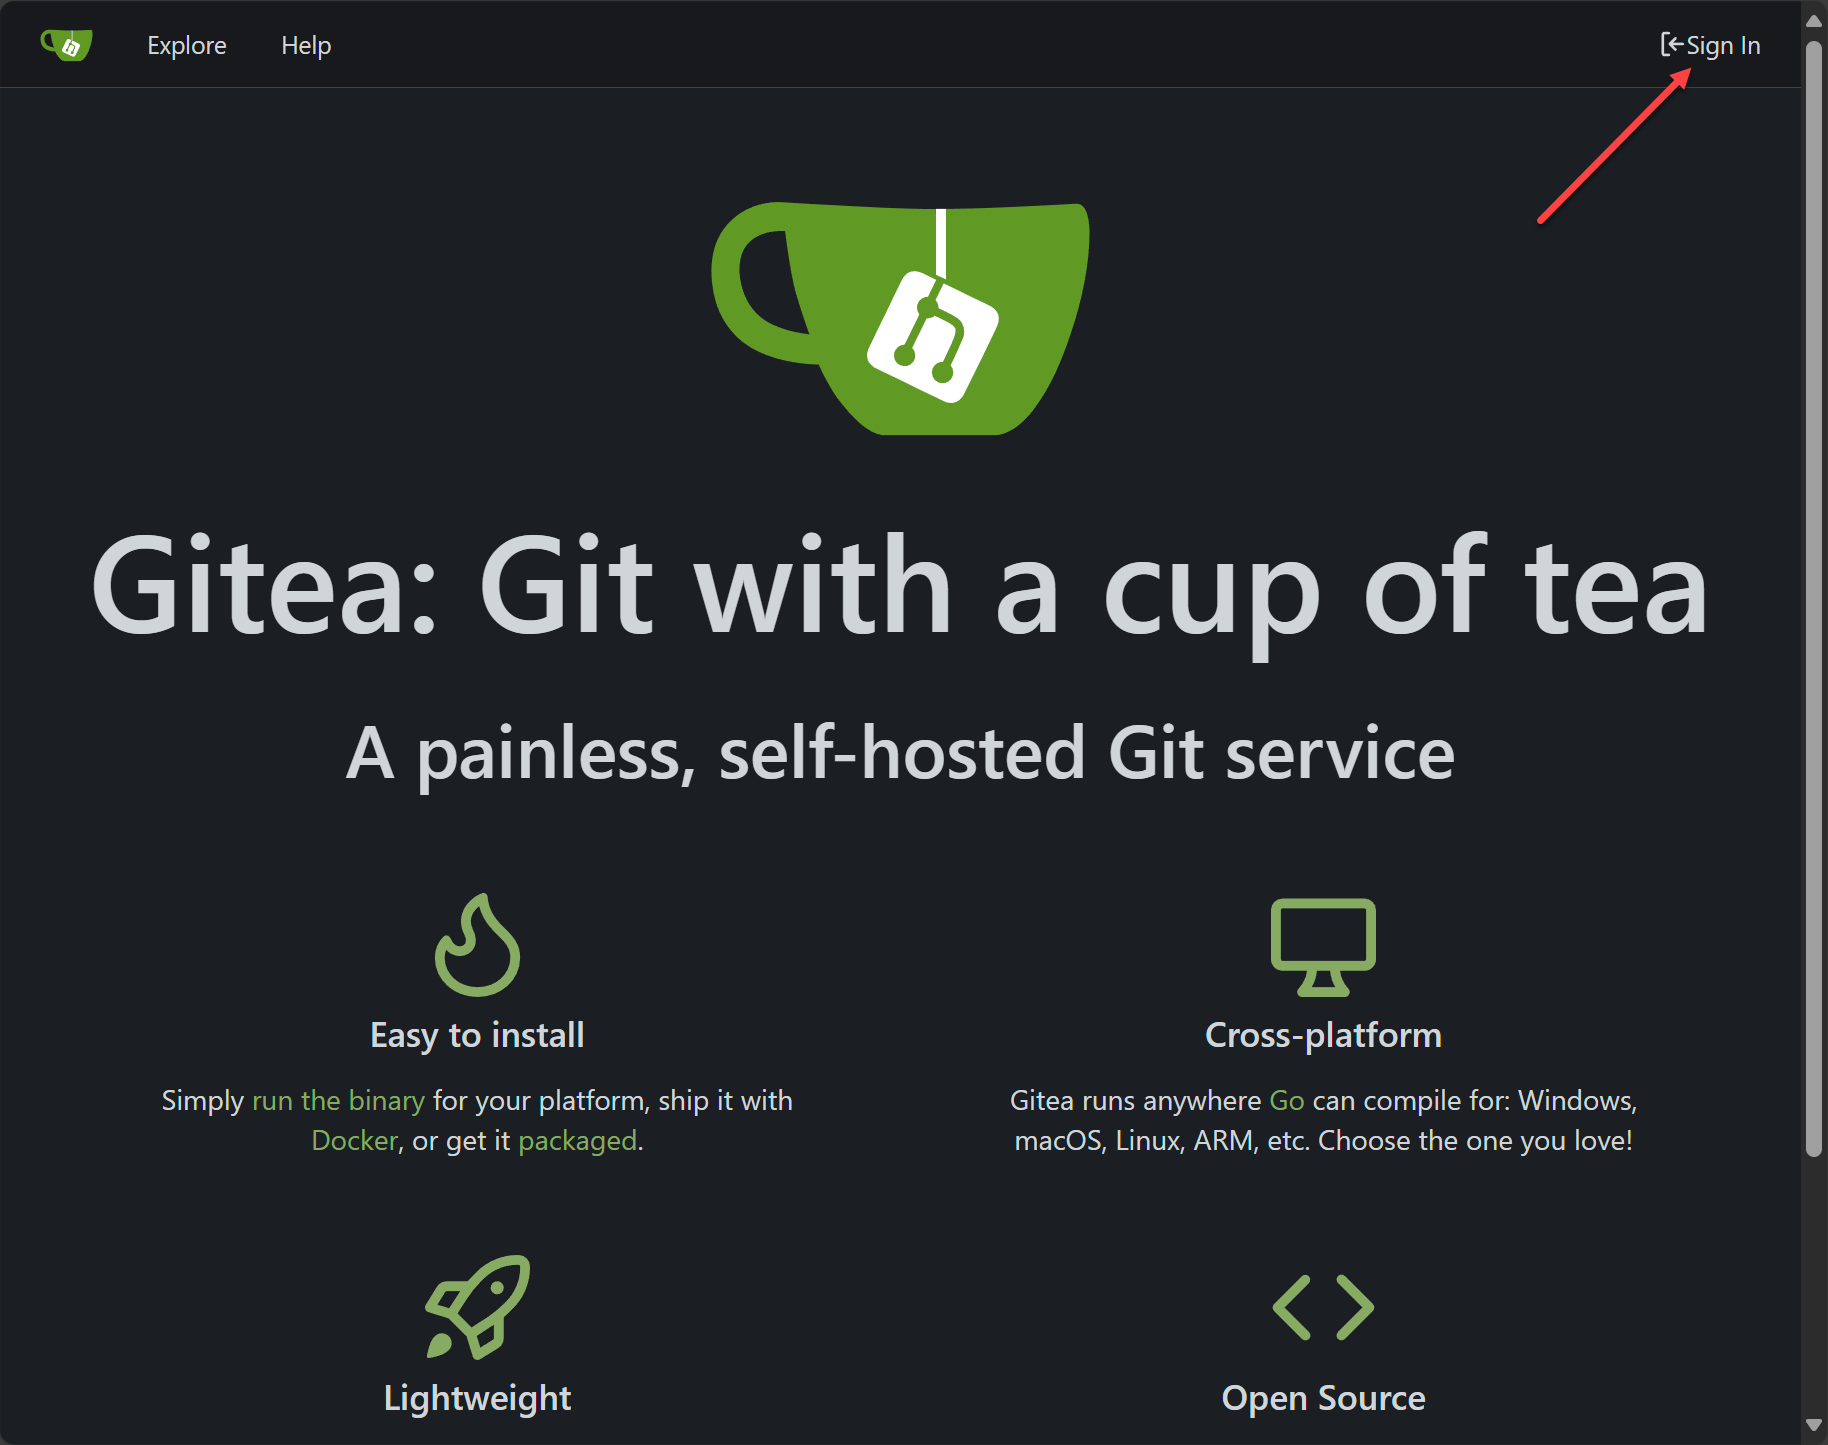
Here you will sign in with the admin user you created.
Gitea behind a reverse proxy
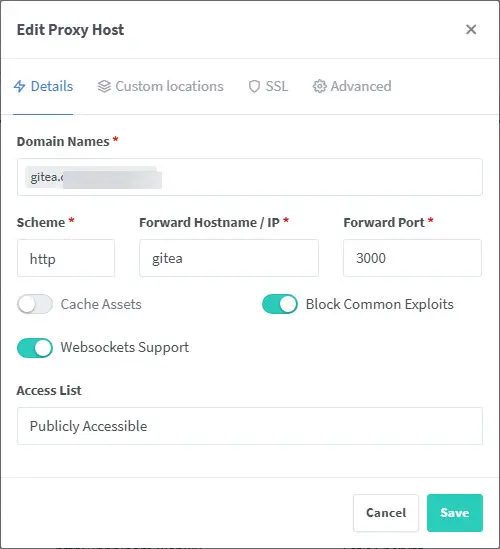
As a side note, once you have your admin user created, you can navigate to your Gitea server address on port 80 of your docker host and log in to the web interface. It is also easy enough to put a reverse proxy in front of your Gitea instance so that you have SSL termination for the solution. Here is a screenshot of my Nginx Proxy Manager configuration:
Migrating your repos
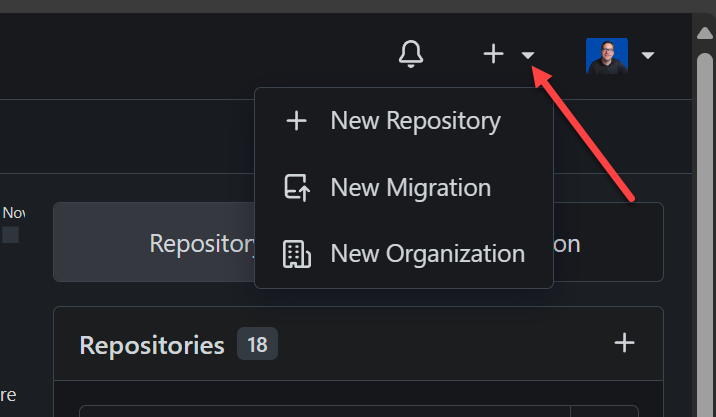
If you have another Git solution you are using like GitLab, Gitea has a built-in mechanism for migrating your repos over. When you click the + and down arrow next to your profile name/pic, you will see the options for:
- New repository
- New migration
- New organization
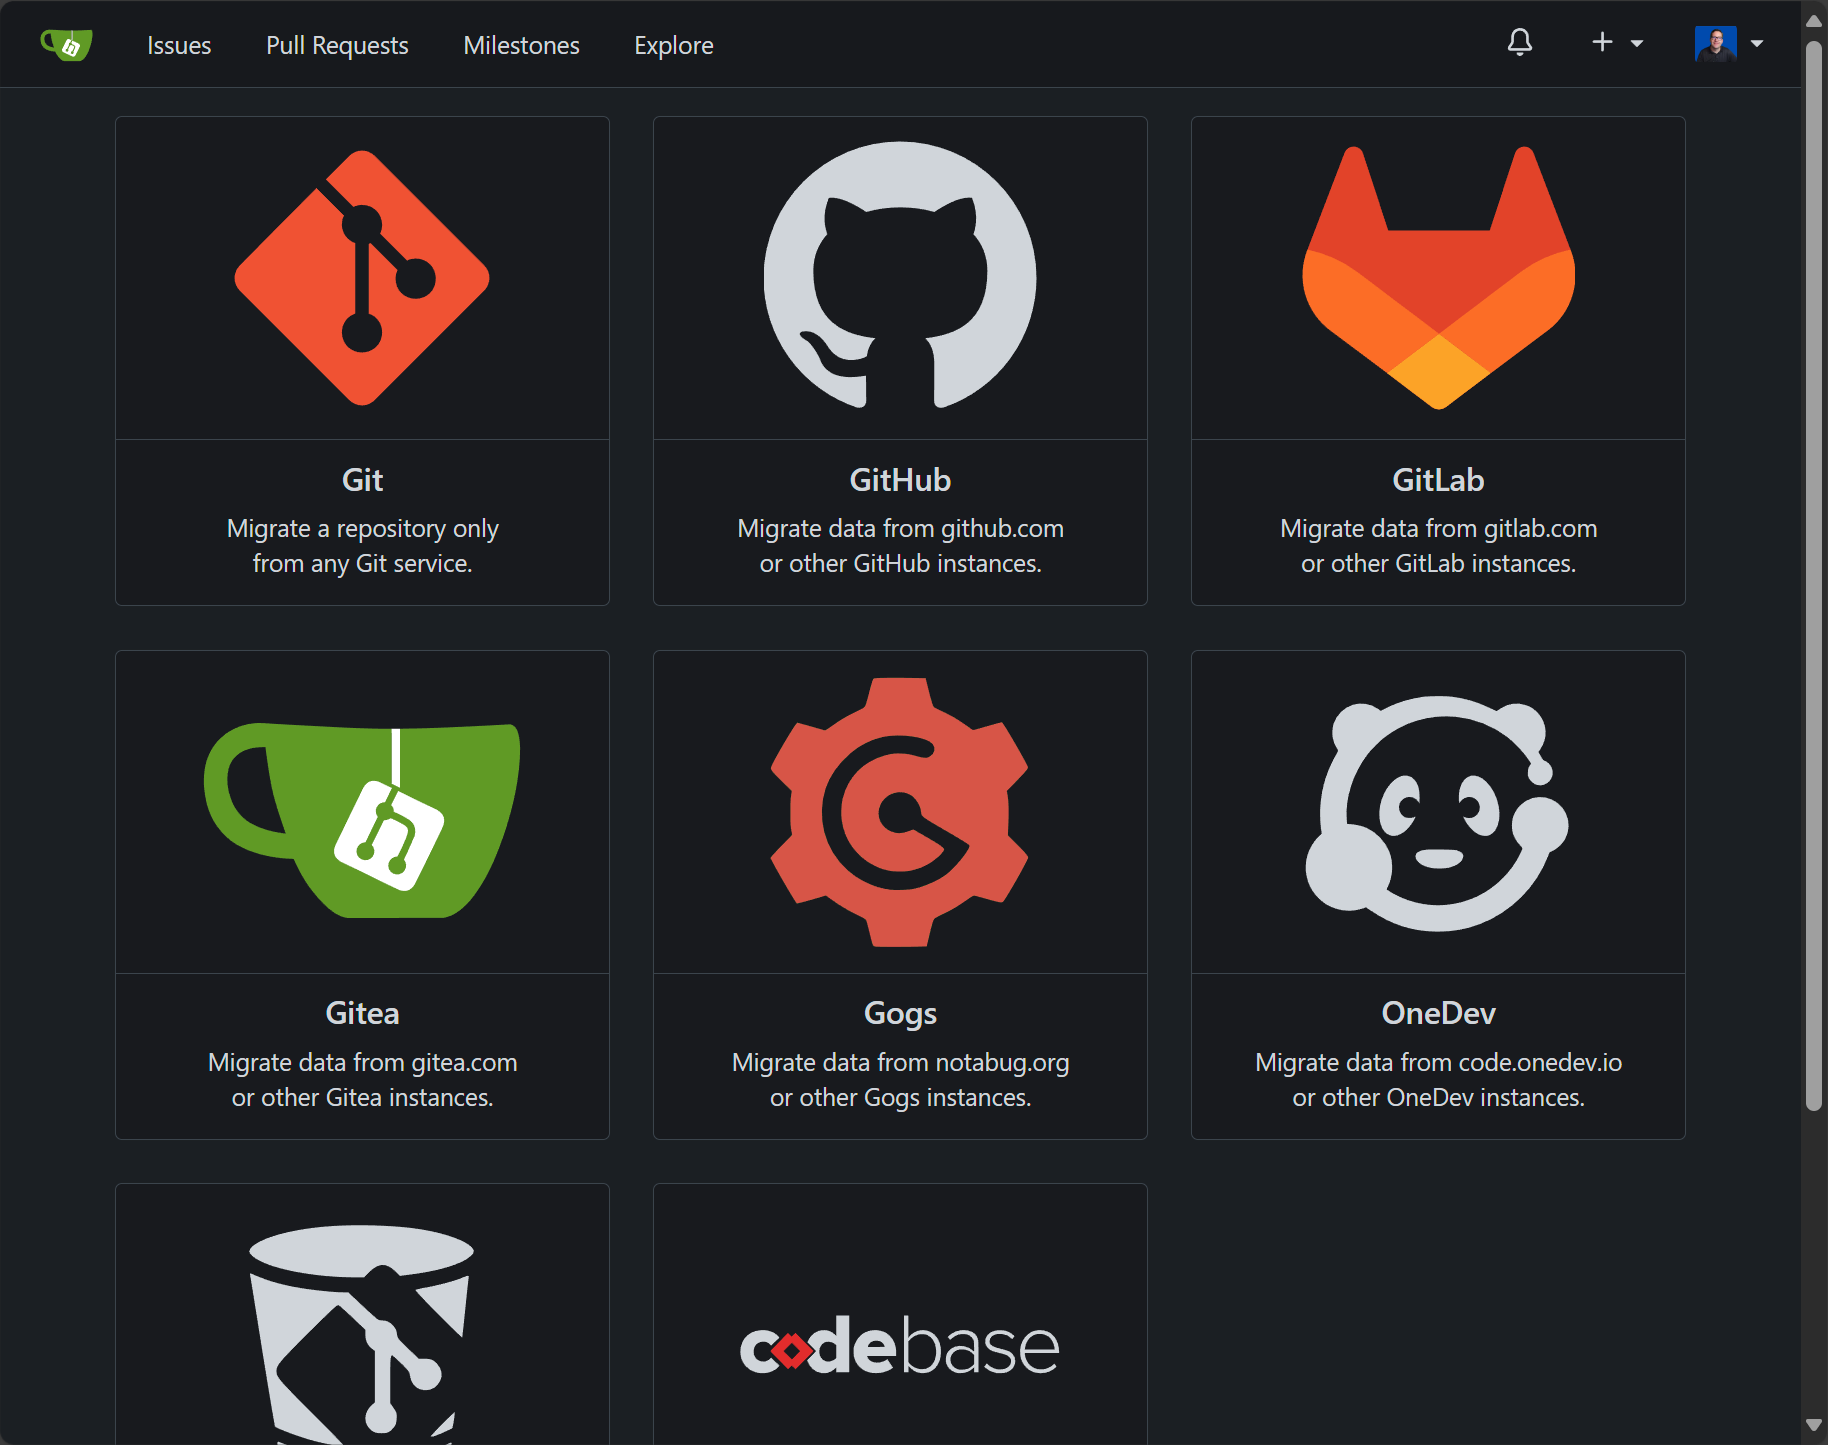
When you click the New Migration option, you will see the various solutions that are supported for migration.
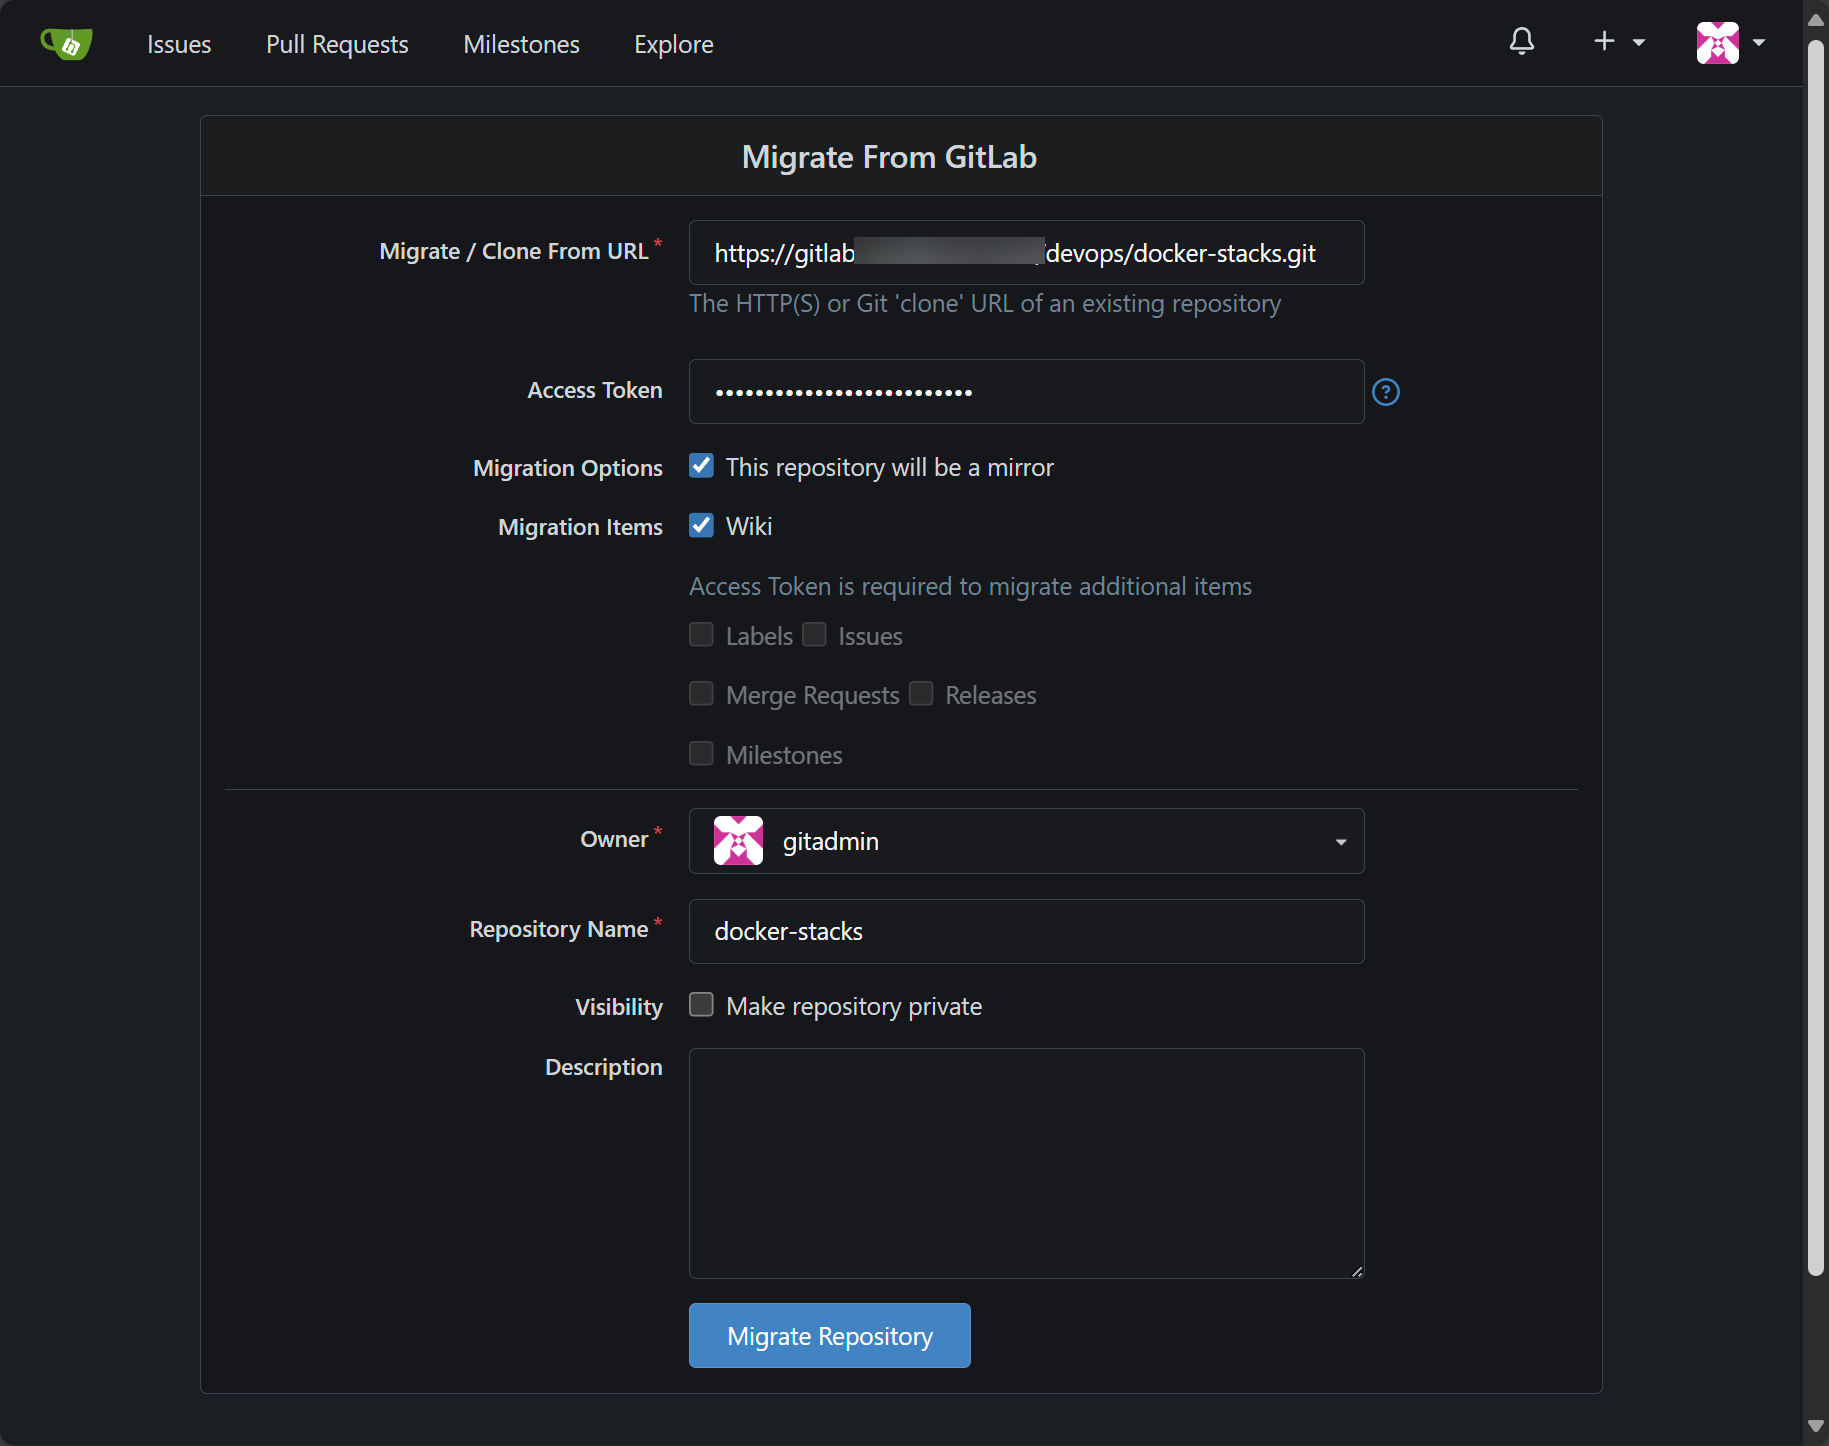
Below is what the configuration screen looks like for migrating GitLab repos over. You will enter your clone URL, Access token, and a few other options. One of the cool things you can check is This repository will be a mirror. This way, when you commit your code to your Gitlab or other solution it will be synced to Gitea. This is a great option for migration as you may want to run both in parallel.
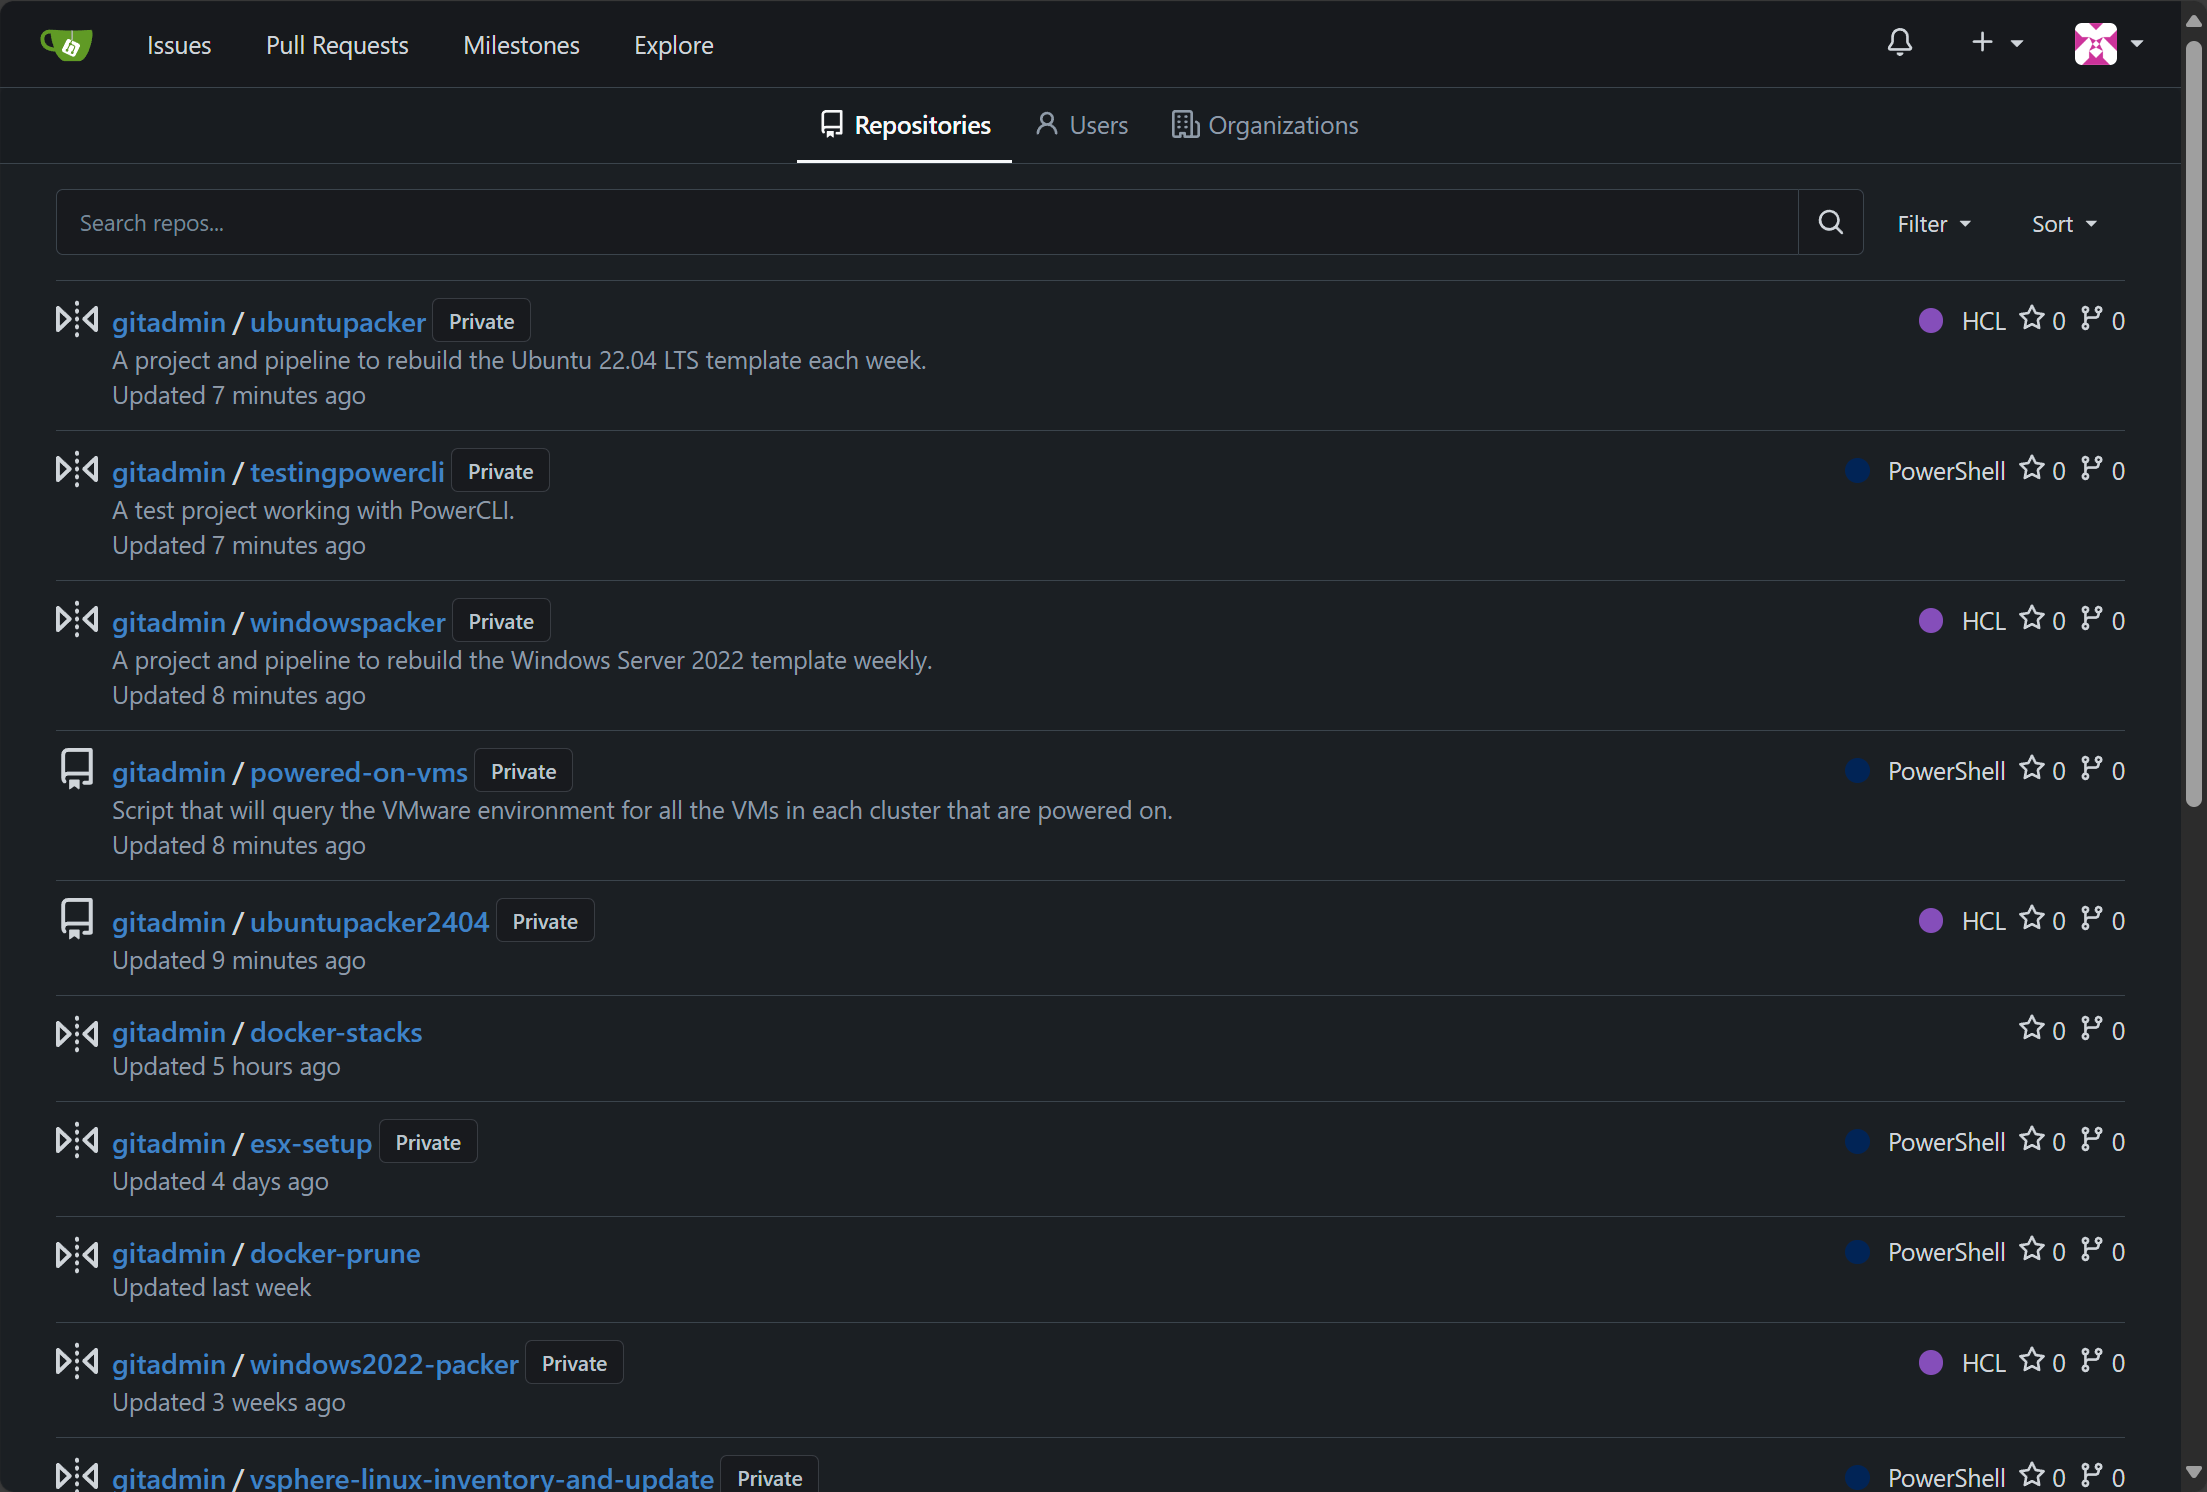
Below is a look at my Gitea repositories screen after I had migrated over several repositories from Gitlab.
No CI/CD built-in
One of the bummers with Gitea in my opinion is the lack of native CICD functionality. In other words, Gitea is just a code repo for managing your code. If you want to do automated builds with your code, you have to have another solution for that purpose.
However, it is fairly easy to add something like Drone CI Server to your environment to take care of this part of your code infrastructure. Just know this aspect of Gitea won’t be as seamless as GitLab since everything is built into the same solution with GitLab and isn’t in Gitea.
Adding Drone CI Server to Gitea
You can add Drone CI Server to your Gitea server and this essentially adds the CI server functionality to your gitea implementation. They are really a great combination of services for CI/CD. Check out Drone here: Drone CI – Automate Software Testing and Delivery.
How do you do this?
Add the application in Gitea
First, we need to add an application integration for Drone in our Gitea server. Navigate to your Site administration > Applications. Create a new application. Note the Redirect URLs. You need to enter your drone server URL with the trailing /login as this will be the URL it will need to redirect to.
You will also need the Client ID and Client secret to enter into your Drone Docker Compose code.
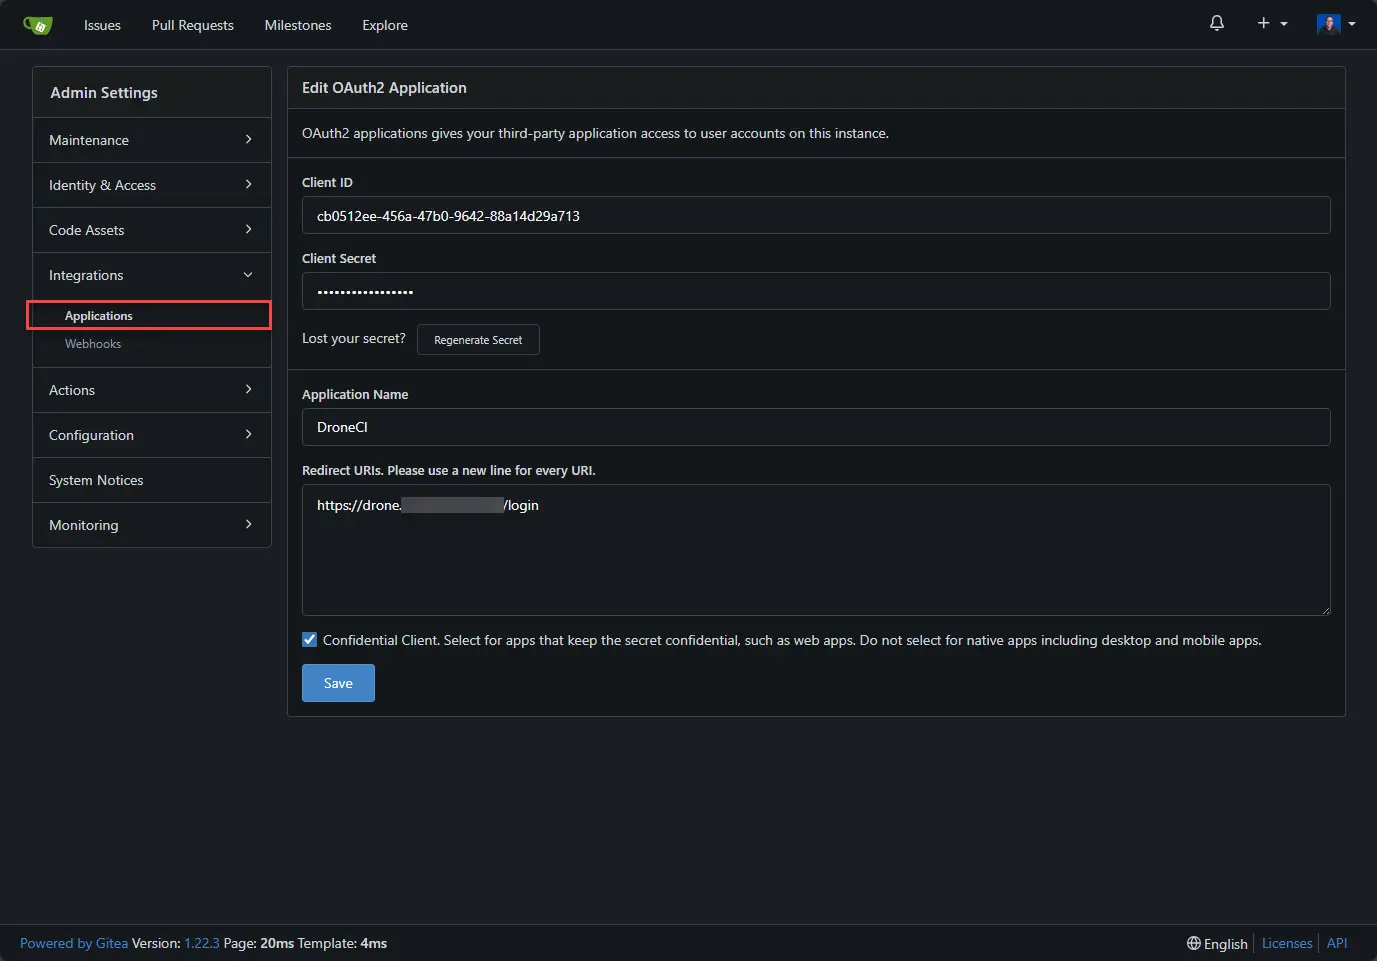
Note the following Docker Compose code. You will need the client ID and the CLIENT SECRET for the compose code below:
version: '3.8'

services:
  drone-server:
    image: drone/drone:latest
    volumes:
      - /mnt/cephfs/drone/data:/data
    environment:
      - DRONE_GITEA_SERVER=https://gitea.mydomain.com          # URL of your Gitea instance
      - DRONE_GITEA_CLIENT_ID=cb0512ee-456a-47b0-9642-88a14d29a713    # Gitea OAuth Client ID
      - DRONE_GITEA_CLIENT_SECRET=gto_texizgonktmwlwjzmp53fejrlta227u3k76rszgsdjq3b2x4gwrq  # Gitea OAuth Client Secret
      - DRONE_RPC_SECRET=mypassword             # Shared secret between Drone server and runners
      - DRONE_SERVER_HOST=drone.mydomain.com      # Public hostname or IP of the Drone server
      - DRONE_SERVER_PROTO=https
      - DRONE_USER_CREATE=username:droneadmin,admin:true  # Create initial admin user
    networks:
      - npm-stack_nginxproxy
    deploy:
      replicas: 1
      restart_policy:
        condition: on-failure

  drone-runner:
    image: drone/drone-runner-docker:latest
    volumes:
      - /var/run/docker.sock:/var/run/docker.sock
    environment:
      - DRONE_RPC_PROTO=https
      - DRONE_RPC_HOST=drone.mydomain.com
      - DRONE_RPC_SECRET=mypassword             # Same secret key as above
      - DRONE_RUNNER_CAPACITY=2
      - DRONE_RUNNER_NAME=drone-runner
    networks:
      - npm-stack_nginxproxy
    deploy:
      replicas: 1
      restart_policy:
        condition: on-failure

networks:
  npm-stack_nginxproxy:
    external: true
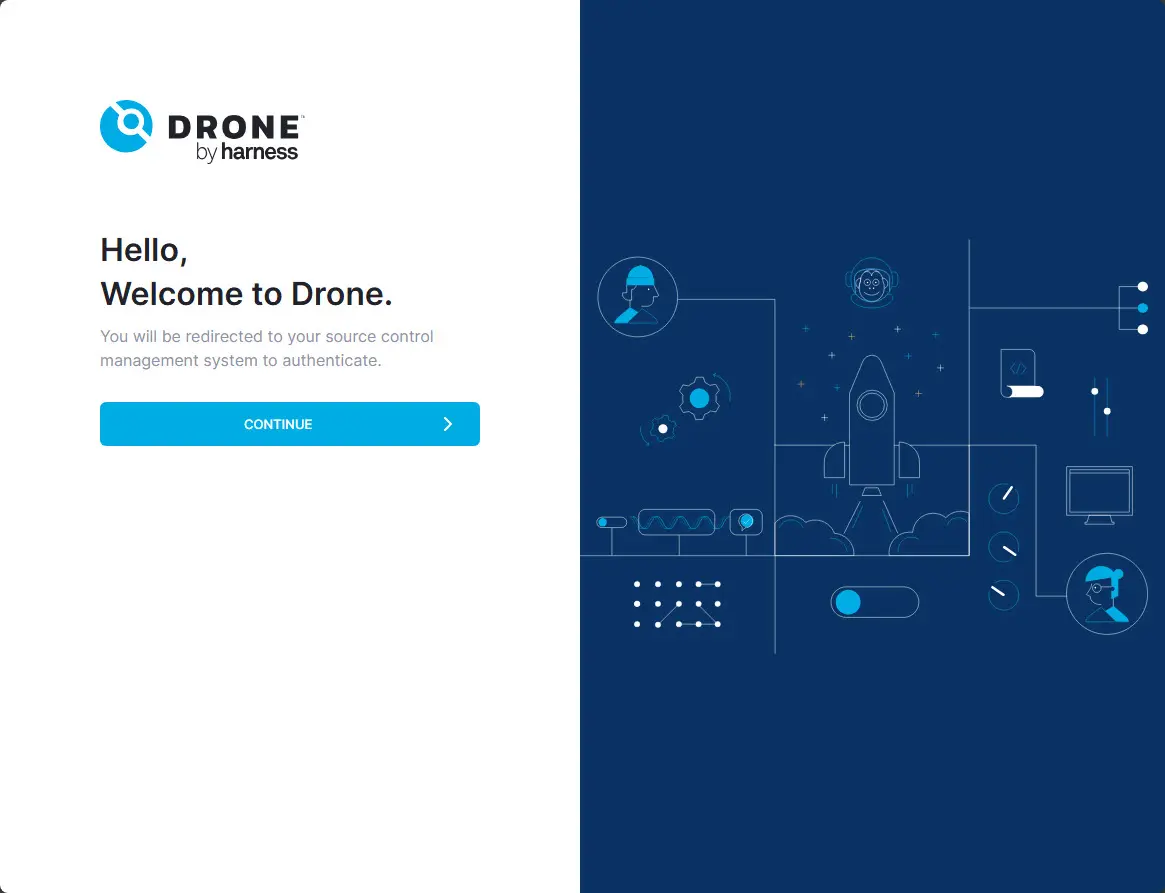
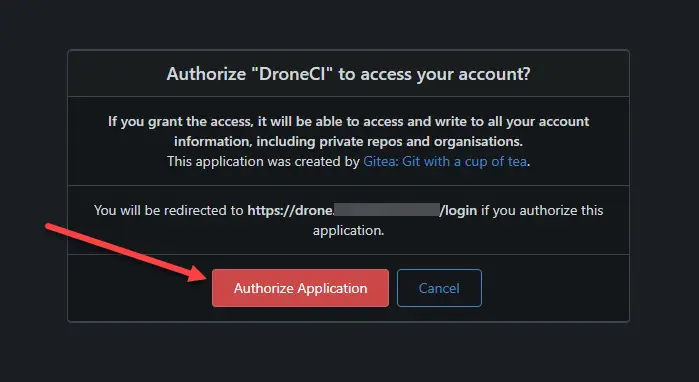
When you connect to Drone, you will see the Continue button that will allow you to authorize your application in Gitea.
You will see the dialog box showing the DroneCI wanting to access your account. Click Authorize Application.
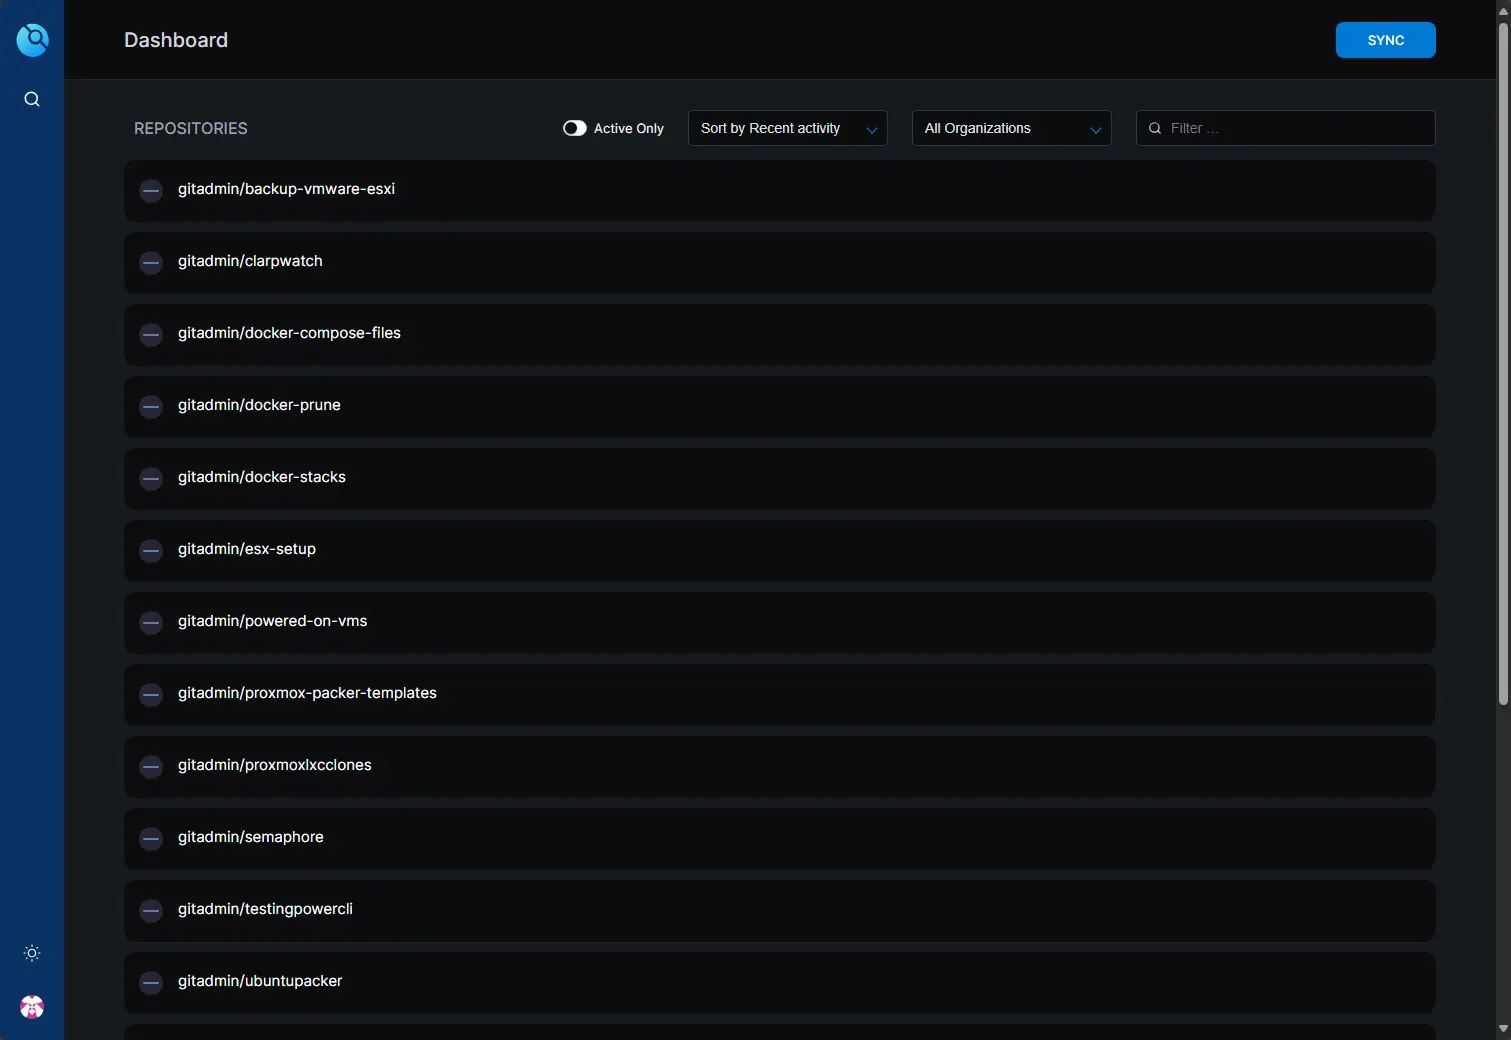
Below is a look at the repos synced from Gitea.
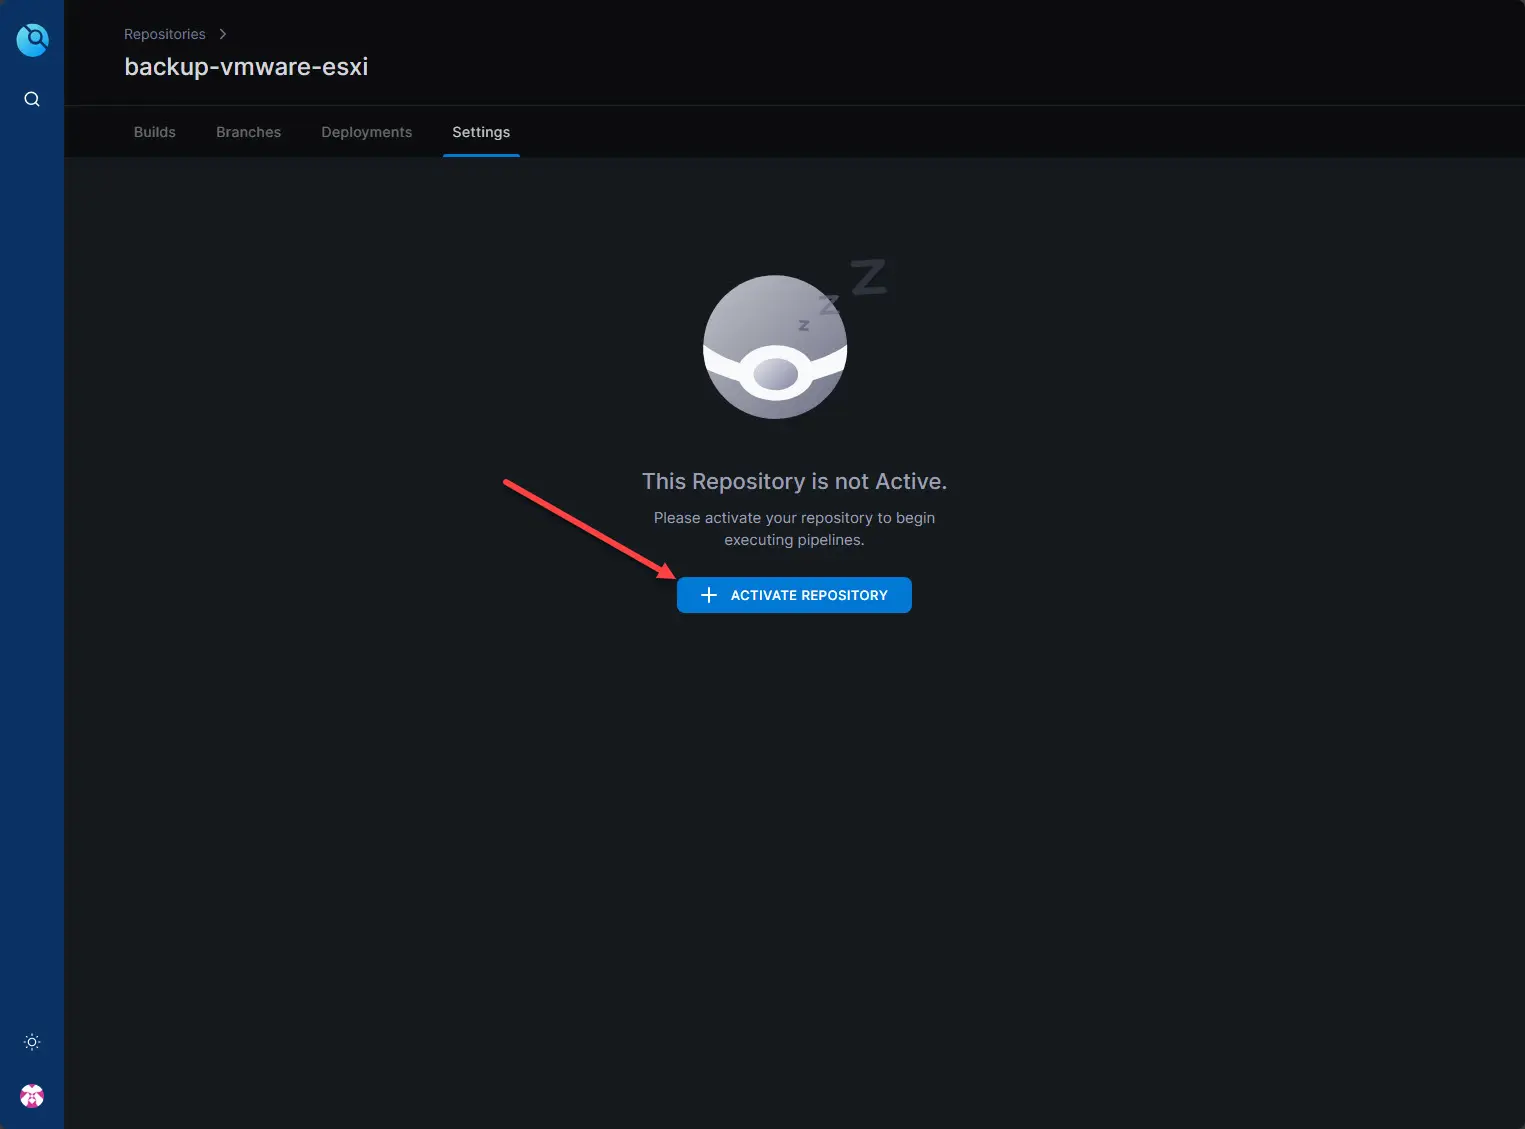
To CI-enable the repo, you need to Active Repository inside Drone.
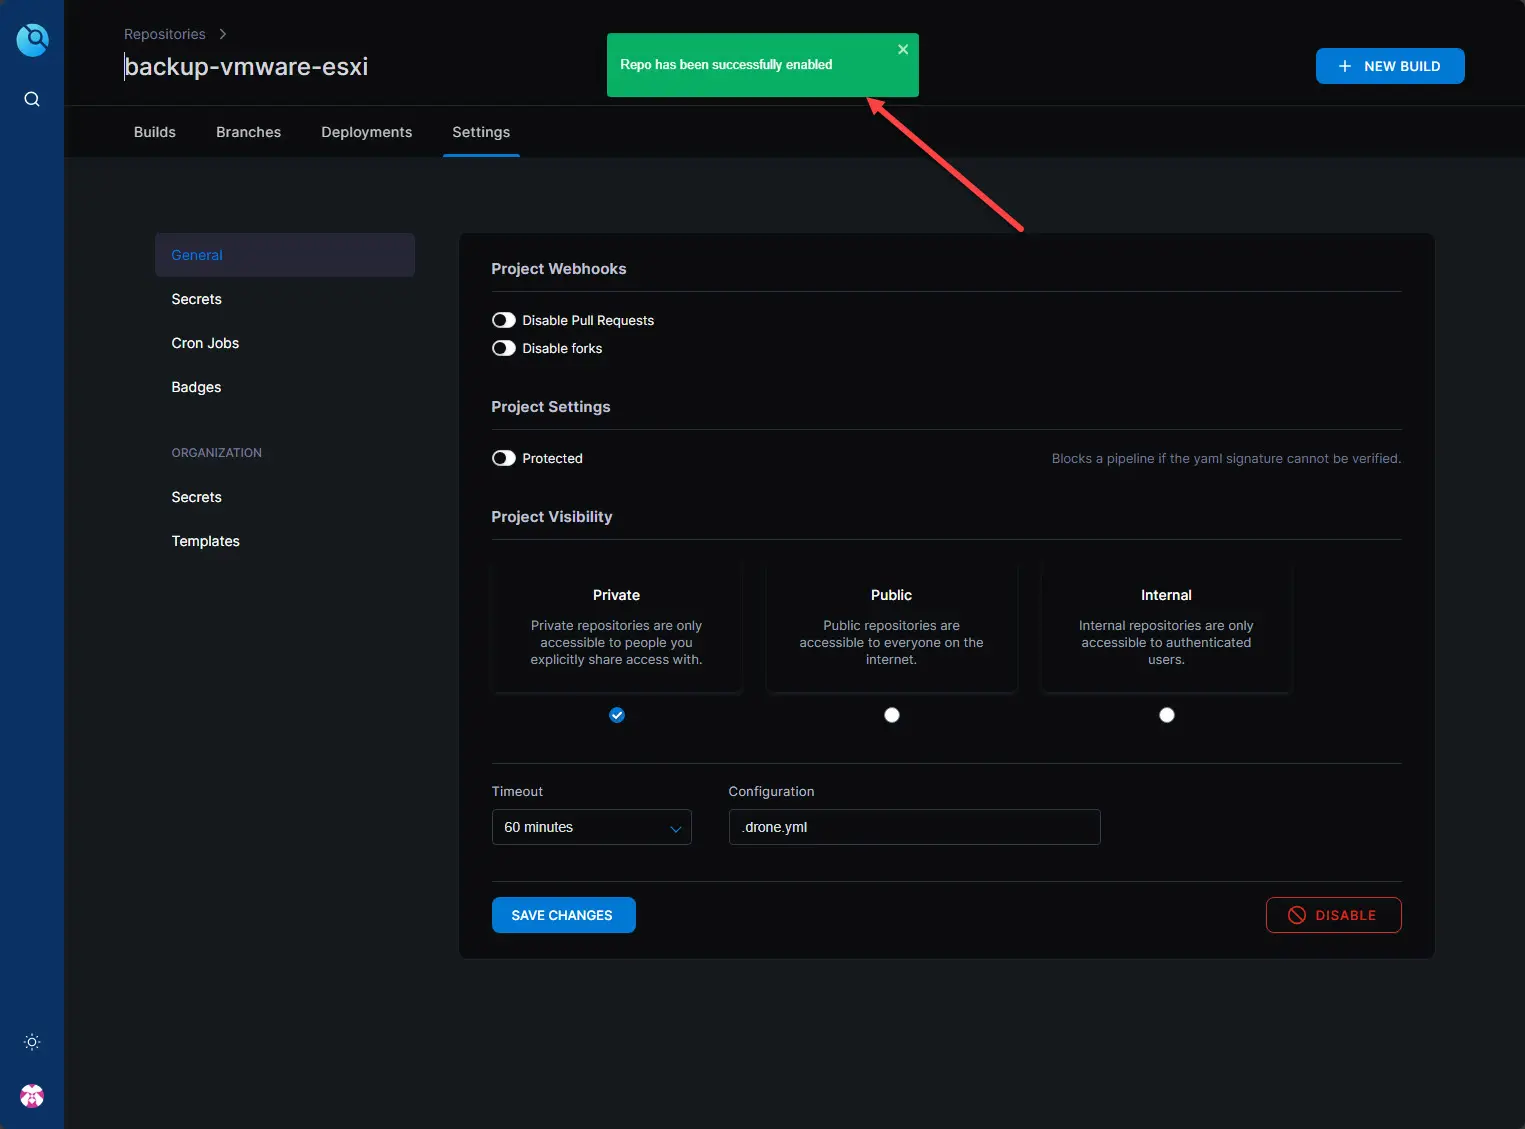
Repo is activated successfully.
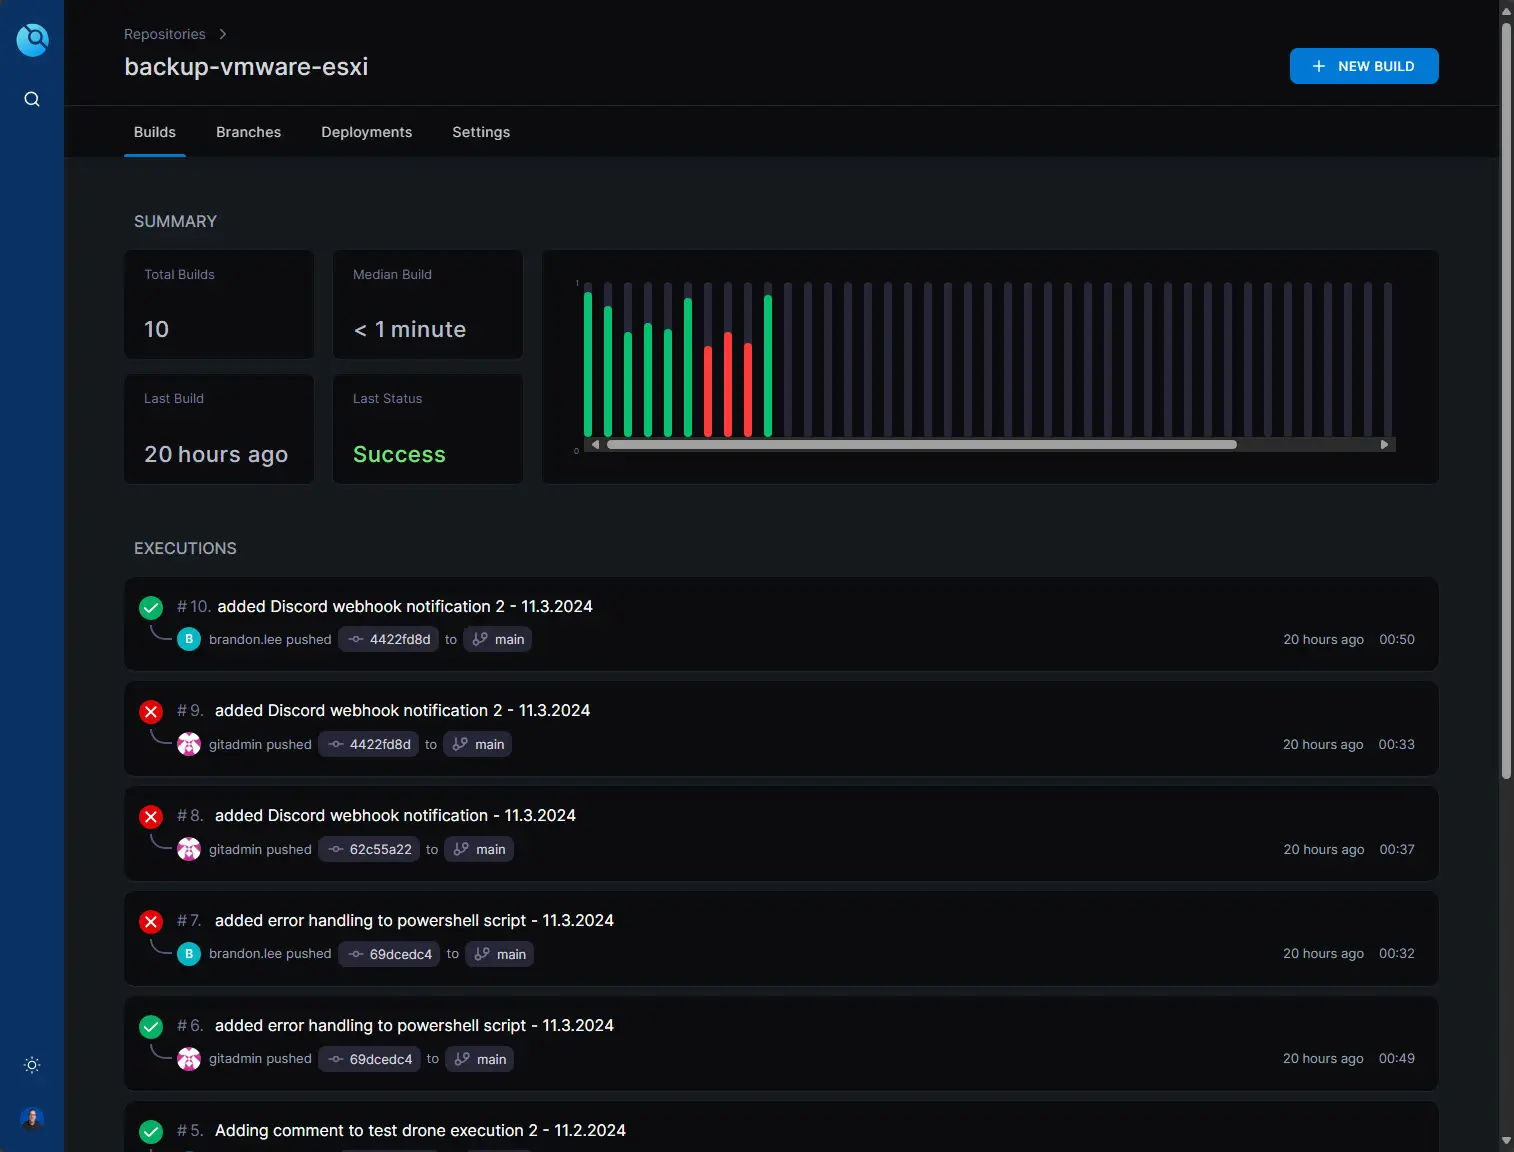
Below is a look at the pipeline dashboard on a pipeline I ran a few times:
Wrapping up
I am really liking Gitea and Drone CI Server connected to the installation. It performs way faster than GitLab. However, I am still trying things out and seeing if this is a solution that I will move forward with permanently. One thing I don’t like is that with the two solutions, you have 2 solutions to manage. Even though the integration is tight, there are things you have to do for configuration in Gitea and things you have to do in Drone. Aside from that, both of these are very cool and well worth your time to check out.
Google is updating how articles are shown. Don’t miss our leading home lab and tech content, written by humans, by setting Virtualization Howto as a preferred source.

