TerraMaster F4-424 Max NAS Review for Home Lab
In my opinion, NAS devices are getting better and better with more powerful hardware and better software on top of them. I recently reviewed the TerraMaster F8 SSD Plus and was really impressed with the unit, it is actually serving my home lab right now as shared storage for my hypervisor cluster hosts. It is a great unit. Even though Terramaster sent over the F4-424 Max for me to review, my thoughts and opinions are my own and I was not paid for the review outside of receiving the hardware.
Table of contents
TerraMaster F4-424 Max hardware specs
The Terramaster F4-424 Max hardware specs are impressive with this unit as it has the top-of-the-line hardware from Terramaster in this model.
Notably, it has the following:
- Intel Core i5-1235U processor (10 cores & 12 threads)
- Hardware encoding capabilities
- 8 GB of DDR5 memory, expandable to 64 GB
See the detailed specs below from the Terramaster spec sheet:
| Category | Specification |
|---|---|
| Processor | |
| Processor Model | Intel Core i5-1235U |
| Processor Architecture | X.86 64-bit |
| Processor Frequency | 10-Core (Max burst up to 4.4 GHz) |
| Hardware Encryption Engine | √ |
| Hardware Transcoding Engine | H.264, H.265, MPEG-4, VC-1; Maximum resolution: 4K (4096 x 2160); Maximum FPS: 60 |
| Memory | |
| System Memory | 8 GB DDR5 non-ECC SODIMM |
| Pre-installed Memory Module | 8 GB DDR5 non-ECC SODIMM (1x 8 GB) |
| Total Memory Slot Number | 2 (DDR5 SODIMM) |
| Maximum Supported Memory | 64 GB DDR5 non-ECC SODIMM |
| Storage | |
| Disk Slot Number | 4 |
| Compatible Drive Types | 3.5″ SATA HDD, 2.5″ SATA HDD, 2.5″ SATA SSD |
| Maximum Internal Raw Capacity | 88 TB (22 TB x4) (Capacity may vary by RAID types) |
| Drive Hot Swap | √ |
| File System | |
| Internal Drive | Btrfs, EXT4 |
| External Drive | EXT3, EXT4, NTFS, FAT32, HFS+, BTRFS |
| External Ports | |
| RJ-45 10GbE Network Jack | 2 |
| USB3.2 Host Port | Type A *2 (10 Gbps); Type C *1 (10 Gbps) |
| HDMI | 1 |
| M.2 2280 NVMe Slot | 2 (PCIe 3.0 x4) |
| Appearance | |
| Size (HWD) | 154 x 179 x 222 mm |
| Packaging Size (HWD) | 186 x 277 x 277 mm |
| Weight | Net Weight: 2.2 Kg; Gross Weight: 3.4 Kg |
| Others | |
| System Fan | 120 x 120 x 25 mm 1PCS |
| Fan Mode | Smart, High speed, Middle speed, Low speed |
| Noise Level | 21.0 dB(A) (Using M.2 SSDs in standby mode; Test environment noise: 17.3 dB(A); Test distance: 1m) |
| Power Supply | 120 W |
| AC Input Voltage | 100V – 240V AC |
| Current Frequency | 50/60 Hz, Single frequency |
| Power Consumption | 46.0 W (Fully loaded WD RED WD221KFGX 22TB hard drive(s) in read/write state) |
| 17.5 W (Fully loaded WD RED WD221KFGX 22TB hard drive(s) in hibernation) |
Unboxing and installing hard drives
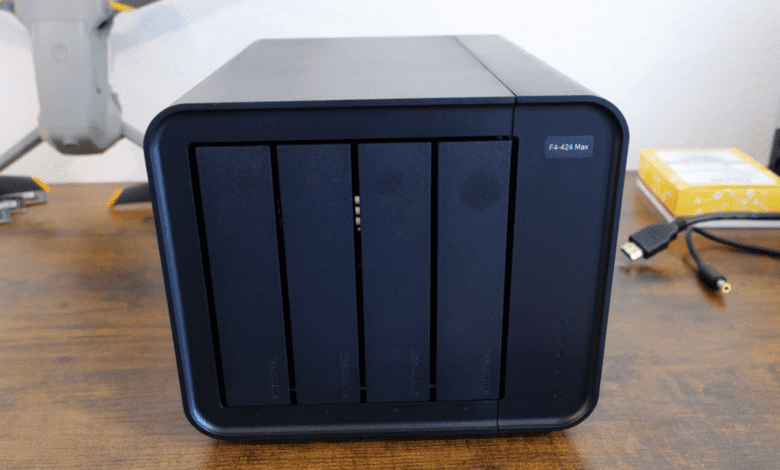
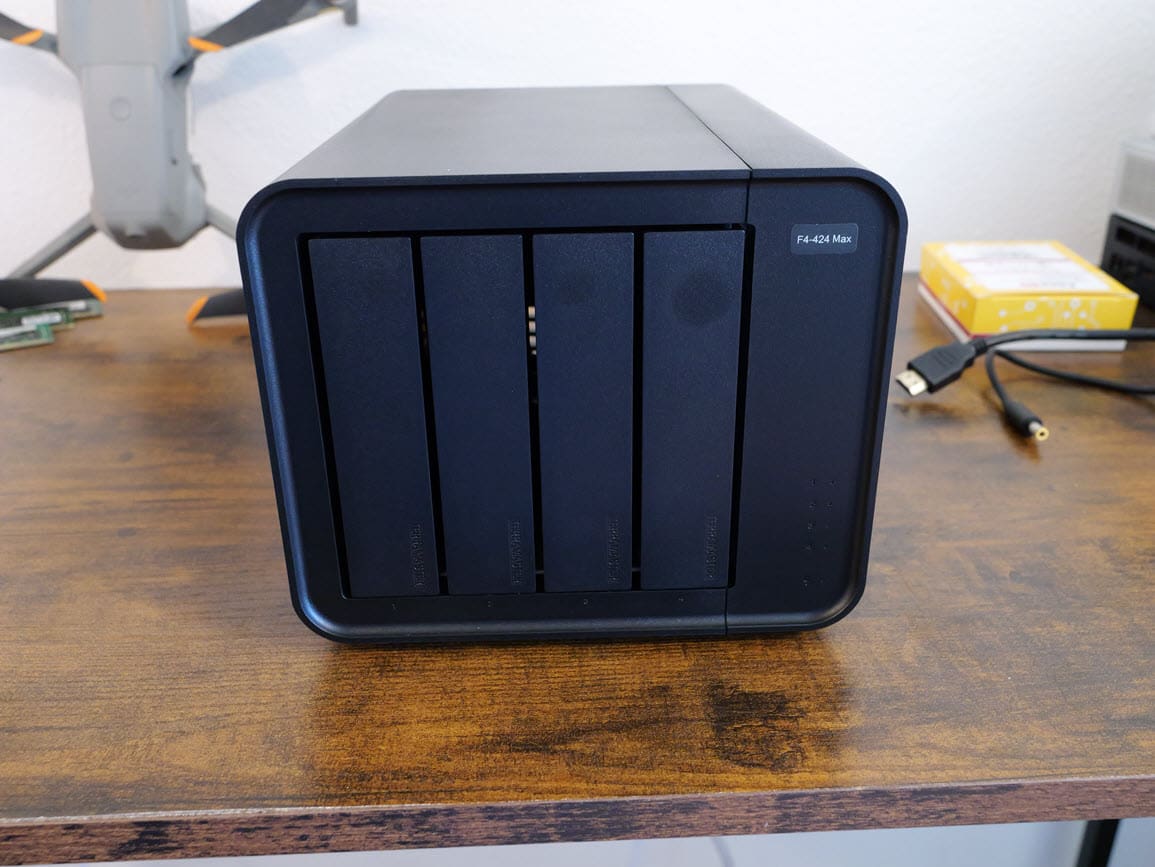
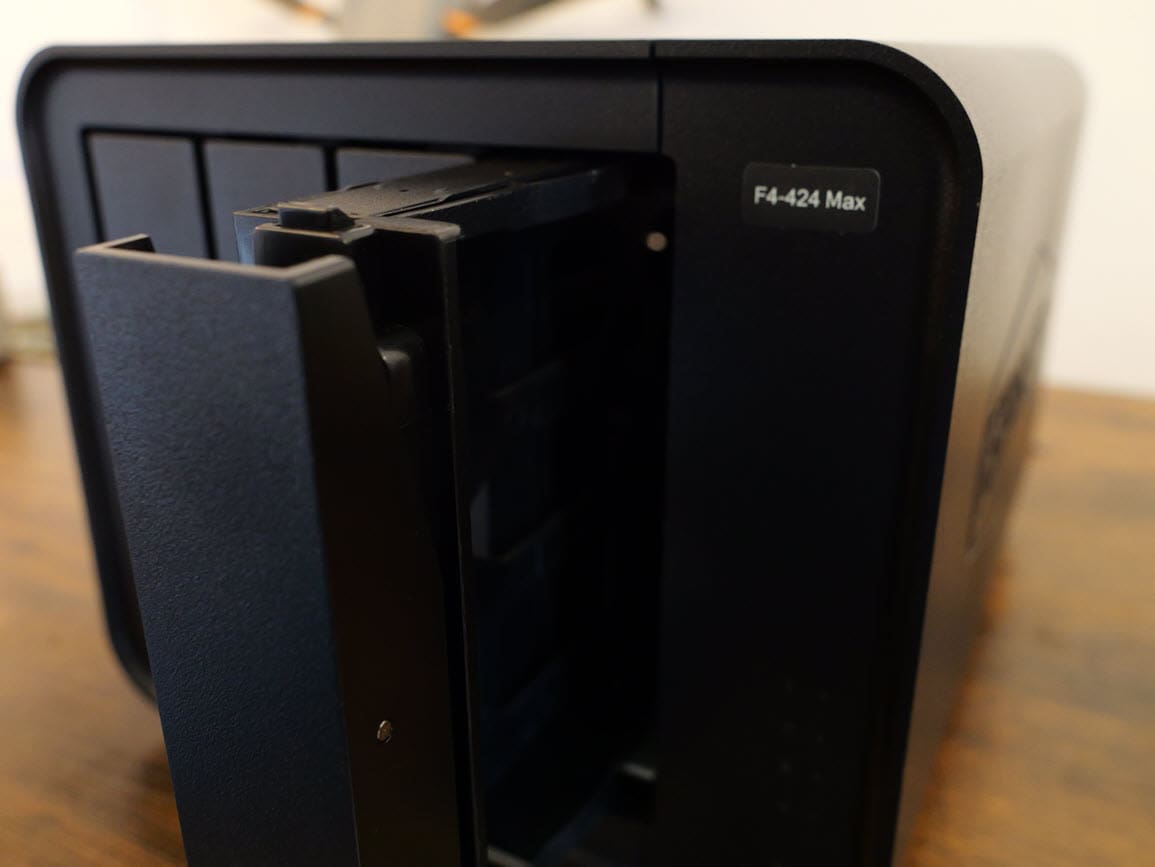
I really like the TerraMaster F4-424 Max 4-bay NAS on first appearances. The size of the unit is just about right for a 4-bay NAS. One small little gripe here is the trays and housing on the unit do feel a bit “plasticky”, especially when you don’t have the unit full of drives. Once you install the drives, this isn’t as noticeable due to the extra weight from the drives. But just something to note about the NAS itself.
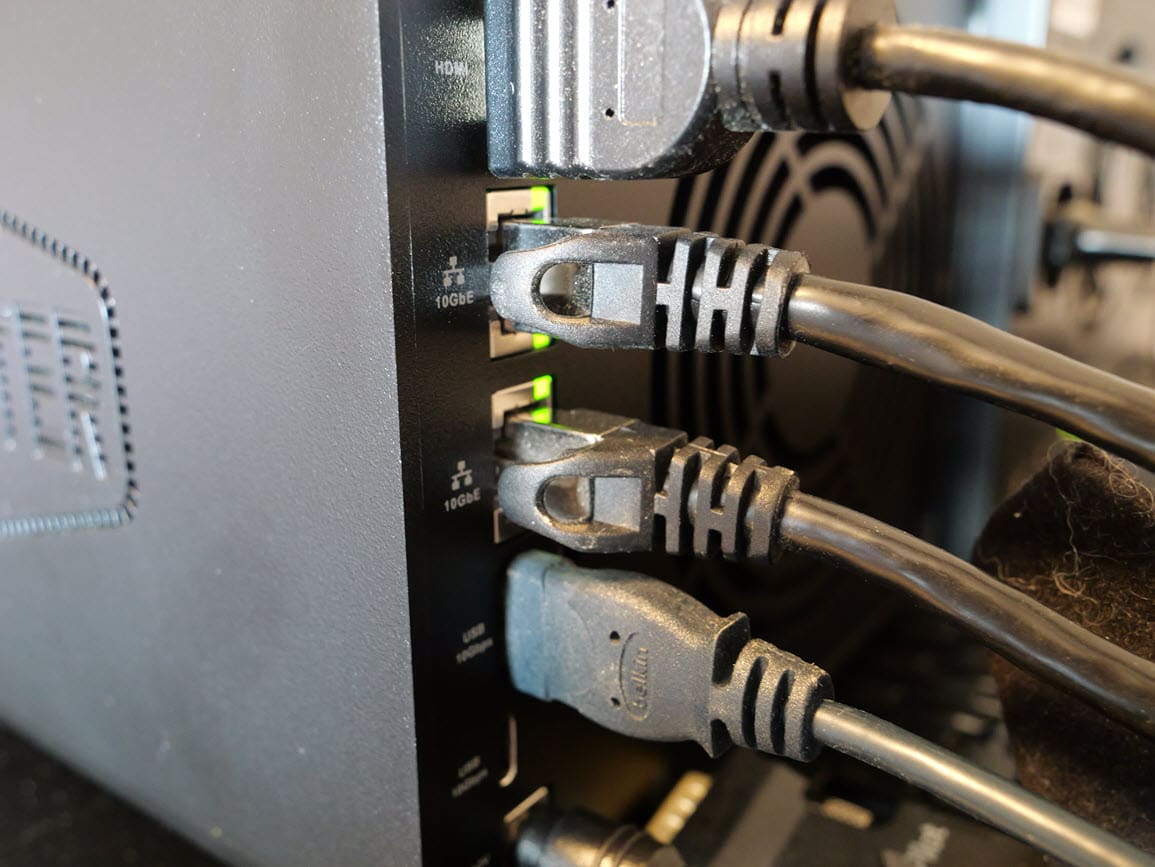
Below is a view of the unit once I had the cables plugged in. You can see there is an HDMI port, (2) 10 GbE ports, USB port, and USB-A 3.2 10 gig port, and USB-C 10 gig port.
To pull out the drive bay, you push in on the top of the hard drive tray and then the bottom of the tray extends out for you to pull it out the rest of the way.

Another view of the hard drive tray on the F4-424 Max.
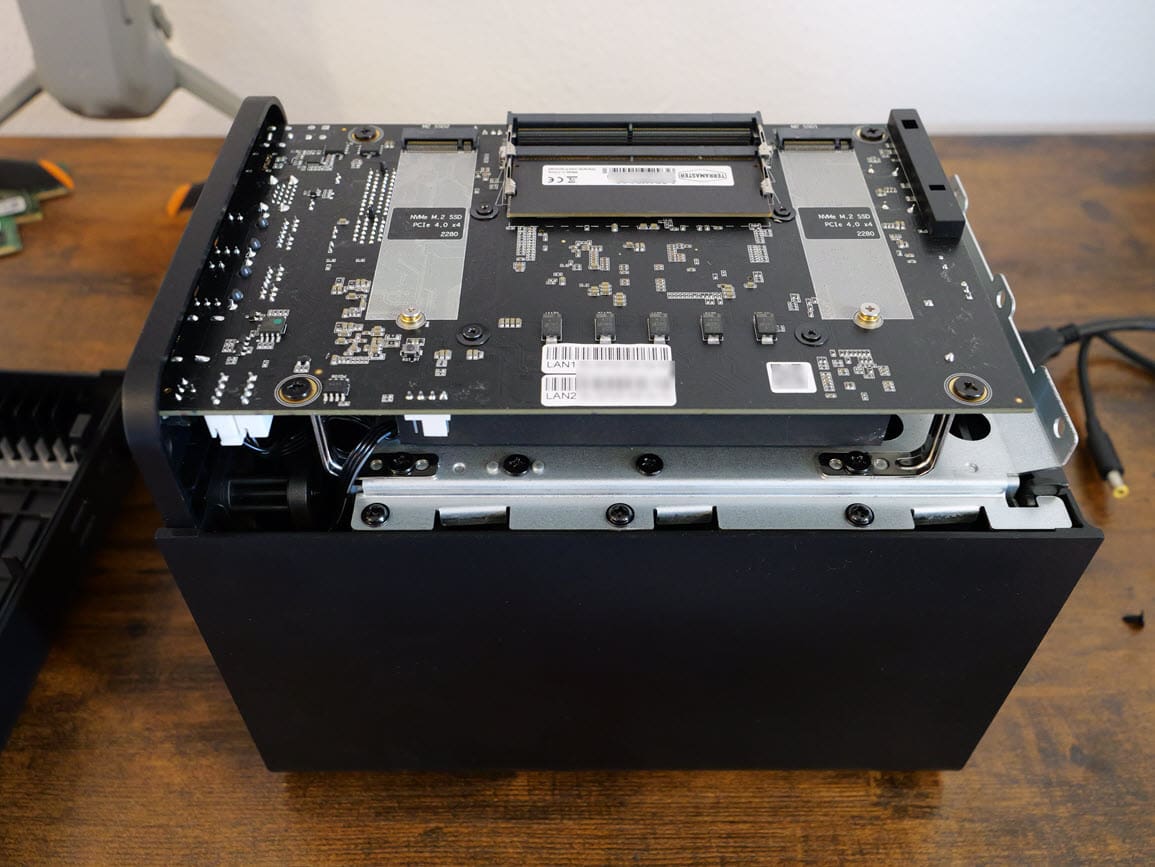
To access the M.2 slots and SO-DIMM memory modules, there are two screws on the back of the unit that secures the side cover. When you are facing the front of the F4-424 NAS, the side cover is on the right of the unit. Take out the two screws and then the cover moves forward and then off of the unit. Here you can see the two M.2 slots and the DIMM module slots. The unit comes with 8 GB DDR5 memory.
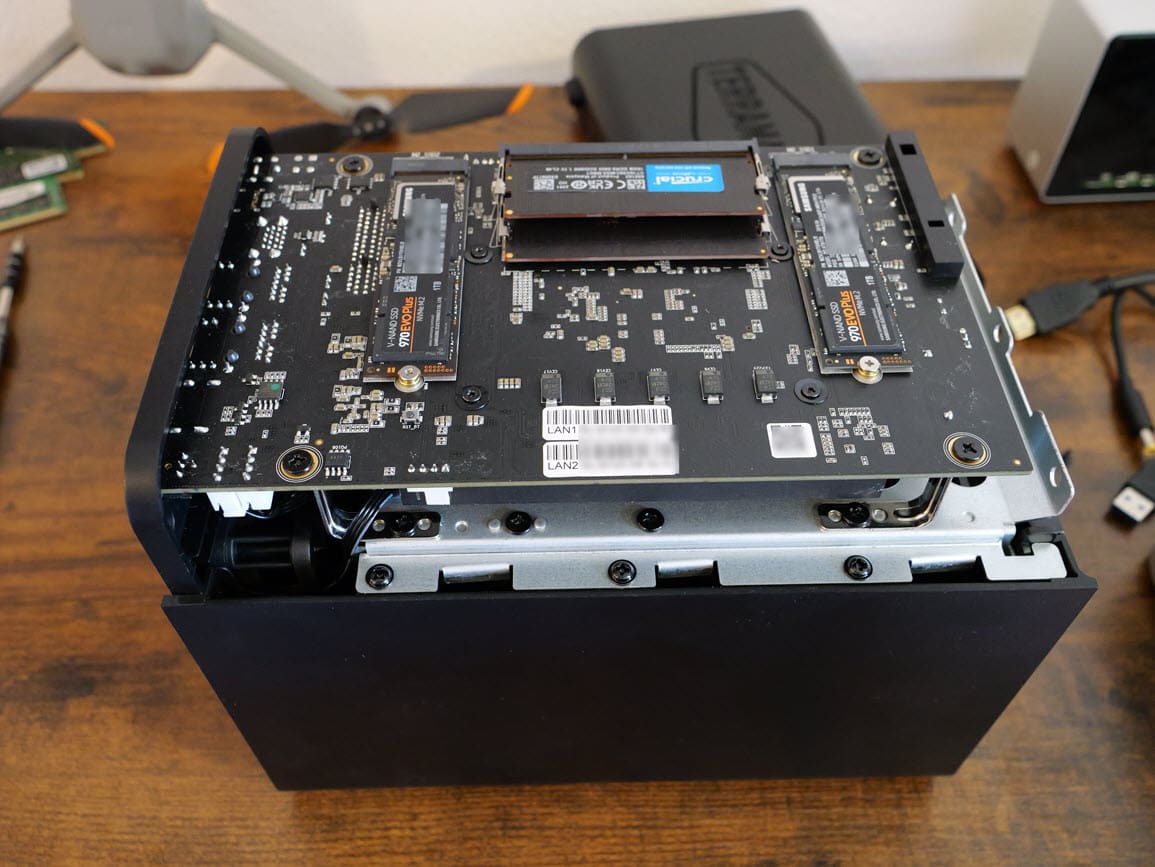
I had two 16 GB DDR5 SODIMMs laying around so I installed these in the unit for a quick upgrade. Also, I had (2) Samsung EVO 970 Pro 1 TB drives to install. Keep in mind you don’t really need the latest and greatest NVMe drive, since the M.2 slots are only Gen 3 PCI-e.
For storage, I am installing (2) Western Digital 8TB drives and (2) Western Digital 4 TB Red drives to test out the dissimilar RAID handling of the TRAID configuration.
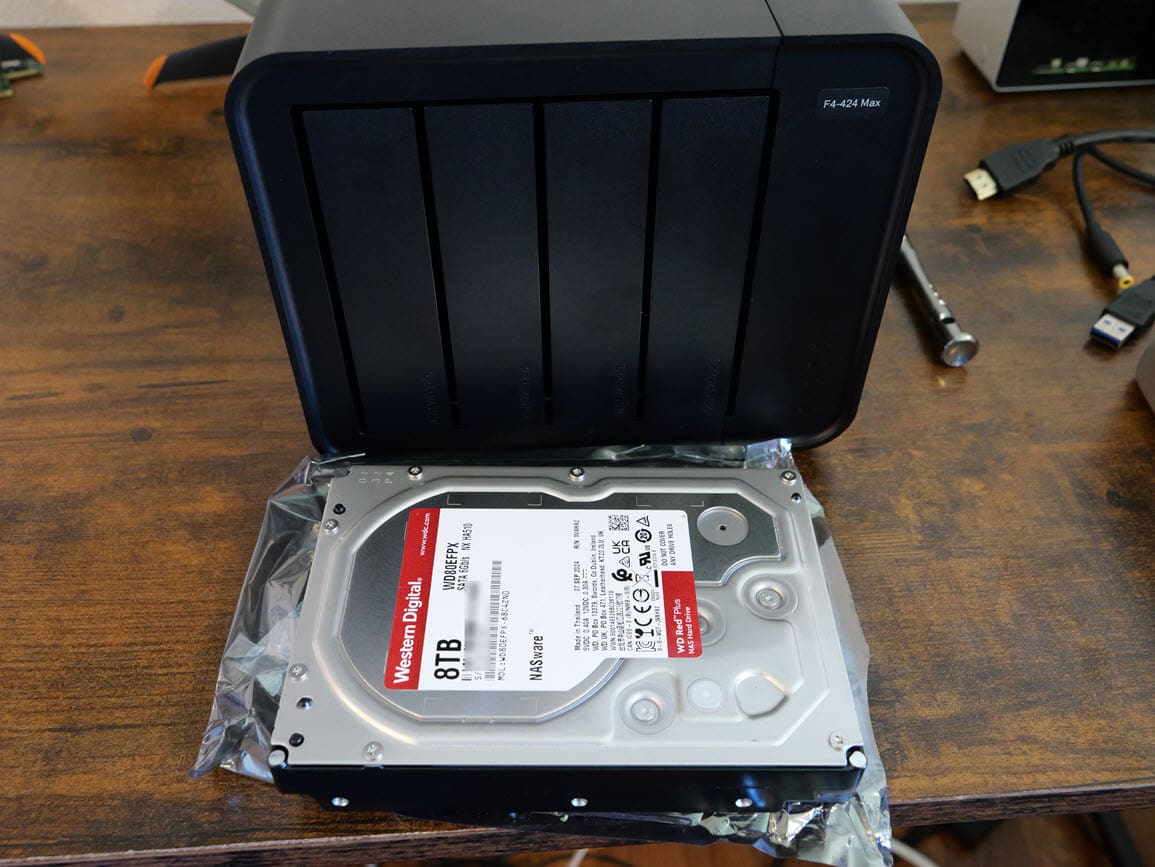
Below is a look at the Western Digital
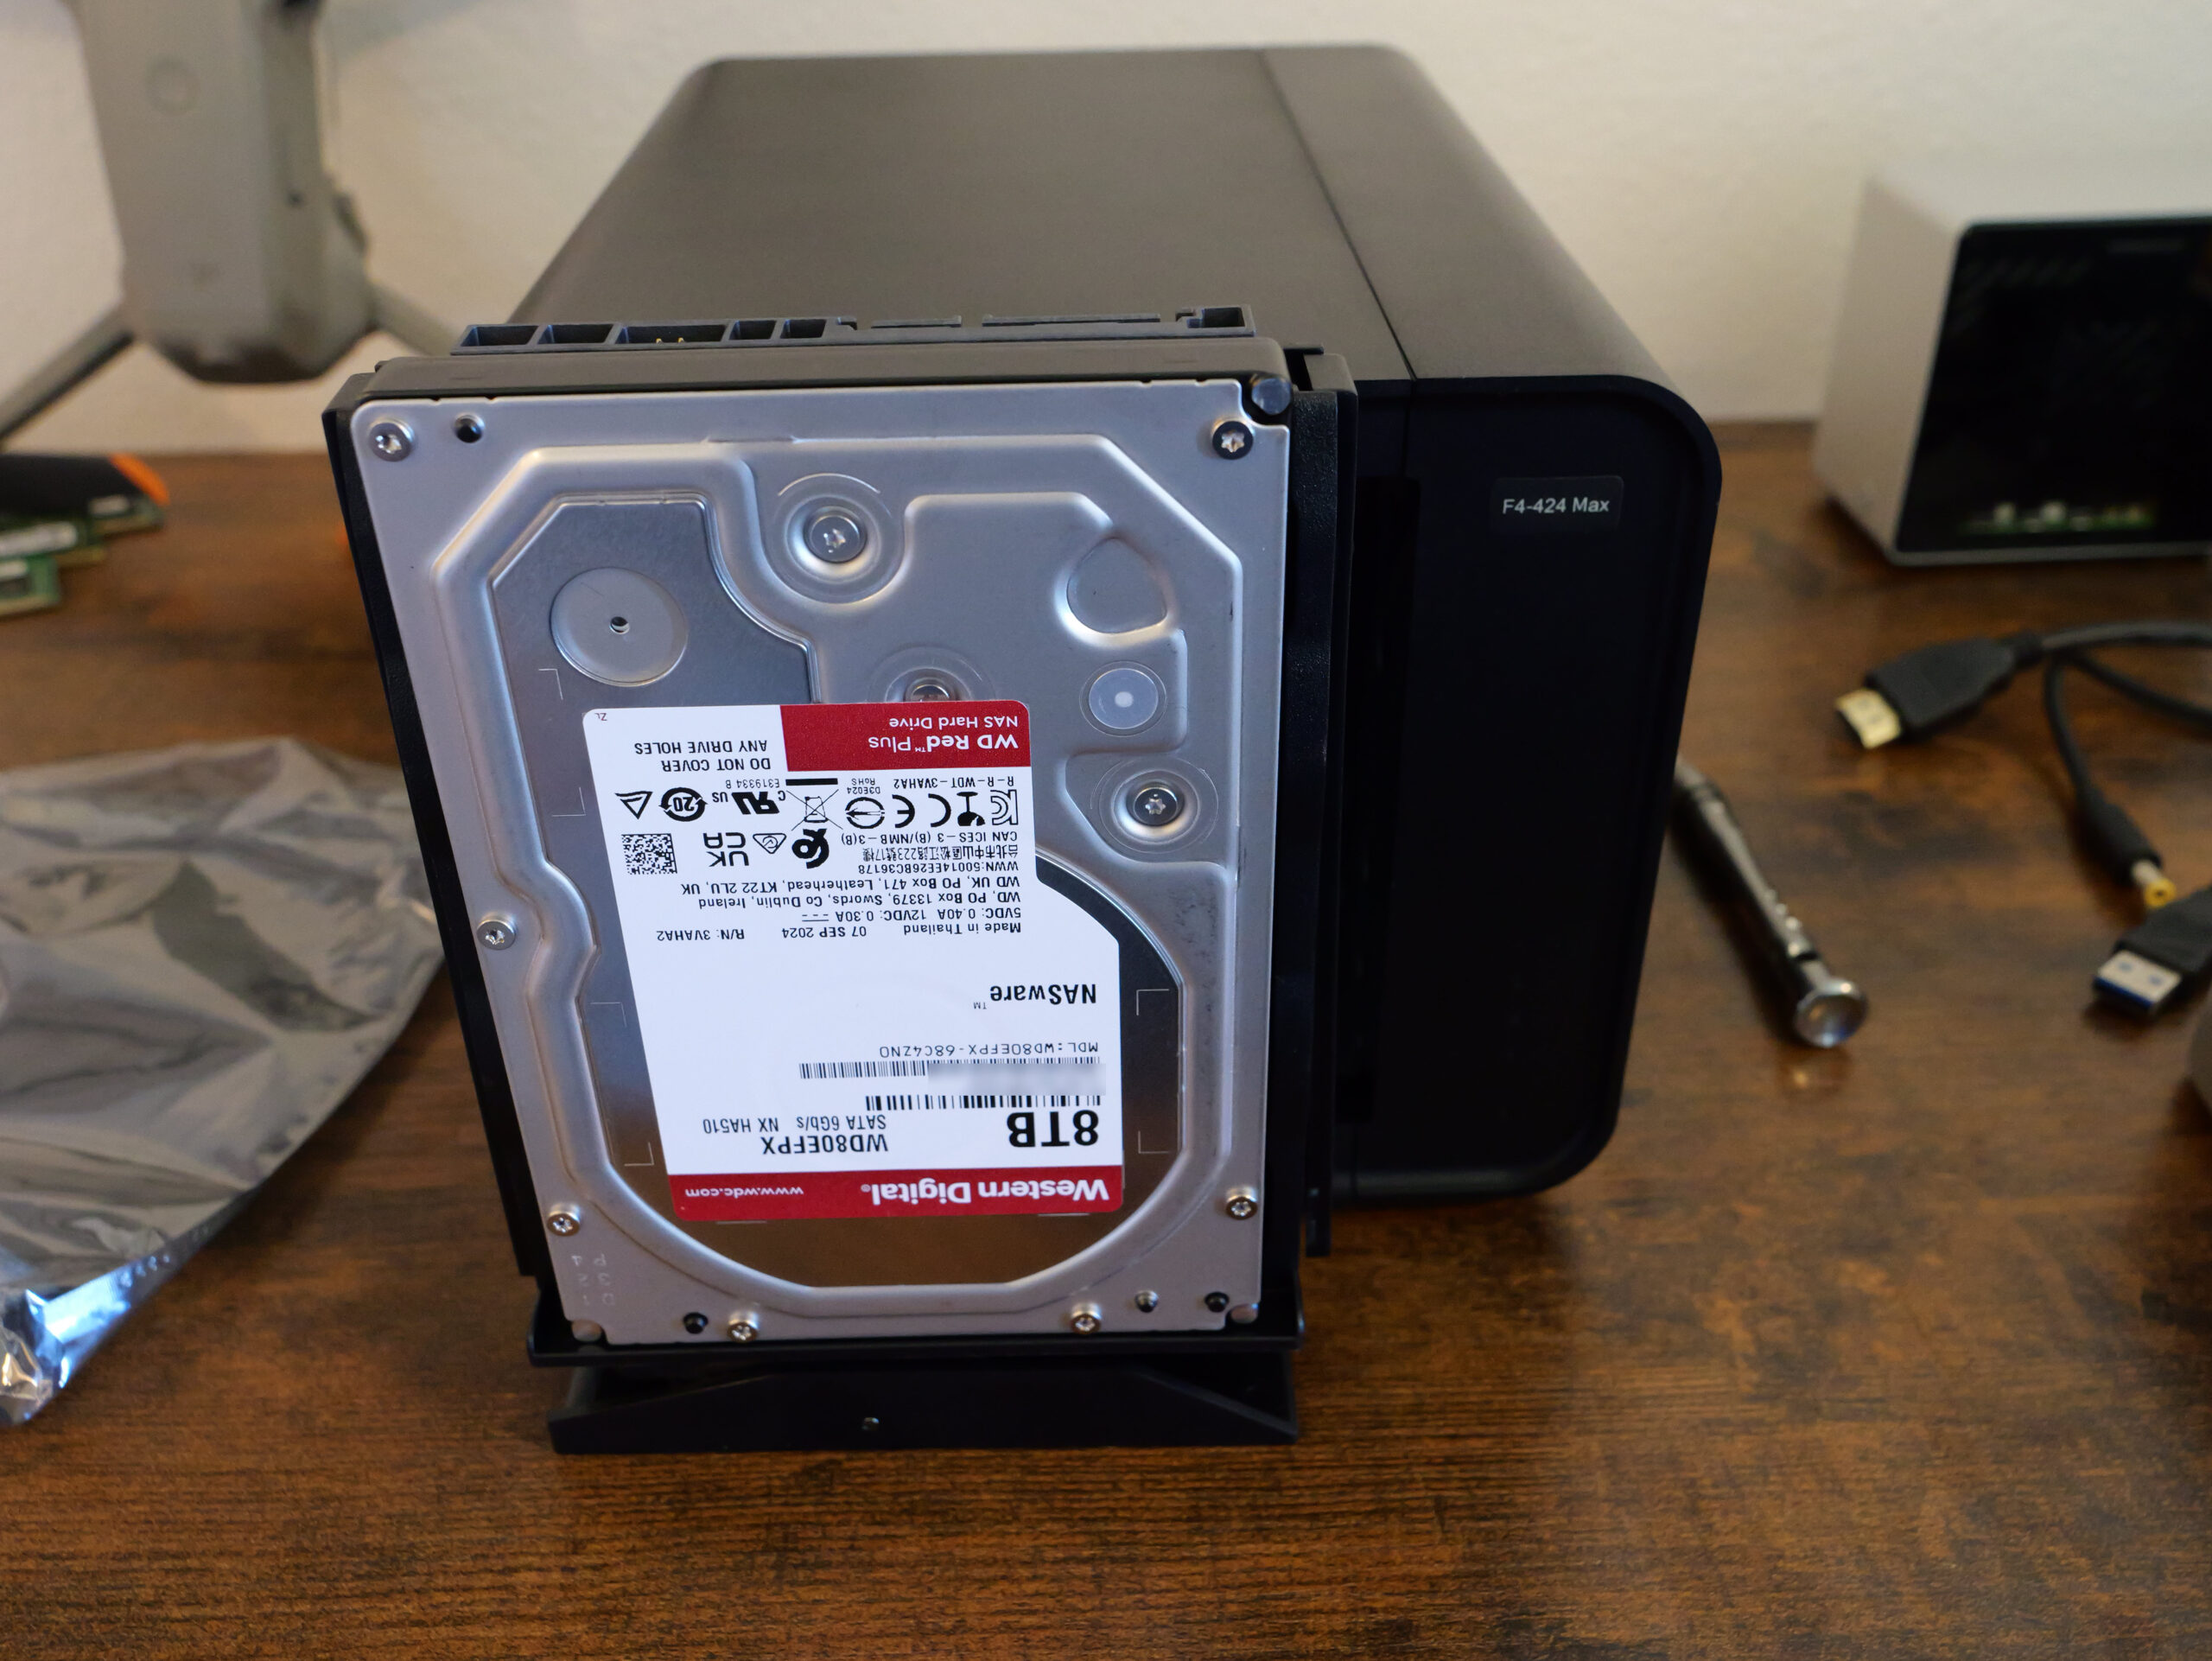
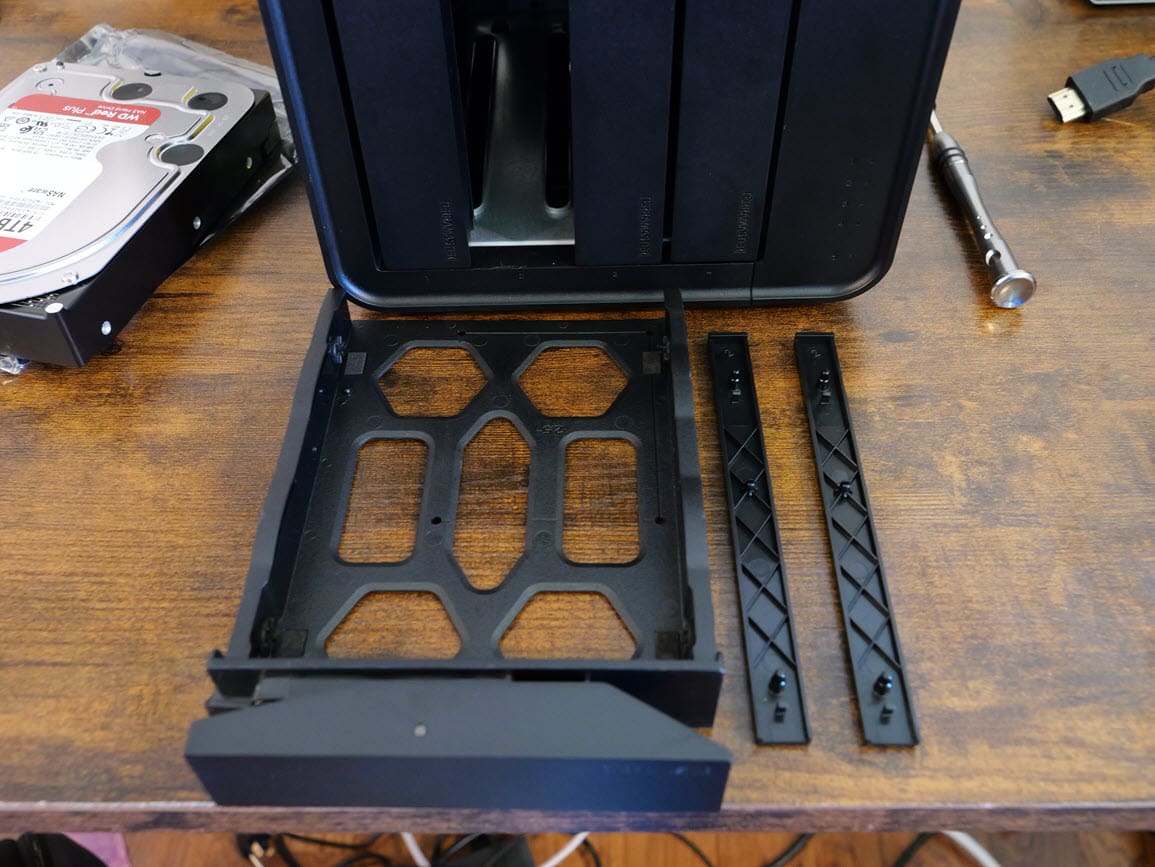
Below is a look at the hard drive trays for the Terramaster F4-424 Max. There are two plastic “rails” that snap into the tray in the screw holes for the hard drive. I really like these tool-less designs as it made installing hard drives a 10 second process per tray instead of 5 minutes of screwing in screws, dropping screws (if you are like me), or losing screws.
Terramaster F4-424 Max Initialization and Setup
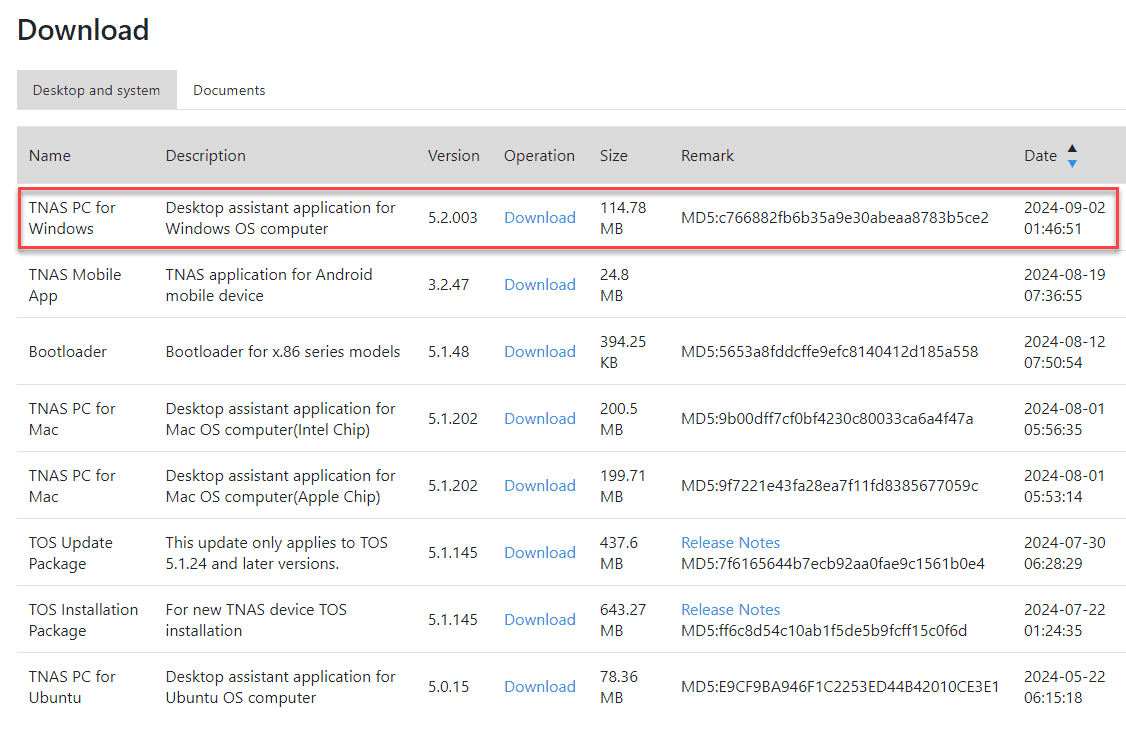
To set up the TerraMaster NAS devices, you download and install the TNAS utility for Windows, MAC, or Ubuntu. There is also a TNAS Mobile app as well.
Below, you will see the NAS show up twice if you have both 10 gig connections plugged in, as I do. You can use either one to set up the NAS as long as they both have pulled an IP address. Click one of the entries and then click the little “login” button with the square and arrow.

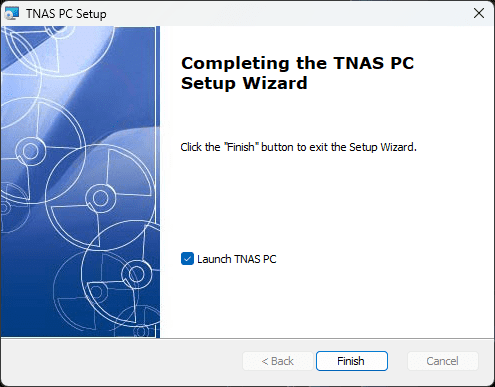
This will launch the TNAS initialization. The initialization wizard will guide you through the rest of the process.
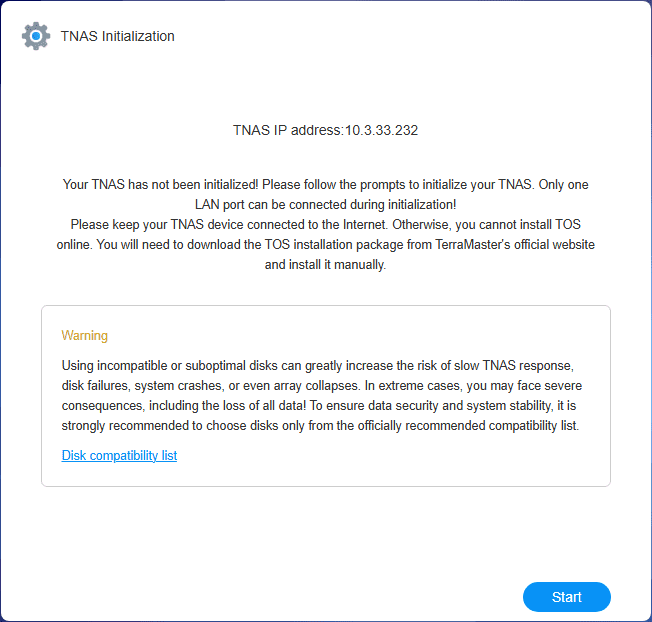
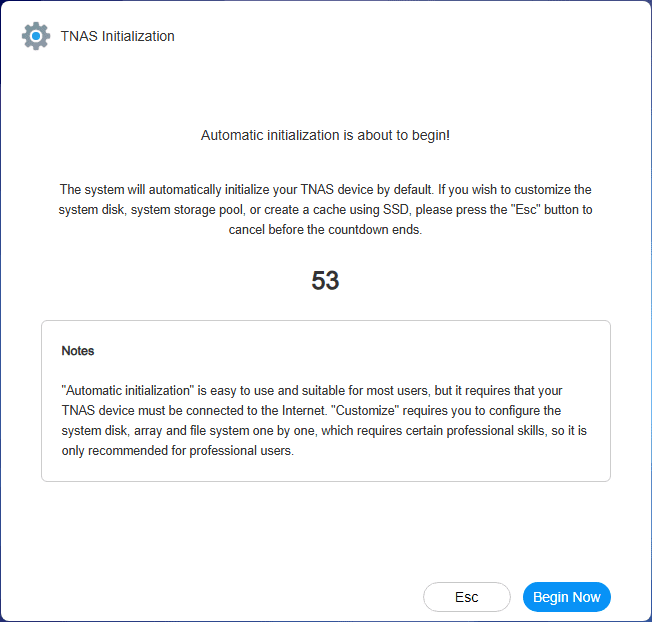
When you click Start, you will have a minute countdown to either hit ESC which will launch the custom setup. Or you can click Begin Now to run through Automatic initialization. I just clicked the Start button to allow it to automatically set up the NAS.
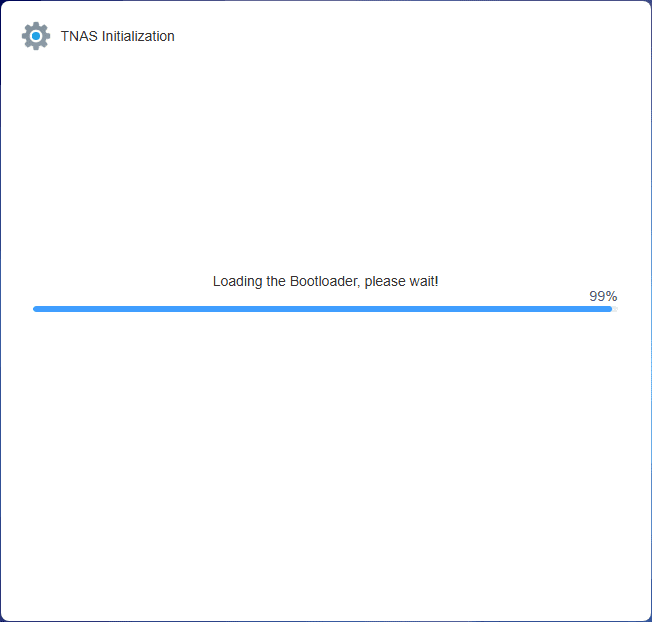
Bootloader will be pulled down from the Internet so you will need Internet connectivity.
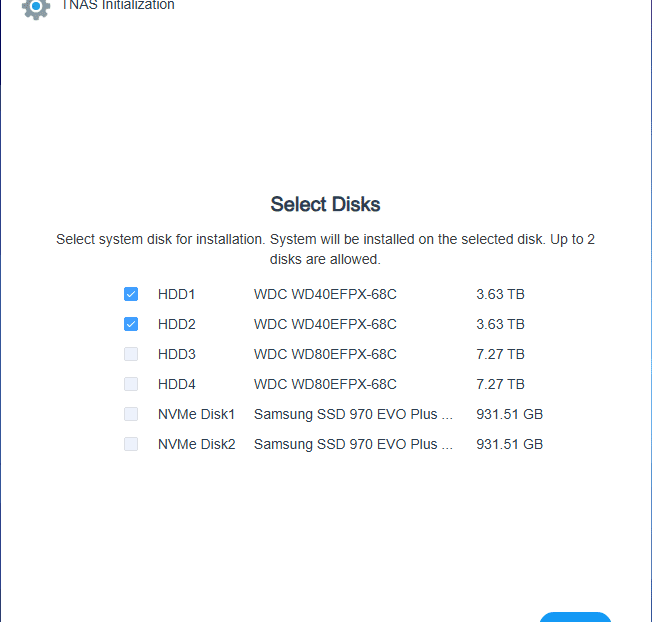
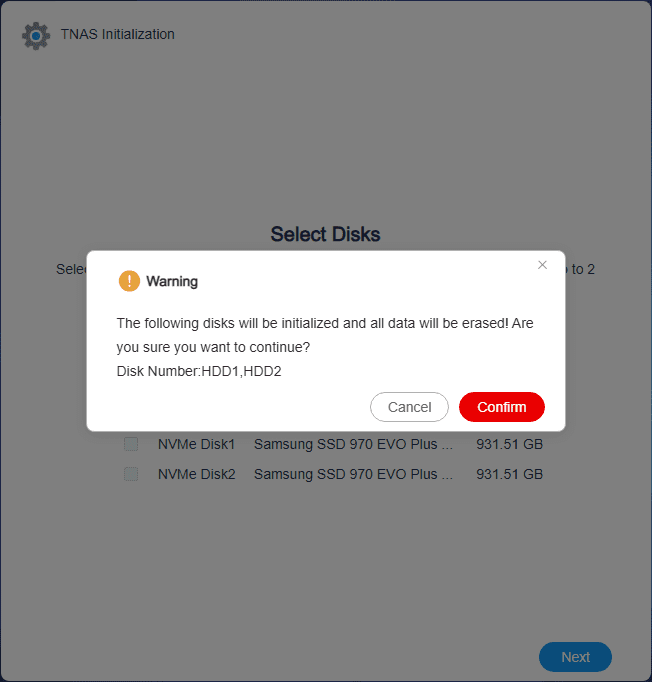
Select your system disks. Up to 2 disks are allowed to be selected.
You will see the warning about hard disks needing erased.
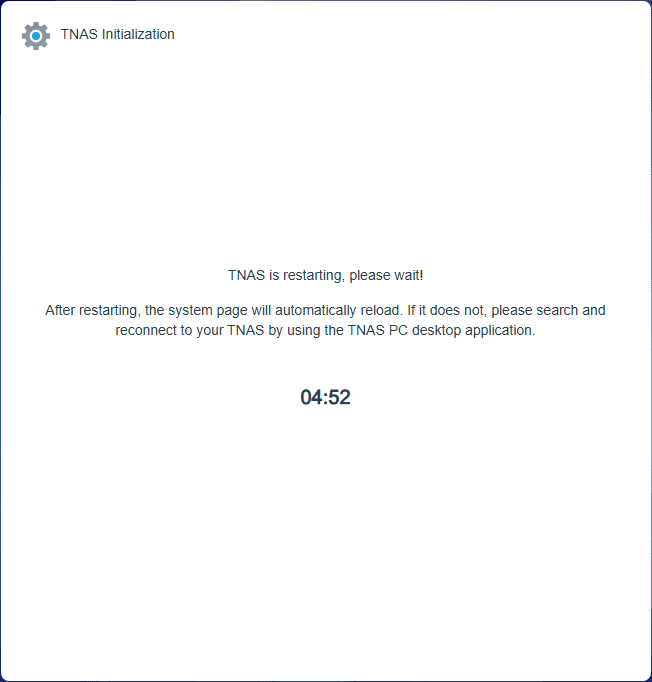
TOS will restart your NAS after the installation is complete.
Accept the end user license agreement for TOS 6.

Configure the superuser settings. This will include:
- device name
- username
- password
- confirm password
- time zone

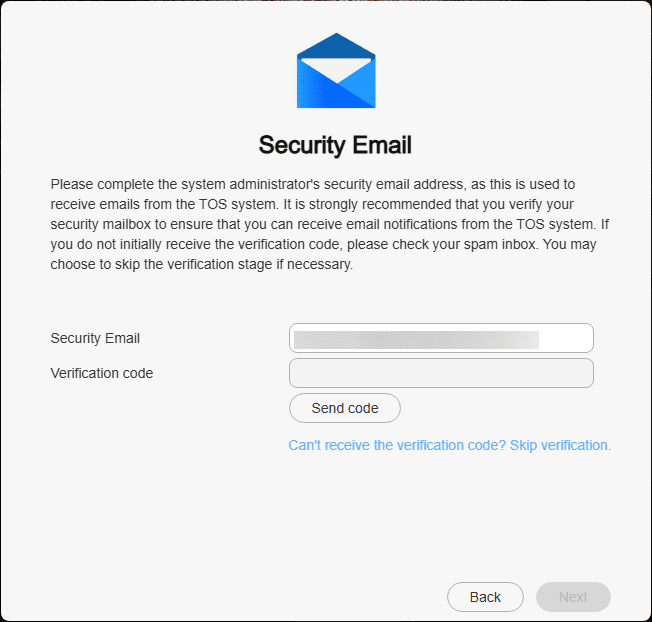
Next, you will have a security email configuration. As a note, this has failed for me on both TerraMaster NAS devices I have set up. It would be good on this screen if there were more details given or ability to setup custom servers, etc.
Upon first login since I did the automatic configuration, the storage pool was already creating.
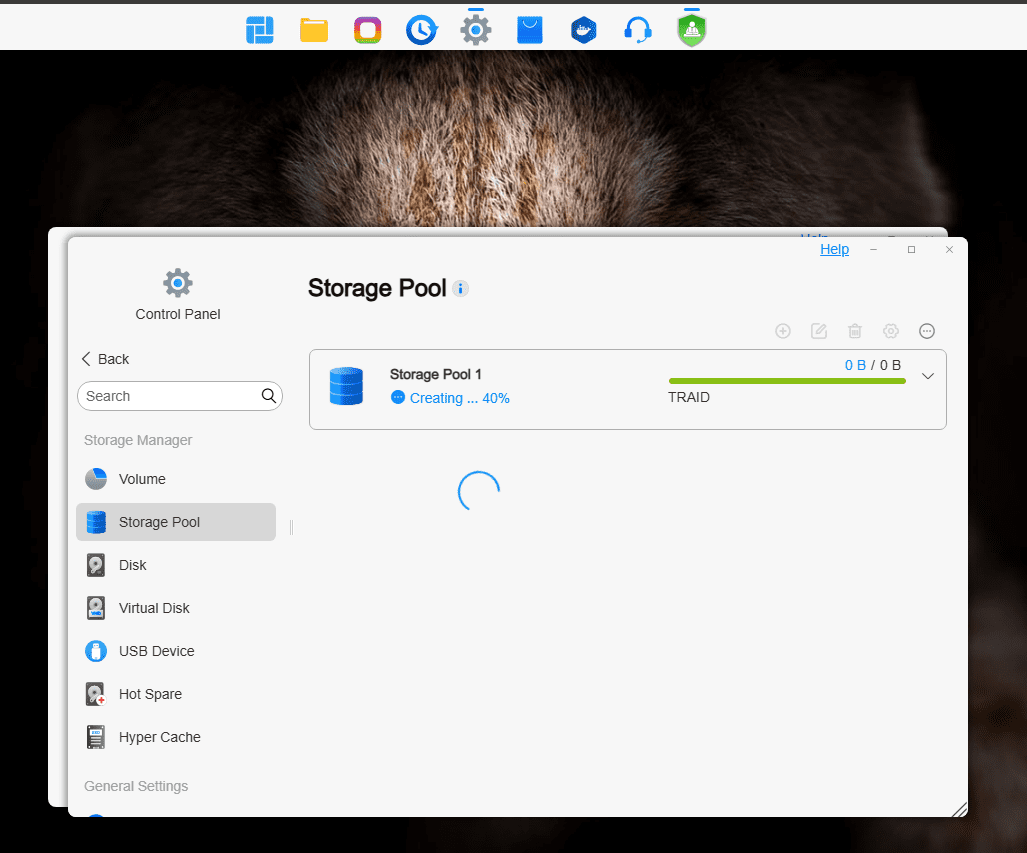
The synchronization begins.

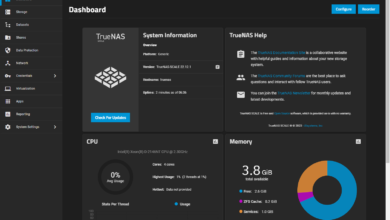
TOS 6 Software
Although I never had my hands on a TerraMaster TOS 5 unit, I saw a few horror stories about it, that it wasn’t any good, etc. However, I have to say that TOS 6 is VERY good. I really like it and had no issues with interacting with TOS 6.
Since I have had the F8 SSD Plus, I have been using it now for some time and I can say that it only took a few minutes to get a feel for using it as it is very intuitive. Things are snappy and smooth when interacting with TOS 6 and there are lots of configuration options and settings you can play around with.
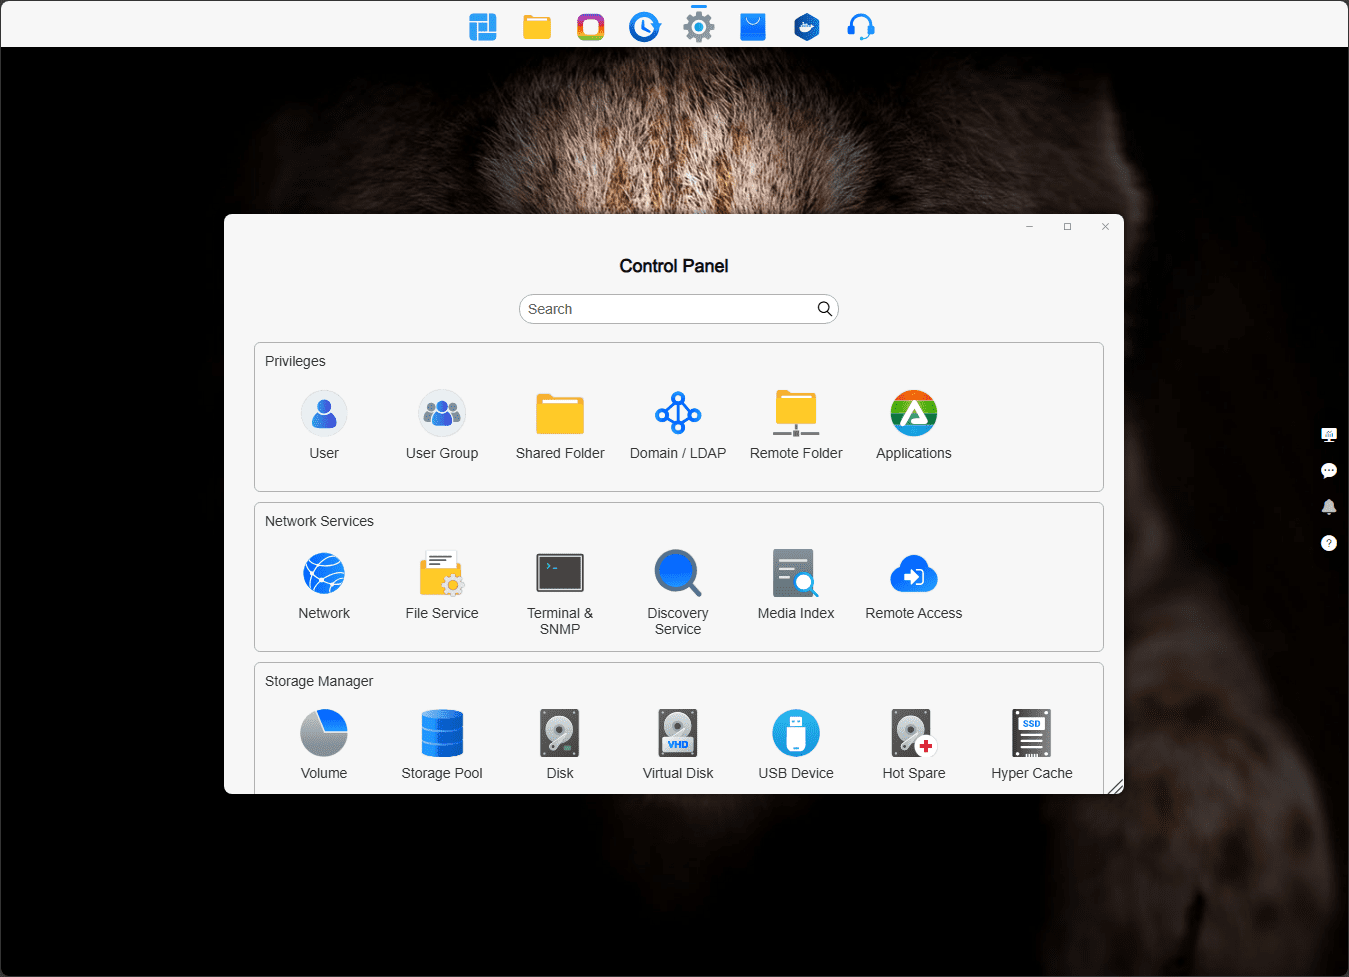
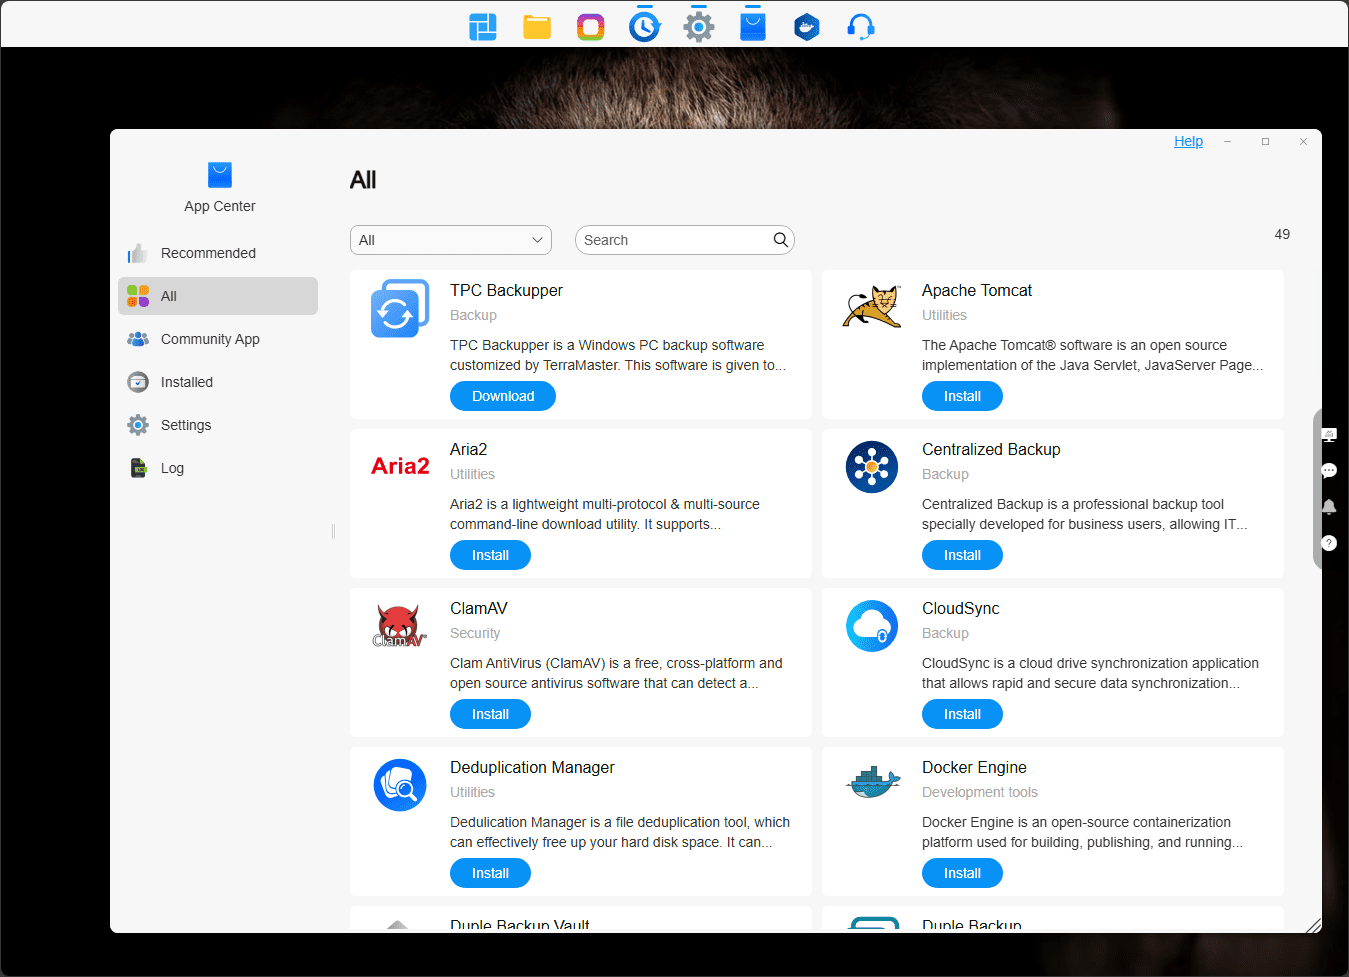
There are lots of apps in the TOS6 app store. I think aside from great hardware, a modern NAS considered for home lab or home server use needs to have the ability to easily run apps and self-host services. From the looks of the TOS 6 app store, there are many to choose from.
Virtualization and Containers
With the robust hardware of the TerraMaster F4-424 Max, this is definitely a NAS that you would want to be able to run virtualization and containers to allow self-hosting of various things in the home lab. The options in TOS 6 are both interesting and expected.
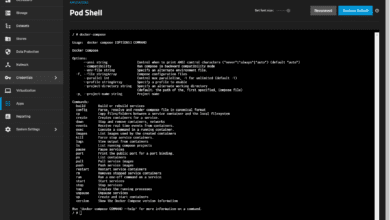
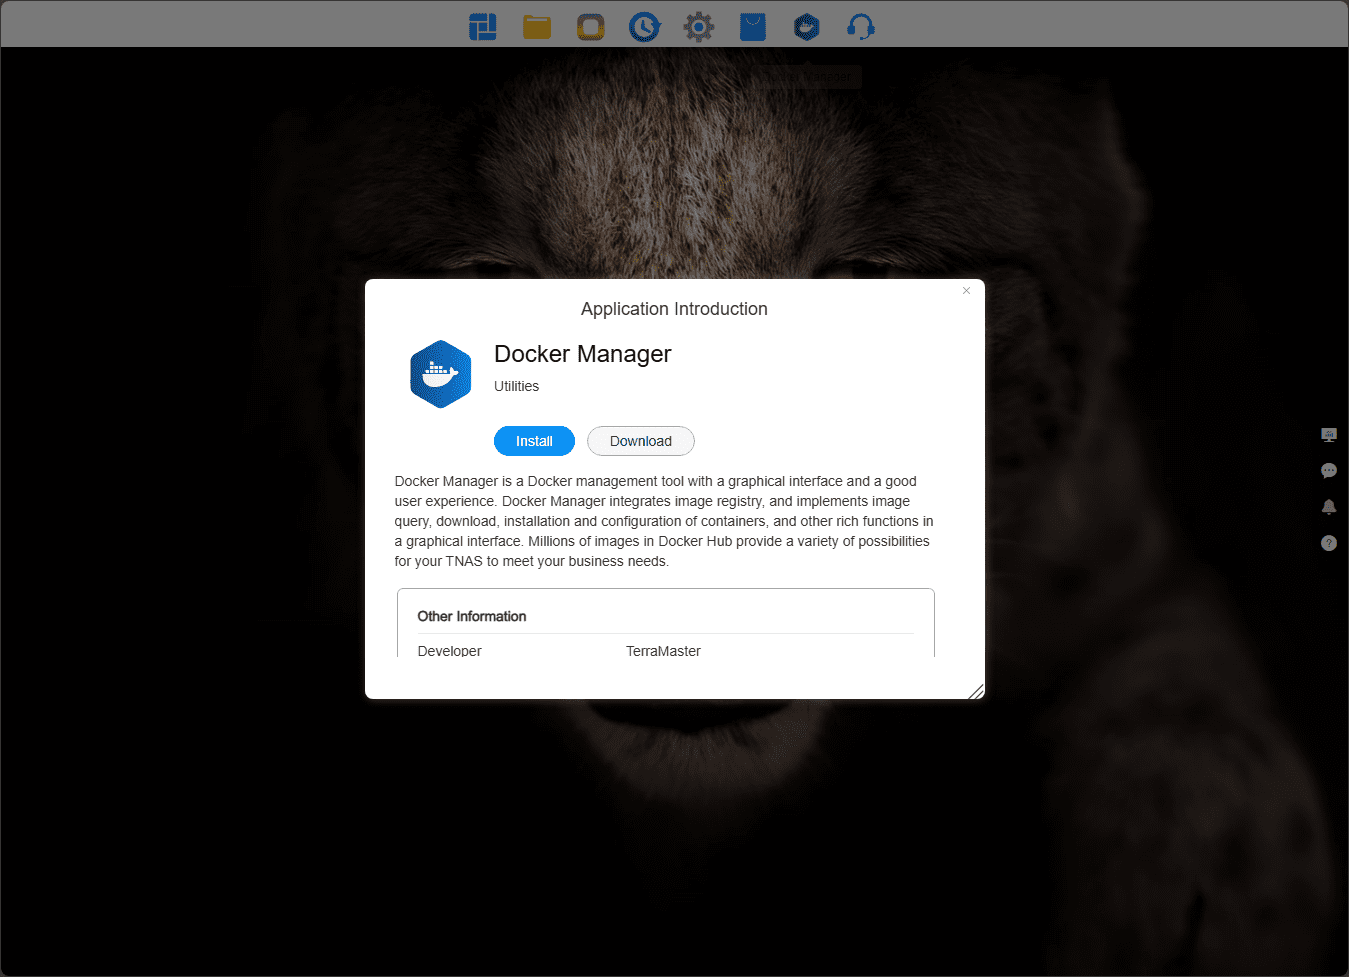
First the expected. They have a Docker Manager app that enables you to run Docker containers easily on your Terramaster F4-424 Max NAS device.
It’s unfortunate that TOS 6 doesn’t have a native virtual machine manager like we have in Synology. However, this is to be expected as well since I think TOS 6 has come a long way, and they are feverishly adding features.
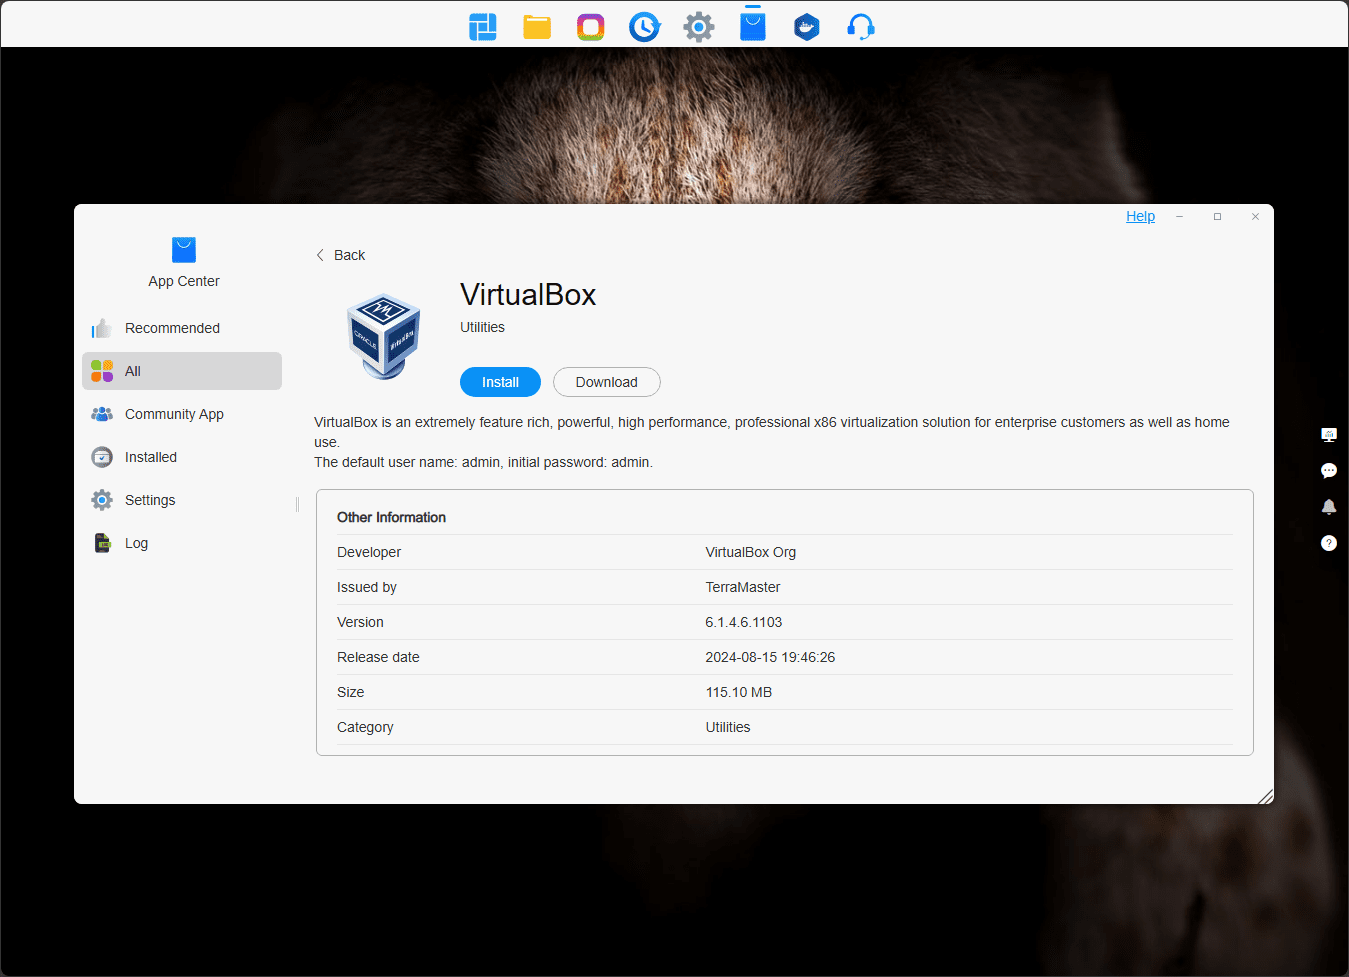
One interesting find, though, is that in TOS 6, VirtualBox is available in the app store, which is pretty cool. VirtualBox is well-known among home labbers and those who like to tinker around with other operating systems and such with a type-2 hypervisor running on their desktop. So, even without a native virtual machine manager, you can use VirtualBox on TOS 6 to run virtual machines.
I haven’t tested the performance of VirtualBox on TOS 6 as of yet, but look for a blog post coming soon on that front.
Networking
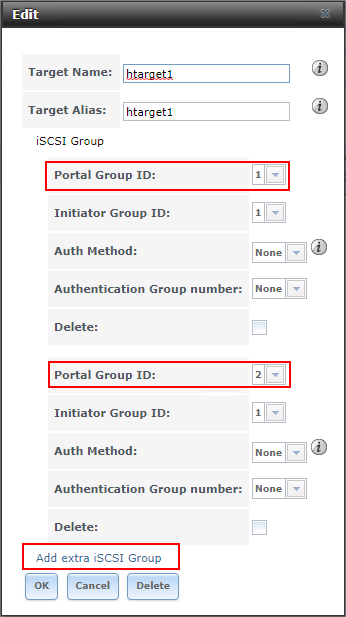
One of the features of this NAS that I definitely want to key in on is the fact that it has not 1 but 2 10 gig connections. I love NAS units that have 10 gig connections, but one of the gripes usually is that on many of them, including the F4-424, you can’t do VLANs. So, you are limited to one access port connection.
However, with the F4-424 Max, you have the (2) 10 gig connections that allow having 2 different networks available, like for iSCSI, etc, so you can separate out different types of traffic from your management traffic.
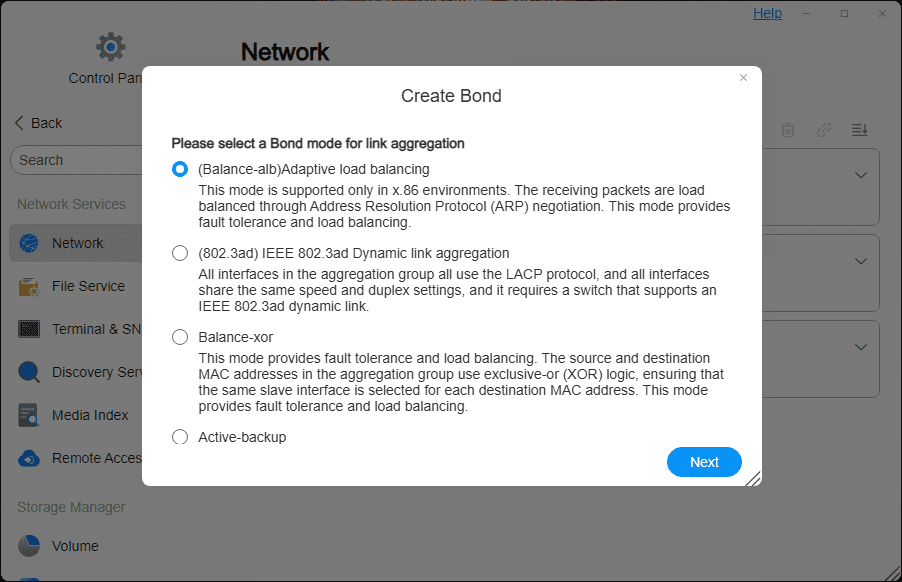
Also, I want to highlight the TerraMaster F4-424 Max and TOS 6 allow you to bond these connections together, which is extremely cool! Take a look at the options below:

Note the options you have below:
- Balance-alb Adaptive load balancing – The receiving packets are load-balanced through Address Resolution Protocol (ARP) negotiation. This mode provides fault tolerance and load balancing
- 802.3ad Dynamic Link Aggregation (LACP) – Uses the LACP protocol, and all interfaces share the same speed and duplex settings
- Balance-xor – Provides fault tolerance and load balancing. The source and destination MAC addresses in the aggregation group use exclusive-or (XOR) logic, ensuring that the same slave interface is selected for each destination MAC address. Provides fault tolerance and load balancing
- Active-backup – you have an active interface, and the other serves as the backup interface for failover. If the active interface fails, the backup interface replaces it as the only active interface in the bond.
TerraMaster F4-424 Max: the good and bad
There is A LOT to like about this little NAS device. I think it has just about the perfect mix of hardware that any in the home lab would love to have if looking for great storage features, performance, and software combination.
The good:
- The Intel i5-1235U processor with 10 cores and 12 threads
- and hardware encoding for Plex Media Server or other media use cases
- The DDR5 memory modules (2) of them with up to 64 GB supported officially
- I’m wondering if it will do 96GB, and I suspect it will
- The (2) 10 gig BASE-T ports
- So you can have not 1 but 2 10 gig connections
- You can bond the connections!
- You can do LACP, awesome
- Good hybrid mix of drive performance
- You get the capacity of spindles
- The performance of NVMe drives
- It can also run 3.5 inch hard drives and 2.5 inch drives/ SSDs
- Good power consumption
The bad
- TOS 6 still has some growing to do
- No native virtualization app
- Documentation and setup processes could be better and easier
- Email options need more possibilities
Price
The price tag for the Terramaster F4-424 Max NAS is $899 retail, but Trramaster has it for $799 on their official site here: F4-424 Max – PRODUCTS (terra-master.com).
Video review
Wrapping up
The TerraMaster F4-424 Max review was definitely one I was looking forward to. I think TerraMaster has a very successful NAS device in the F4-424 and the Max version of the model has a lot of horsepower in the 10 core Intel Core i5-1235U processor. Also, you have a great mix of performance and capacity with the spindles and M.2 drives. The ability to bond and LAG the (2) 10 gig adapters is a great addition as well.