Proxmox Backup with Veeam Backup & Replication 12.2
One of the really cool new features that Veeam has added with Veeam Backup & Replication 12.2 is native Proxmox backup that is agentless. In other words, you don’t have to install agents inside your guest virtual machines to back these up in Proxmox. The Proxmox backup experience is very similar to what we have come to expect with Veeam backing up very mature hypervisors like VMware vSphere. Let’s take a look at the Proxmox backup feature that has been added and see how to add our Proxmox server, back up a virtual machine, and restore a virtual machine in Proxmox.
Adding your Proxmox server to Veeam Backup & Replication 12.2
Now, we can add Proxmox VE server to our managed servers in Veeam. Let’s look at that process.
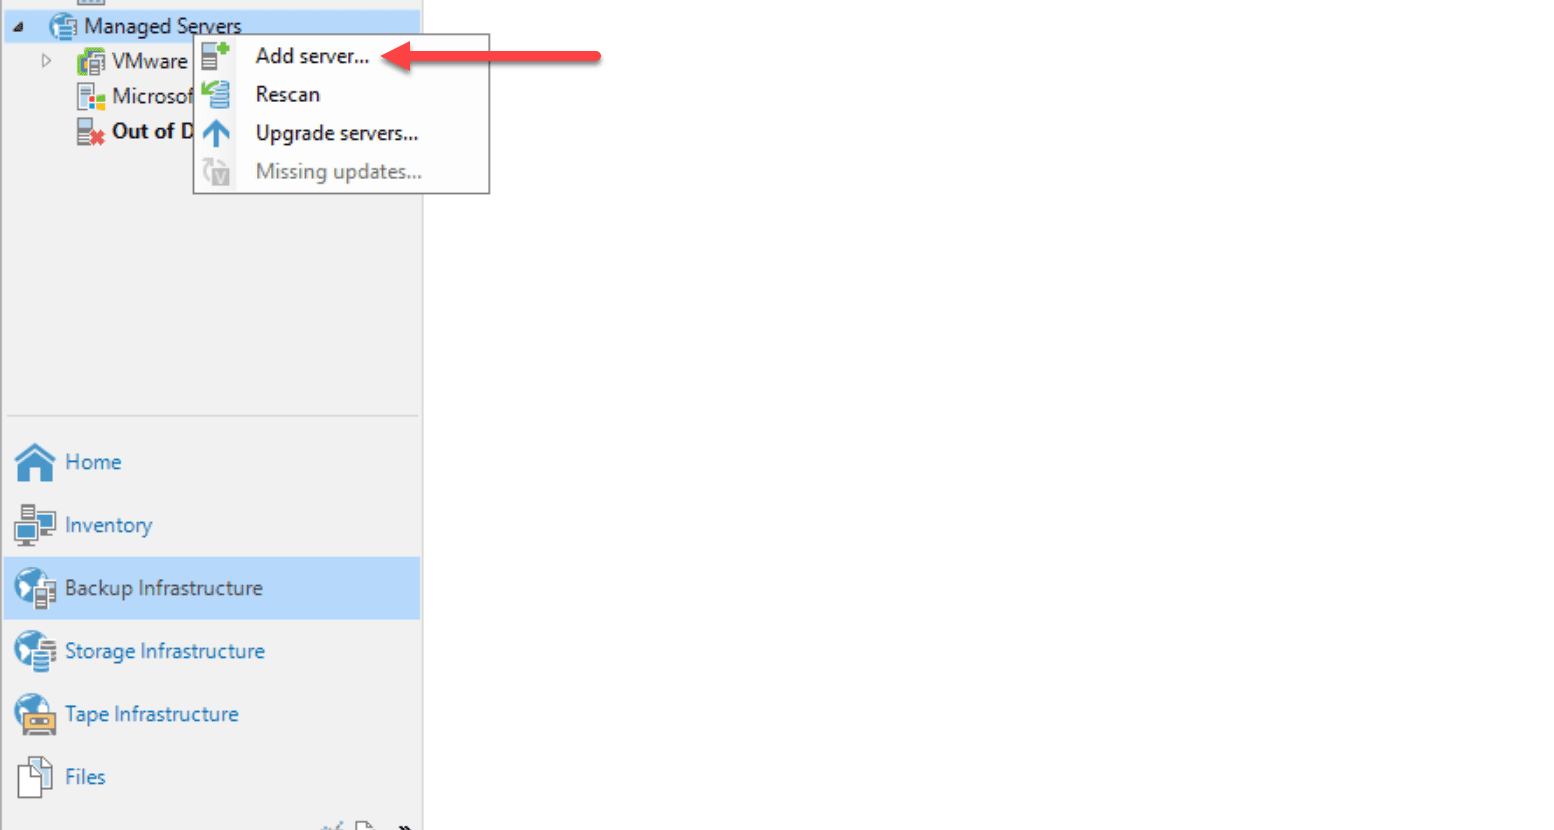
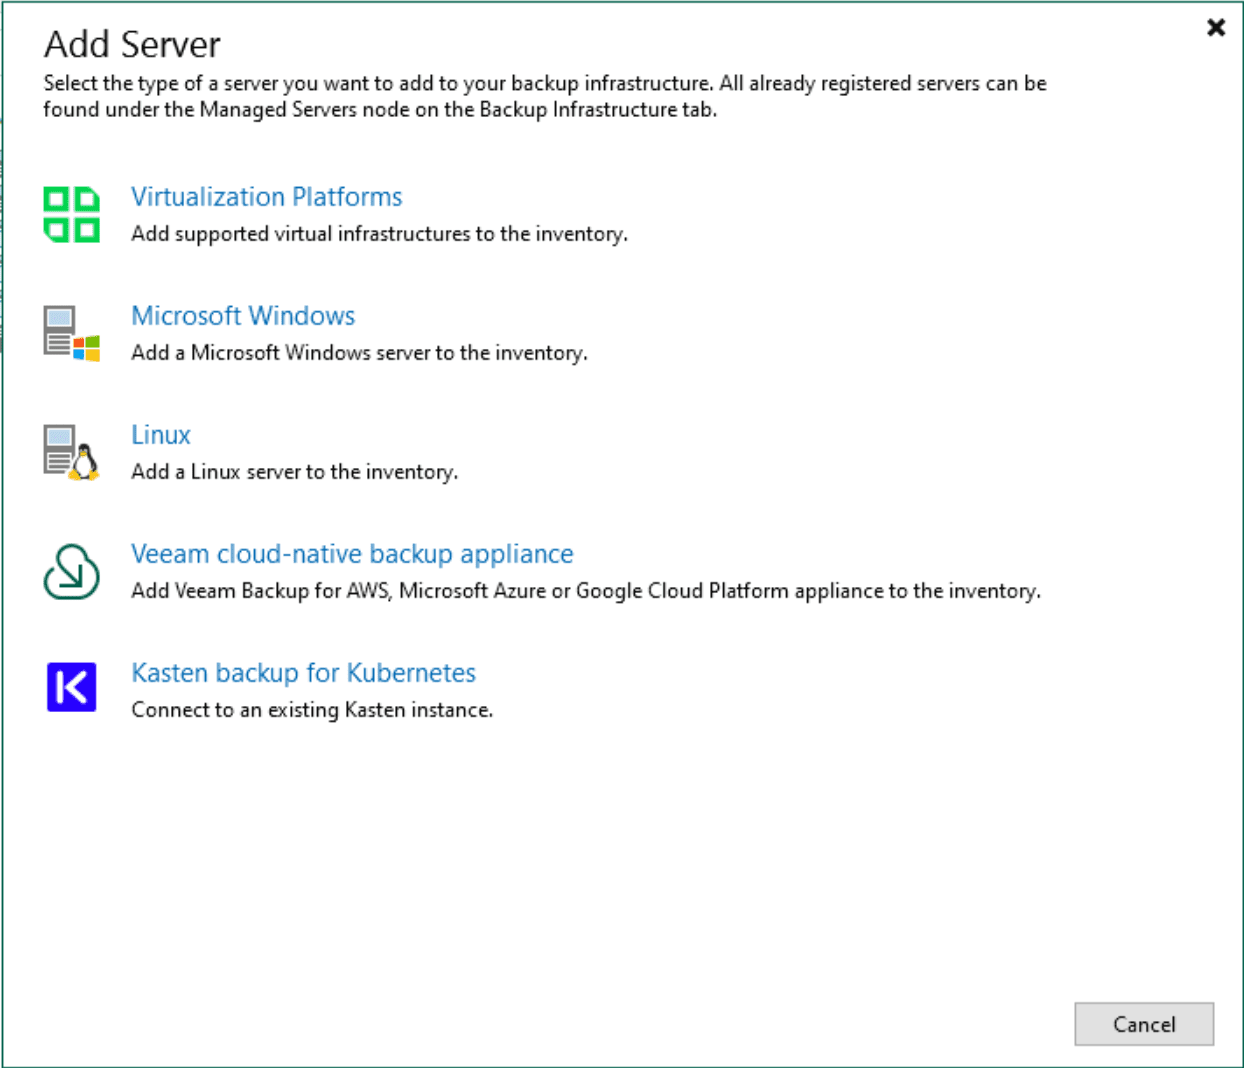
This will bring up the Add Server wizard. Here we want to choose Virtualization Platforms.
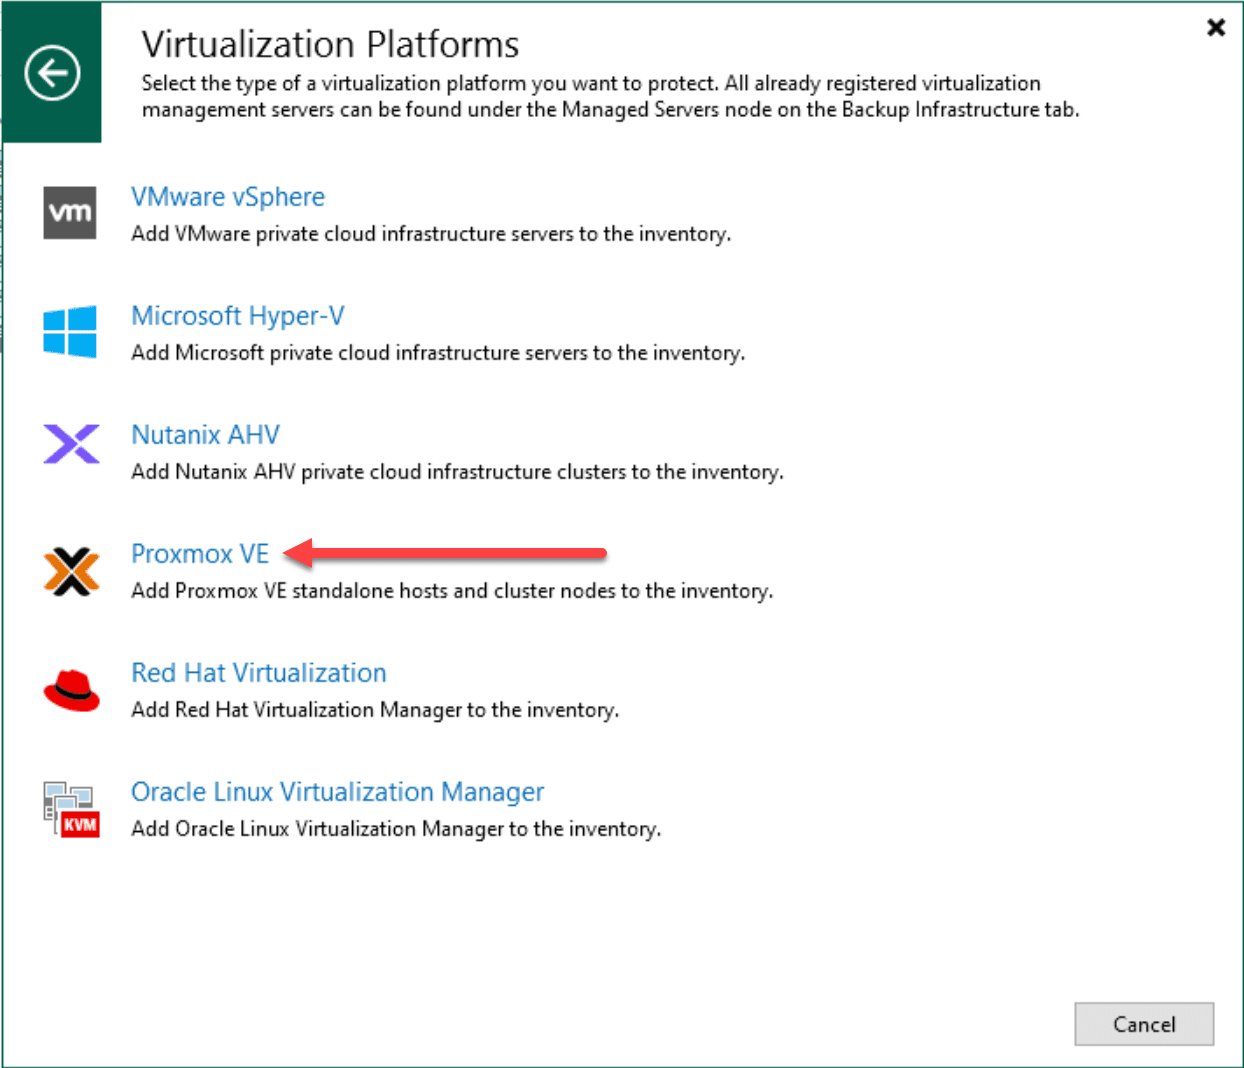
Next, we can select Proxmox VE.
This will launch the new Proxmox VE server wizard. On the first screen we want to enter the DNS name or IP address of the Proxmox VE server host.

You will need to add your credentials to connect to your Proxmox server if you have not done that already. Just click Add and add your username and password.

Accept the SSH key fingerprint.

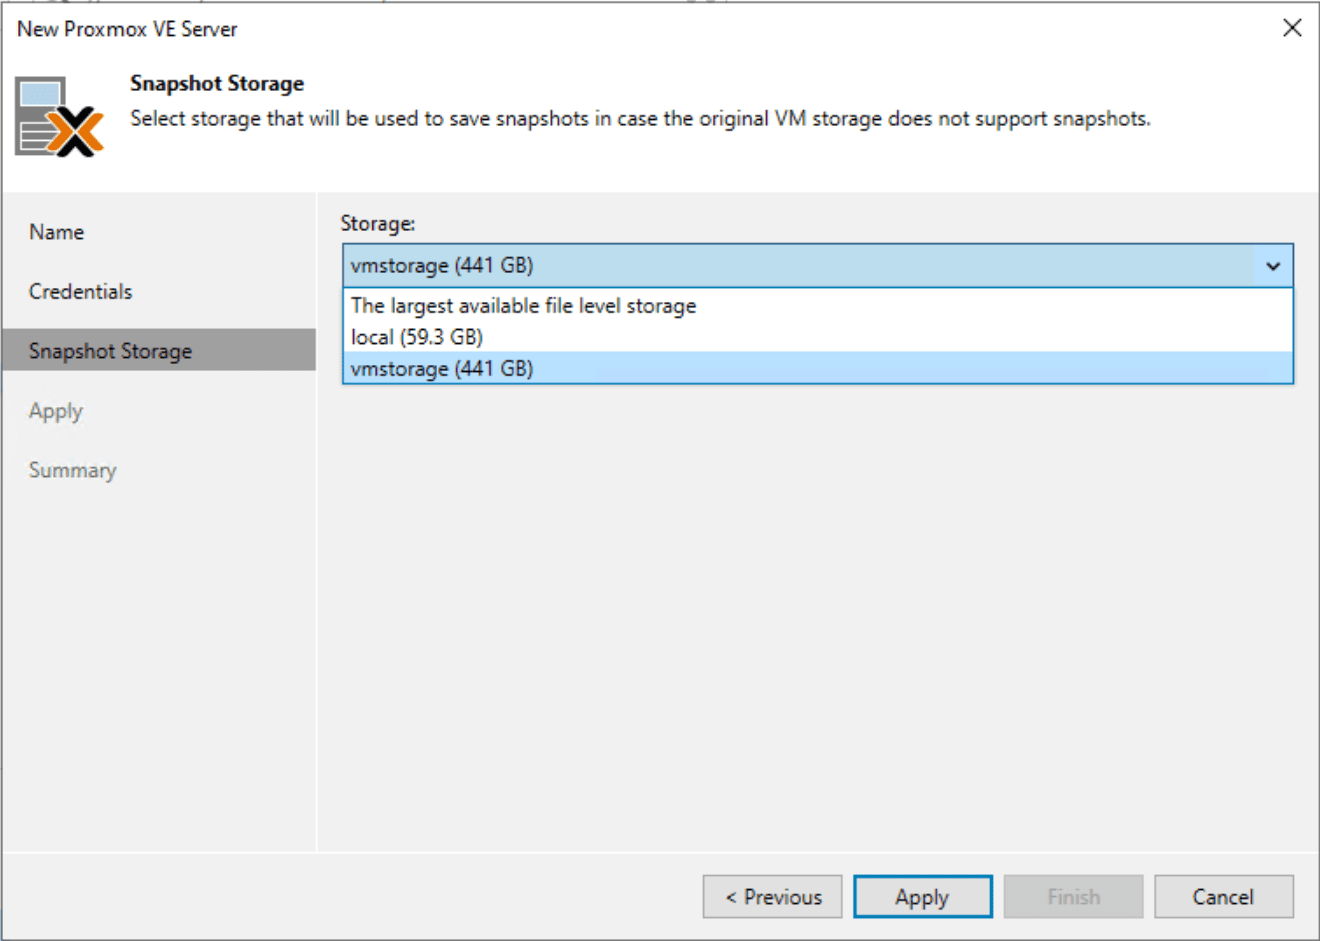
Select your snapshot storage.
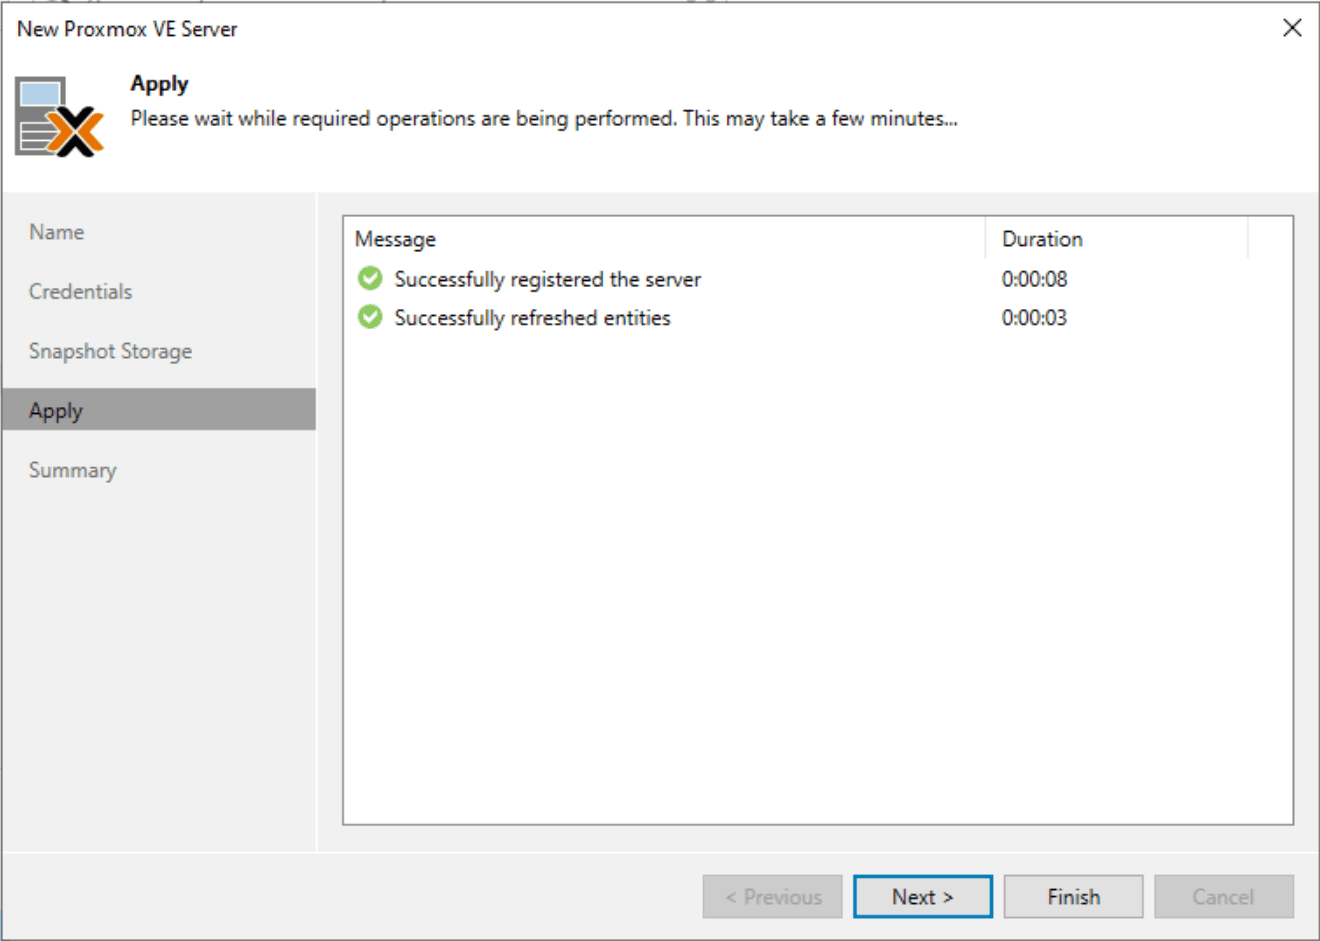
The Proxmox VE Server host is successfully registered.
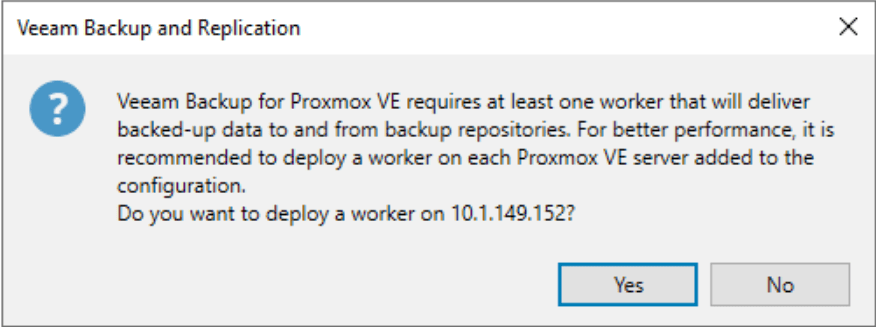
Adding a new Proxmox VE Server worker node
Veeam Proxmox VE backups have the concept of worker nodes. These are like the Veeam proxies that we are used to working with in the VMware vSphere world using Veeam.
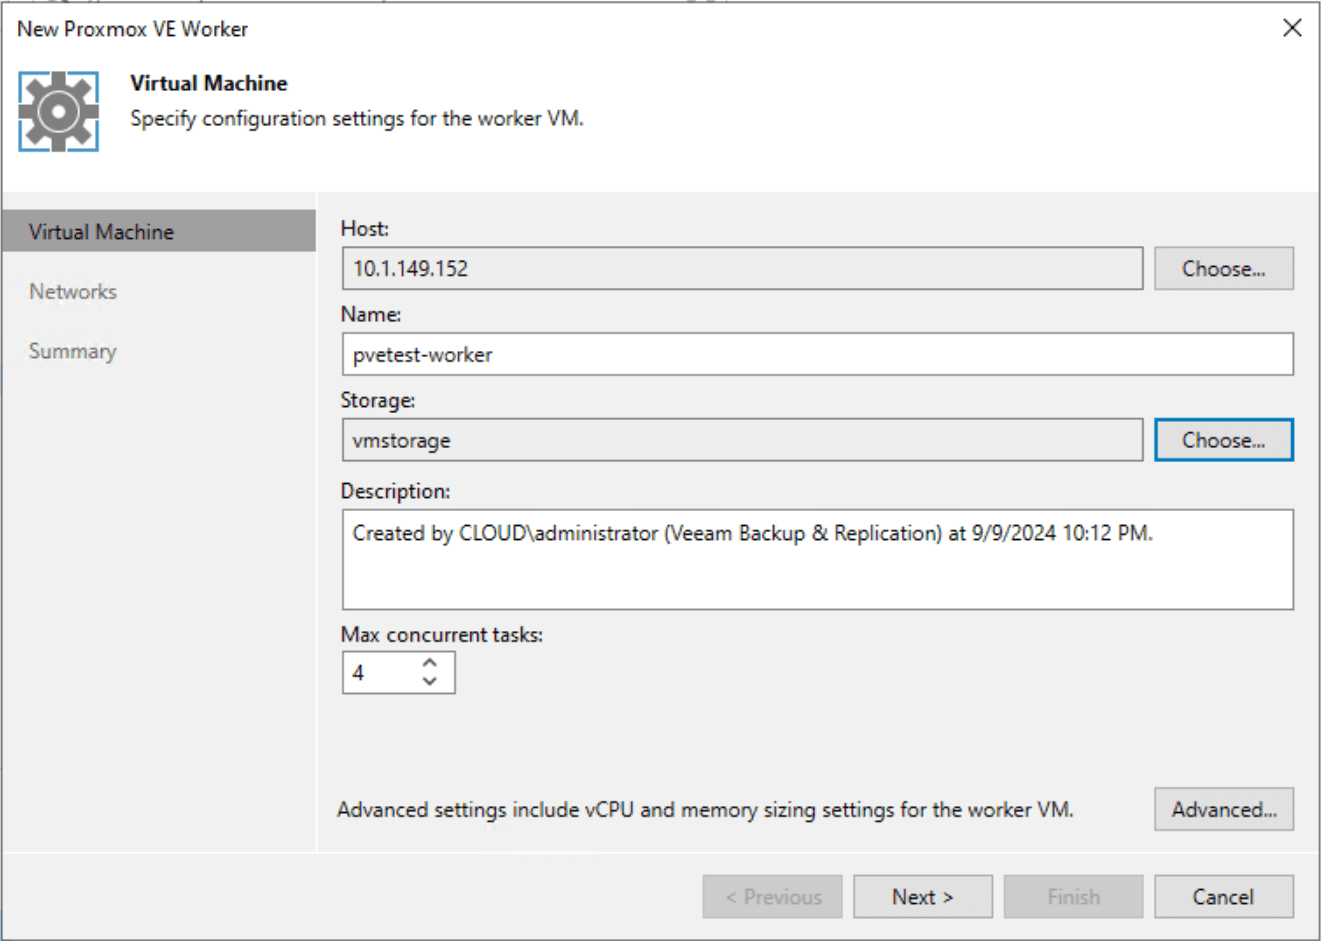
When you choose to add a new Proxmox VE Worker, it will launch the wizard to add the new worker VM. You choose the destination host, name of the worker, storage on the Proxmox host, etc.
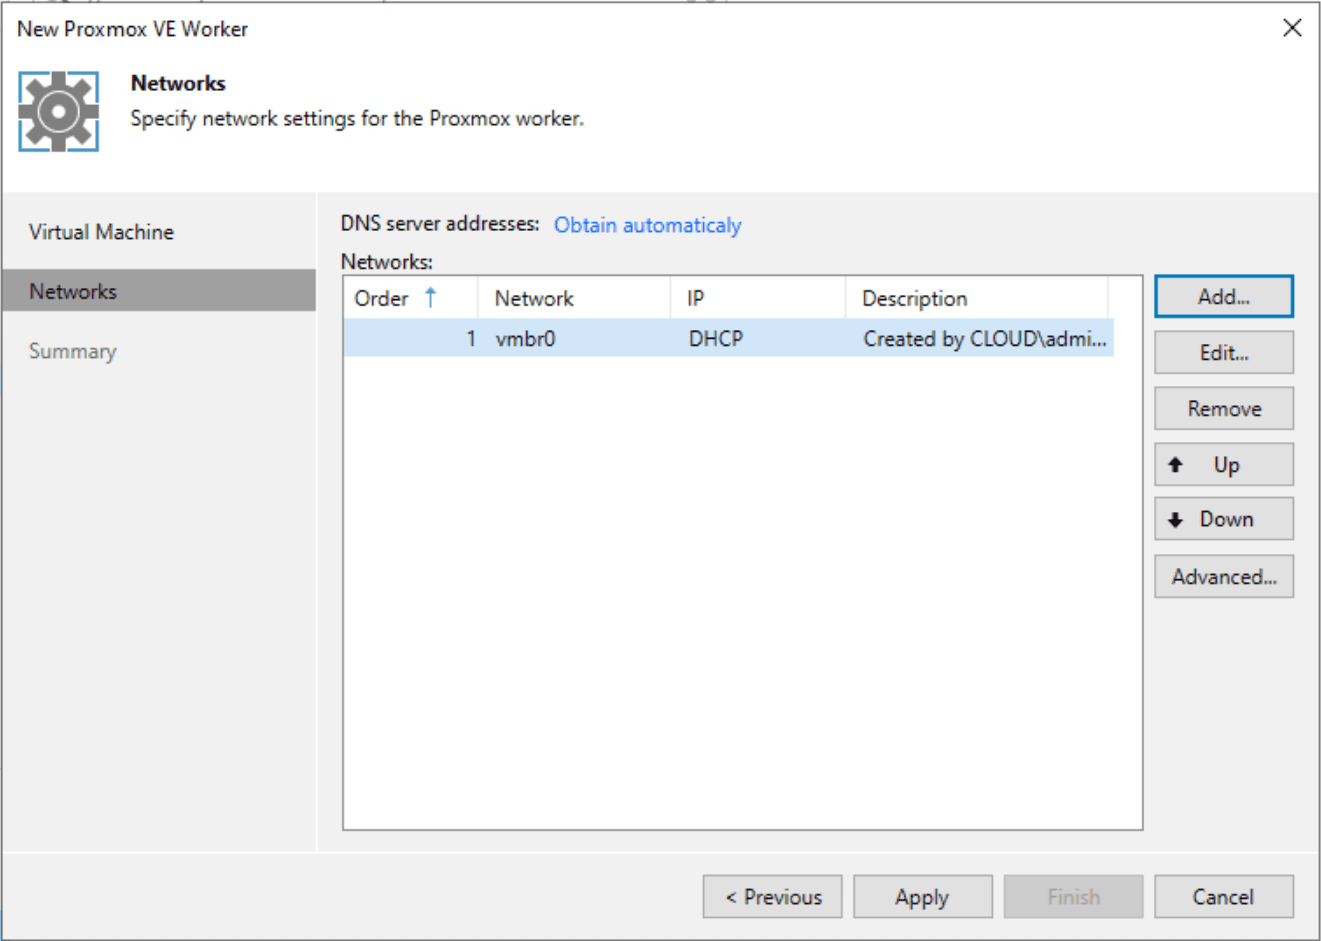
On the Networks configuration, you will be able to Add a new network configuration for the worker. When you click Add, it will launch the network settings dialog box that allows you to configure the network connection using DHCP or specify a static IP address configuration.
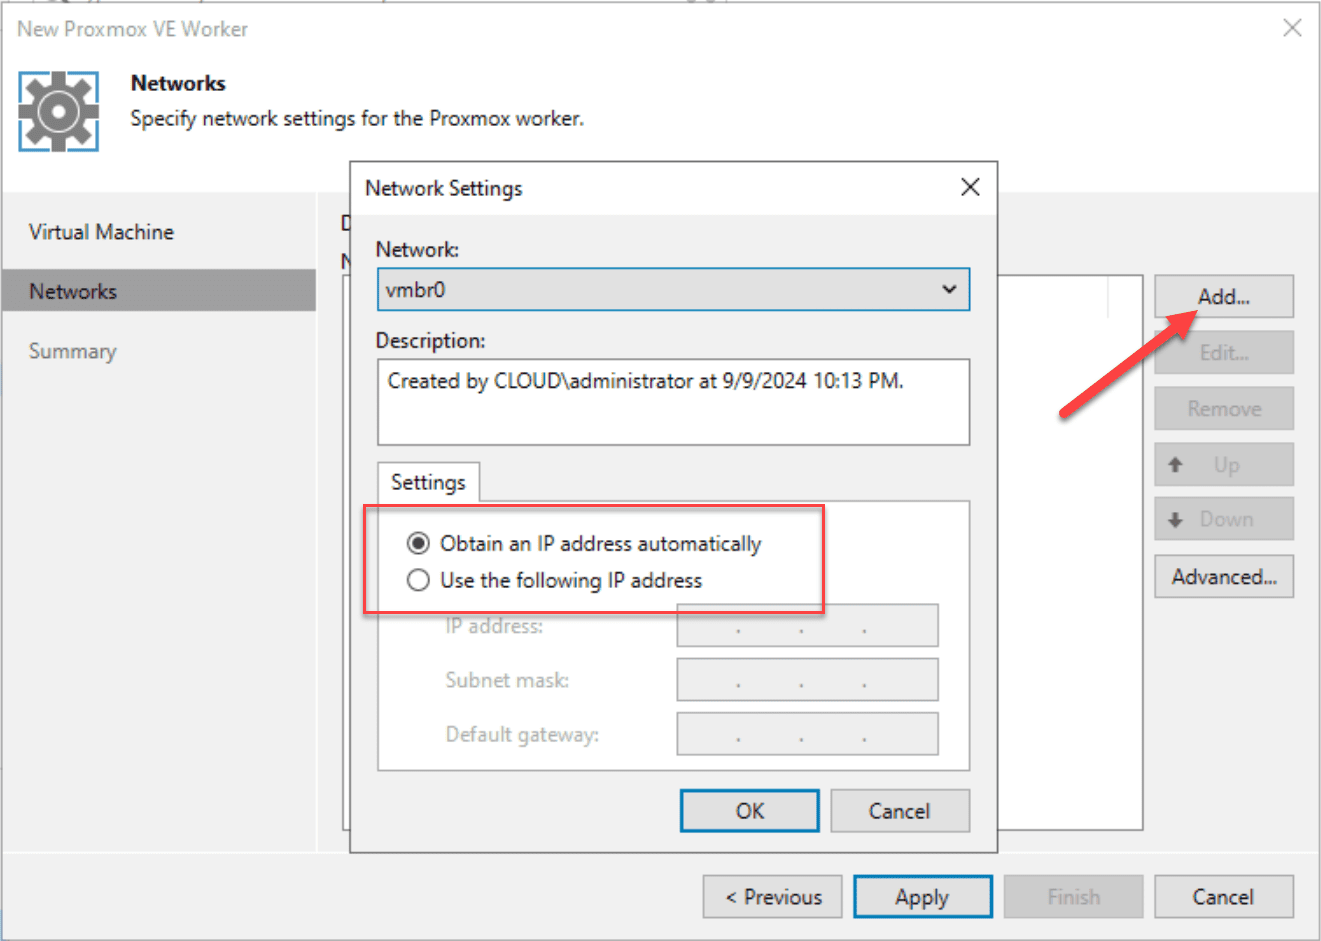
Below, we have added the network configuration using DHCP.
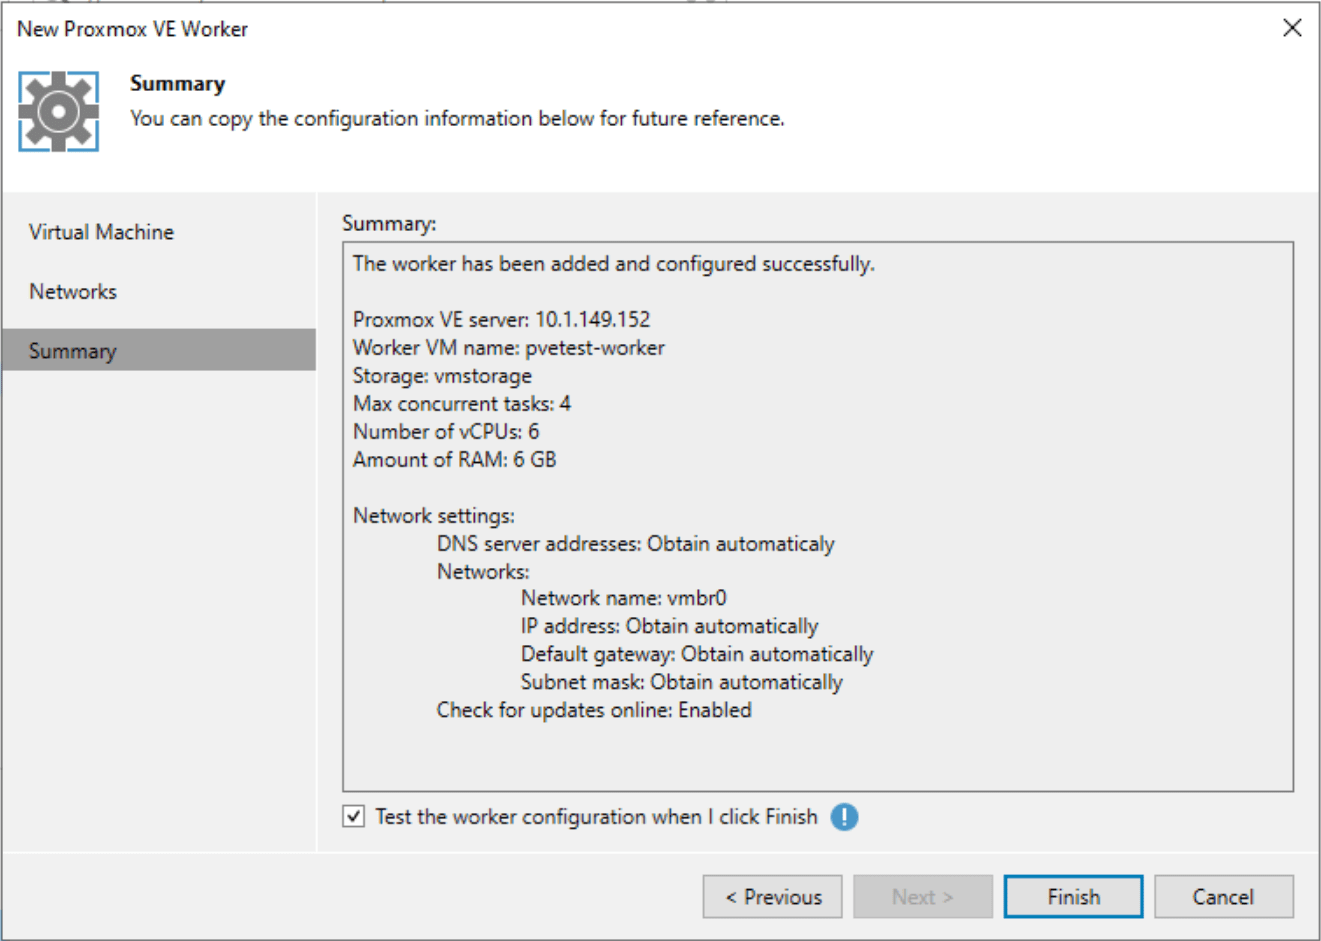
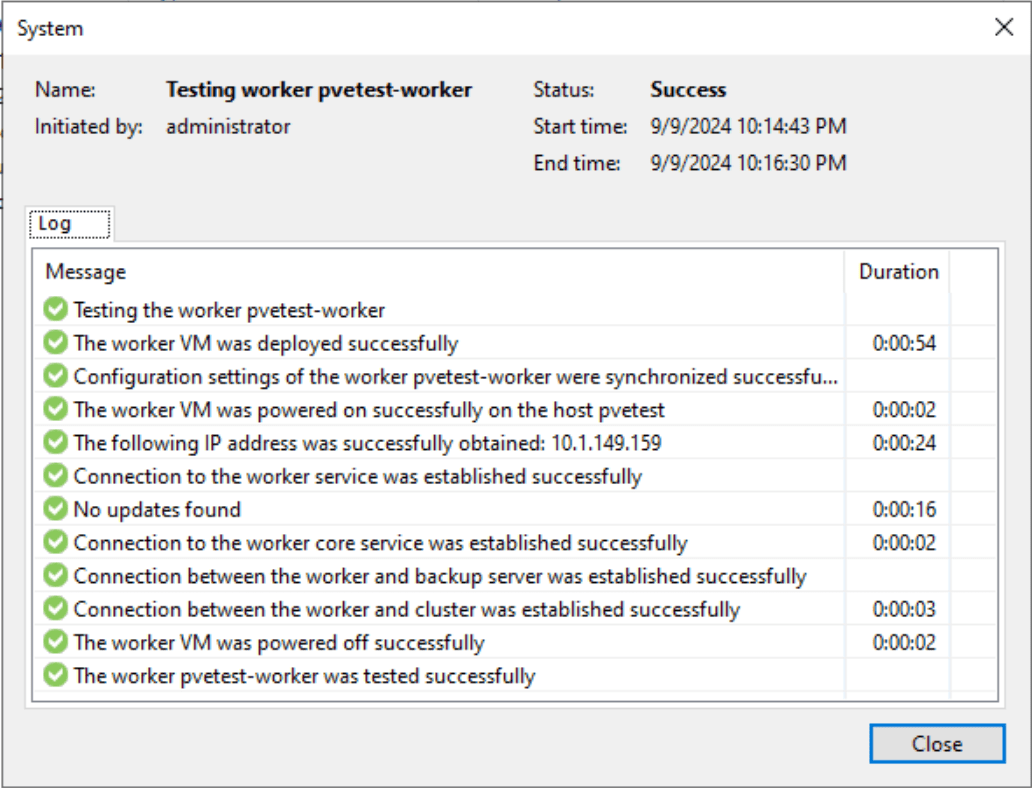
Next, we get to the summary screen to review our settings. Note the checkbox Test the worker configuration when I click Finish. This will test the configured settings and make sure everything is good.
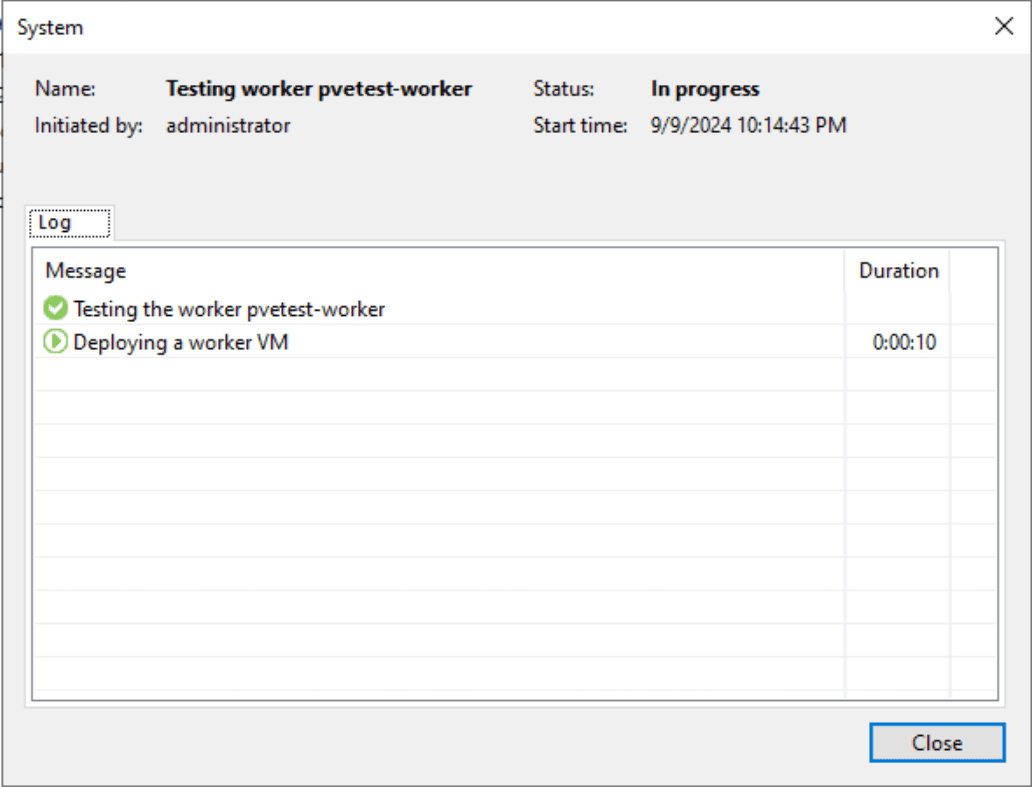
Test of the worker configuration is successful and the deployment of the worker begins.
If you flip over to your Proxmox web interface, you will see the new pvetest-worker VM that I named it spun up.
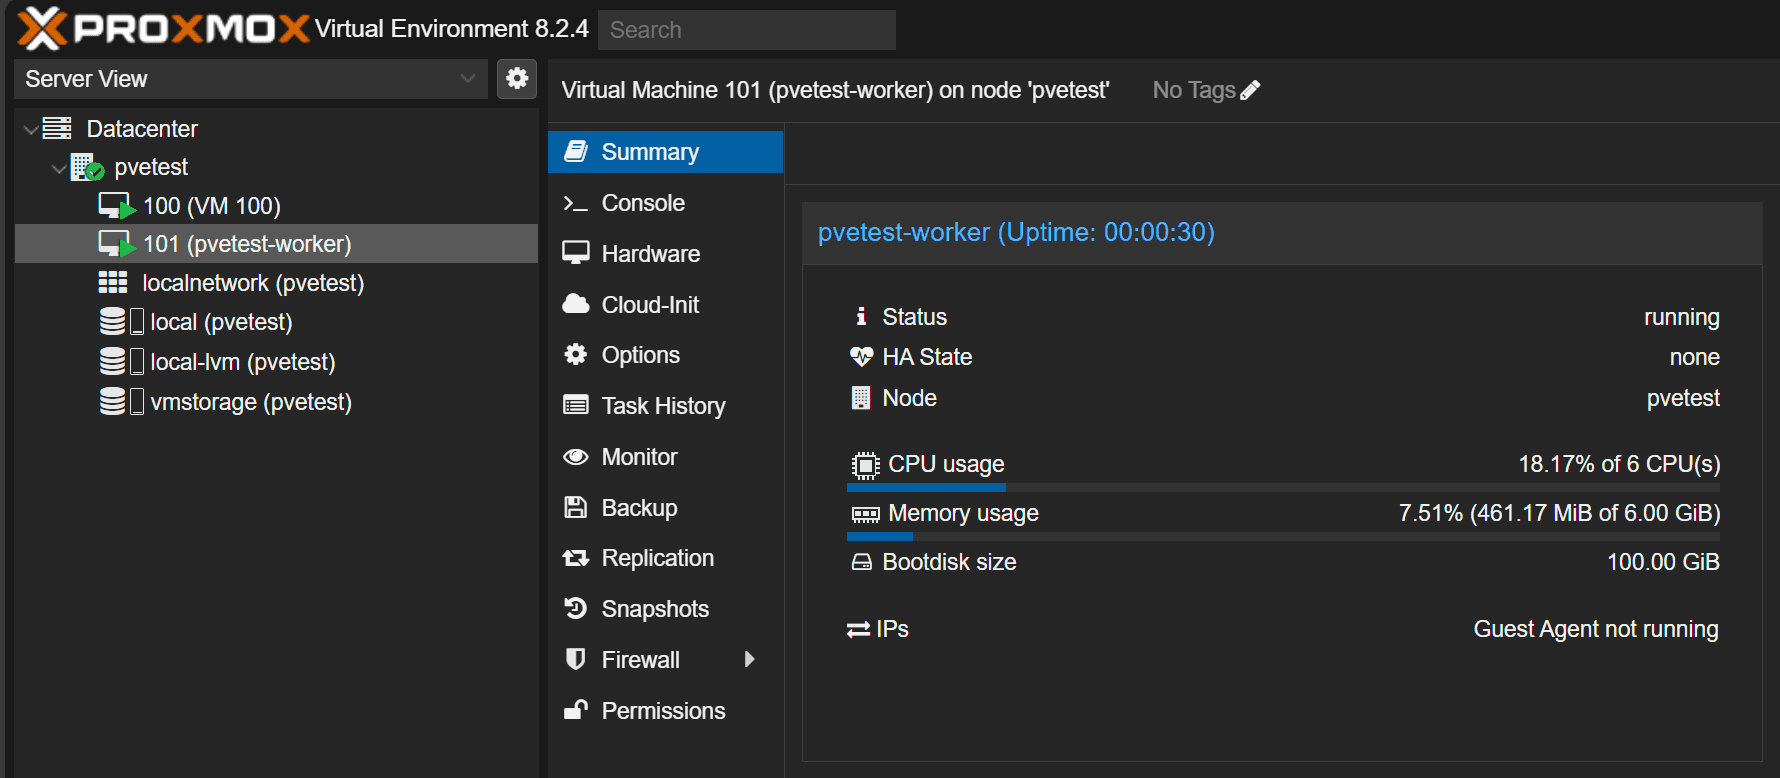
The deployment of the Proxmox backup worker in Veeam is successful.
Creating a Proxmox Backup Job in Veeam
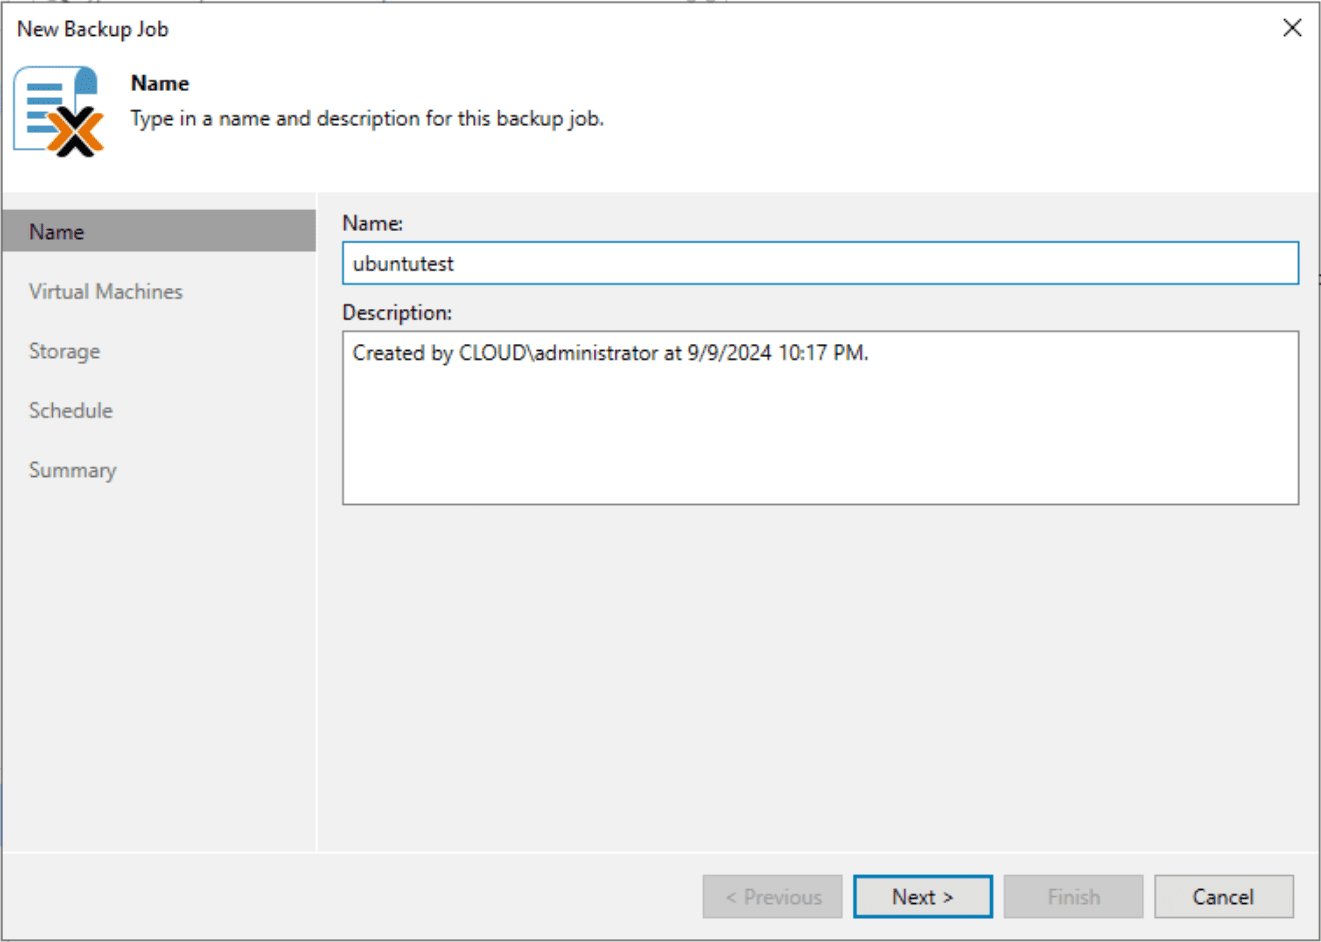
Now that we have our Proxmox backup infrastructure configured in Veeam, along with the worker VM in Proxmox, let’s create a new Proxmox backup job. Type the name of the job.
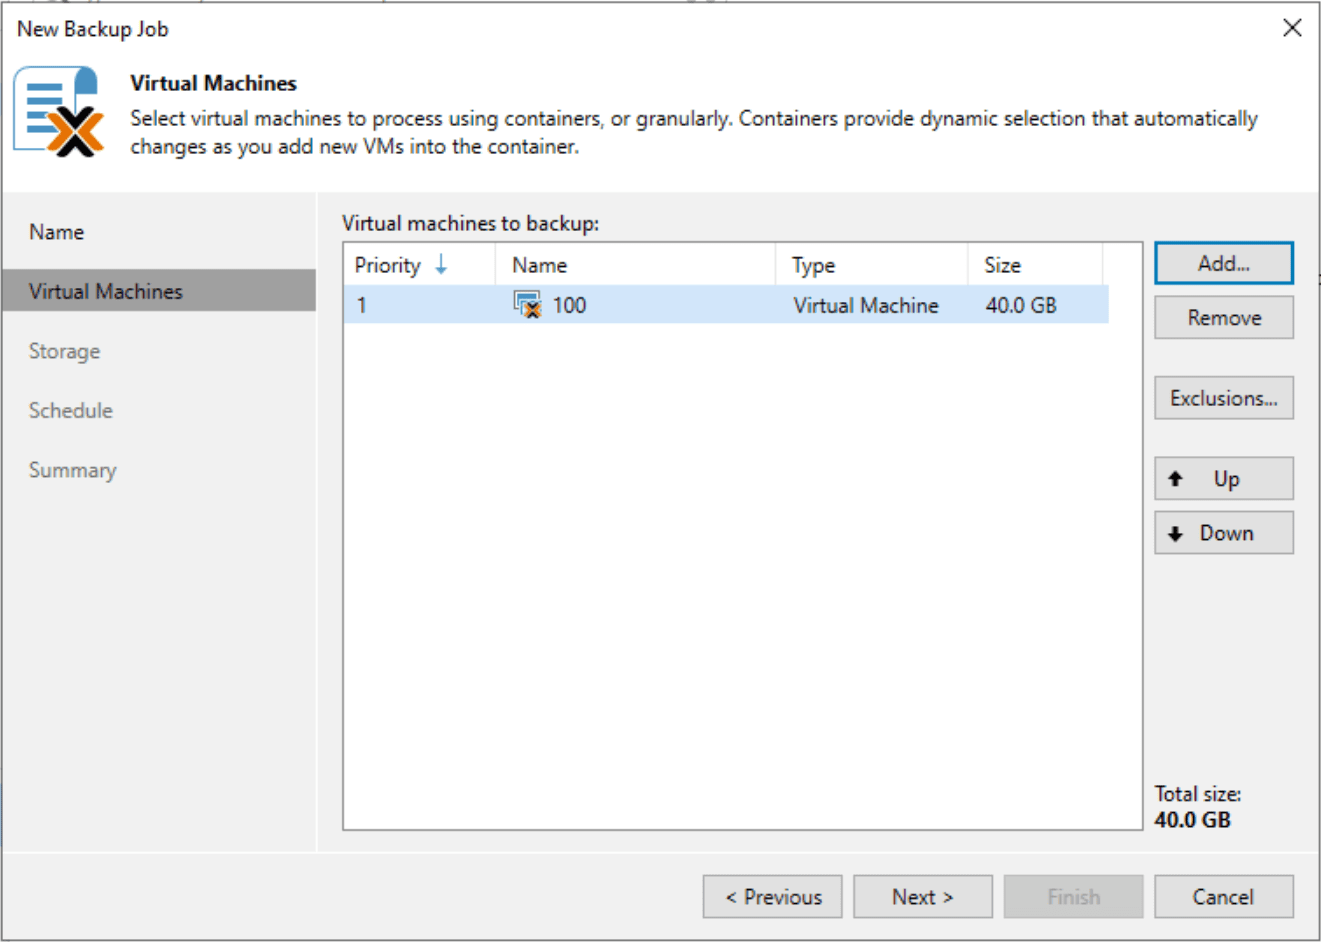
Next, we will need to pick the VM or VMs that we want to add to the new Proxmox backup in Veeam. Click the Add button.
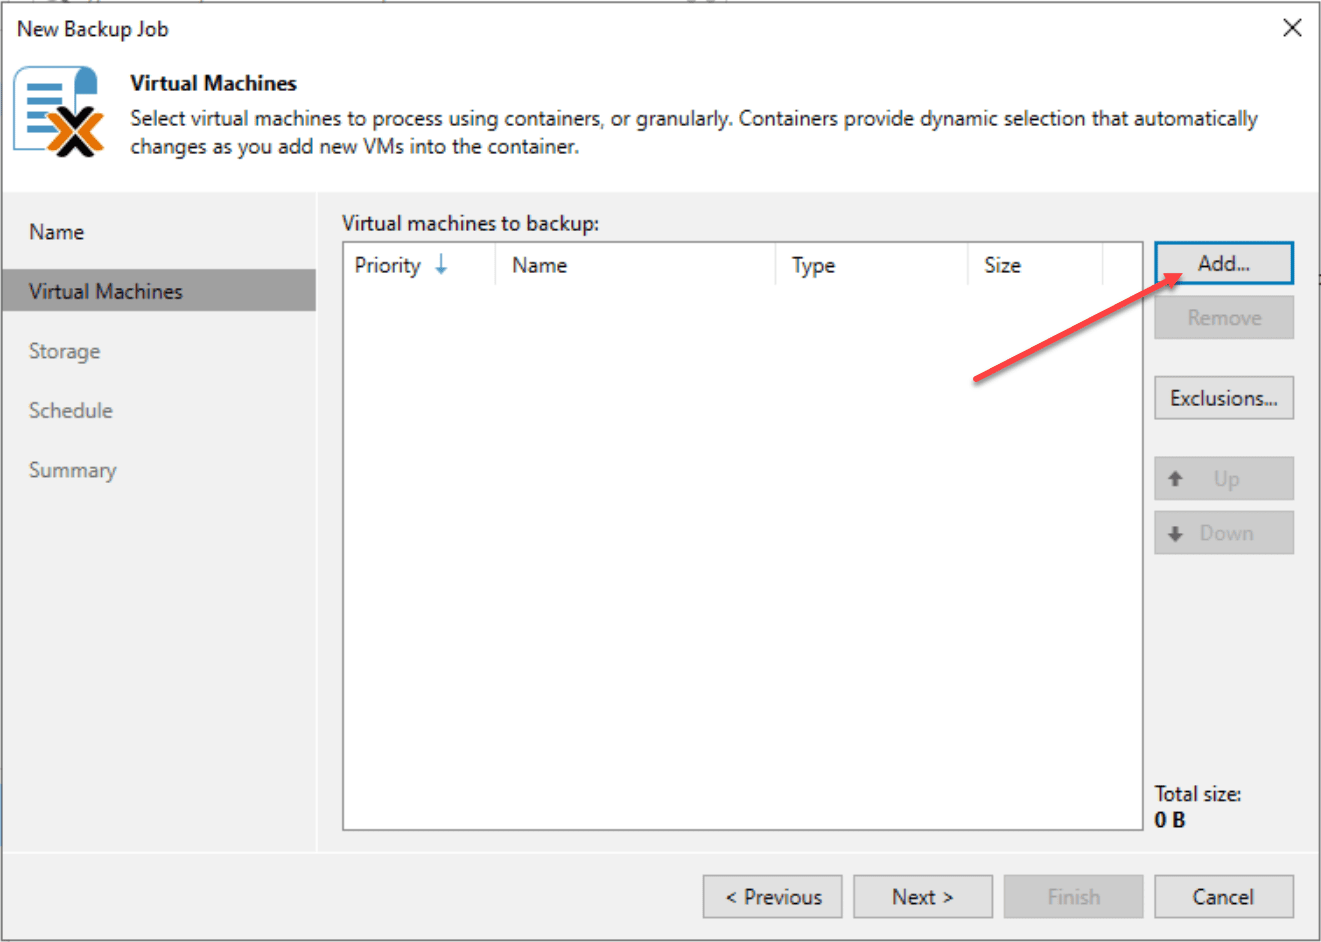
This will bring up the Add Objects dialog box that will allow us to choose from the virtual machines running on our Proxmox host.
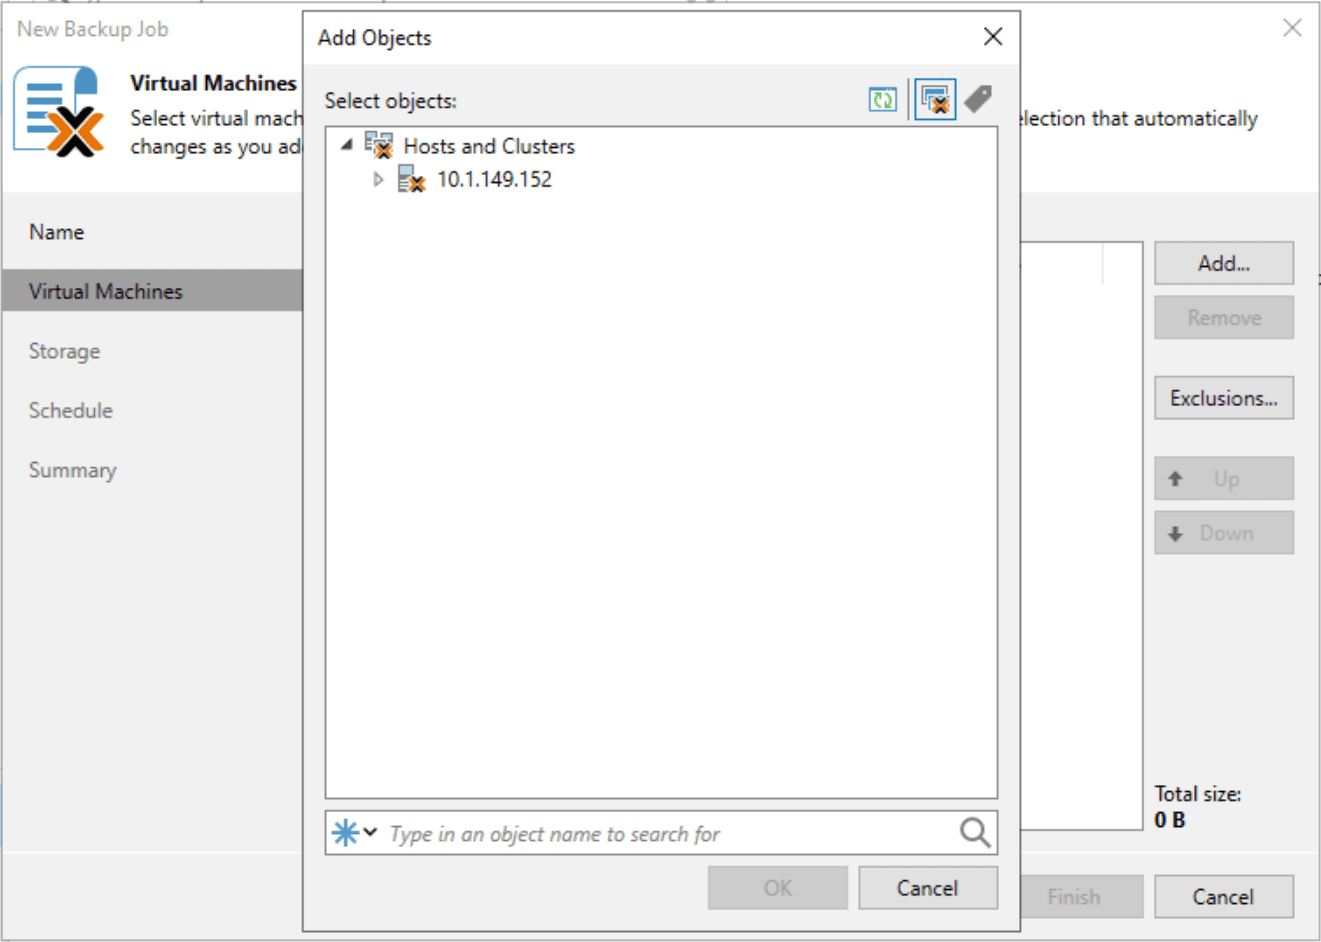
Now, I have added the virtual machine I want to back up using Veeam.
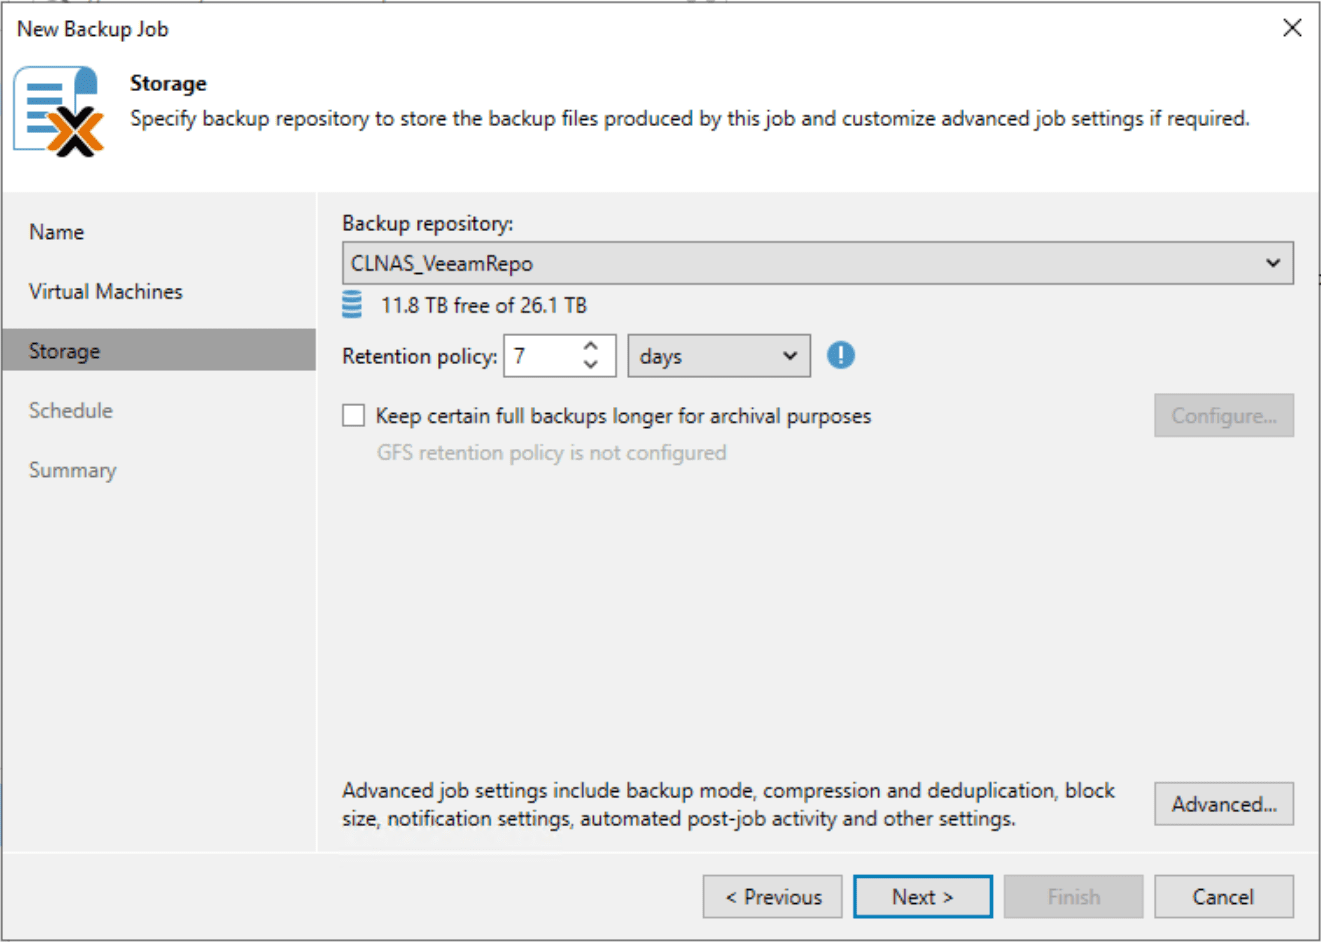
Next, choose the backup storage where you want to store the Proxmox backup. Also, on this screen we choose the retention policy and period that we want to use for the backup.
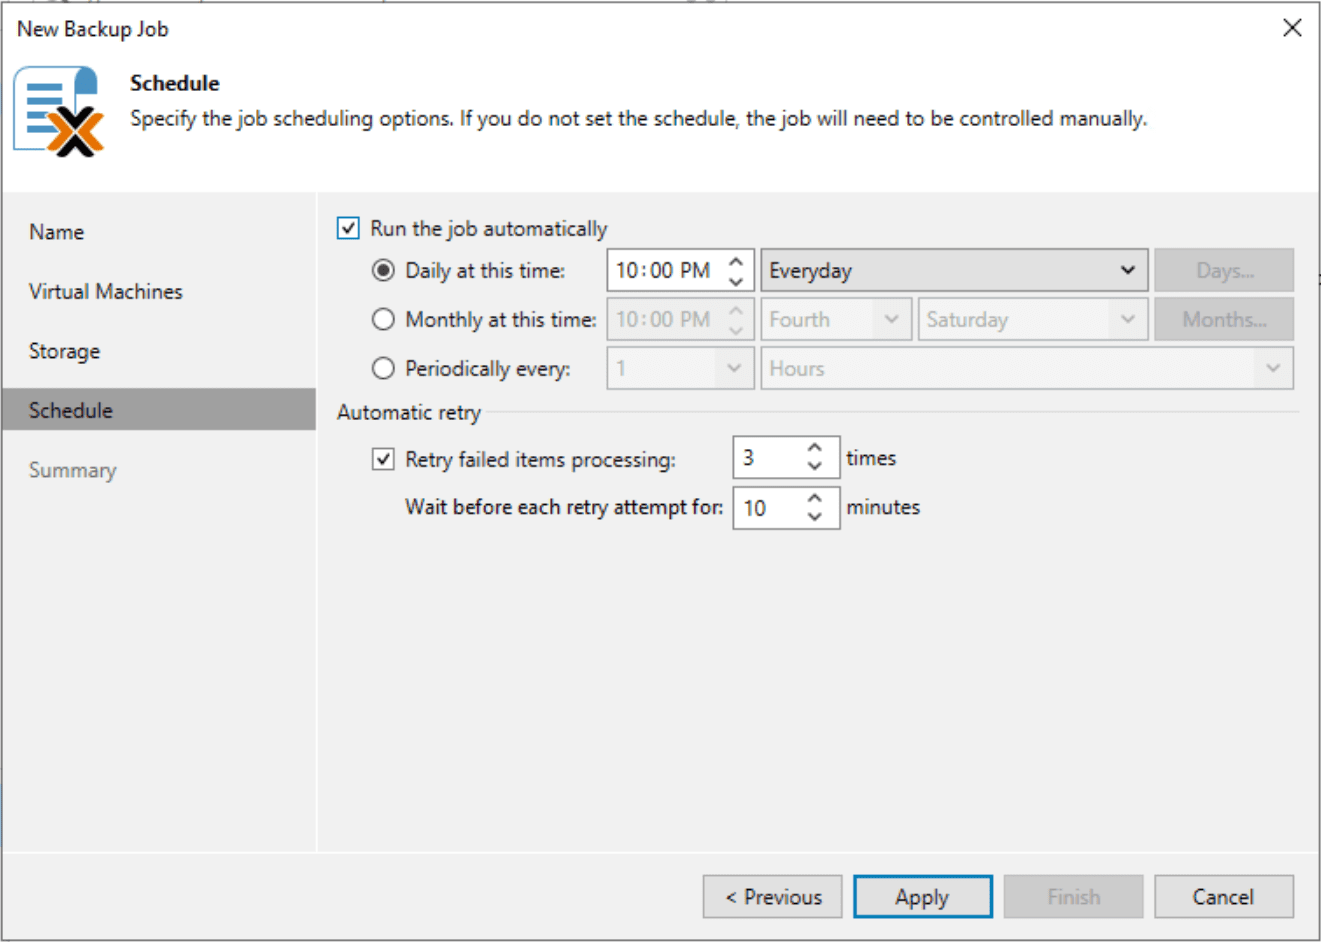
Next, we can schedule the backup.
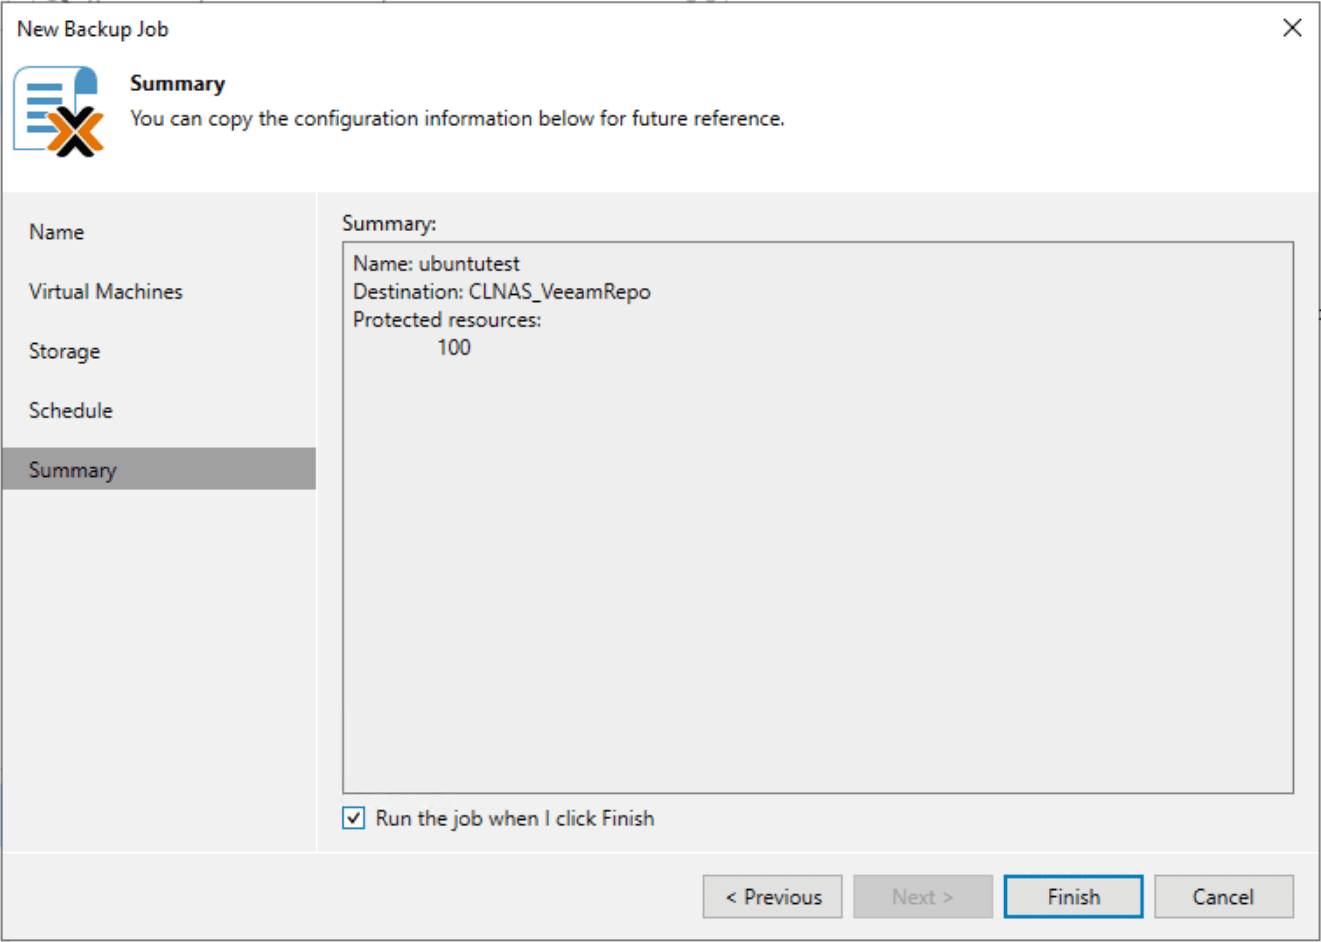
Finally, we get to the summary screen to review the backup settings. You can also check the box to Run the job when I click Finish to kick it off as soon as the job is created. Click Finish.
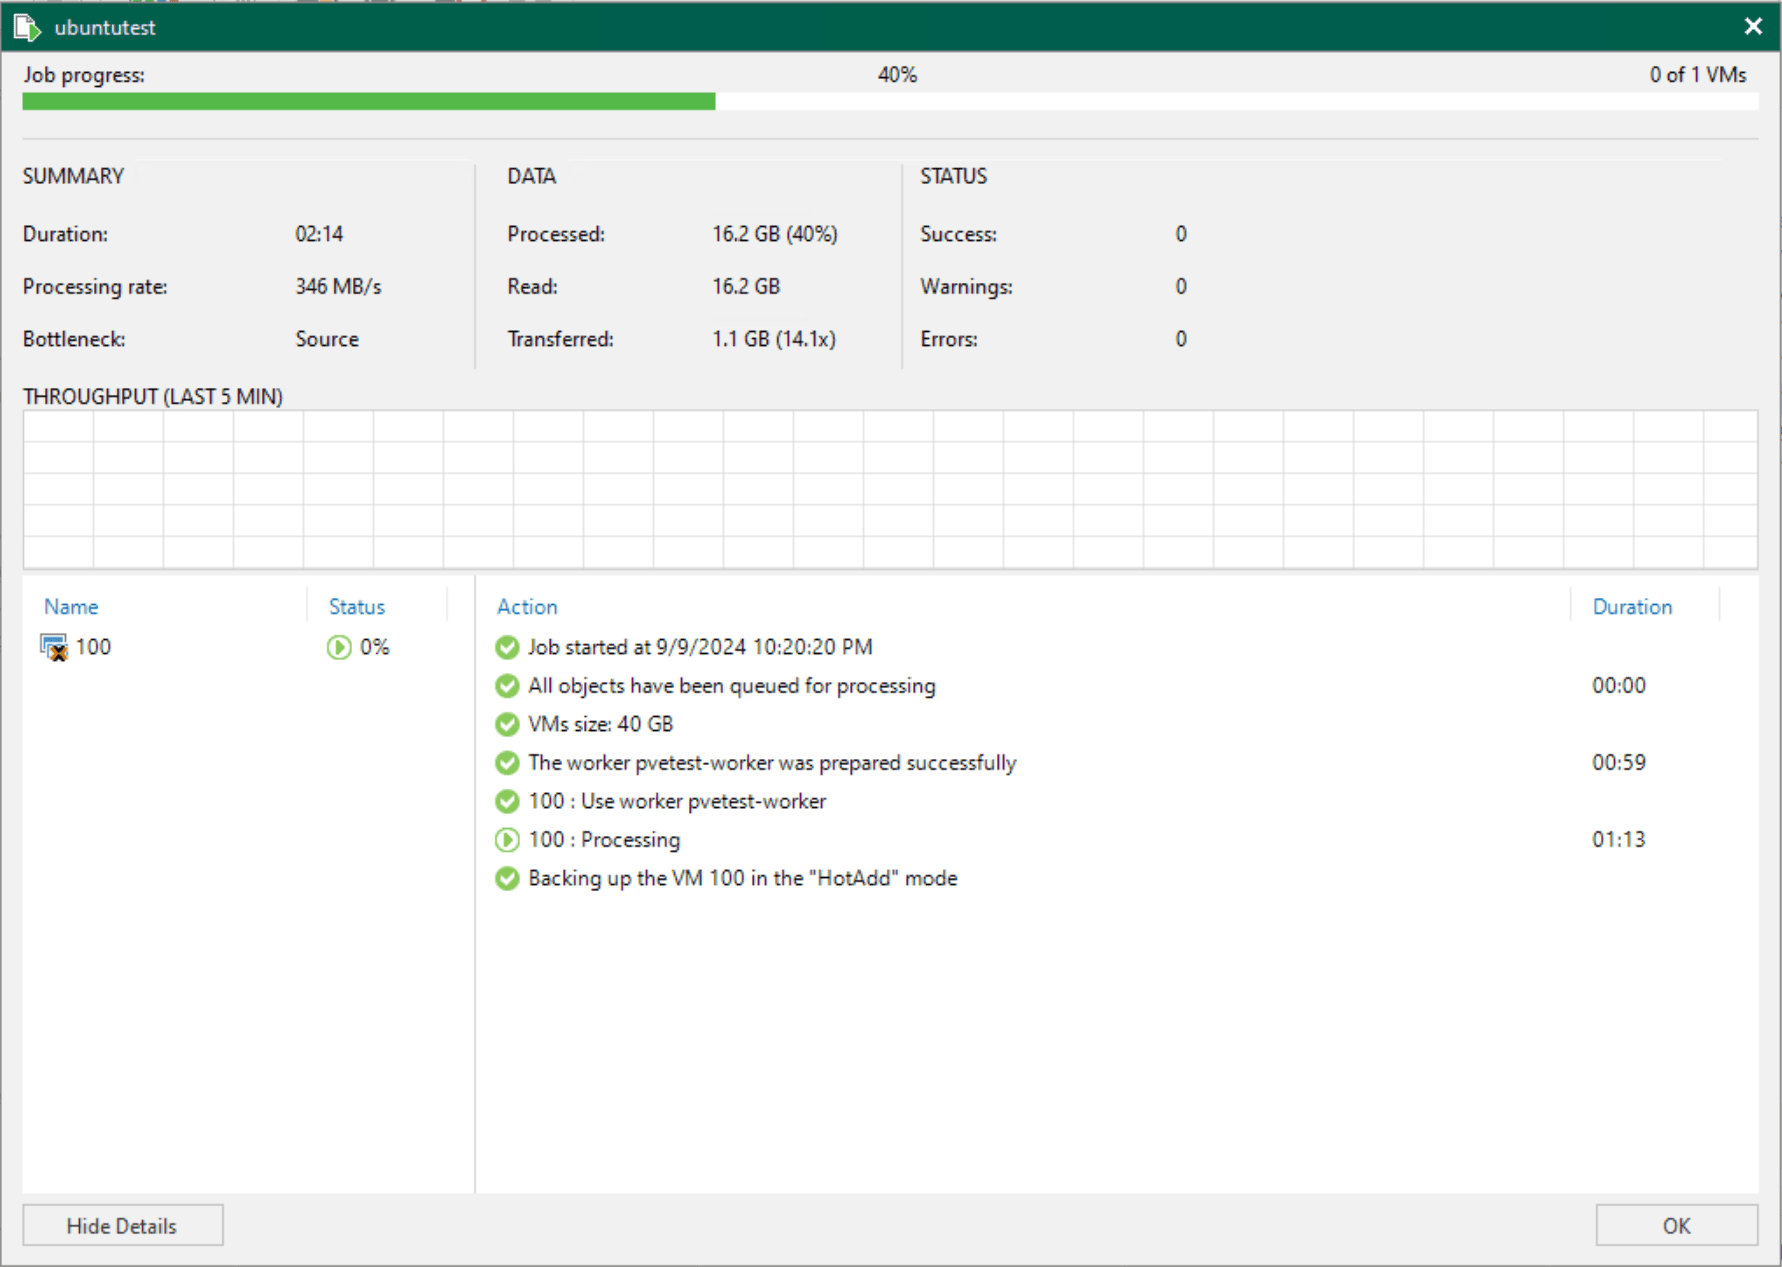
The Proxmox backup job kicks off and we see the pvetest-worker is being used for the backup process in “HotAdd” mode.
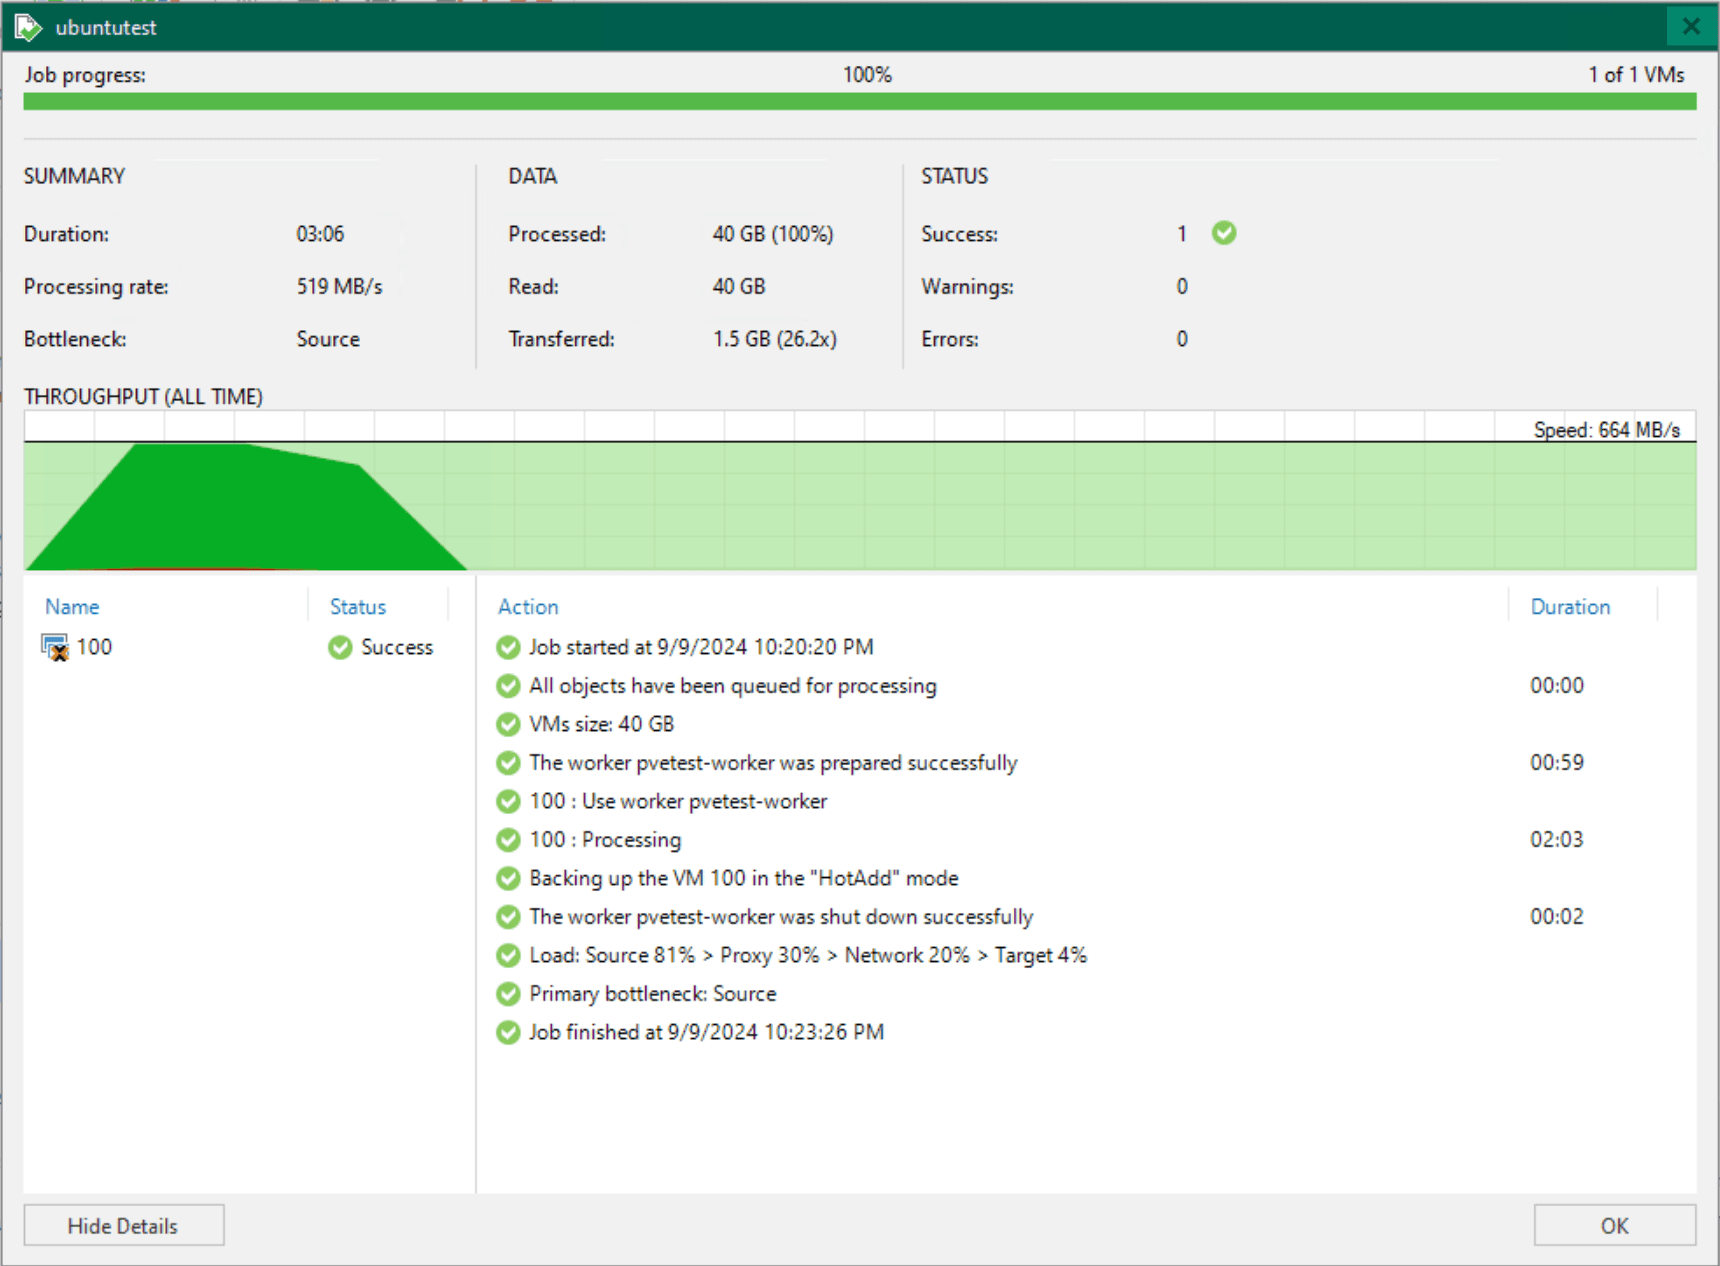
The backup job completes successfully.
Restore a Proxmox Backup using Veeam
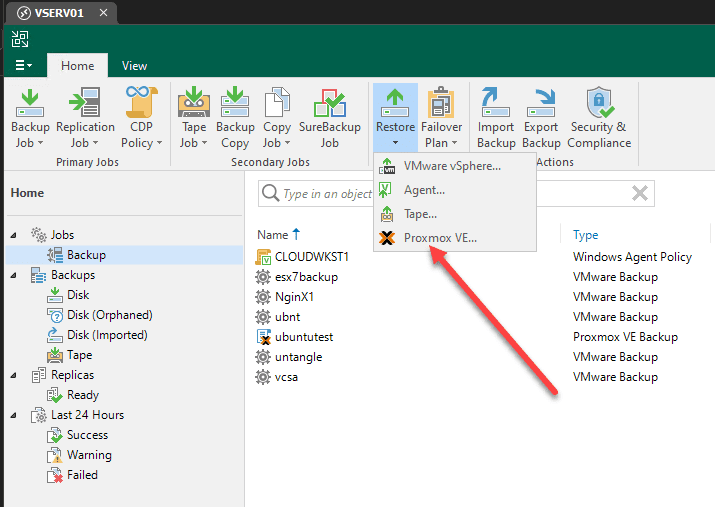
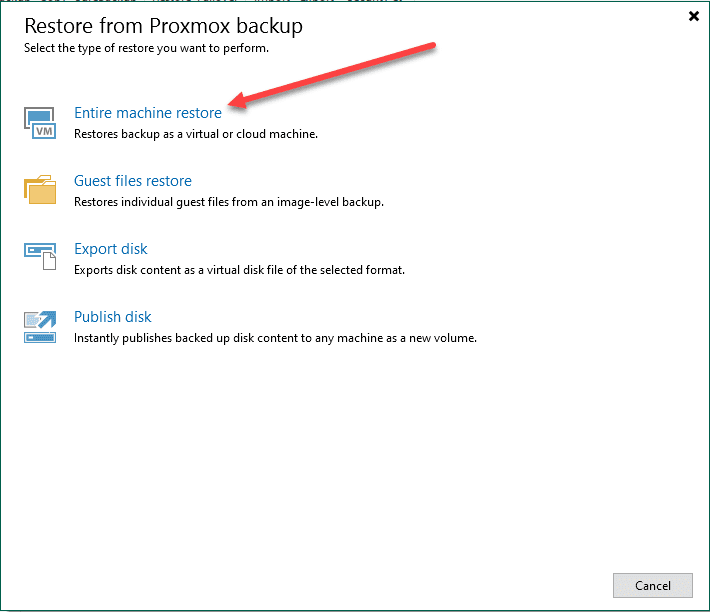
Now that we have created a new Proxmox backup using the new functionality in Veeam, let’s test out the restore process. Navigate to Restore > Proxmox VE to begin the process.
Select Entire machine restore in the Restore from Proxmox backup wizard.
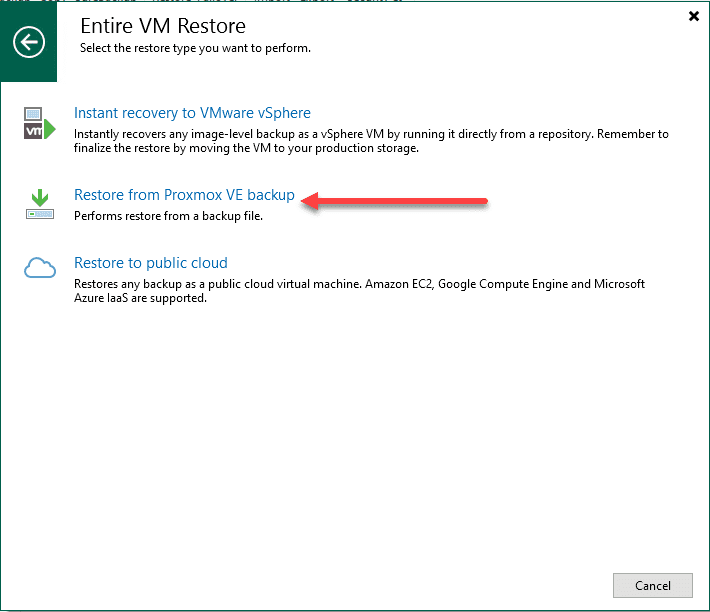
Then, select Restore from Proxmox VE backup.
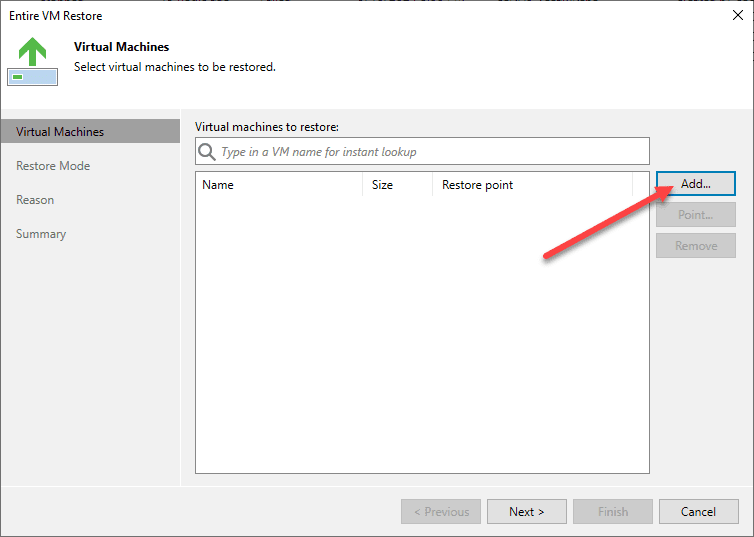
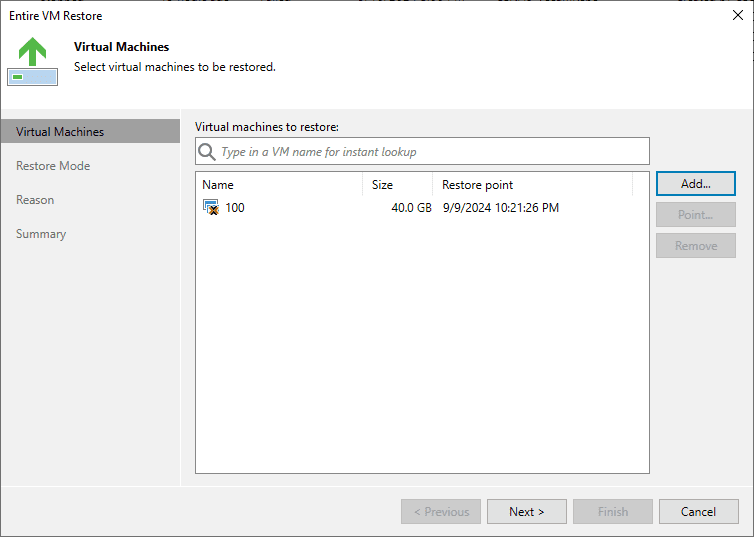
Now, we click the Add button so we can add the Proxmox backup from which we want to restore.
Select your Proxmox backup.
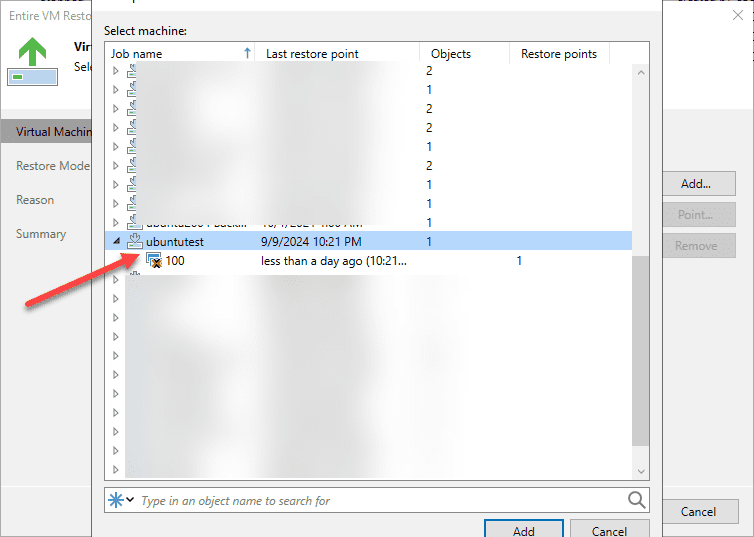
The Proxmox backup is added to the virtual machines to restore.
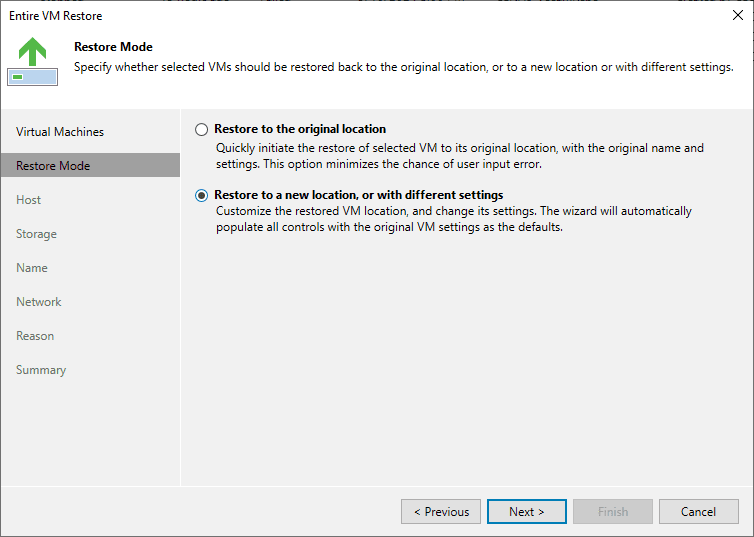
Now, we select the restore mode. Here we can choose to overwrite the original virtual machine to restore it to the original location. Or, we can choose Restore to a new location, or with different settings.
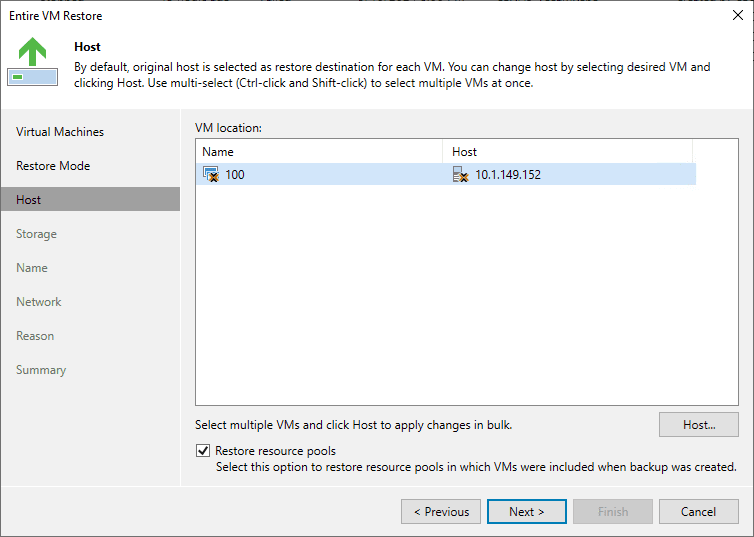
Select which Proxmox host you want to restore to. I just have one added so I only have one choice.
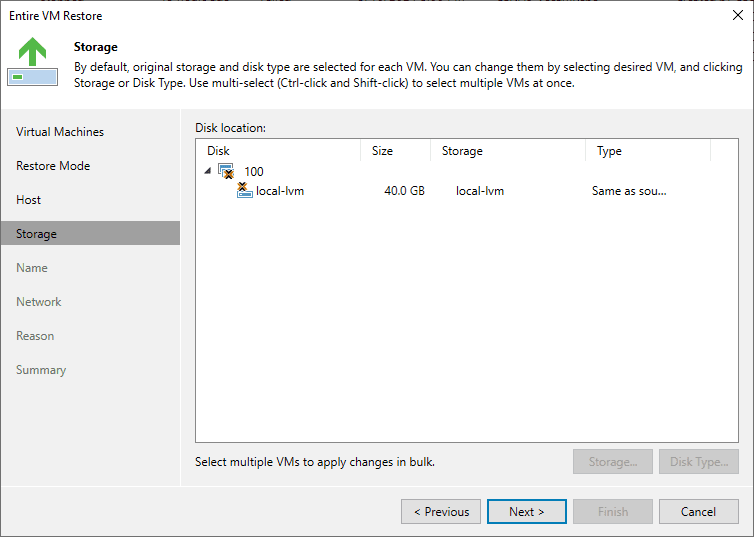
Next, select the destination storage you want to target for the Proxmox virtual machine restore.
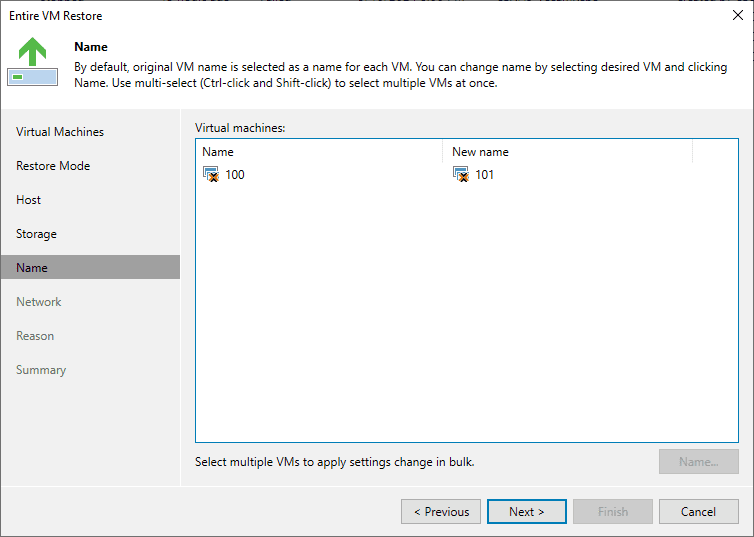
Select your name of the new virtual machine to be restored.
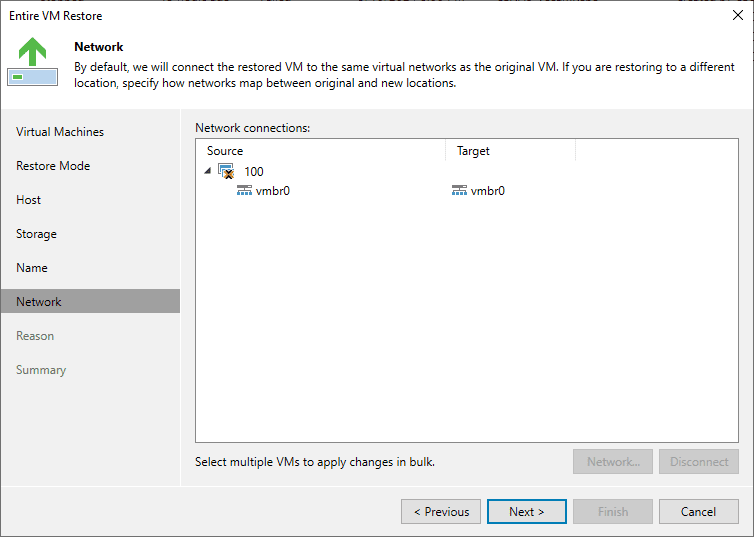
You can configure the network if you like as well.
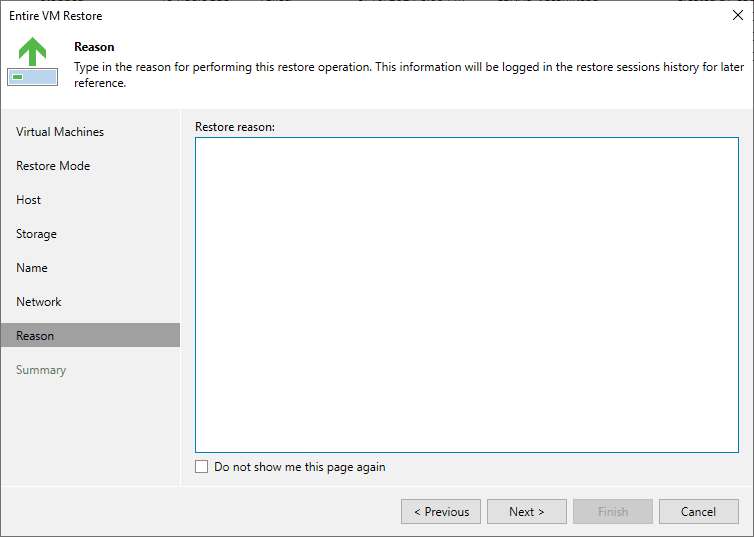
You can next type in a reason for the restore, but optionally you can leave this blank and just click Next.
Finally, we make it to the Summary. Here we just click Finish.
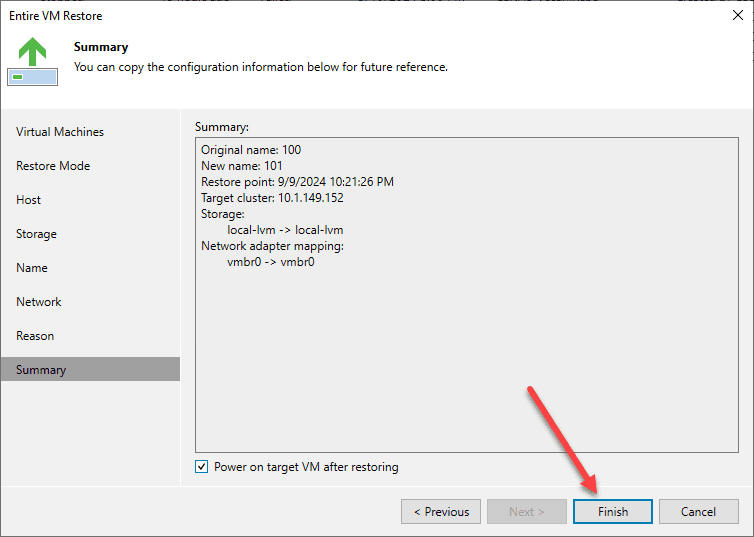
The Proxmox backup is restored to our Proxmox environment successfully.
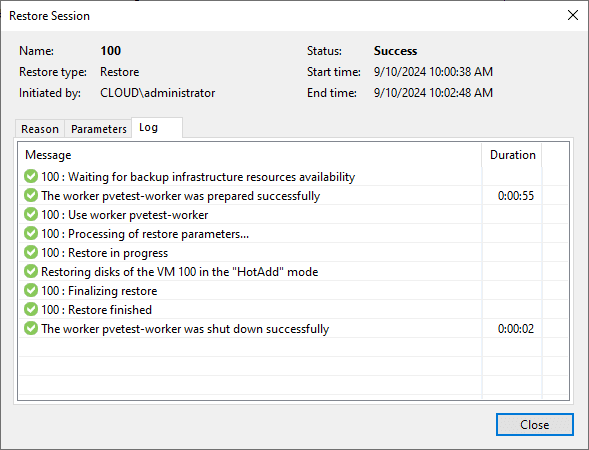
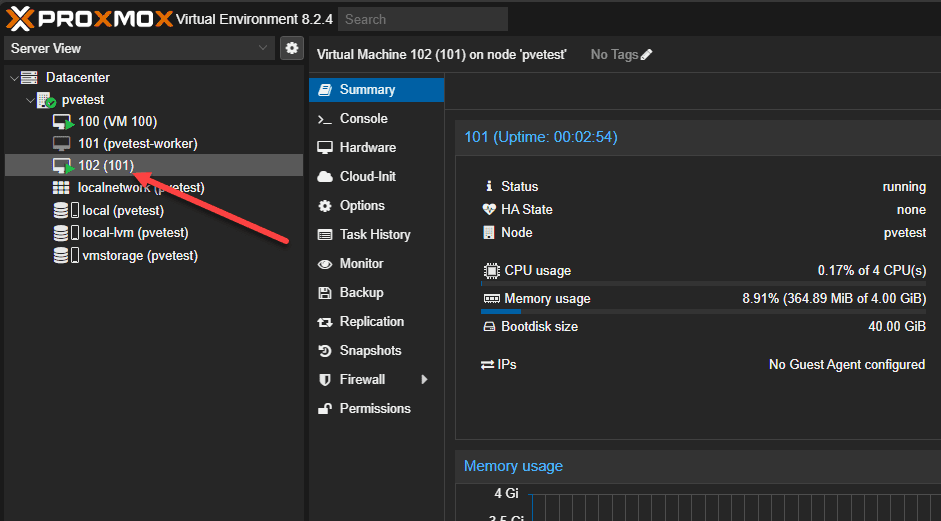
If I hop over to my Proxmox VE server, I can see the newly restored virtual machine in my Proxmox VE Server inventory.
Wrapping up
I really like the new Proxmox Backup capabilities in Veeam Backup & Replication. So far, Veeam is the best third-party tool for backing up Proxmox that I have tested, as they do this in a very automated way and without agents inside Proxmox virtual machines. Veeam is well known for virtual machine backups across many different hypervisors. It looks like they will definitely be a go-to solution for organizations that want to move to Proxmox and keep the data protection solution they are used to if they are currently using Veeam. Proxmox backup solutions is a rapidly evolving space though so look for quite a bit of flux in this space for quite some time. However, knowing Veeam, they will likely be in the top choices for third-party Proxmox backup.

It would be really helpful before starting all this tutorial to announce to everyone that Veeam does not support zfs file systems therefore if your proxmox have been deployed with zfs as per default norma of proxmox then you cannot use Veeam backup solution for proxmox itself. Thanx
Panagiotis,
Thank you for your feedback and the comment. Is this something you have tested or have seen in official documentation? I haven’t seen that limitation listed so far, but I haven’t tested ZFS volumes to be honest.
Brandon