I have been intrigued with benchmarking recently, with several projects, both personally and professionally, in the data center and the home lab. A great benchmark solution for virtualized environments is a program called VMmark. Its latest version is VMmark4, and it has some great features and realistic workloads that can help with understanding the real-world performance of your infrastructure. However, it might be a little bit confusing as to how you run it so let’s see how this is done.
Table of contents
- Brief overview of VMmark 4
- Overview of running VMmark 4
- 1. Download and deploy the VMmark 4 OVA
- 2. Clone and setup the PrimeClient VM from the deployed OVA
- 3. Configure the network of the cloned VM
- 4. Configure as the Prime Client
- 5. Setup passwordless SSH
- 6. Run the VMmark 4 Quickstart
- 7. Interesting home lab challenges
- 8. Delete the VMmark 4 VMs and clean up
- Wrapping up
Brief overview of VMmark 4
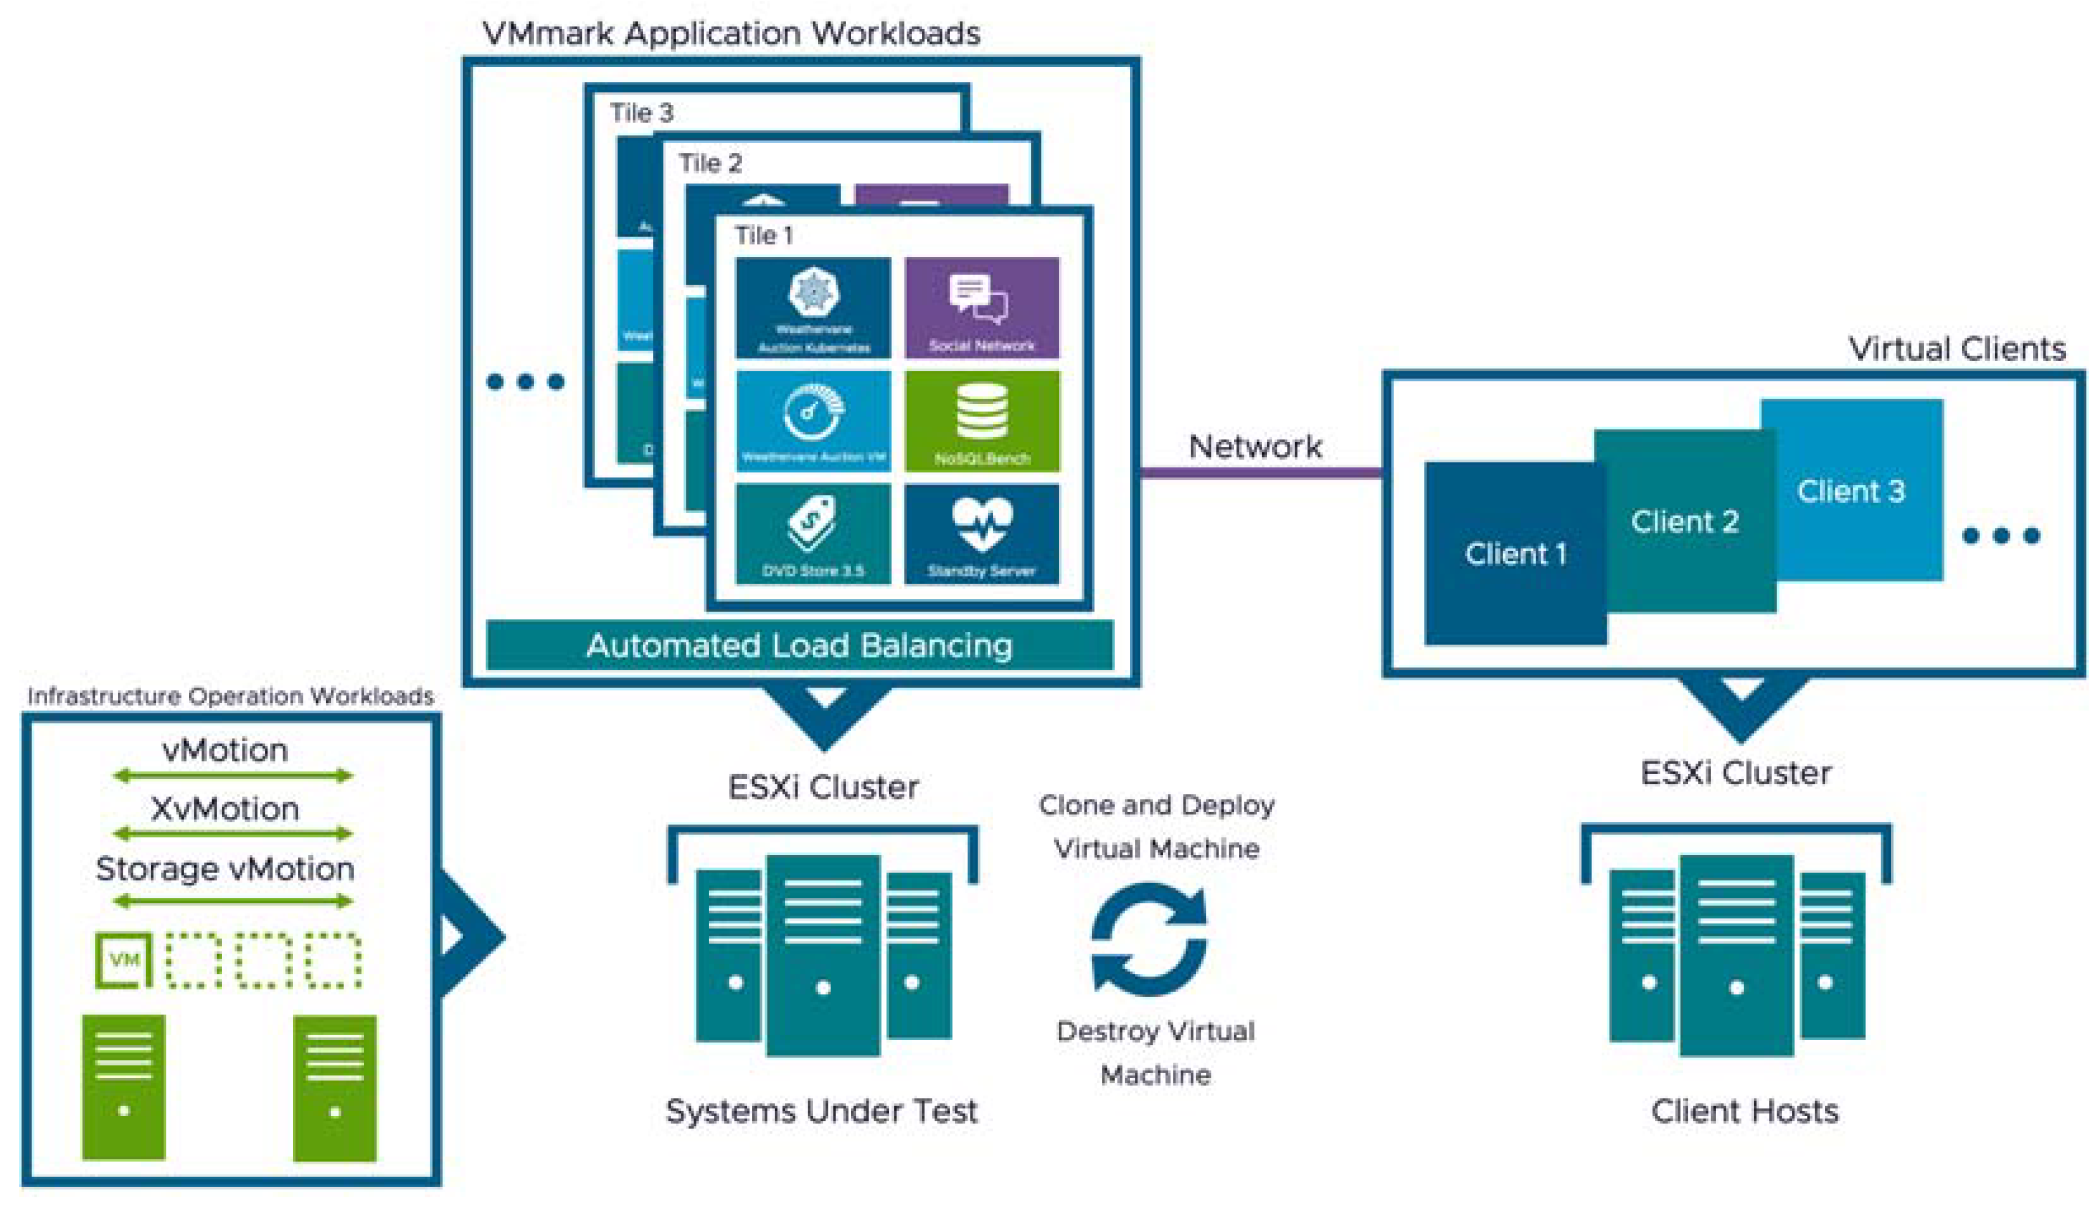
The VMmark4 program is a benchmark utility from VMware that allows you to run real workloads on a datastore to understand the performance of the hardware/environment. It uses a concept called “tiles” to represent workloads.
Tiles are groups of virtual machine resources that simulate real applications, like social media apps, SQL, NoSQL, a 3-tier web application, etc.
Overview of running VMmark 4
How do you actually use it and get up and running with VMmark4? Below is an overview of the process:
- Download and deploy the VMmark4 OVA
- Clone and setup the PrimeClient VM from the deployed OVA
- Configure the network of the cloned VM
- Configure as the Prime Client
- Setup passwordless SSH
- Run the VMmark 4 Quickstart
- Interesting home lab challenges
- Deleting the VMmark 4 VMs and cleaning up
1. Download and deploy the VMmark 4 OVA
You can download VMmark 4 from the following link: VMmark (vmware.com). Click the Download button. One nice surprise is that it isn’t too difficult to get t the download on Broadcom’s site, unlike other downloads are.
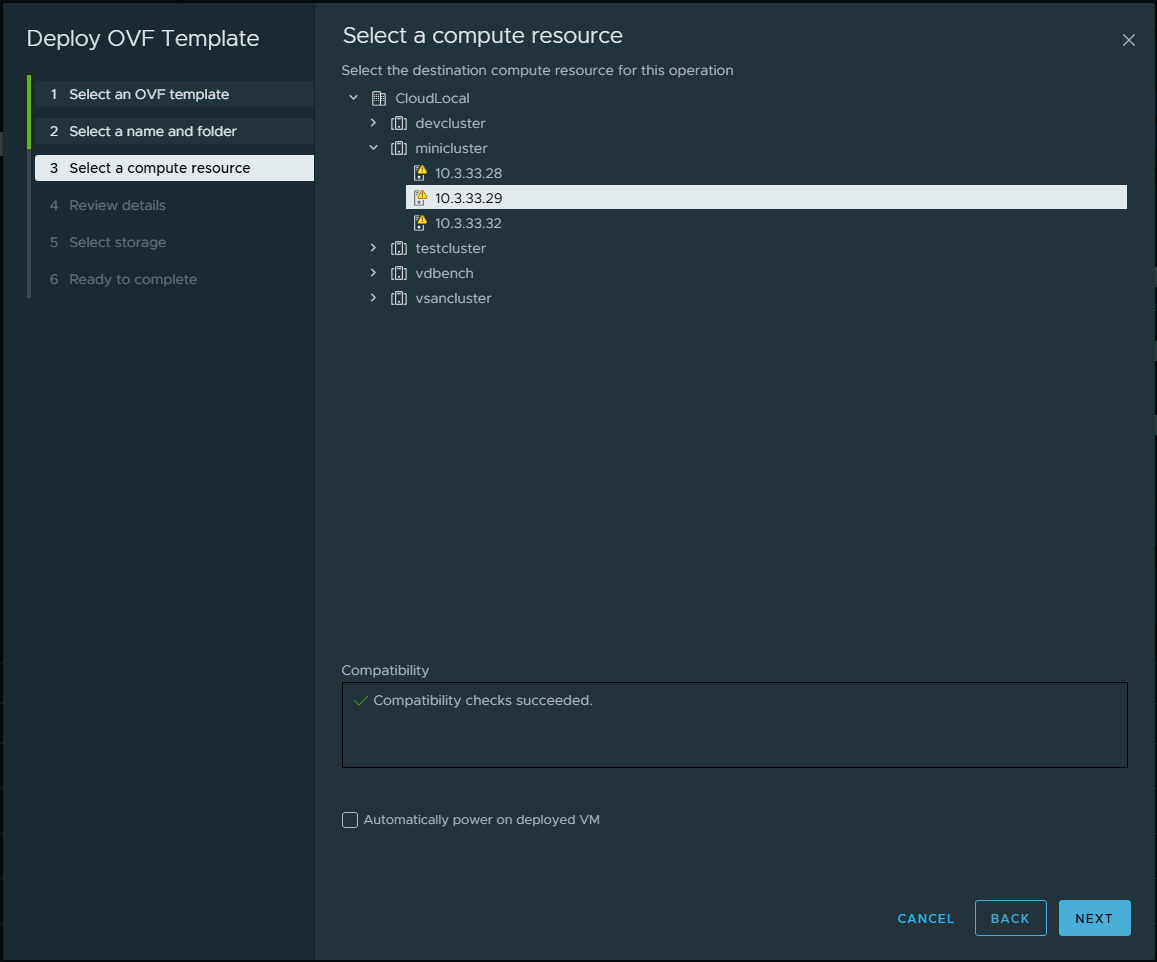
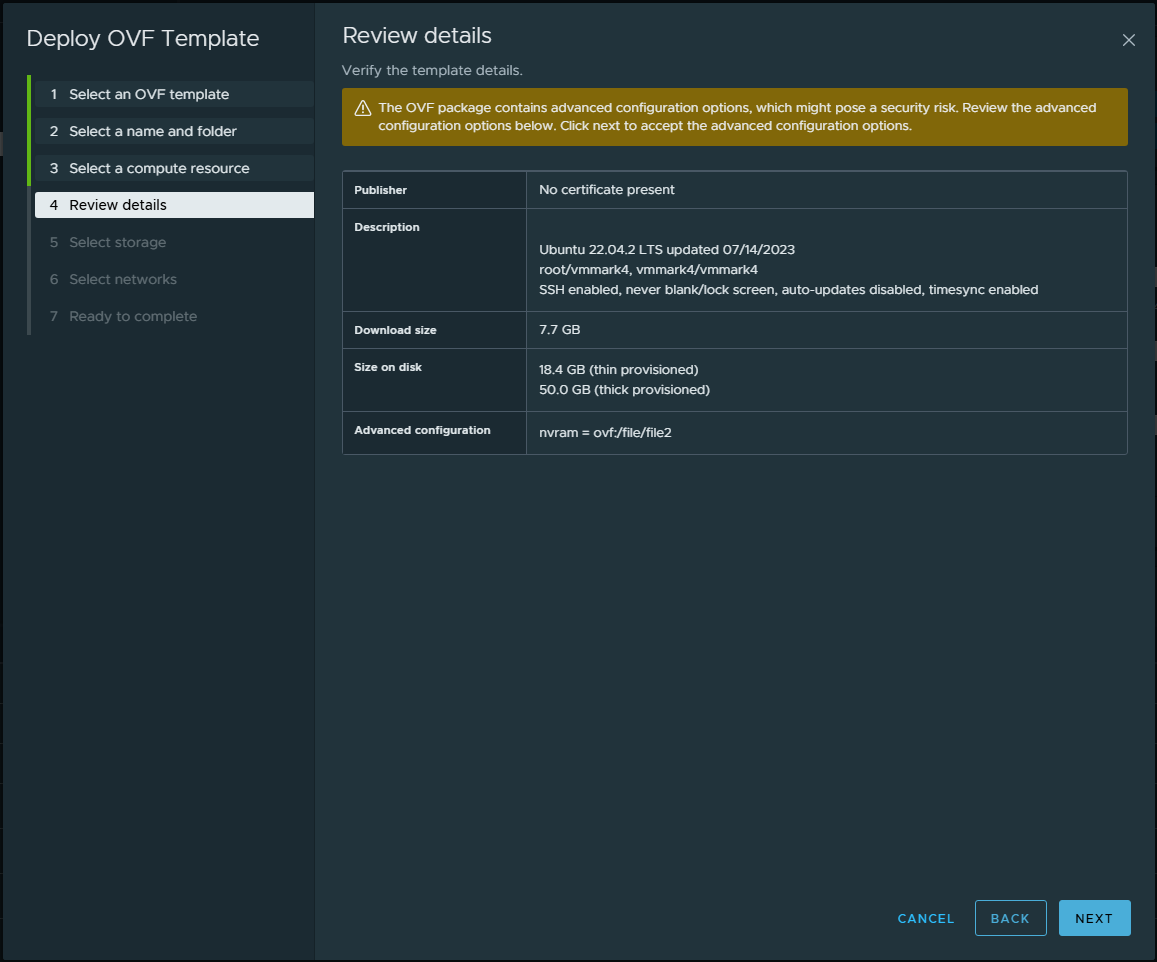
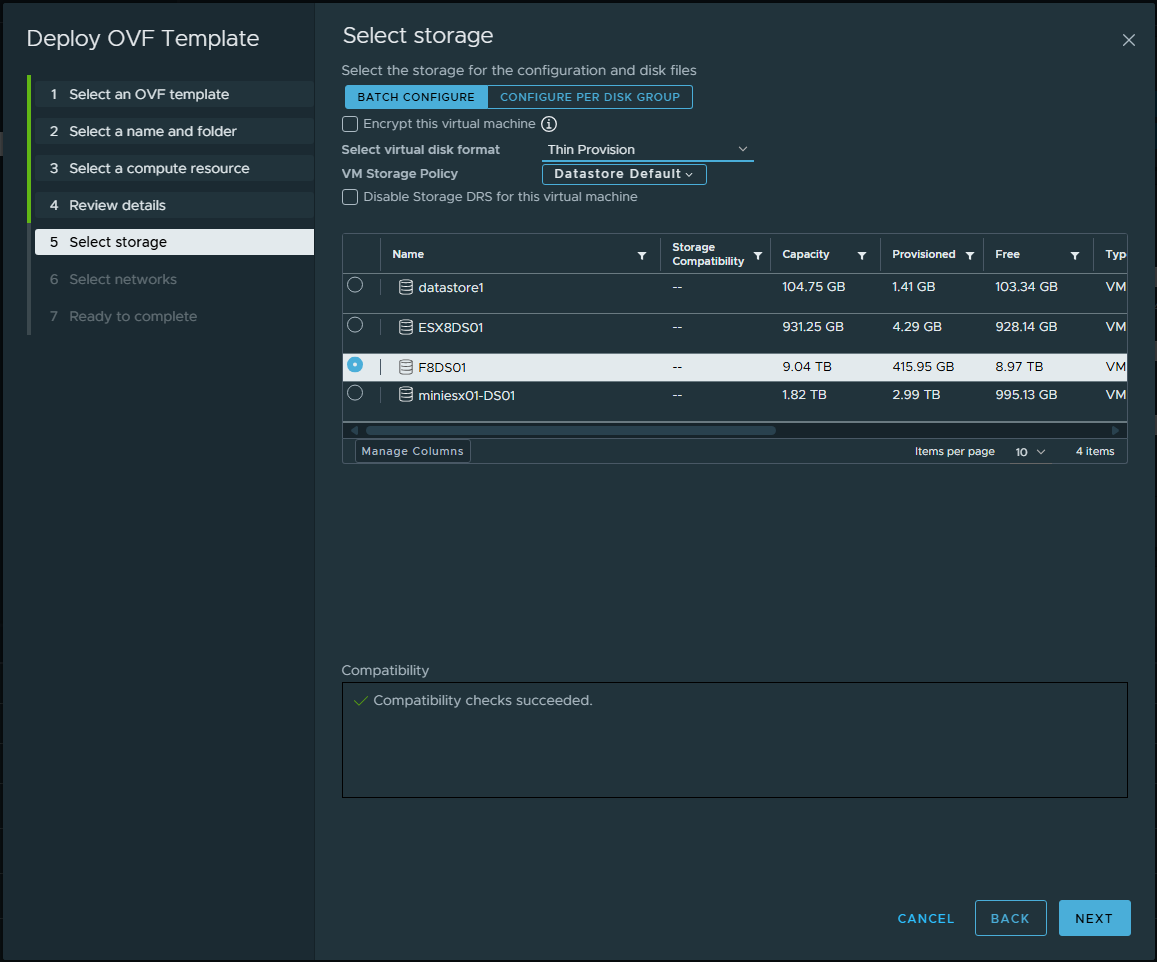
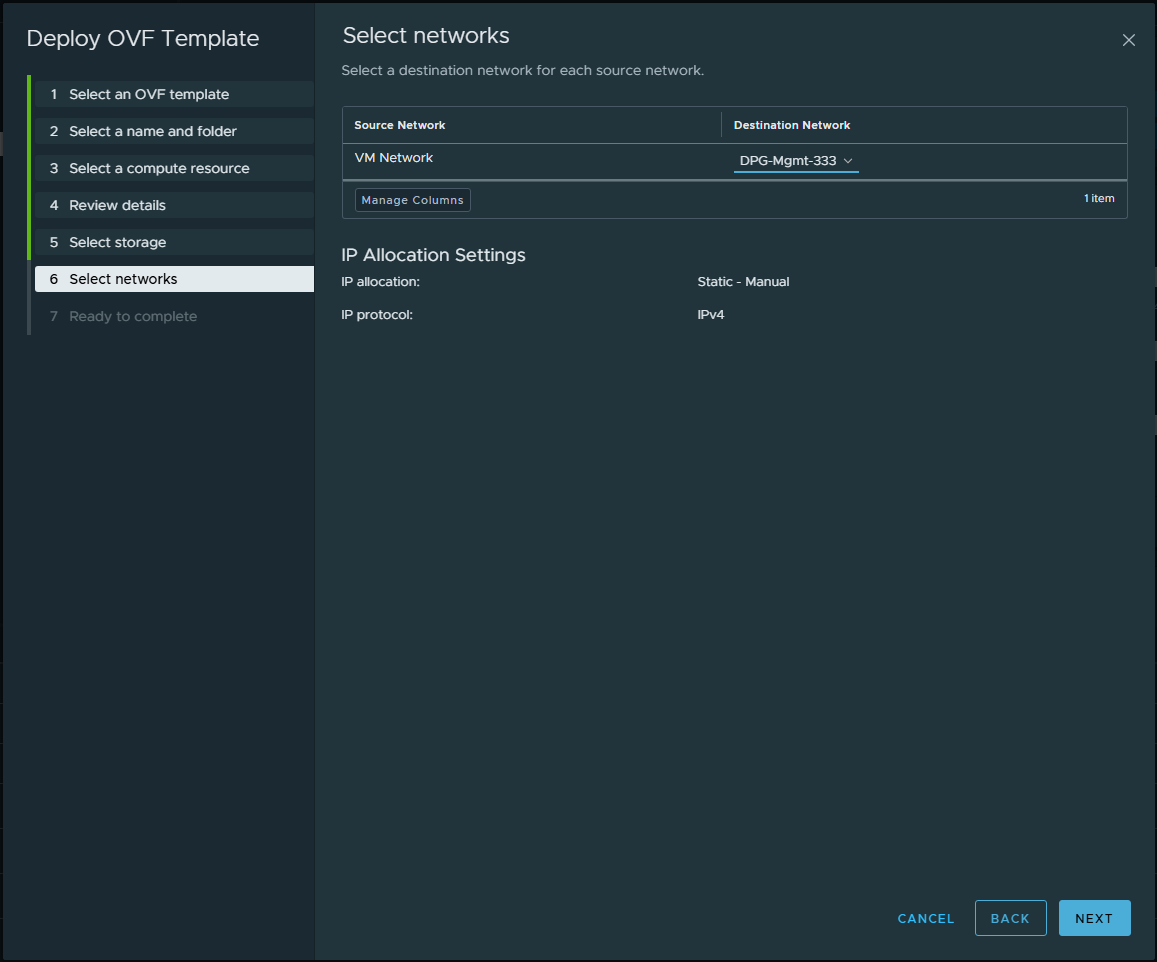
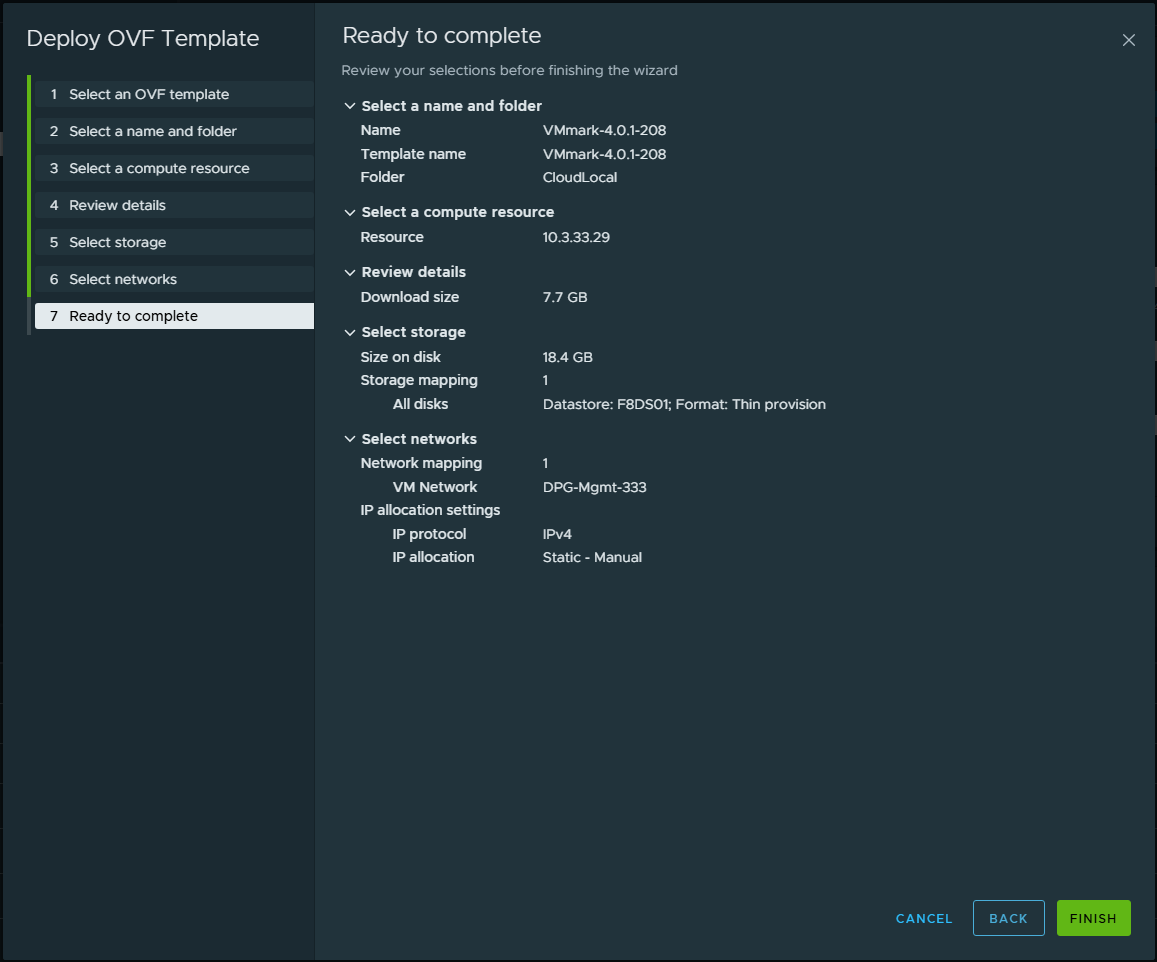
Once you download the VMmark 4 OVA appliance, you deploy this in the environment. This is a normal OVA deployment process. But, I am showing the screens of the process below, just so you can see those and know what to expect.
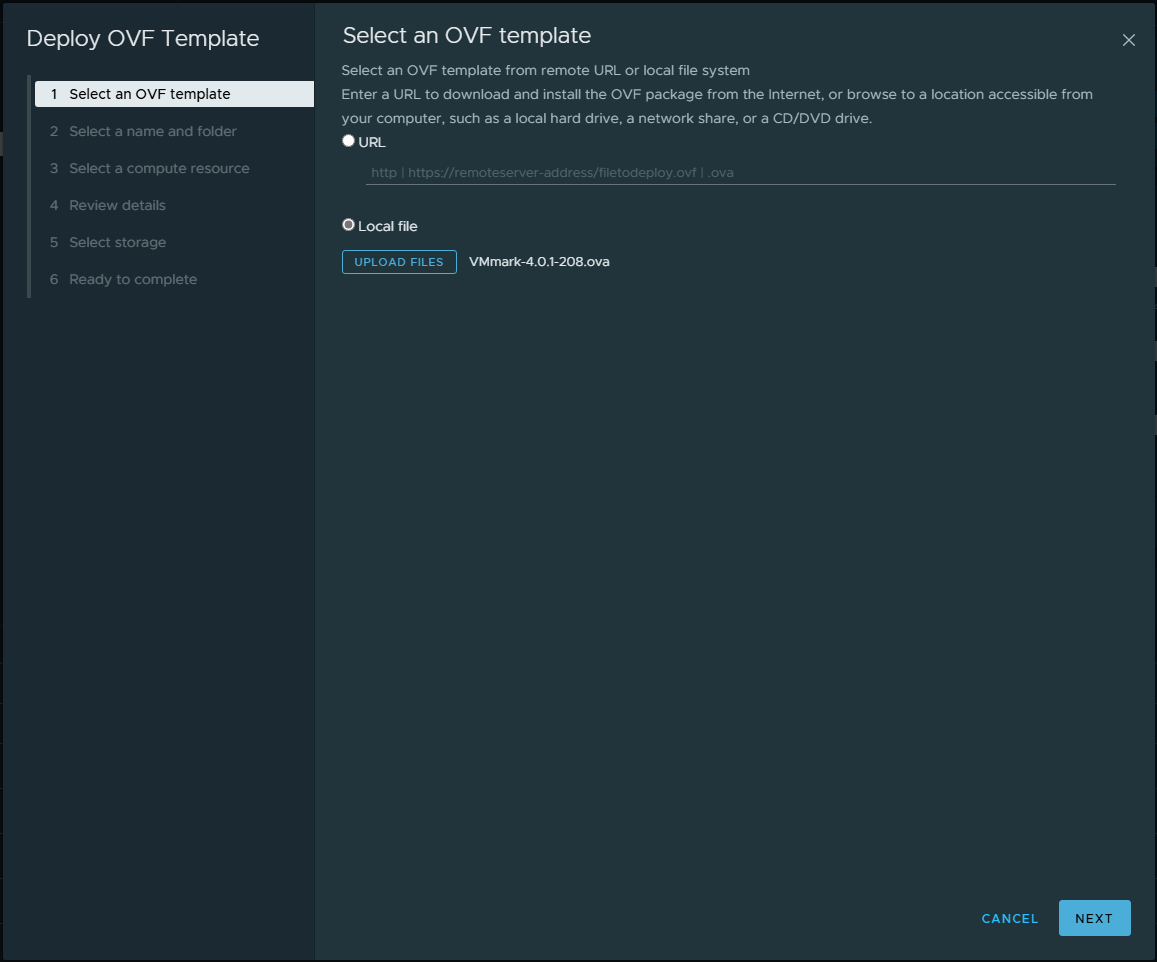
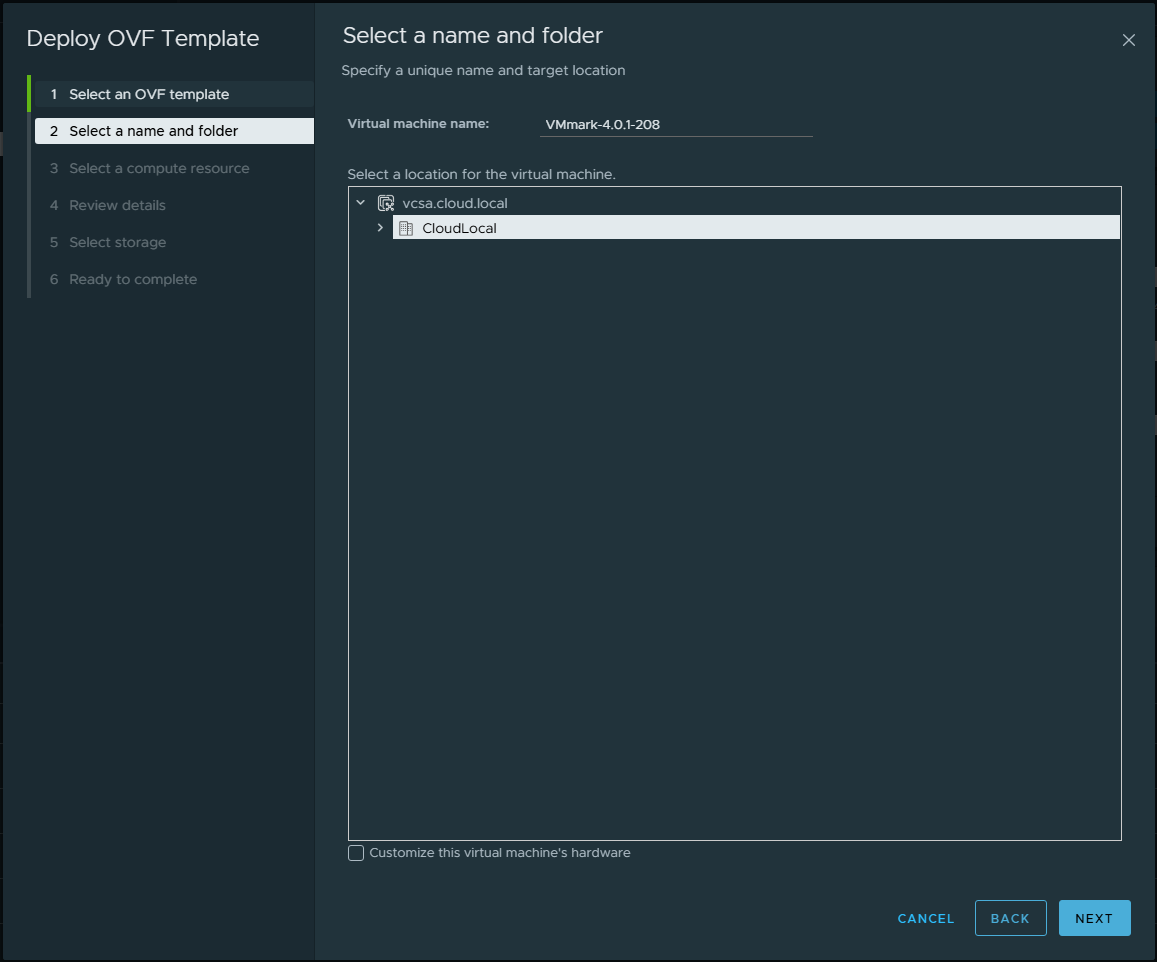
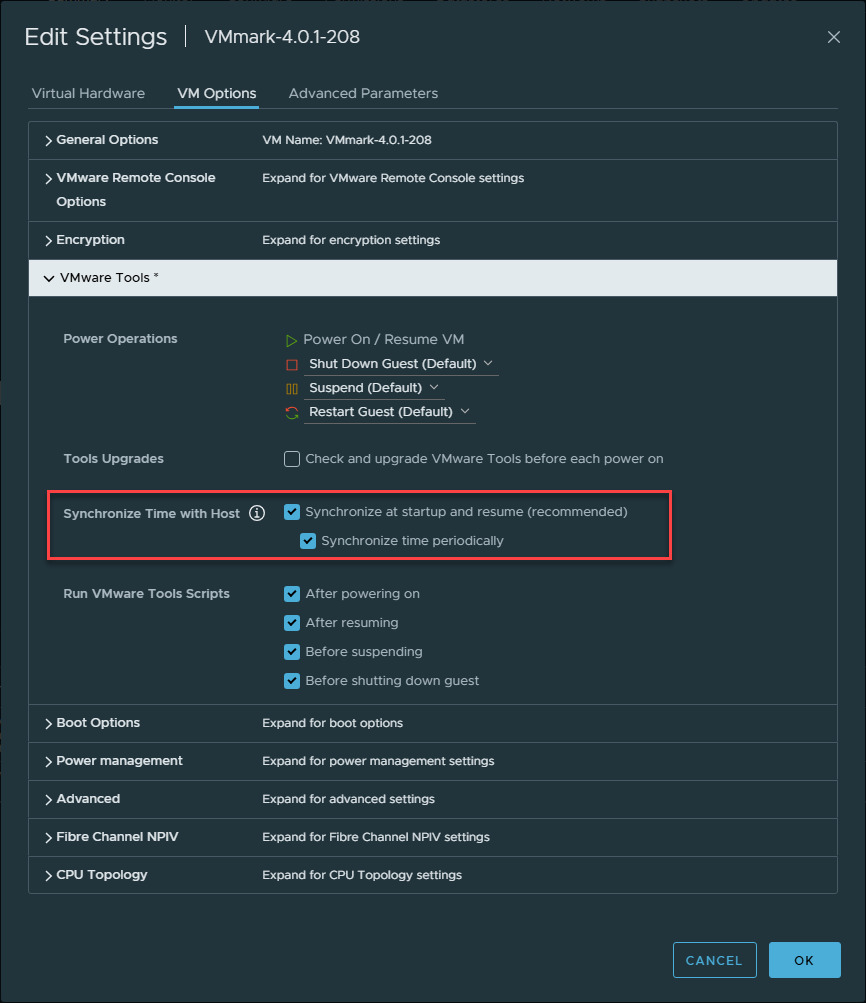
The documentation calls for making sure you have the option for synchronize at startup and resume (recommended) as well as the Synchronize time periodically checked.
2. Clone and setup the PrimeClient VM from the deployed OVA
The VMmark 4 guide has you clone the deployed OVA to have the original pristine copy sitting there to use and will be what is cloned for the workload VMs. The that you create is called the PrimeClient. This is the machine that orchestrates the virtual machines that will be used for the VMmark 4 benchmark.
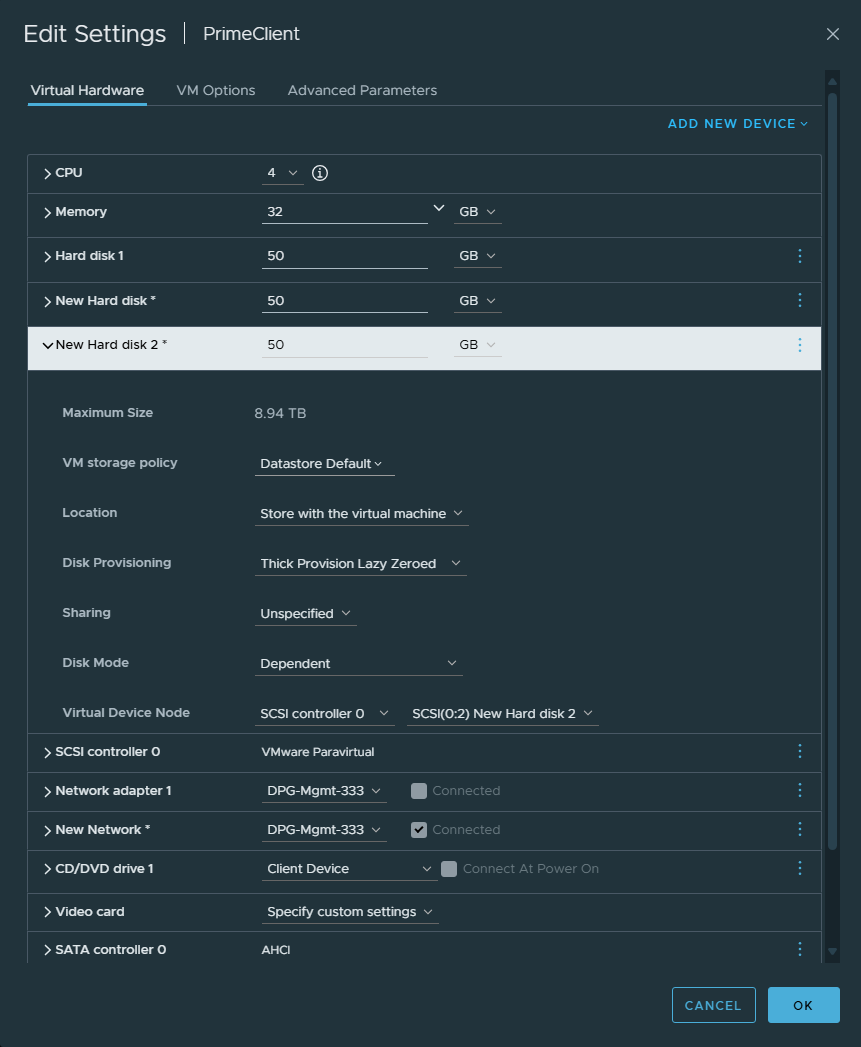
Once you clone the machine, before powering it on, you need to add a 2nd and 3rd disk at 50 GB a piece, according to the documentation. Then also 1 additional network adapter. This will be used for communicating with the subnet configured for the benchmark VMs.
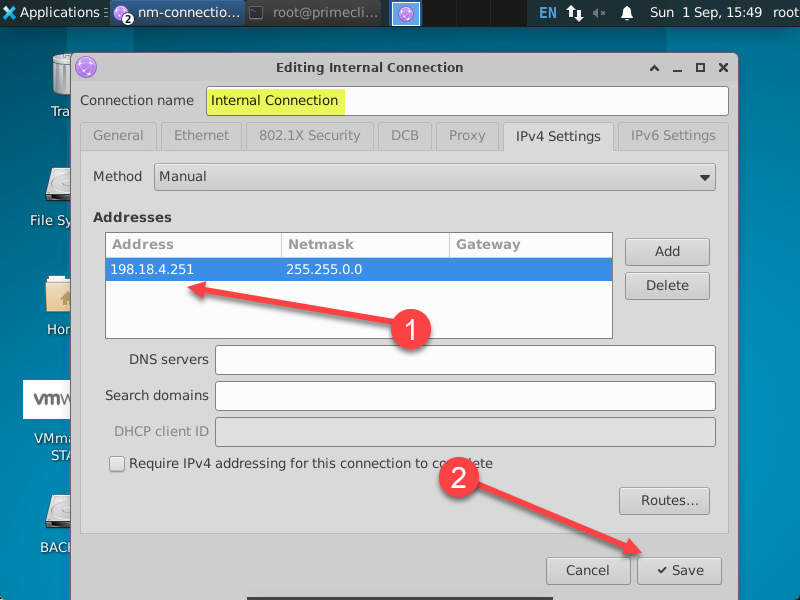
3. Configure the network of the cloned VM
The virtual machine that is deployed will need two network adapters. One will connect to your LAN and just pull an IP address. Even if you connect the 2nd adapter to the same network label, we will configure this 2nd adapter thta we added to the virtual machine with an IP address that can communicate with the default IPs of all the virtual machines spun up as part of the VMmark 4 tiles.
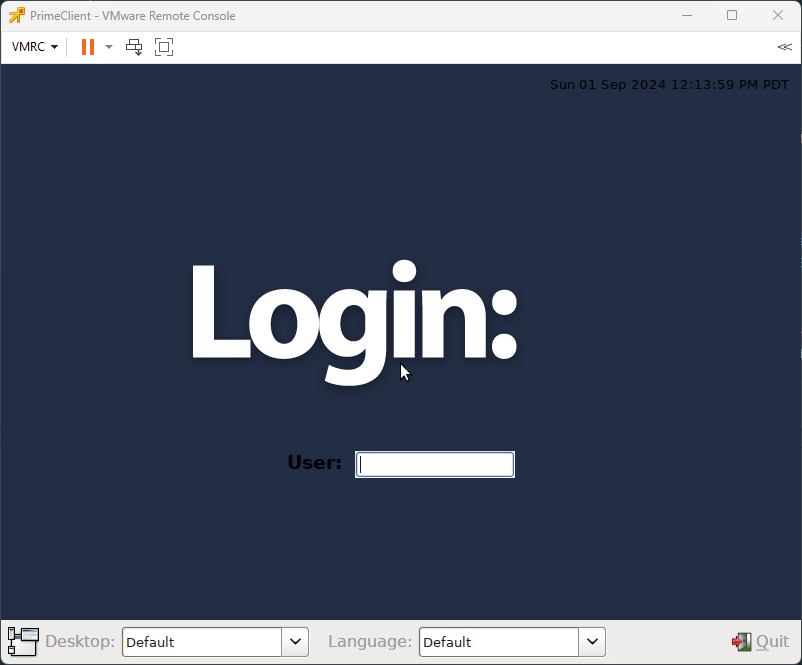
Login with the default user:
- user: root
- password: vmmark4
The IP address the guide mentions or suggests is the following:
- 198.18.4.251/16
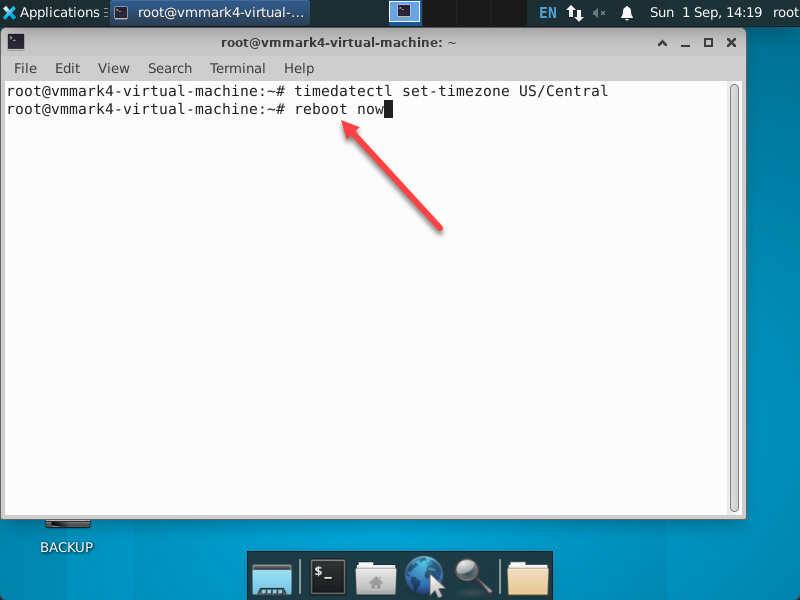
Save the changes to your interface, and then we need to reboot the VM. You can do that from the terminal using:
reboot nowBelow is a screenshot of the advanced network configuration under Applications and then editing the 2nd interface. Here, I am setting the IP for the default network used in VMmark4.
Also, set your timezone after configuring the network and then reboot. The reboot will instantiate the new network settings and timezone.
4. Configure as the Prime Client
Next, after the VM reboots, we need to configure it as the Prime client. This turns the VM into the orchestrator of the operations from which you do all the benchmark runs.
There is a simple command to do this. To make it the prime client, run the following command from a terminal session:
make-prime.sh <ip of your PrimeClient VM>
5. Setup passwordless SSH
Next, on the PrimeClient, we will set up passwordless SSH to our ESXi hosts and vCenter Server. It will use this as it is orchestrating the cloning and other things with the benchmark run.
VMmark-Configure-Passworless-SSH.exp <ESXI host IP>
VMmark-Configure-Passworless-SSH.exp <vCenter Server IP>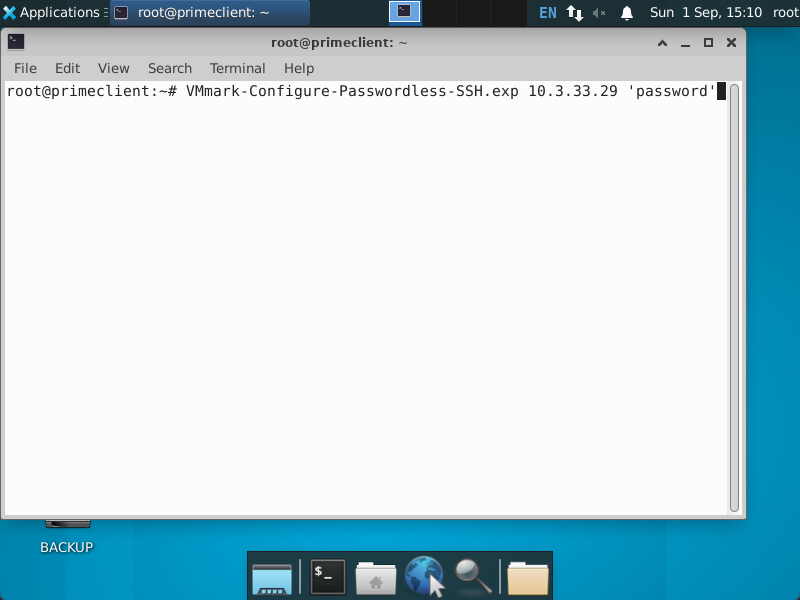
6. Run the VMmark 4 Quickstart
Once we have this initial configuration completed, we can run the VMmark 4 quickstart. Below is an example command line of how you run the VMmark 4 quickstart. Basically, you will just fill in the variables below with those appropriate for your environment.
Here are the required parameters you need to fill in:
--vcenter_ip '<ip_addr>'
--vcenter_password '<password>'
--datacenter '<datacenter>'
--cluster '<cluster>'
--client_cluster '<cluster2>'
--tile_number 1
--provisioning_source '<template-VM>'
--datastore '<datastore_name>'
--client_datastore '<client_datastore>'
--infra_datastore '<different_datastore>'
---network_label 'testbed'
Below is an example:
OUTPUT=<output_file>
nohup /root/VMmark4/tools/vmmark4service --mode quick_start --vcenter_ip <ip_addr> \
--vcenter_password '<password>' --datacenter <datacenter> --cluster <sut_cluster> \
--client_cluster <client_cluster> --tile_number <number_of_tiles> --provisioning_source <template-VM VMmark-4.0.1-208> \
--datastore <datastore_name> --client_datastore <client_datastore> \
--infra_datastore '<different_datastore>' --quick_start_options <quick_start_options> \
--network_label <private_network> -nst 'standard' --runtime_seconds <runtime_in_sec>  > $OUTPUT 2>&1 &
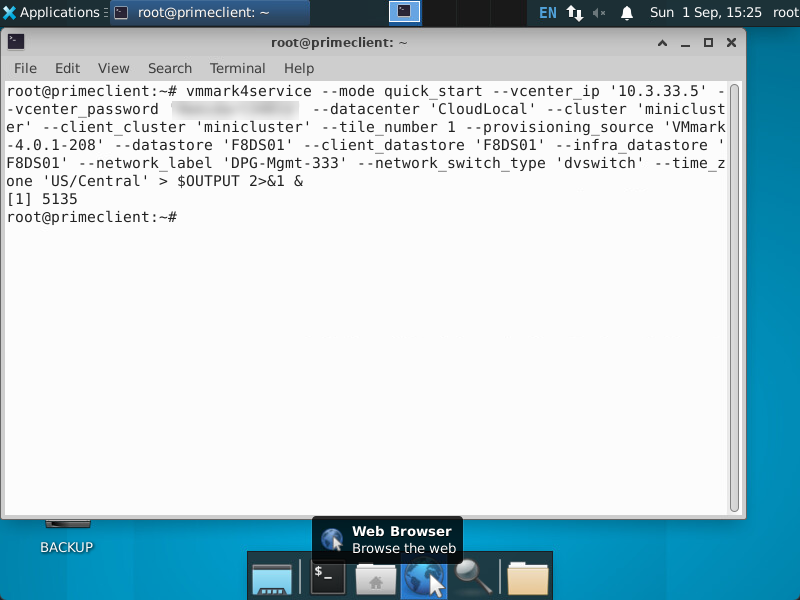
Once you fill in the required parameters and run the command, you will see activity kick off:
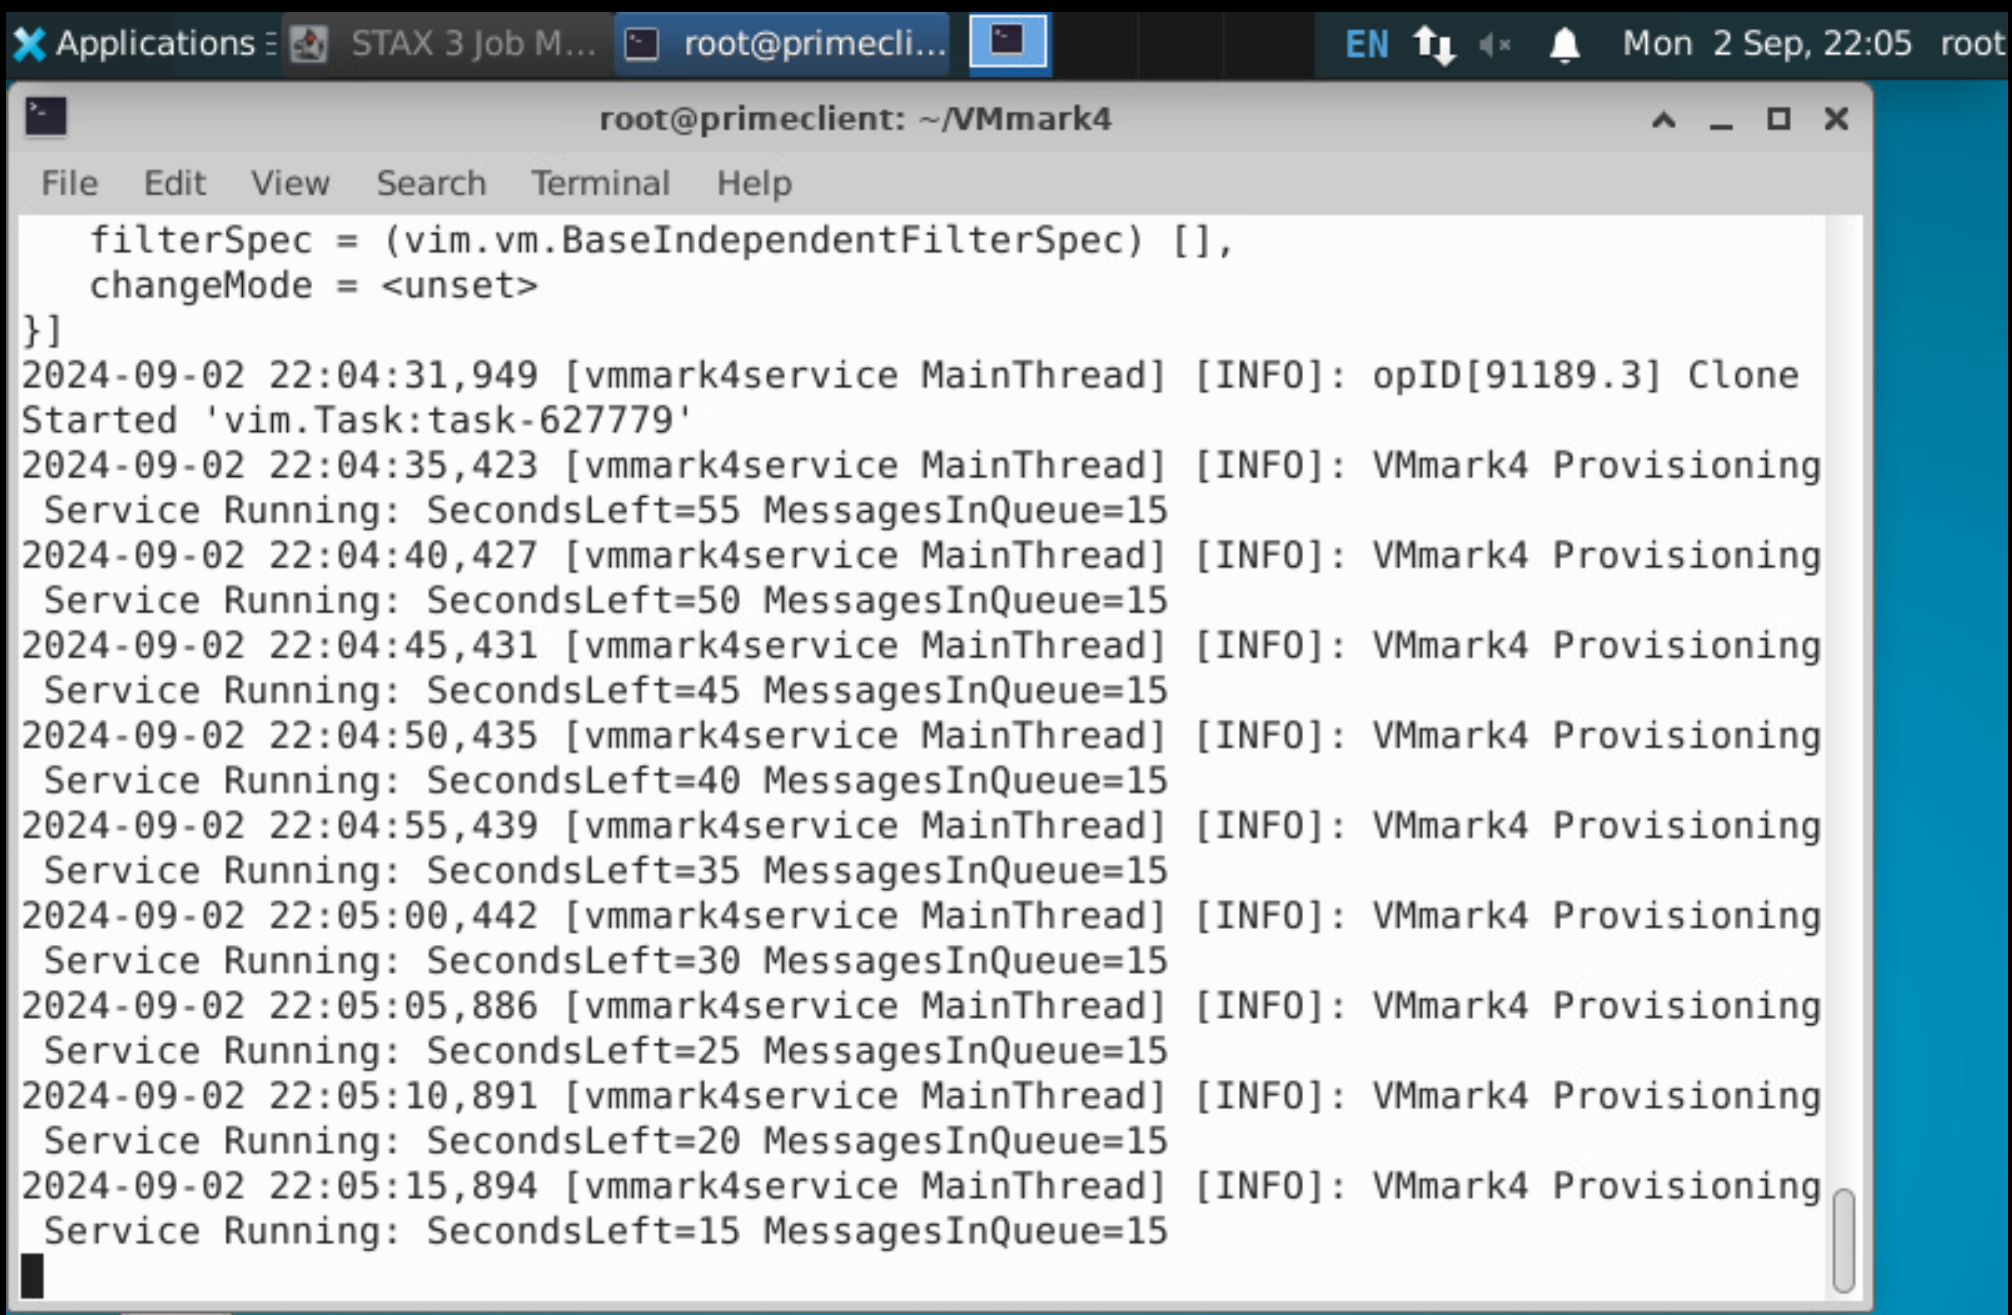
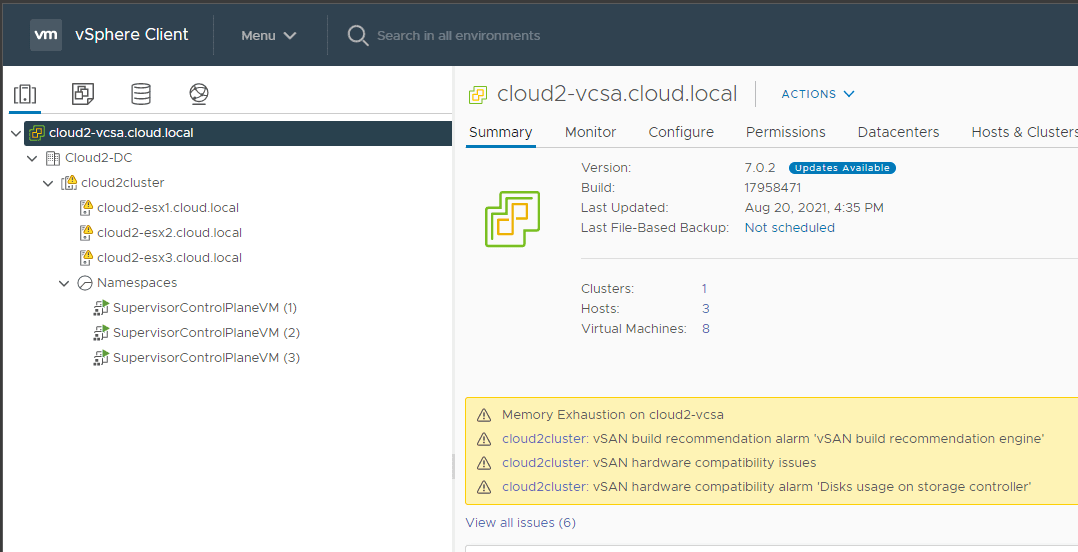
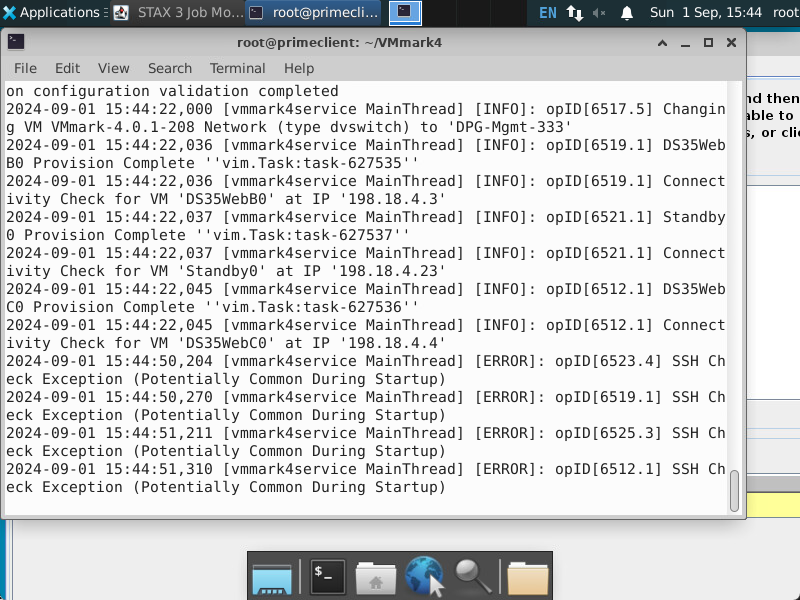
Below, we can see the cloning activity in the vSphere Client.

If you go back to the console of the PrimeClient VM, you will see that once the VMs are spun up, it will check and test connectivity to the benchmark VMs. You may see errors as things get started up but these should go away.
7. Interesting home lab challenges
I was playing around with VMmark 4 in the home lab on a Minisforum MS-01 mini PC that is powering my home lab at this time. This is being used to test performance on a Terramaster F8 SSD Plus with NVMe storage. I ran into an issue where the configured vCPUs that 3 of the workload VMs were trying to provision was outside of what the hardware was capable of.
By default, the workload spec file provisions VMs with the following (this is found in the /root/VMmark4/source/ directory:
{
    "DS35DB" : {"vCPU" : 24, "mem" : 49152, "disk":[256000,16384]},
    "DS35WebA" : {"vCPU" : 6, "mem" : 512},
    "DS35WebB" : {"vCPU" : 6, "mem" : 512},
    "DS35WebC" : {"vCPU" : 6, "mem" : 512},
    "AuctionWebA" : {"vCPU" : 4, "mem" : 12288},
    "AuctionWebB" : {"vCPU" : 4, "mem" : 12288},
    "AuctionWebC" : {"vCPU" : 4, "mem" : 12288},
    "AuctionWebDNosql" : {"vCPU" : 4, "mem" : 20480, "disk" : [85000]},
    "AuctionWebEDB" : {"vCPU" : 4, "mem" : 16384, "disk" : [25000]},
    "AuctionWebF" : {"vCPU" : 2, "mem" : 8192},
    "AuctionAppA" : {"vCPU" : 4, "mem" : 8192},
    "AuctionAppB" : {"vCPU" : 4, "mem" : 8192},
    "AuctionAppC" : {"vCPU" : 4, "mem" : 8192},
    "AuctionKA" : {"vCPU" : 8, "mem" : 32768},
    "AuctionKB" : {"vCPU" : 8, "mem" : 32768},
    "AuctionKC" : {"vCPU" : 8, "mem" : 32768},
    "AuctionKD" : {"vCPU" : 8, "mem" : 32768},
    "NoSQLBenchA" : {"vCPU" : 8, "mem" : 8192},
    "NoSQLBenchB" : {"vCPU" : 8, "mem" : 8192},
    "NoSQLBenchC" : {"vCPU" : 8, "mem" : 8192},
    "SocialNetwork" : {"vCPU" : 36, "mem" : 16384, "disk":[51200]},
    "Client" : {"vCPU": 64, "mem": 98304},
    "Standby" : {"vCPU": 1, "mem": 2048},
    "Deploy" : {"vCPU" : 1, "mem" : 4096, "disk":[20000,10000]}
}
However, the MS-01 and probably many servers can’t do 64 vCPUs on the client VM, or 24 vCPUs on the DS35DB, or 36 vCPUs on the SocialNetwork workload. So I hacked this file to the following:
{
"DS35DB" : {"vCPU" : 14, "mem" : 49152, "disk":[256000,16384]},
"DS35WebA" : {"vCPU" : 6, "mem" : 512},
"DS35WebB" : {"vCPU" : 6, "mem" : 512},
"DS35WebC" : {"vCPU" : 6, "mem" : 512},
"AuctionWebA" : {"vCPU" : 4, "mem" : 12288},
"AuctionWebB" : {"vCPU" : 4, "mem" : 12288},
"AuctionWebC" : {"vCPU" : 4, "mem" : 12288},
"AuctionWebDNosql" : {"vCPU" : 4, "mem" : 20480, "disk" : [85000]},
"AuctionWebEDB" : {"vCPU" : 4, "mem" : 16384, "disk" : [25000]},
"AuctionWebF" : {"vCPU" : 2, "mem" : 8192},
"AuctionAppA" : {"vCPU" : 4, "mem" : 8192},
"AuctionAppB" : {"vCPU" : 4, "mem" : 8192},
"AuctionAppC" : {"vCPU" : 4, "mem" : 8192},
"AuctionKA" : {"vCPU" : 8, "mem" : 32768},
"AuctionKB" : {"vCPU" : 8, "mem" : 32768},
"AuctionKC" : {"vCPU" : 8, "mem" : 32768},
"AuctionKD" : {"vCPU" : 8, "mem" : 32768},
"NoSQLBenchA" : {"vCPU" : 8, "mem" : 8192},
"NoSQLBenchB" : {"vCPU" : 8, "mem" : 8192},
"NoSQLBenchC" : {"vCPU" : 8, "mem" : 8192},
"SocialNetwork" : {"vCPU" : 14, "mem" : 16384, "disk":[51200]},
"Client" : {"vCPU": 14, "mem": 98304},
"Standby" : {"vCPU": 1, "mem": 2048},
"Deploy" : {"vCPU" : 1, "mem" : 4096, "disk":[20000,10000]}
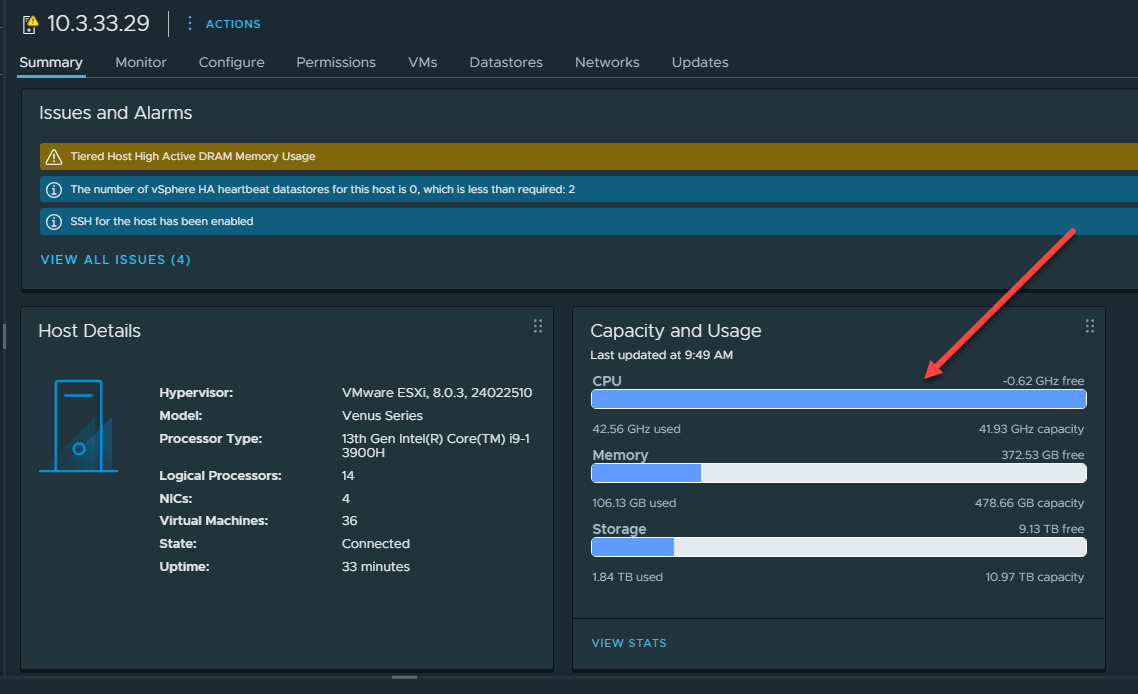
}Also, I enabled NVMe tiered memory to have enough RAM available for the tests. This will likely affect performance of the benchmark. As I saw this messaging as well about Tiered Host High Active DRAM memory usage.

However, both of these “hacks” were able to get me past errors that stopped the benchmark runs, either due to the VMs not powering on due to the workload spec being too high or running out of memory.
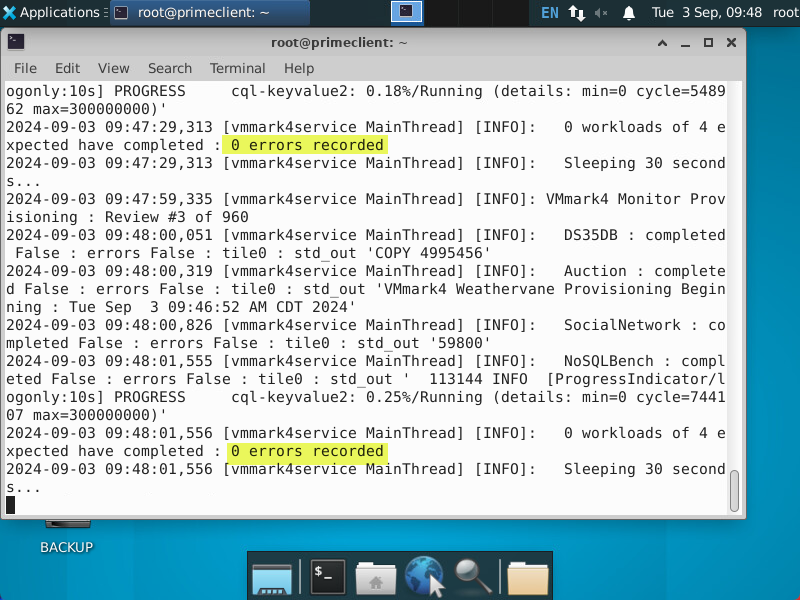
Once the run is completed, inspect the results files:
- Results are stored in subdirectories under the
/root/VMmark4/directory:- Provisioning results are in the
/root/VMmark4/provisiondirectory. - Benchmark results are stored in subdirectories under the
/root/VMmark4/resultsdirectory.
- Provisioning results are in the
Workload output files have a .wrf extension.
- To see the workload output for
Standby0, from the relevant results directory, run:cat Standby0.wrf
- If there was an error during execution of the benchmark that isnʹt shown in the workload .wrf file, the
VMmark4-STAX.logmight be helpful. From the relevant results directory run: less VMmark4-STAX
8. Delete the VMmark 4 VMs and clean up
Once you are finished with the VMmark 4 benchmark, you can clean up easily with a built-in script that is provided to delete the virtual machines that were cloned and provisioned as part of the testing. Navigate to the /root/VMmark4/tools directory and then run the following command:
/root/VMmark4/tools/vmmark4service --mode delete_all_vmmark4 \
--vcenter_ip $VC_IP --vcenter_username $VC_USERNAME \
--vcenter_password $VC_PASSWORD --datacenter $VC_DATACENTER \
--cluster $CLUSTER --datastore $DATASTORE --csi_datastore $CSI_DATASTORE \
--tile_number $TILE_NUMBER | tee <output_file>
Wrapping up
I hope this guide will help any who may want a short and concise walkthrough of how to run VMmark 4 as I think the guide and other information out there leaves out a lot of the steps and are a bit confusing. There are some challenges on non-enterprise grade hardware as there are some very high-level specs configured on the various workloads in the VMmark tiles.
Google is updating how articles are shown. Don’t miss our leading home lab and tech content, written by humans, by setting Virtualization Howto as a preferred source.
About The Author