Terramaster F8 SSD Plus Review: All Flash NAS with NVMe
I was graciously sent a review unit of the soon to be released (September 2024) Terramaster F8 SSD Plus All Flash NAS for review. I was intrigued when I saw the specs for the unit as it has some great hardware specs, with 8 NVMe bays and 10 gig connectivity. Let’s take a look at the unit and see how it performs running virtual workloads.
Table of contents
Terramaster F8 SSD and F8 SSD Plus specs
The model sent over to me is the “Plus” unit, which sports the following hardware:
- Intel N305 (8 Core i3)
- 16-32 GB of DDR5 memory
- 10GbE Base-T adapter
- 8 bays of M.2 NVMe storage (max 64 TB)
The difference with the F8 SSD:
- Intel N95 4 core
- 8-16 GB DDR5 memory
- 2.5GbE adapter
- 8 bays of M.2 NVMe storage
Pictures of the F8 SSD Plus
Below is a look at the unit in the upright position as it is designed to stand. You can also lay it over on the side as well. But it has the rubber feet so that it is positioned on the bottom. Also, you can see the round power button is on the top/side of the unit depending on how you lay it.
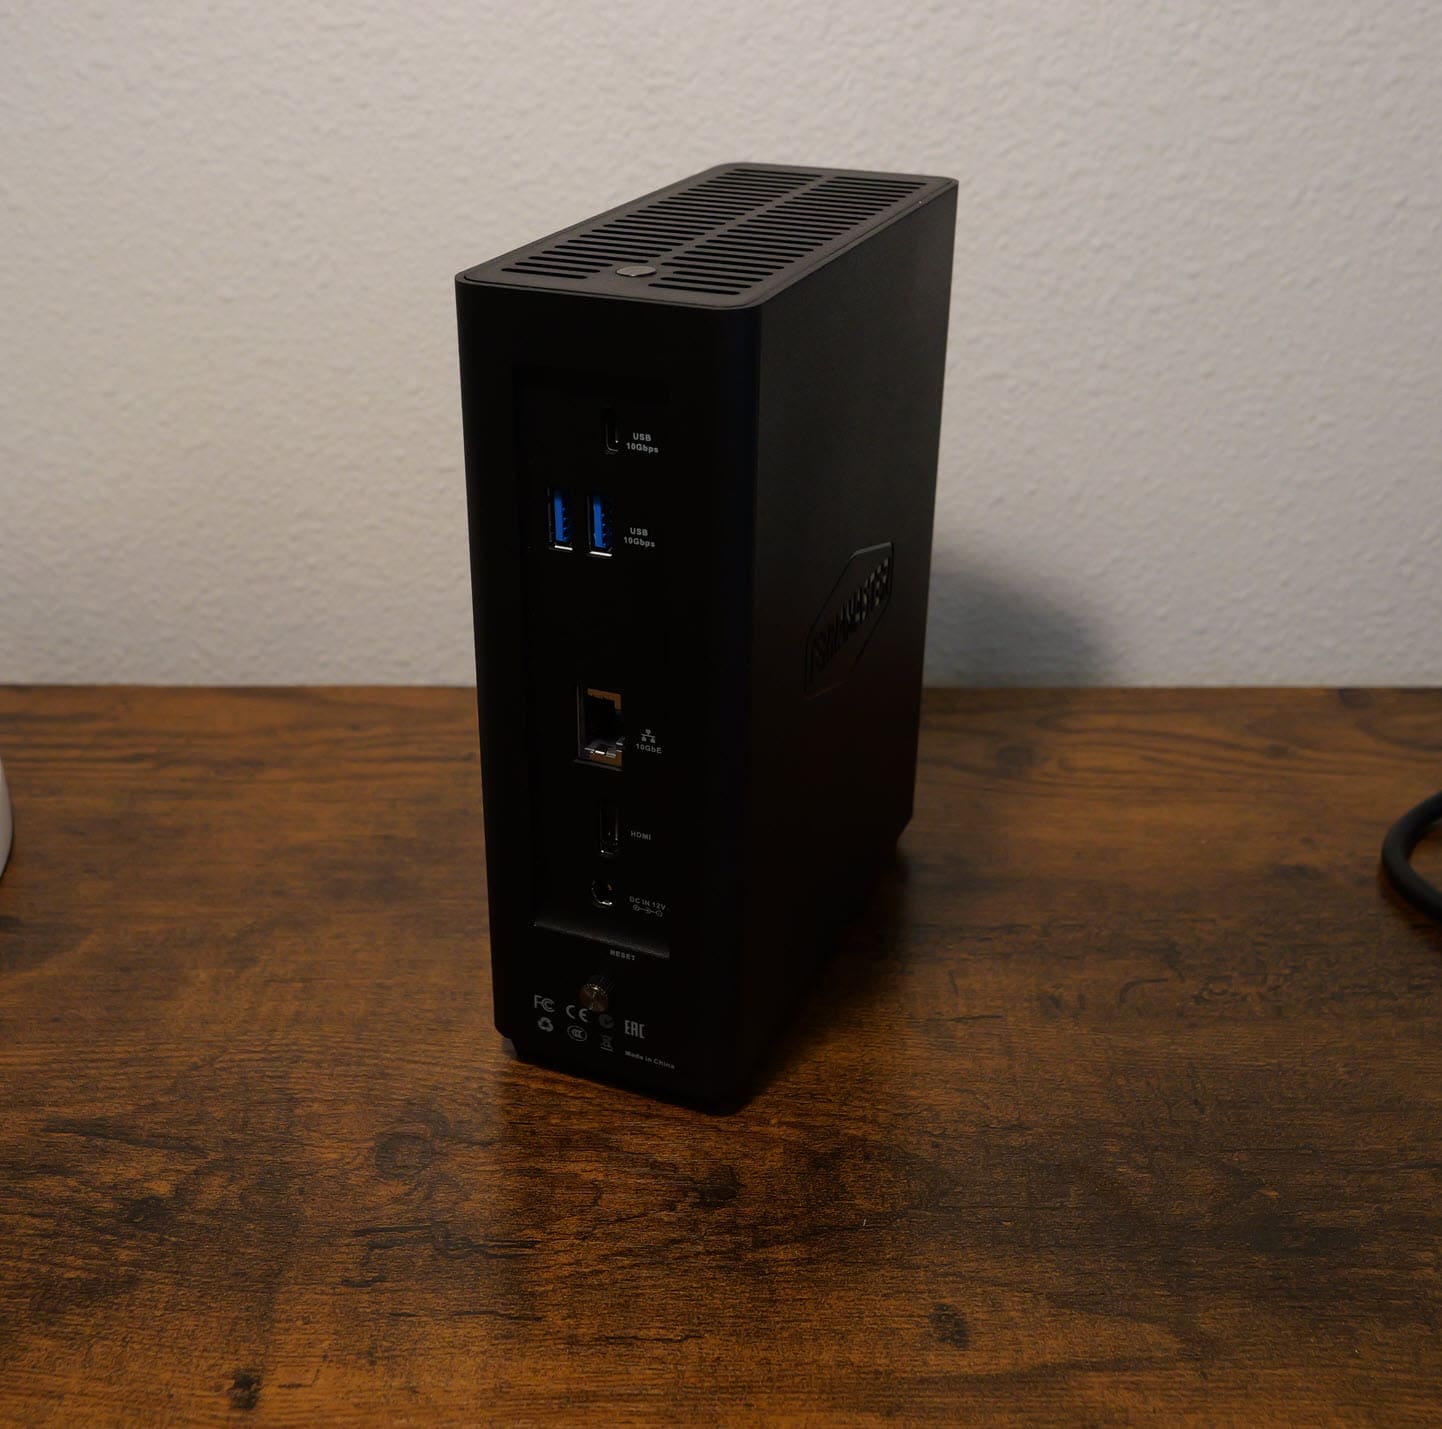
A close up look at the Terramaster F8 SSD Plus model badge.
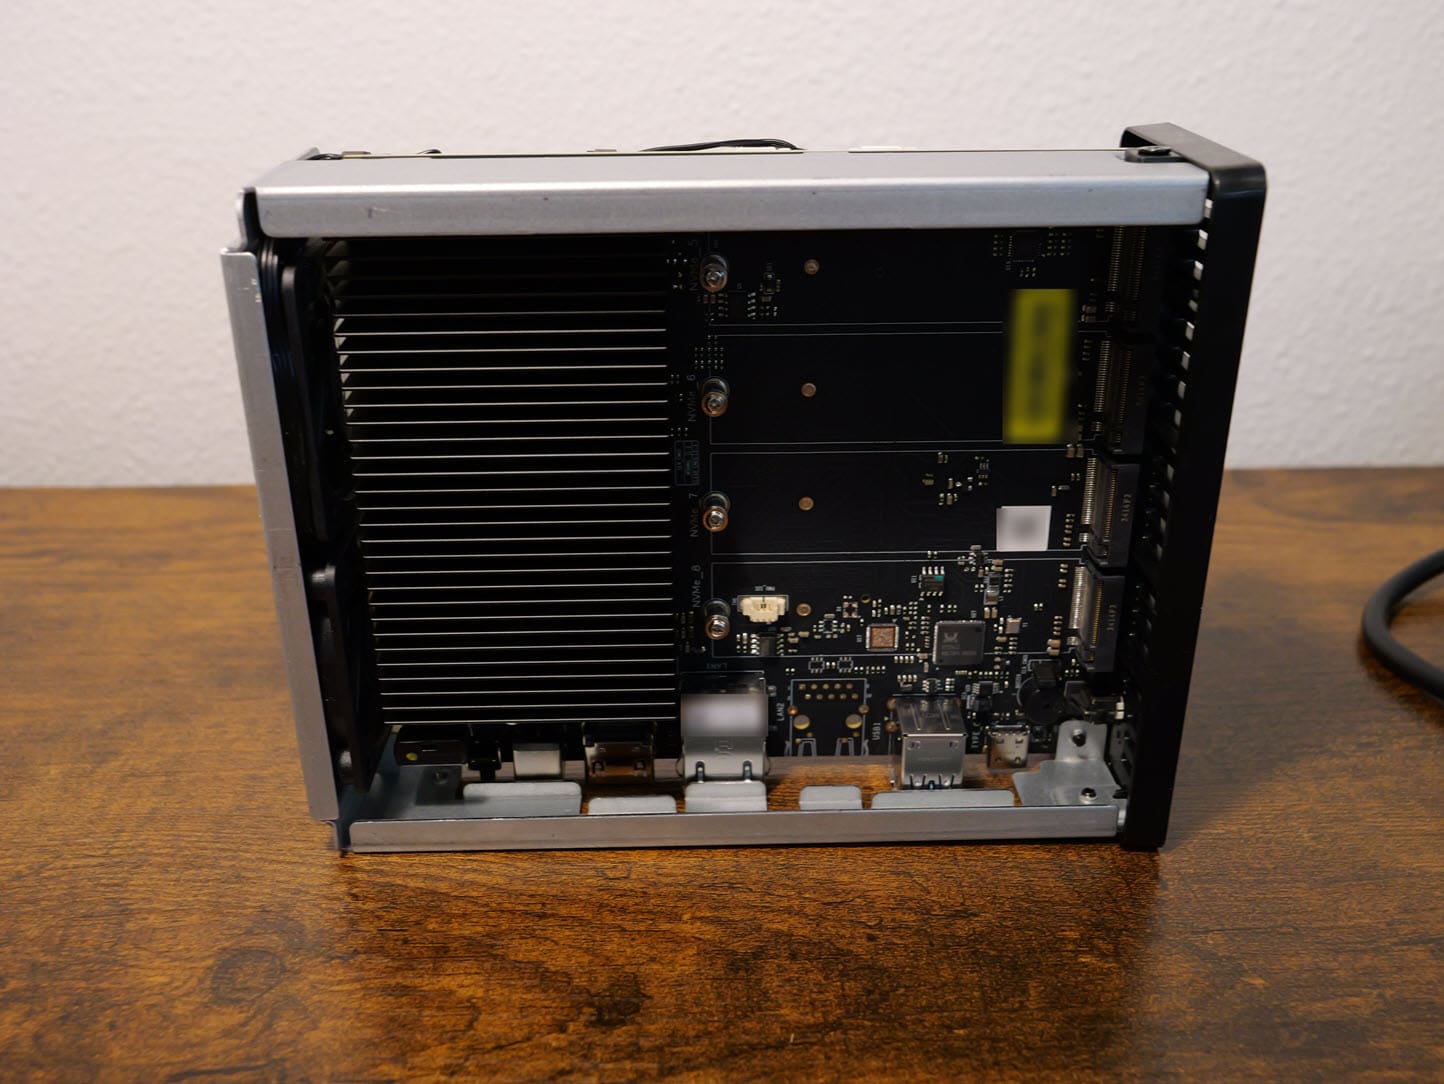
There is one thumb screw to take out and then the internals slide out of the housing which is pretty nice making for easy access.
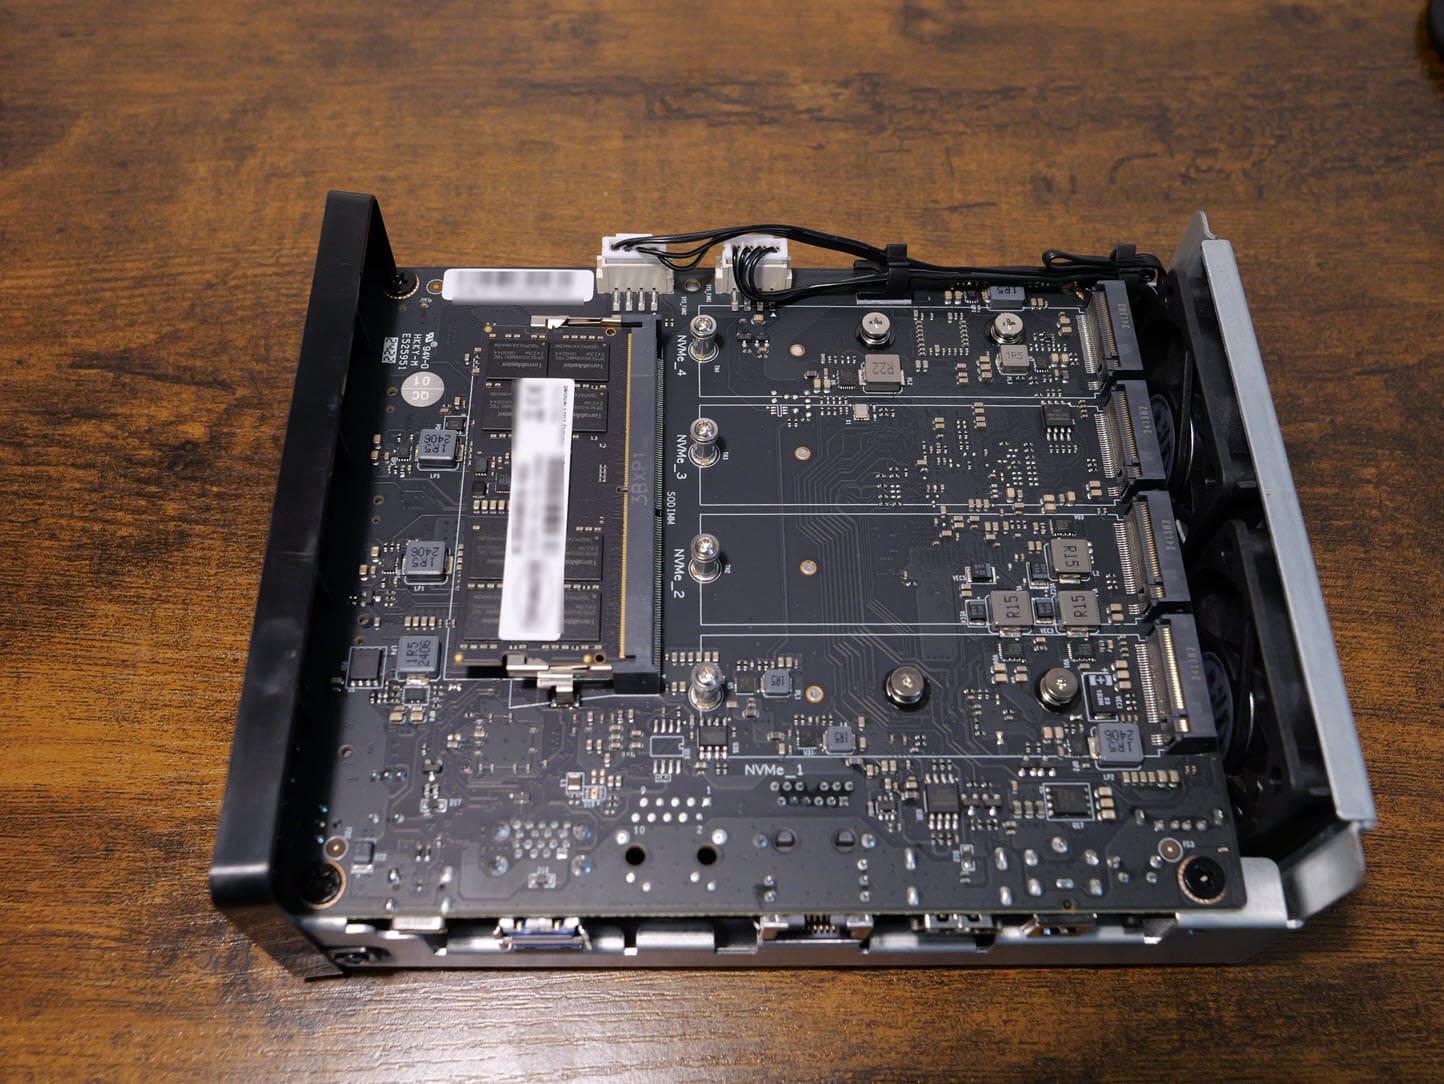
Another look from a different angle of the Terramaster F8 SSD Plus internals. As you can see there are (4) M.2 slots on one side.
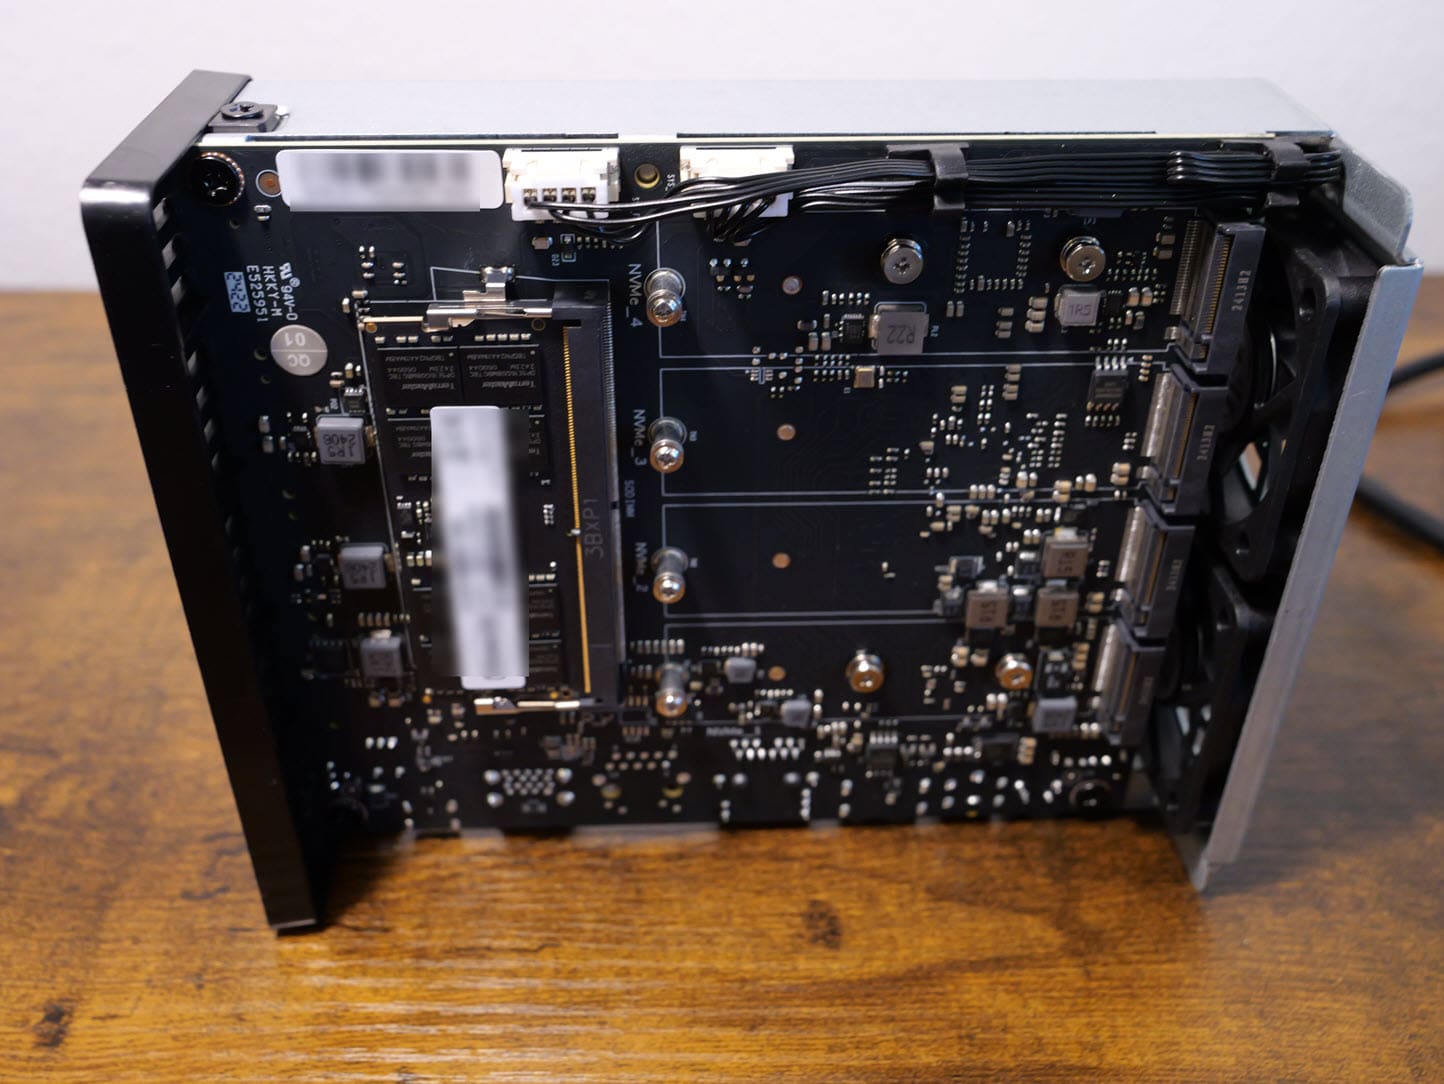
Then flipped around to the other side, you see the other four slots.
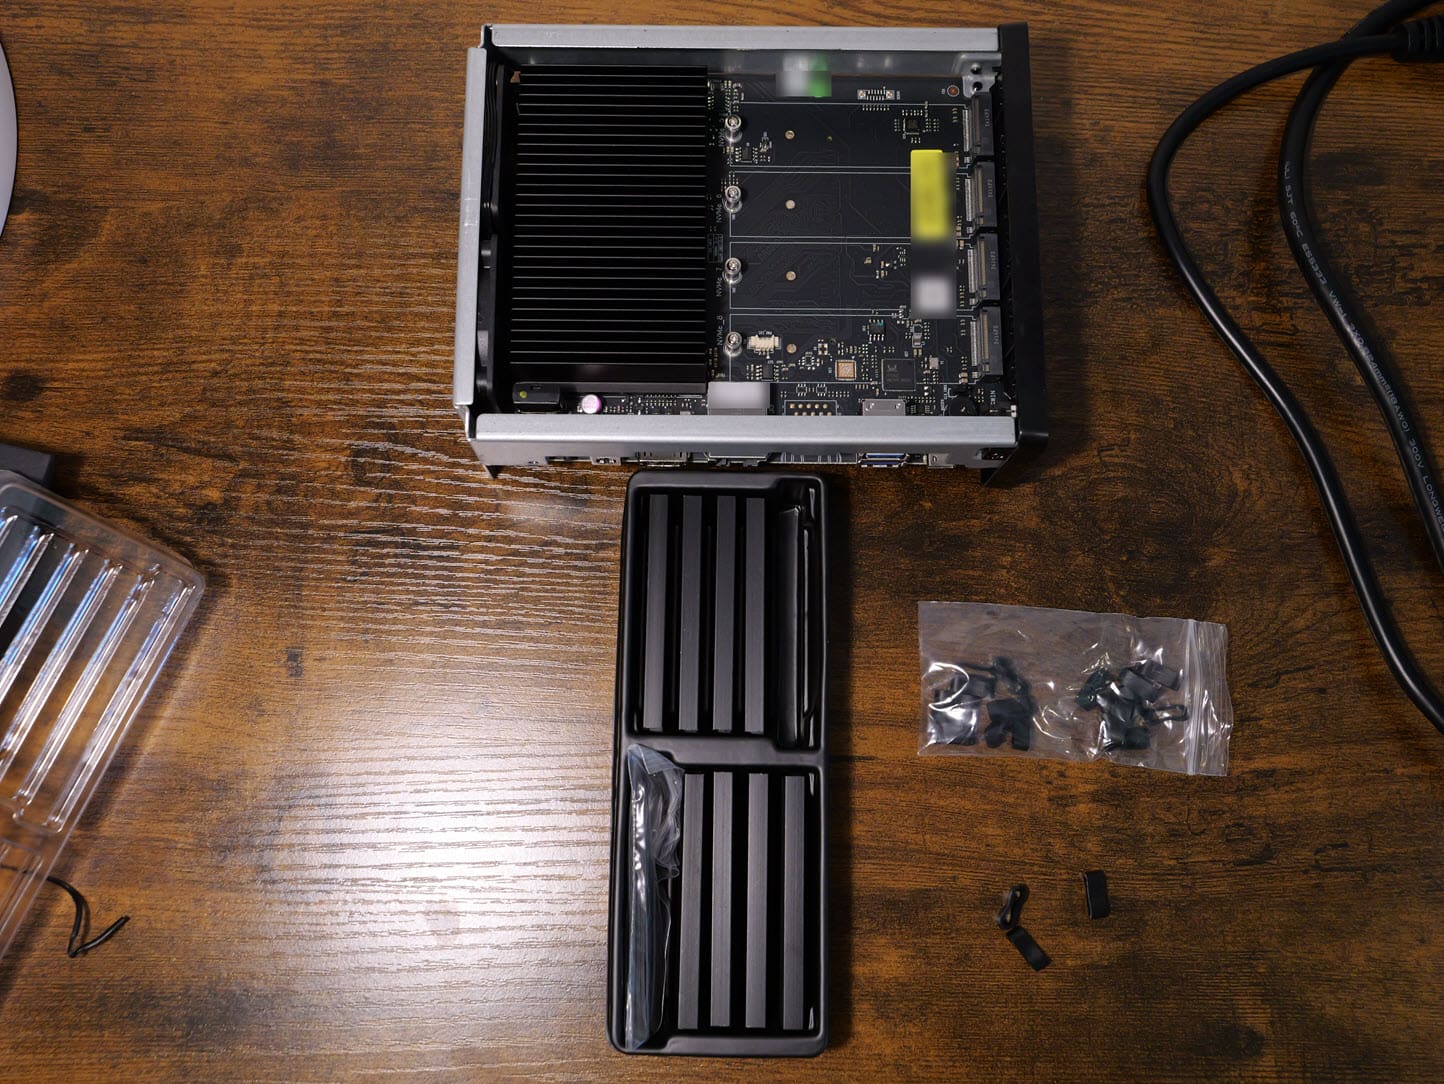
The below shows the heatsinks the unit came with, or at least the sample I was sent. I received the aluminum heat sinks with the unit and the bag of rubber bands for attaching to the NVMe drives.
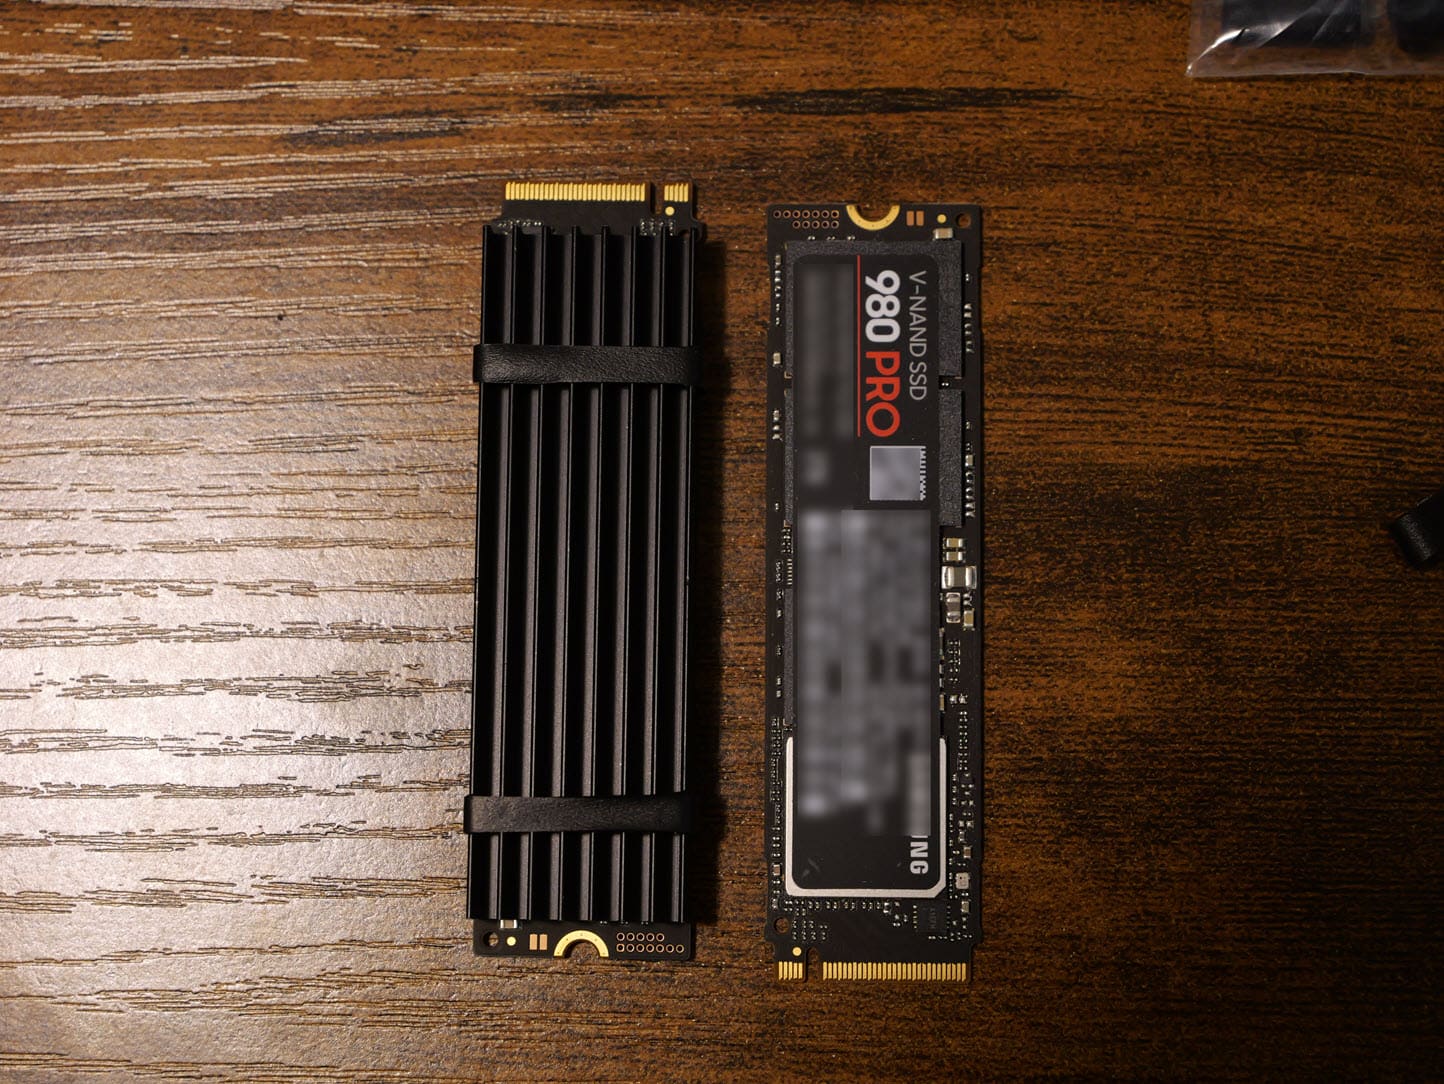
Below is a look at one of the 980 pros with the heatsink installed and one without.
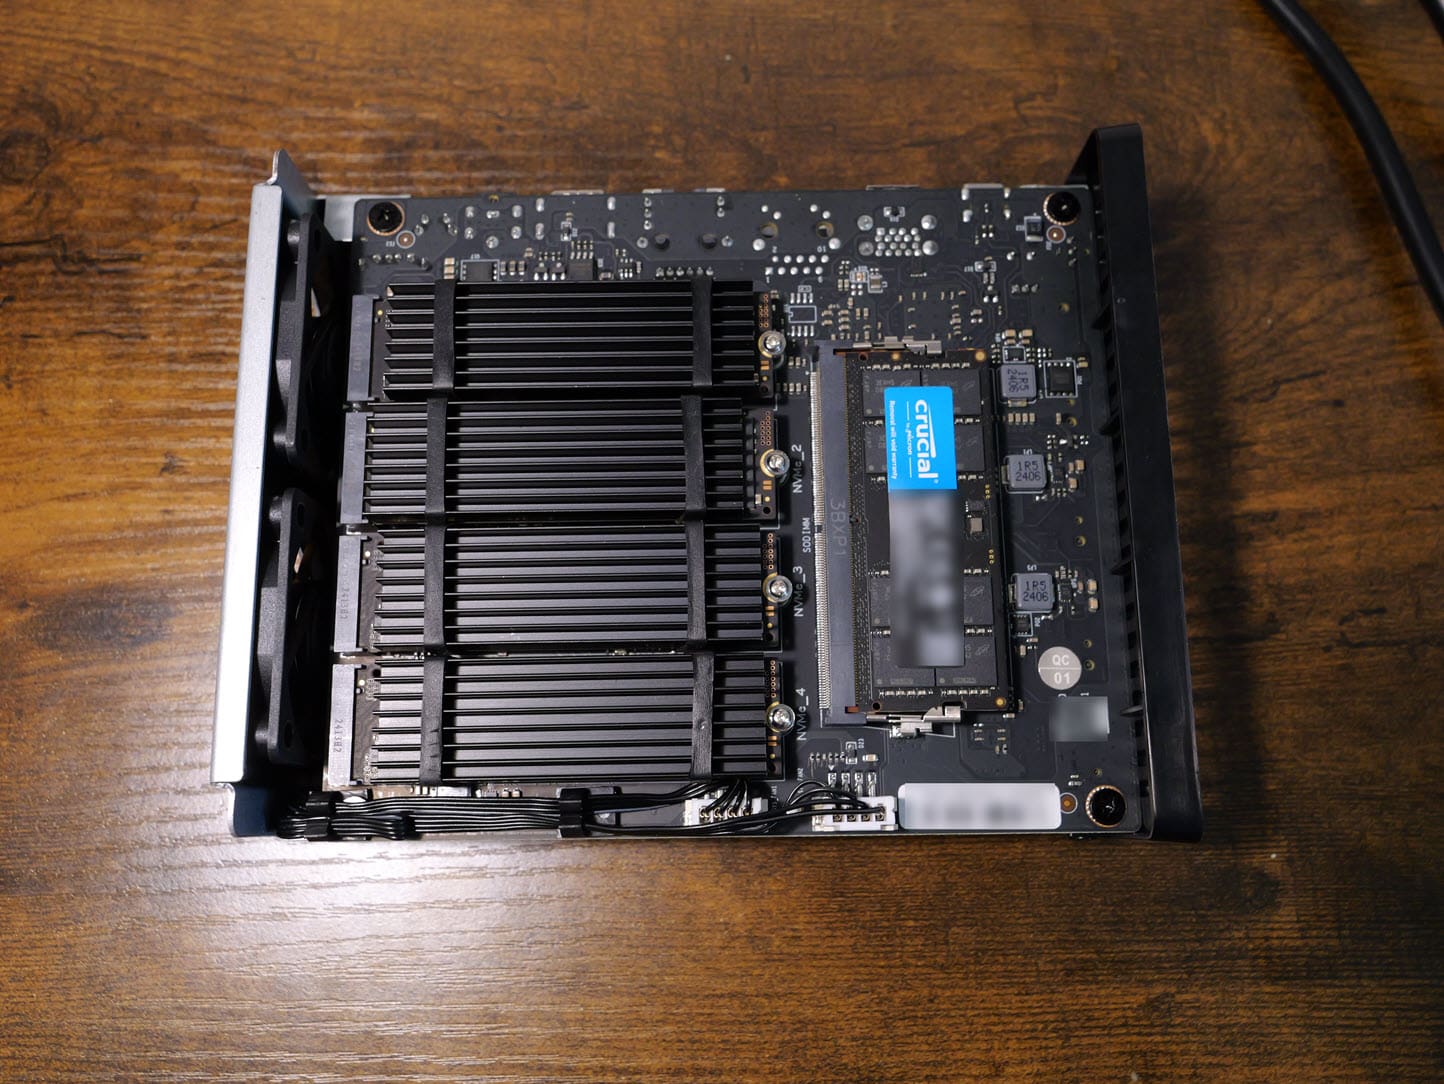
Below is with 4 drives installed in slots 1-4.
Getting up and running
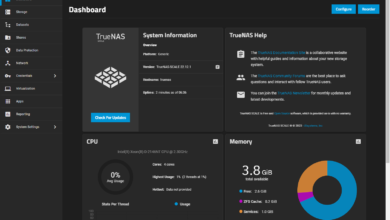
I have not used or had any experience with Terramaster NAS devices before the sample unit. They have a desktop app you download that discovers the device on the network. From there, it allows you to initialize the device.
The desktop app will need to be on the same network to perform the discovery for the device. Below, I captured the screenshot before the IP was refreshed, since it is showing autoprivate below. When you see the device show up, you simply right-click and login.
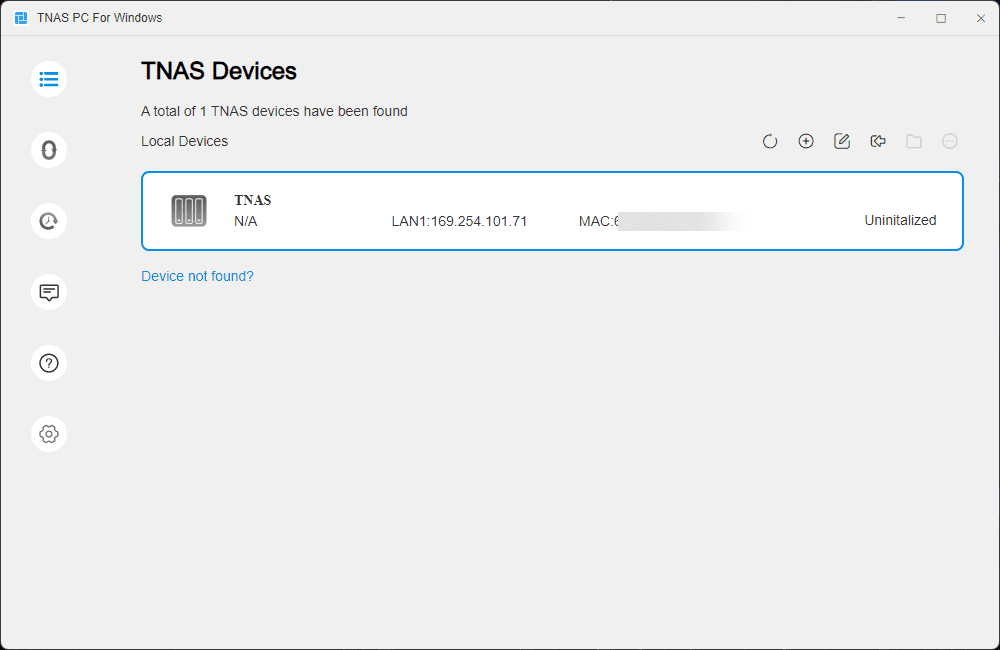
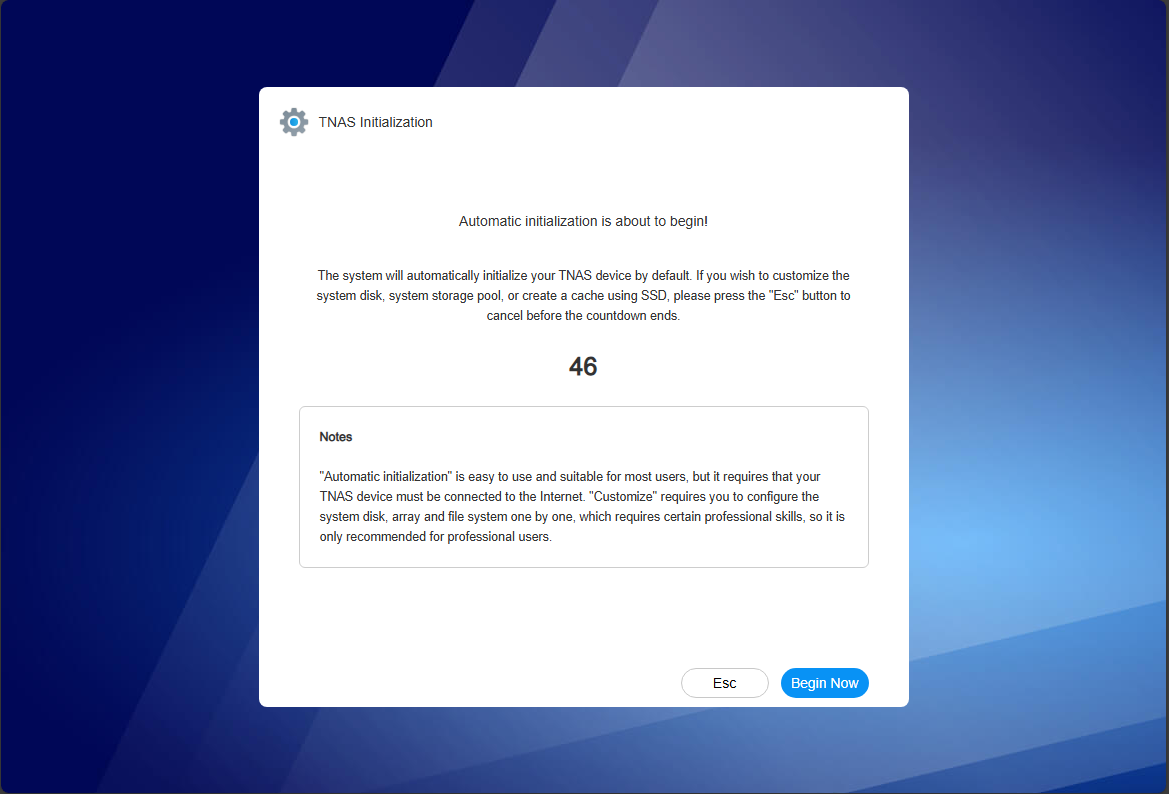
By default, you won’t be prompted for credentials since this is part of the process during setup. It will just begin the setup wizard.
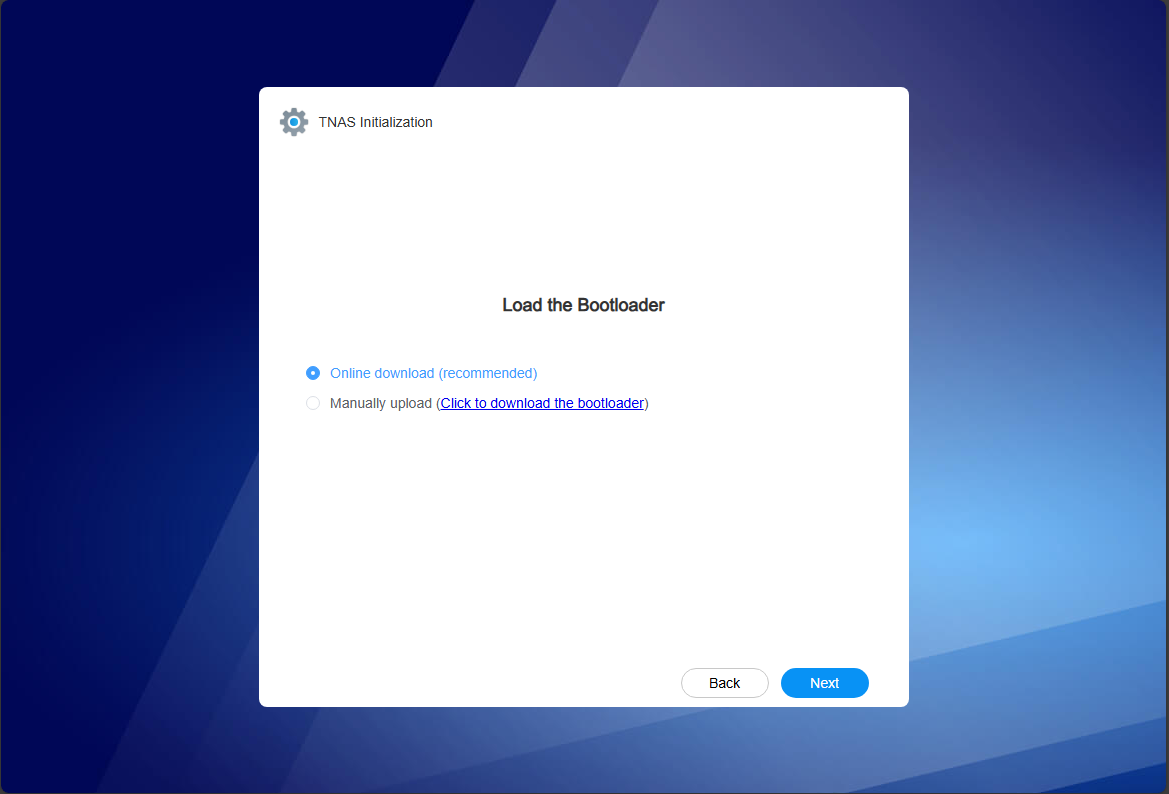
It will download the bootloader.
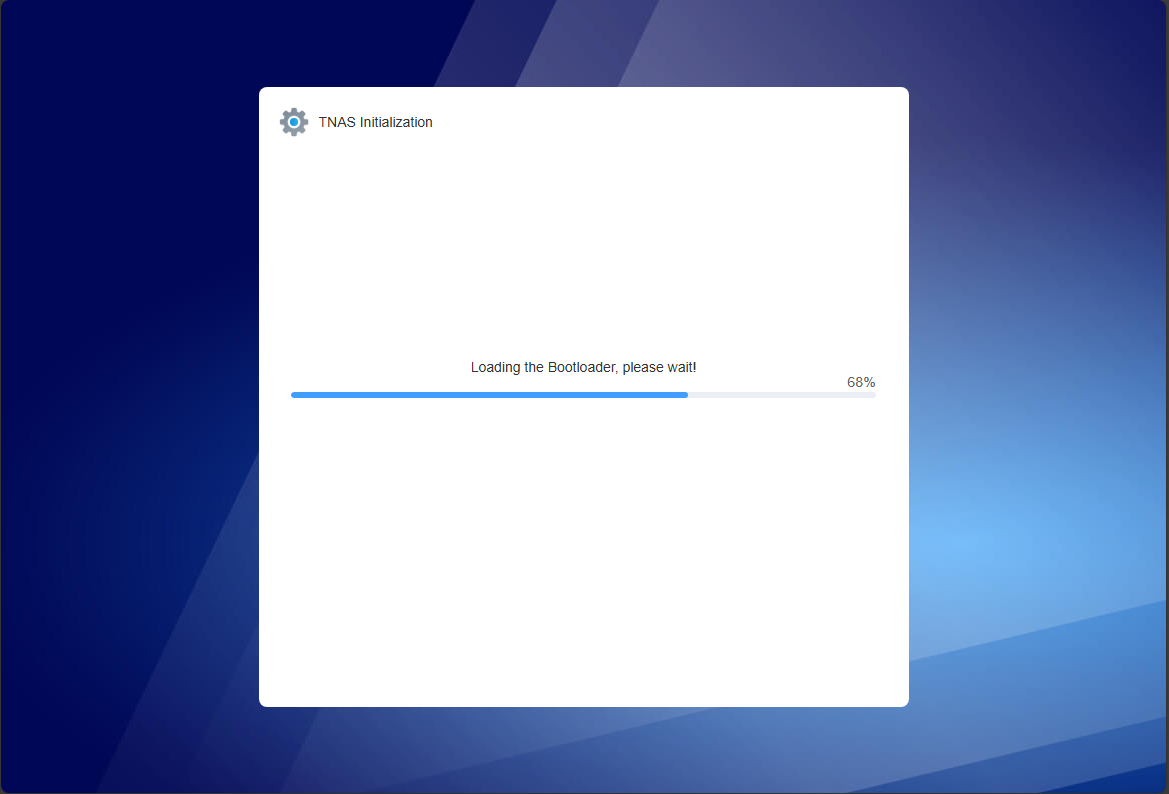
Bootloader beginning to load.
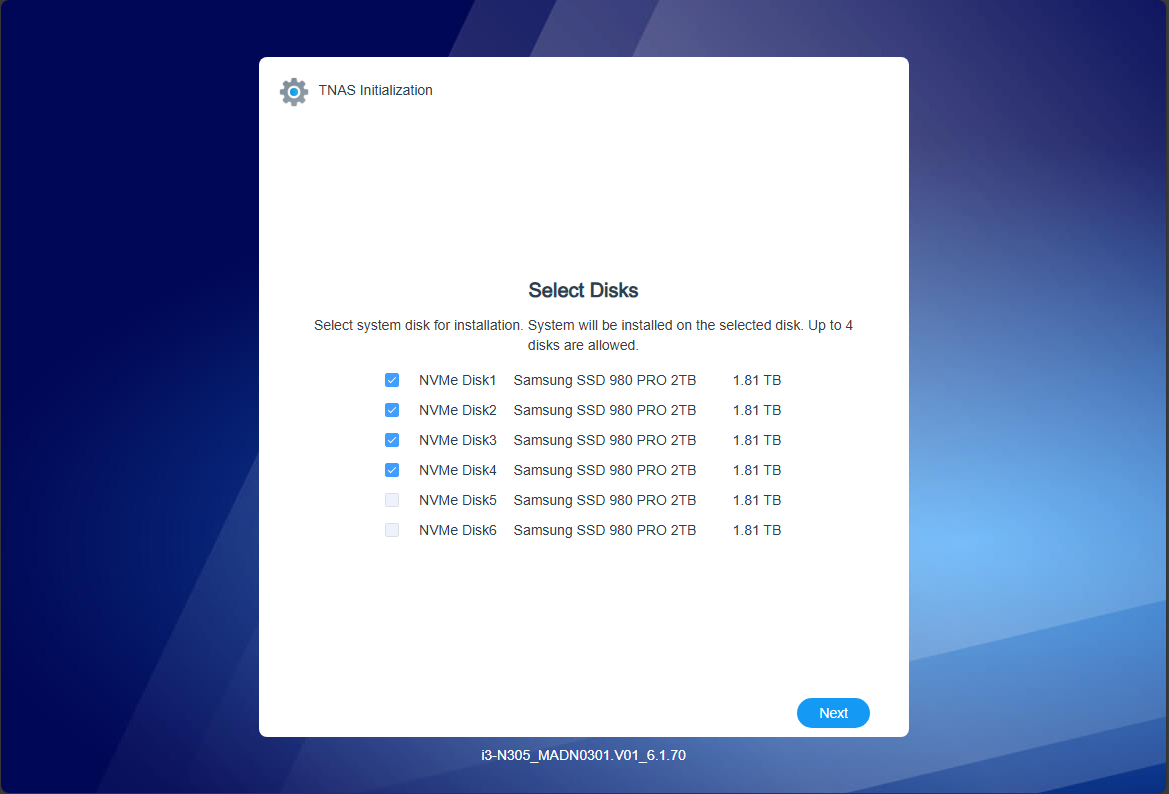
You will select the disks that the system files will be installed on. The default the screen showed me was with 4 disks selected, which I believe is the max according to what the screen shows. I left this selected this way below.
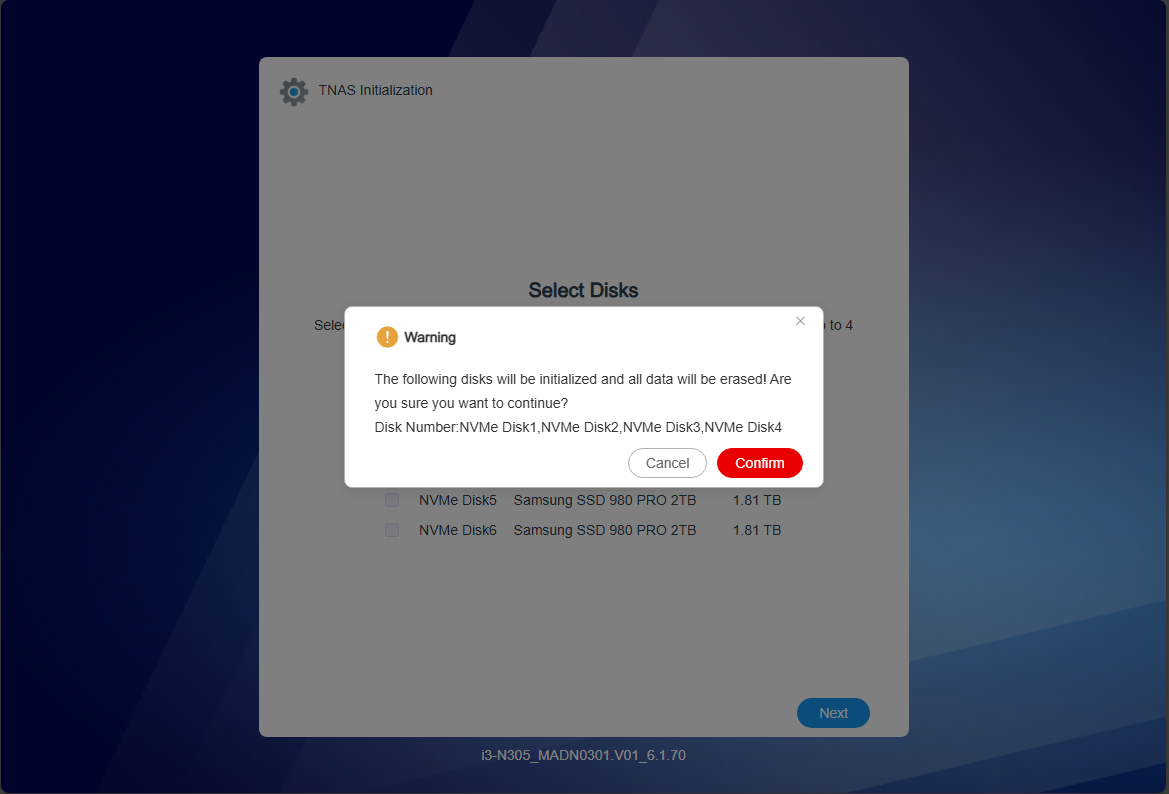
You will see the note about the fact the disks will be erased.
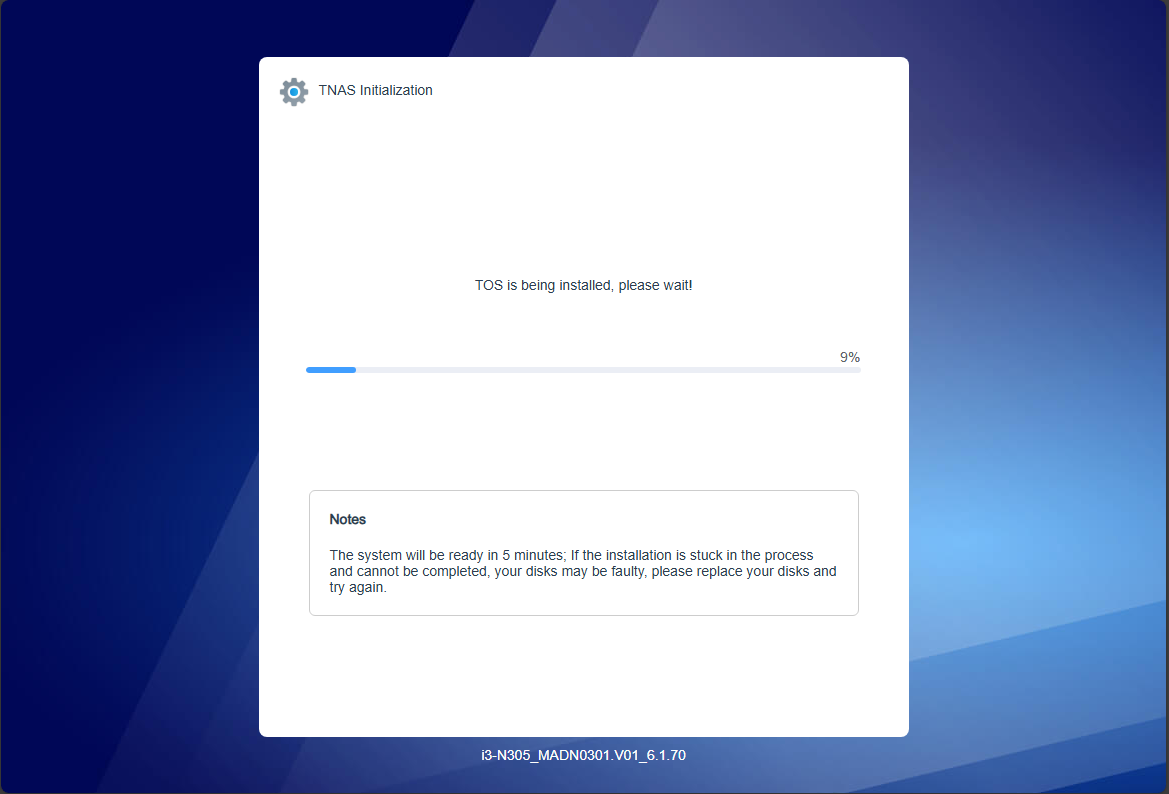
TOS is the operating system which will begin installing.
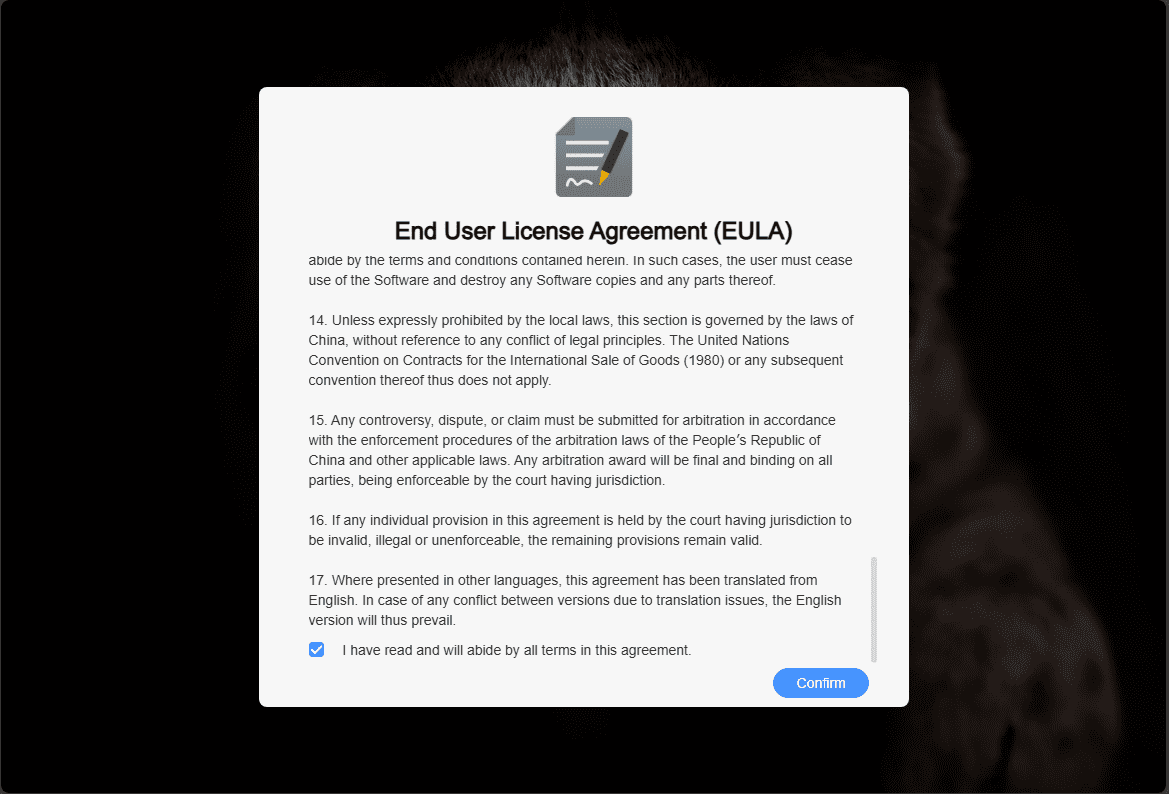
After a time, you will see the EULA displayed to scroll down to the bottom and then check that you agree and confirm.
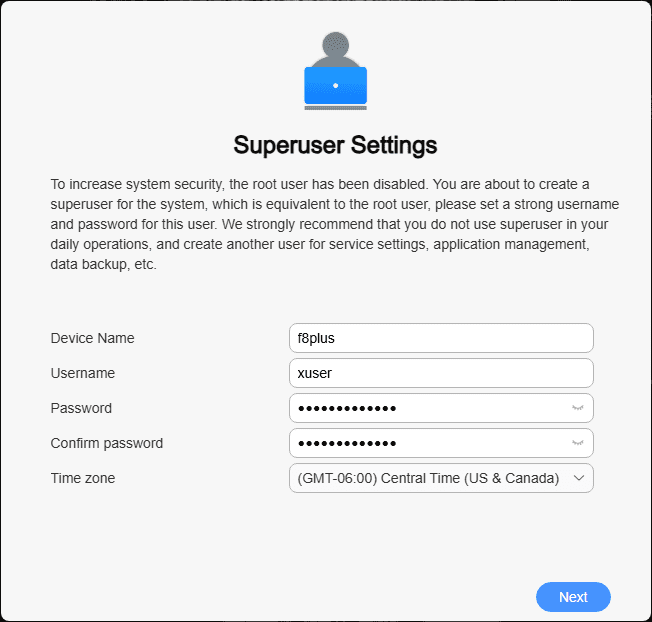
Next, you will configure your superuser. Root is disabled by default. You also can’t use admin as a user name. One interesting thing to note, I had errors, if I created any user that had admin in it and it wouldn’t let me proceed. So, just note that on this screen.
Create the storage pool on the F8 SSD Plus
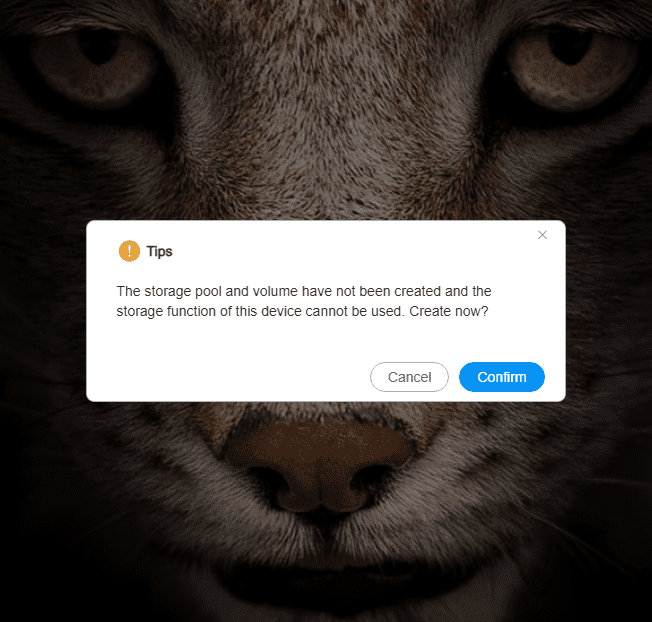
Next, you will be prompted to create the storage pool.
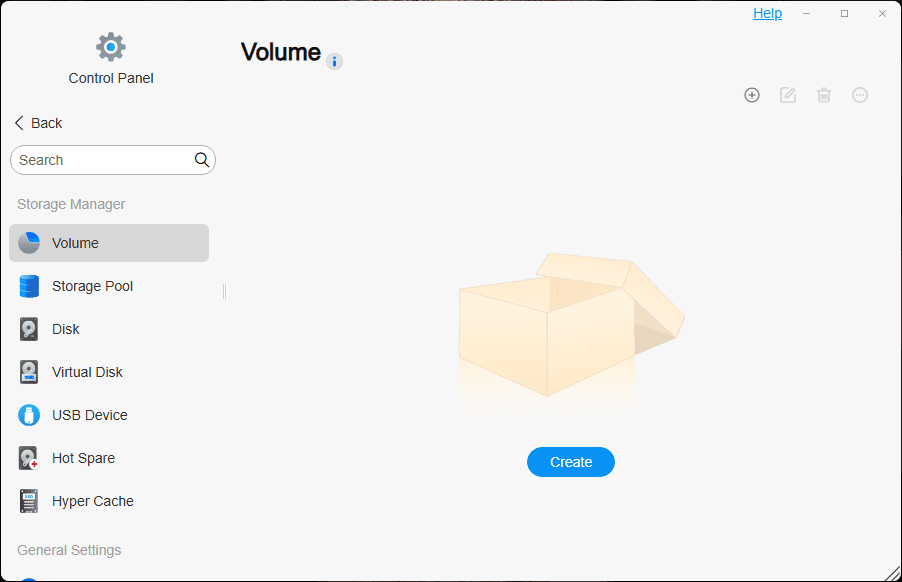
Click the Create button.
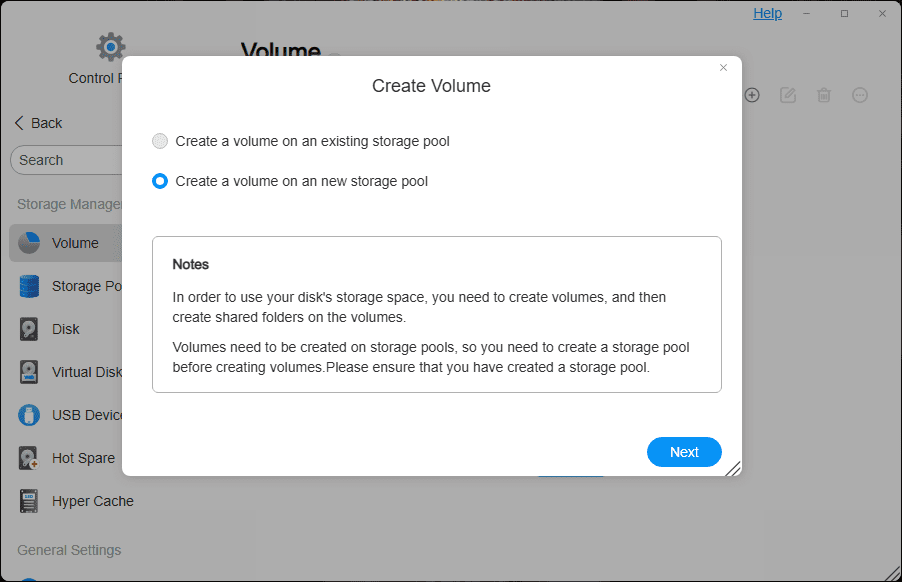
Select to Create a volume on an new storage pool.
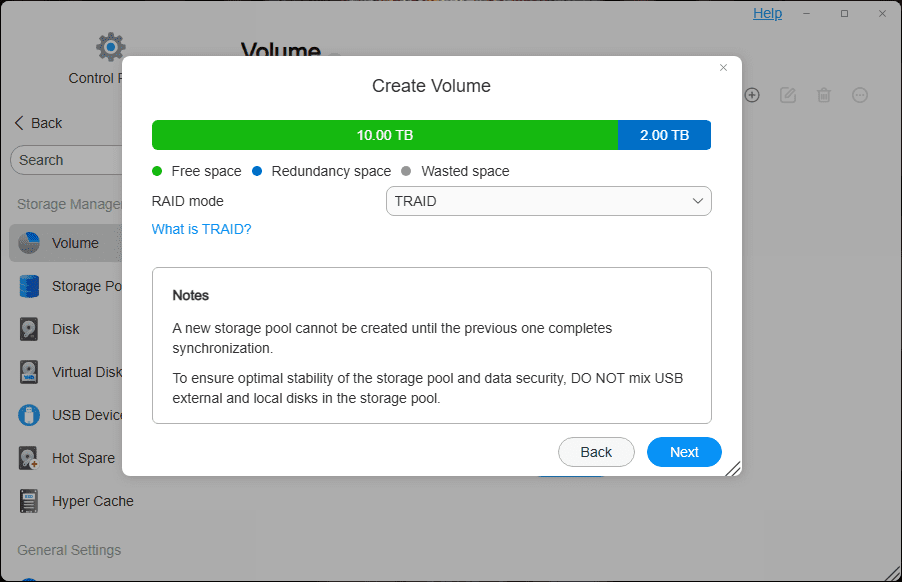
Below, you select what RAID mode you want to use. The default is TRAID, which you see here takes the space of 1 disk. This is akin to RAID5. Note, in the drop down, you can still select traditional RAID levels like RAID 1, RAID 5, RAID 6, etc.
TRAID and TRAID plus have the benefit of being hybrid RAIDs that can do things like use dissimilar disk sizes, etc.
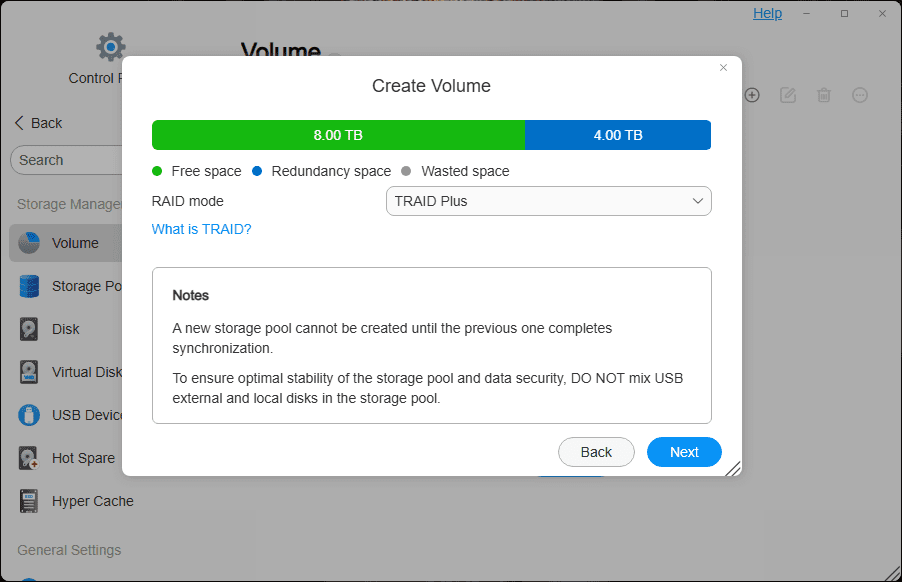
Below is a look at selecting TRAID Plus. You can see it is akin to RAID 6, which takes the space of (2) disks.
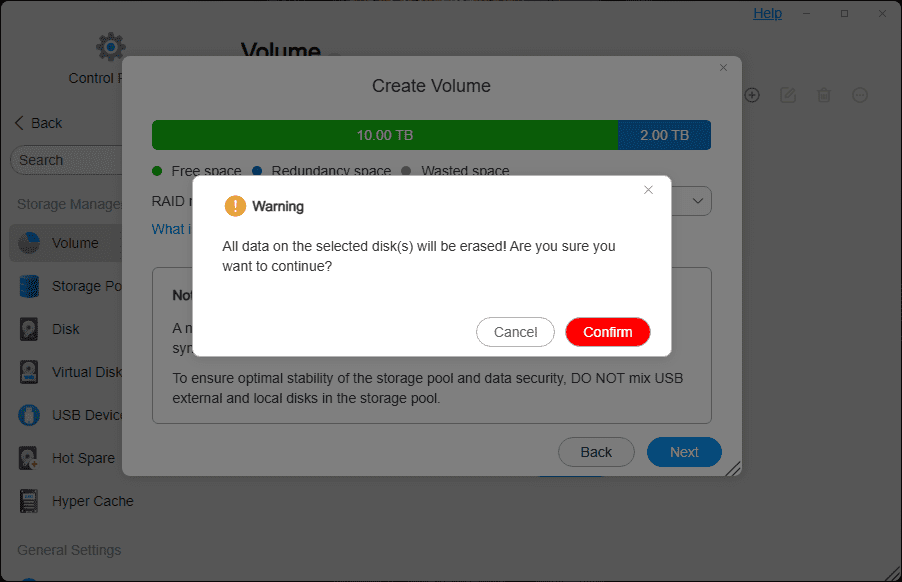
Confirm your choice and select Confirm.
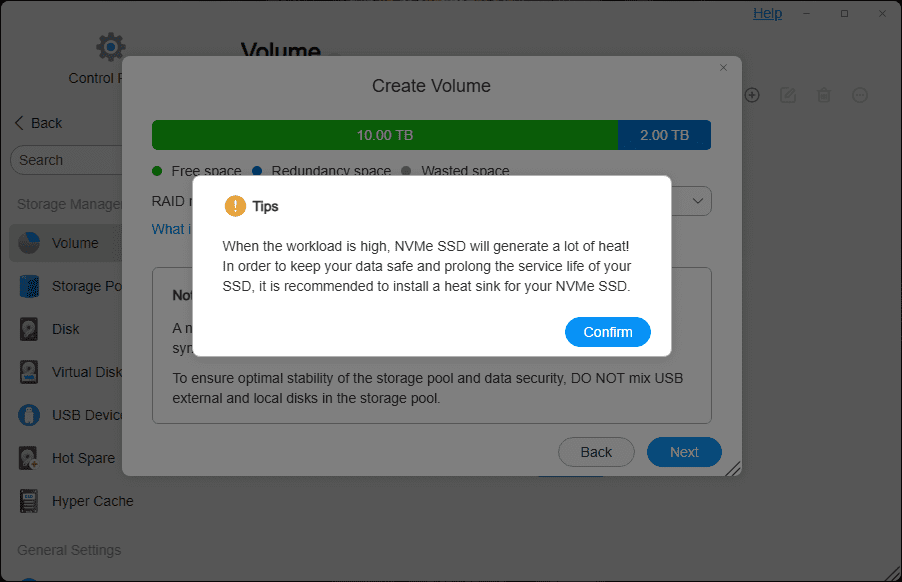
Interestingly, it gives us a warning about heat considerations.
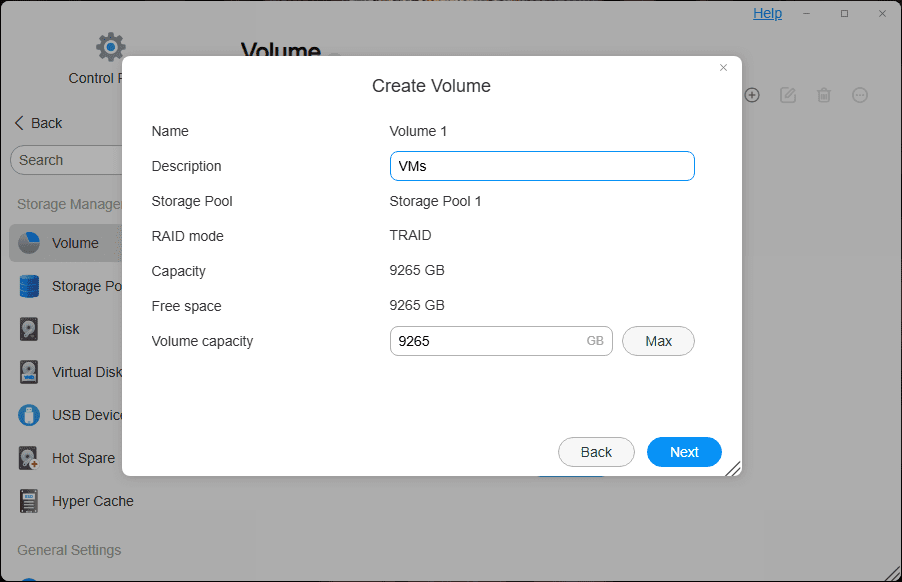
Name the new volume.
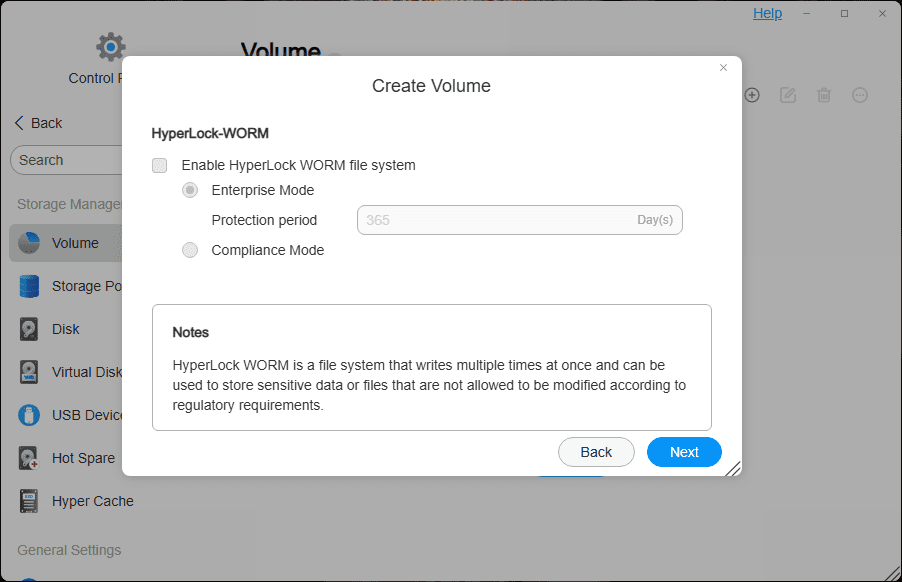
WORM configuration.
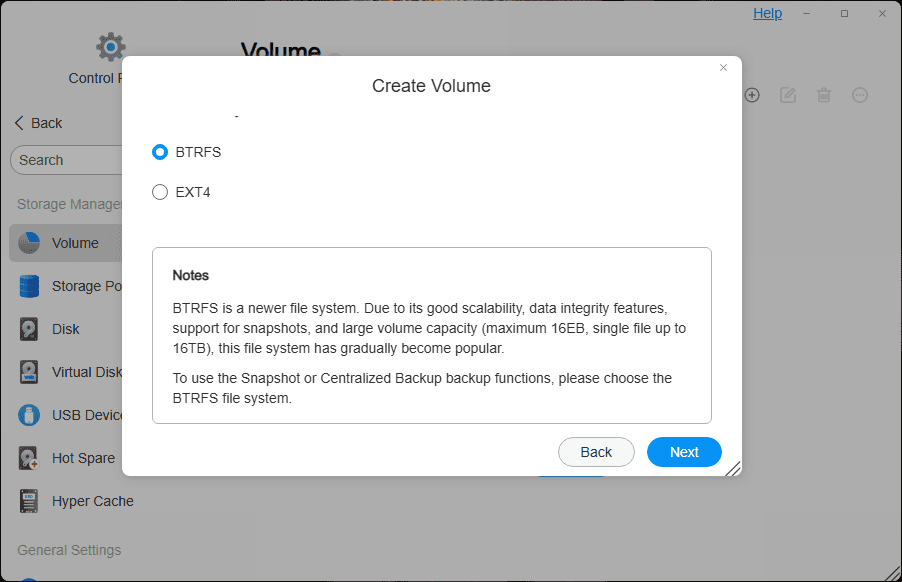
You have the choice between BTRFS and EXT4 for the file system on the new volume.
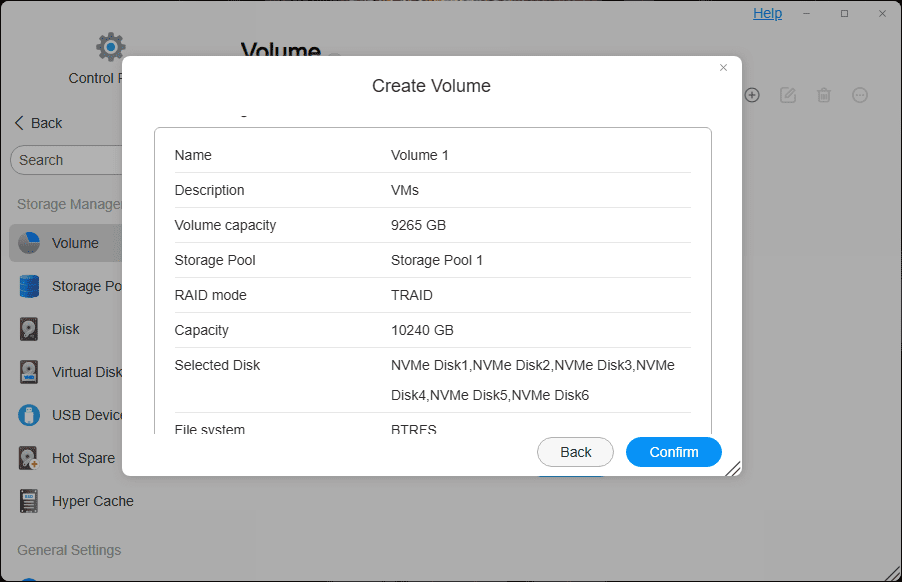
Confirm the creation of the new volume.
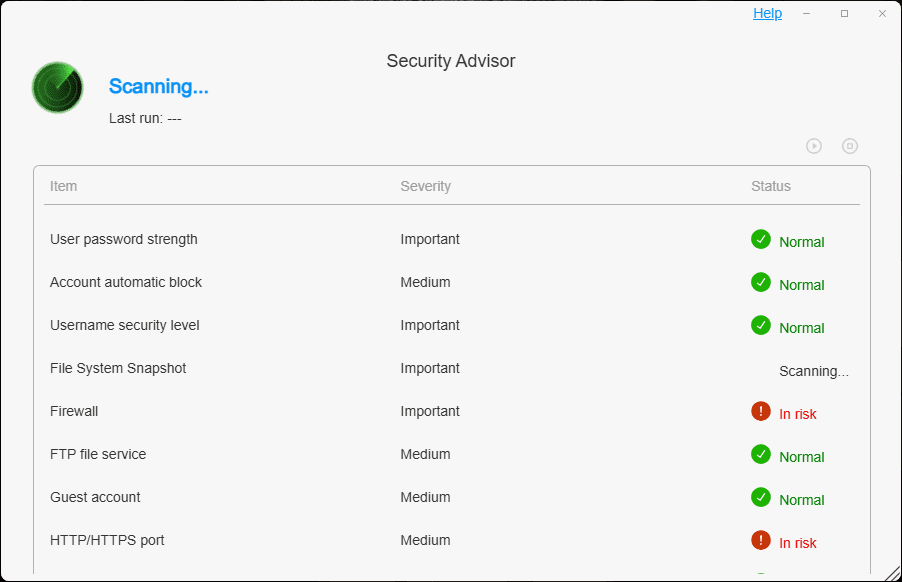
The security advisor launches which is a nice touch to help keep security front and center on recommended best practices.
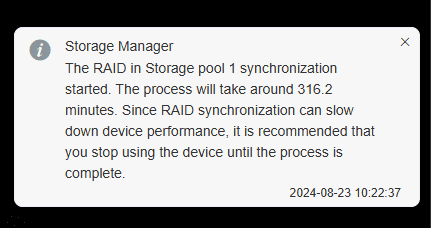
We get the note about pool synchronization that it will take some time.
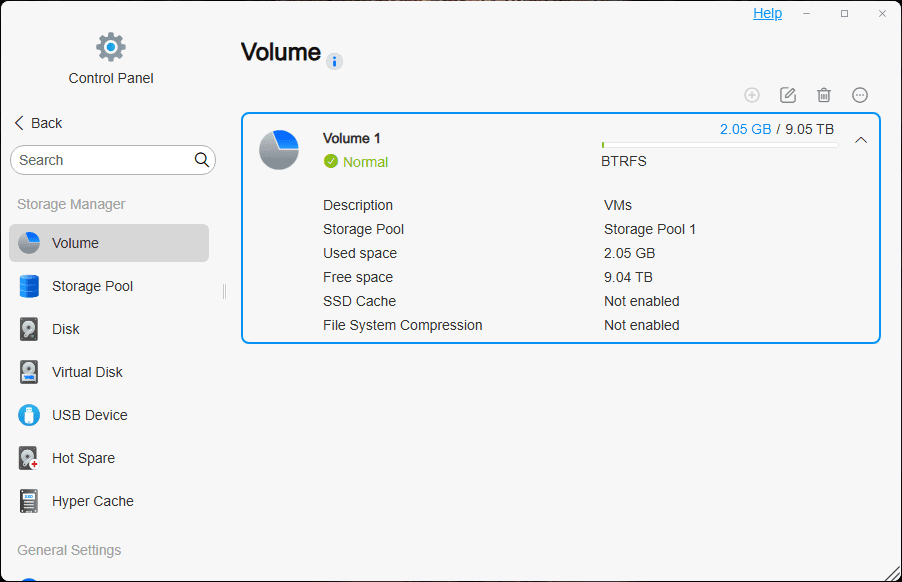
The volume is created and synchronized successfully.
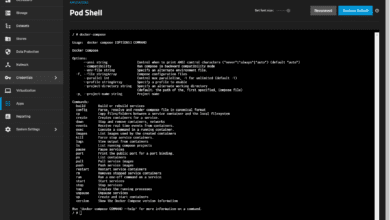
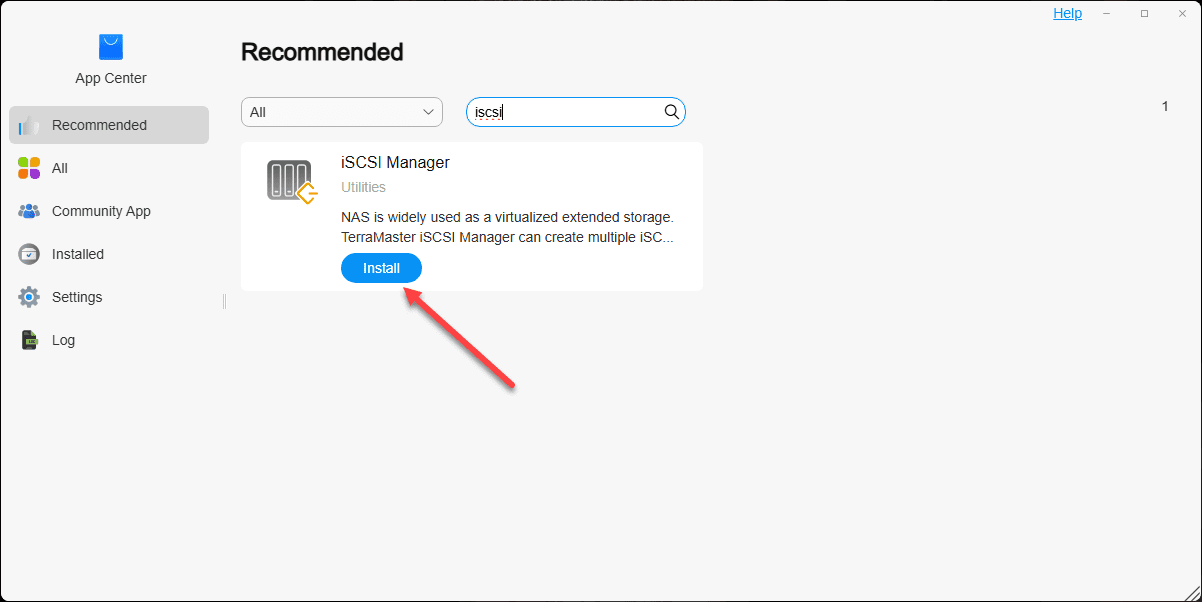
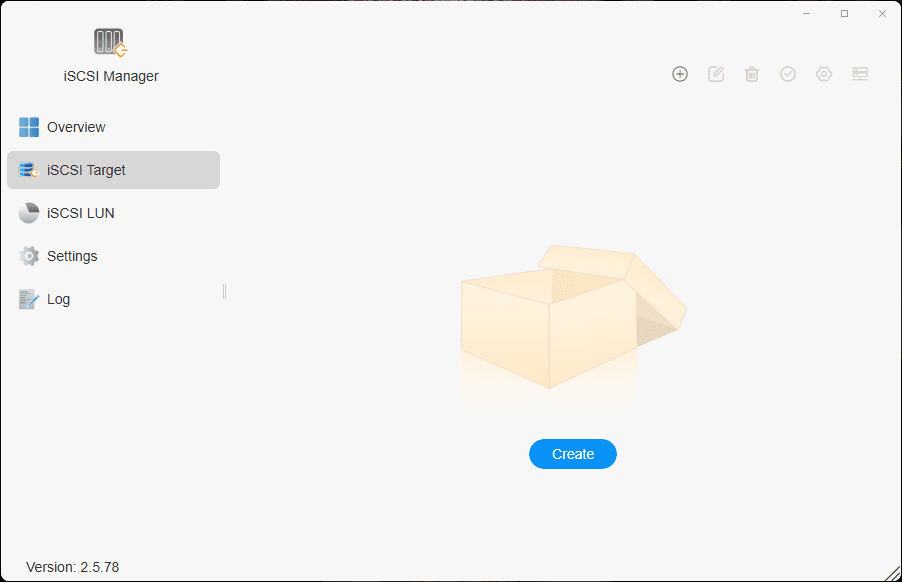
Setup an iSCSI LUN for virtualized environments
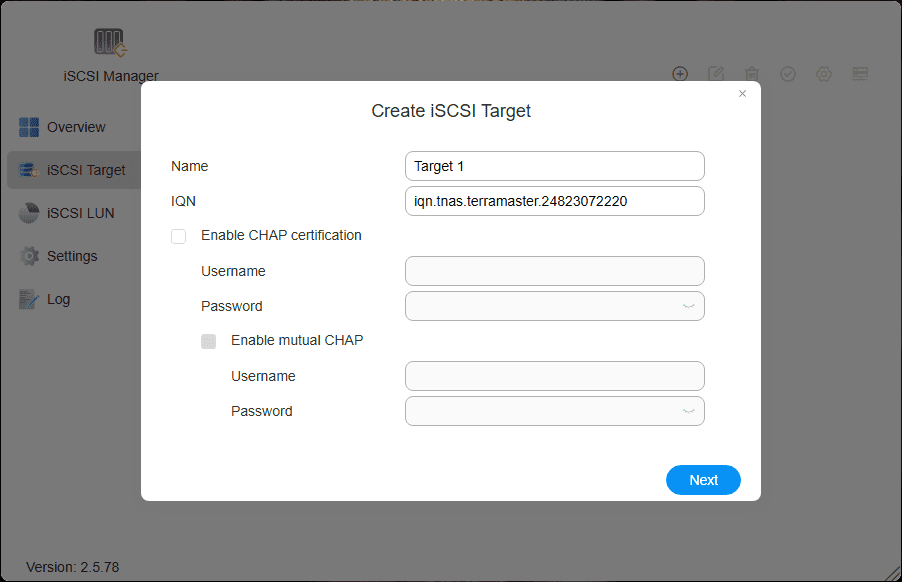
Terramaster makes setting up iSCSI easy with an app you can install and use for configuration. Just go to the App center and search for iSCSI.
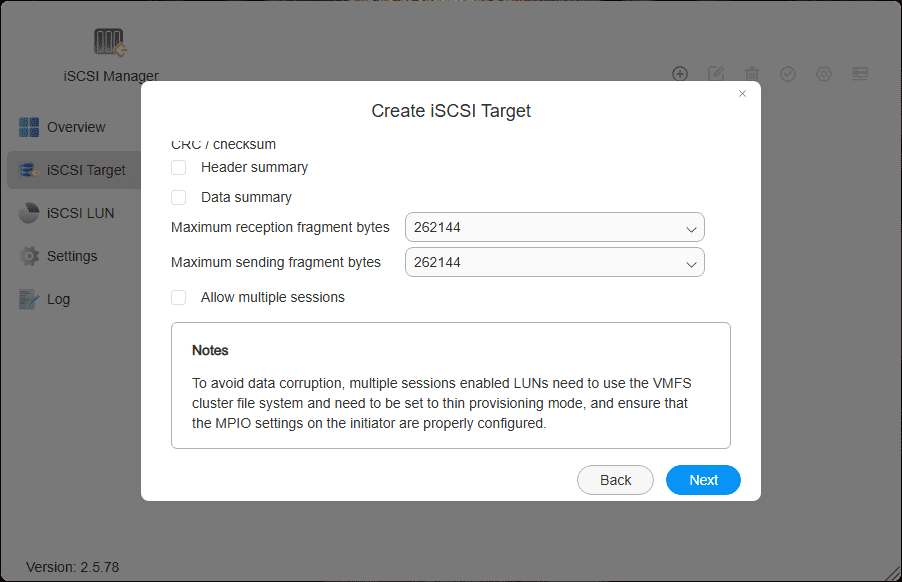
Make sure to check the box below to Allow multiple sessions. This will allow multiple ESXi or Proxmox hosts to access the storage simulataneously.
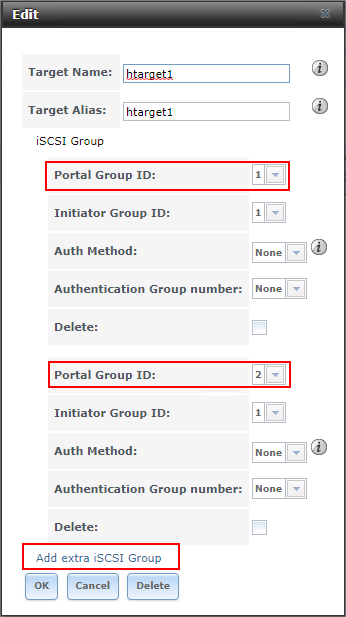
Finishing out the creation of the iSCSI target.

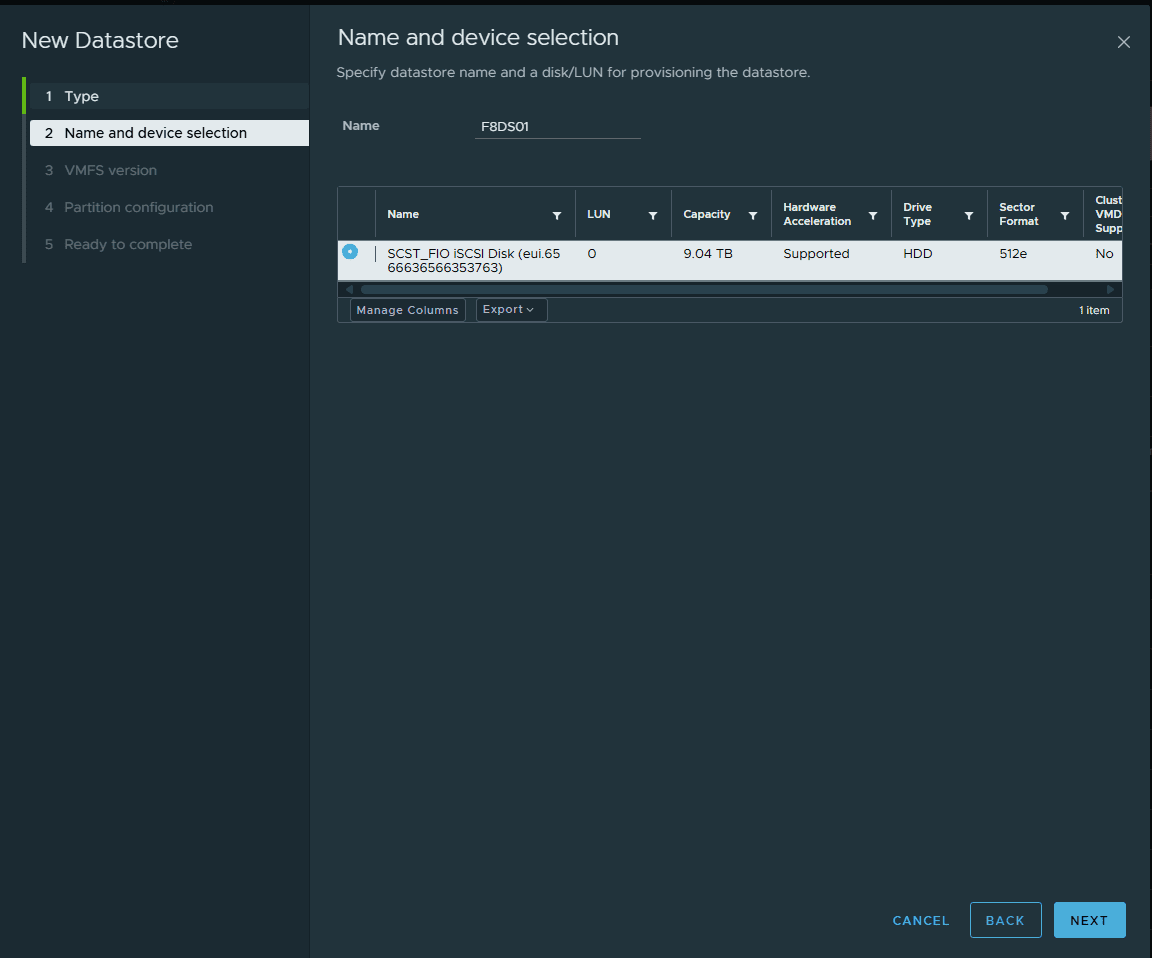
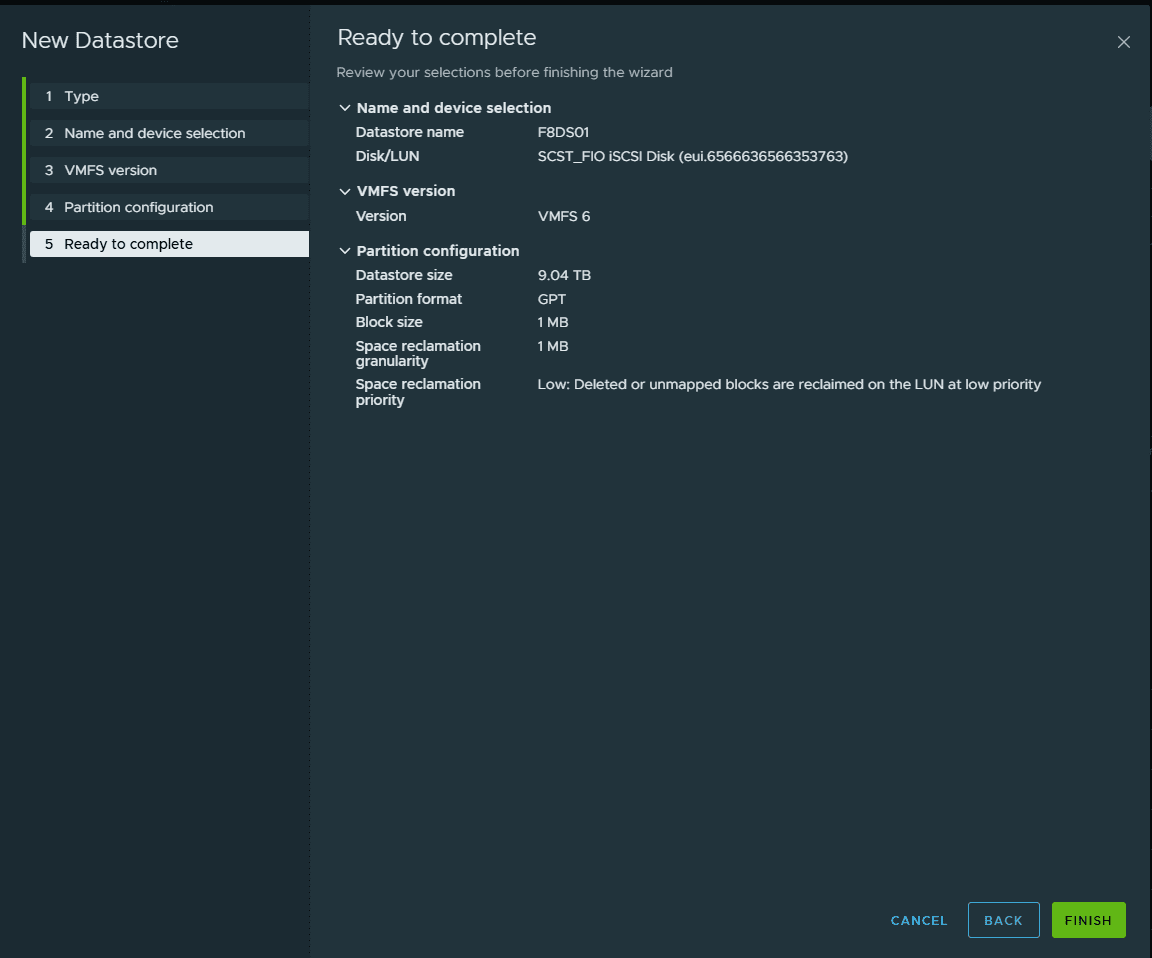
Adding the iSCSI target in VMware vSphere
Below, I am adding the new target in VMware vSphere.
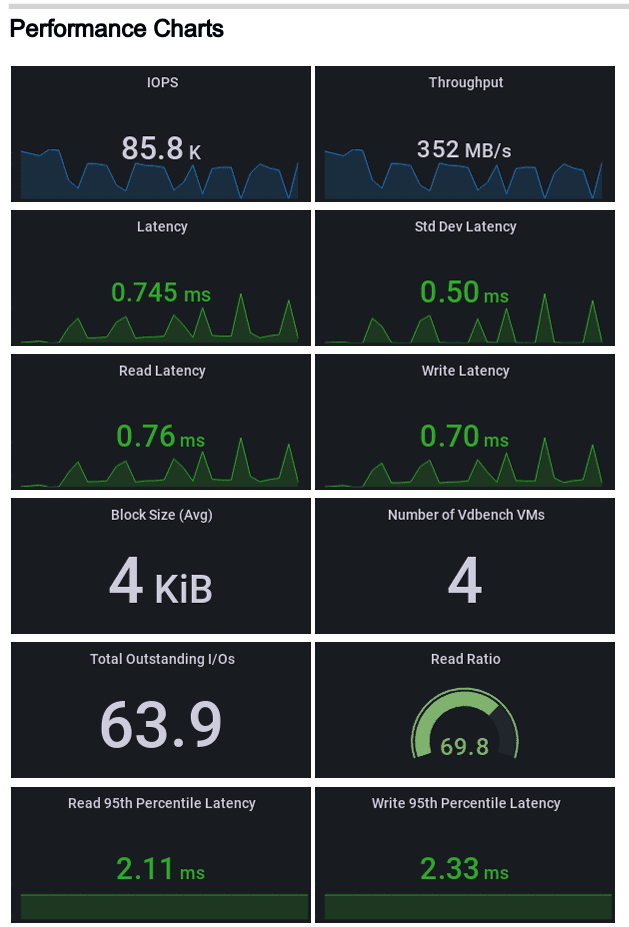
HCIbench test results
Even though this isn’t an HCI configuration, we can use HCI bench and use VDBench to test the datastore performance. I am driving this datastore with a Minisforum MS-01.
Below are the results of the test case where I ran some fairly common benchmark settings that fit virtualized workloads. My unit has (6) 2TB Samsung 980 Pro NVMe drives loaded.
- 30% working set
- 4k block size
- 70% read, 30% write
- 100% random
Test Case Name:vdb-8vmdk-30ws-4k-70rdpct-100randompct-2threads-1724424512
Report Date: 2024-08-23 14:54:18 +0000
Generated by: HCIBench_2.8.3
Datastore: F8DS01
=============================
Number of VMs: 4
I/O per Second: 71863.9 IO/S
Throughput: 280.72 MB/s
Latency: 0.89 ms
Read Latency: 0.9 ms
Write Latency: 0.86 ms
95th Percentile Latency: 5.62 ms
=============================
Resource Usage
Cluster cpu.usage cpu.utilization mem.usage
minicluster 13.18% 12.01% 72.17
Thoughts and Wrapping up the F8 SSD Plus Review
All in all, this is a great little unit that I think has a lot of potential in the home lab. You have 8 M.2 slots for loading up quite a bit of storage, which you can max out at 64 TB of NVMe.
Pros:
- Easy setup using the app and the TOS6 software worked well to do what I needed it to do (set up storage, networking, and iSCSI). I didn’t test the consumer’y type apps
- Very good performance, 80k IOPs which is great for home lab
- It allows you to set up a cluster of hypervisor hosts to have failover, live migrations, HA, etc.
- Very quiet operation
- It came with NVMe heatsinks (not sure if the production units will?)
- Low-profile looks basically like a mini PC-size device
There are a few nit pick things I would like to mention that are cons:
- There is only 1 network adapter at 10 gig
- The network adapter is not VLAN-aware
- I believe the NVMe slots are PCI gen 3 which doesn’t allow Gen 4 drives to achieve full performance
- Would be great if we had 2 network adapters on the unit to split out storage traffic and management traffic since not VLAN-aware
- It would also be great if the NVMe drives were somehow hot-swappable, so if you have a drive fail, this could be corrected online. But, this is nitpicking as that is delving into more enterprise features, which is obviously a little outside of what this is designed for.