If you have upgraded a VCSA appliance between versions, if you are like me, you have noticed the size of the upgrade disks that the vCenter Server Installer shows as required seems to double each time you upgrade. It appears this is a known issue with the vCenter Server upgrade process. I wanted to share with you and work through the VMware by Broadcom KB article showing how to use a 2-step approach to workaround the issue of growing and bloated vCenter Server appliance disks.
Table of contents
- The problem – Large vCenter Server disks required during deployment
- A Broadcom KB article to the rescue
- 1. Perform a new VCSA install and not upgrade
- 2. Cancel the installer after Stage 1 completes
- 3. Connect to the new appliance IP address port 5480 and choose Upgrade
- 4. Complete the wizard as normal for the Upgrade
- Troubleshooting
- Wrapping up
The problem – Large vCenter Server disks required during deployment
Recently, I was taking a production vCenter Server deployment from VCSA 7 to targeting VCSA 8. The VCSA appliance was already sitting on 2TB of disks total. However, the amount of data on the disks was not showing to be that significant. I was ok if the deployment of the upgrade stayed around 2TB as this fit within the datastore for the upgrade.
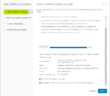
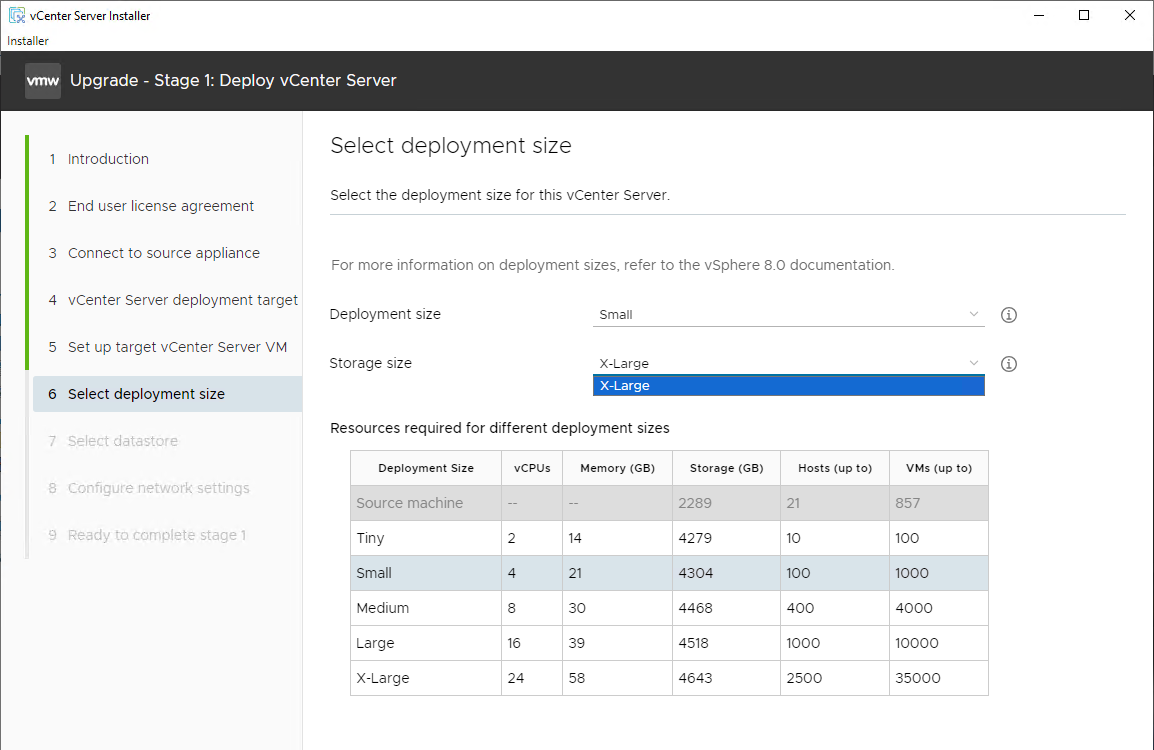
However, when running through the vCenter Server Installer wizard for the upgrade, I noticed the following on the 6 Select deployment size screen.
As you see below, even with the deployment size set to Small, the Storage size is showing that I need a whopping 4TB+ worth of disks and this much space is definitely not needed for the amount of data I have on disk!
A Broadcom KB article to the rescue
Apparently, as mentioned, this is a known issue with the VCSA appliance and the upgrade option. It will mistakenly think you need a much larger disk for the upgrade than is really needed. You can read the KB article here:
With this KB though, there is a supported way to shrink the size of vCenter Server following the steps listed.
Install instead of Upgrade
So, the guidance with the Broadcom KB is basically to perform a new Install using the vCenter Server Installer, instead of an Upgrade. The reason for this is that we can select any size we want in the Install process as opposed to the upgrade.
So, you can basically choose the sizing you want for the new VCSA and then instead of carrying through with the Install process you will complete Stage 1 and then we will connect to the VAMI interface and then choose Upgrade from there.
So in case a list helps make things clearer:
- Perform a new VCSA Install and Not upgrade
- Cancel the installer after Stage 1 completes
- Connect to the new appliance IP address port 5480 and choose Upgrade
- Complete the wizard as normal for the Upgrade
1. Perform a new VCSA install and not upgrade
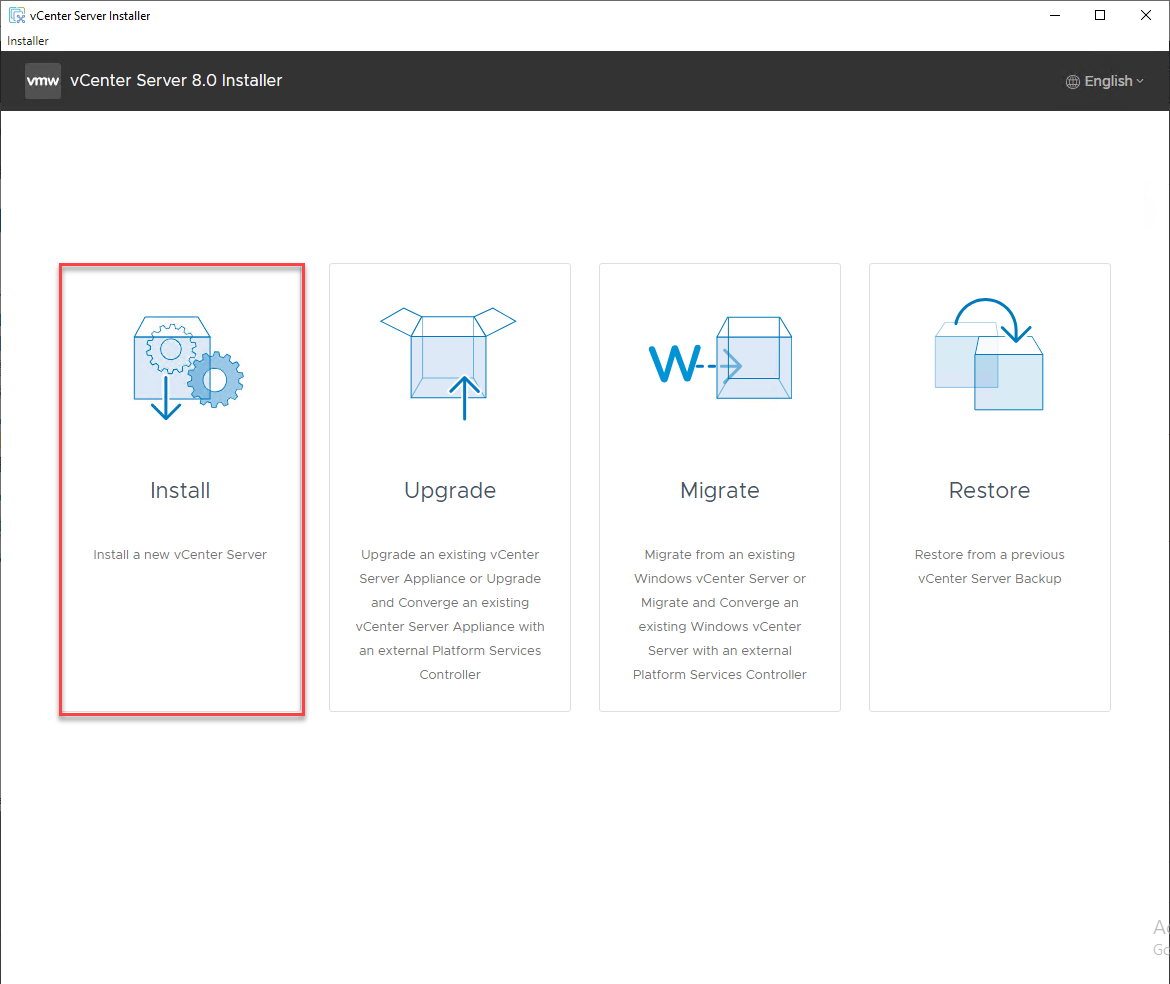
During the vCenter Server 8.0 Installer, don’t choose Upgrade, instead choose Install. Don’t worry, we will have the option to actually perform the Upgrade in just a bit.
Things to note during the install:
- You will assign a different IP address (of course)
- on the hostname – this may have been a mistake in my testing, but I used the same hostname and this caused issues (look at my troubleshooting section below)
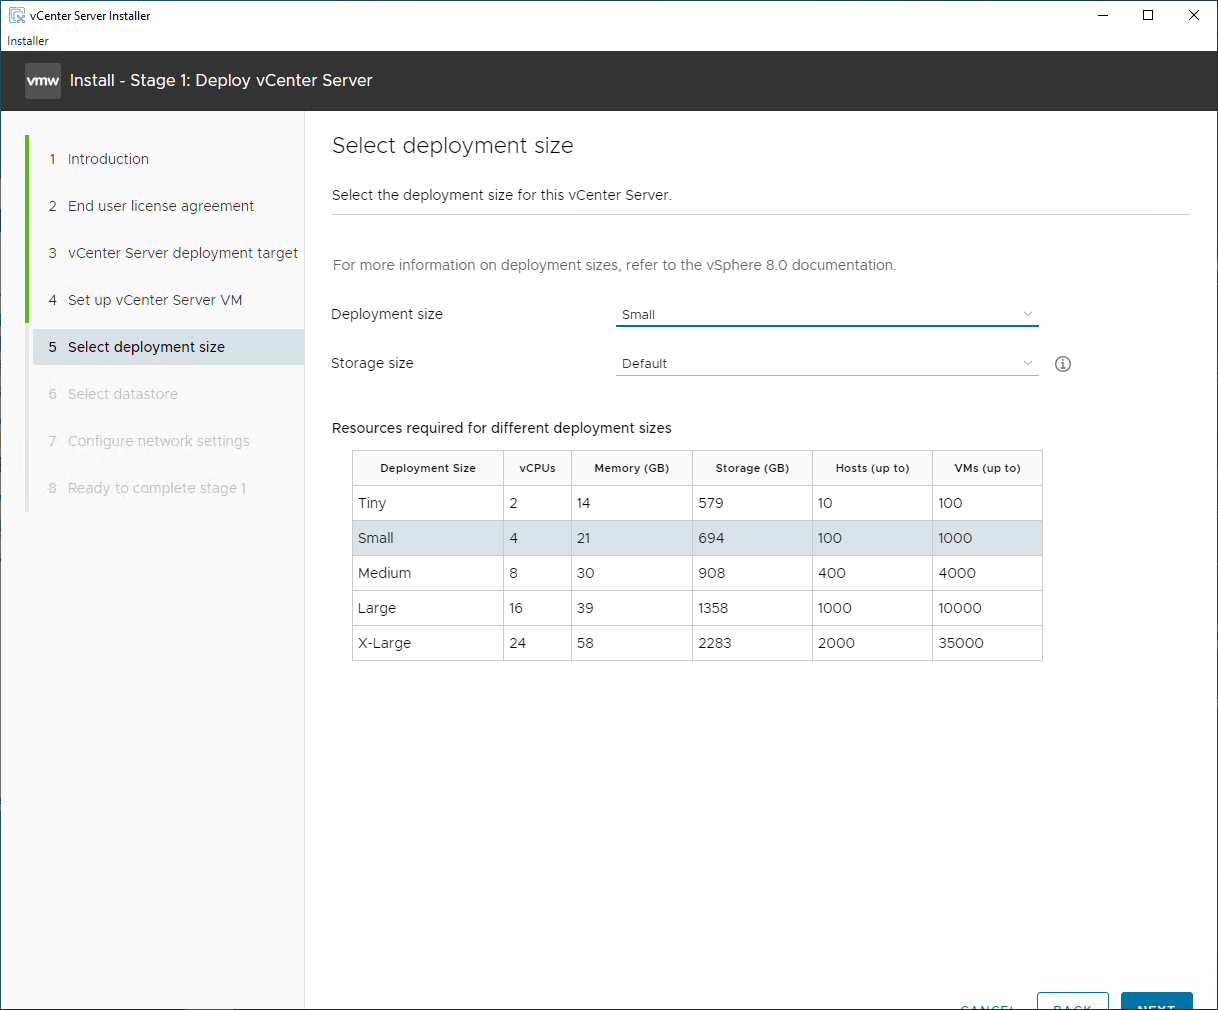
Now, during the new install, the disk sizes are MUCH more reasonable and fit within what we actually need for the installation.
2. Cancel the installer after Stage 1 completes
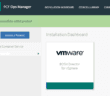
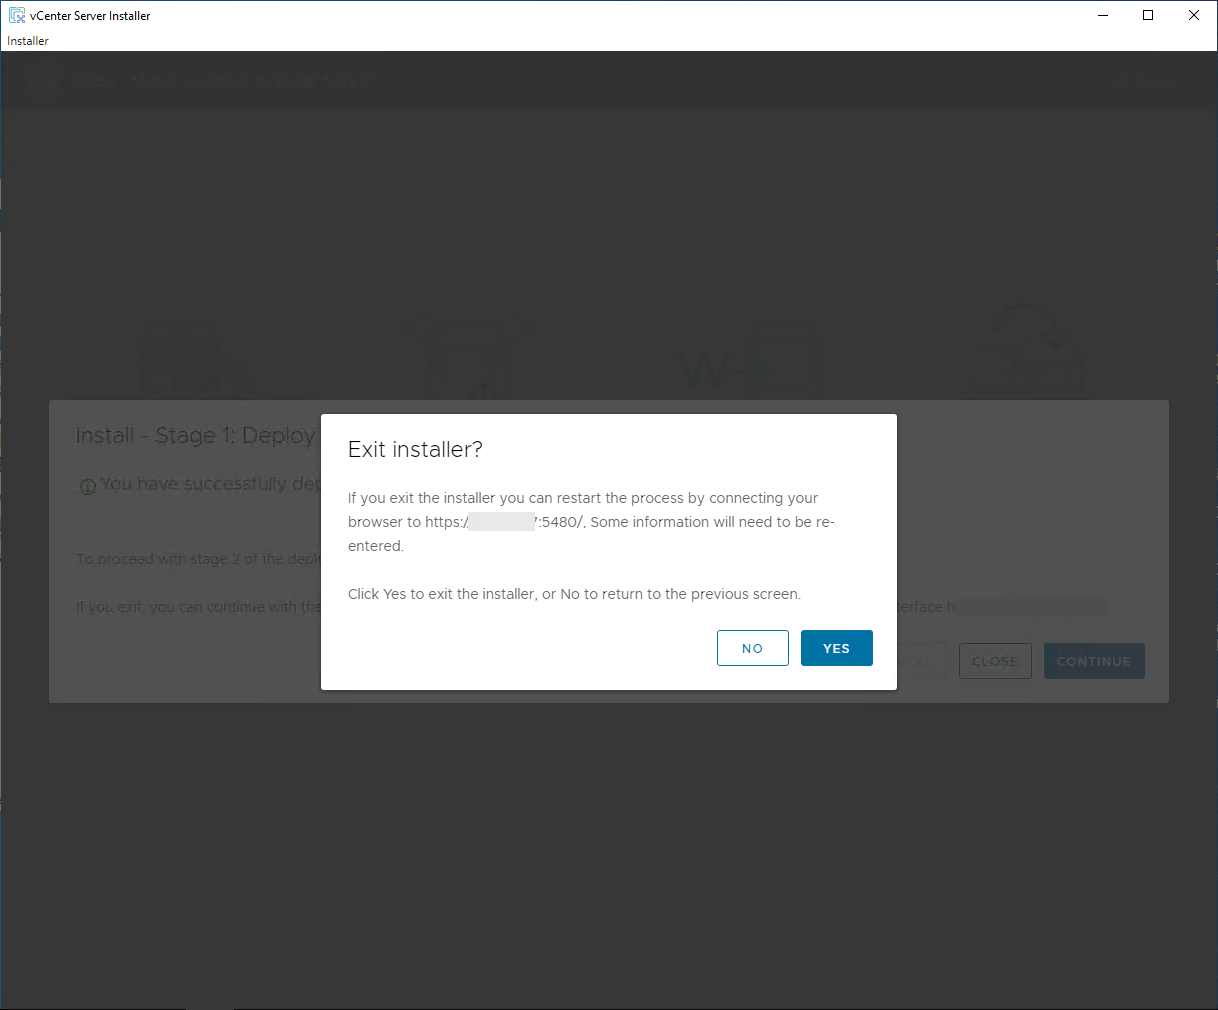
Finish out Stage 1 of the new install, and then click Close.
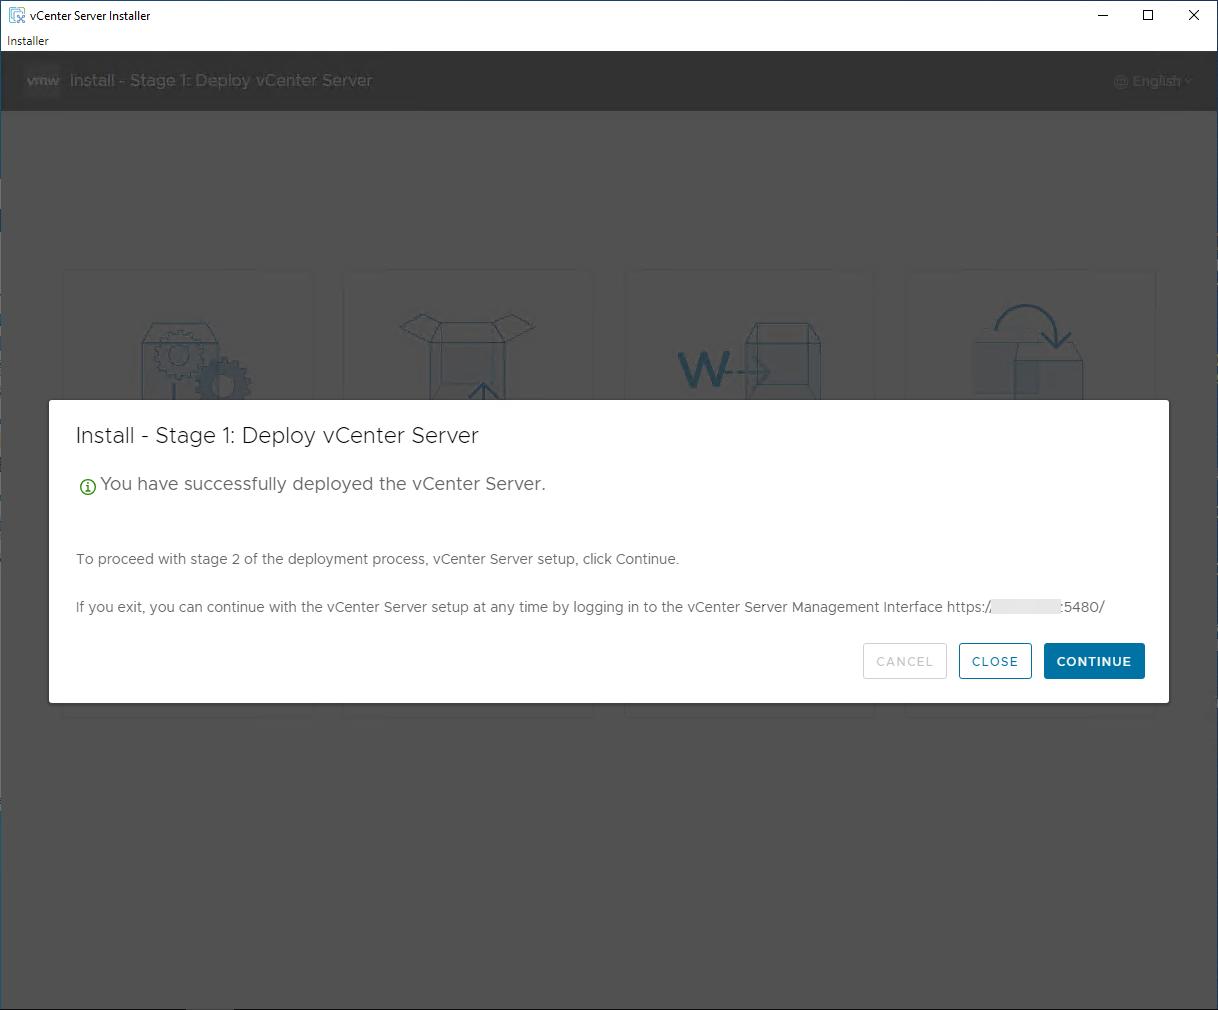
It will ask you if you are sure you want to exit the installer. We are, as Stage 1 has served the purpose of standing up a new VCSA appliance that we will now use to run an upgrade.
3. Connect to the new appliance IP address port 5480 and choose Upgrade
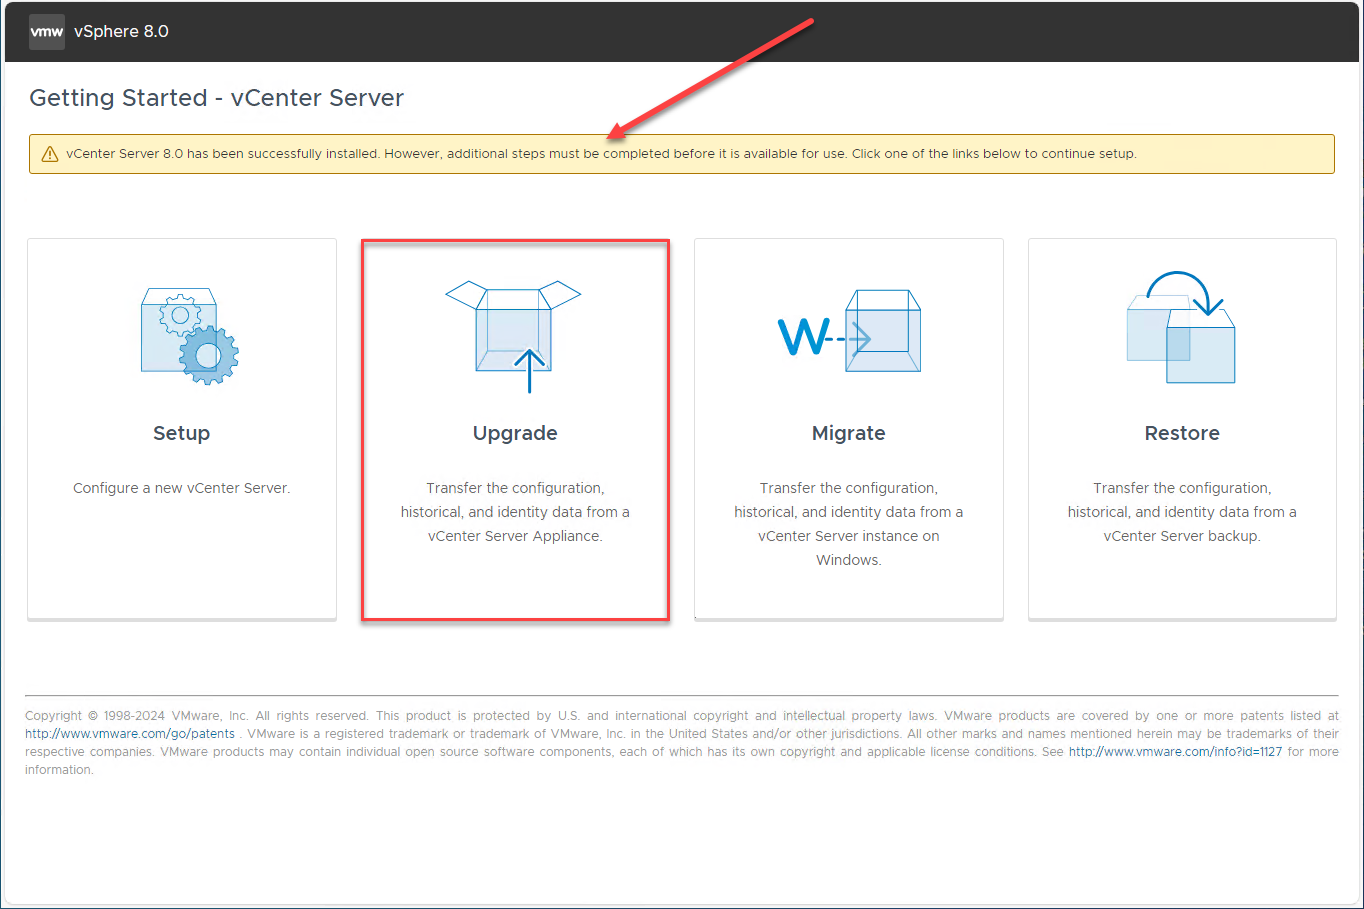
Now that we have exited the installer, we will browse out to the IP address of the new appliance we configured.
When you connect to the new VCSA appliance IP address, you will see the exact same interface as you see with the vCenter Server Installer app running locally. Now we choose Upgrade.
4. Complete the wizard as normal for the Upgrade
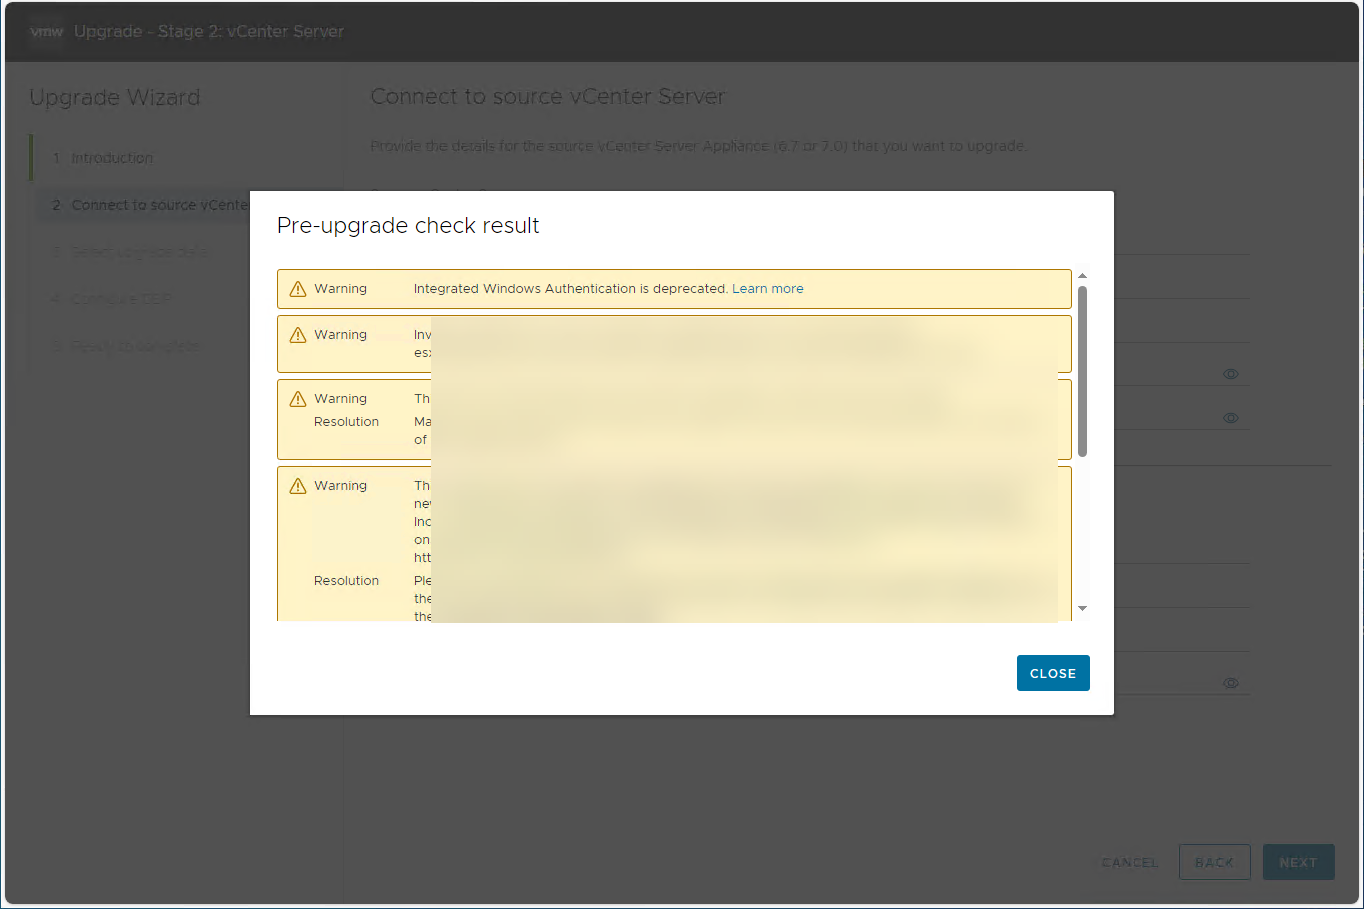
This will launch the upgrade wizard, that will do all of the normal pre-upgrade checks before it begins. Take note of these and close the dialog box.
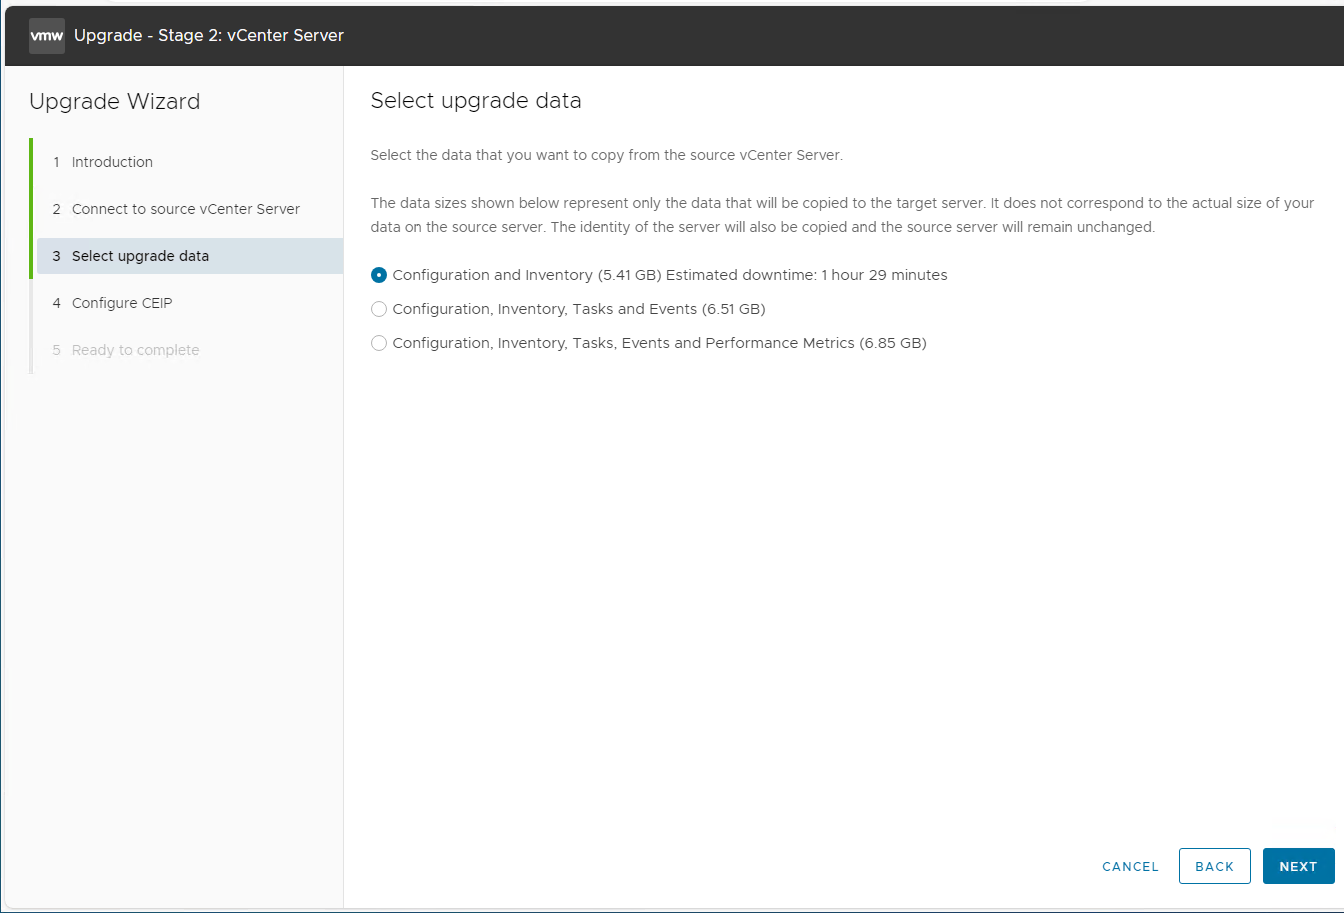
Go through the wizard as normal, connecting to the source vCenter Server, etc. Then choose what data you want to copy over.
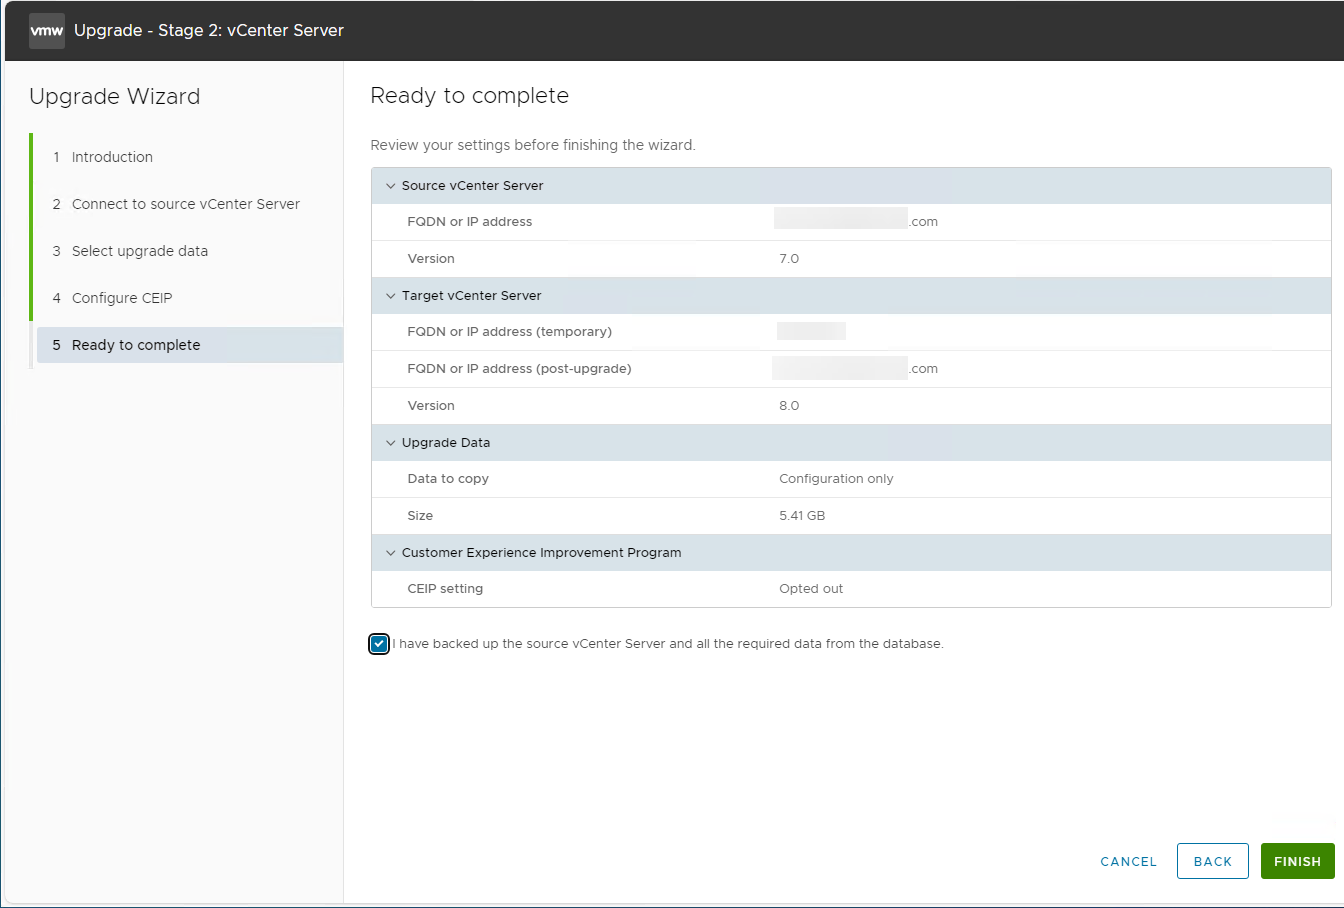
Now we are ready to complete the upgrade wizard. Click that you have backed up the source vCenter and click Finish.
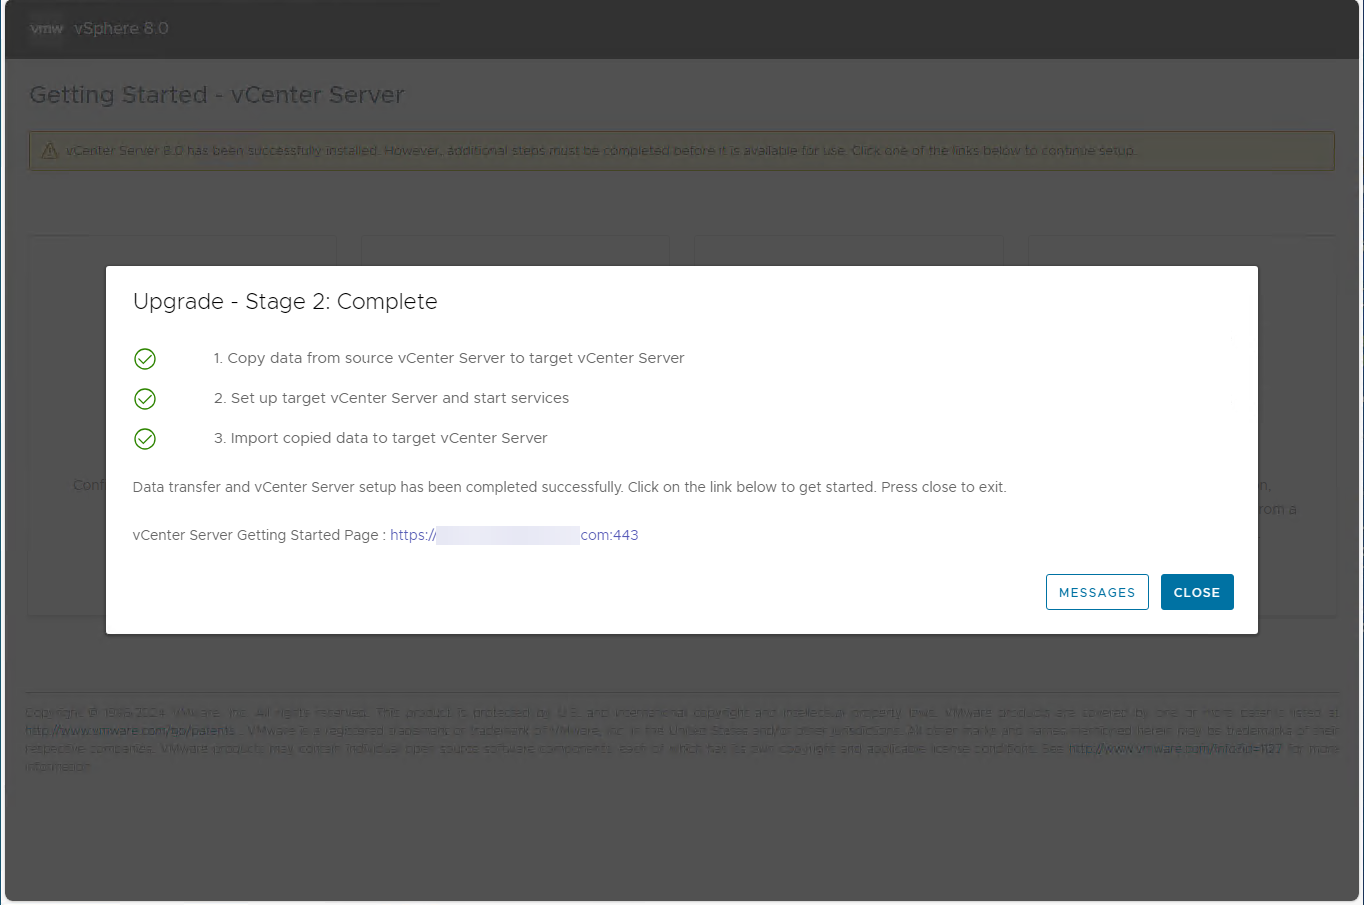
You should see Stage 2 complete successfully and you should be able to access your new vCenter Server by the old vCenter Server name.
Troubleshooting
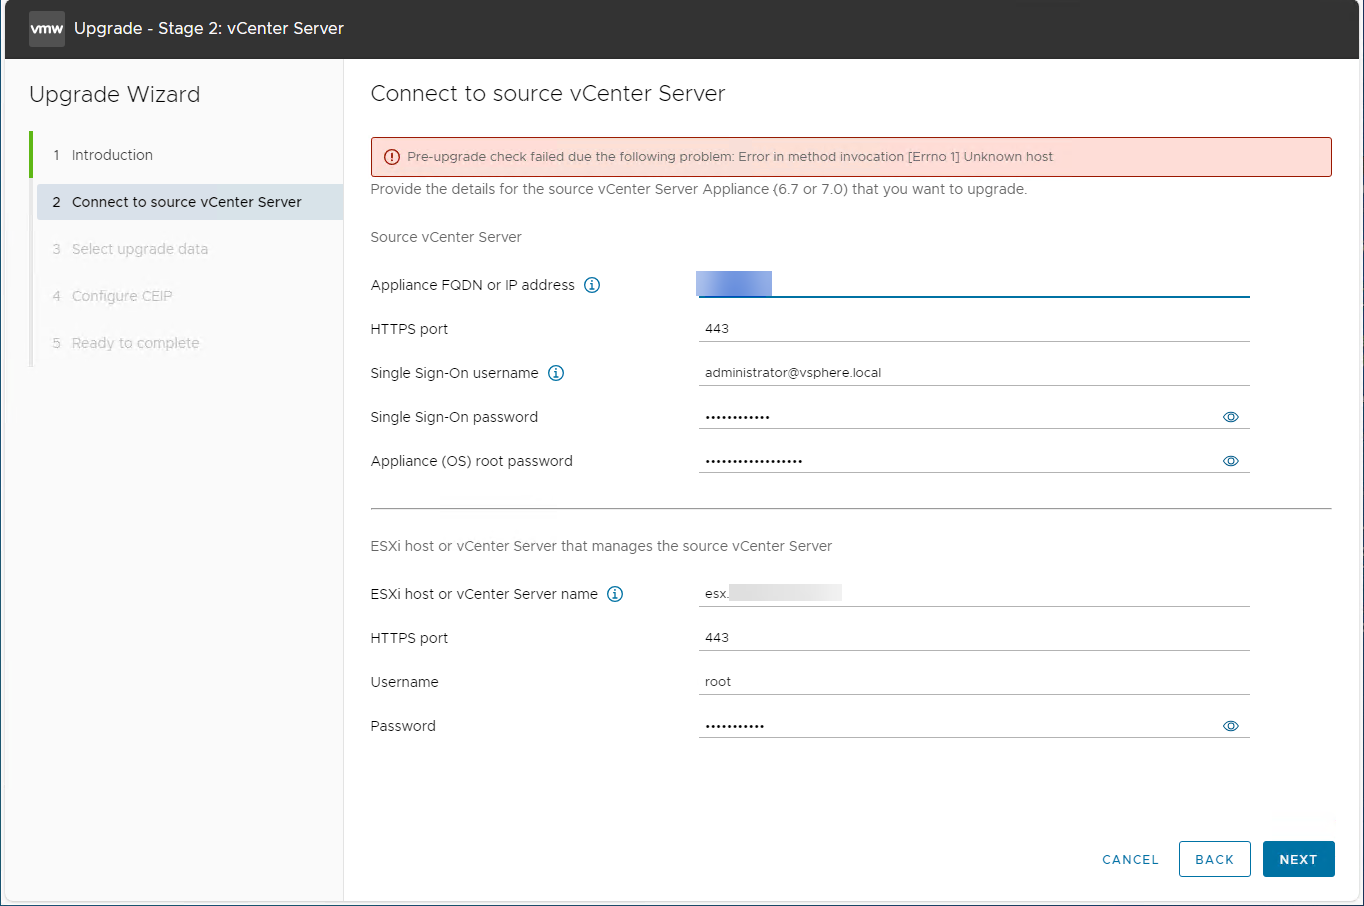
As I mentioned above, I am thinking that I should not have populated the hostname for the deployed appliance. However, I think the Broadcom KB is a bit erroneous, as you will get the below error if you follow guidance they mention for using the IP of the source vCenter Server (below is straight from the KB):
Note: Use the IP of Source VCenter instead of the FQDN because it may not resolve in the Network and the FQDN will be pointing to the source VCenter.
You will get the error below that is directly related to not using a hostname instead of an IP address.
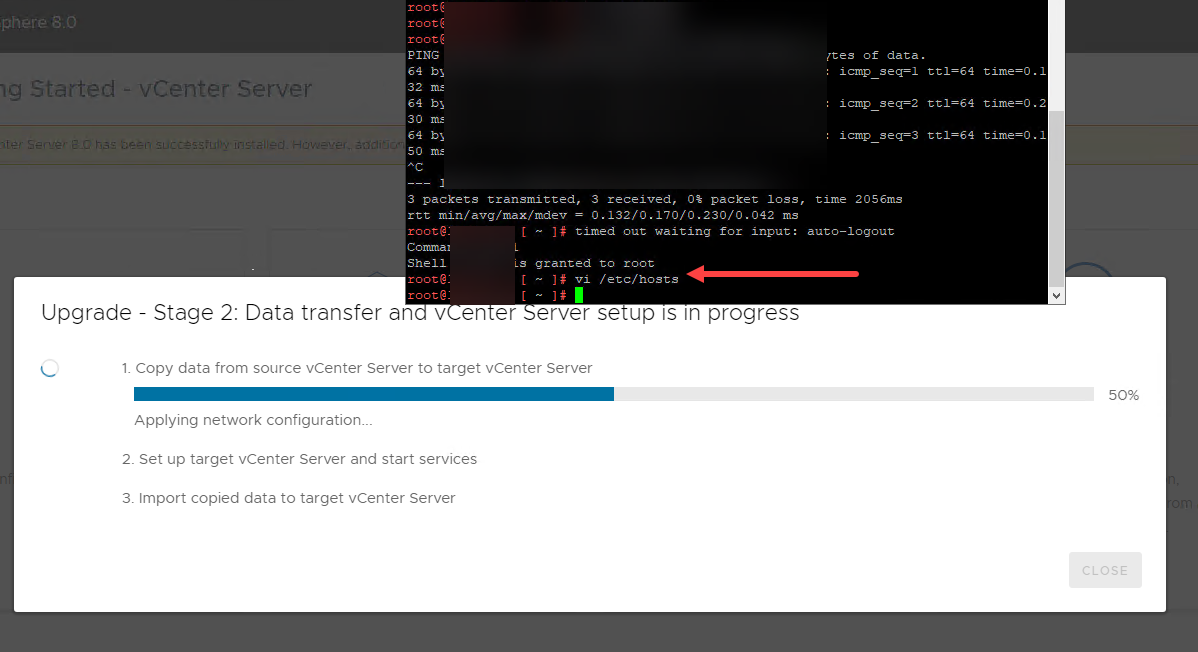
What I did on the fly to work around the issue. I made a host entry on the new vCenter Server box to point to the old vCenter box of the same name. Then when i saw the source appliance powered down, I removed this entry. This seemed to work out and allowed the wizard to continue with the right hostname.
Wrapping up
With this process of choosing Install rather than Upgrade, and then connecting to the new vCenter VCSA appliance and choosing to upgrade, I was able to shrink the size of vCenter Server VCSA appliance by half! Definitely seems to be a viable workaround to the wizard trying to double the size of everything each time you go through an upgrade.
Google is updating how articles are shown. Don’t miss our leading home lab and tech content, written by humans, by setting Virtualization Howto as a preferred source.
About The Author