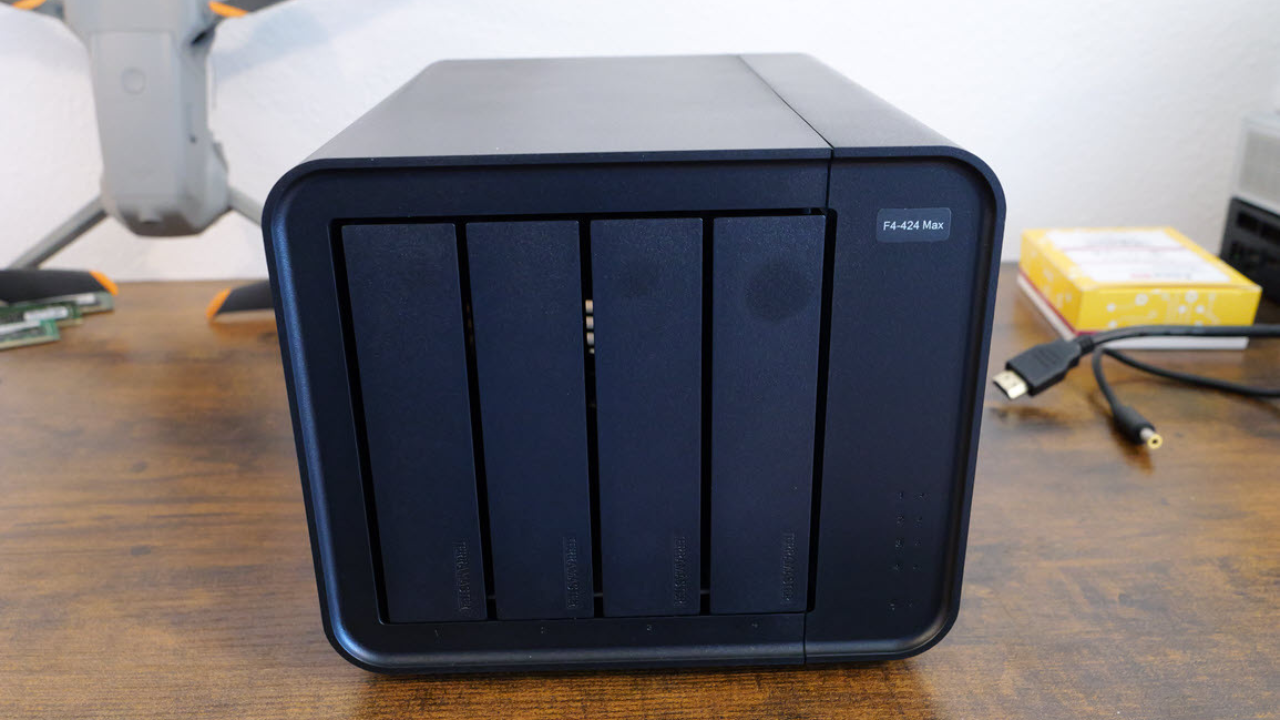
I recently got my hands on a Dell Powervault ME5024 storage array with flash storage, two controllers, and 25 GbE interfaces. Since I went through the setup and configuration of the array, I wanted to share with you guys the process to get one of these puppies setup and running. The one I configured was attached to a VMware vSphere environment via iSCSI, but regardless the setup process is going to be the same getting one of these off the ground.
Table of contents
Default IP addresses
When you unbox and power one of these on and get it up and running, the default IP addresses for the unit are the following:
- Controller A – 10.0.0.2
- Controller B – 10.0.0.3
- Subnet – 255.255.255.0
- Gateway – 10.0.0.1
So, if you take a laptop and just throw an IP address on it in this range, you will be able to connect your web browser to either IP address to get things configured. I connected to controller A and got connected right up to the web browser.
Creating the administrator user account on the ME5024
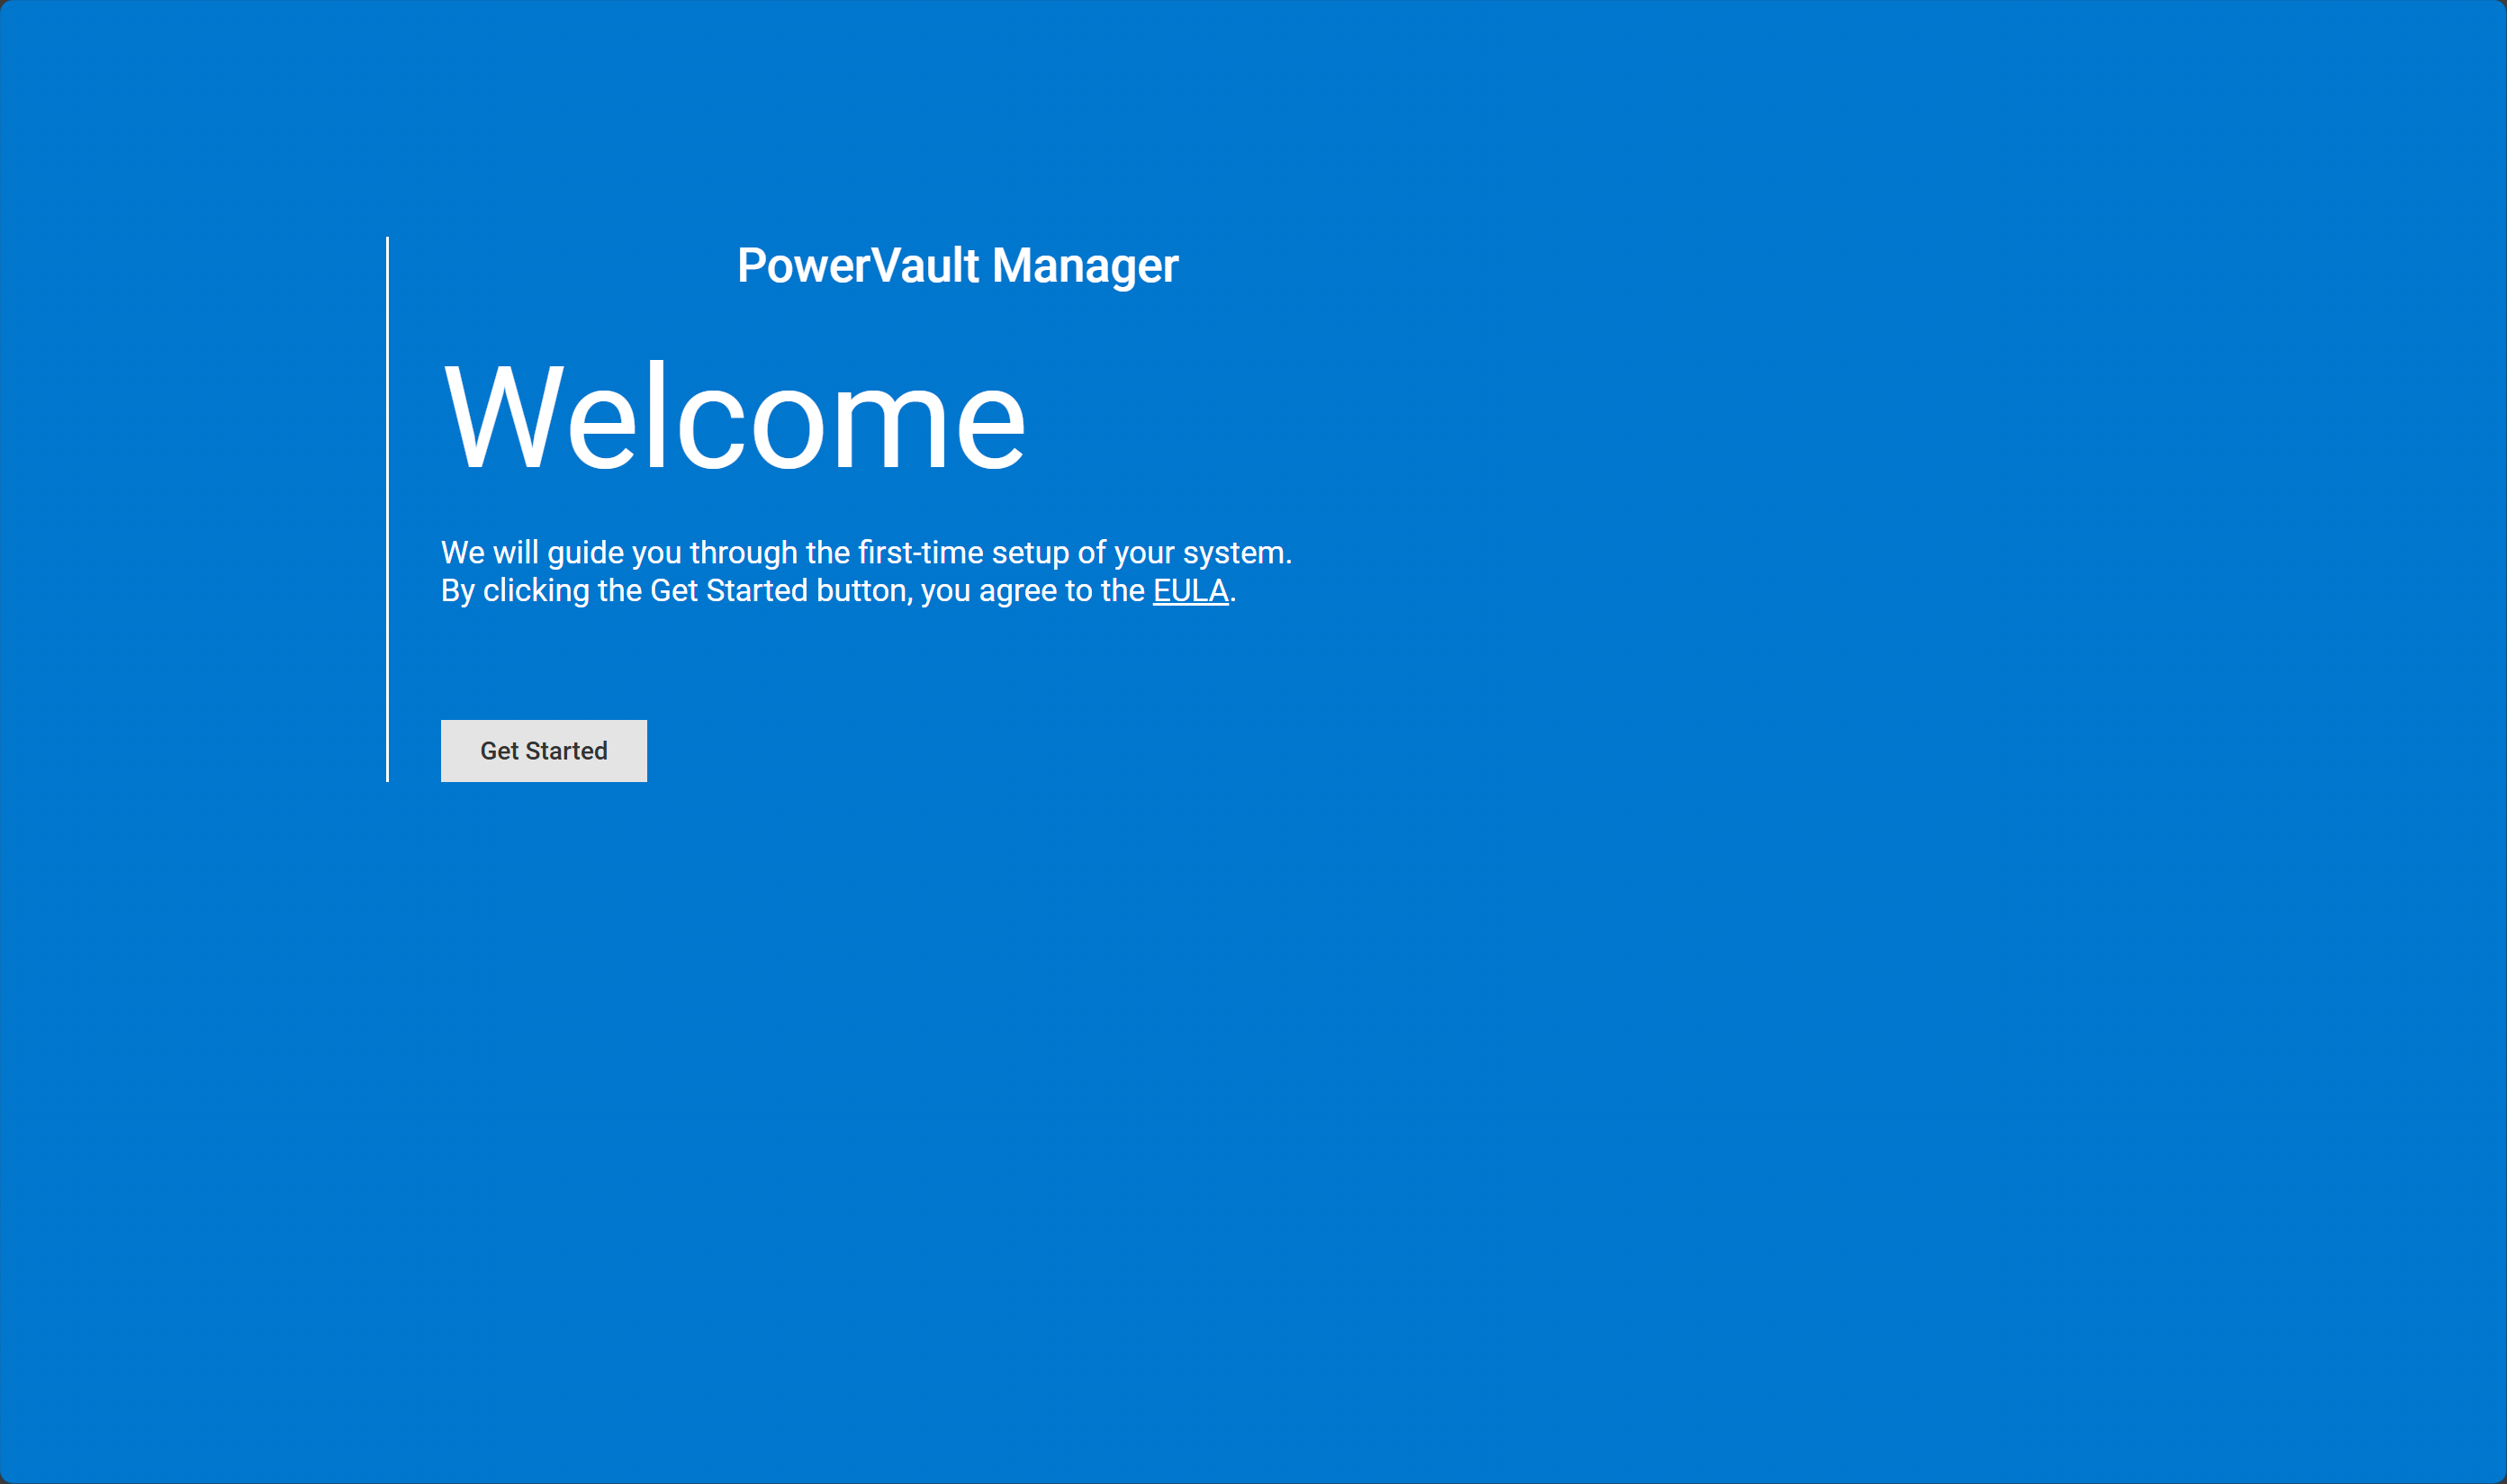
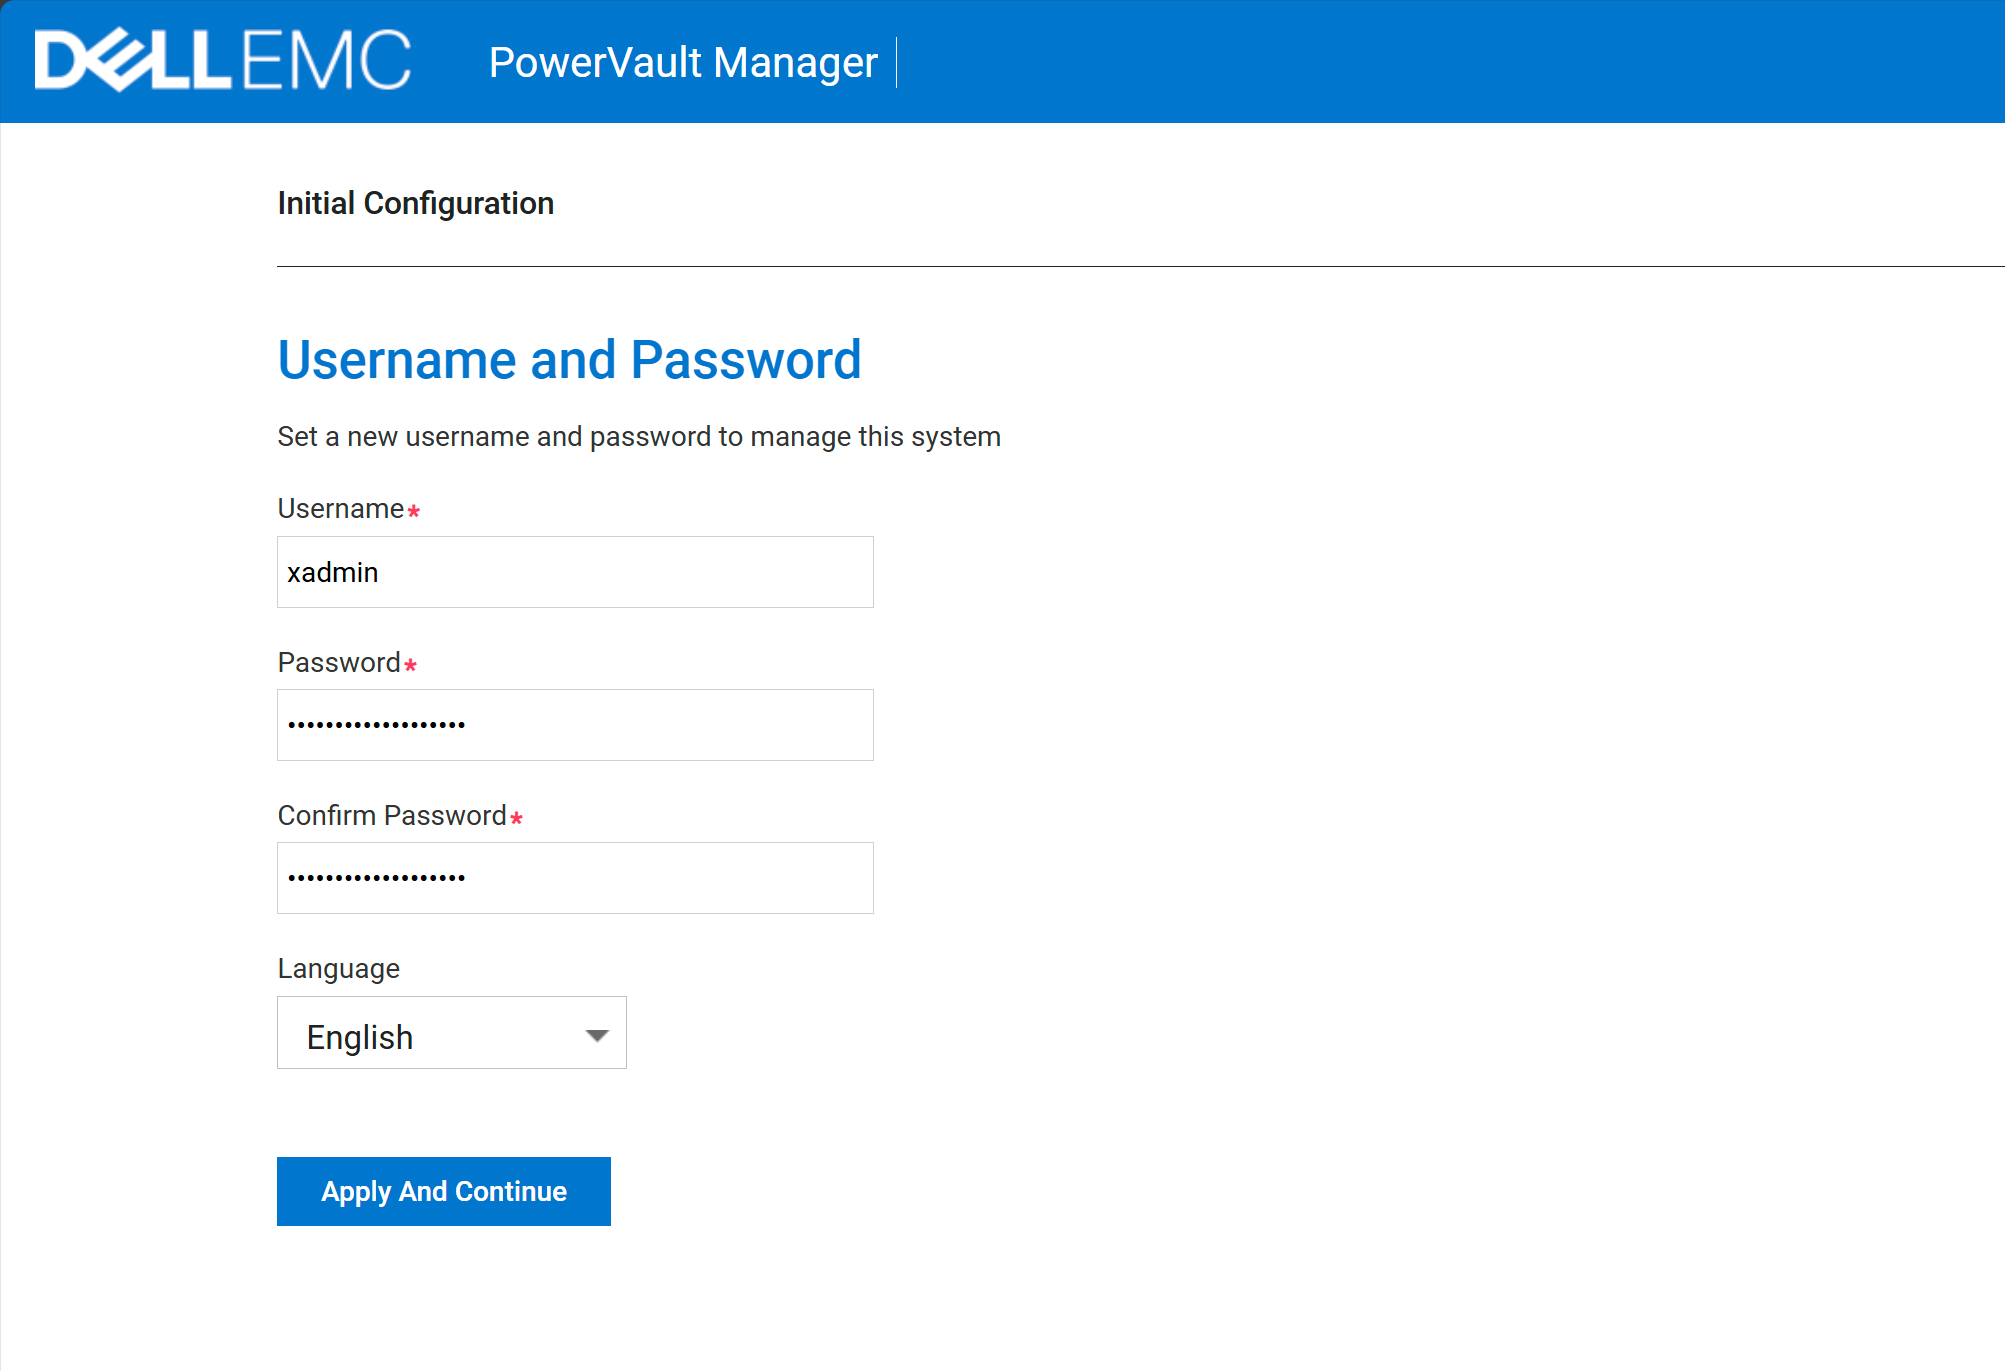
After you get past the welcome screen in a browser session, you will be prompted to setup the username and password. Note the following:
- admin is a reserved user that you can’t setup
- However, you can use administrator
Here we just create the username and password that will be used as the administration account for the ME5024.
Upgrading the Dell Powervault ME5024 firmware
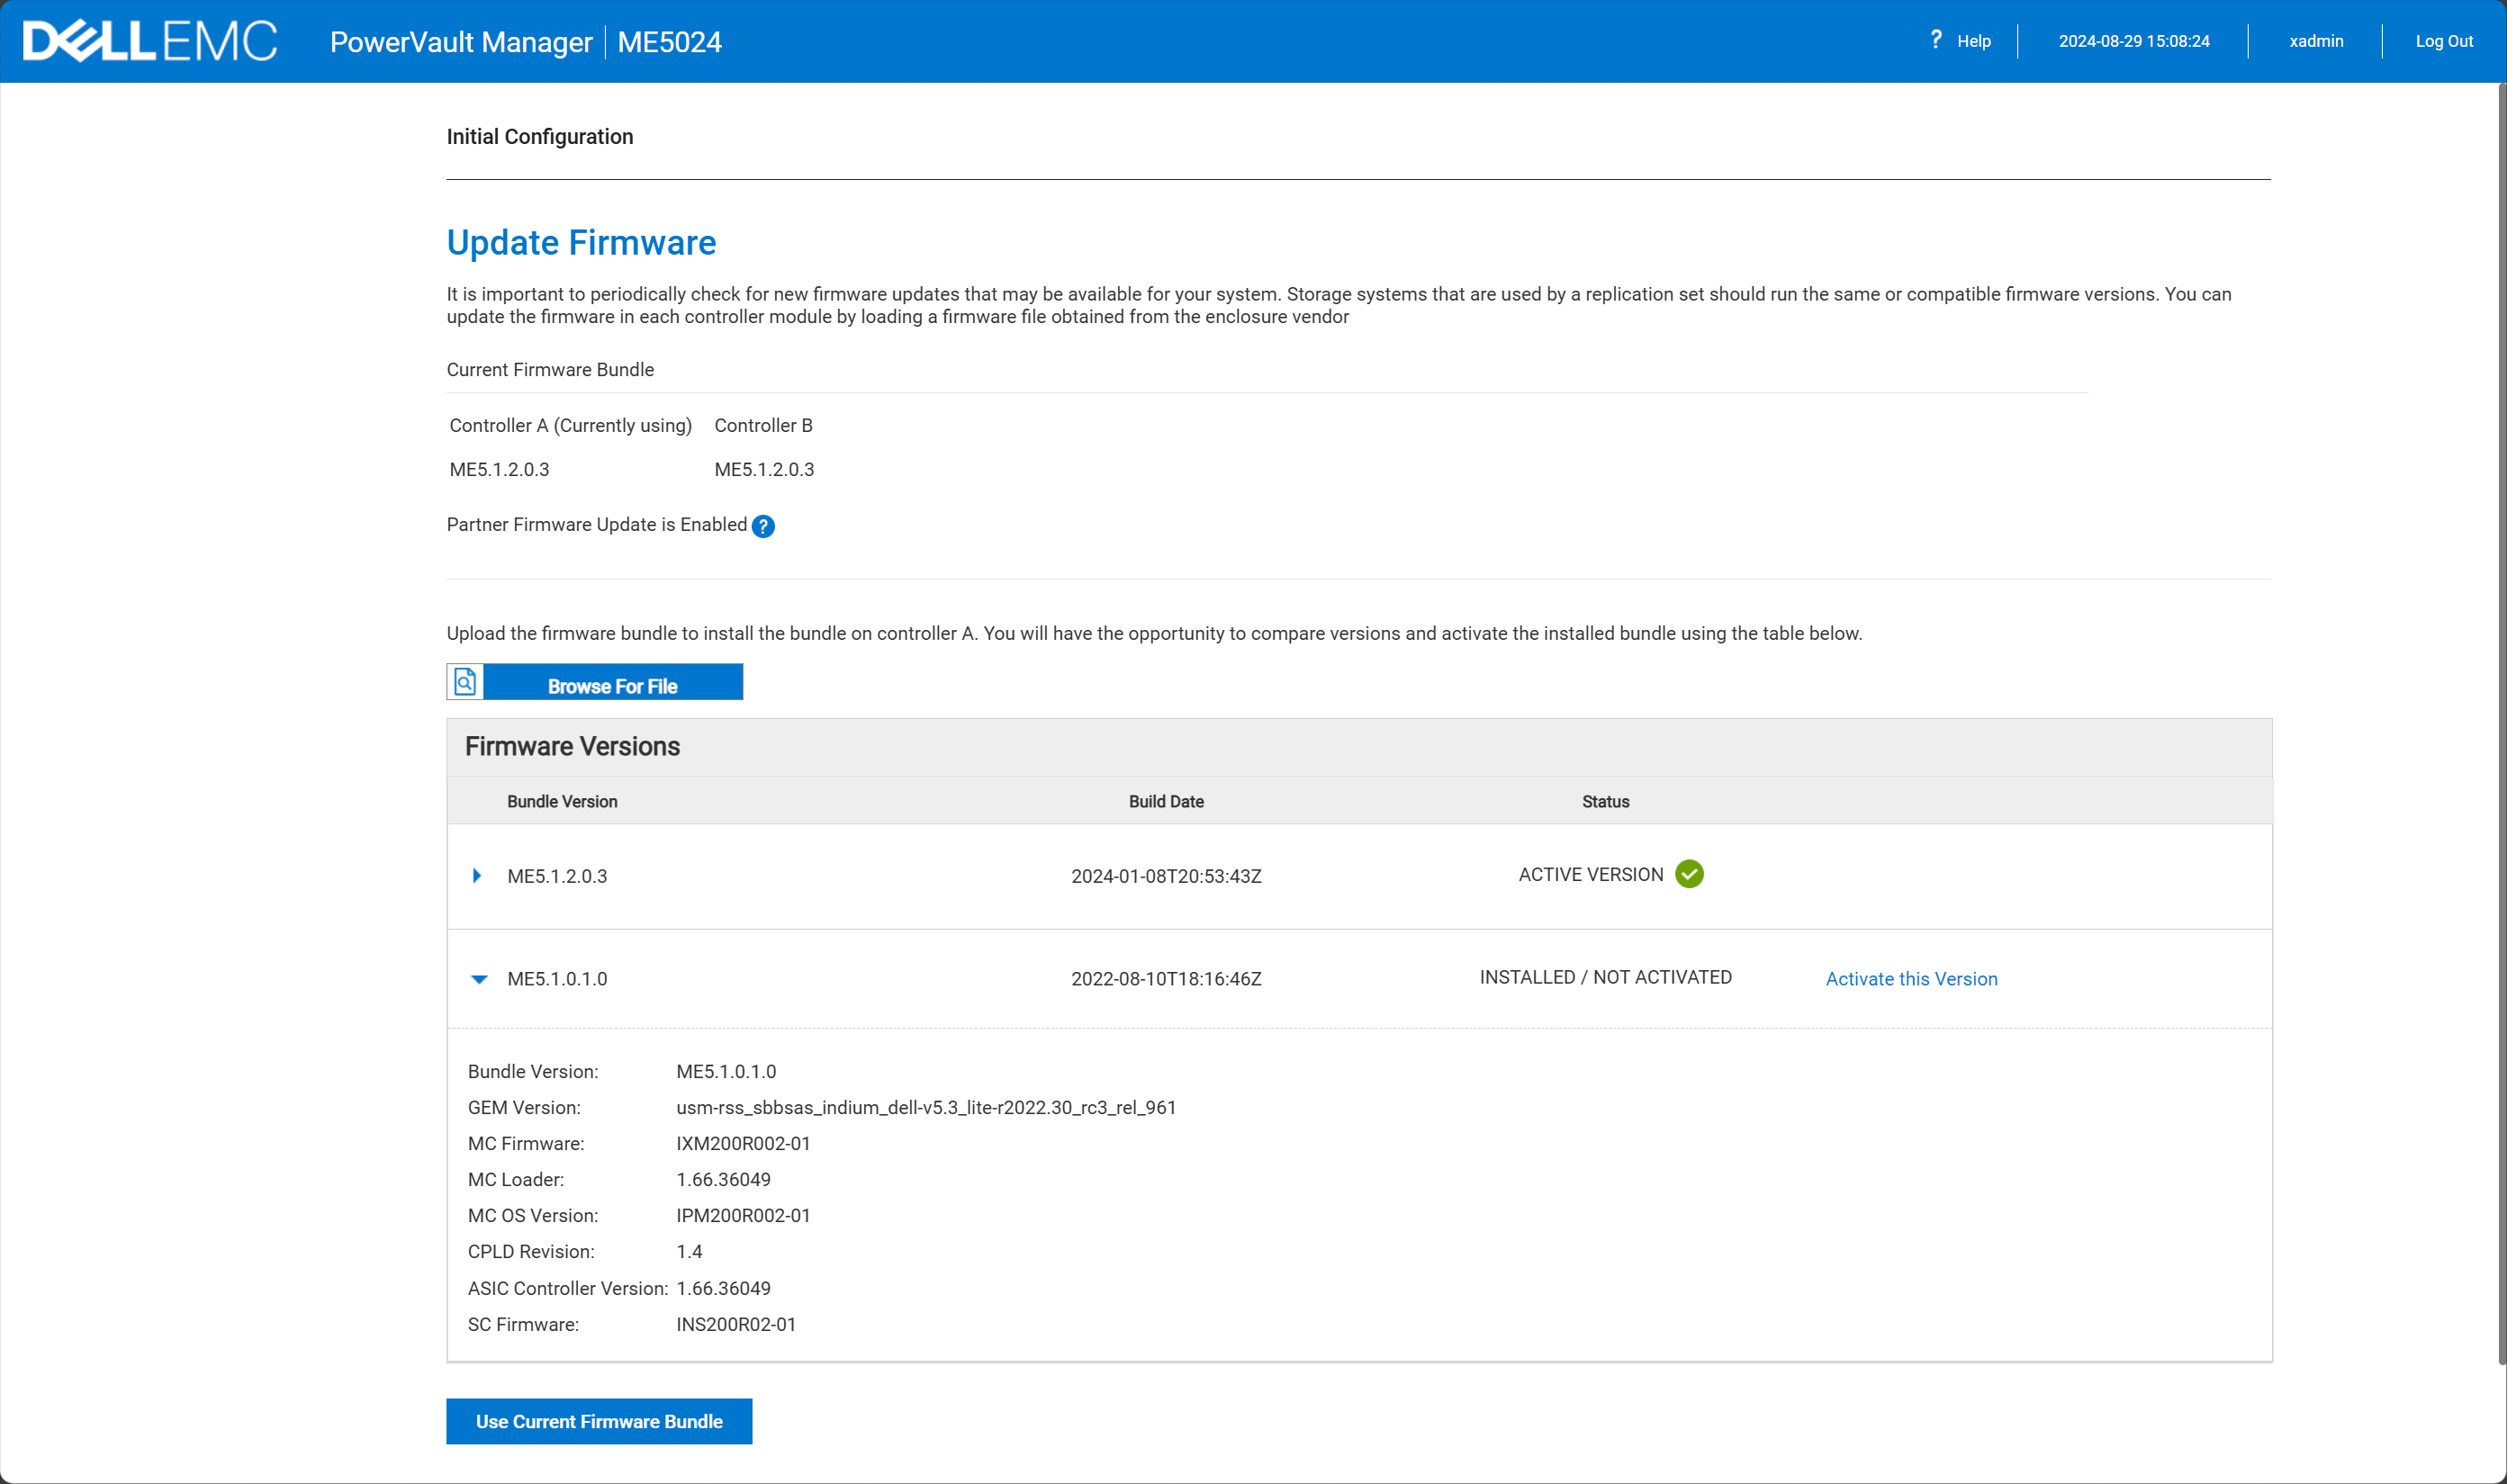
After you get the user account created, you will have the ability to upgrade the firmware during the setup. The wizard will show you the firmware on both controllers and allow you the option to upgrade the firmware. You can browse for an update file if you have downloaded one.
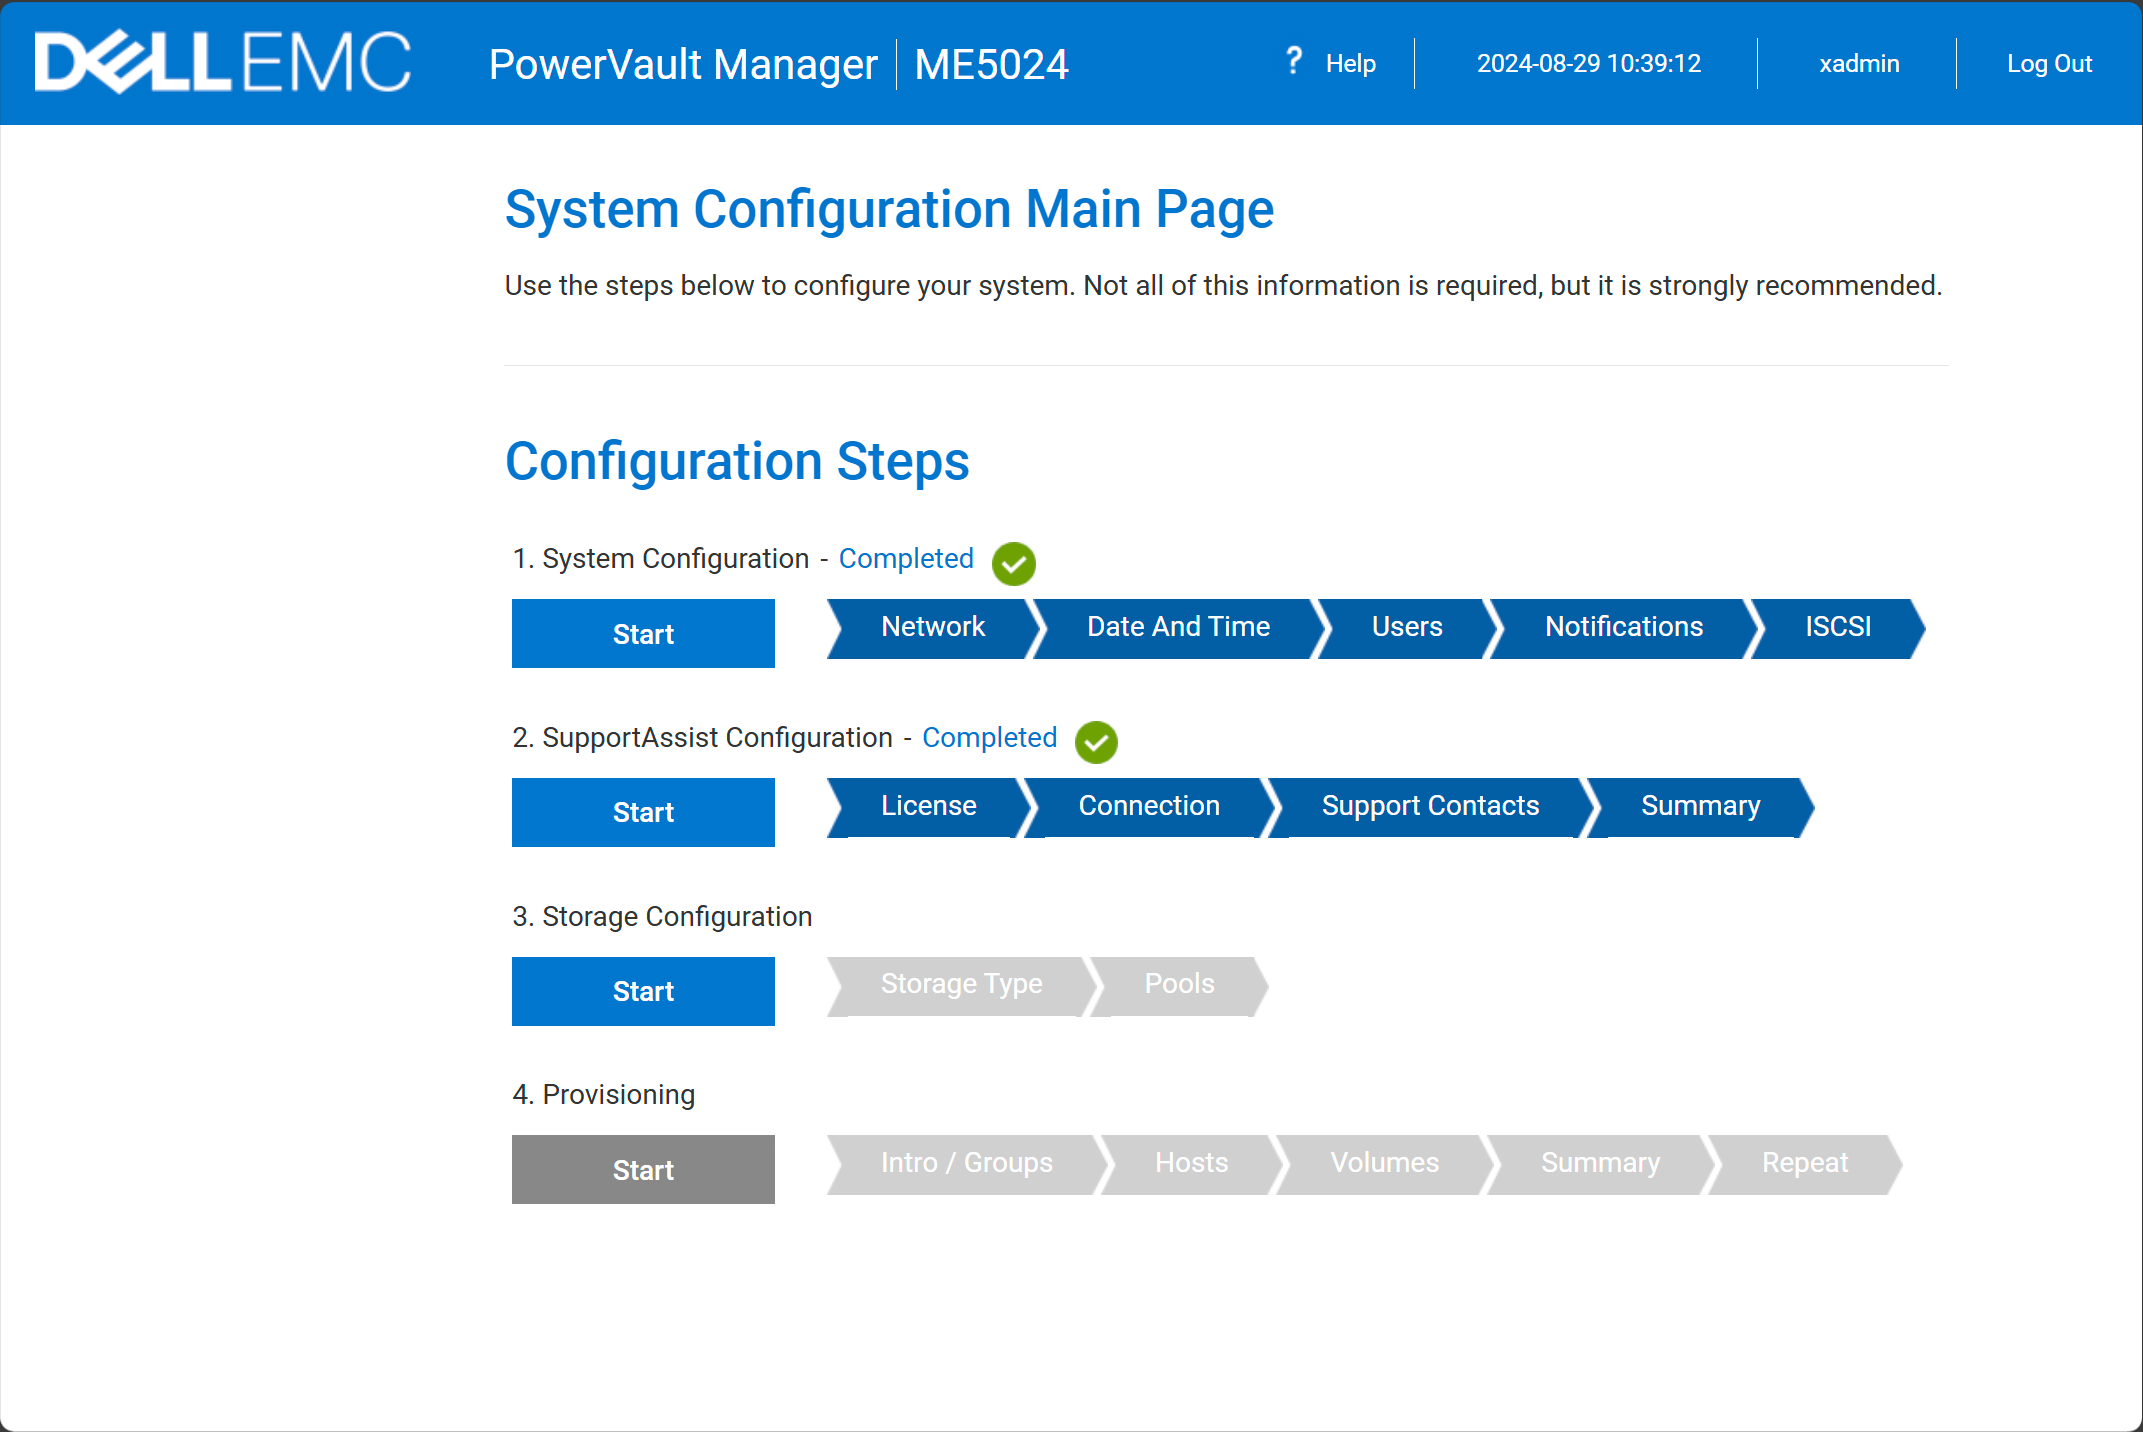
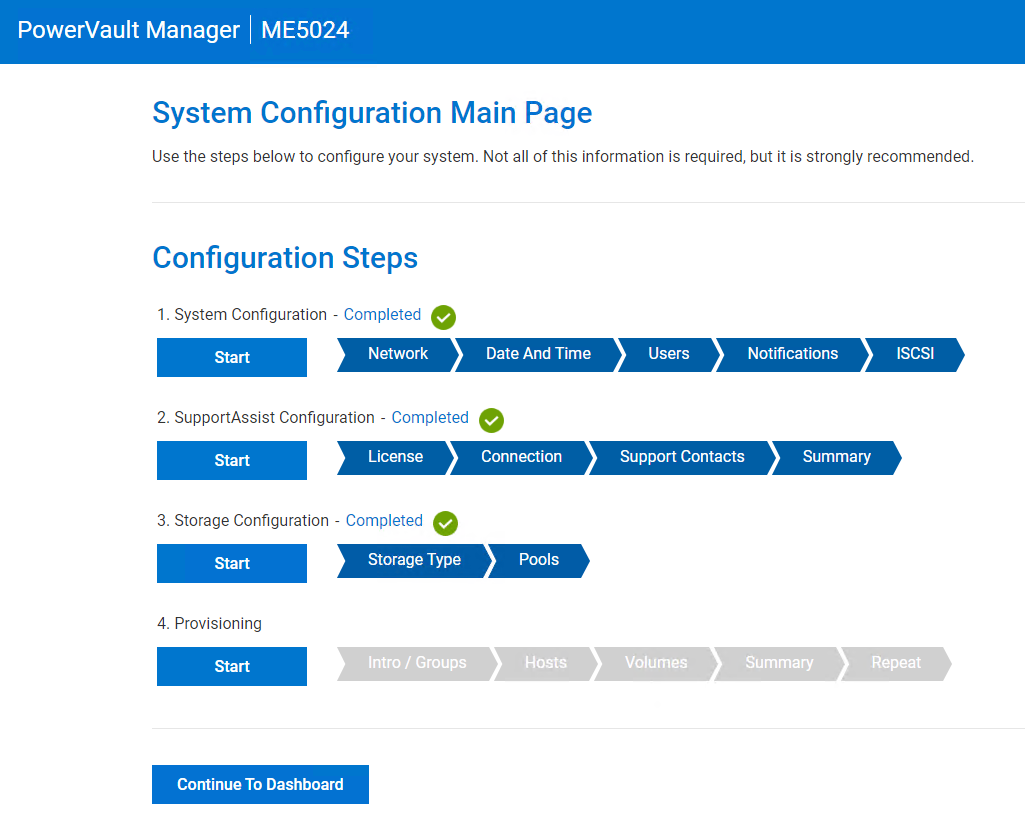
System configuration on the Powervault ME5024
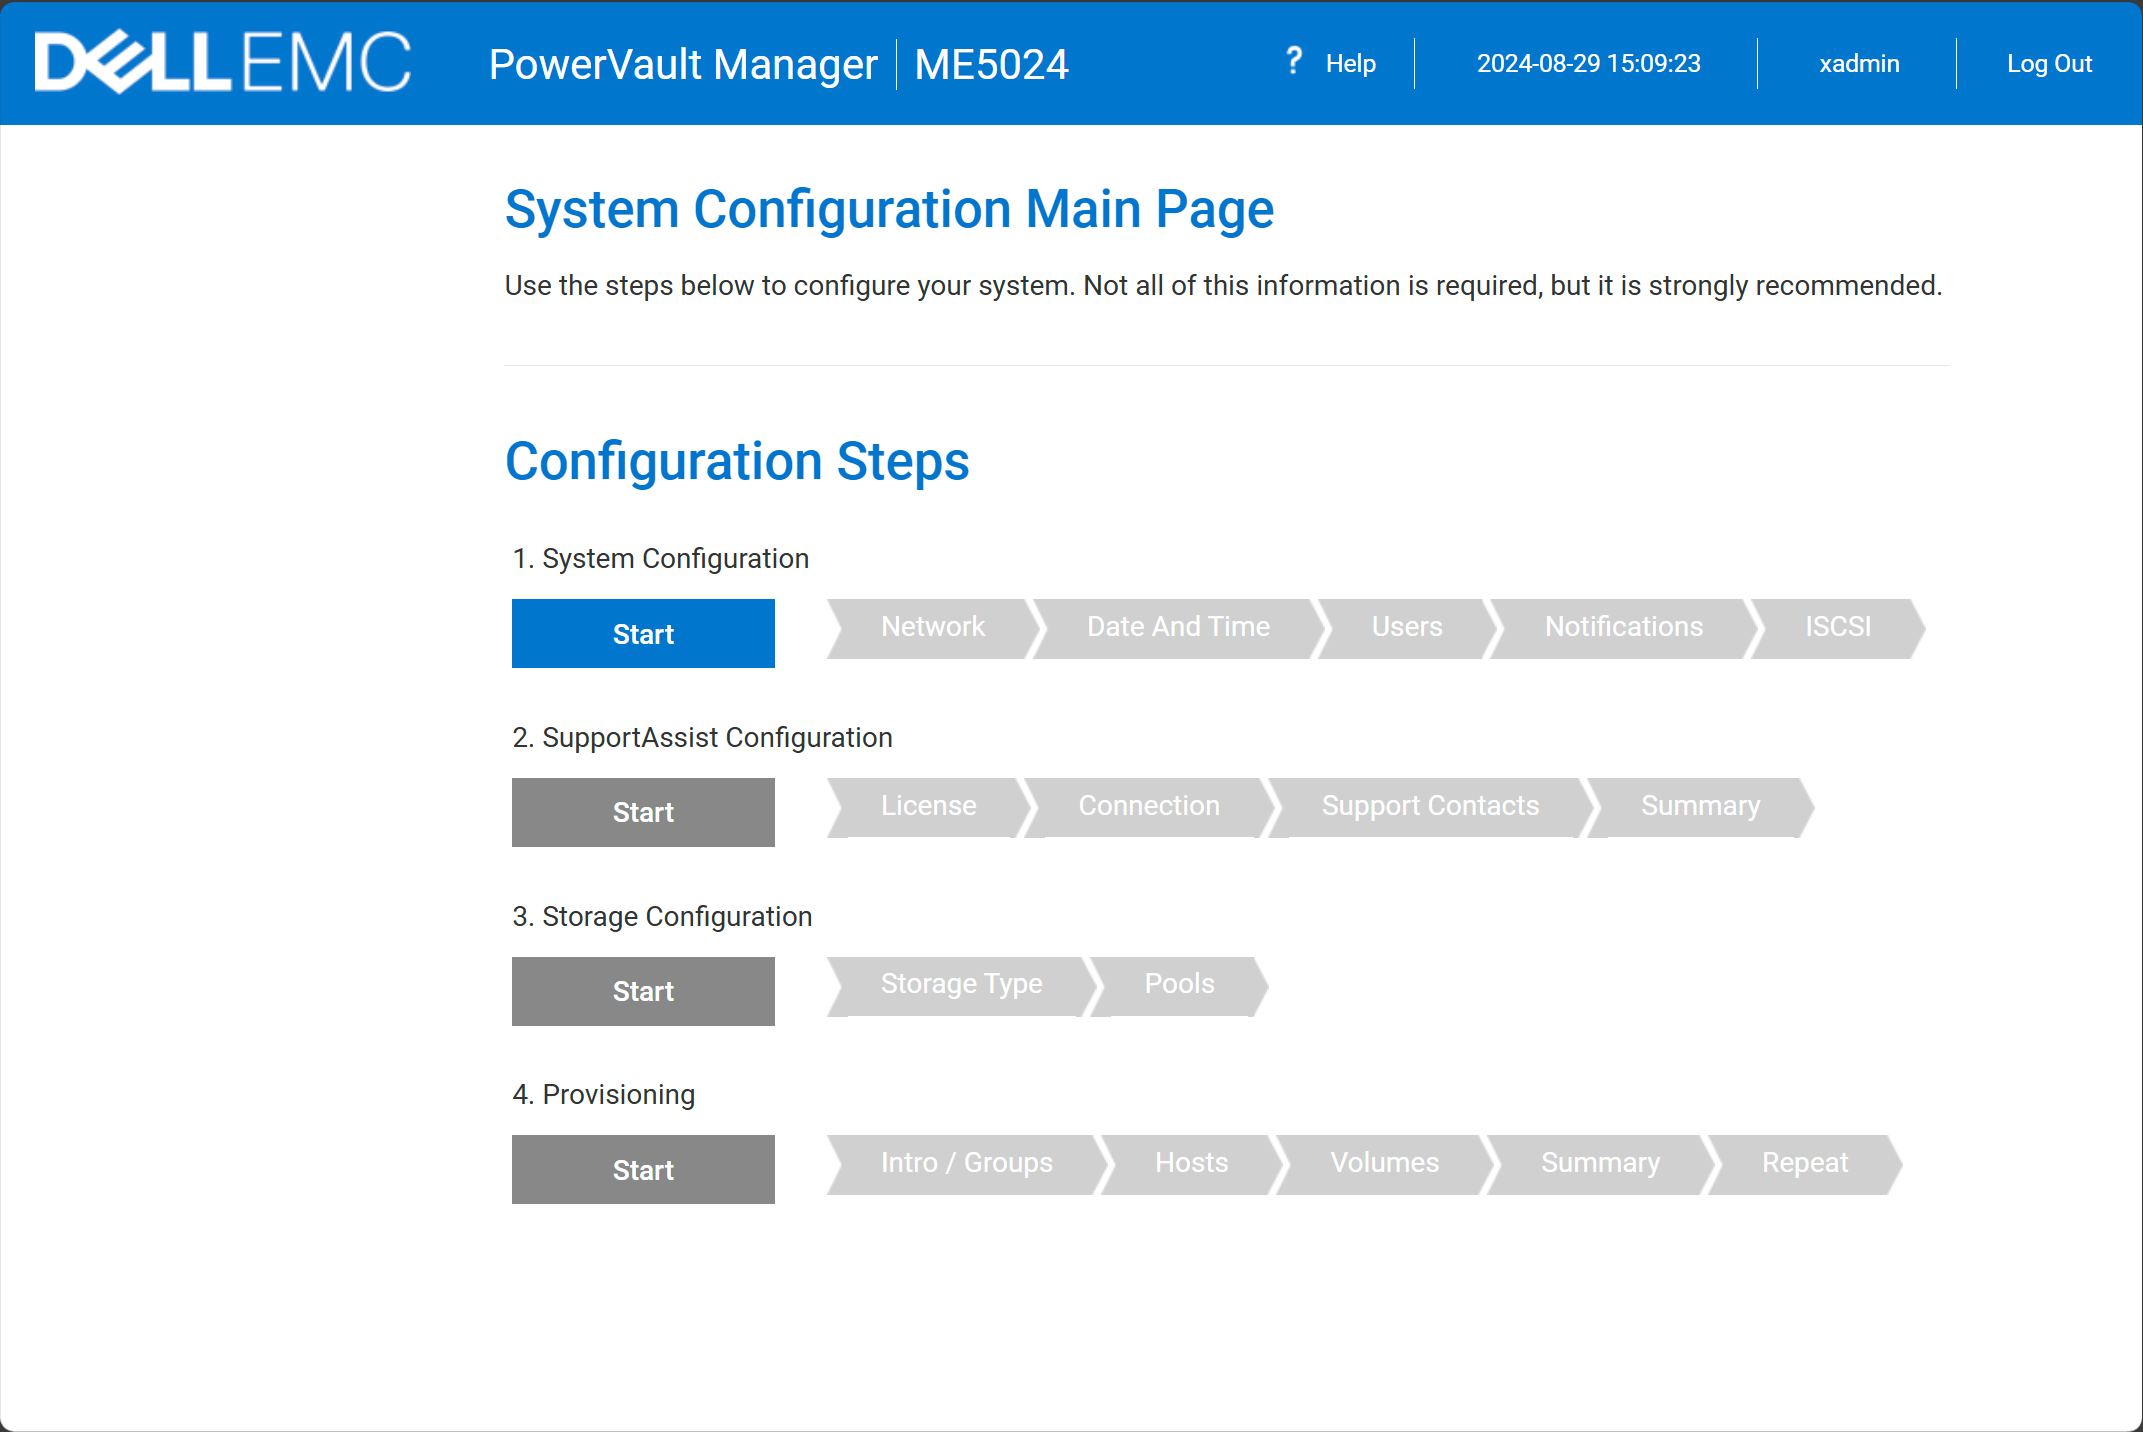
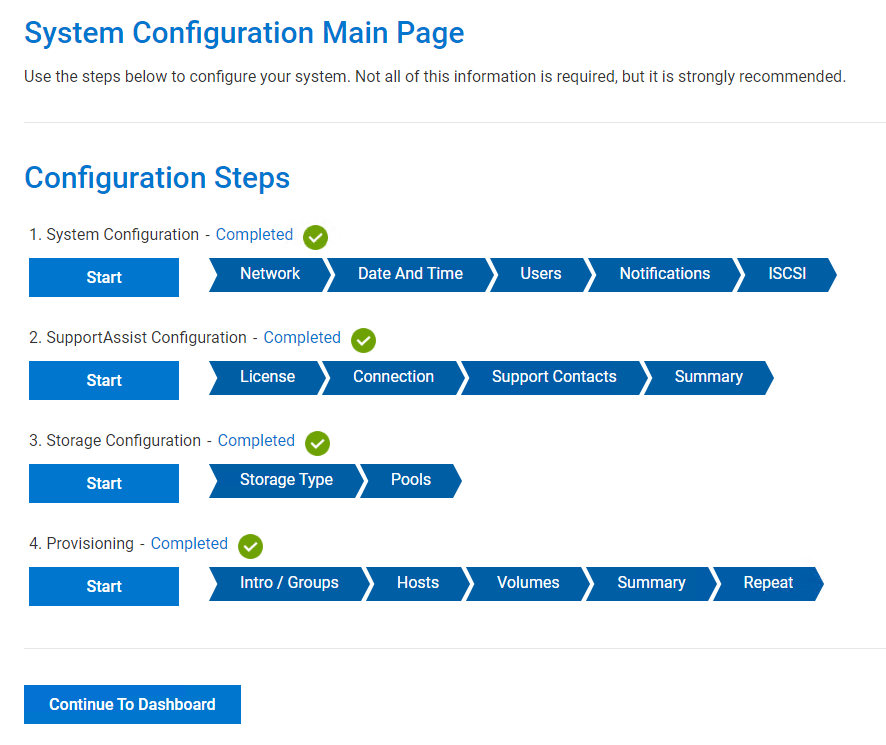
Now, we get to the main wizard for setting up the Powervault ME5024. There are 4 sections to the wizard:
- System configuration
- SupportAssist configuration
- Storage configuration
- Provisioning
First, we start the system configuration wizard.
Network settings
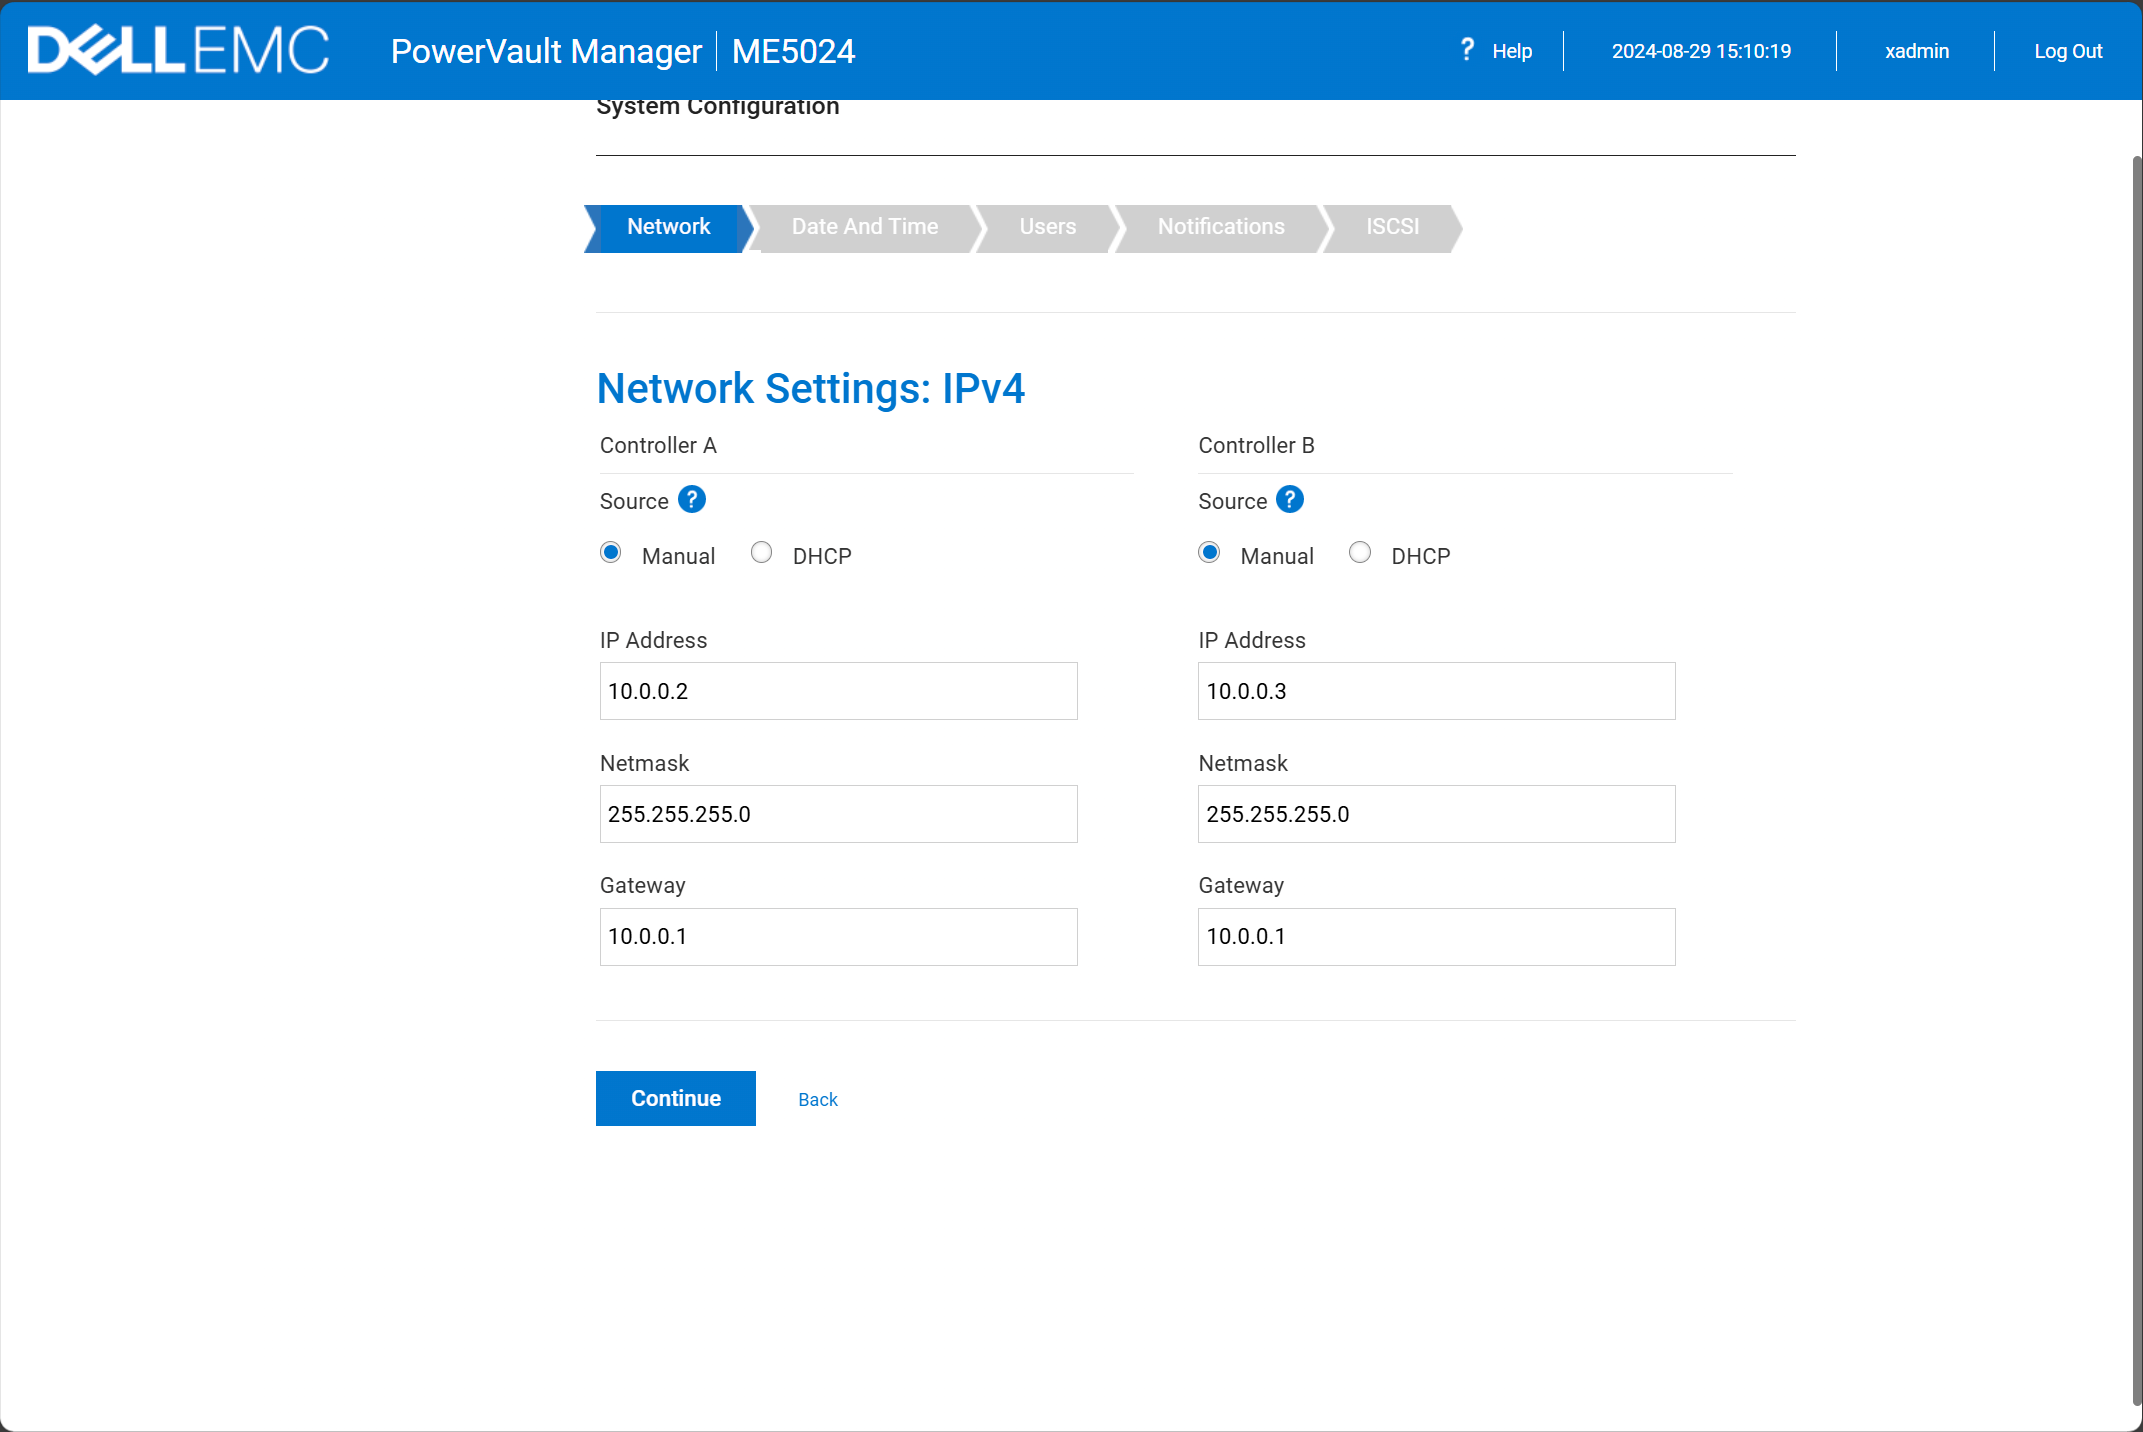
The first section that we get to is the network settings. This is an important part of the overall configuration of the unit. The network that we are configuring in this section is the management network. As we mentioned, the default IPs are controller A: 10.0.0.2, and controller B: 10.0.0.3.
This part of the wizard will allow you to change your management IP addresses which most will want to do to match the management network that you want to use for your own environment.
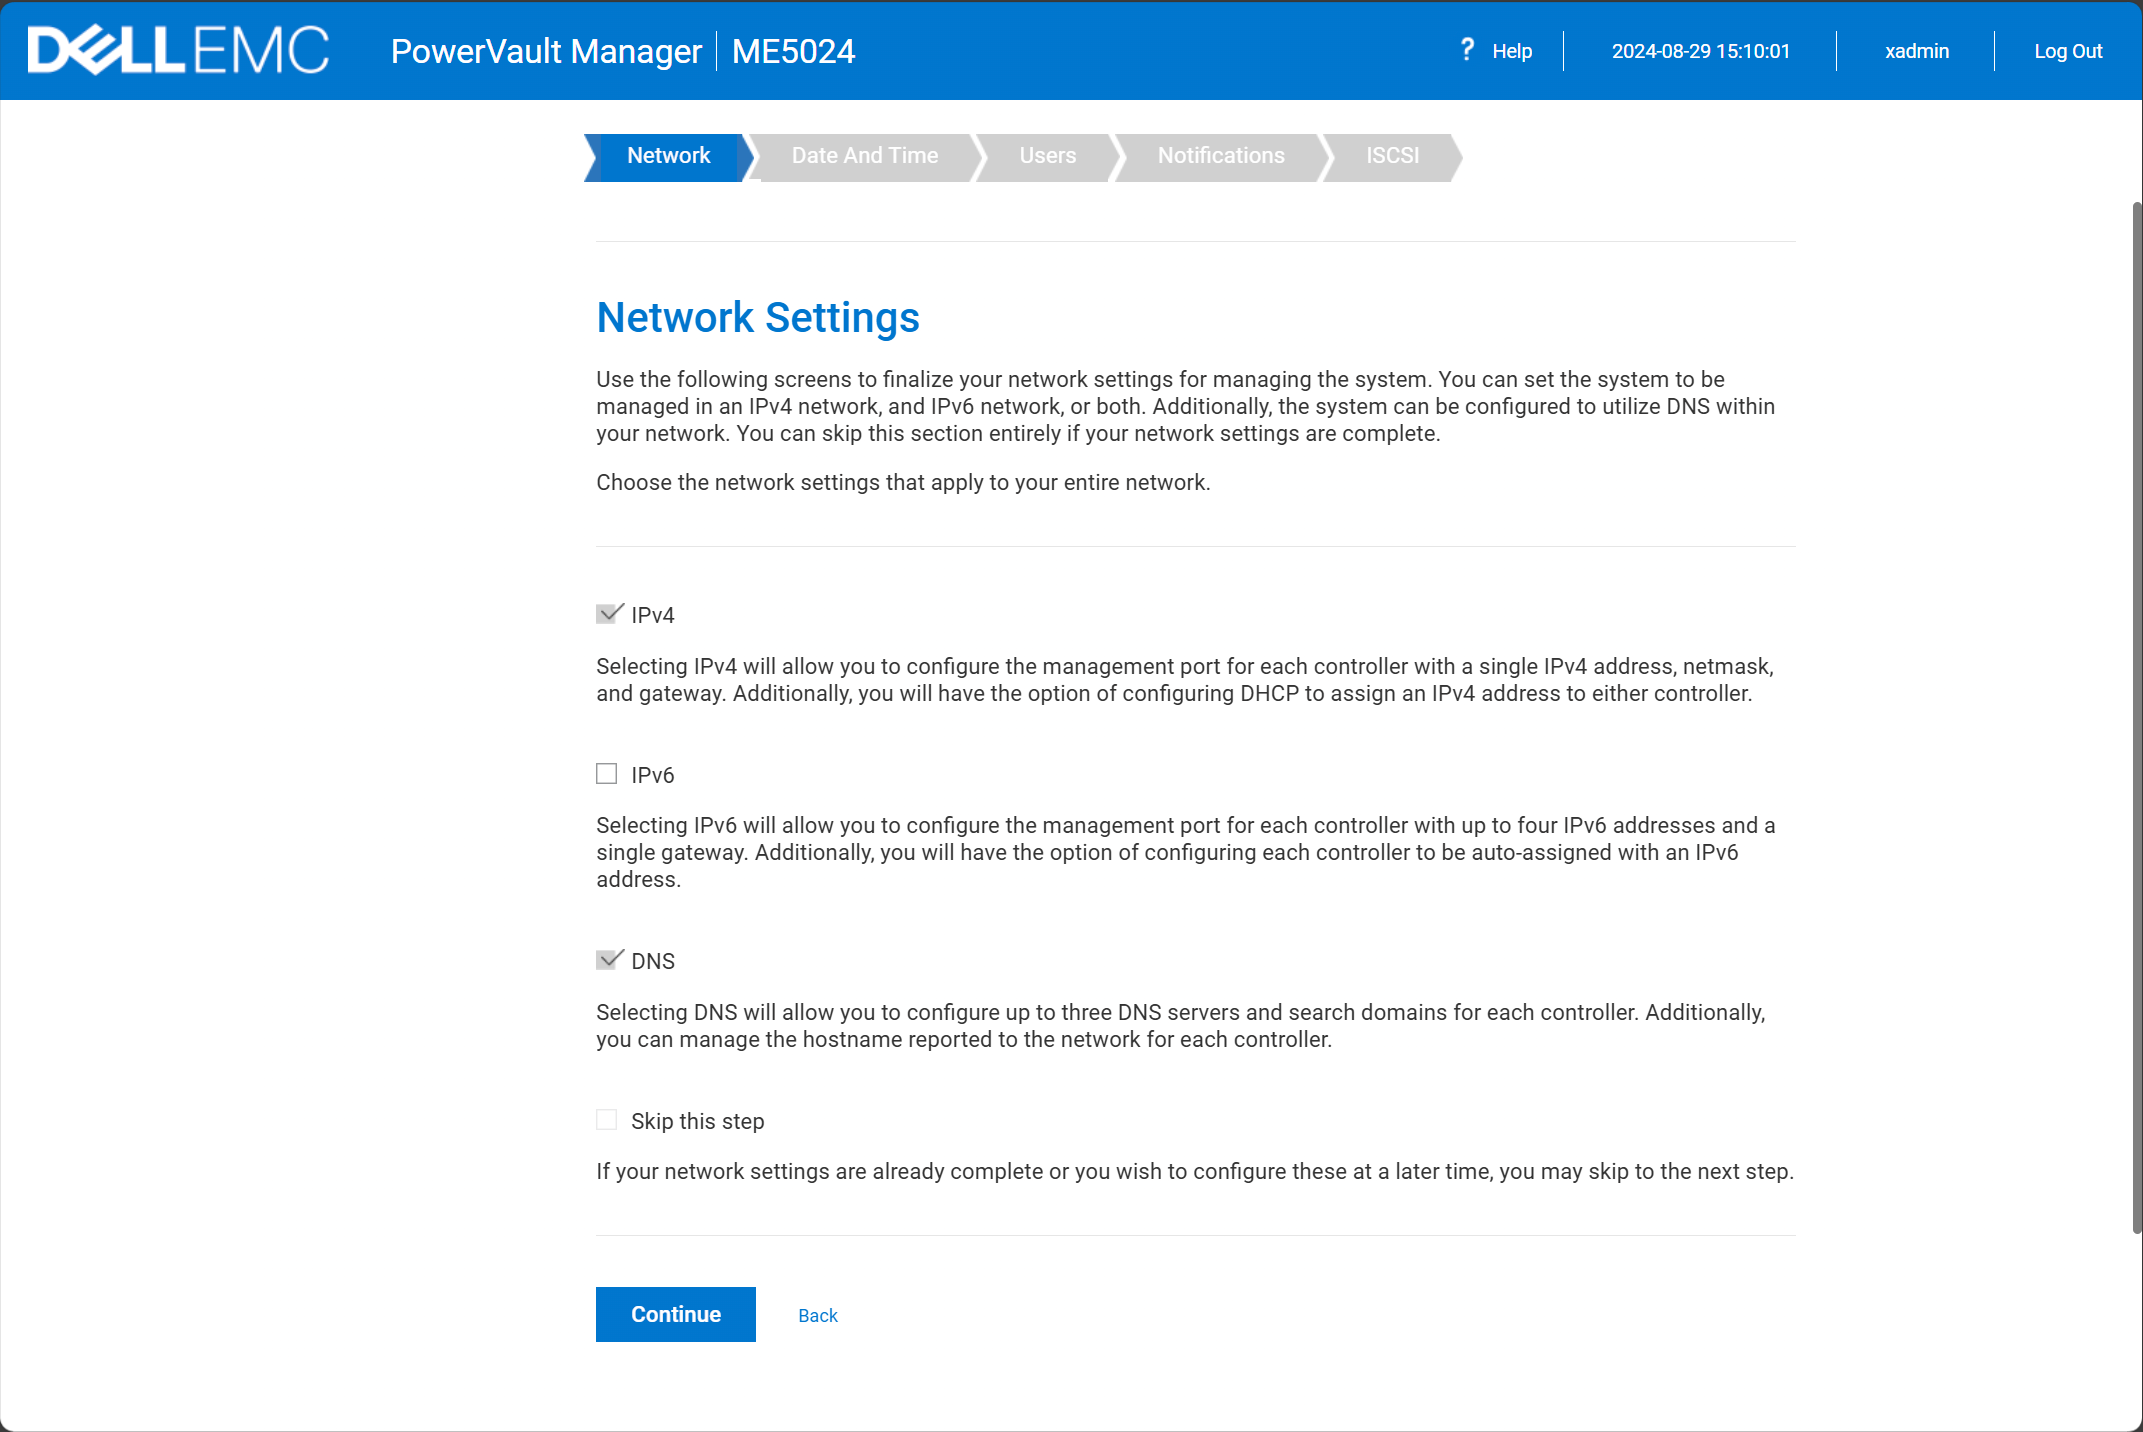
On the Network settings: IPv4 page, you will configure your Controller A and Controller B management IP address settings, including IP address, netmask, and gateway.
After you configure and hit Continue on the screen above, you will of course lose connection to the ME5024 since we are currently on the default IP address in the web browser for configuration. However, once you see the screen below, just give it a couple of moments, and you will be able to reconnect using your newly configured IP address.
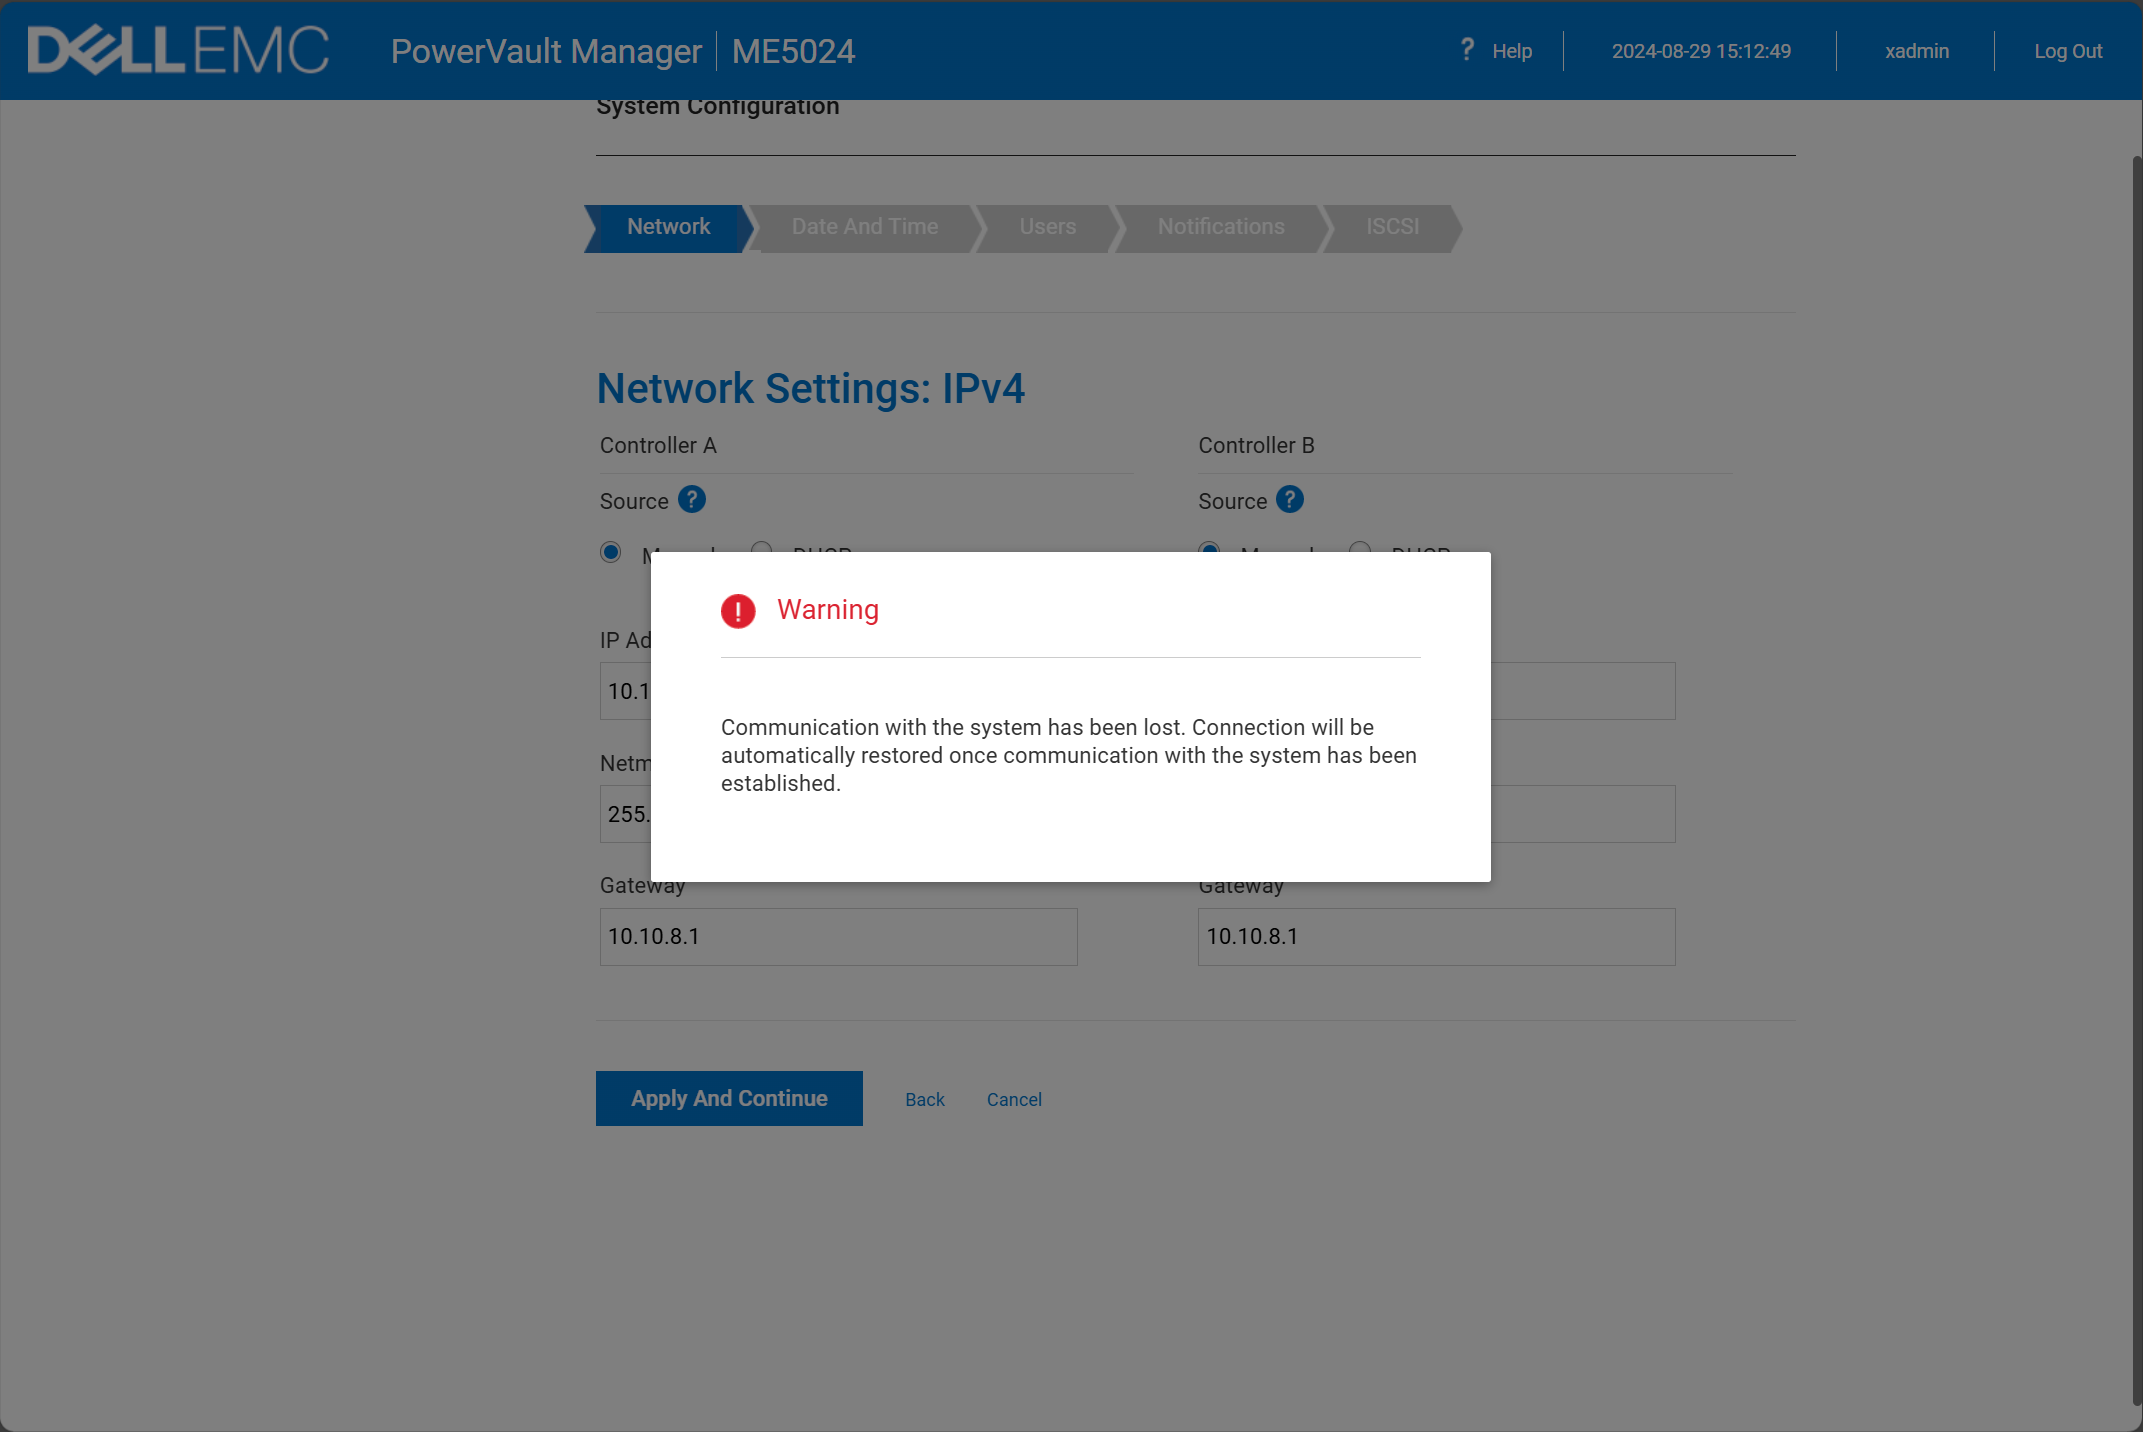
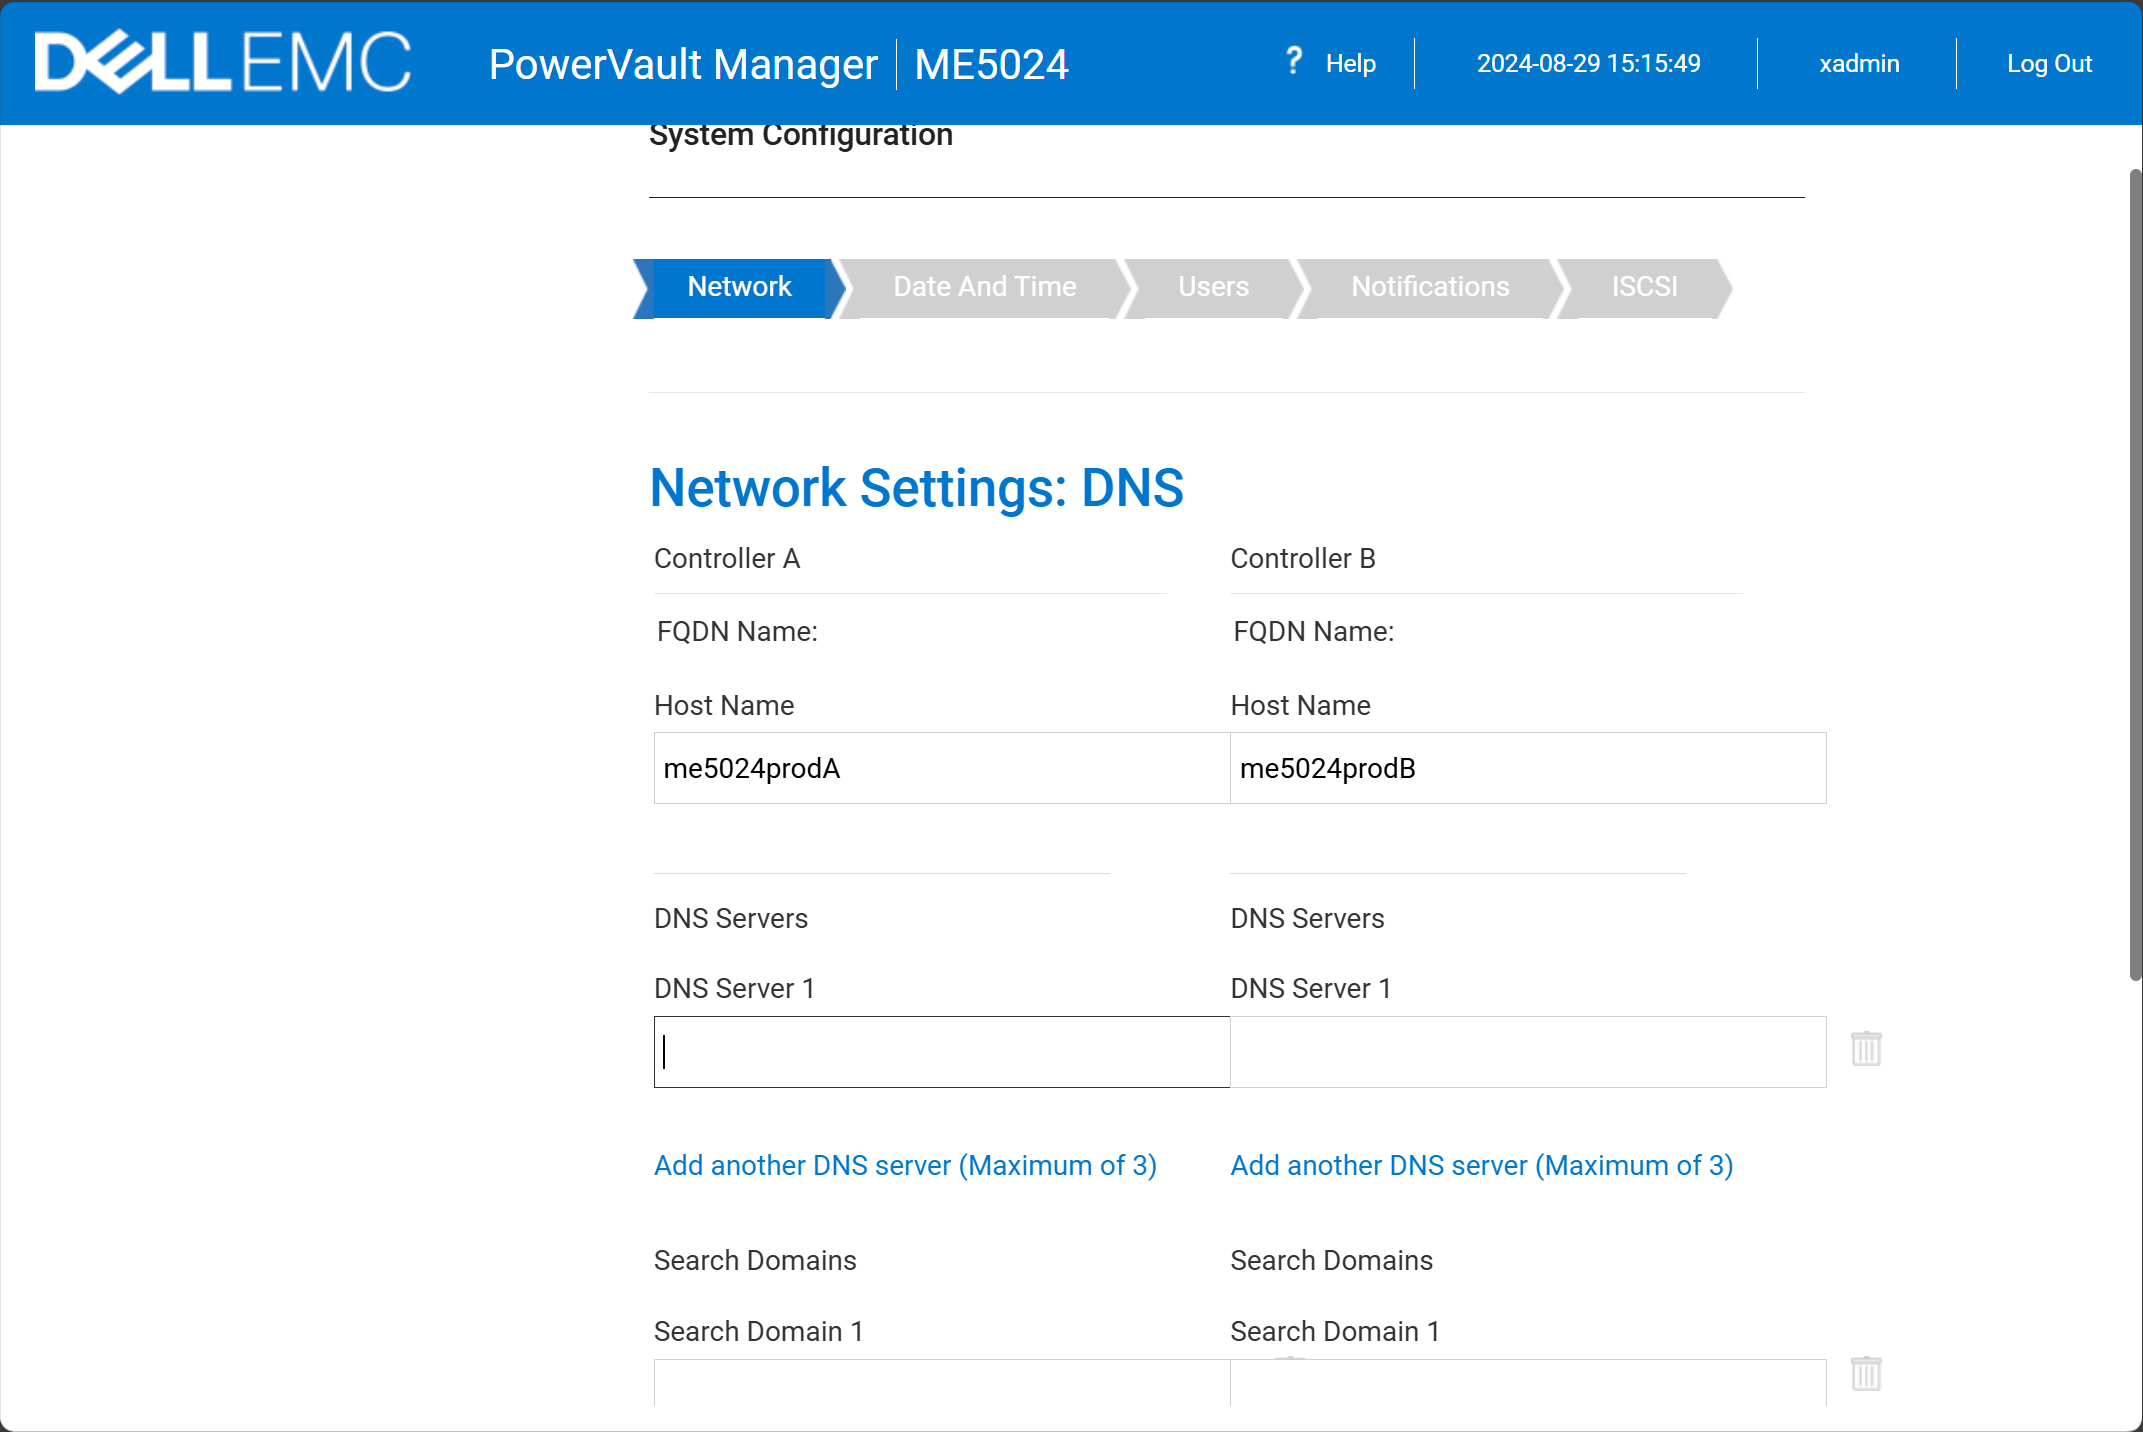
Once you reconnect (you may have to re-login as well), you will continue with the DNS settings configuration.
Date and time setup
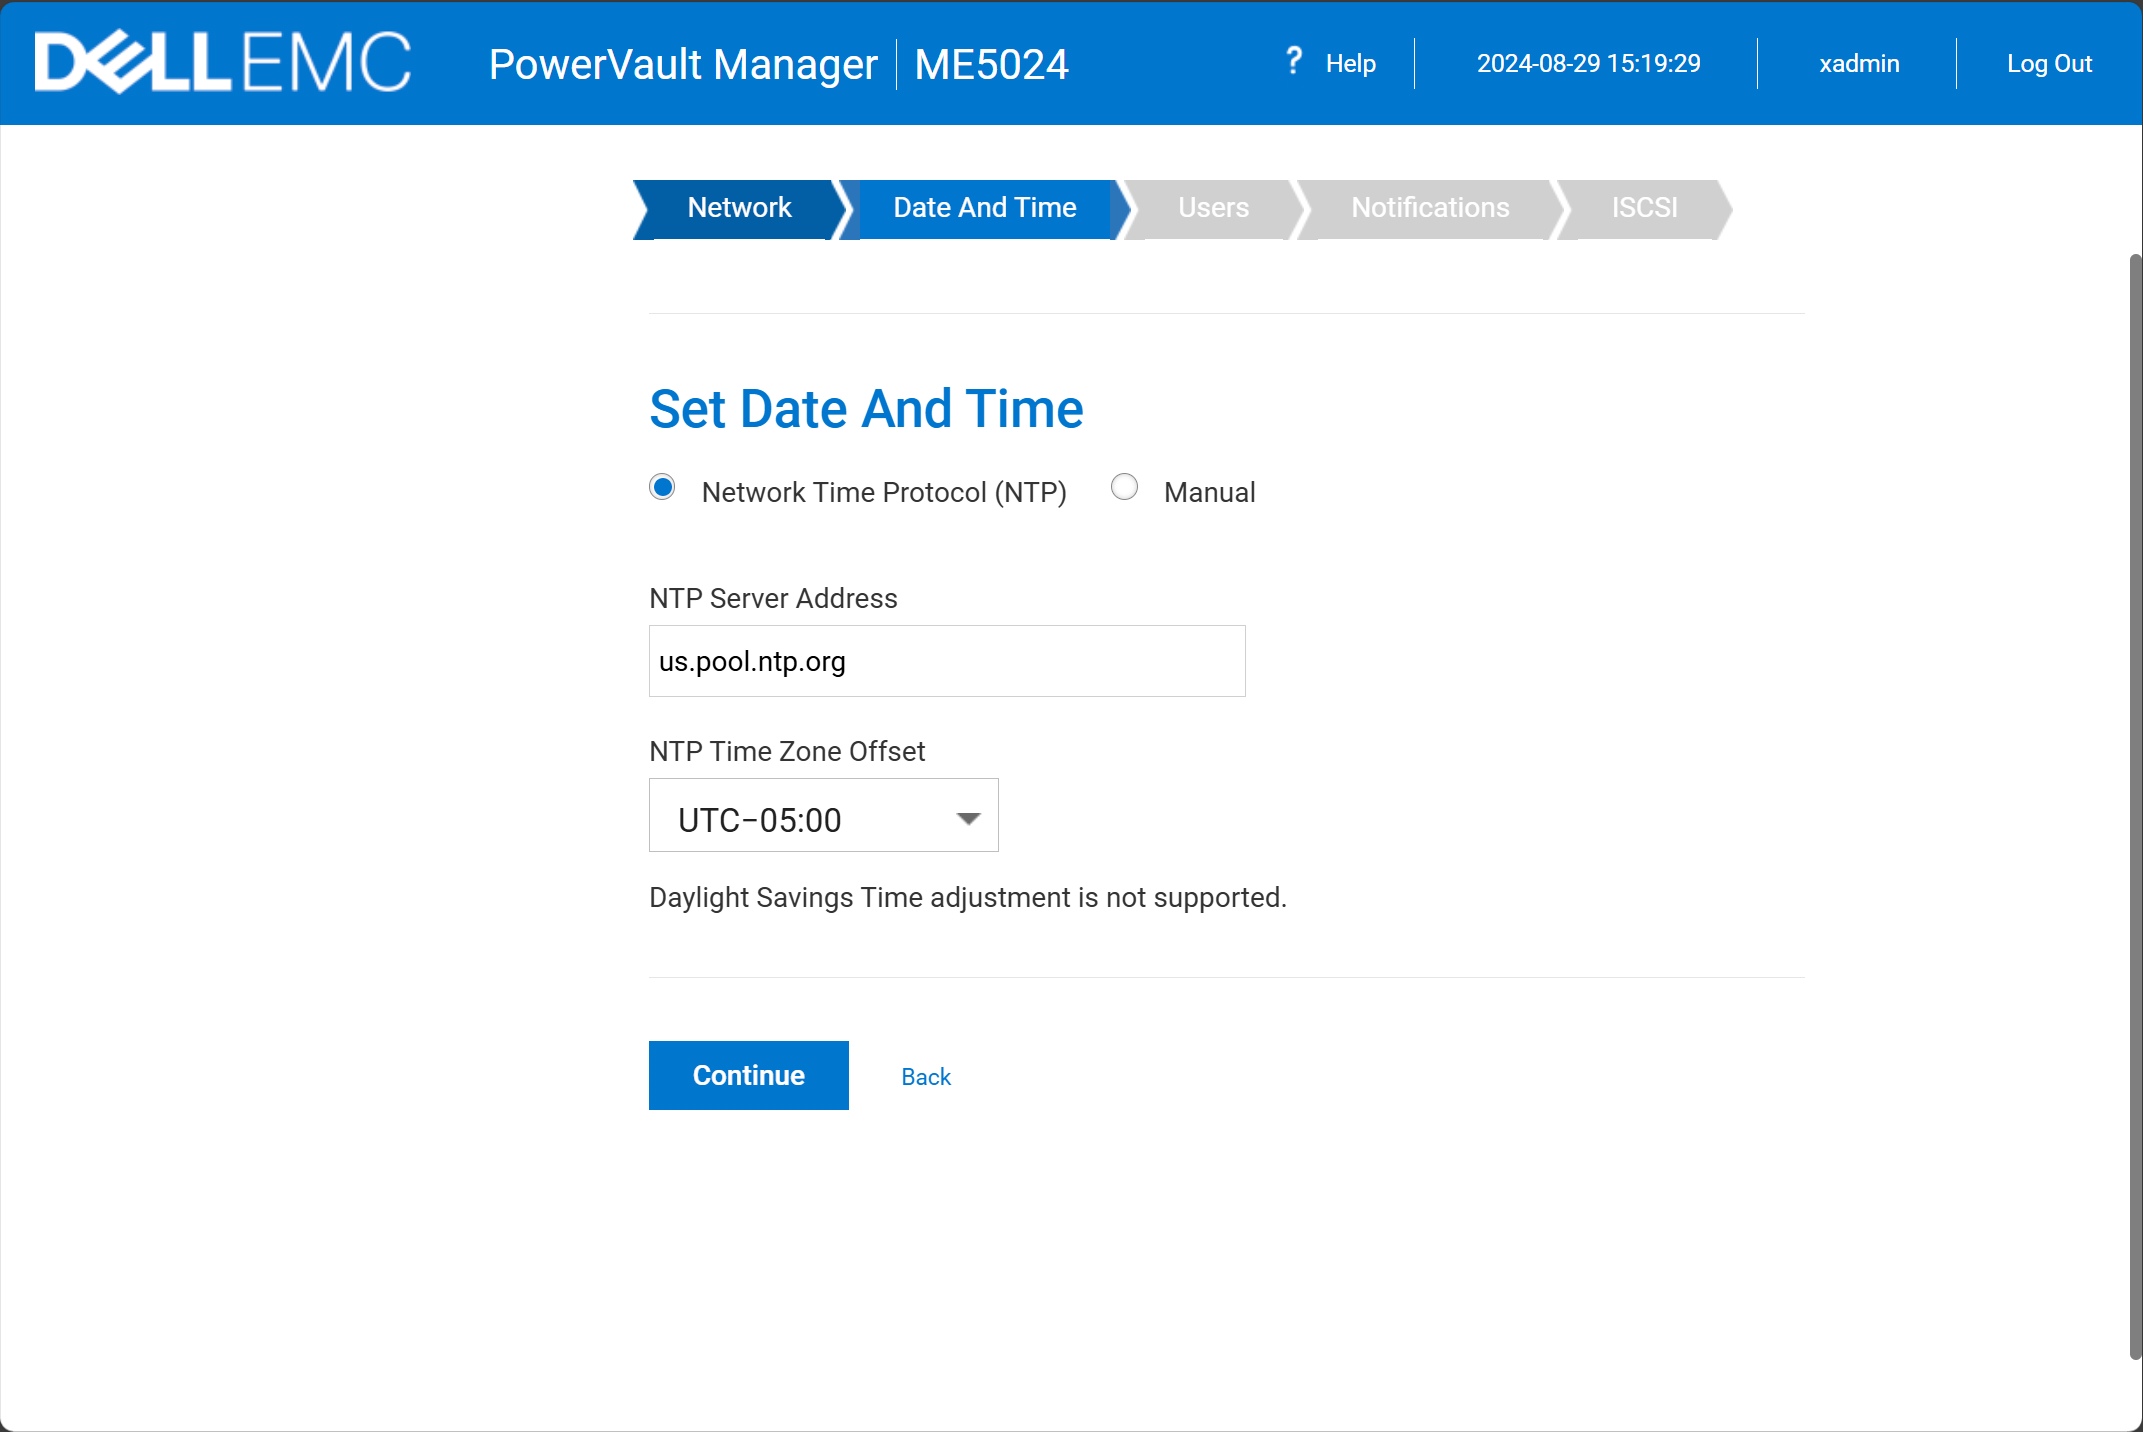
After configuring the management network configuration, you will move on to the date and time configuration. Do yourself a favor and point the ME5024 to an NTP server, either local, or one of the well-known publicly accessible NTP servers.
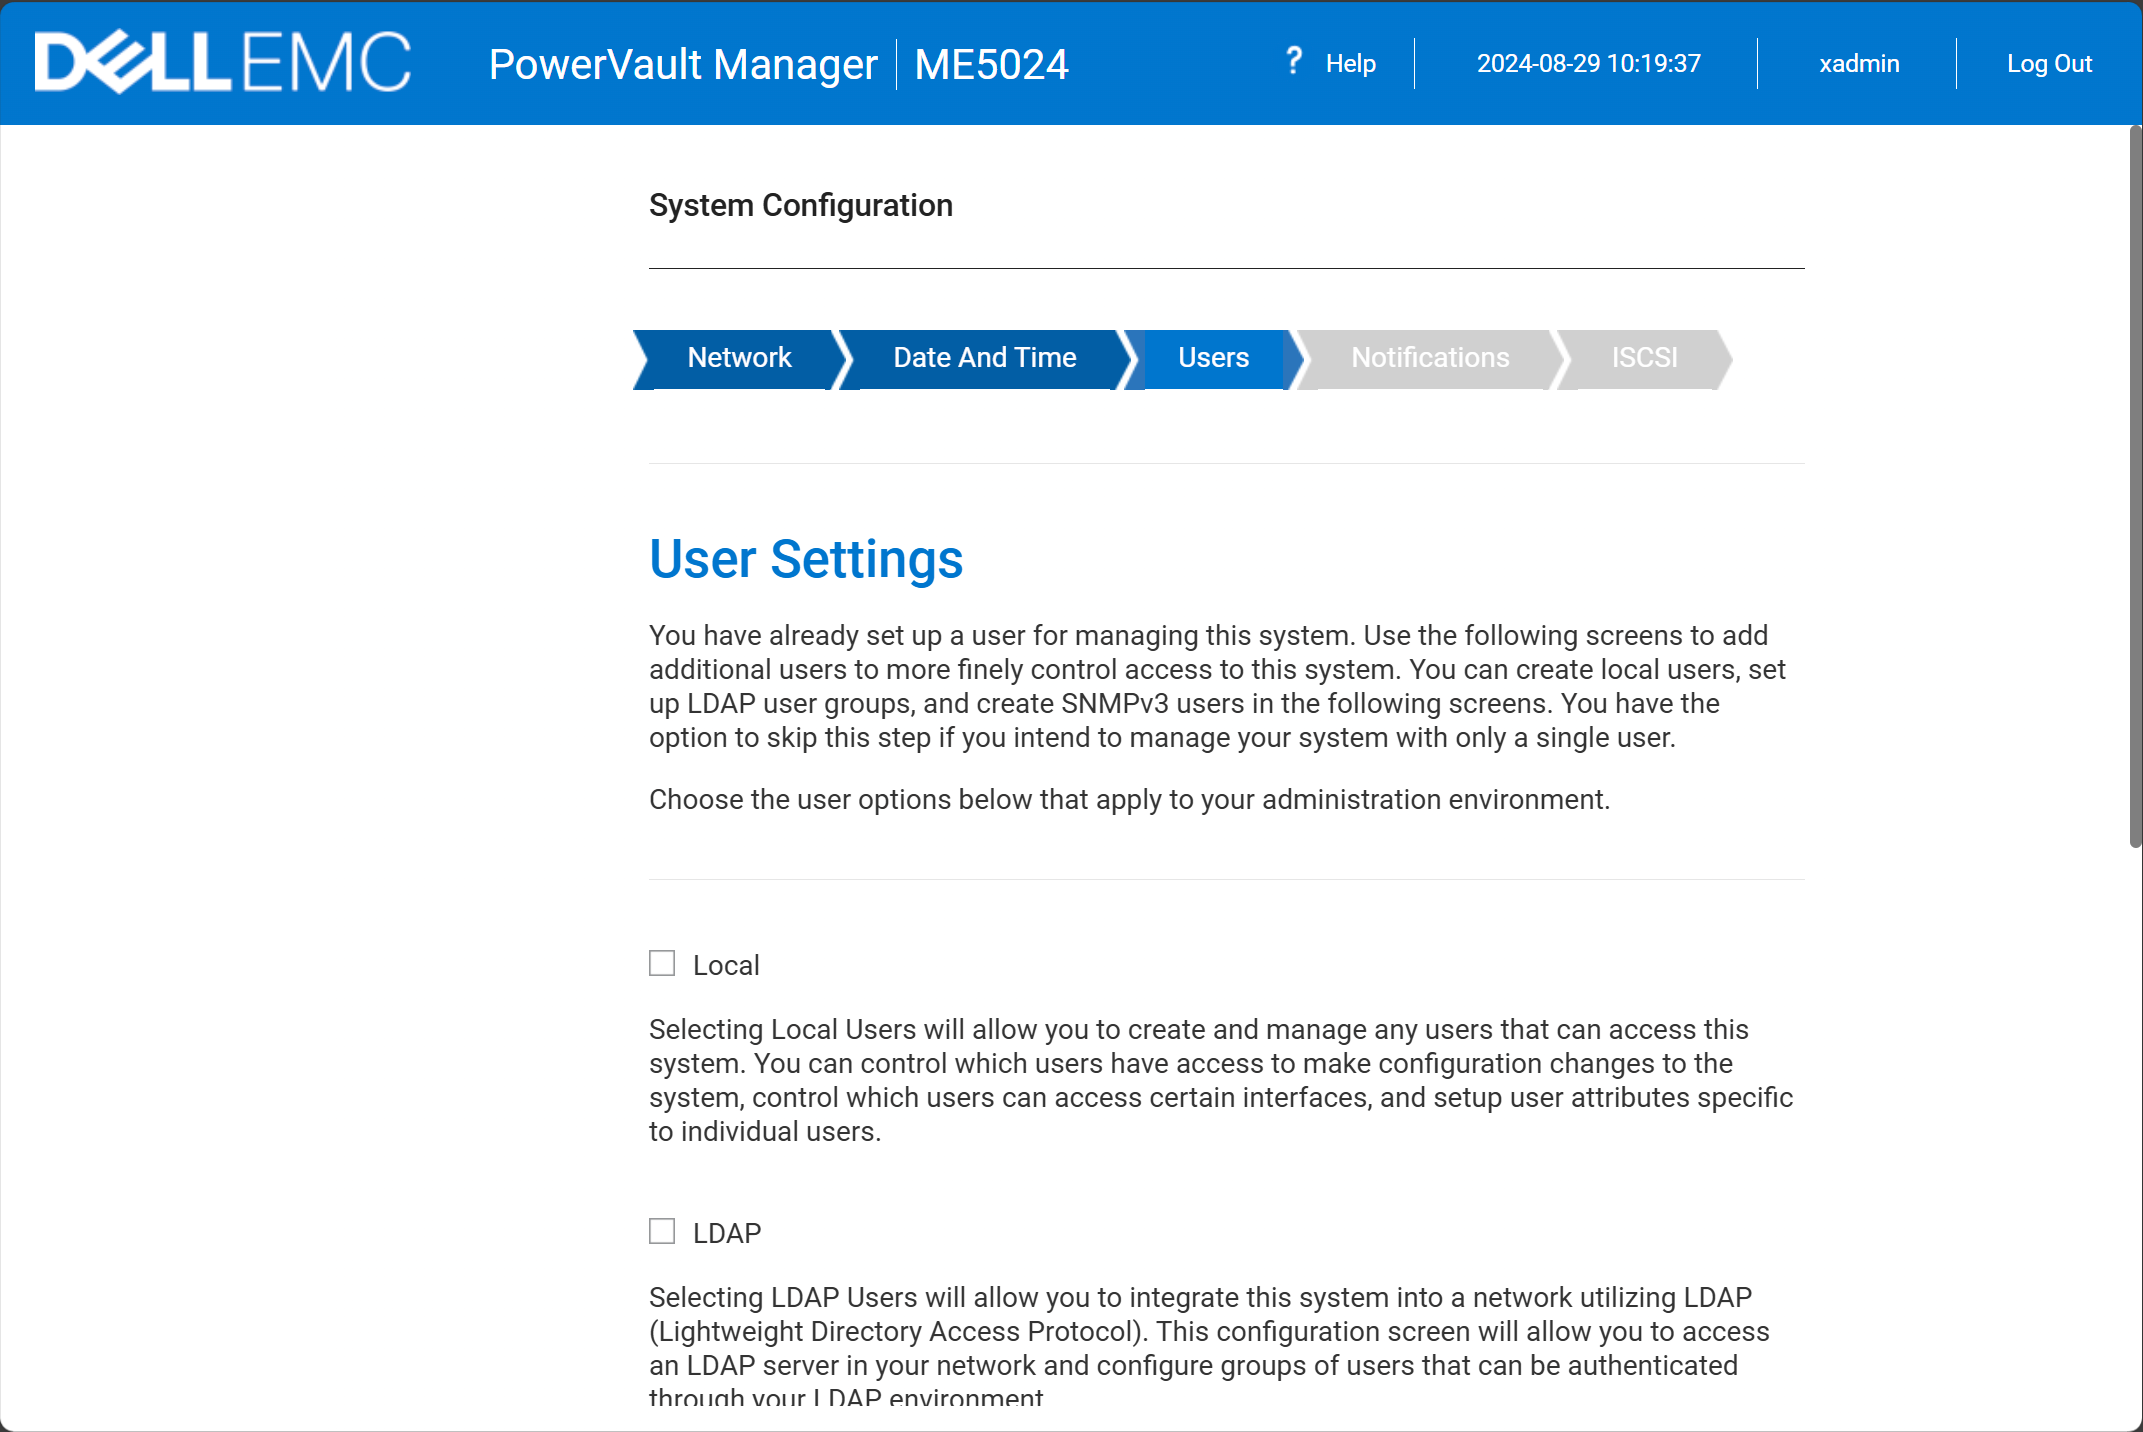
User settings
Next, is the Users configuration. Here you can choose to setup additional users and the identity sources you want to use, like LDAP, etc.
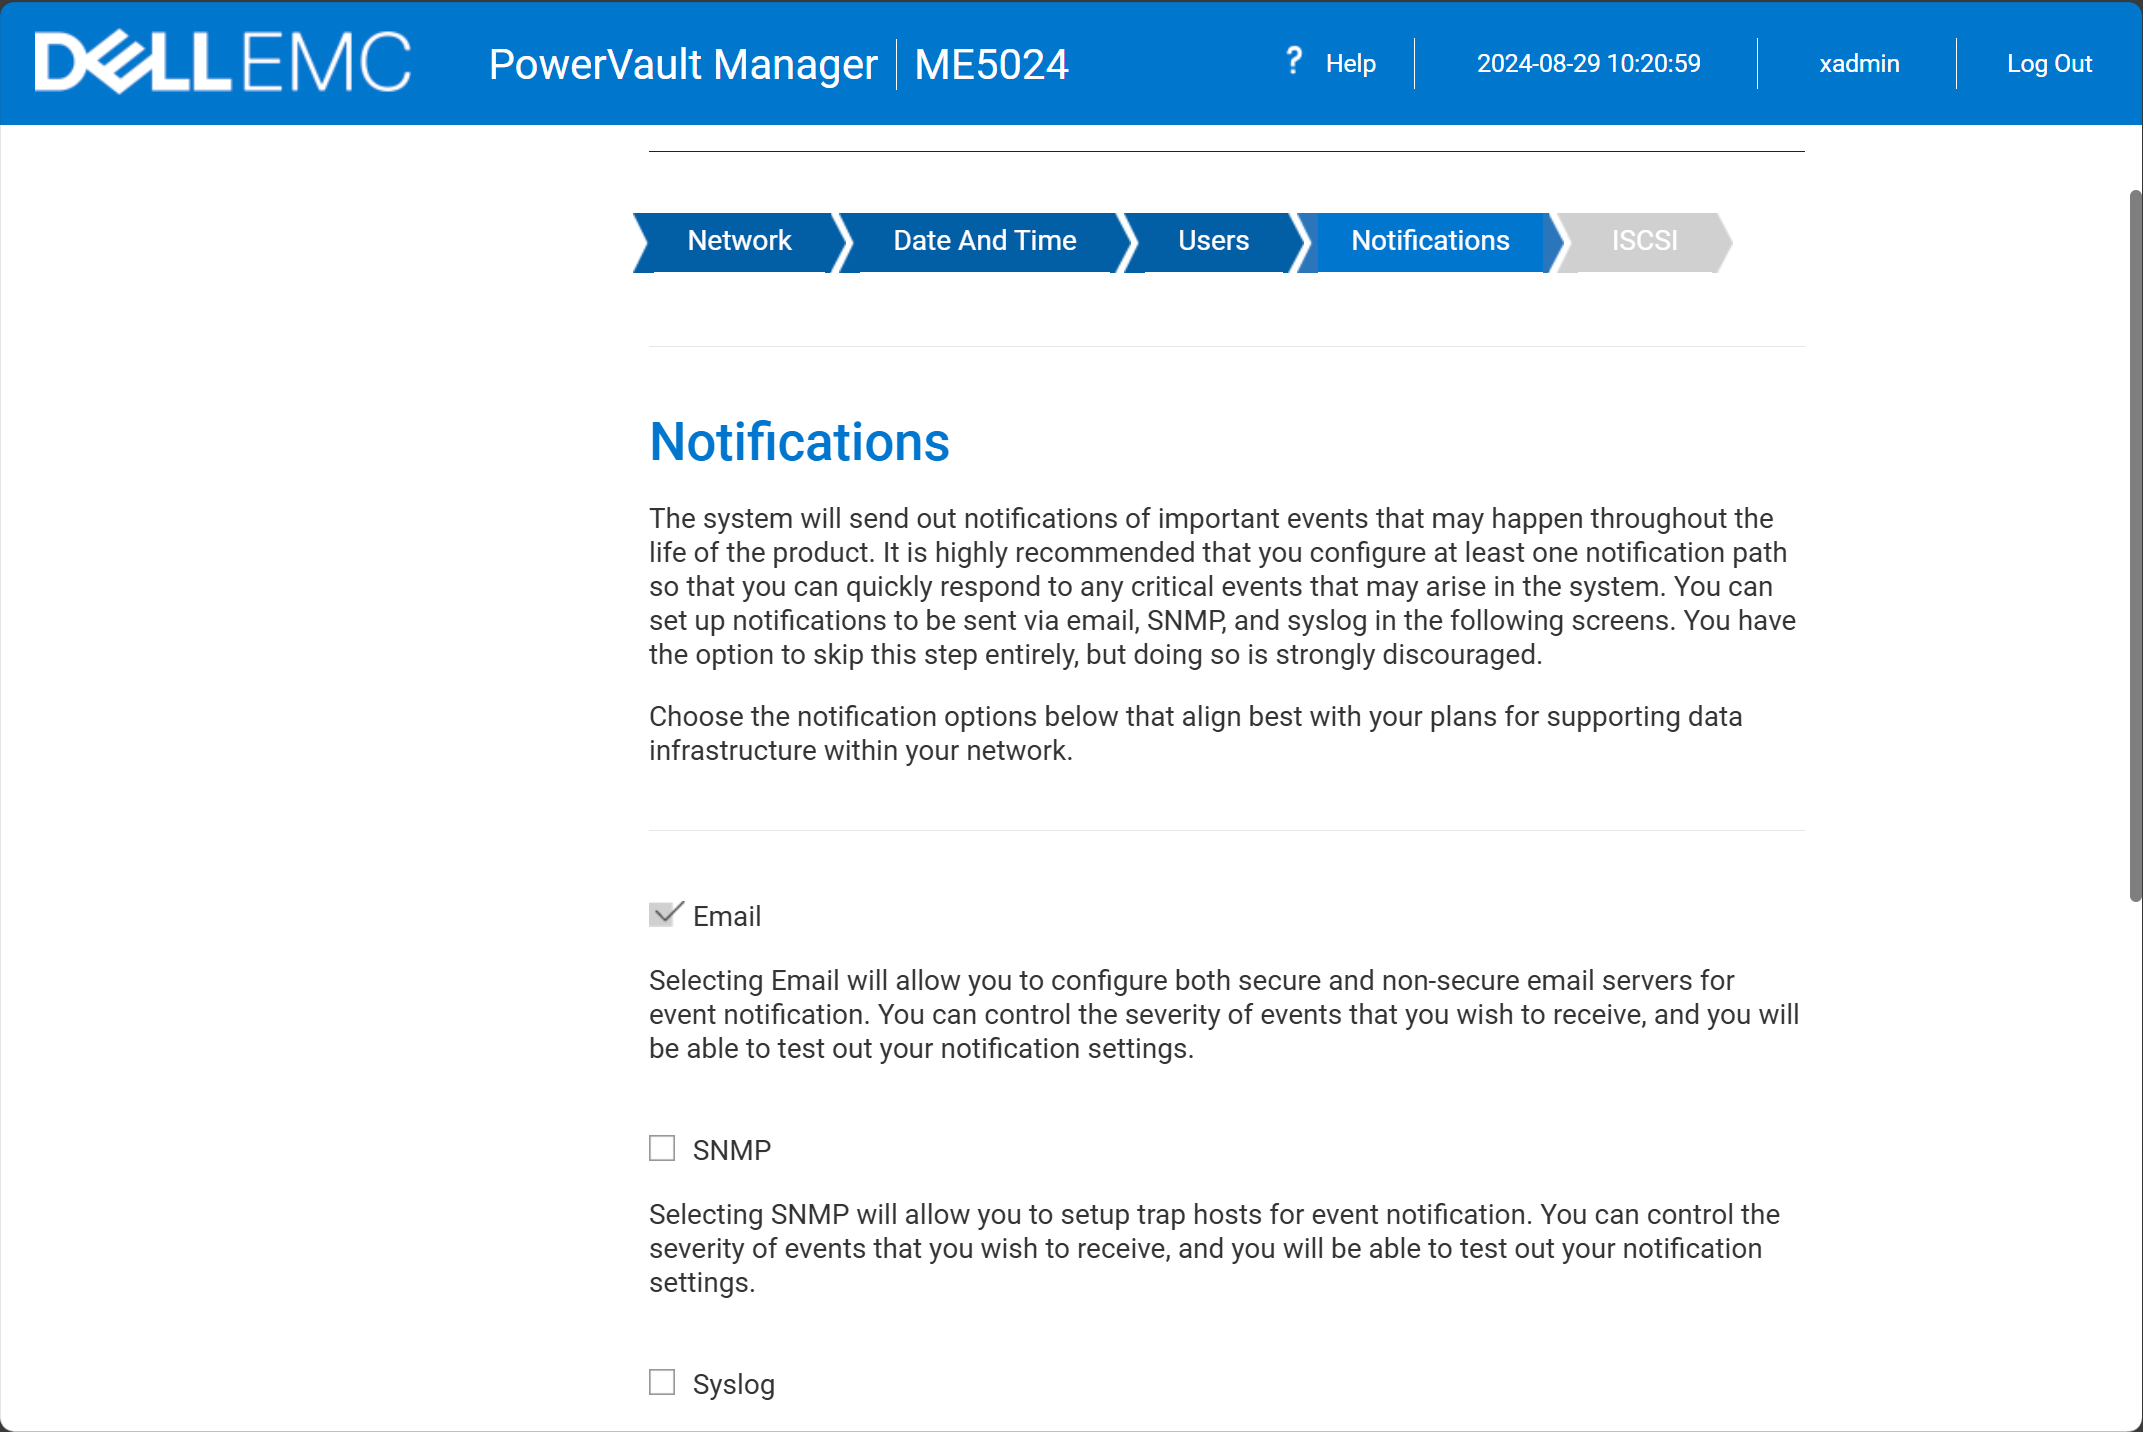
Notifications
Notifications is pretty self-explanatory. Here we will choose what types of notifications we want to receive. Most will want to at least flag email. But, you can also do SNMP, Syslog, etc.
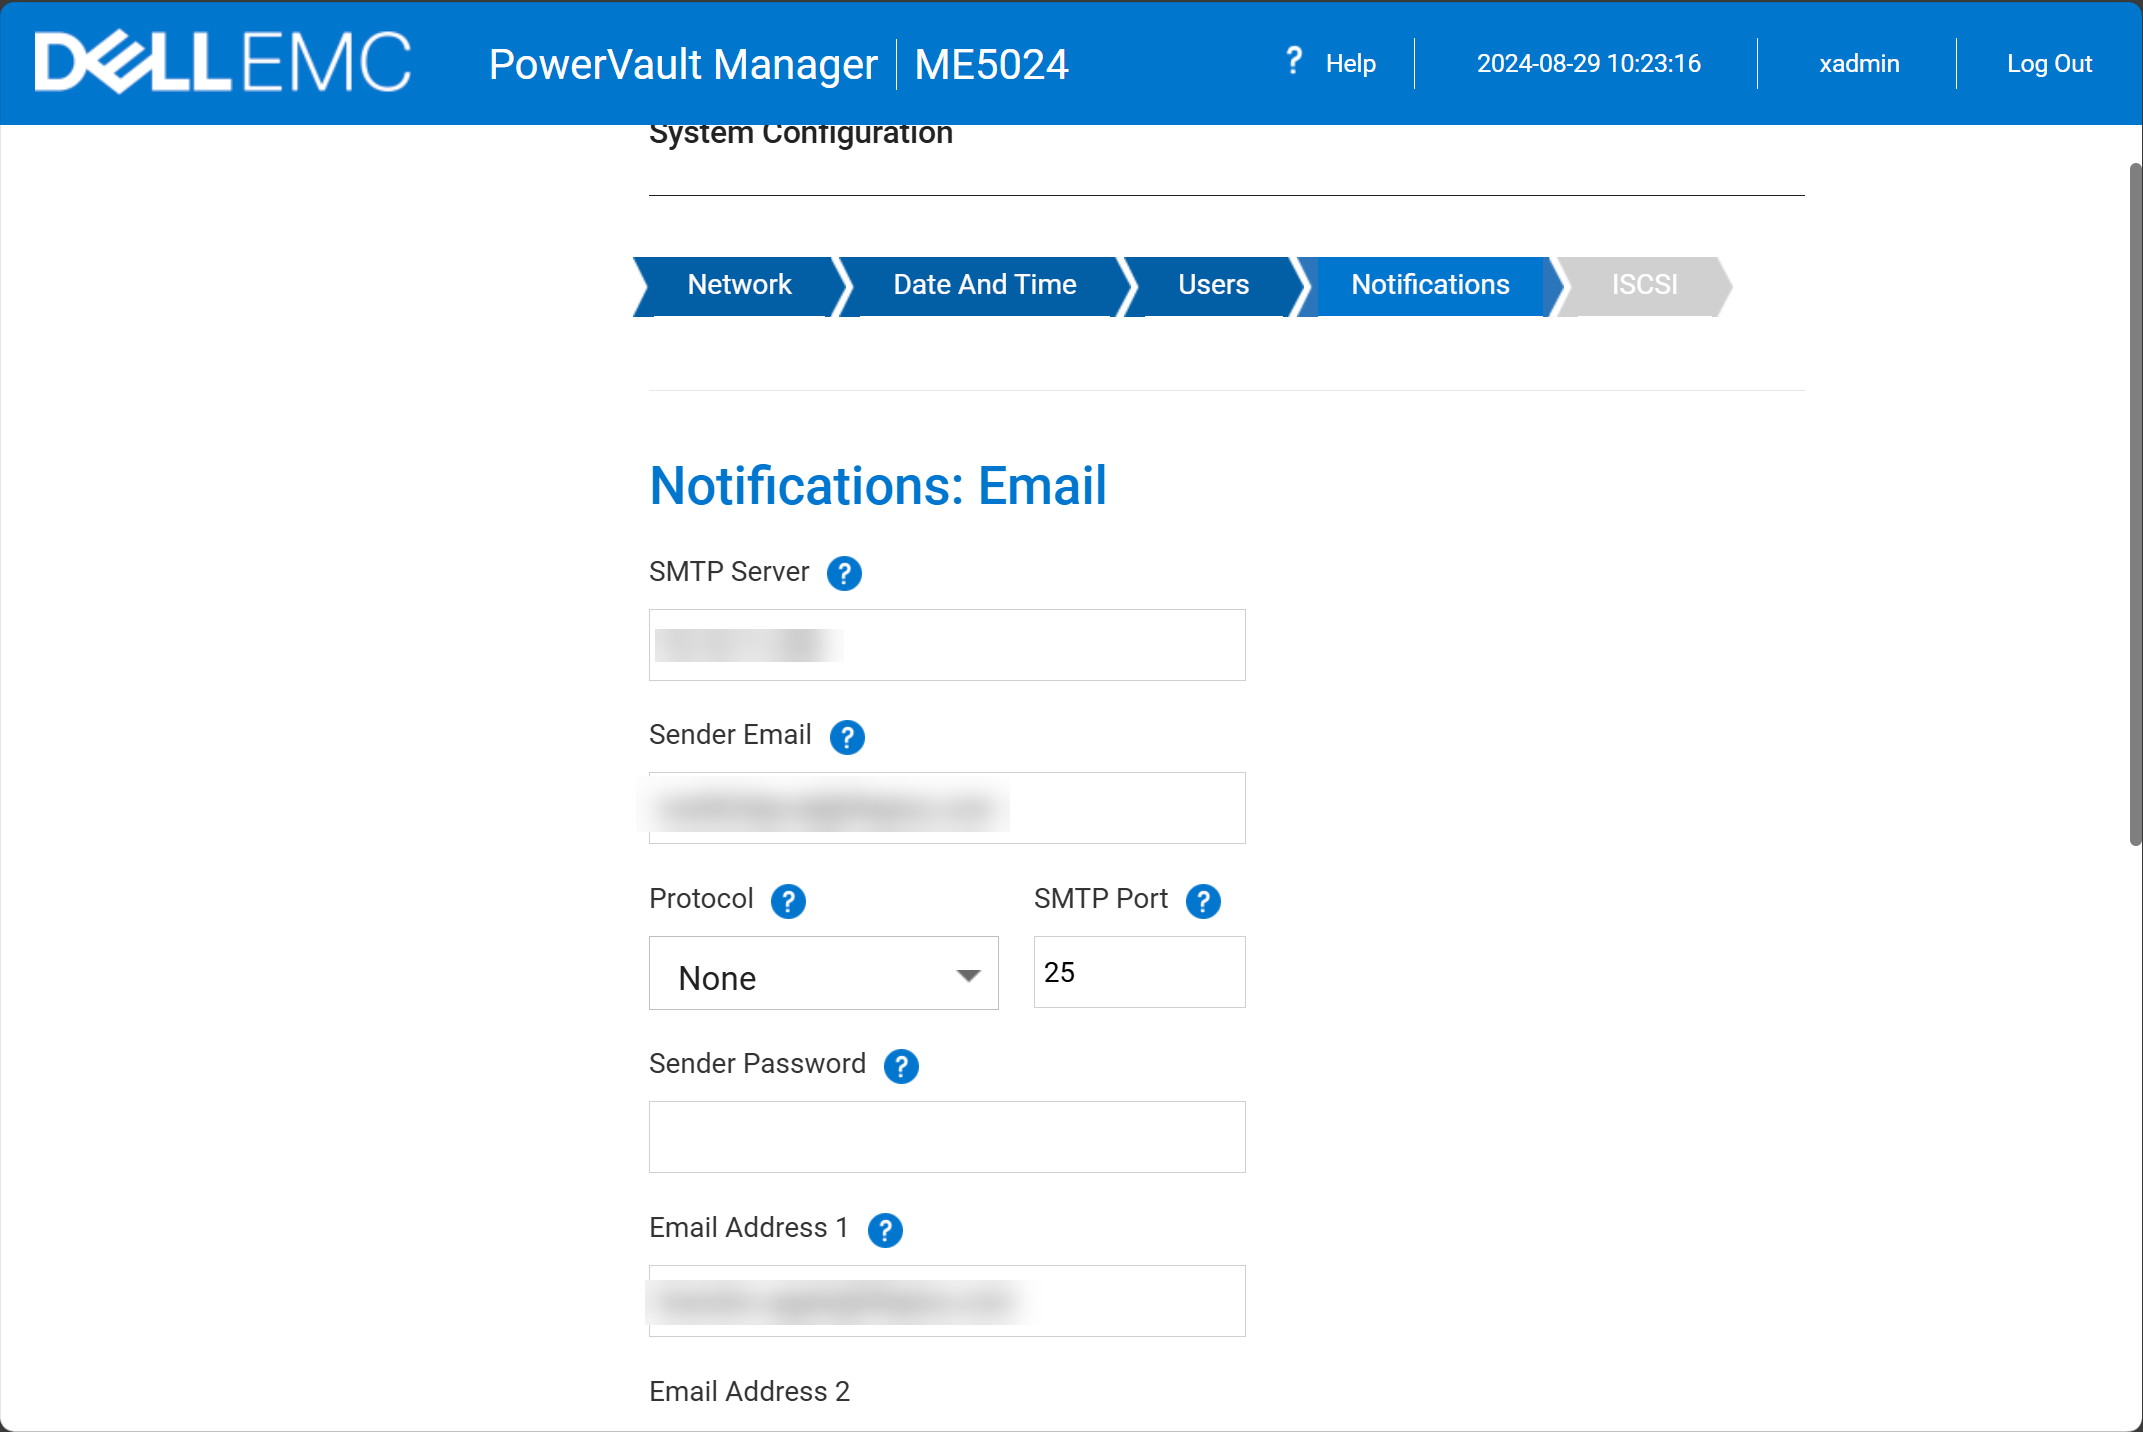
If you chose email notifications, you will be taken next to the email notification configuration. You will want to populate the SMTP server, sender (FROM) address, protocol, port, authentication if you choose that under the protocol, and the recipient email addresses. You can add up to three.
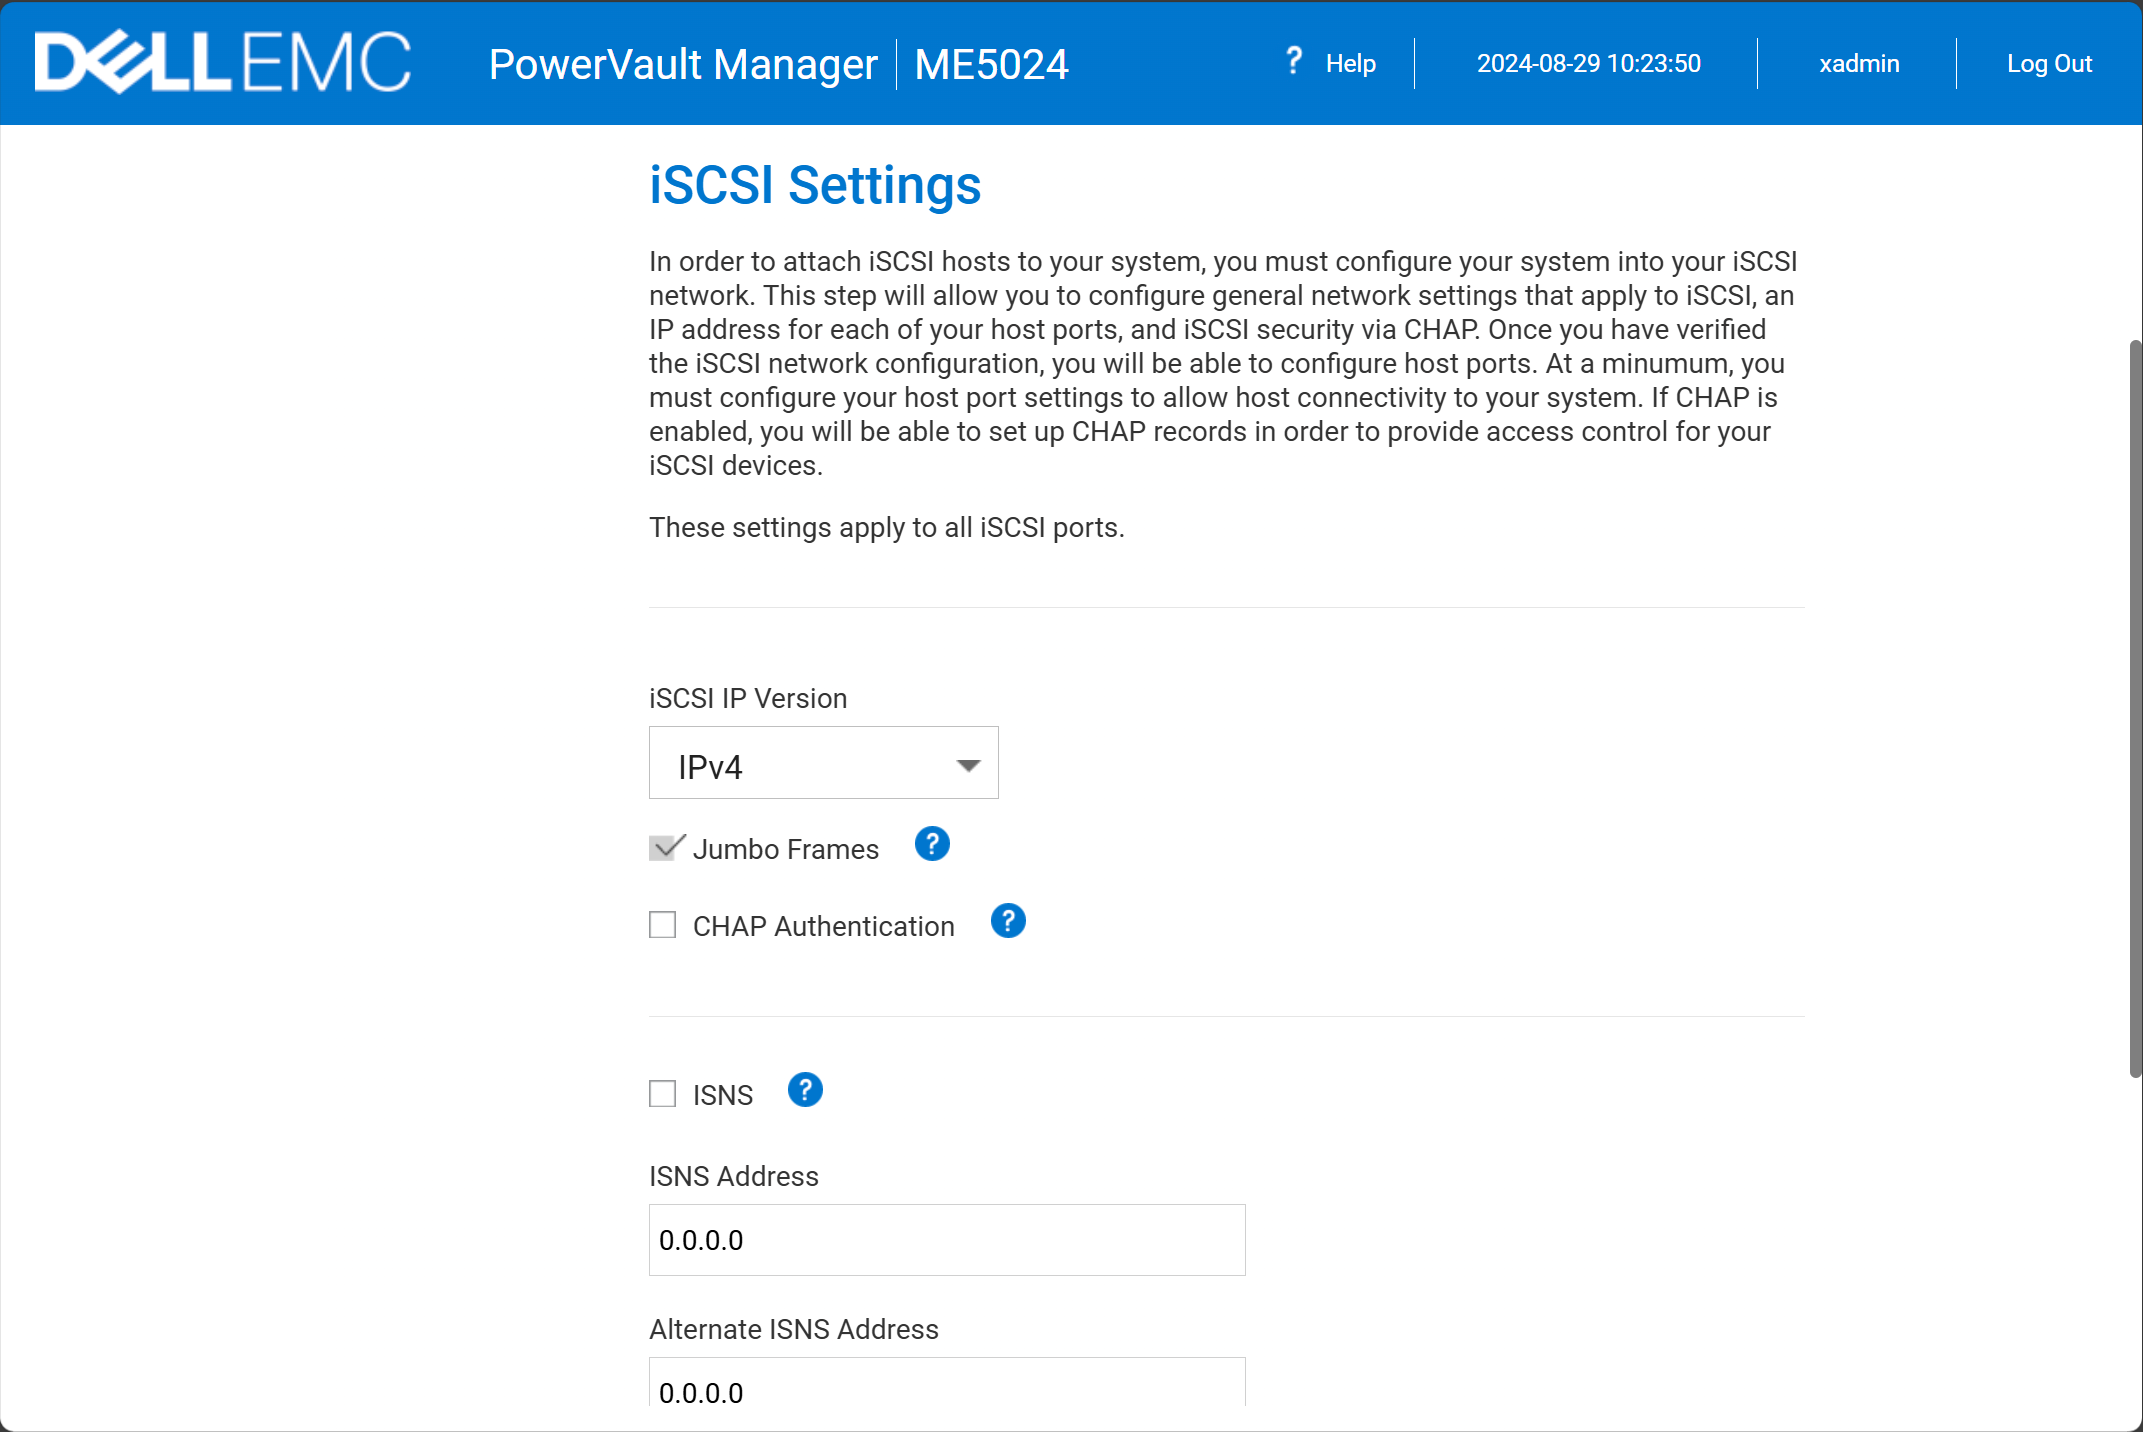
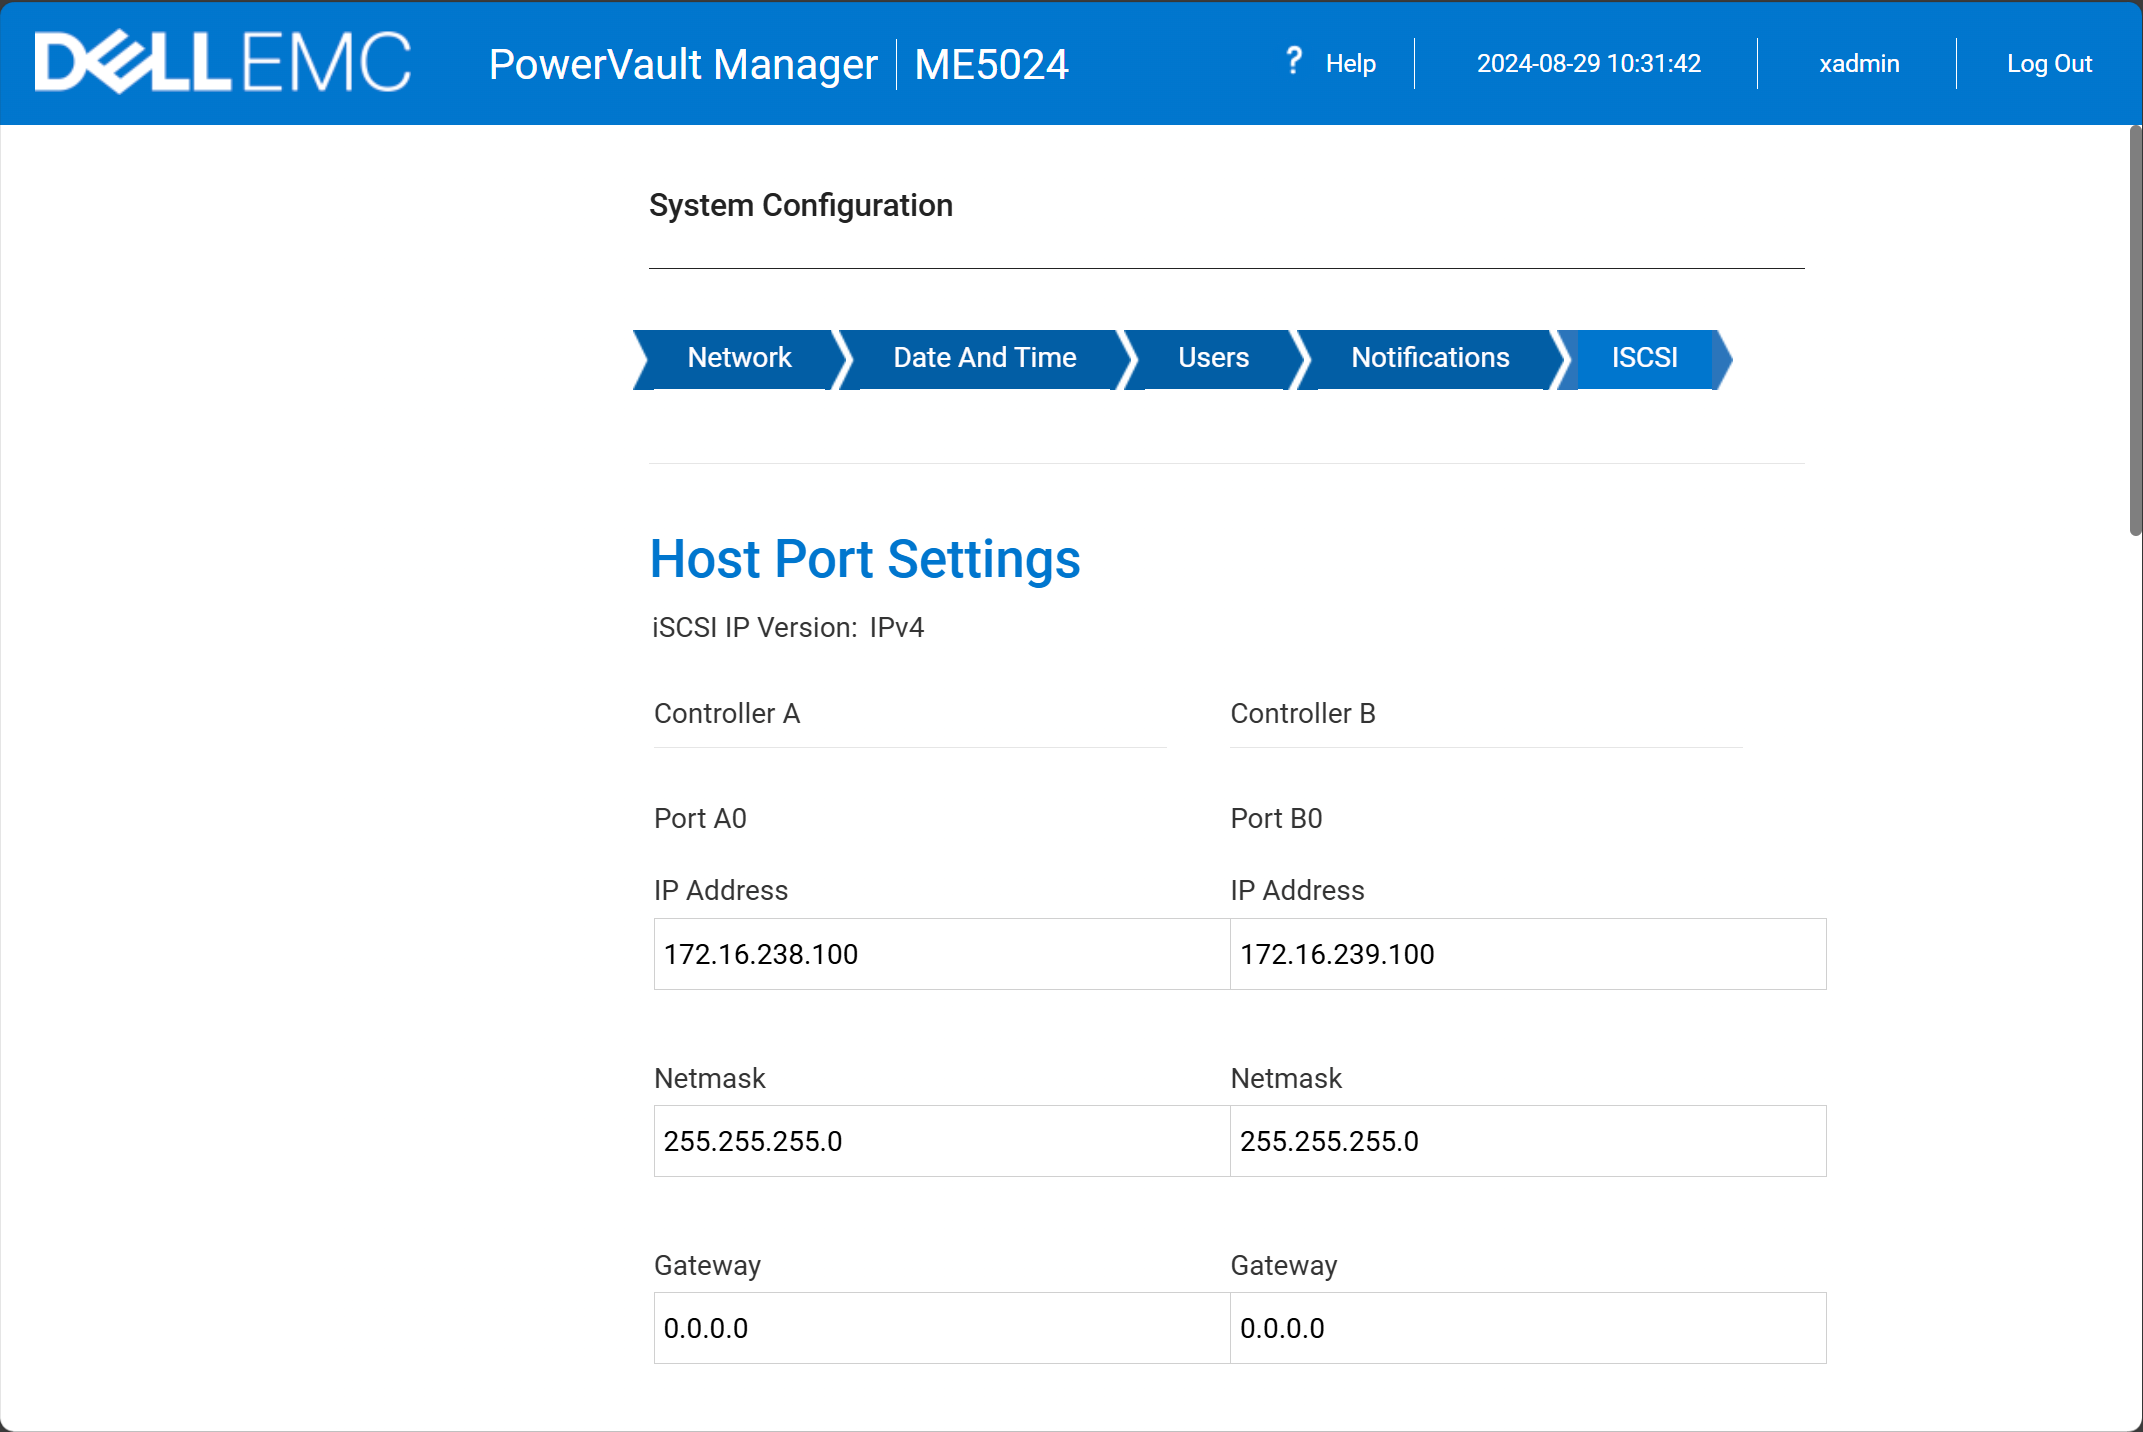
iSCSI settings
Now, we get to the iSCSI settings configuration. Here, you will choose your iSCSI IP version, whether or not you want to flag on Jumbo Frames, CHAP authentication if you want to use this, and also ISNS address (optional).
On the host port settings page, you will configure (4) IP addresses for controller A (A0, A1, A2, A3) and (4) IP addresses for controller B (B0, B1, B2, B3).
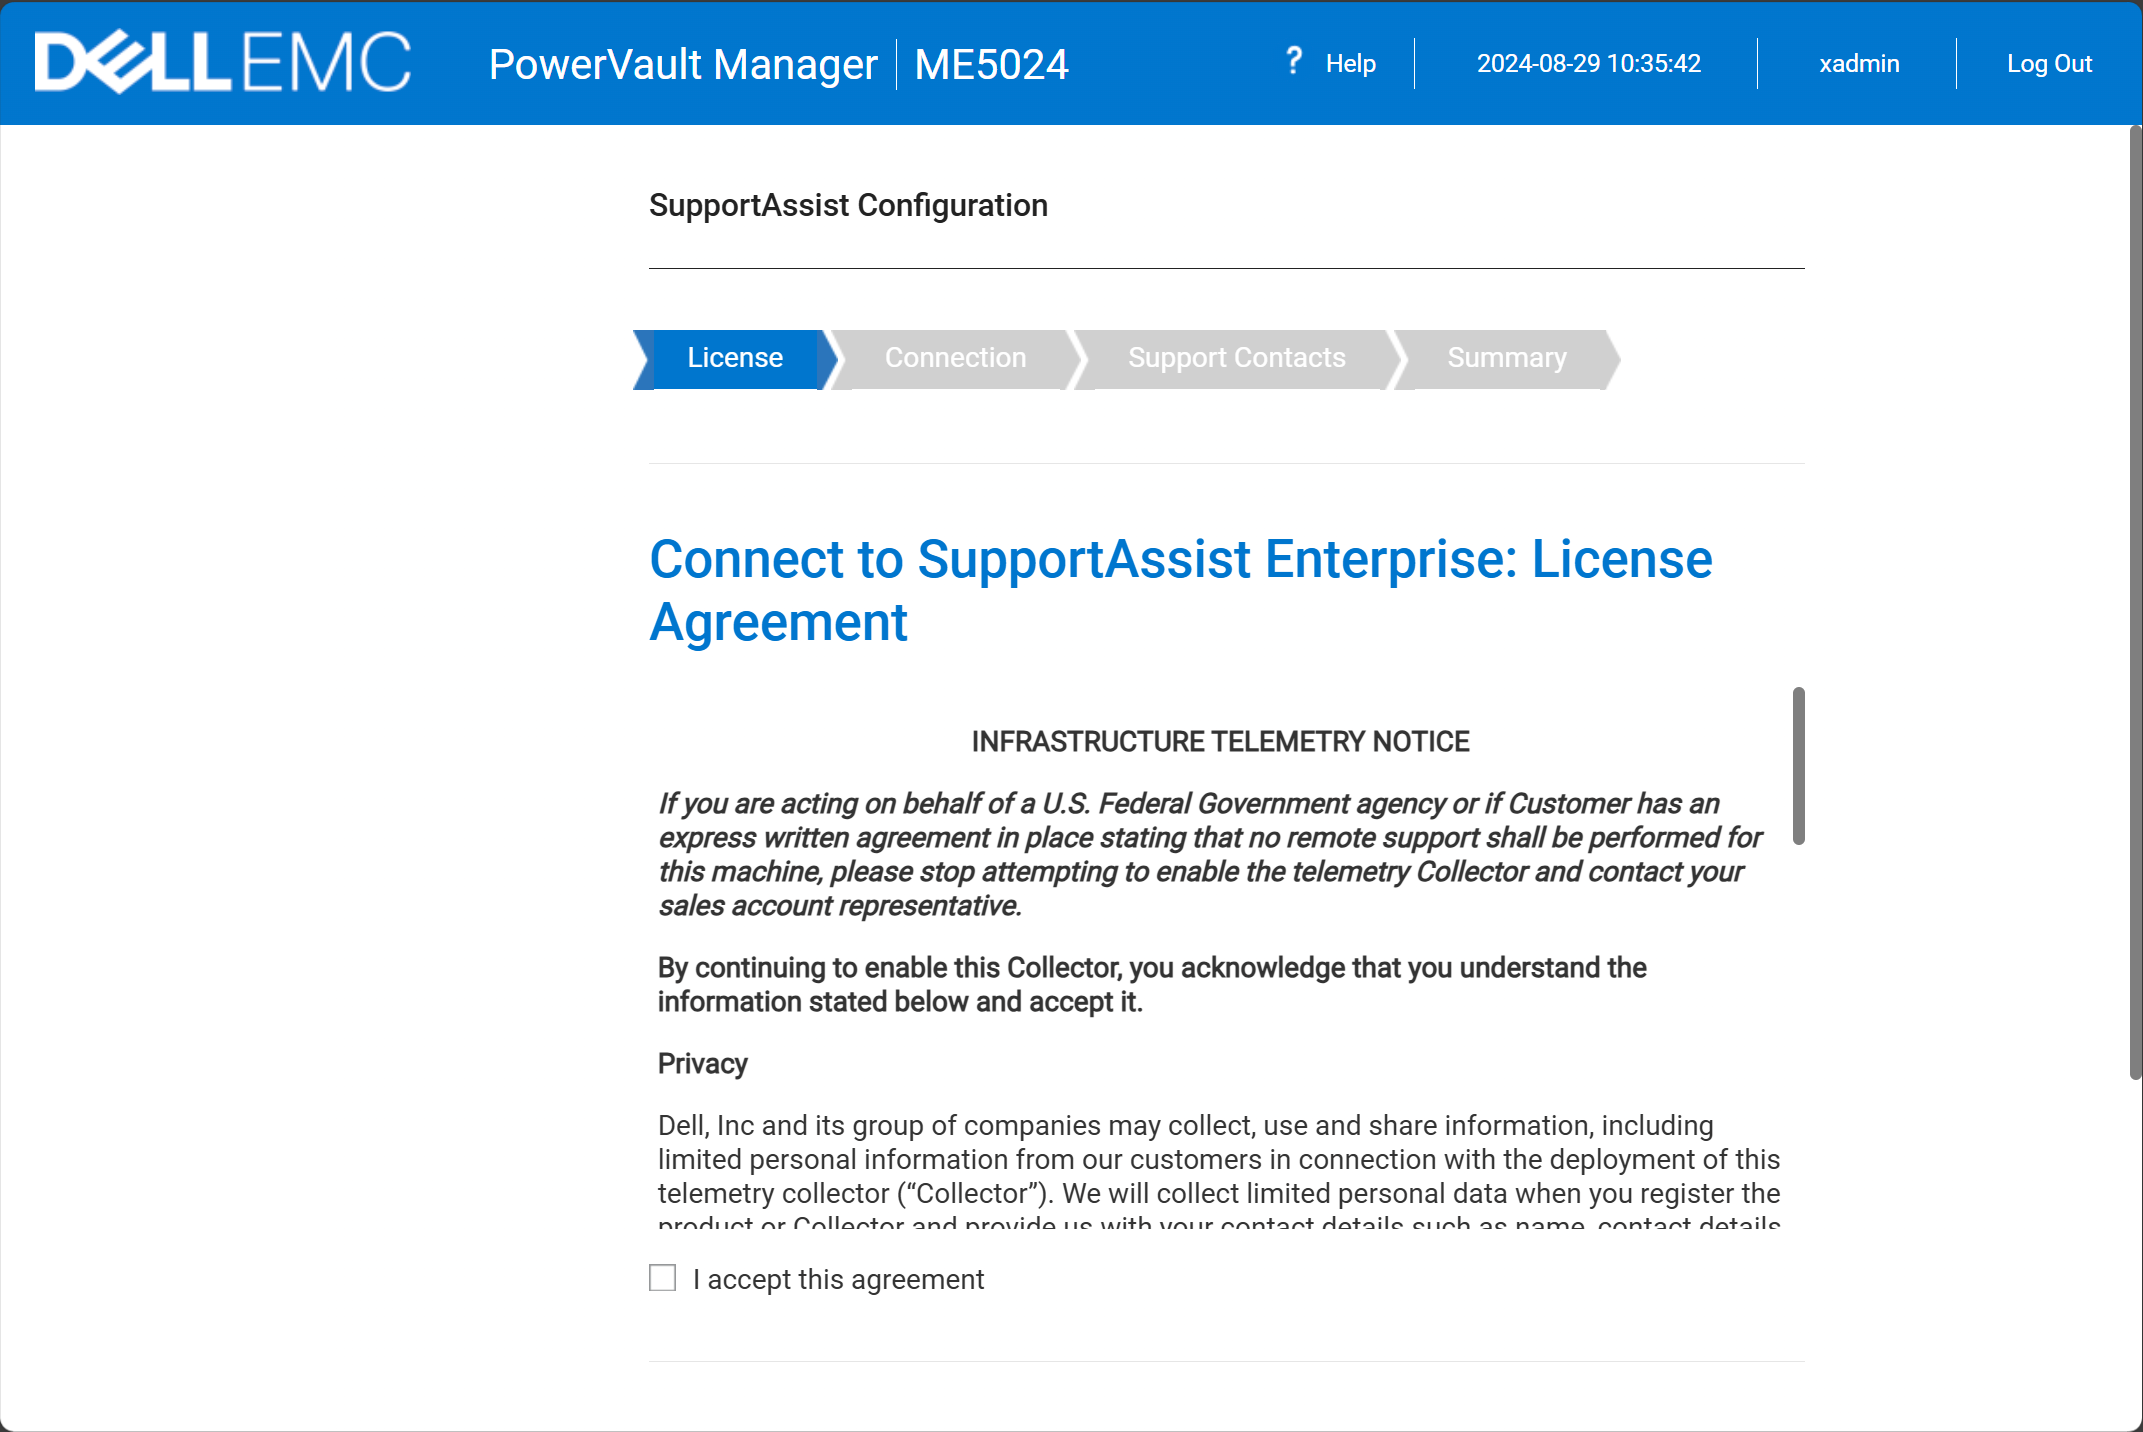
SupportAssist configuration
Next, is the supportassist configuration. You will need to accept the EULA.
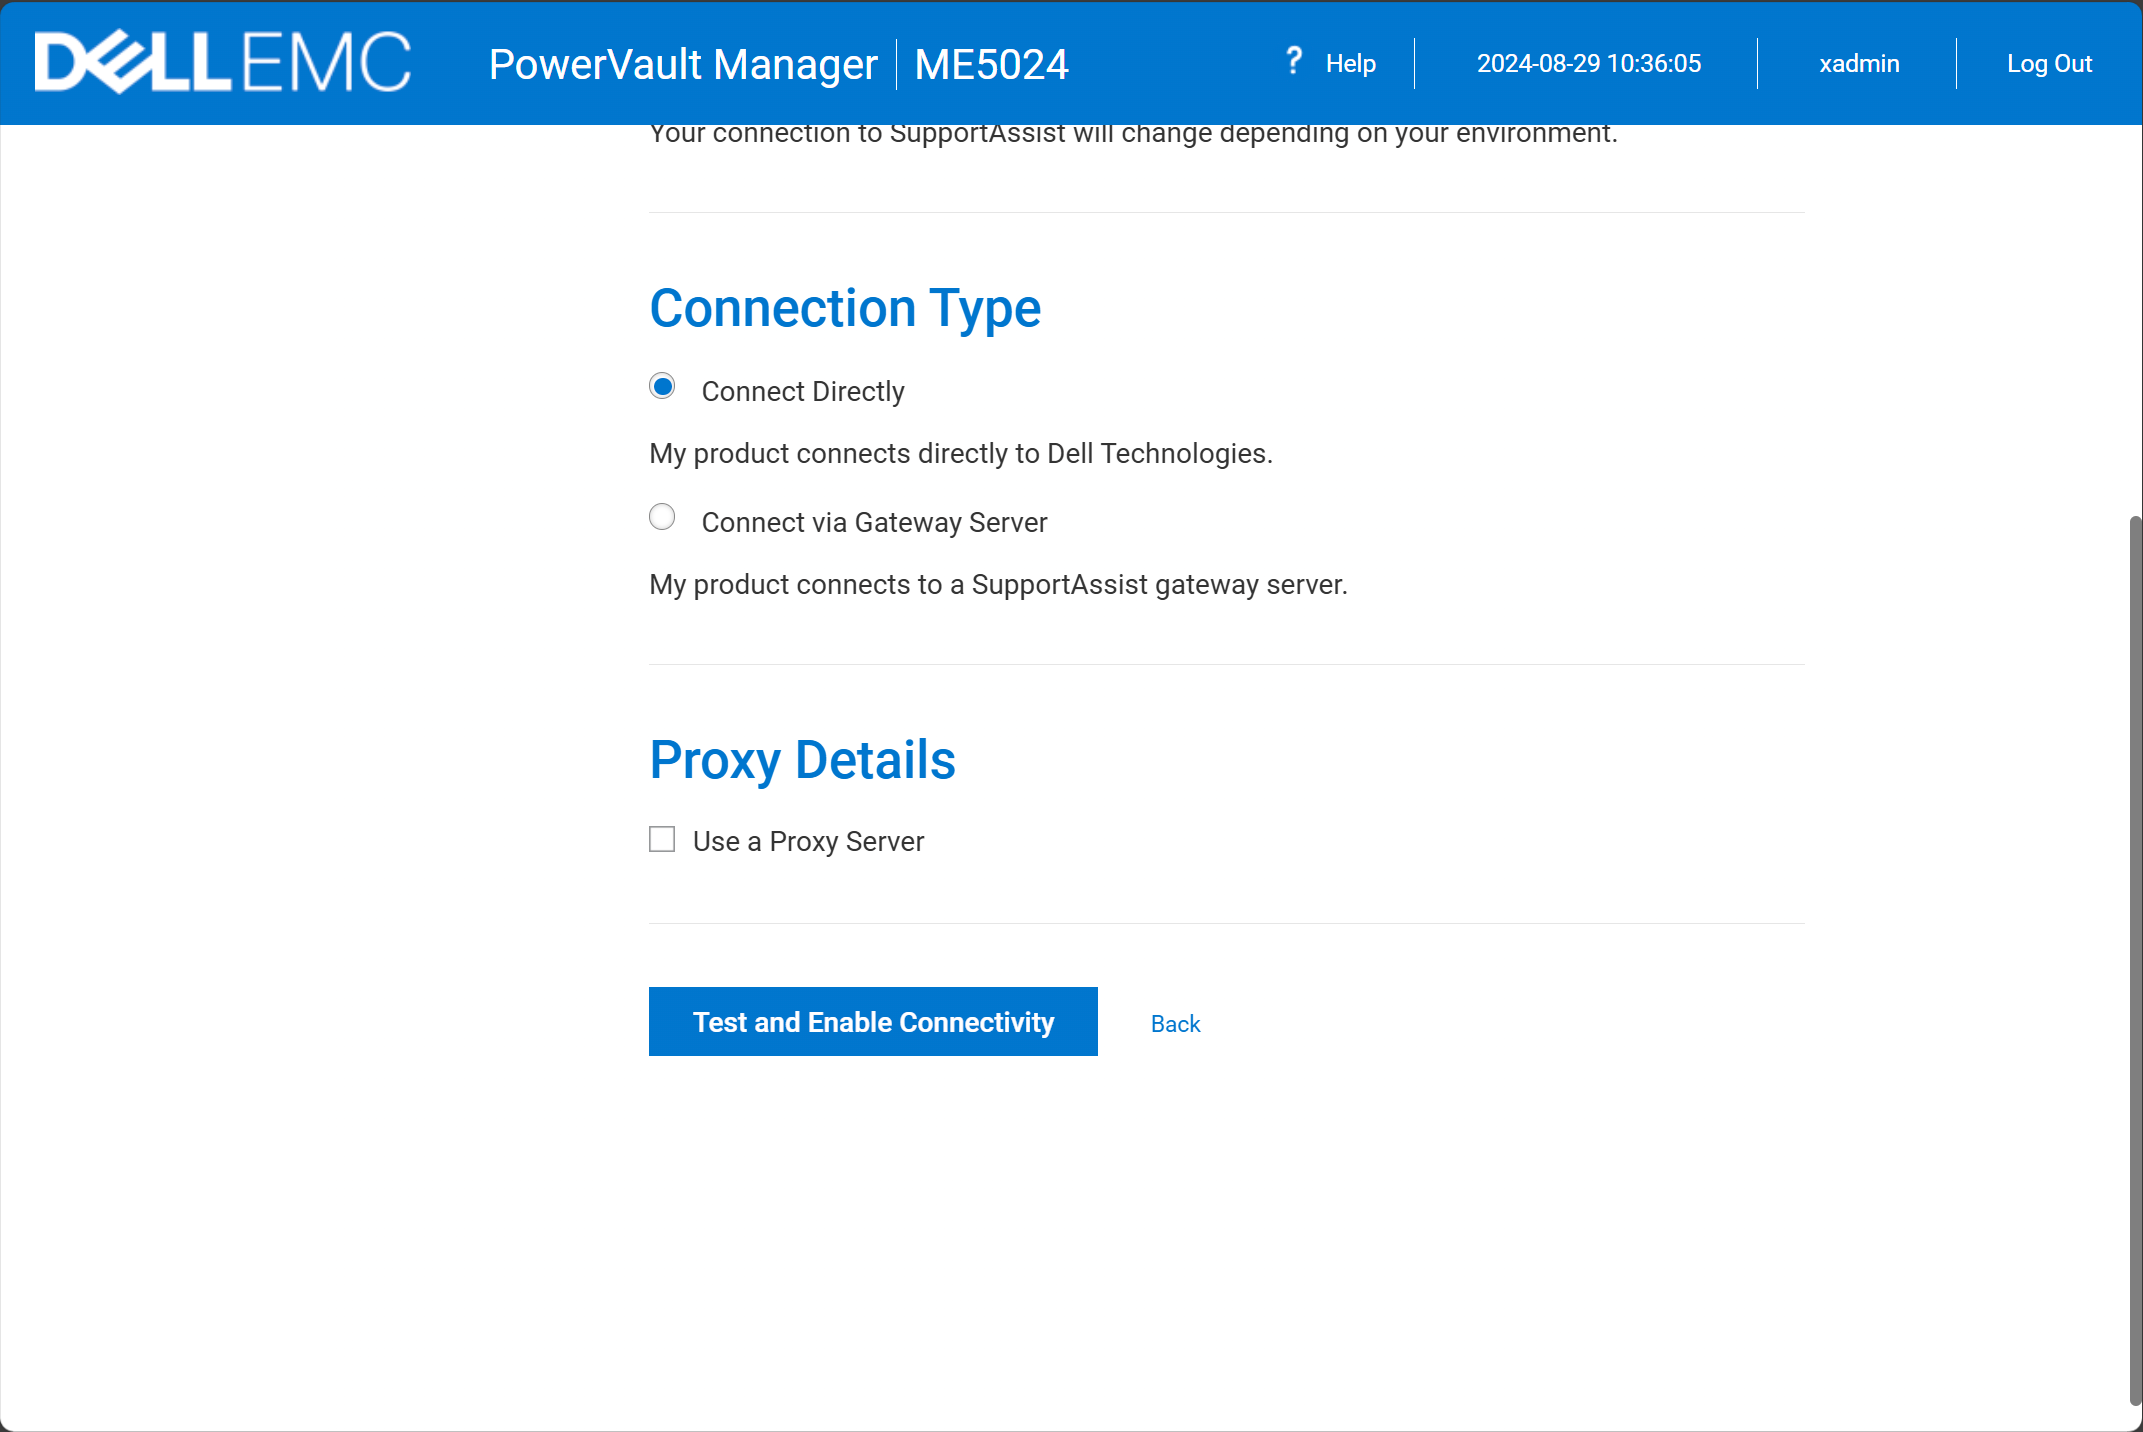
Choose your connection type.
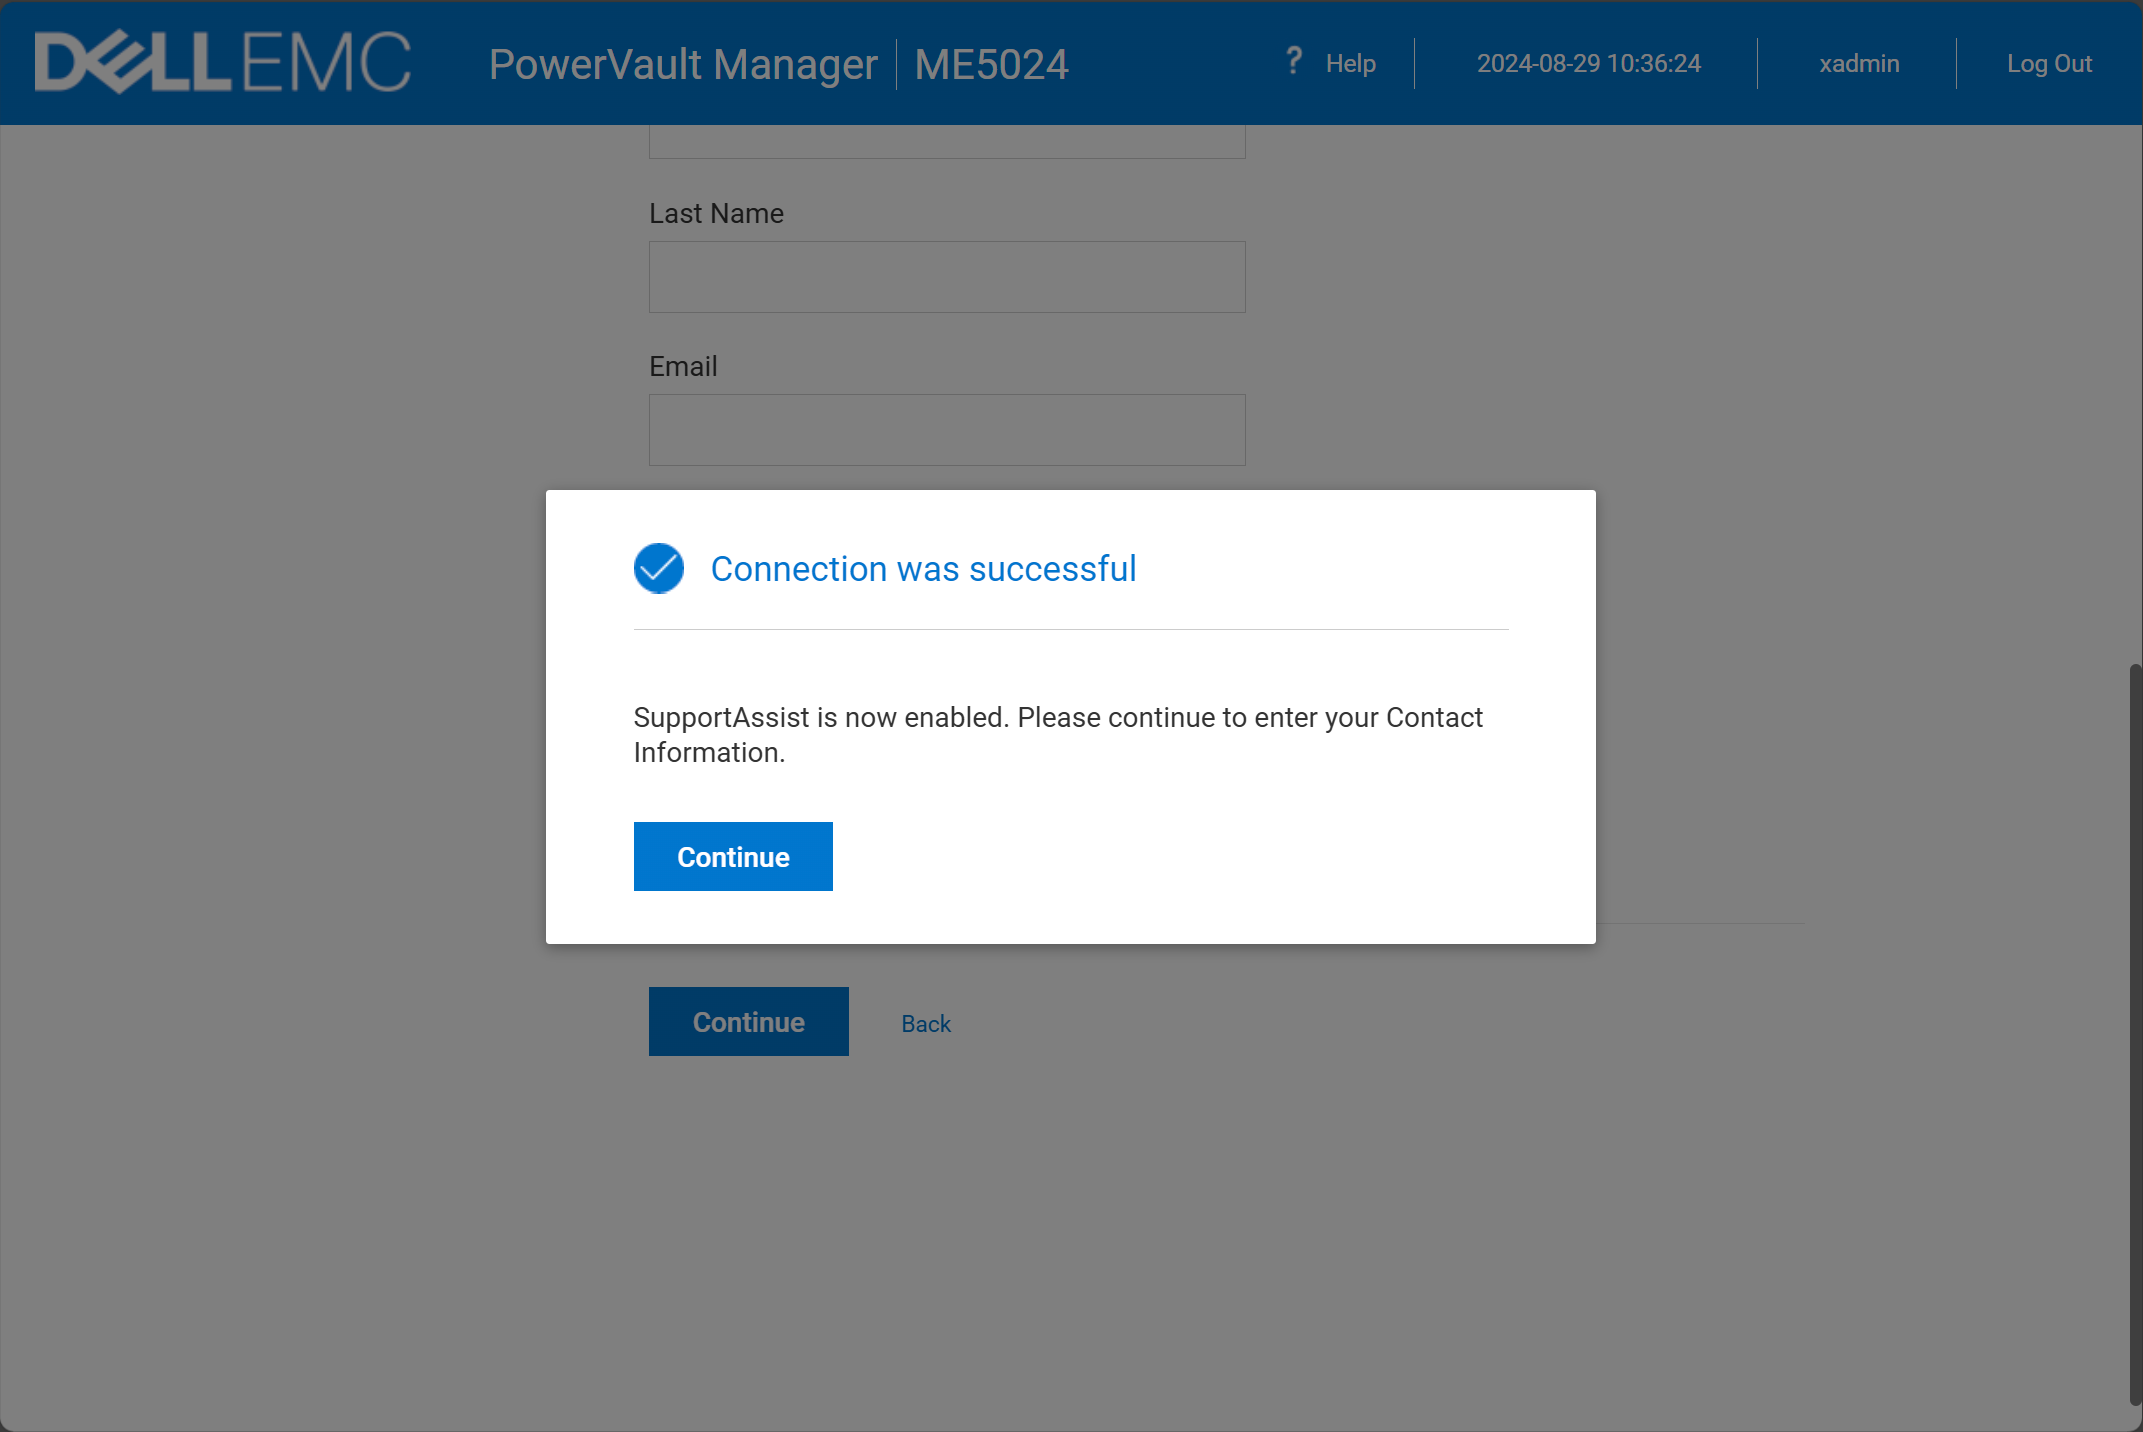
SupportAssist is successfully configured.
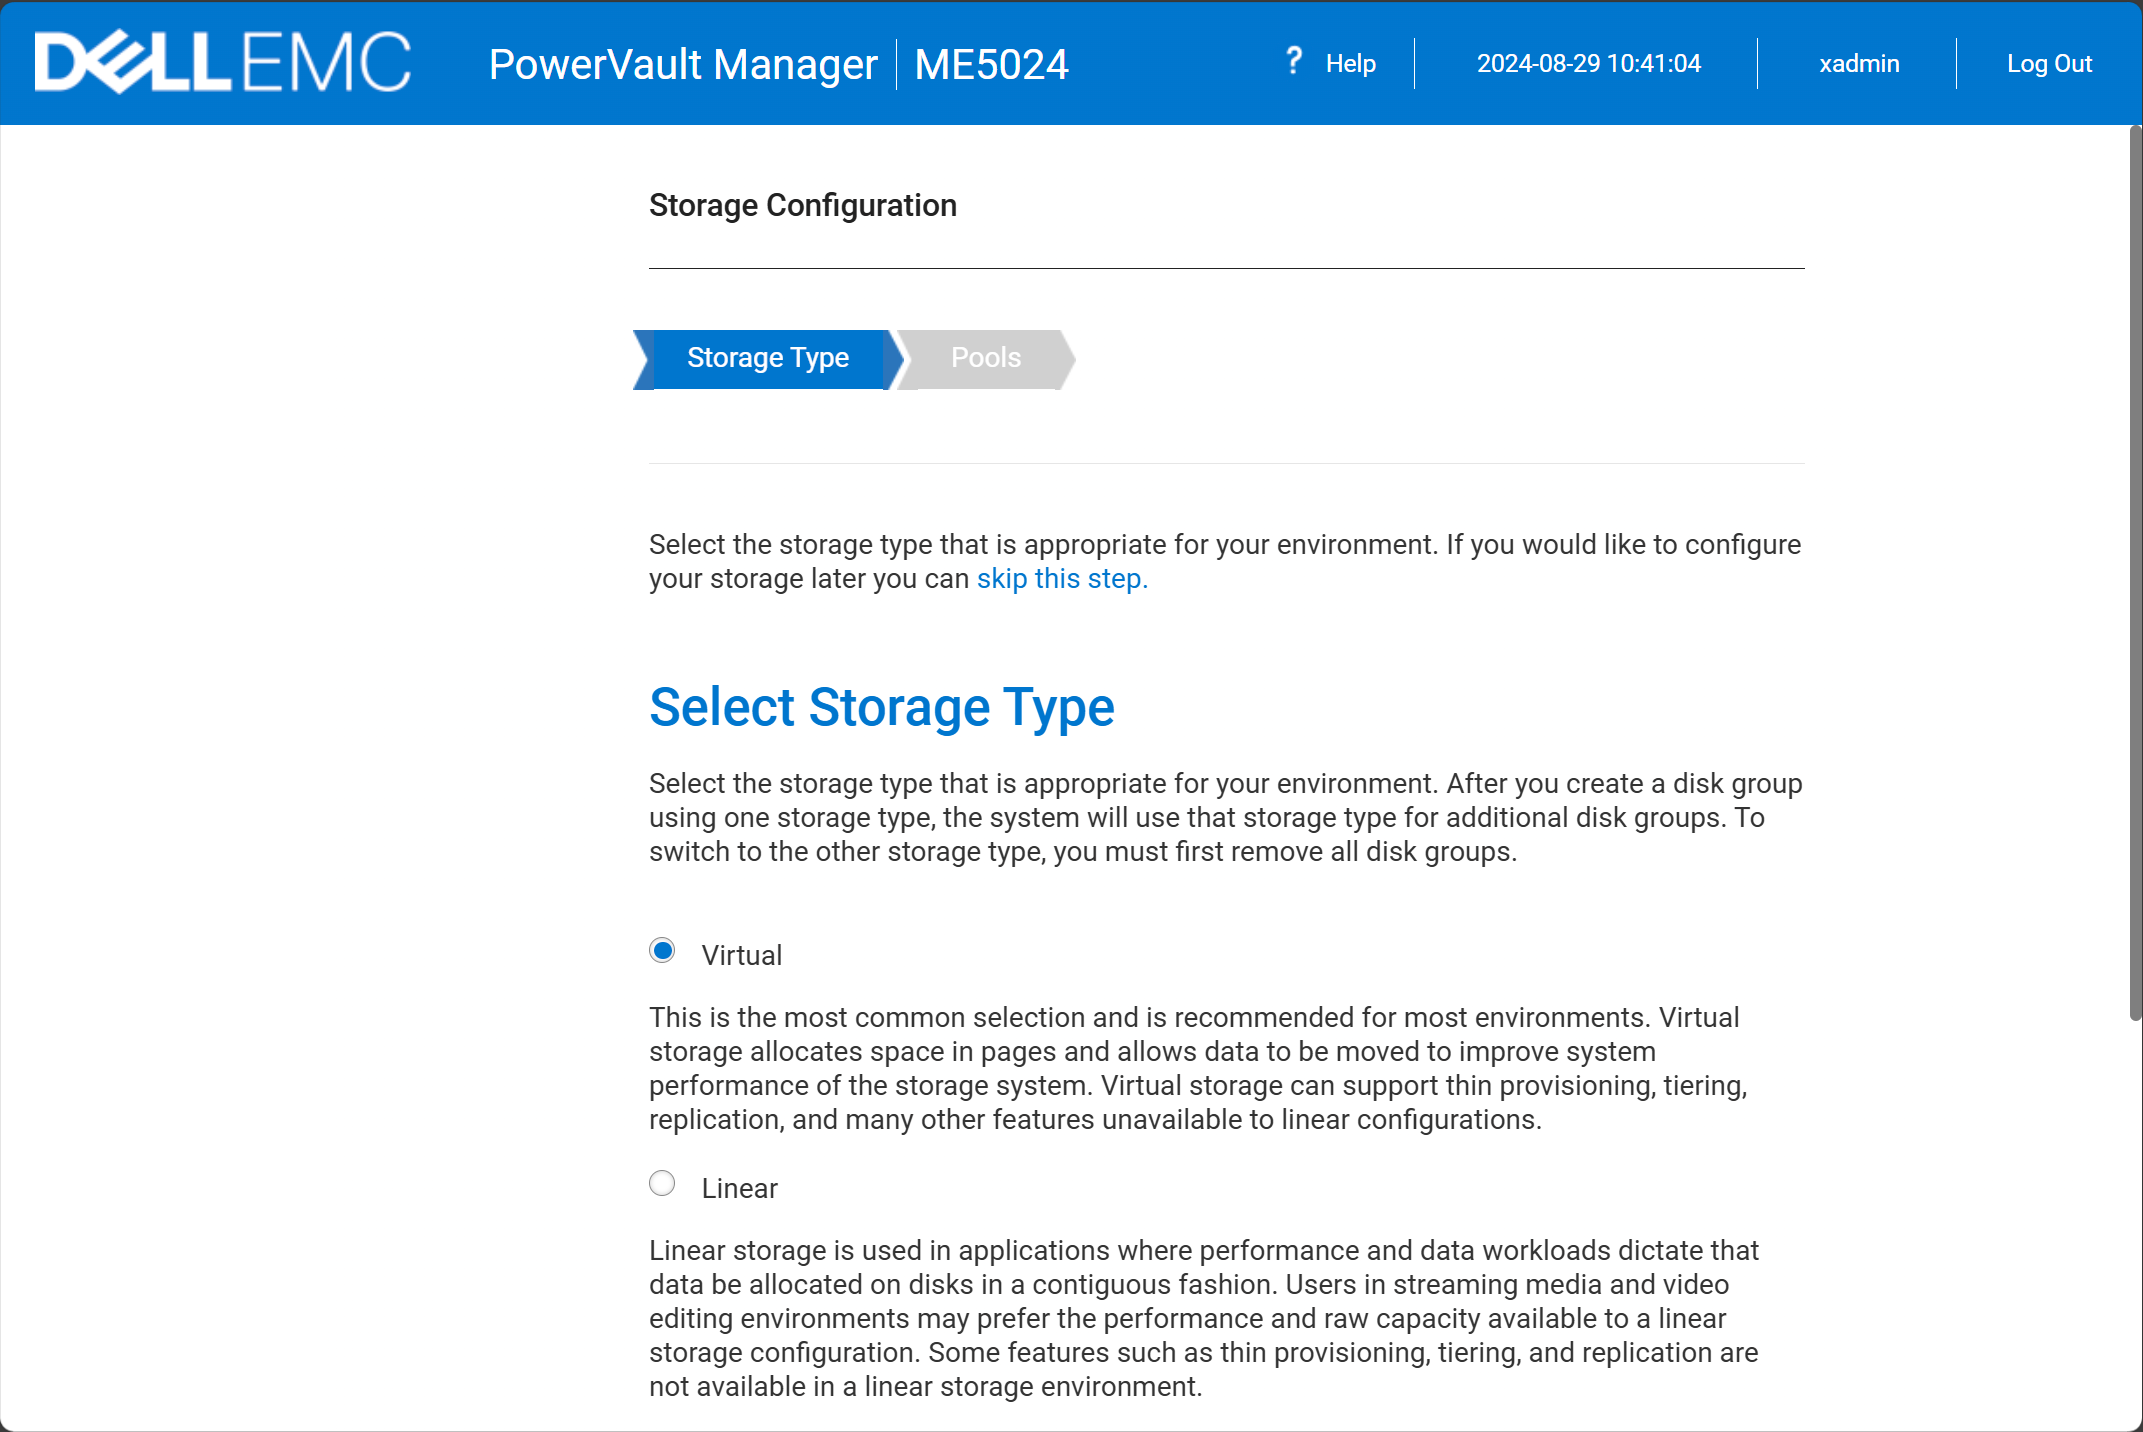
Storage configuration
The next major section in the setup and configuration of the unit is the storage configuration. In this section, you will actually start configuring the storage of the unit that will be presented to your hypervisor hosts or other types of servers that you are configuring.
Select the storage type. For most you will want to choose Virtual as this is the most common and recommended for most environments.
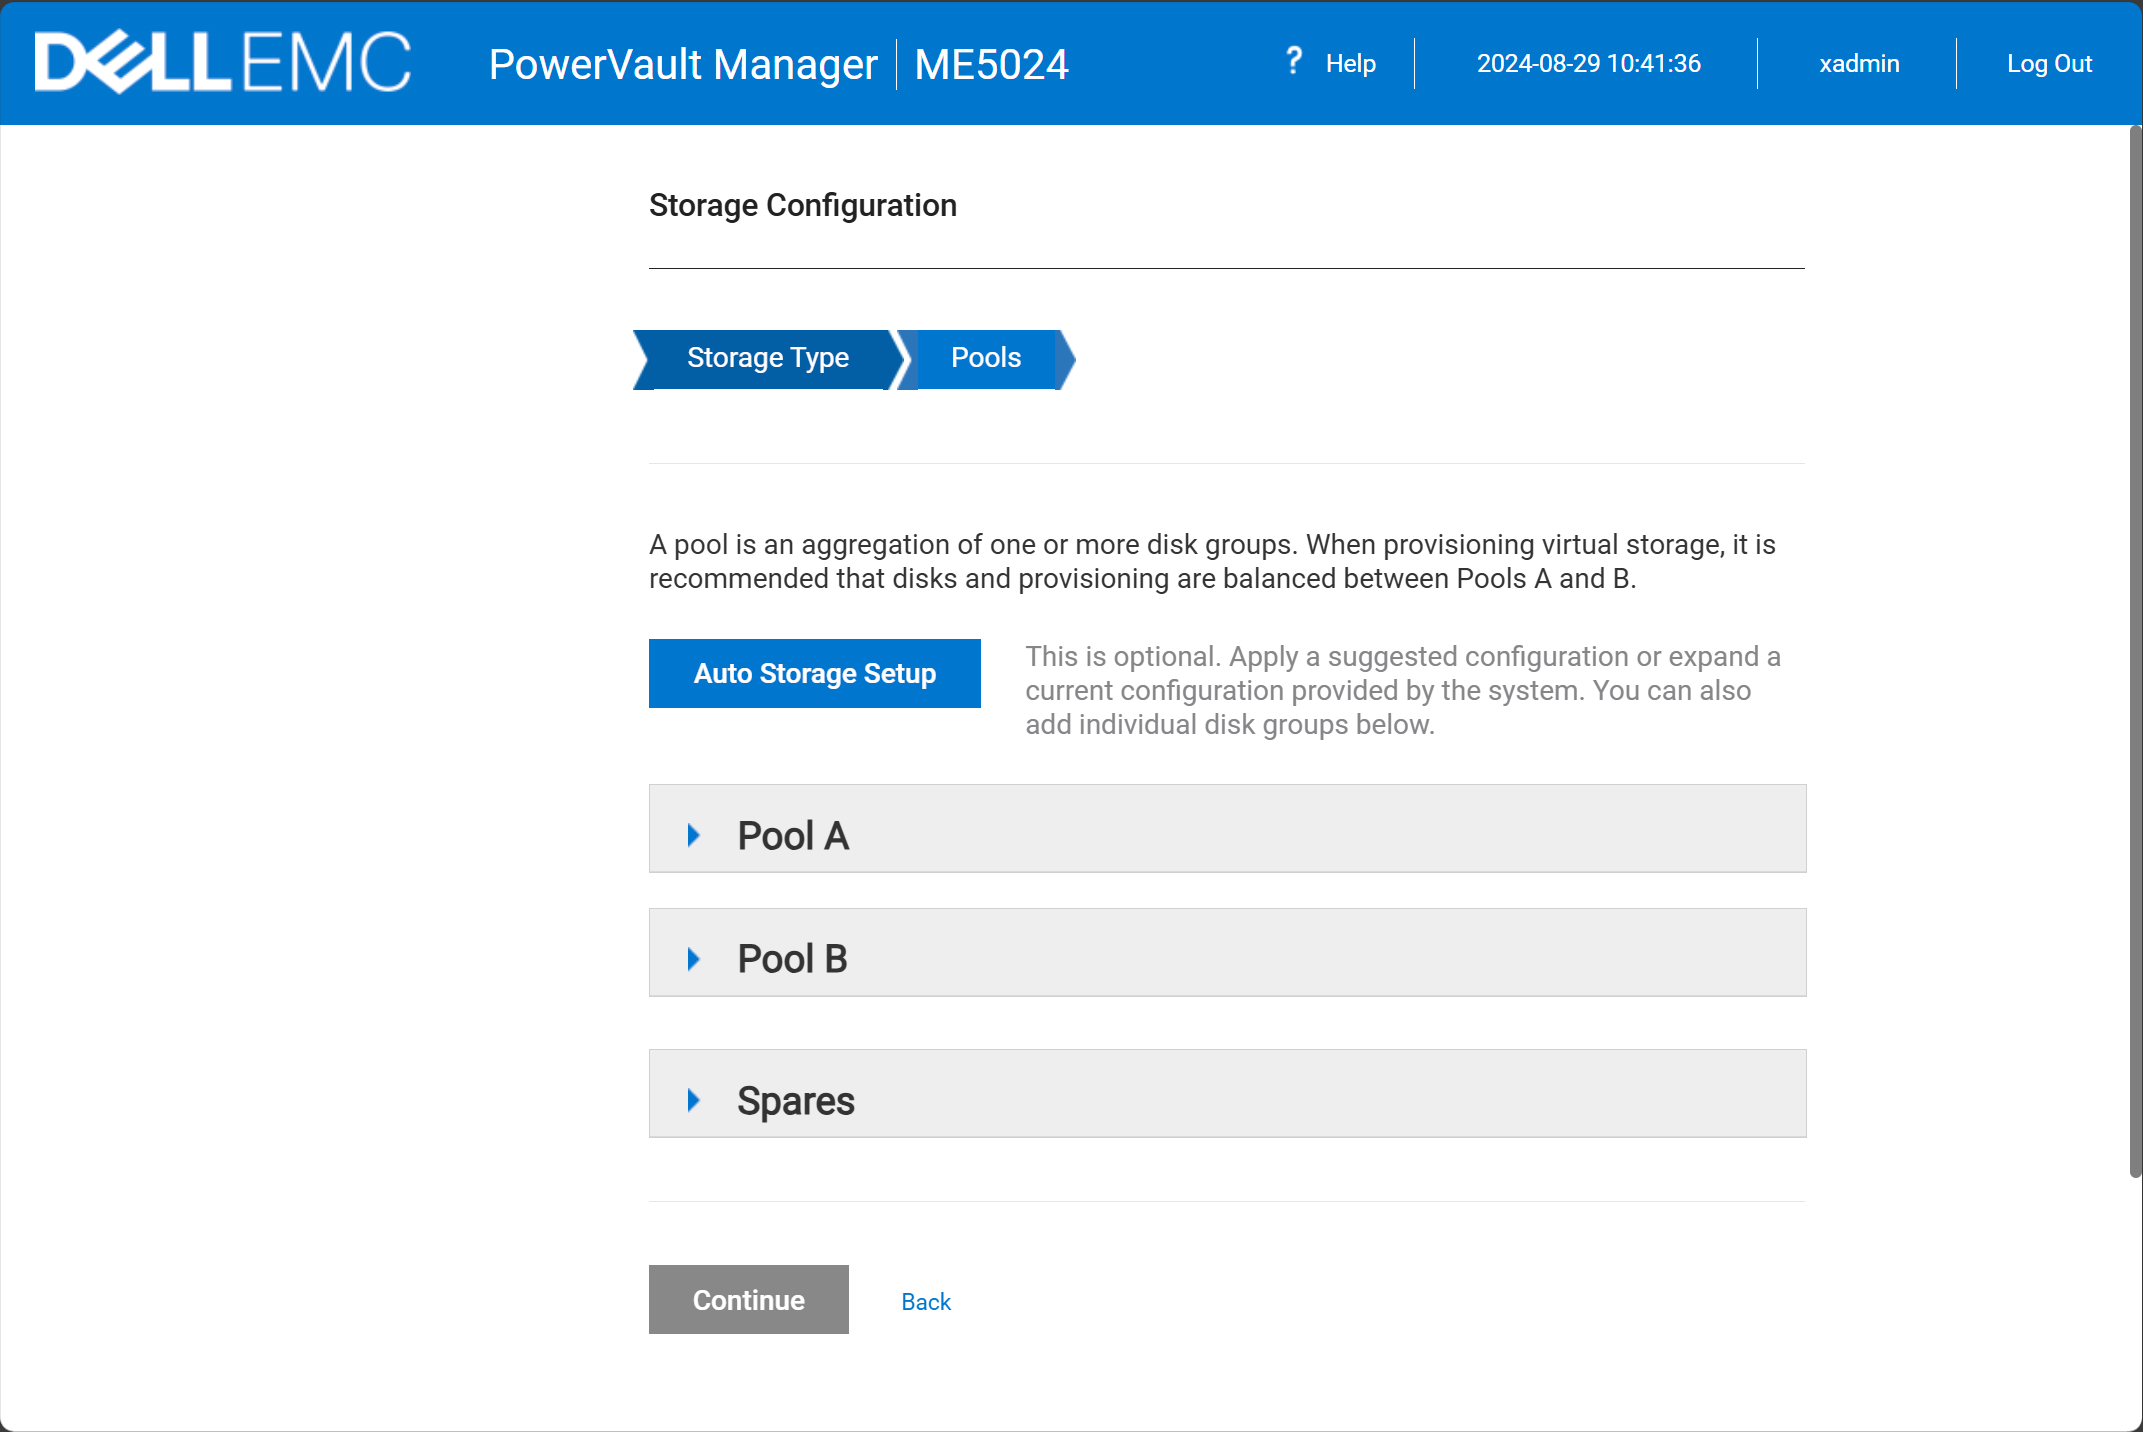
Next, we need to configure the storage pools. To make things easy, you can click the Auto Storage Setup and this is what I did. It will automatically add the disks in the recommended configuration with the Adapt RAID configuration.
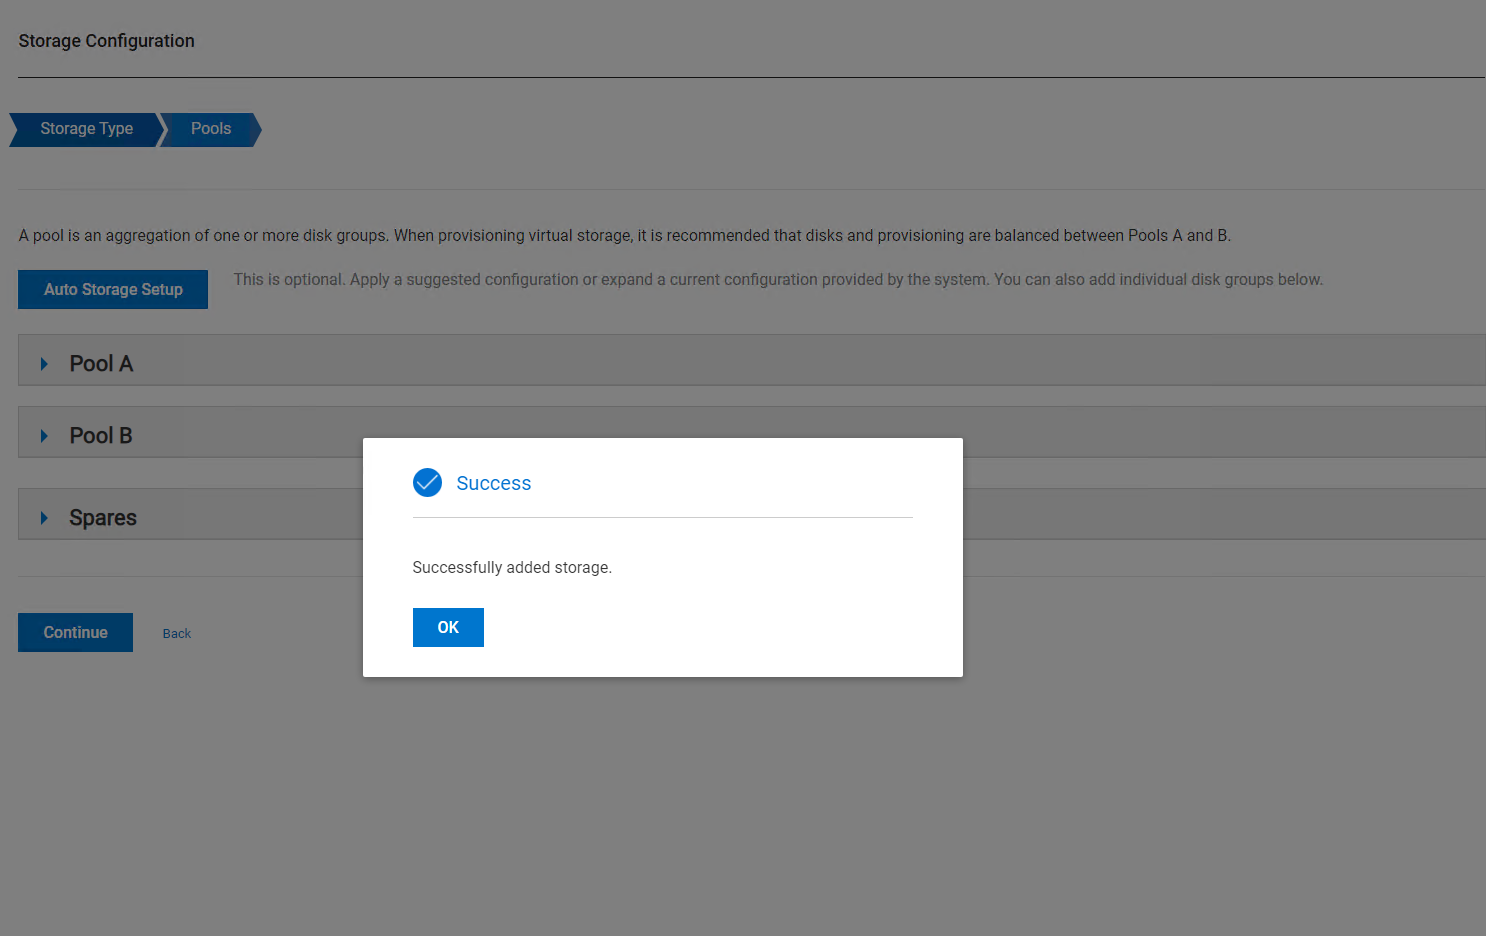
Storage is successfully added to your ME5024.
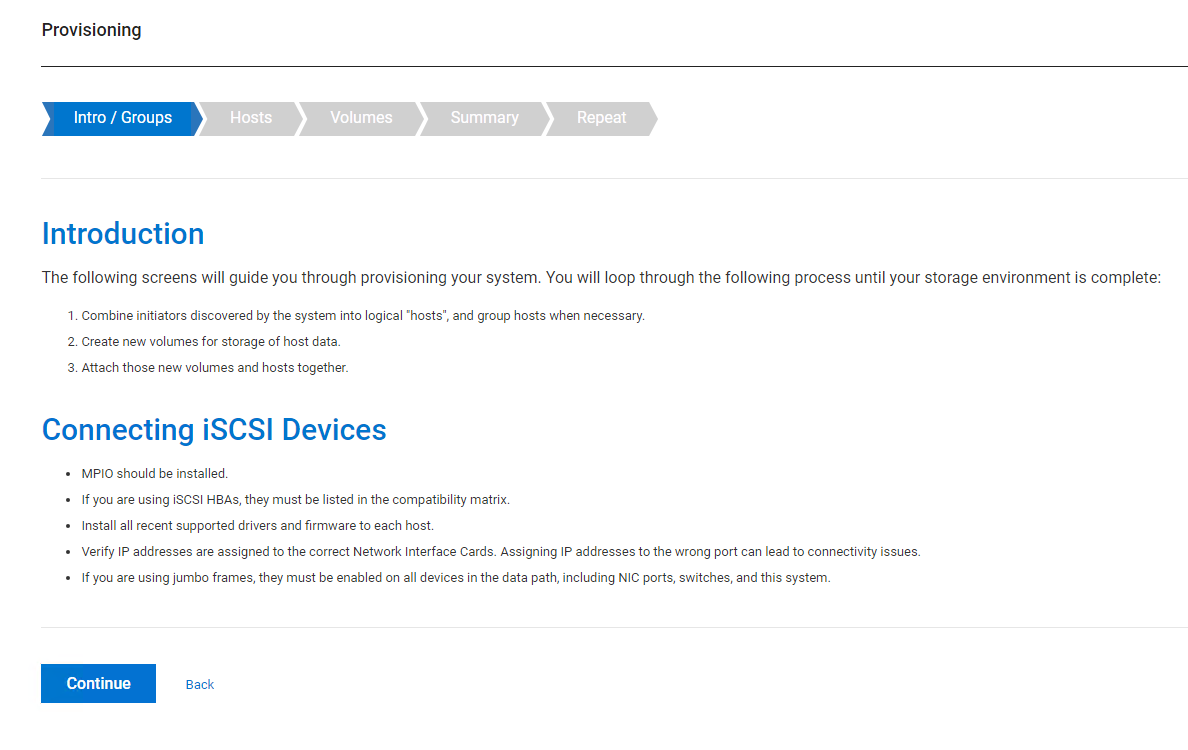
Provisioning the storage
The last stage is Provisioning. This section is where we configure the LUNs themselves and setup connections from our ESXi hosts
One of the interesting things about the ME5024 is that it expects to “see” initiators targeting the storage before it will let you continue setting up your storage. I had to go ahead and go over to my VMware ESXi hosts and finish out the configuration of iSCSI and add the discovery addresses of the controllers.

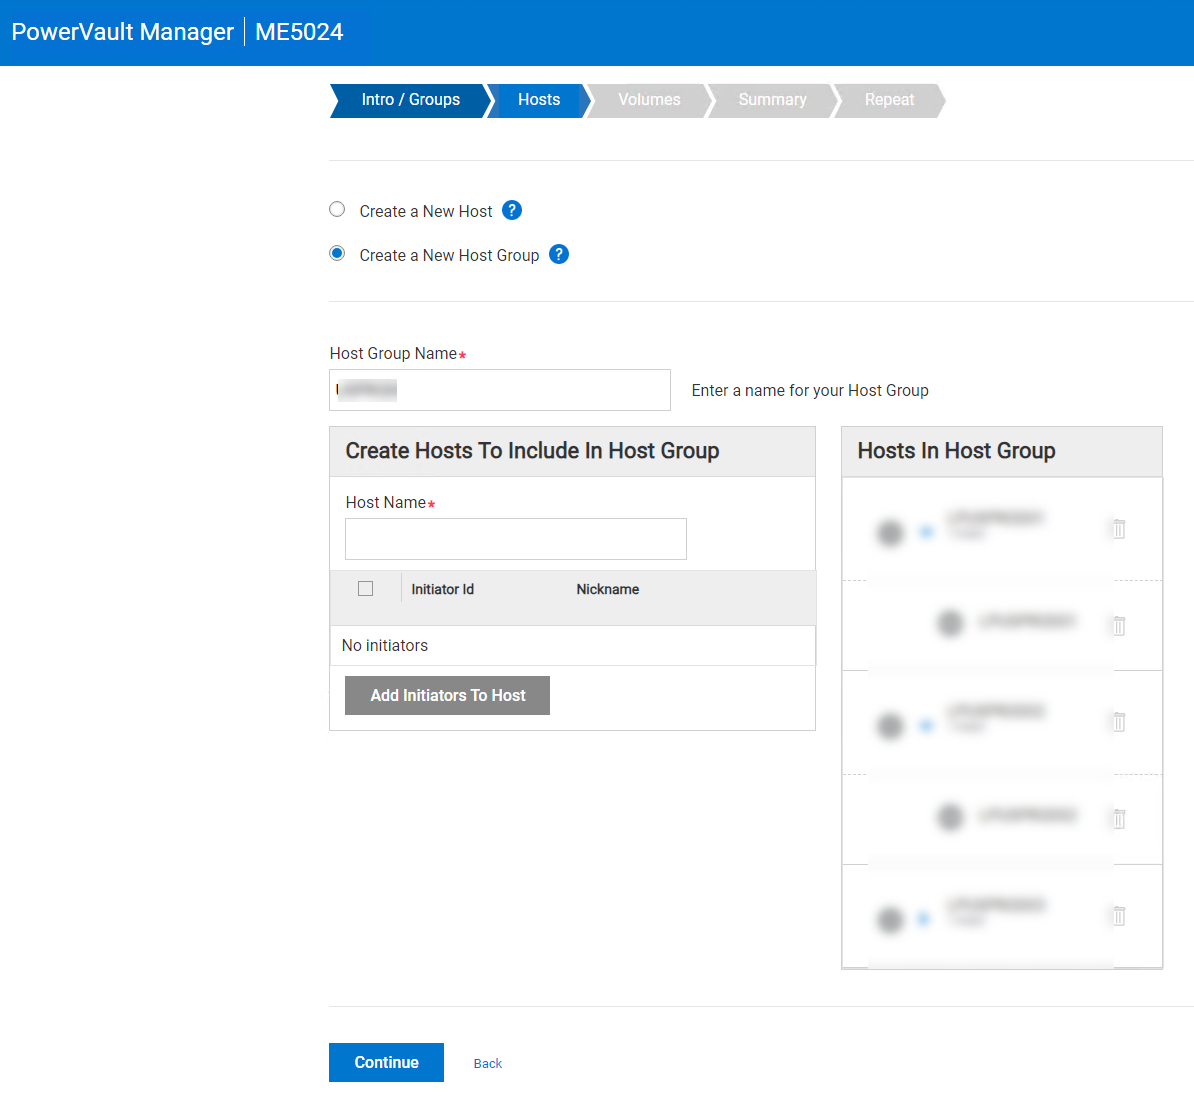
After configuring the iSCSI initiators from the ESXi side, we are allowed to continue.
You need to add your hosts and iscsi initiators. If you have a group of hosts like we have in a cluster, the easiest way is to add a host group. This groups all in the same group and adds storage in that way.
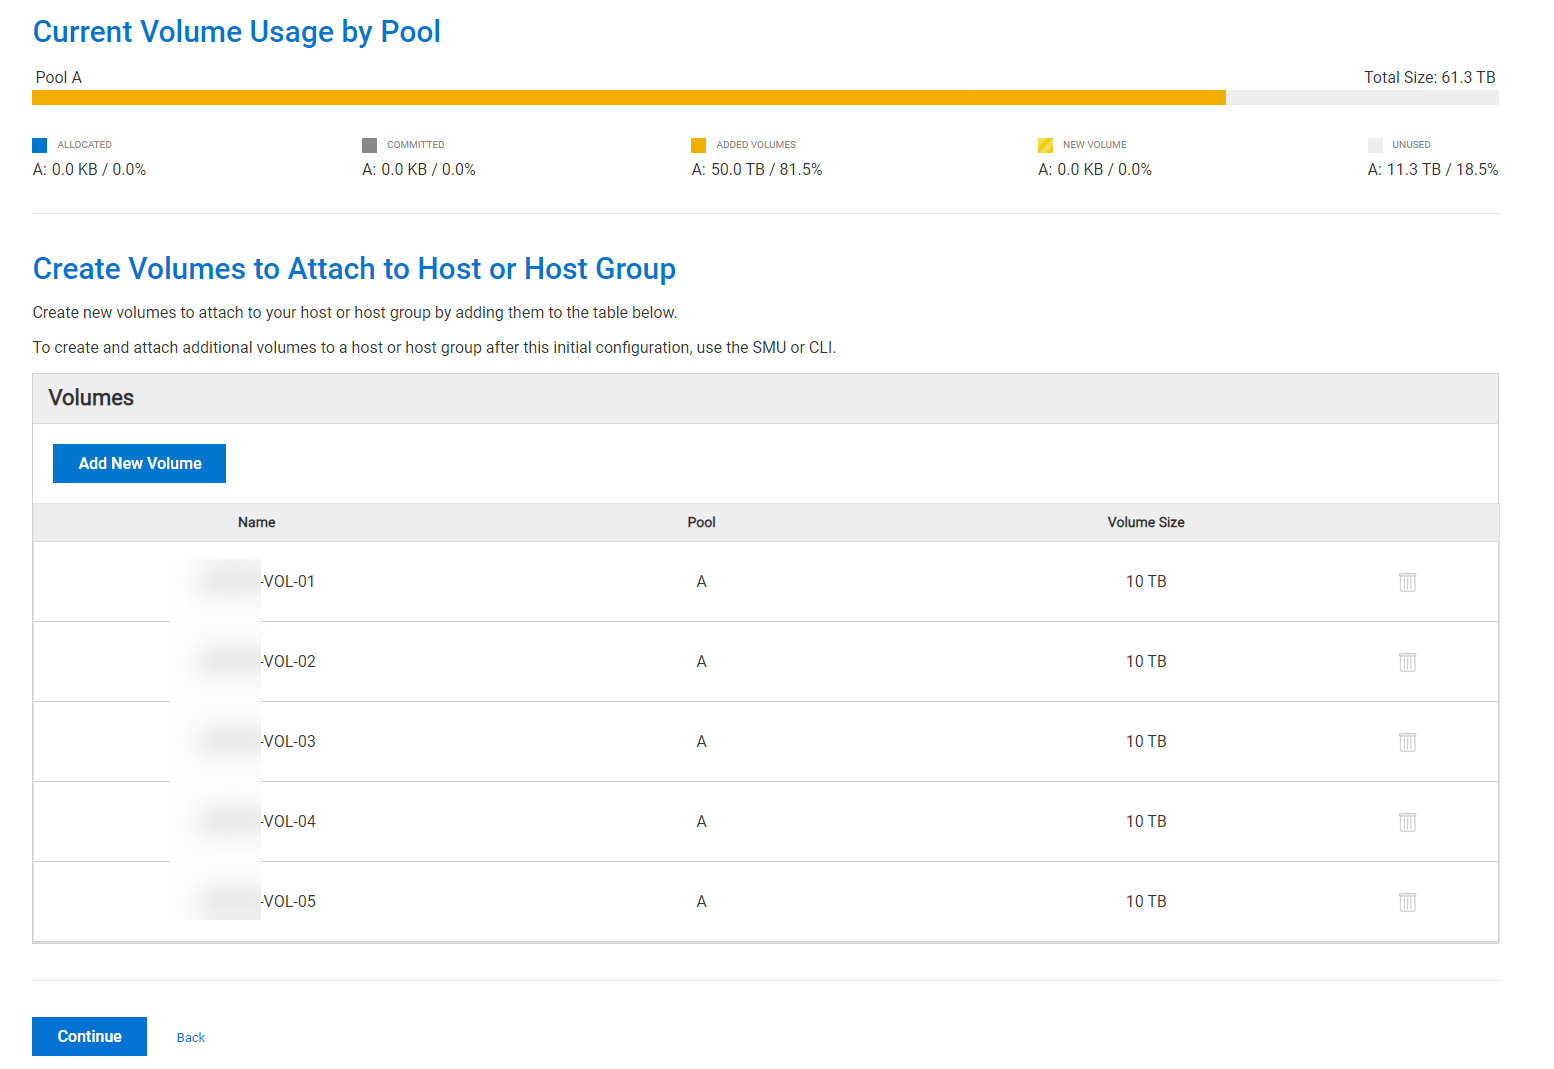
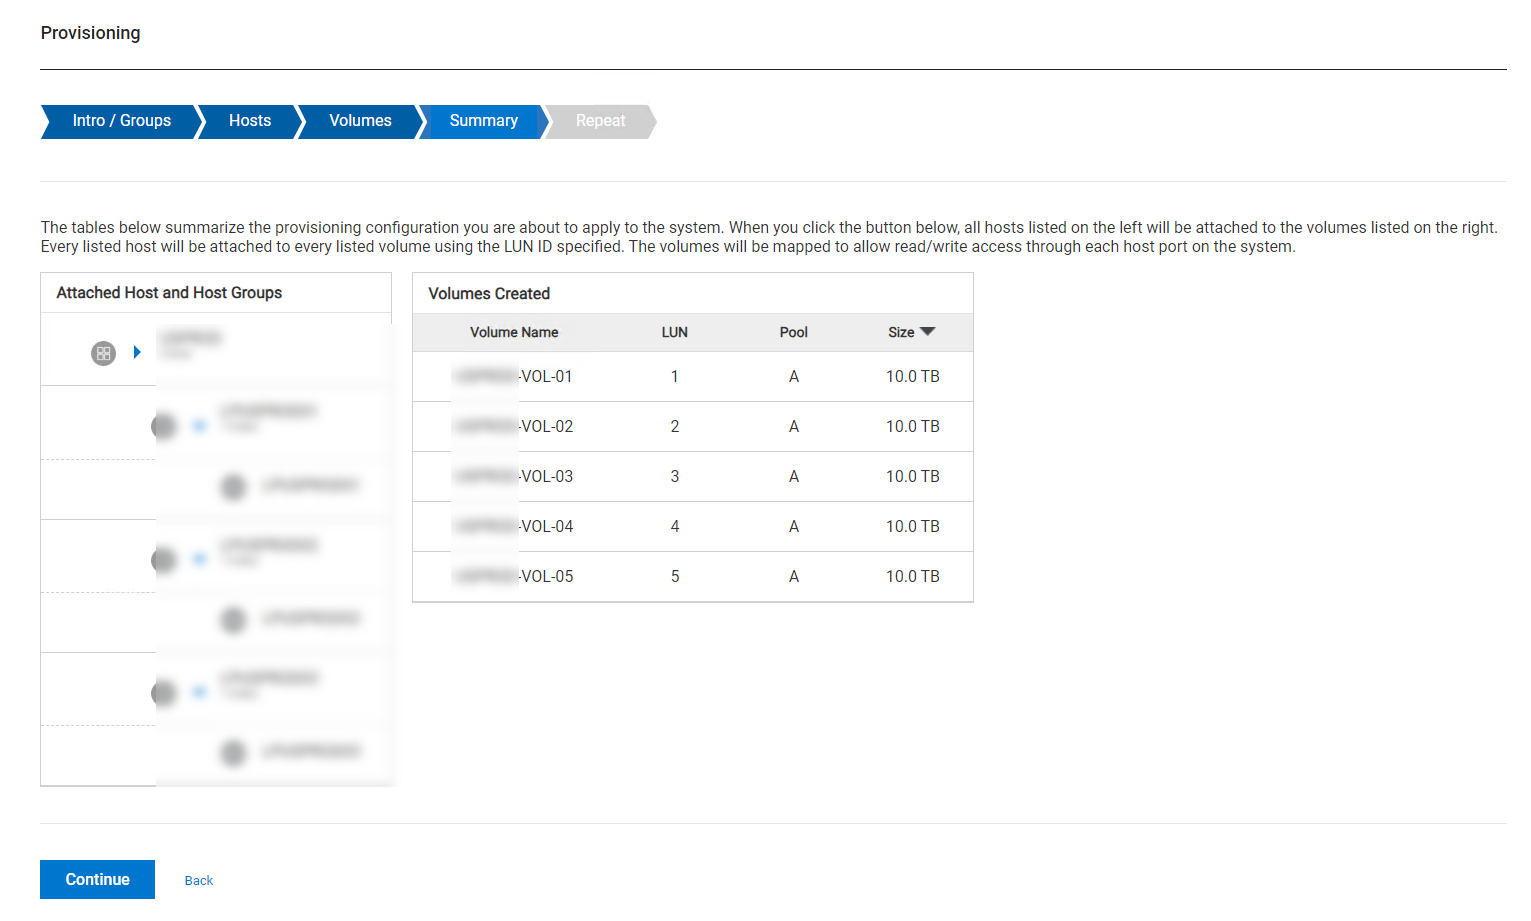
Now, we can choose to attach storage and create new volumes.

Add the volumes and sizes that you want to the powervault me5024.
Now, we can add these volumes to the hosts.
Storage added to the host successfully.
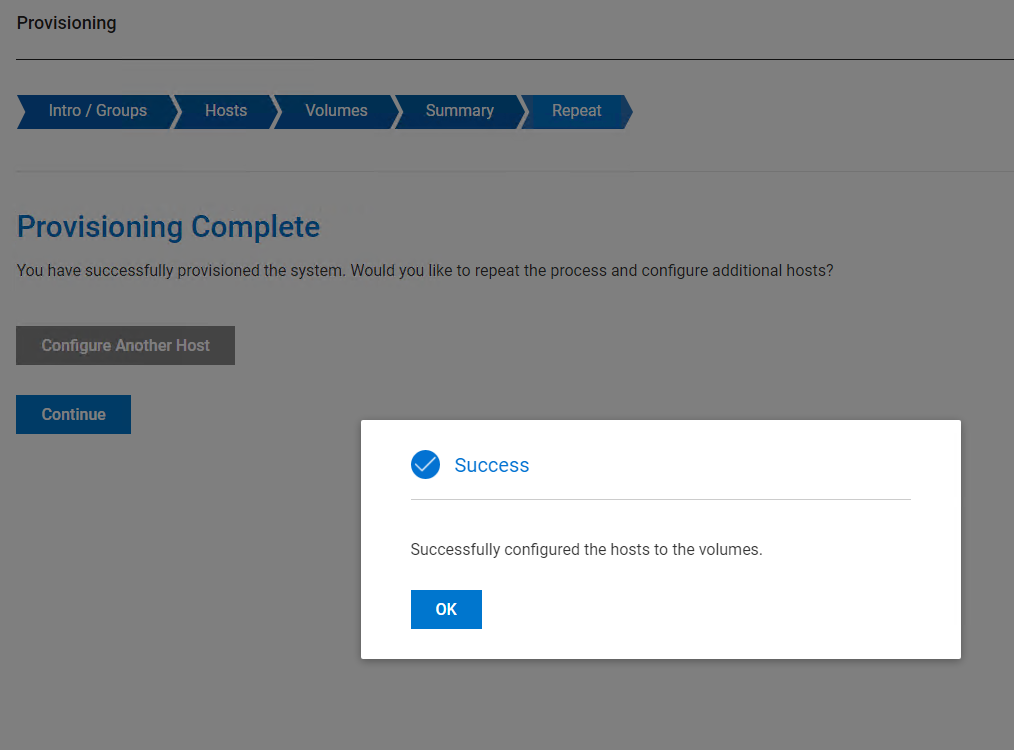
The provisioning stage is complete.
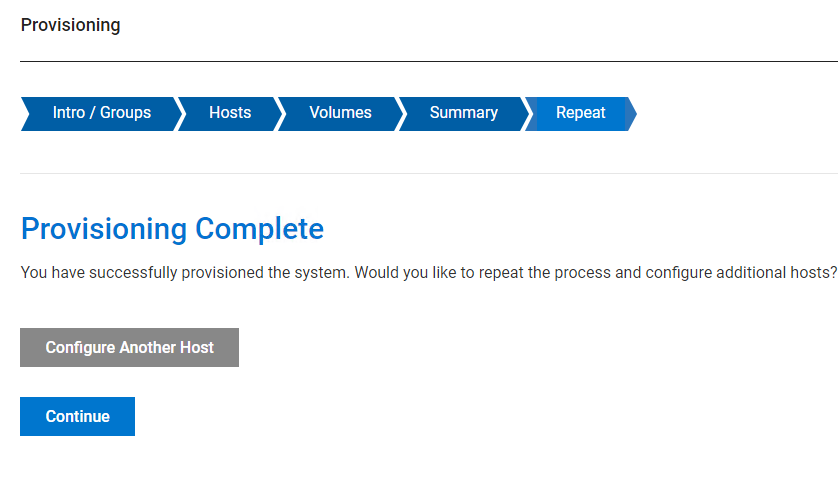
At this point, you have completed the configuration of your powervault me5024.
Wrapping up
The provisioning process with the Powervault ME5024 is extremely easy. Normally I don’t care for the “wizardized” approach, but in this case, i think Dell has thought through the process and refined it where it makes sense, is logical in order, and anyone can do it. Hopefully, this walkthrough of the process to set up the Dell Powervault ME5024 will help anyone who needs to see the process and repeat the steps.
Google is updating how articles are shown. Don’t miss our leading home lab and tech content, written by humans, by setting Virtualization Howto as a preferred source.
About The Author