With all the tumult across the virtualization space this year, many have been looking at alternative solutions to running virtualized environments, containers, VMs, etc. There are many great solutions out there. One that I haven’t personally tried before putting the effort getting into my lab is Red Hat OpenShift. In case you didn’t know, there is a variant of OpenShift called OpenShift Local that allows running an ephemeral development OpenShift environment. It is a great way to kick the tires and get started learning OpenShift. Let’s look at OpenShift Local, how to install it, and get up and running.
Table of contents
What is OpenShift Local?
It is a minimal OpenShift Container Platform 4 cluster that you can run locally on a development workstation. Think of it as being similar to Minikube as an example. You can use it for development and testing use cases. This makes it a perfect choice for home labs as well for those that want to get familiar with OpenShift in a lab environment.
OpenShift Local, formerly known as CodeReady Containers, allows developers to create a single-node OpenShift cluster on their local machine. This setup is perfect for developing and testing container-based applications without needing a full-scale infrastructure.
OpenShift Local benefits
- Single Node OpenShift Cluster: OpenShift Local runs a single node cluster on your local machine, so simplified setup
- Cloud Development Environment Locally: Developers can setup a cloud development environment on their local computer
- Integrated Tools: You can access to a range of tools and features that are part of the OpenShift Container Platform
What are the differences from a production OpenShift installation?
Red Hat makes some notes about the Local distribution from production. These include the following highlights:
- They describe it as “ephemeral”
- Not intended for production use
- There is no supported upgrade path to newer OpenShift Container Platform versions
- It is a single node so no high-availability
- The single node contains both the control plane and worker node
- Cluster monitoring is disabled
- It runs in a virtual machine that they call an instance
- You can’t customize the cluster settings as you could with production, such as the domain, address range for cluster comms and it uses the 172 address range, that can’t be changed
OpenShift Local Windows 11 Install
I saw a lot of posts out there showing how to install and work with this in Linux and MacOS, but none with Windows, so I wanted to try the installation out there, since that is my daily driver workstation.
Prerequisites for Installation
Before you begin the installation process, ensure your local machine meets the following requirements:
Hardware for OpenShift local instance:
- 4 physical CPU cores
- 9 GB of free memory
- 35 GB of storage space
Operating System – OpenShift Local supports multiple operating systems, including Red Hat Enterprise Linux, macOS, and Windows.
Virtualization – If you are working on Windows, you will need to have Hyper-V role installed
Installing OpenShift in Windows 11
To install OpenShift Local, follow the steps listed below.
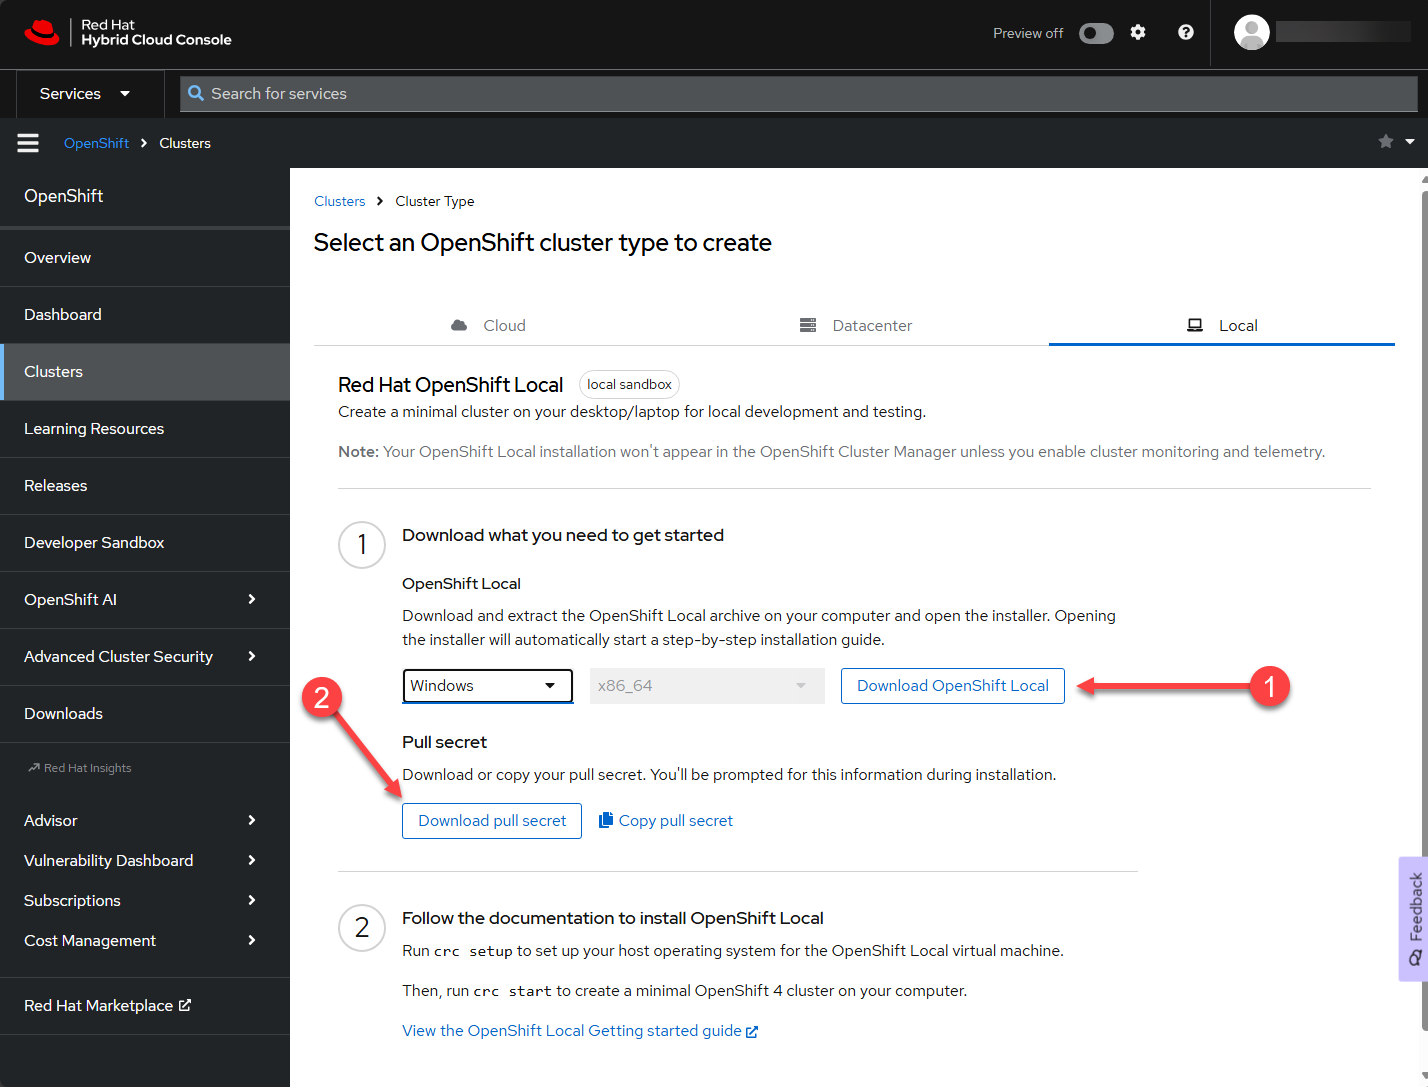
Download the CRC Bundle for OpenShift Local
If you have trouble finding the download, it is located here: https://developers.redhat.com/download-manager/link/3868678.
In the Select an OpenShift cluster type to create, you will select the download for OpenShift Local you want to deploy. Here, I have selected Windows.
You will note there are two buttons you see below:
- Download OpenShift Local – the binaries
- Download pull secret – this will be needed during installation
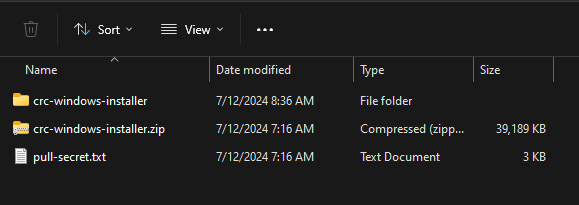
Below are the files that I have after downloading. I have extracted the .zip file, so that explains the 3 files. But
Install the CRC OpenShift Local installation
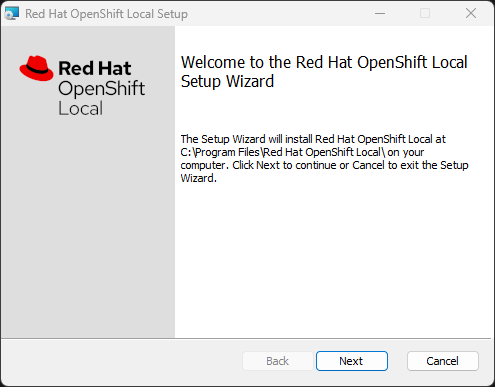
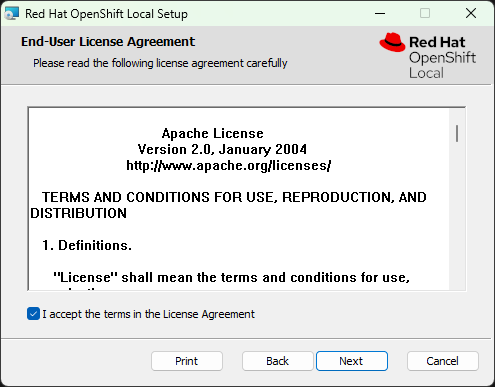
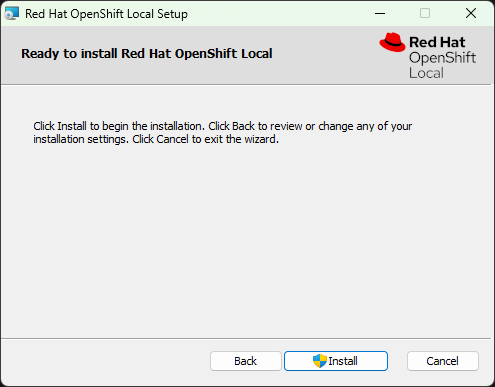
Running the installer in Windows was uneventful and was basically a “next, next, finish” type process. The MSI installer had no configuration outside of accepting the EULA, but I am including screenshots for posterity:
Beginning the installer:
Accepting the EULA:
Beginning the install:
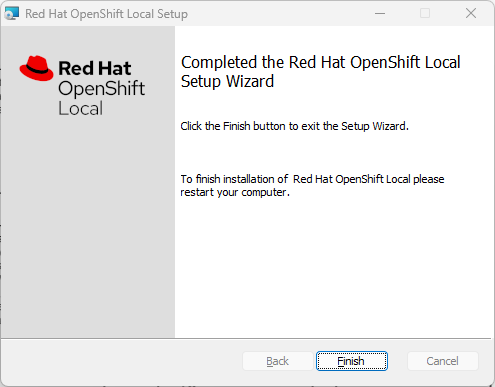
As a note, it will request you to reboot your machine after the installation.

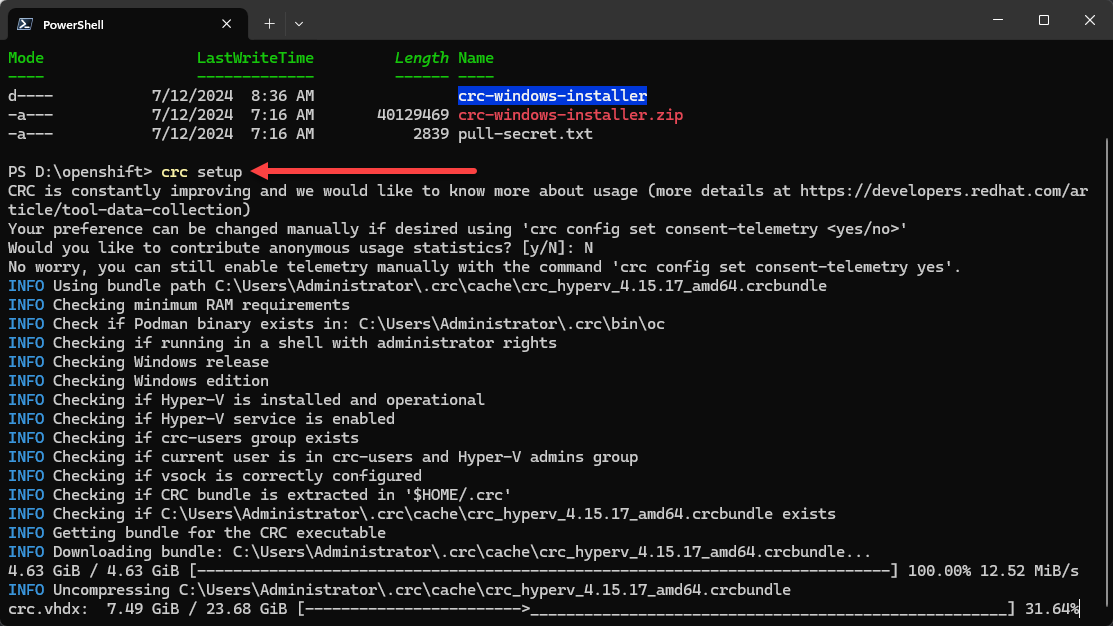
CRC Setup
Once you have rebooted, you need to run the crc setup command as you see here. What this does is downloads the software bundle from Red Hat and extracts it. Since I am using Windows, as you can see in the screenshot, it is downloading resources for the resulting Hyper-V virtual machine. It also configures the environment. It makes sure all the necessary dependencies are correctly installed.
This is where I started having issues with the crc setup. The command would run and then give me the error in Windows 11: failed to register crcDaemon task, exit status 1: Register-ScheduledTask : Access is denied.
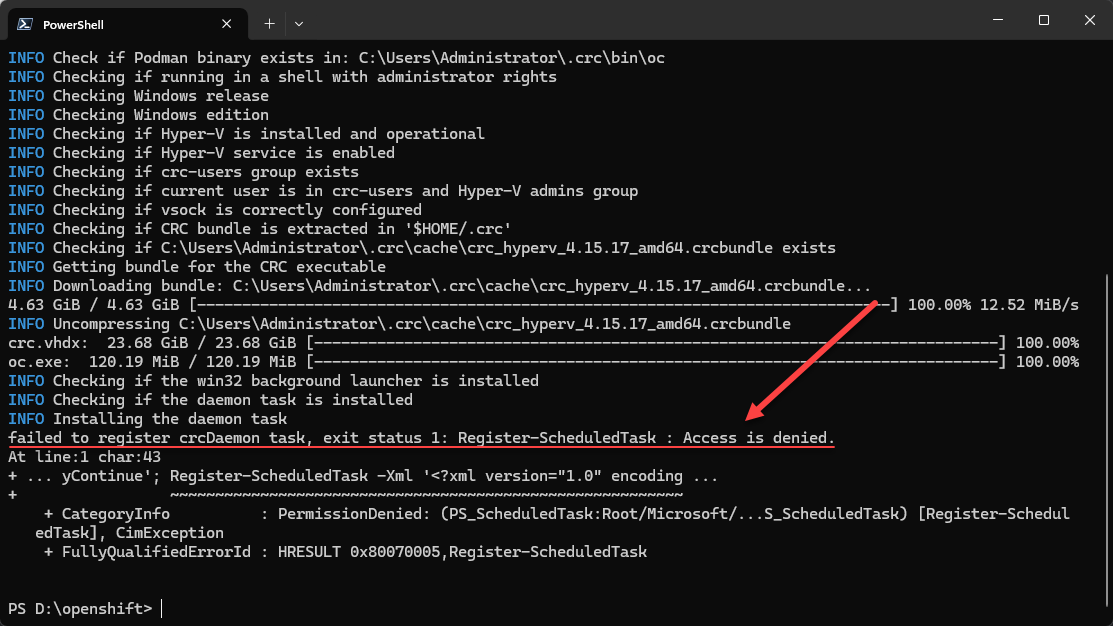
I thought, OK, I need to run as elevated permissions. However, when doing that, you get another error saying you shouldn’t run as administrative privileges. So, a bit of a catch 22. I also thought I could find the XML scheduled task file it is trying to register, but was unsuccessful finding it.
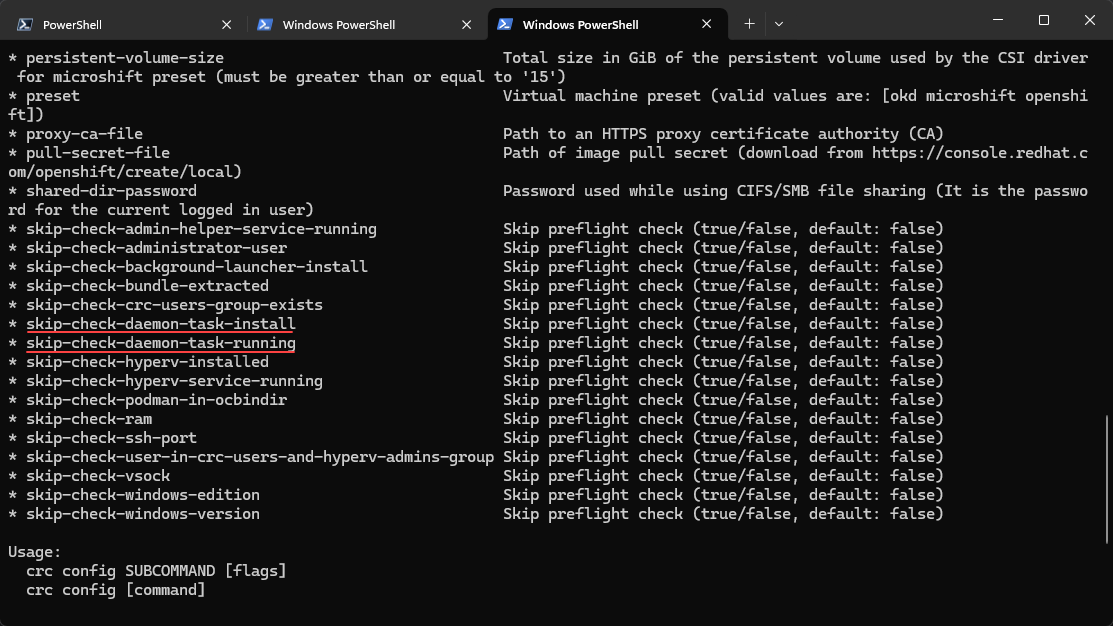
However, in doing some looking around and I found the crc config command. This showed there were ways to bypass some of the prerequisites checks. Bingo! And, there were two that looked like what I might need.
- skip-check-daemon-task-install
- skip-check-daemon-task-running
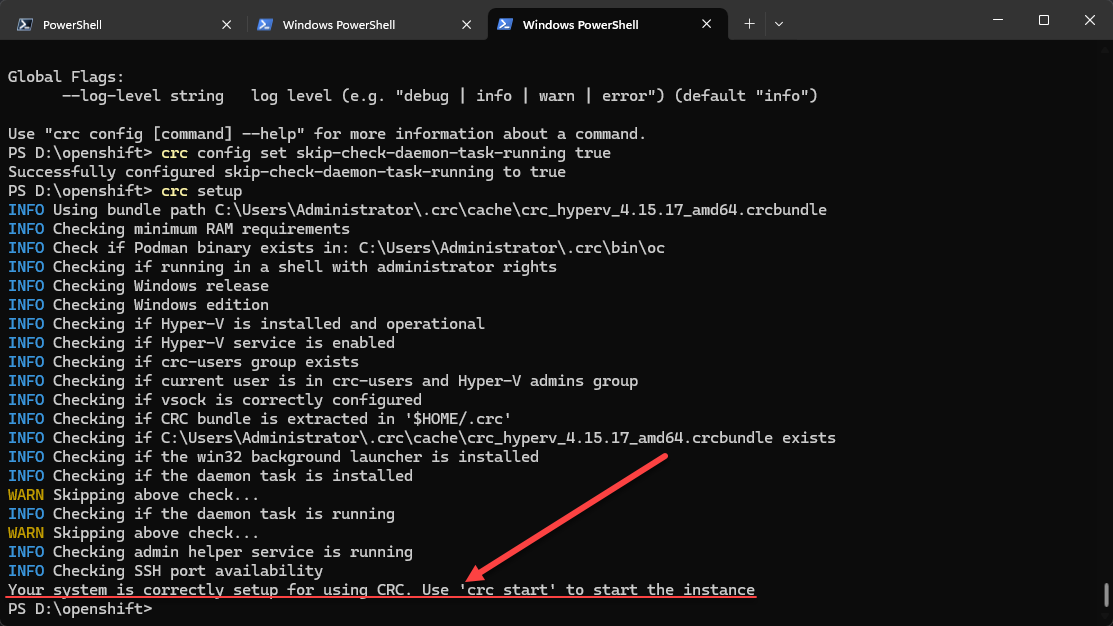
So first, disabled the task-install one. Still had the error when running the crc setup.

Then I disabled the task running one.

Success! As you can see below it is flagging the two options as a warning, but at the end is saying it is setup correctly for using CRC.
Now, since we don’t have the scheduled task spinning up the daemon, we need to do this manually. To do that, I simply launched another PowerShell window and issued the command:
crc daemonThis started the daemon. After it was running, I hopped over to the other PowerShell tab to run the crc start command.
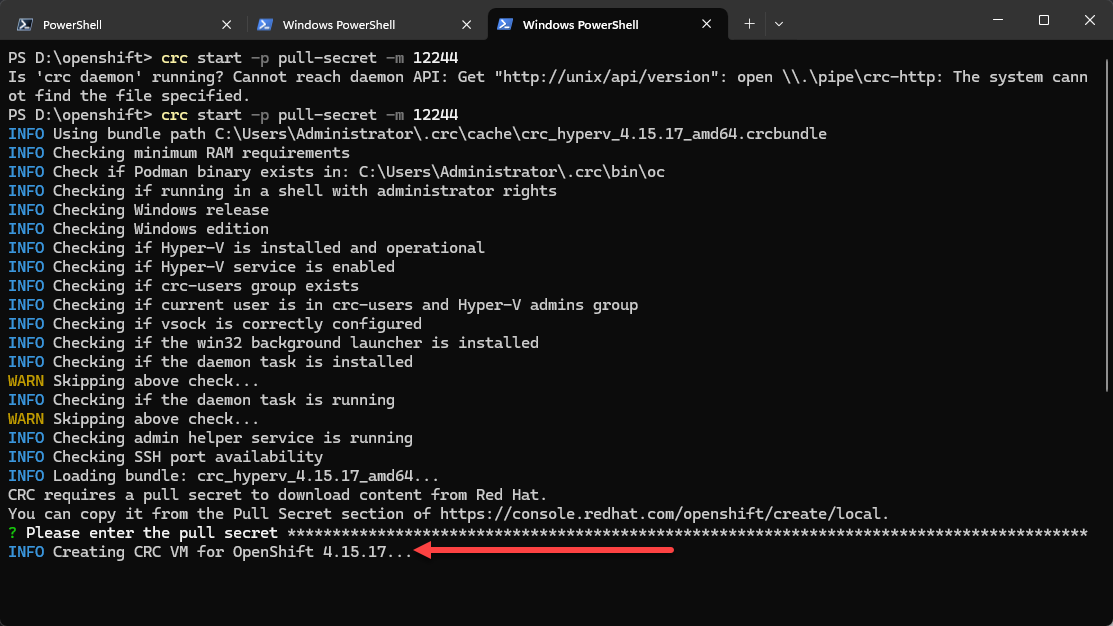
CRC Start
Now with the daemon running, let’s run:
crc startGreat! Making progress.
I launched my Hyper-V Manager on the local workstation and was able to see the VM get created. You can see this in the first side-by-side pic:
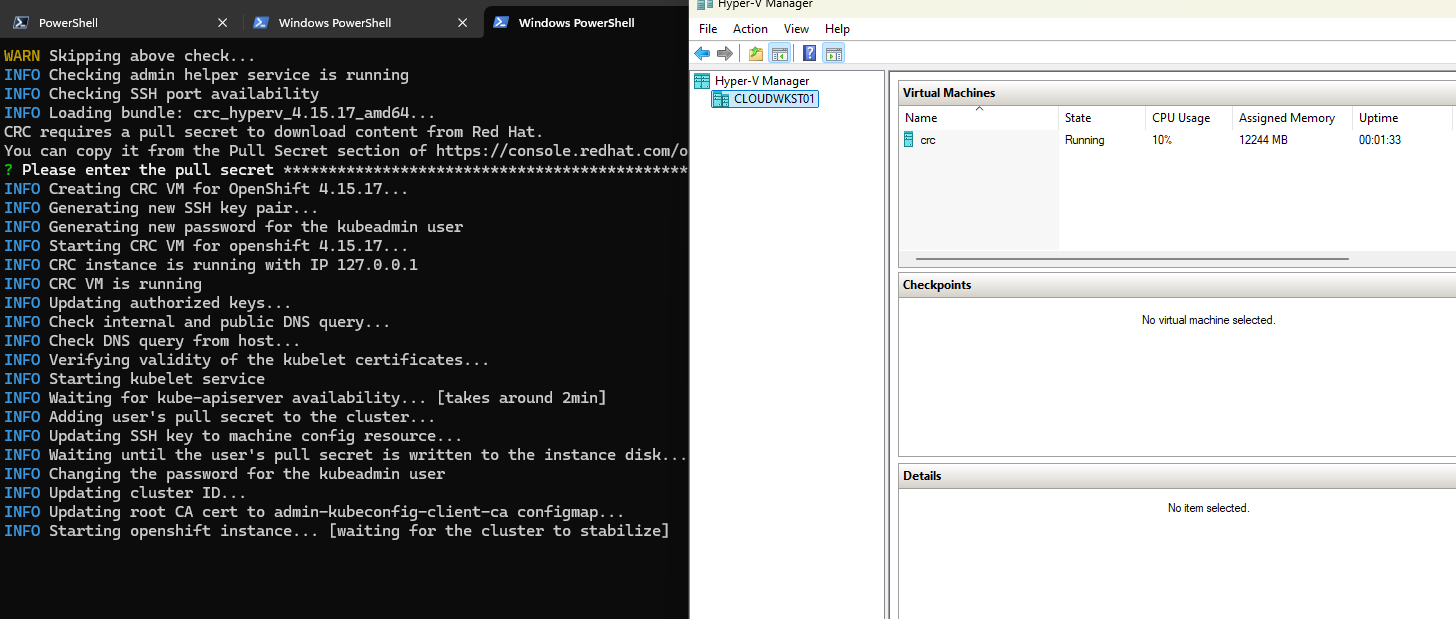
After just a couple of minutes, the cluster was started and I got the successful messaging along with credentials to use:
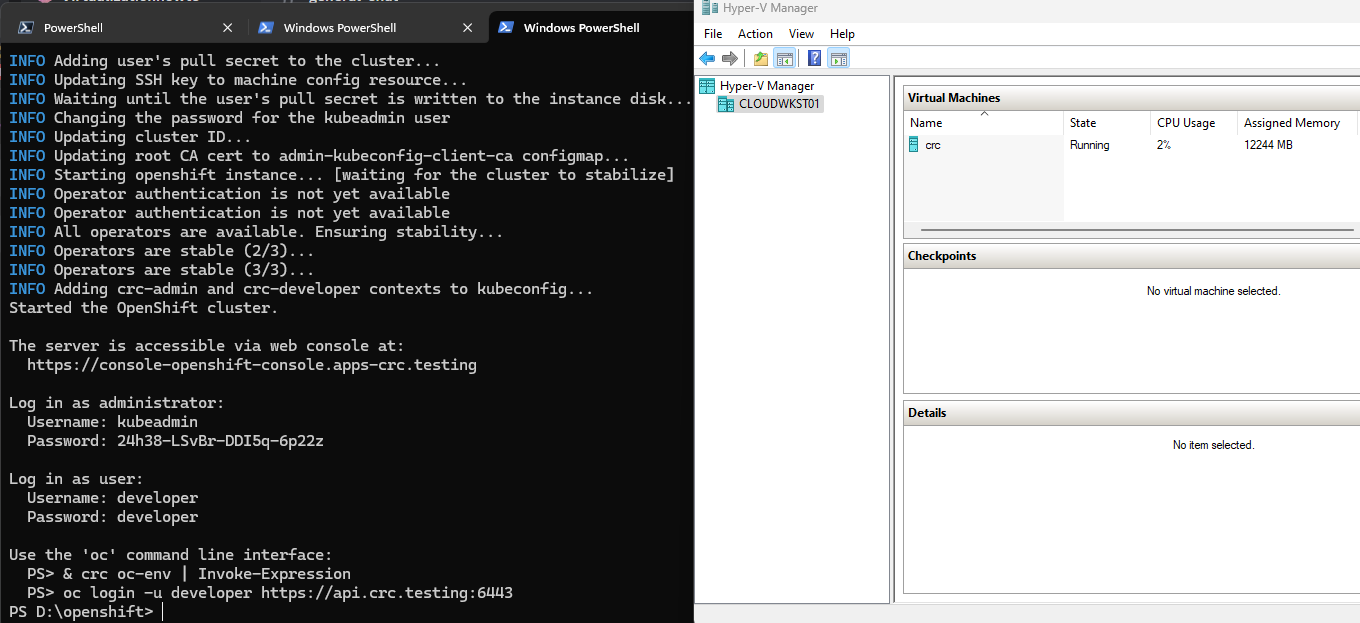
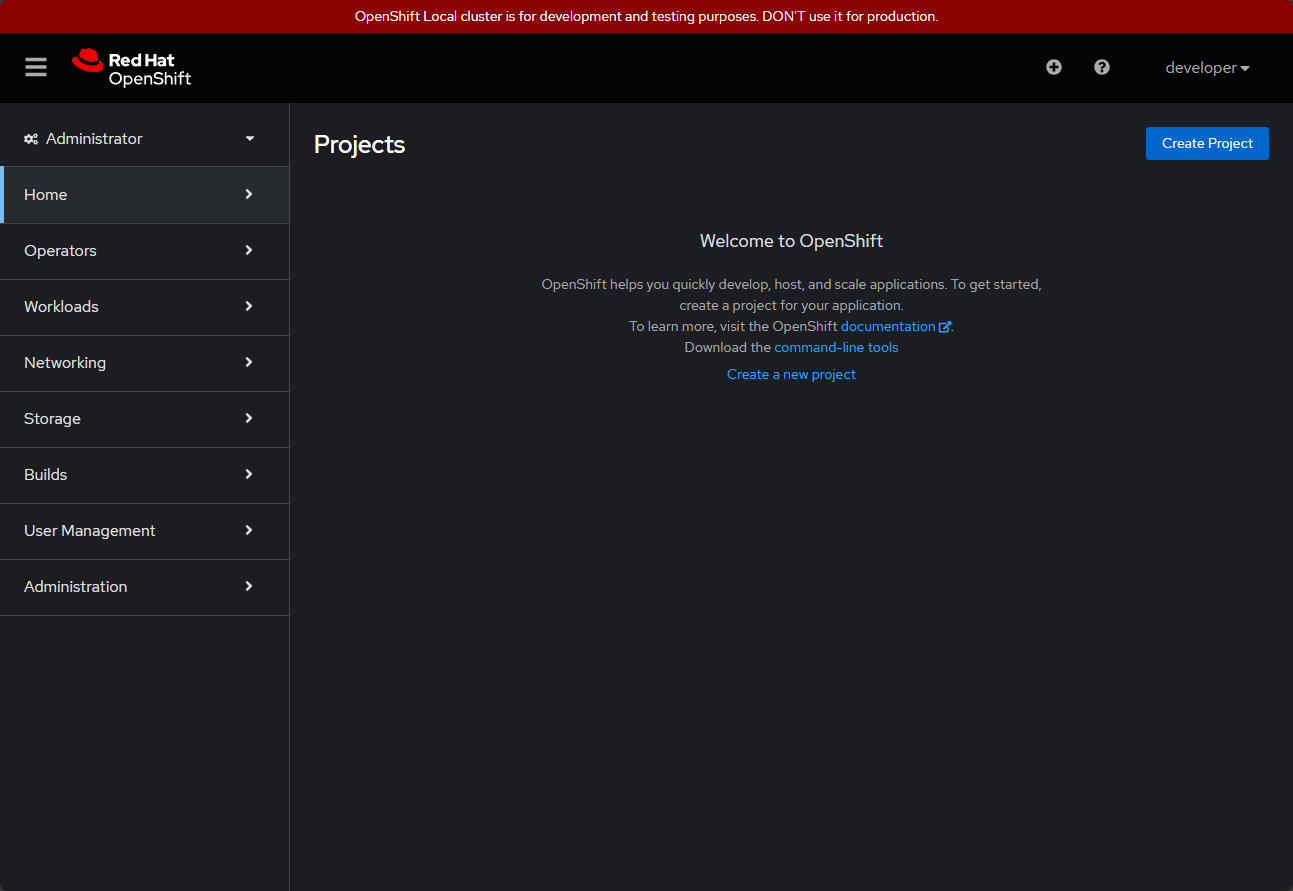
Accessing the Web Console
As you noticed on the output screen when the cluster is provisioned we get the URL for the web console.
You can access this with:
- developer/developer
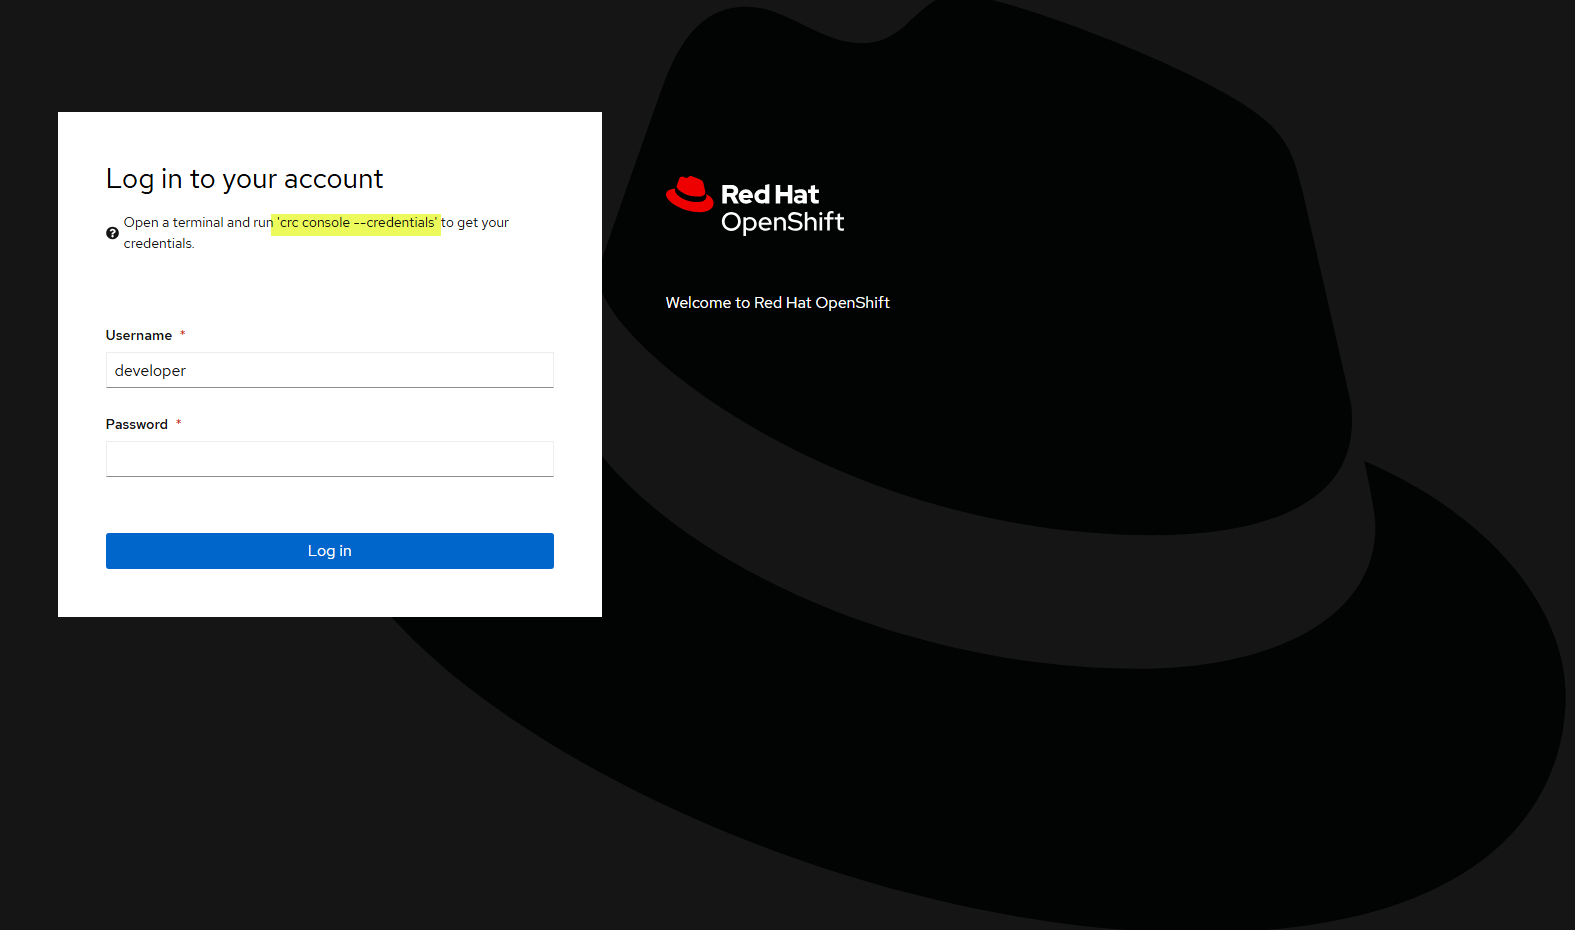
After logging in and dismissing the “guided tour” messaging.
Using the OC command line tool
If you are like me, one of the first things I wanted to do was kubectl type commands. To do that with OpenShift, you use the oc command. Below, you will see the output of commands I tried and mistakes along the way:
As you can see you need to set the environment variable for the oc command:
& crc oc-env | Invoke-ExpressionThen, we can login:
oc login -u developer https://api.crc.testing:6443I tried to run a get pods as developer, but realized with the error I didn’t have permissions. So changed to kubeadmin to do these commands. As you can see in the final command, I was able to pull the single node information.

Troubleshooting Red Hat OpenShift Local cluster issues
I have already detailed much of this throughout, but there were definitely issues I ran into with OpenShift Local on Windows. It seems a bit finicky, but definitely cool to run it in Windows. Make sure of the following:
- Don’t use an admin prompt for running the crc commands, it will error out
- If you get the scheduled task issue, you can run the daemon manually in a separate session and then run your crc start command separately.
- Make sure you are logged in as the correct user when you want to interact with the cluster from the command line.
Wrapping up
It was great to see we could get OpenShift Local up and running in Windows 11. I didn’t see much information out there on ones that have been successful with this, so hopefully this will add some value to the community with the steps above. Let me know if you are playing around with OpenShift in your environment and what you are using it for. Are you using OpenShift Local, or full blown openshift?
Google is updating how articles are shown. Don’t miss our leading home lab and tech content, written by humans, by setting Virtualization Howto as a preferred source.
About The Author