Local LLM Model in Private AI server in WSL

We are in the age of AI and machine learning. It seems like everyone is using it. However, is the only real way to use AI tied to public services like OpenAI? No. We can run an LLM locally, which has many great benefits, such as keeping the data local to your environment, either in the home network or home lab environment. Let’s see how we can run a local LLM model to host our own private local AI server, using large language models.
Table of contents
Benefits of Running LLM Models Locally
There are many advantages, as you can imagine. I think one of the biggest reasons for hosting LLMs locally is It keeps sensitive data within your infrastructure and network. It also offers improved data security. You also have more control over model performance and fine-tuning (making LLMs smarter), which allows for creating customized solutions that may be better suited to your needs than public services like OpenAI models and needing an API key for a cloud service.
Hardware Requirements
To run LLMs on you local machine, most computers need to have beefy hardware. This will include High-performance CPUs and, arguably the most important for useability and performance, a good GPU. Having the right hardware will make the experience much better across the board as you won’t wait for prompts to return.
Before starting, ensure your machine meets the necessary hardware requirements, which, as just a guideline, might look like something like the following:
- CPU: A high-performance processor (Intel i7/AMD Ryzen 7 or better)
- Memory: At least 16 GB of RAM (32 GB or more recommended)
- Storage: SSD with at least 100 GB free space
- GPU: Optional but recommended for better performance (NVIDIA GPUs with CUDA support)
Operating system recommendations might look like the following:
- Windows: Windows 10 or later
- Linux: Ubuntu 20.04 LTS or later
- macOS: macOS 10.15 Catalina or later
Operating Systems and Local Machines
Local LLMs can be deployed on different operating systems, including Windows, Linux, and macOS with free tools available. Each OS has its nuances, and it seems like you will find the most “GA ready” tools for macOS and Linux, but Windows is coming along, and when you consider that you can use WSL in Windows, it may be a moot point. The overall process remains similar in each environment to run a local model.
Downloaded Models and Model Weights
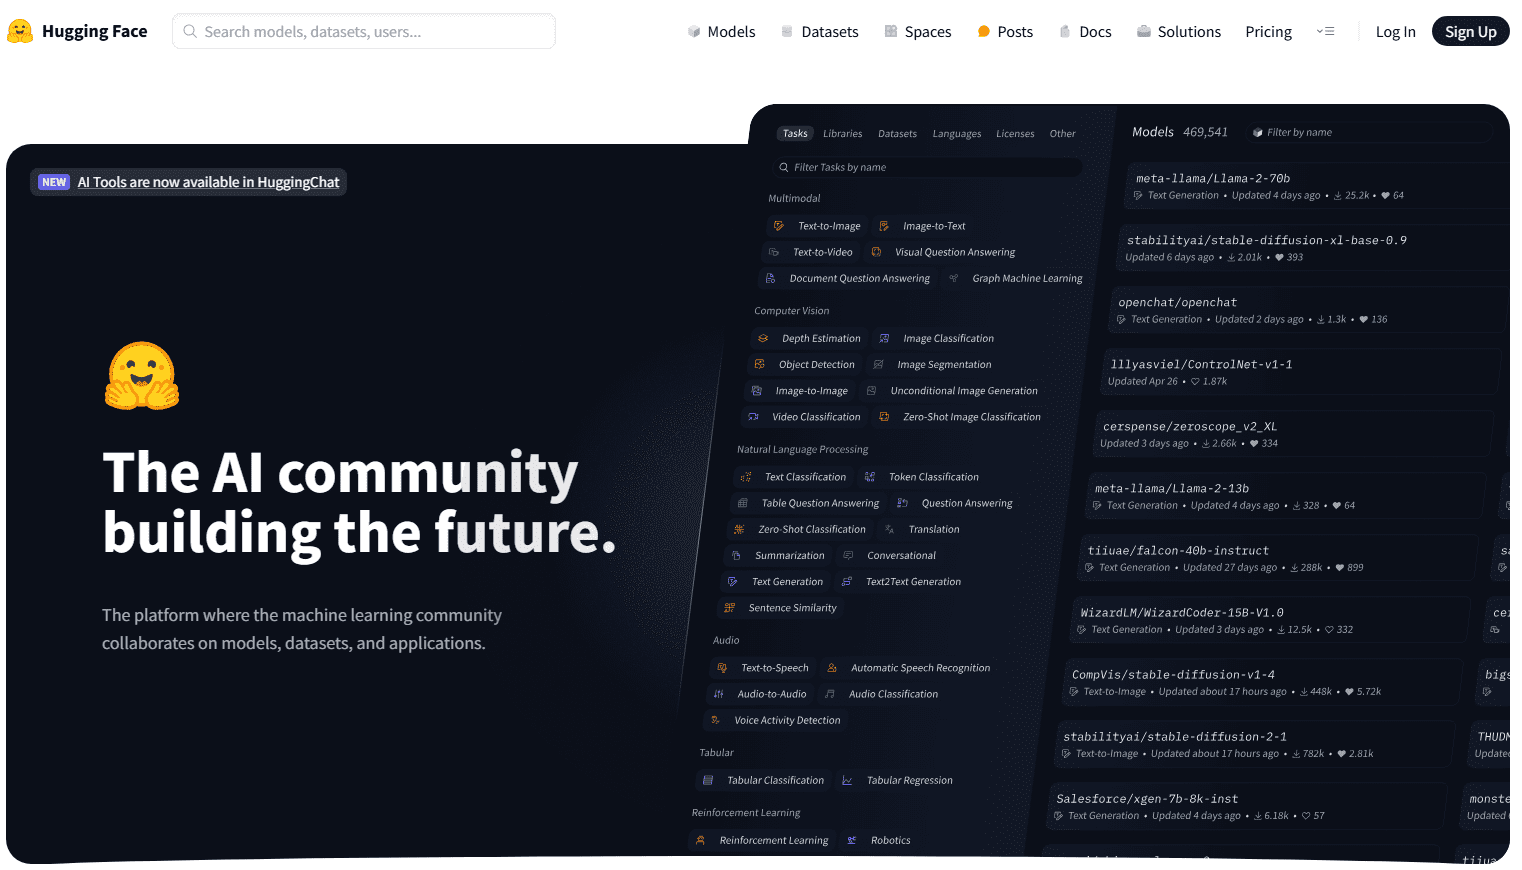
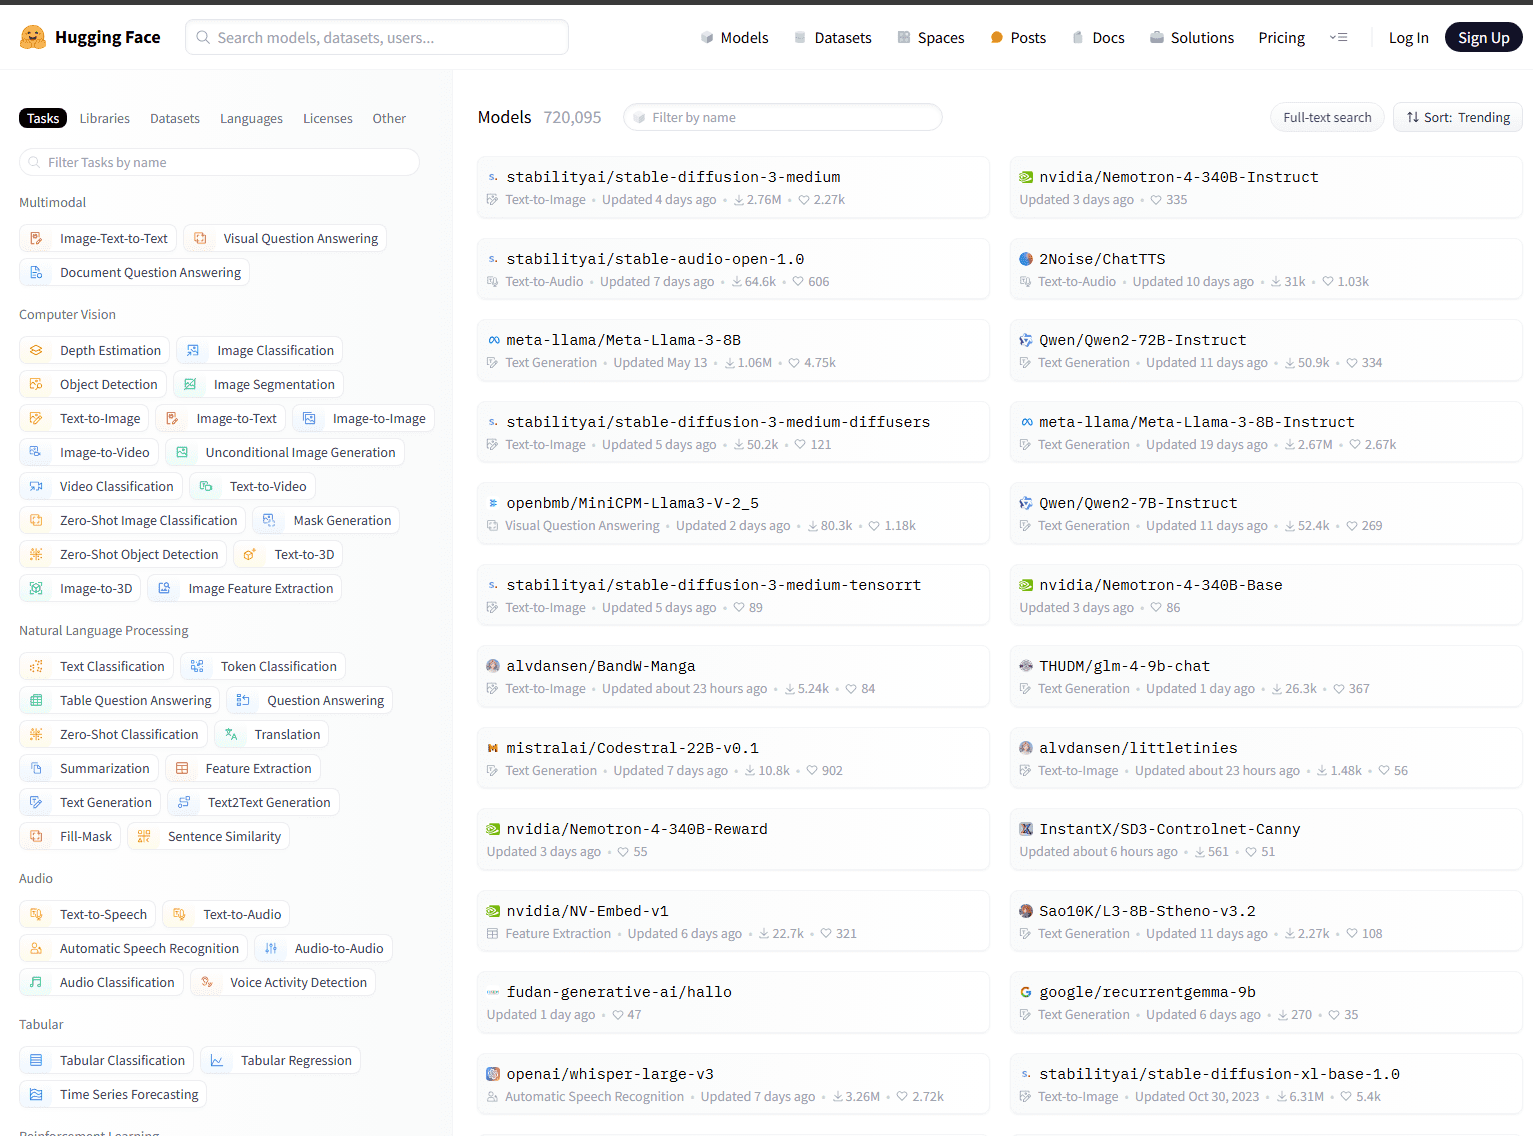
Models can be downloaded from repositories such as Hugging Face, probably the most popular place to download LLMs. These downloaded models include pre-trained models that may be a few gigabytes in size. Pretraining means the model is trained to answer prompts accurately for model performance. The downloaded model can then be implemented into your tools.
Below is just a screen capture of the Hugging Face website where you will see the llm models list displayed (open source models), including popular models, etc.
They have a large model explorer you can take a look at, sort through, and search.
Setting Up Ollama
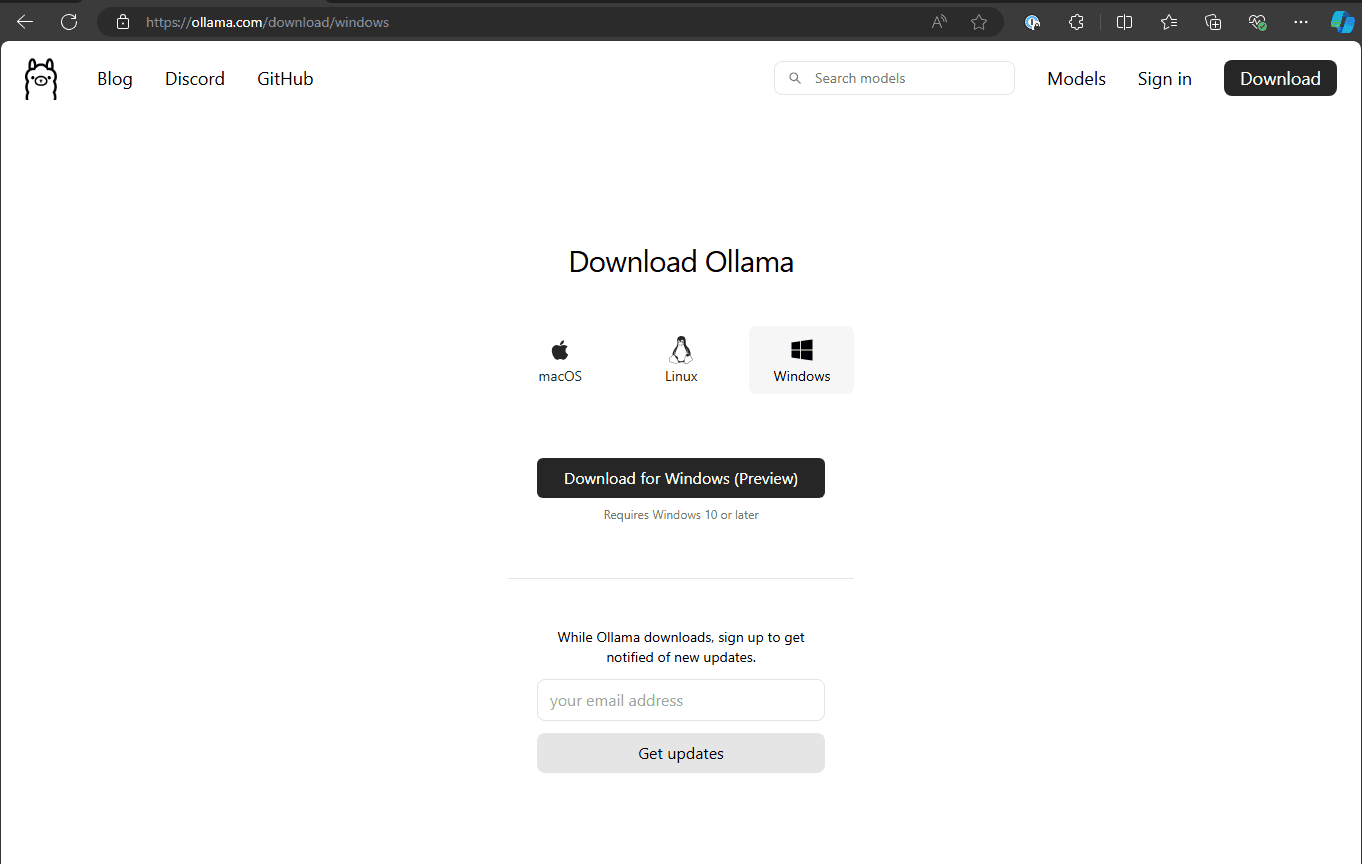
The first step is downloading Ollama. What is this tool? It is an open-source project that provides a fairly easy platform for running local LLM models in your operating system. So you can navigate to download Ollama here: Download Ollama.
Setting up on WSL and Linux
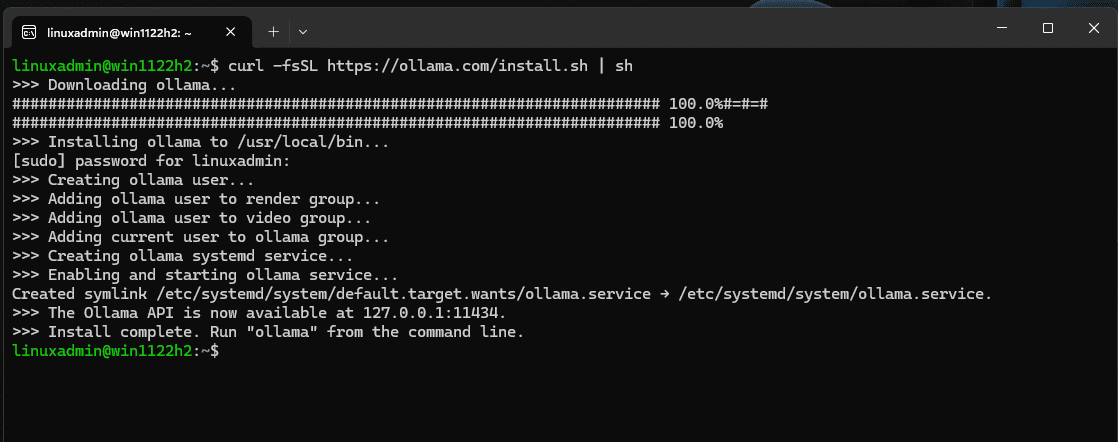
For Linux or WSL you can run the following command:
curl -fsSL https://ollama.com/install.sh | shBelow, you can see that we are using the Linux installation information to install in WSL. As you can see below, the installation is
Setting up on Windows
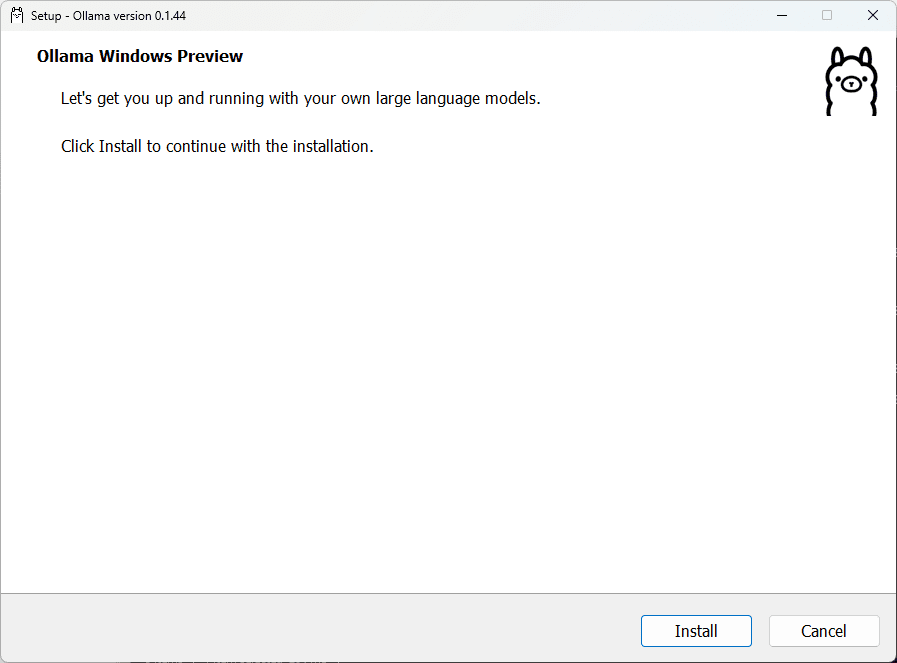
To set up on Windows, you can download the Ollama installer for Windows, which is in preview release.
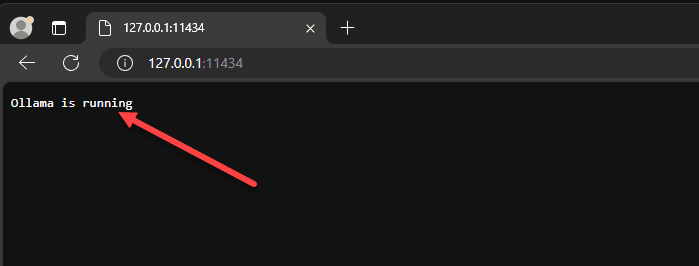
You can see the LLM model running on port 11434.
If you browse to the address in a browser and port you will see the message that Ollama is running.
Downloading local models such as LLAMA3 model
Now that we have Ollama installed in WSL, we can now use the Ollama command line to download models. To do that, run the following command to download LLAMA3.
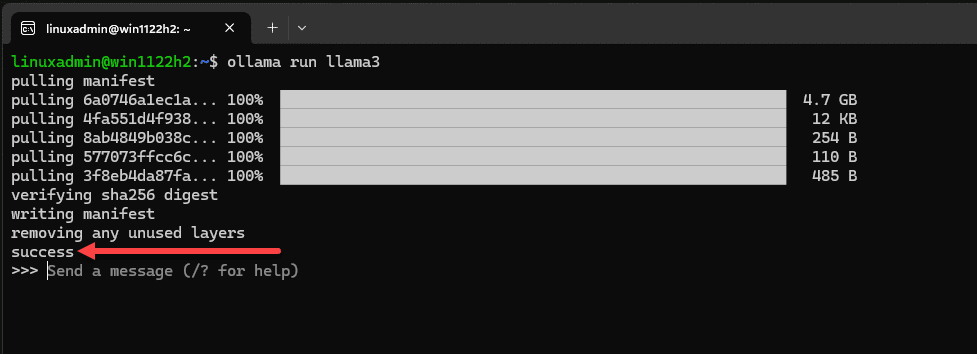
ollama run llama3This will begin pulling down the LLM locally to your WSL/Linux instance.
As you can see below, the LLAMA3 local model is 4.7 GB. You will know it is successful, you will see the success at the bottom. You will also see the “send a message (/? for help) prompt. This means we can start asking the model questions in the basic version of the solution in a terminal
Chatting with the installed LLAMA3 model
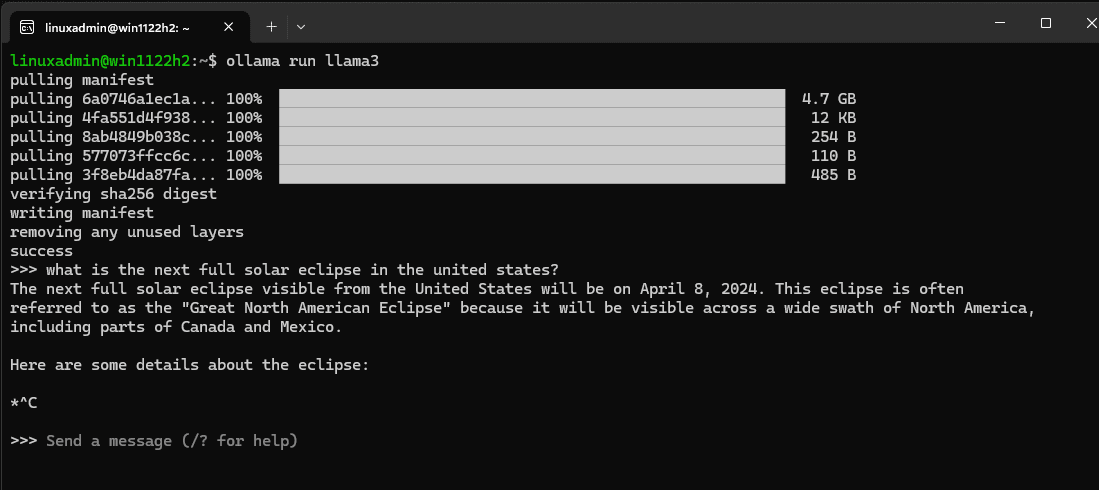
Below, I asked about the solar eclipse in the command-line tool. Since the model was trained before the April eclipse, it considers this a future event.
Adding a web UI
One of the easiest ways to add a web UI is to use a project called Open UI. With Open UI, you can add an eerily similar web frontend as used by OpenAI.
You can run the web UI using the OpenUI project inside of Docker. According to the official documentation from Open WebUI, you can use the following command if Ollama is on the same computer:
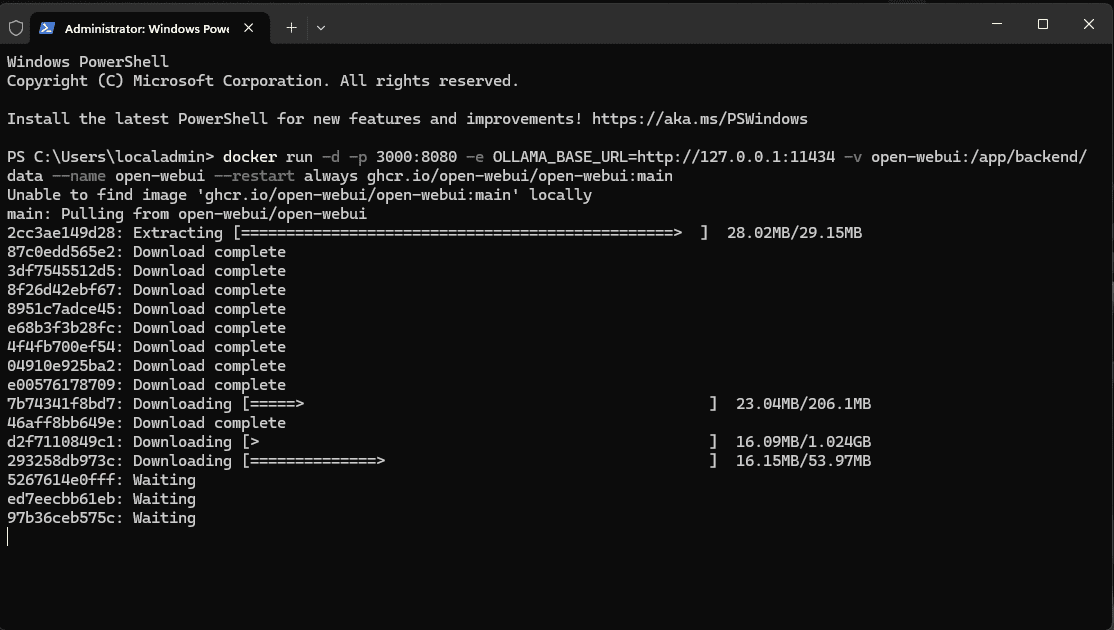
docker run -d -p 3000:8080 --add-host=host.docker.internal:host-gateway -v open-webui:/app/backend/data --name open-webui --restart always ghcr.io/open-webui/open-webui:mainIf it is on a different server:
docker run -d -p 3000:8080 -e OLLAMA_BASE_URL=https://example.com -v open-webui:/app/backend/data --name open-webui --restart always ghcr.io/open-webui/open-webui:mainFor Nvidia GPU support, you can use the following:
docker run -d -p 3000:8080 --gpus all --add-host=host.docker.internal:host-gateway -v open-webui:/app/backend/data --name open-webui --restart always ghcr.io/open-webui/open-webui:cudaPulling down the Open-WebUI container.
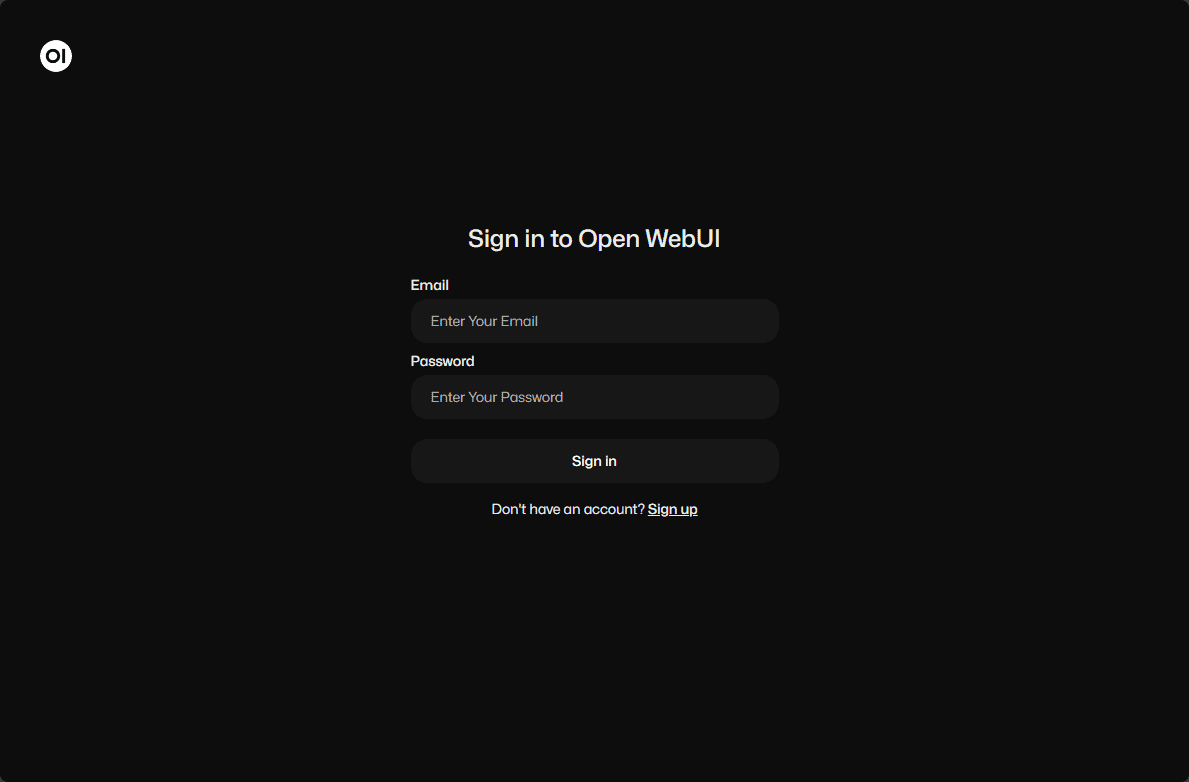
Once the container is up and running, you can connect to the port you have configured for your traffic to answer on, in this case port 3000. You will need to enter an email address and password for Open WebUI to get started.
Add a proxy connection to my WSL network traffic
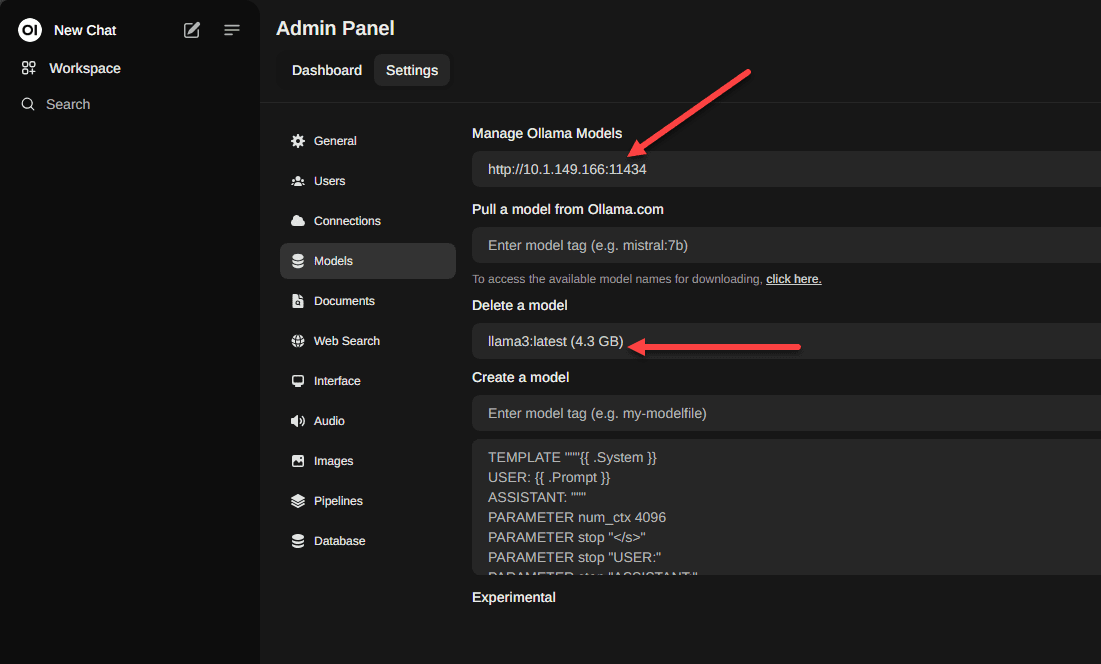
I needed to do this so I could pass the traffic from the Open WebUI to the backend LLM running on port 11434.
To do that, I ran this code. Be sure to replace with your own IPs needed.
netsh interface portproxy add v4tov4 listenport=11434 listenaddress=10.1.149.166 connectport=11434 connectaddress=127.0.0.1After I enabled the proxy for traffic, I made sure that I was pointing to this IP address I had configured and port in the settings of my Open WebUI. Also, select the model you want to use.
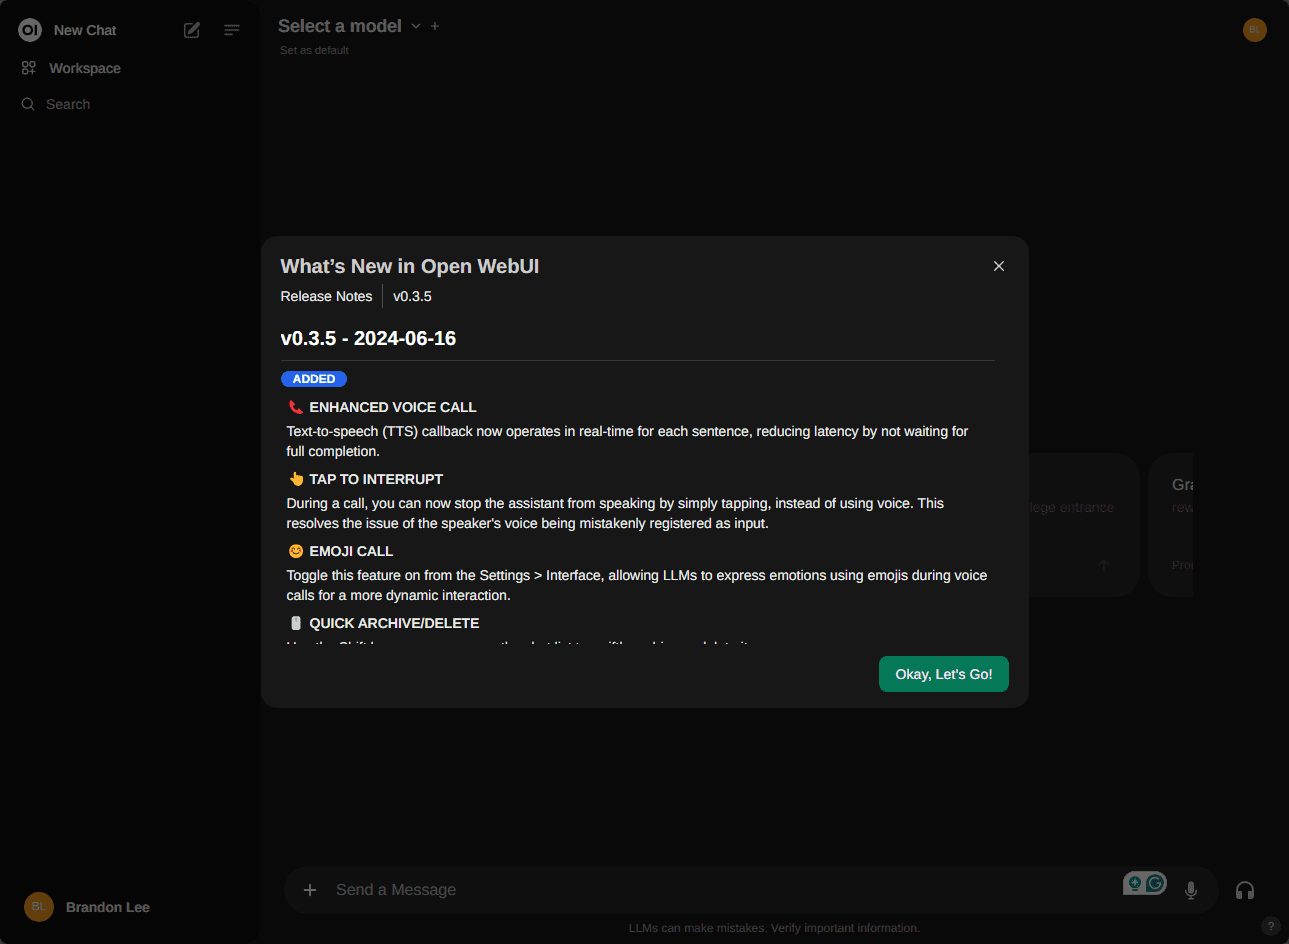
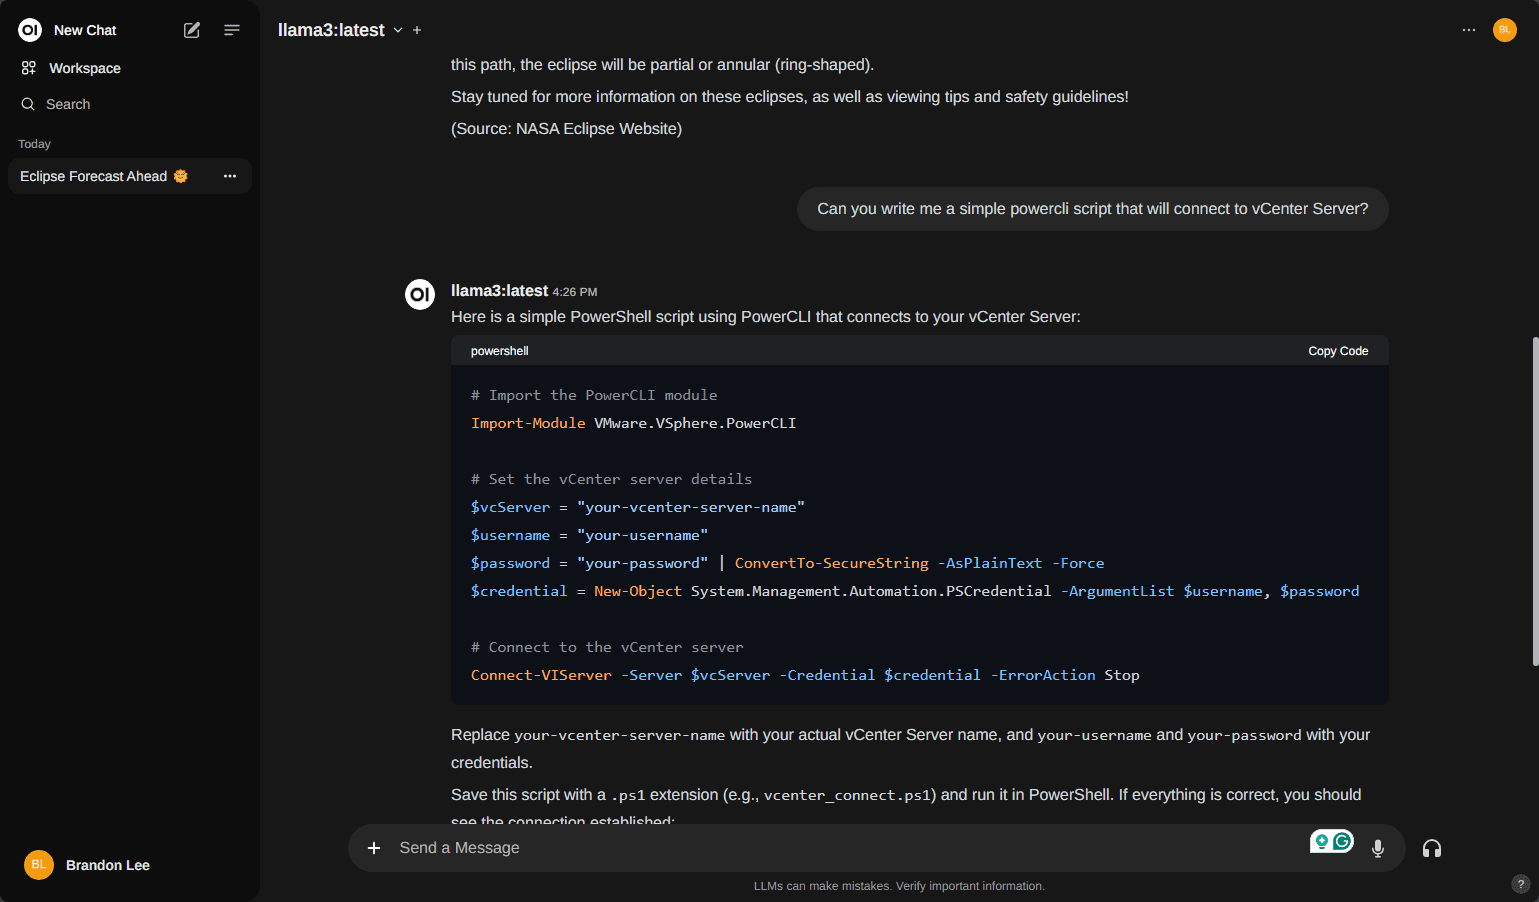
Below you can see after selecting the mode, you can start chatting! Cool stuff.
LM studio
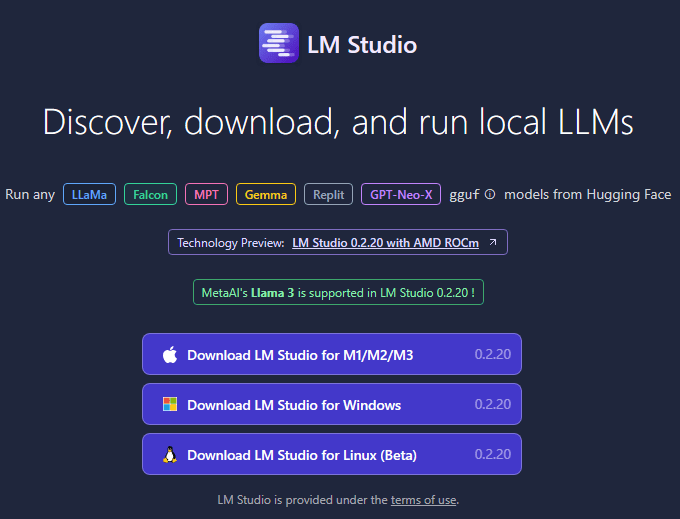
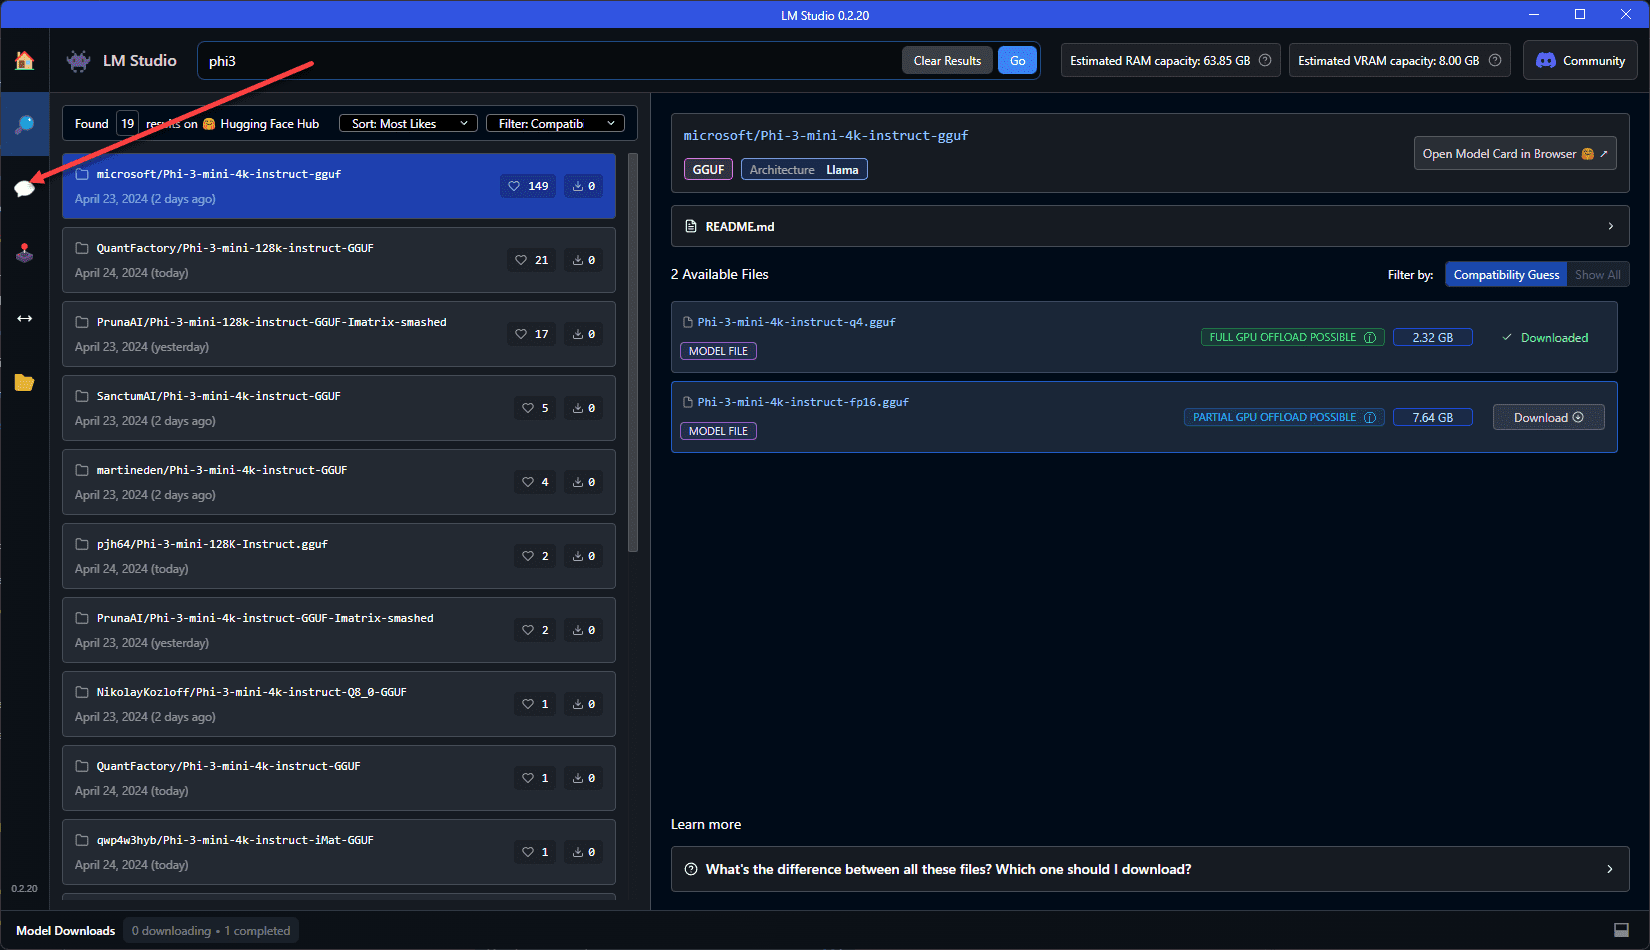
You can also install another free utility (not open-source though) called LM Studio that will take care of downloading the models and the web UI frontend so you don’t have to do the steps we have mentioned above. You can download it here: LM Studio – Discover, download, and run local LLMs.
Chatting with LM Studio.
Fine-Tuning and Model Performance
The fine-tuning process involves training your model with specific parameters to improve its performance on specific tasks. In other words, companies can take a generically trained model and retrain it for more specific use cases, like chatting with a product-specific knowledge base. In this context, we are talking about model performance being accurate and not necessarily speed.
Use cases of Local LLMs
Host the models locally and customize
Local LLMs provide an entry point into AI for businesses that may not be able to integrate with AI on publicly available models such as from OpenAI.
Better security
By keeping data within local systems, it minimizes risks associated with using public systems and if you have data that must meet regulatory compliance.
Free to use
Using publicly available LLM models is free to use such as the LLAMA3 model that we have shown here. There is no cost associated other than the hardware. However, if you are like me, you have some free hardware lying around that can be taken advantage of like older workstations with discrete graphics setup.
Troubleshooting and challenges
There are a few things you can look at to troubleshoot when experiencing issues with running llms locally. Note the following sections describing a few of these to note.
Hardware and Memory Requirements
Make note of the hardware and memory requires, including GPUs. Make sure your computer has a discrete GPU. If you have a free PCI-e slot, you can install an aftermarket GPU with GPU-enhanced AI capabilities. You can upgrade your hardware with more modern components or do things like adding memory.
Managing Model Weights and Configurations
Managing and configuring model weights is another challenge. Proper documentation and regular updates can simplify this process. Tools and libraries provided by platforms like Hugging Face can also be beneficial.
GPU scarcity
There used to be an issue with GPU scarcity. This is not so much the case as the supply and demand issues have settled down. GPUs are fairly reasonable these days.
Wrapping up
Running your own local LLM is one of the coolest things you can do. It isn’t very difficult to get open source models like LLAMA3 up and running on your own hardware and you don’t have to have an Internet connection for it to work correctly or an API key integration with services like OpenAI.
However, keep in mind that for you to have an enjoyable experience working with a local LLM you will want to have access to hardware that has a discrete GPU, like an Nvidia GPU to have the performance and speed you would expect to have interacting with something like OpenAI.








Thank you for the great content on YouTube and Blog.
What hardware would you recommend to run for Ollama 3 setup? Is Minisforum NAB6 Lite that you had a review on YouTube a good option ?
Thank you
Anoush,
Thank you so much for your comment. I really appreciate your support and kind words. I haven’t tested Ollama 3 on a mini PC. Really, it will work on any desktop or laptop. However, he experience will definitely be much better on something with a dedicated GPU. I will see if I can do some testing on a mini PC and what kind of experience I get. Will report back.
Brandon