Cockpit Ubuntu Install Configuration and Apps
Working with the oVirt Node install recently re-familiarized me with the Cockpit utility and made me want to play around with it a bit more on vanilla Ubuntu Server installations. Let’s look at installing Cockpit on Ubuntu and see the steps involved. We will also look at how you can install new apps in the utility and general configuration.
Table of contents
What is Cockpit?
In case you haven’t seen or heard of it, Cockpit is a web interface management tool you can load in Linux that gives you “point and click” server management capabilities to manage your Linux host, including the ability to easily see logs, network settings, updates, apps, virtualization, system resources, and many other apps.
It is a free and open-source solution that you can easily download and enable Cockpit on a variety of Linux servers. However, for the rest of the blog, we will concentrate on how to install Cockpit on Ubuntu.
Why is Cockpit helpful?
Cockpit is helpful since it adds the ability to have GUI-based web management for your Ubuntu Server/client machines. You can see statistics and configure a few things with the functionality provided by Cockpit.
It also provides the ability to use the terminal in a web interface on a machine that has Cockpit installed. It means you can interface with your server using devices that may not be able to SSH or run SSH client applications, which can definitely be helpful in a pinch.
You can also view and run software updates using Cockpit which can be a nice feature to visually see security and other updates that are needed.
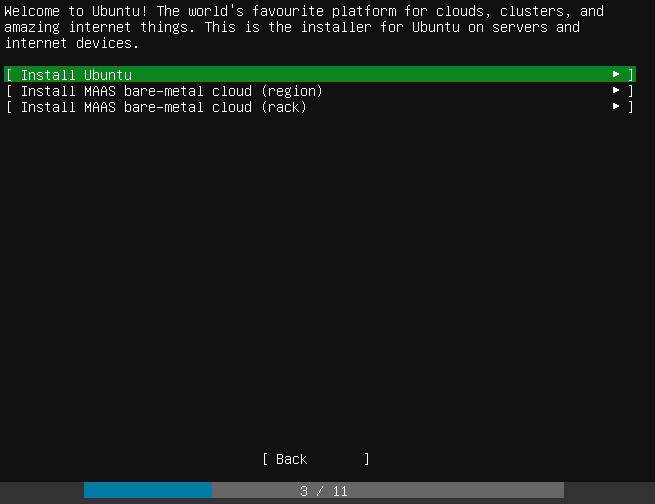
Install Cockpit in Ubuntu
Let’s look at the commands to install the Cockpit package in Ubuntu using terminal access. The command to install it is straightforward:
sudo apt install cockpitThis will install the Cockpit service and system services needed to manage your server using the Cockpit tool.
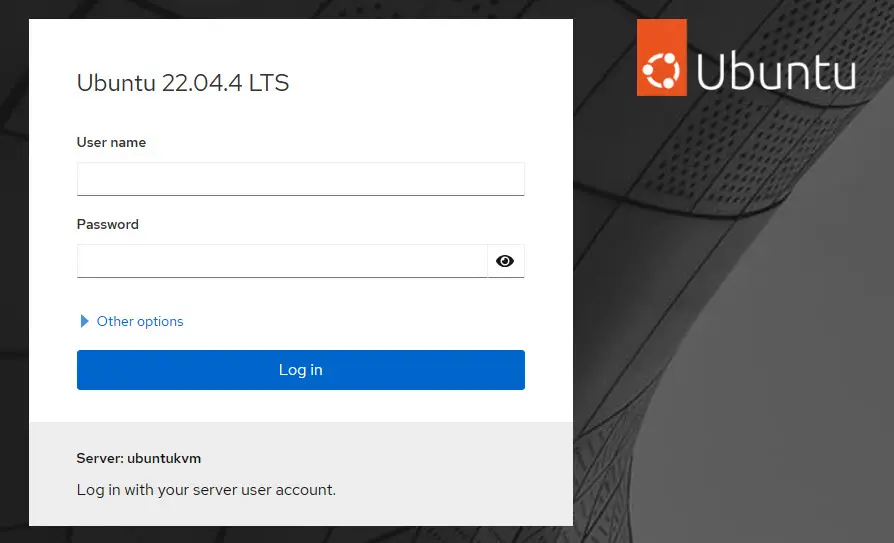
Once you have installed Cockpit on Ubuntu, you can browse to the Cockpit login screen at the following link:
https://<IP or FQDN>:9090When you install Cockpit on Ubuntu, after the installation process is complete, you can browse the IP or FQDN and append the Cockpit port 9090 to the address. It should bring up the login page after the Cockpit installation and the Cockpit web server.
Viewing the Cockpit Interface
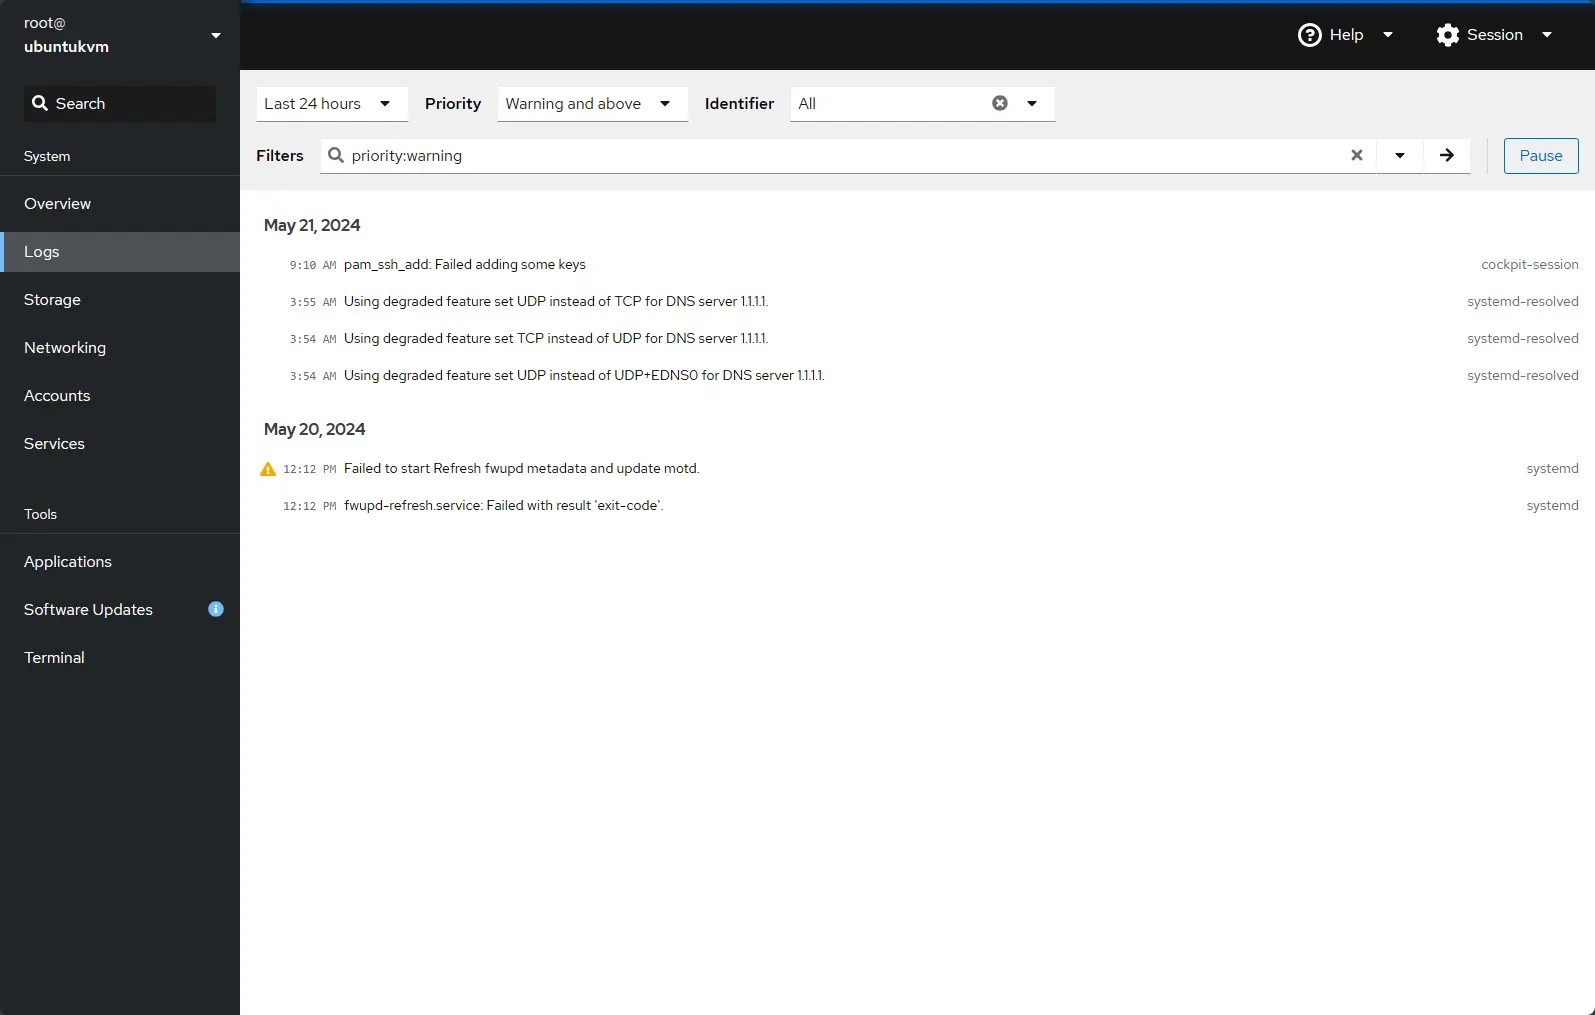
After logging in, you will see the Cockpit interface. It is an intuitive interface that provides a modern look and feel that most will find straightforward. Viewing the Cockpit overview dashboard that displays the health, usage, system information like disk space, and configuration in the Cockpit dashboard.

You can also view system logs for your Ubuntu Server using Cockpit. This is a great way to have a GUI interface running with your server infrastructure.
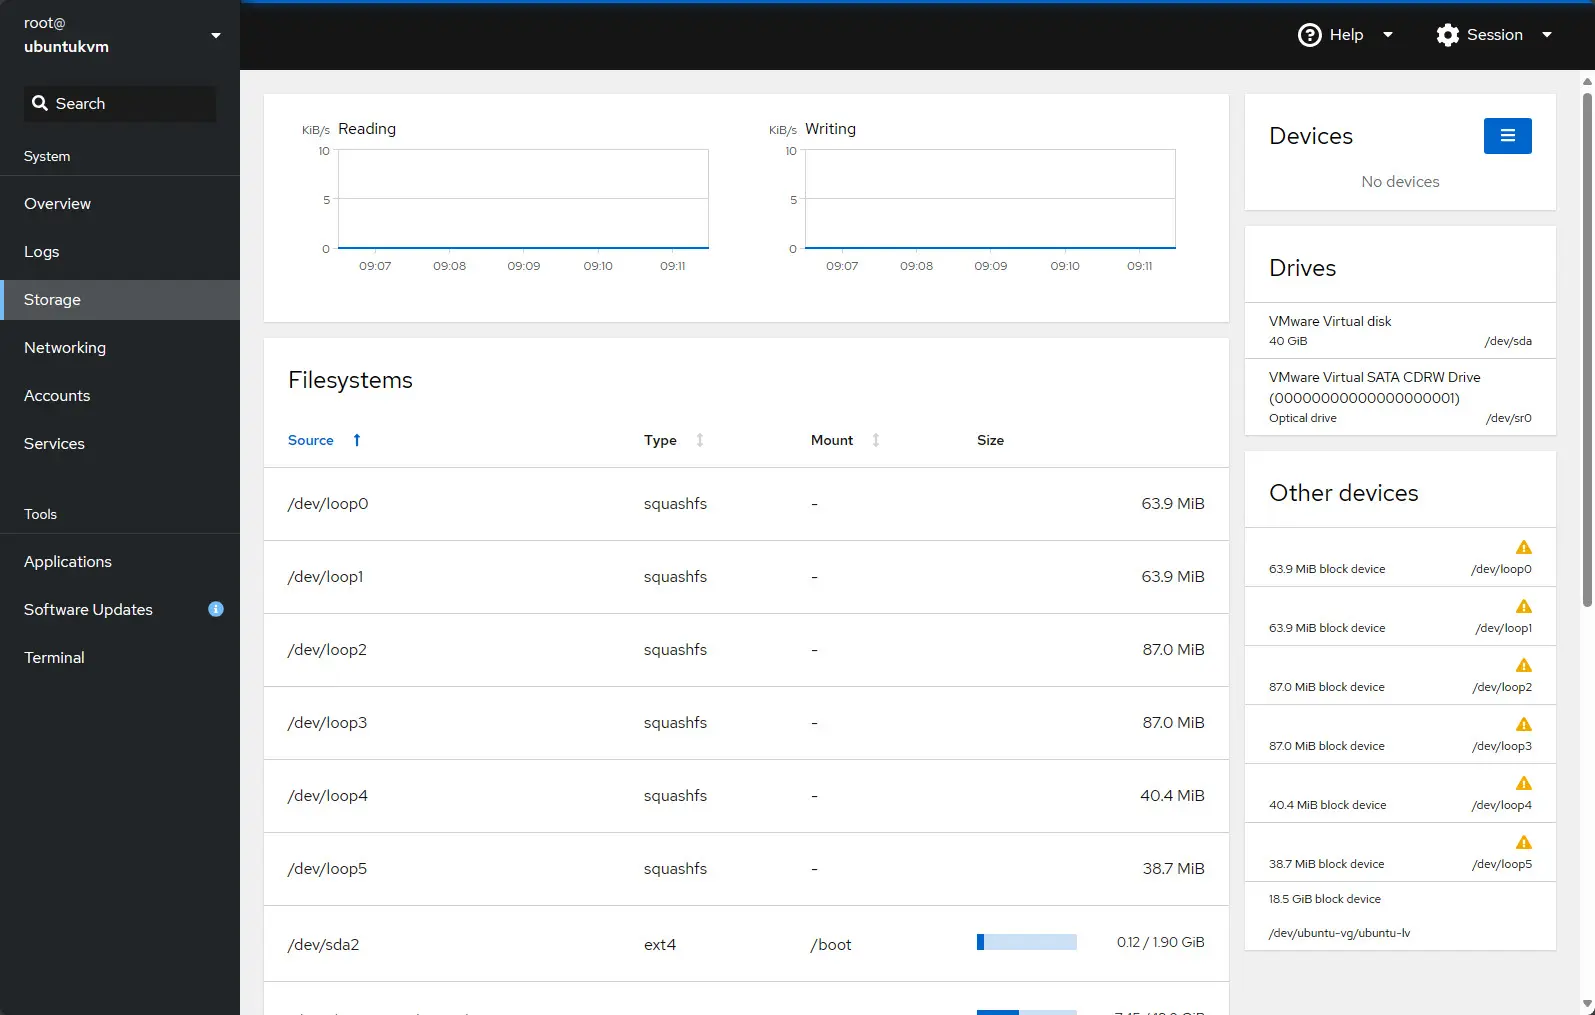
Viewing the storage dashboard when you install Cockpit on Ubuntu. it allows you to manage storage on your Ubuntu Server.
Using the terminal application allows having terminal access to your Ubuntu machine through a web browser which is extremely cool.
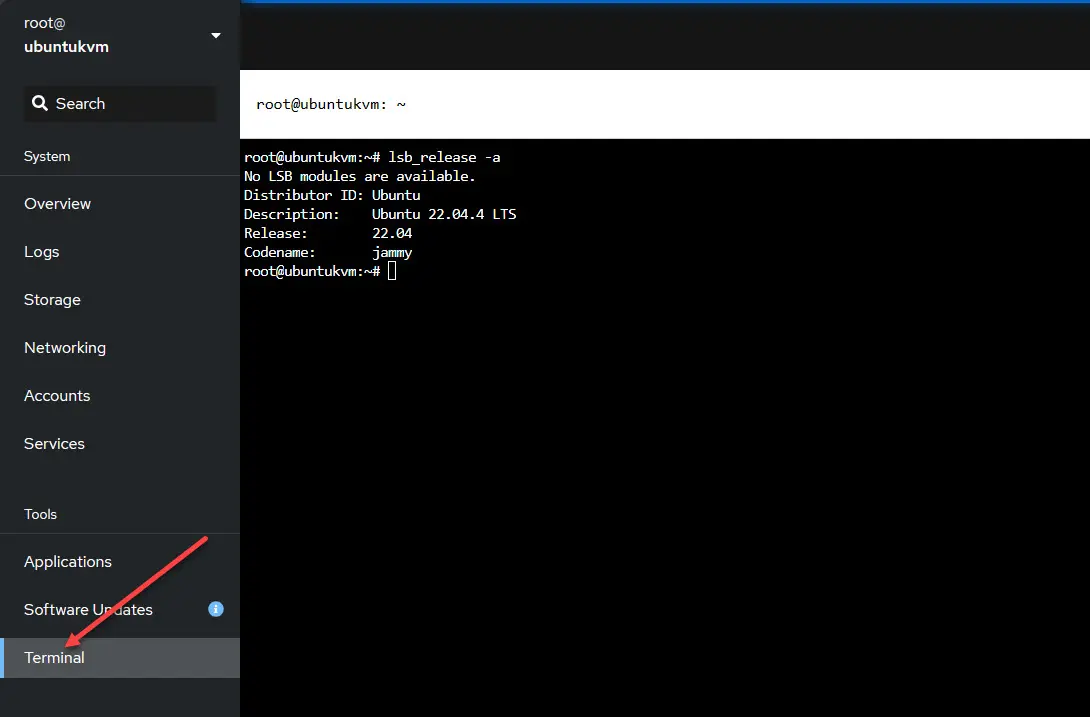
This means, you can access your server using a device that may not be able to run terminal apps locally.
Manage multiple servers
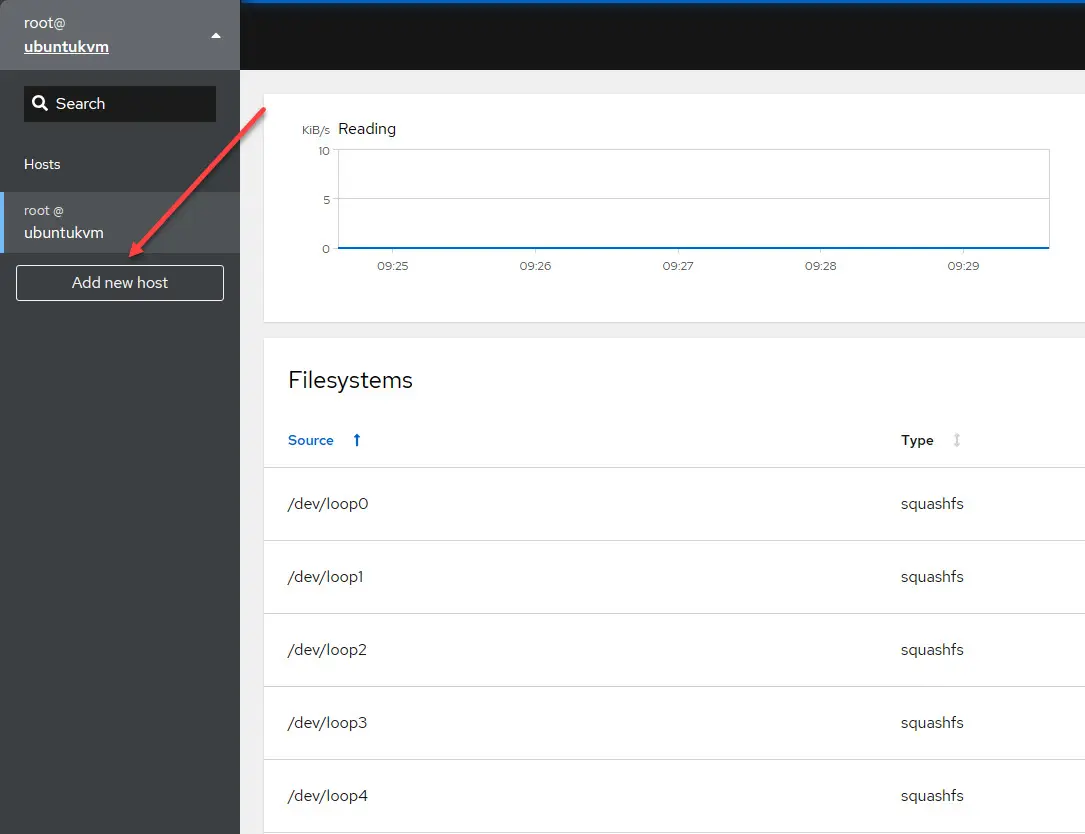
One of the other cool features of Cockpit is that it will allow you to manage multiple servers. The prerequisite on the servers you want to manage is that you have Cockpit packages installed. Let’s step through this process to add another server to a Cockpit web console.
Add the IP or FQDN to the host field and the username you want to use.
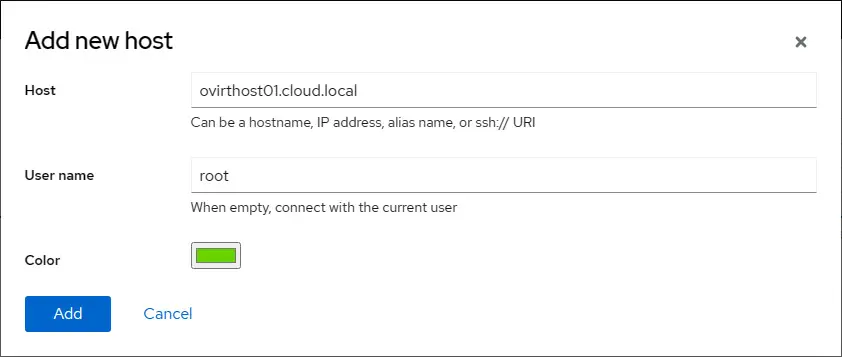
In the New Host dialog box, access the key and continue.

Enter the password to login to the remote host. Note you can also configure the Automatic login. You can check the box Create a new SSH key and authorize it.
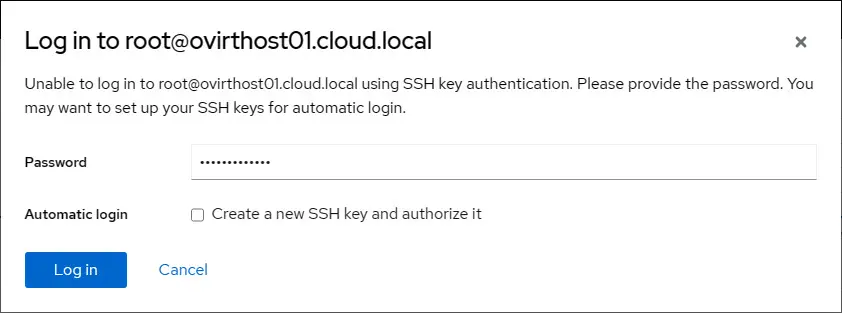
The new host is added to the Cockpit dashboard.

Adding apps to your Cockpit installation
You can add apps to your Cockpit installation that extend its capabilities. You can view the available apps that can be installed with Cockpit here: Applications—Cockpit Project (cockpit-project.org).
You can install apps in Cockpit using simple apt commands. For example, you can install the Virtualization app using the following command:
apt install cockpit-machinesYou can install the Podman app to manage Podman containers:
apt install cockpit-podmanYou can also install the oVirt dashboard app using the following command:
apt install cockpit-ovirt-dashboardTroubleshooting
If you have issues installing Cockpit, you might find the following helpful:
- You can’t connect to port 9090 after installing Cockpit – You may need to add an exception to your Ubuntu Server firewall using the sudo ufw allow 9090
- You want to manage virtual machines, and you don’t see the Virtualization app – You need to install the Virtualization app using the command apt install cockpit-machines
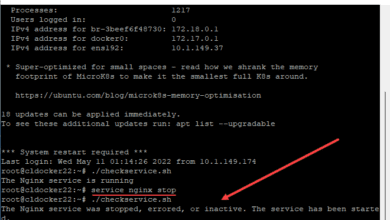
- Cockpit doesn’t start when you reboot your Ubuntu Server – Use the systemctl enable now cockpit.socket
- You get an error in Ubuntu about being offline, especially when viewing the Software updates dashboard. There is a workaround that is shown here to get you around this issue: Frequently Asked Questions (FAQ) — Cockpit Project (cockpit-project.org).
Wrapping up Cockpit Ubuntu installation
The Cockpit Ubuntu install adds really great features to your Ubuntu server or client so you can access these using a web browser on port 9090. For those that like to have GUI tools for visibility and management of certain system configuration, Cockpit is a great way to do this. As shown, you can extend its built-in features by adding dashboards and you can even access the command line on your server using the terminal app.
Hi,
I’m wondering if you have encountered this error where my own user, which is in the Sudoers isn’t able to run Software Update.
ronny : 3 incorrect password attempts ; TTY=unknown ; PWD=/run/user/1000 ; USER=root ; COMMAND=/usr/bin/cockpit-bridge –privileged
I would login into the main machine that’s running Cockpit. After adding a new host, I would try to connect to said new host only to encounter this problem. Both machines are running Ubuntu 20.04LTS
Mind you that I can do all the software updates from the Terminal in Cockpit but would be nicer to simply be able to use Software Update.
Ronny, this seems to definitely be an issue with sudo permissions and possibly password authentication with Software Updates in Cockpit. Try the following.
Check Sudoers Configuration:
Make sure your user is in the /etc/sudoers file or in a file within the /etc/sudoers.d/ directory. You can do this by running sudo visudo and checking for a line similar to:
ronny ALL=(ALL:ALL) ALL
Check Cockpit Sudo Configuration:
As you know, Cockpit requires sudo permissions for its operations. Make sure that your user has passwordless sudo access for Cockpit commands. Make sure the user ronny is in the sudo group. You can check this by running the following to make sure that sudo is listed among the groups.
groups ronny
Do you have SSH key authentication configured by chance?
Check the cockpit logs with:
journalctl -u cockpit