WingetUI Windows Package Manager GUI Download
Winget is one of the coolest new utilities that you can use in Windows to install packages and keep packages updated. Windows admins have longed for a Windows package manager solution like Linux users have had from the beginning. Winget is quickly becoming that solution that is already baked into Windows 11. However, some may want to utilize a GUI for Winget. Let’s look at WingetUI and see how it can easily be used to install and update software.
Table of contents
WingetUI
In case you haven’t heard about WingetUI it is a Linux-like experience of package managers from the command line in Windows. It provides an easy way to run a basic install or easily bulk install programs, and uninstall packages. You can also update multiple software packages without having to manually download packages, “next” through installers, and then repeat the process for each new update.
You may have already used Chocolatey, which is one of the most used package managers for Windows. However, winget has that native, built-in appeal that I think will win out over time as it continues to be adopted and mature.
However, there is still the learning curve of the WingetUI command line, which is a common theme for CLI tools. For the most part, wingetUI is intuitive. The WingetUI tool makes it even better though by adding a GUI wrapper around the tool that provides everything needed to easily use it to your advantage, thanks to developer @marticliment.
You can use WingetUI to install new software, manage installed packages, and even uninstall multiple packages. It streamlines these types of operations using Winget underneath the hood.
WingetUI features
Take a look at the following features of WingetUI:
- Easy Software Management: Support basic install, update, and remove programs with just one click and even install prerelease version install and specify location custom package sources
- Supports Multiple Package Managers: Works with Winget, Chocolatey, Scoop, Pip, Npm, and .NET Tool.
- Discover New Software: Quickly find and filter software packages.
- Detailed Package Information: View download size, publisher details, and more before installing.
- Bulk Actions: Install, update, or uninstall multiple packages simultaneously for a custom architecture install
- Automatic Updates: Get automatic updates or notifications for available updates.
- Update Management: Easily manage updates from the Widgets pane or Dev Home pane with WingetUI Widgets.
- System Tray Notifications: View available updates and manage installed packages directly from the system tray.
- Custom Installation Options: Customize installation settings, choose different versions, and save preferences for future updates.
- Share Packages: Recommend software to friends with simple sharing options.
- Export and Import Custom Lists: Transfer your software setup easily between machines with exportable custom lists with custom installation parameters
- Backup and Recovery: Back up your software setup to a local file for quick recovery on a new machine for a specific software setup
Now, let’s look at installing it.
Install WingetUI
Of course, you will need the Winget install which is automatically installed in recent Windows 11 versions. With Windows 10 you may need to refer to Microsoft documentation on what is needed to install winget.
First, let’s see how to get WingetUI installed. It is a straightforward process once you download the installer from the official Github repo. You can visit the official Github site here:
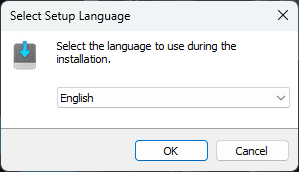
Pull the latest release from the releases page and execute the WingetUI.Installer.exe.
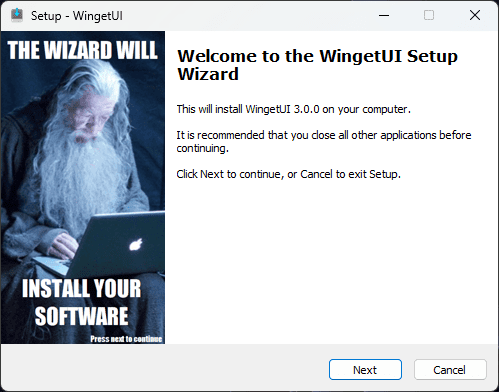
Beginning the WingetUI Setup wizard.
Choose the installation path for WingetUI.
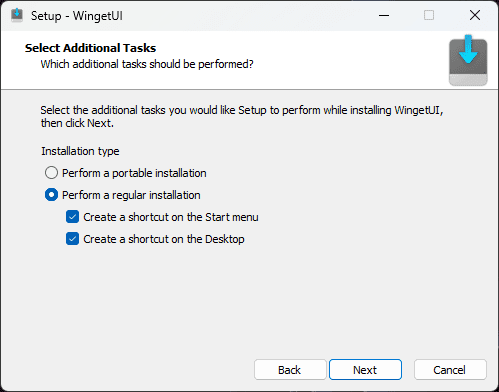
Make your choice here on shortcuts. Also, note that you can run the tool as a portable installation which means you don’t have to install it to start using it.
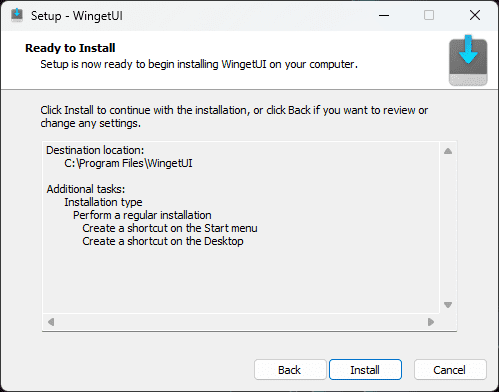
Click the Install button.
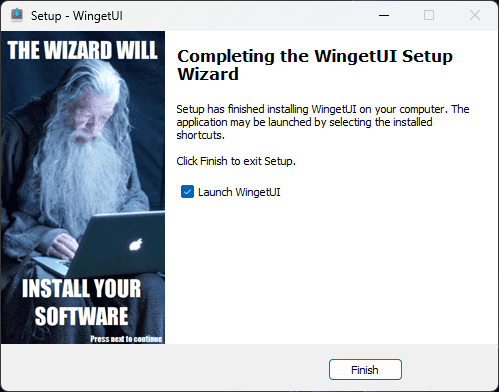
Finally, finish the installation of WingetUI.
Additional ways to install
Ironically, you can install using winget with the command:
winget install SomePythonThings.WingetUIStoreOr, you can use Chocolatey:
choco install wingetuiYou can also install from scoop buckets:
scoop bucket add extrasscoop install extras/wingetuiBecoming UnigetUI soon
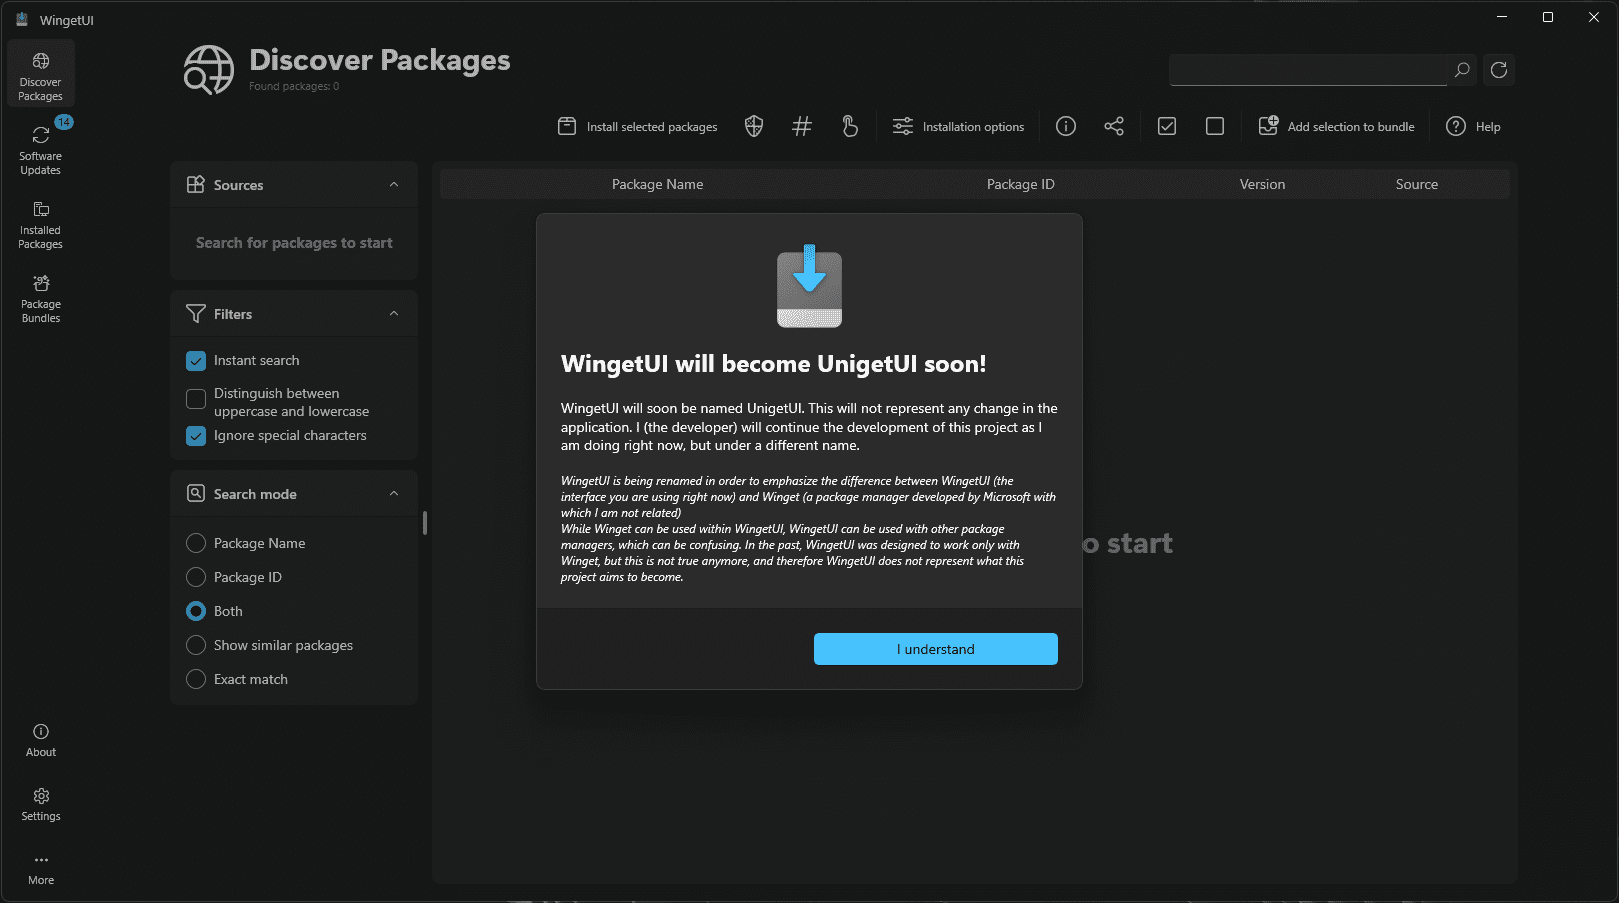
When you first install the most recent version, you will see a note that the tool will soon be renamed to UnigetUI. It looks like this is to differentiate that it isn’t just a Winget tool but can be used with other package managers and help cut down on the confusion there.
The WingetUI Interface
One of the things that struck me about WingetUI is its nice-looking user interface. It is very polished and has an out-of-the-box appearance that is very Windows 11. In fact, the developer has done a great job capturing the modern look and feel of the interface.
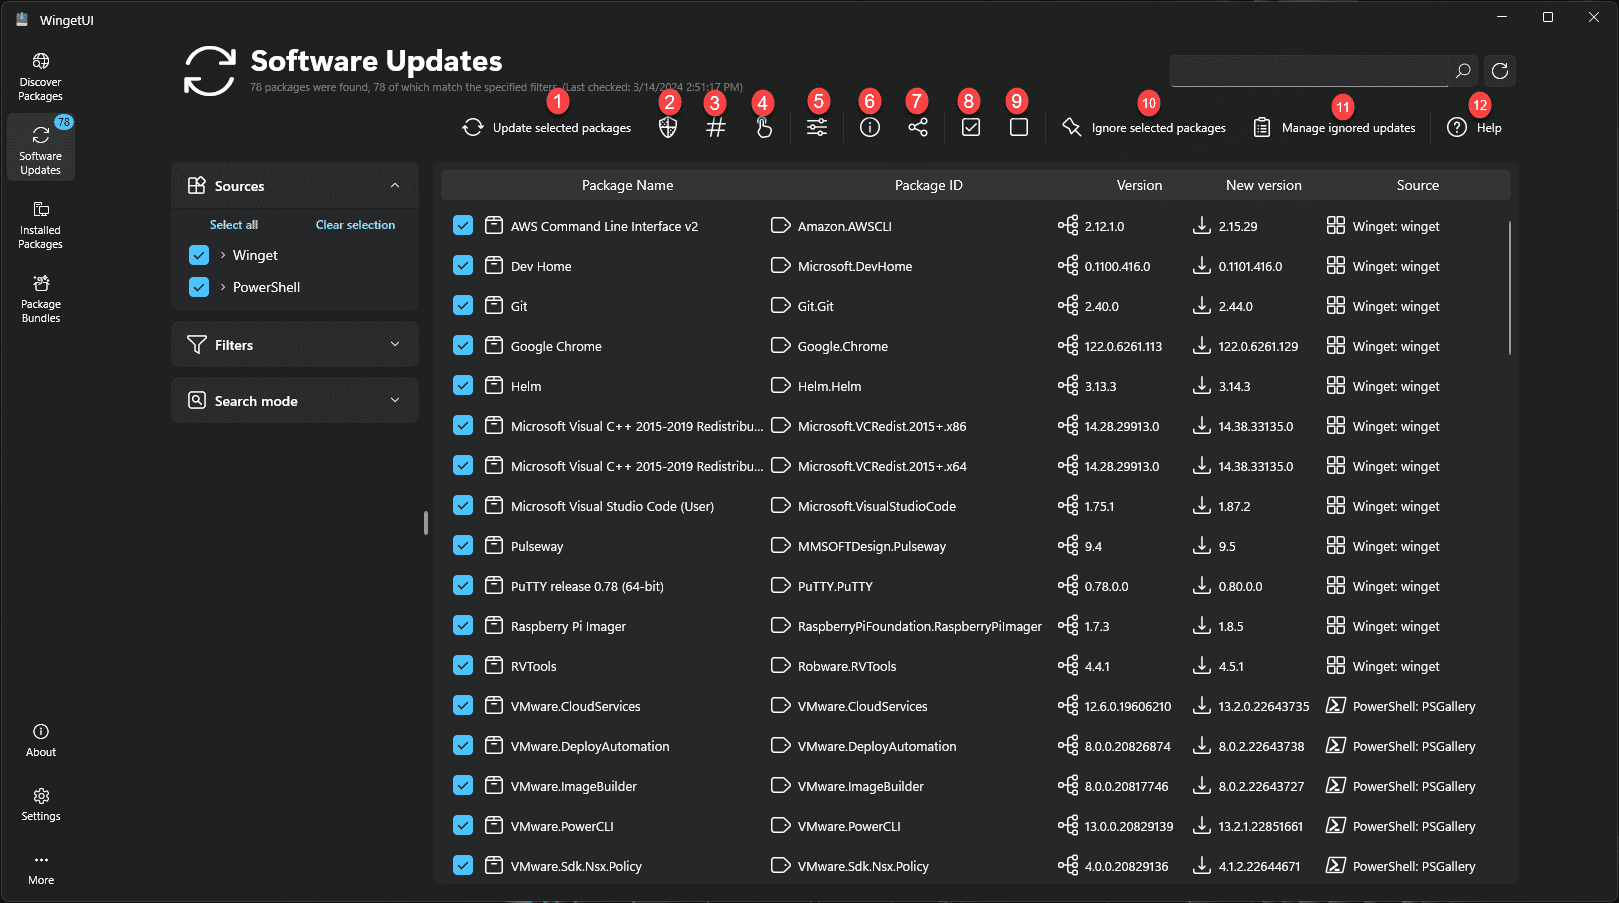
Let’s take a numbered look at the interface and what each button is at the top of the UI.
- Update selected packages
- Update as administrator
- Skip integrity checks
- Interactive update
- Installation options
- Package details
- Share
- Select all
- Clear selection
- Ignore selected packages
- Manage ignored updates
- Help menu
Scanning for updates
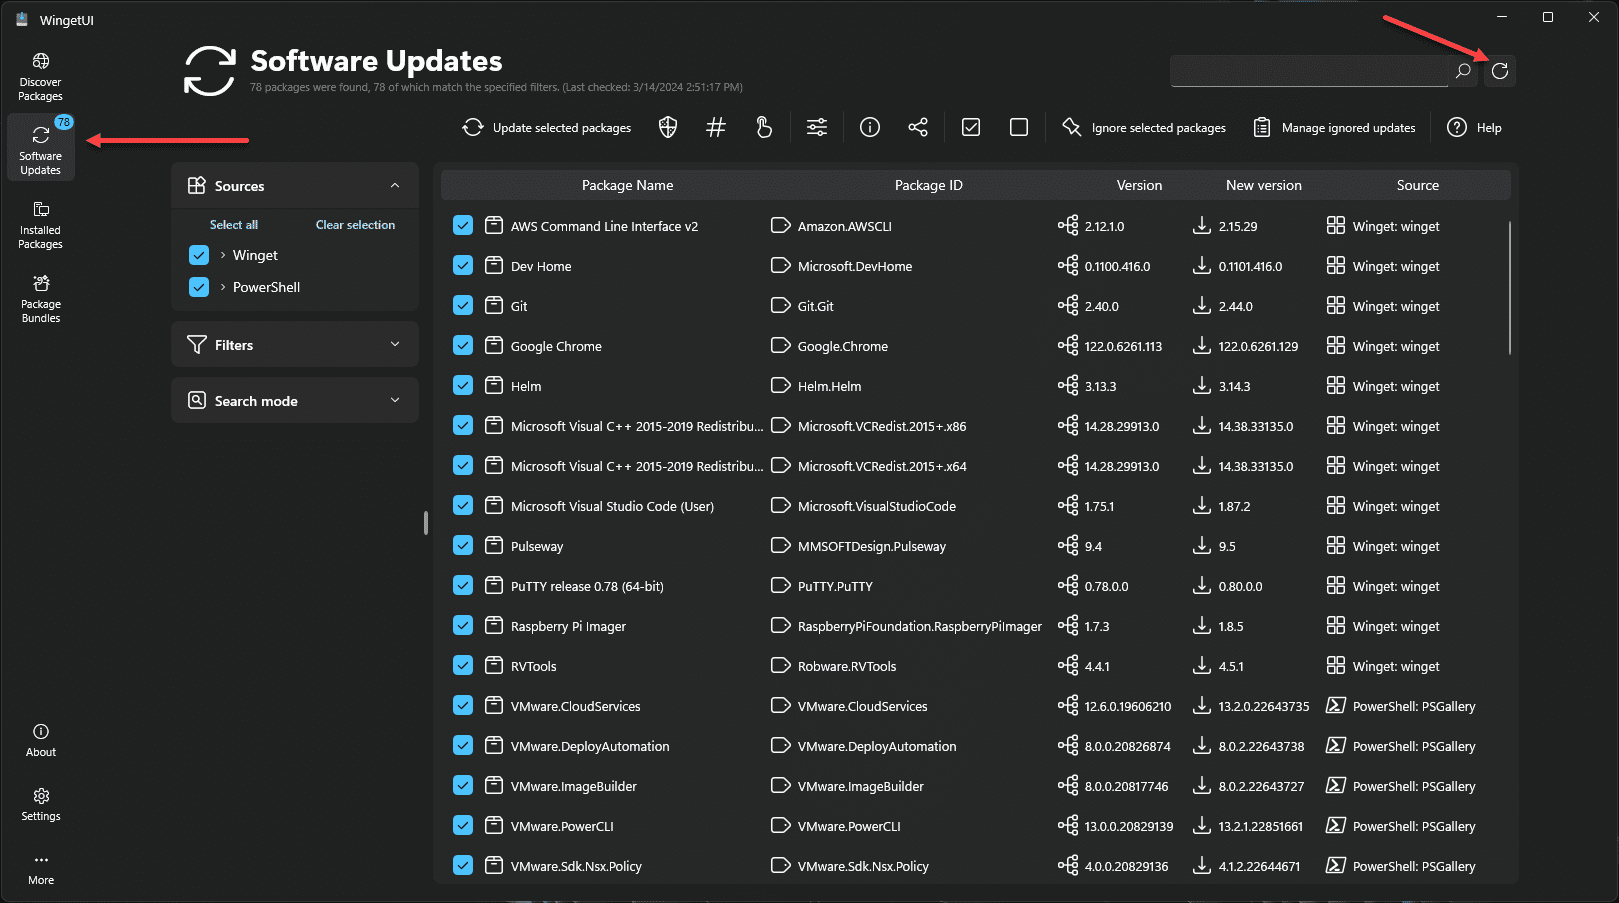
When you first launch the tool, it will begin scanning for updates of an installed package. You can rescan or “refresh” updates needed with the button next to the search menu in the top right.
Installing updates using WingetUI
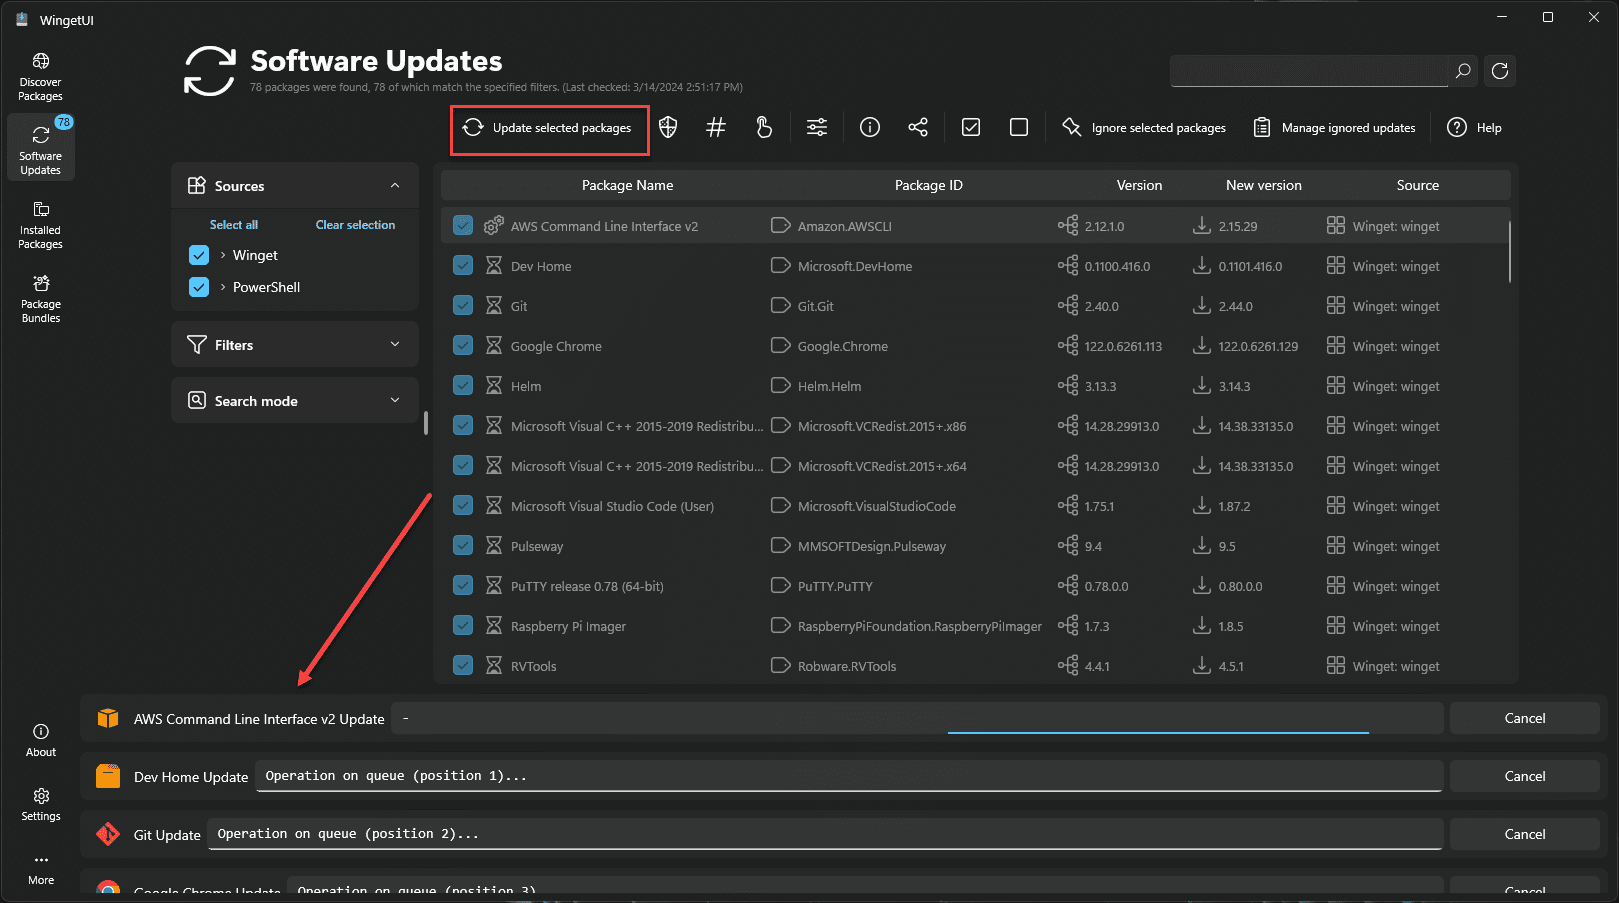
To begin installing updates, you just have to click the Update selected packages button and it will begin updating everything with its checkbox checked (everything by default that is found needing updates).
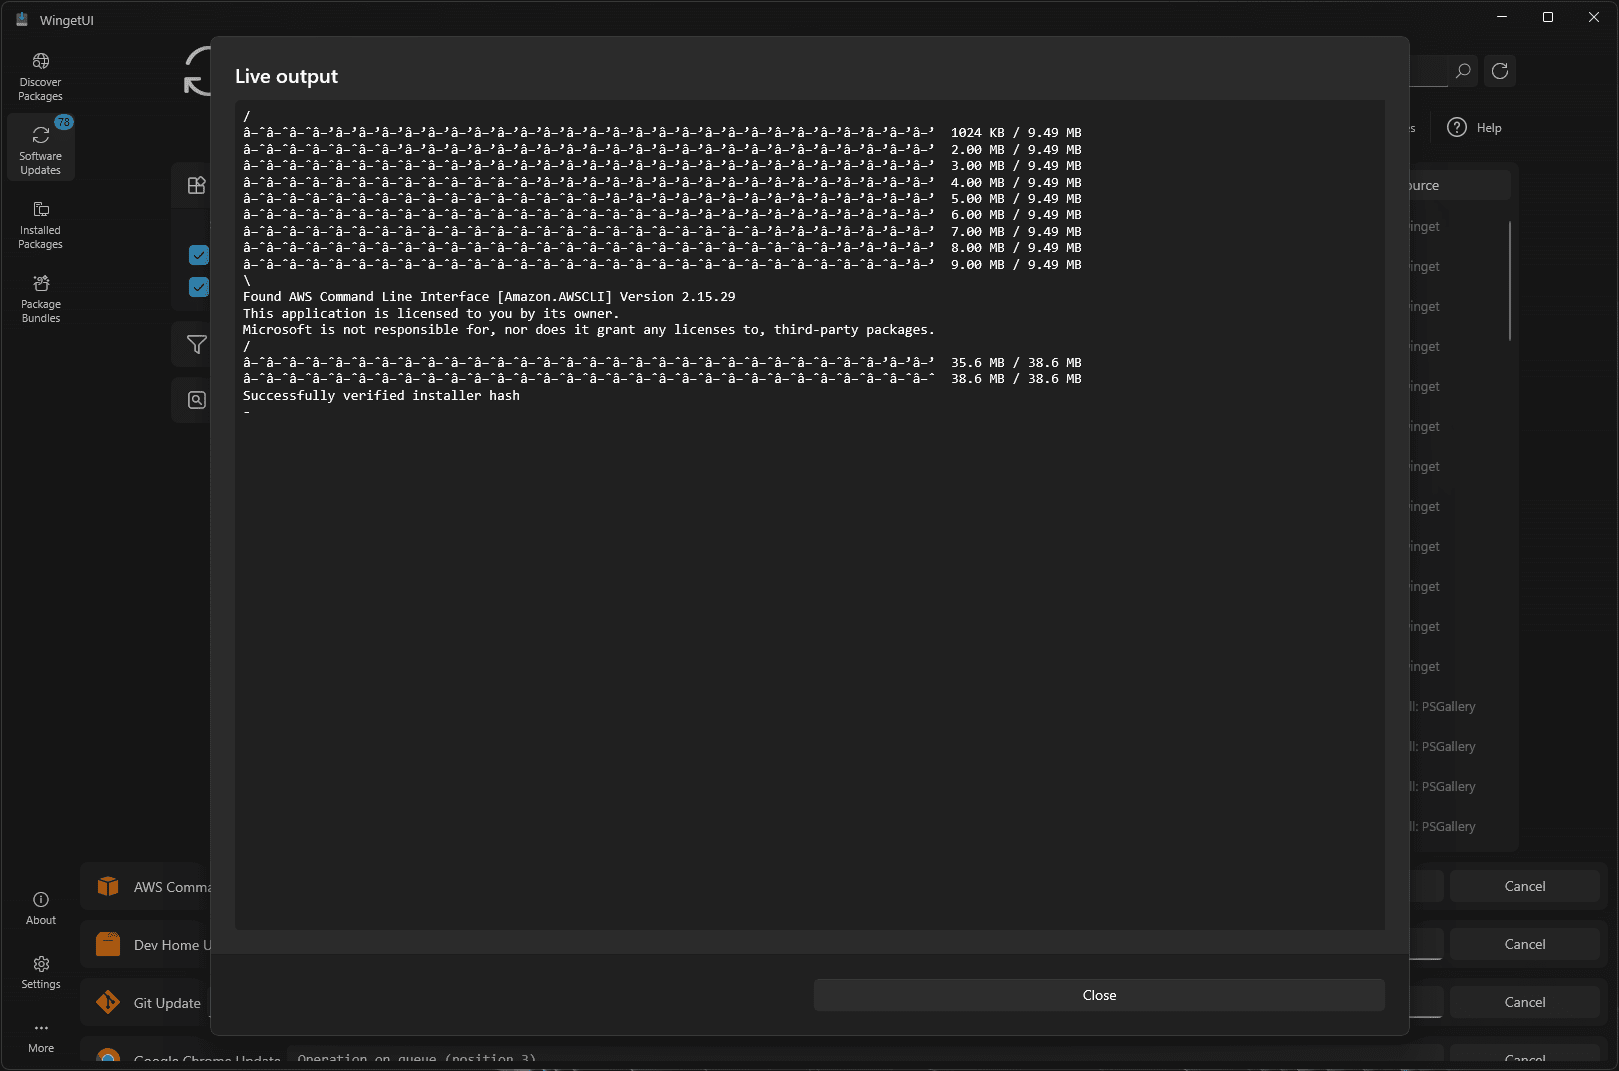
During the operation, automatically update packages. If you click on a package while it is being updated, you can see where it is in the process:
Uninstall software packages
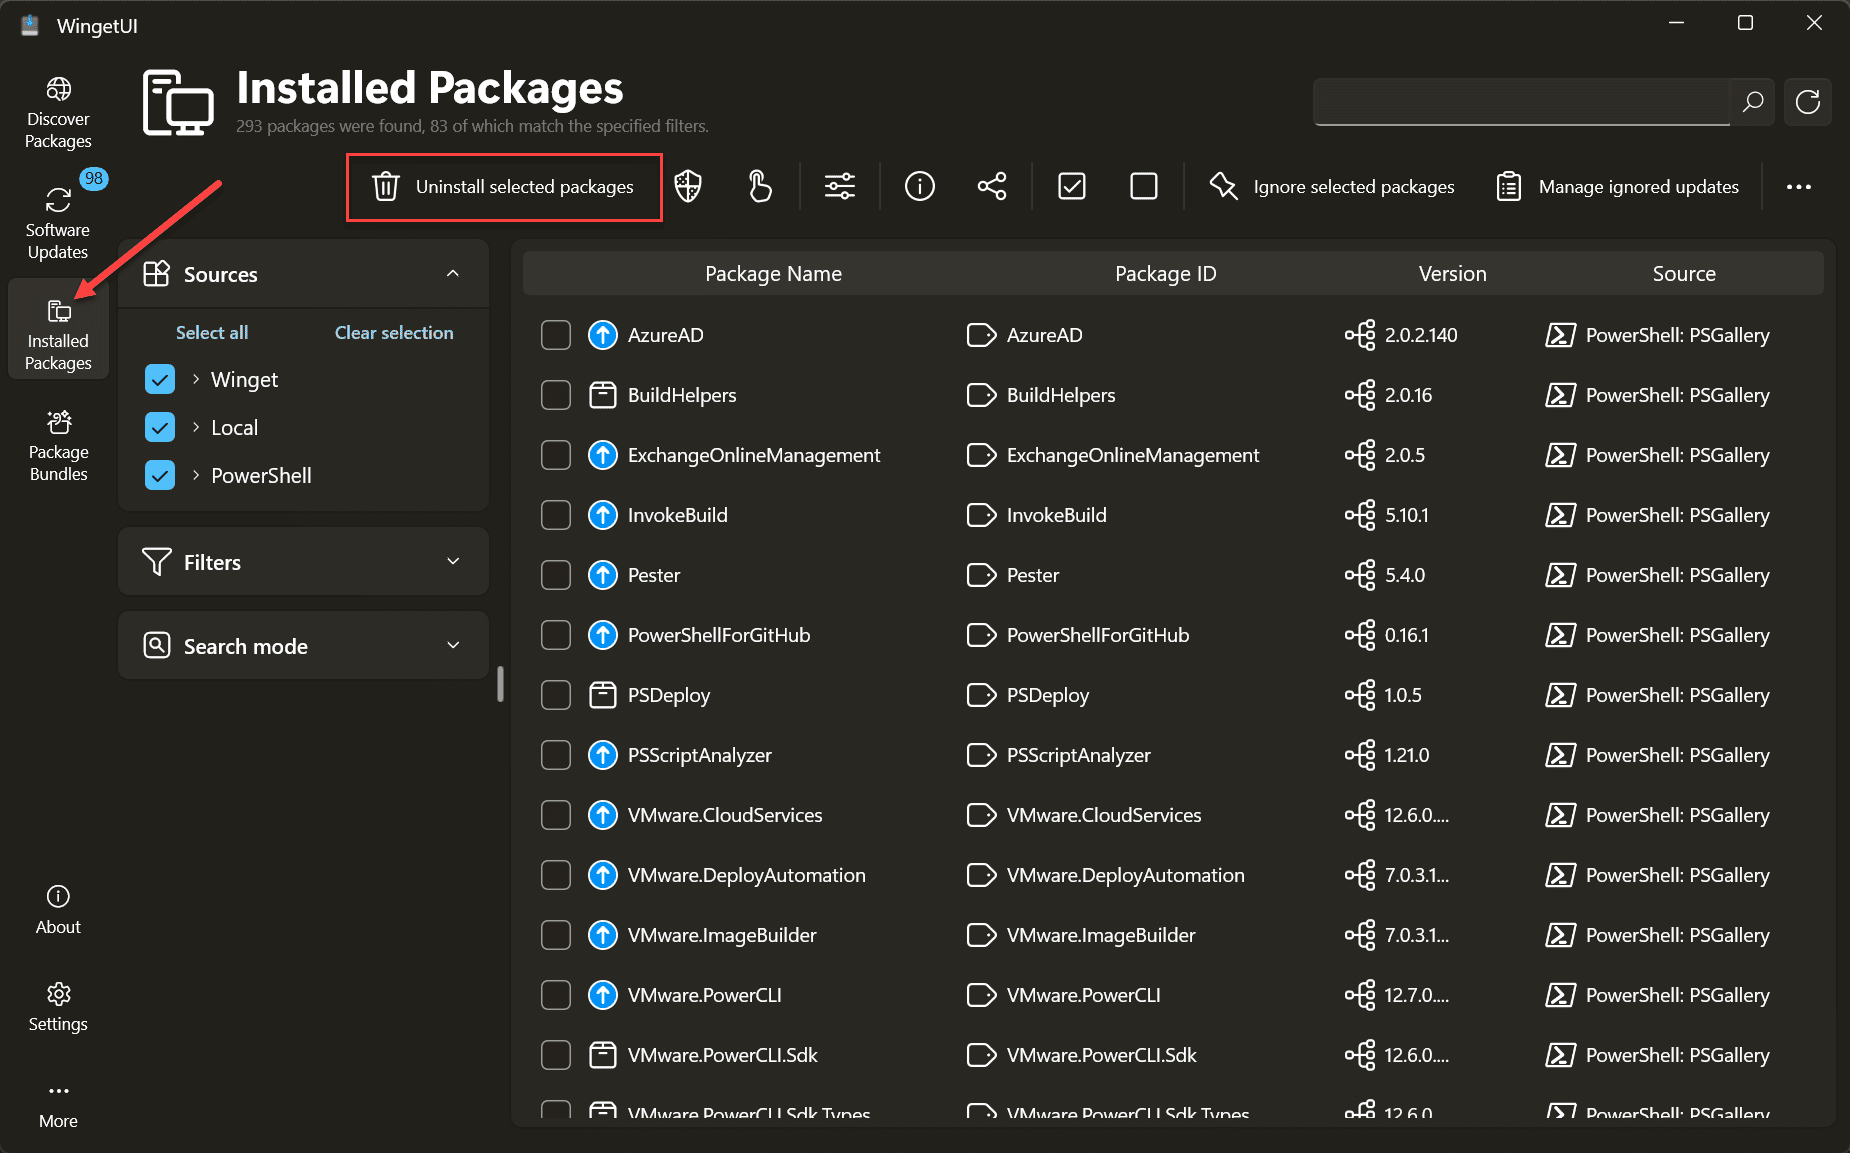
WingetUI allows you to easily uninstall software packages as well. On the Installed Packages screen, you will see the software installed and you can place checks next to the software you want to uninstall.
Adding software to bundles
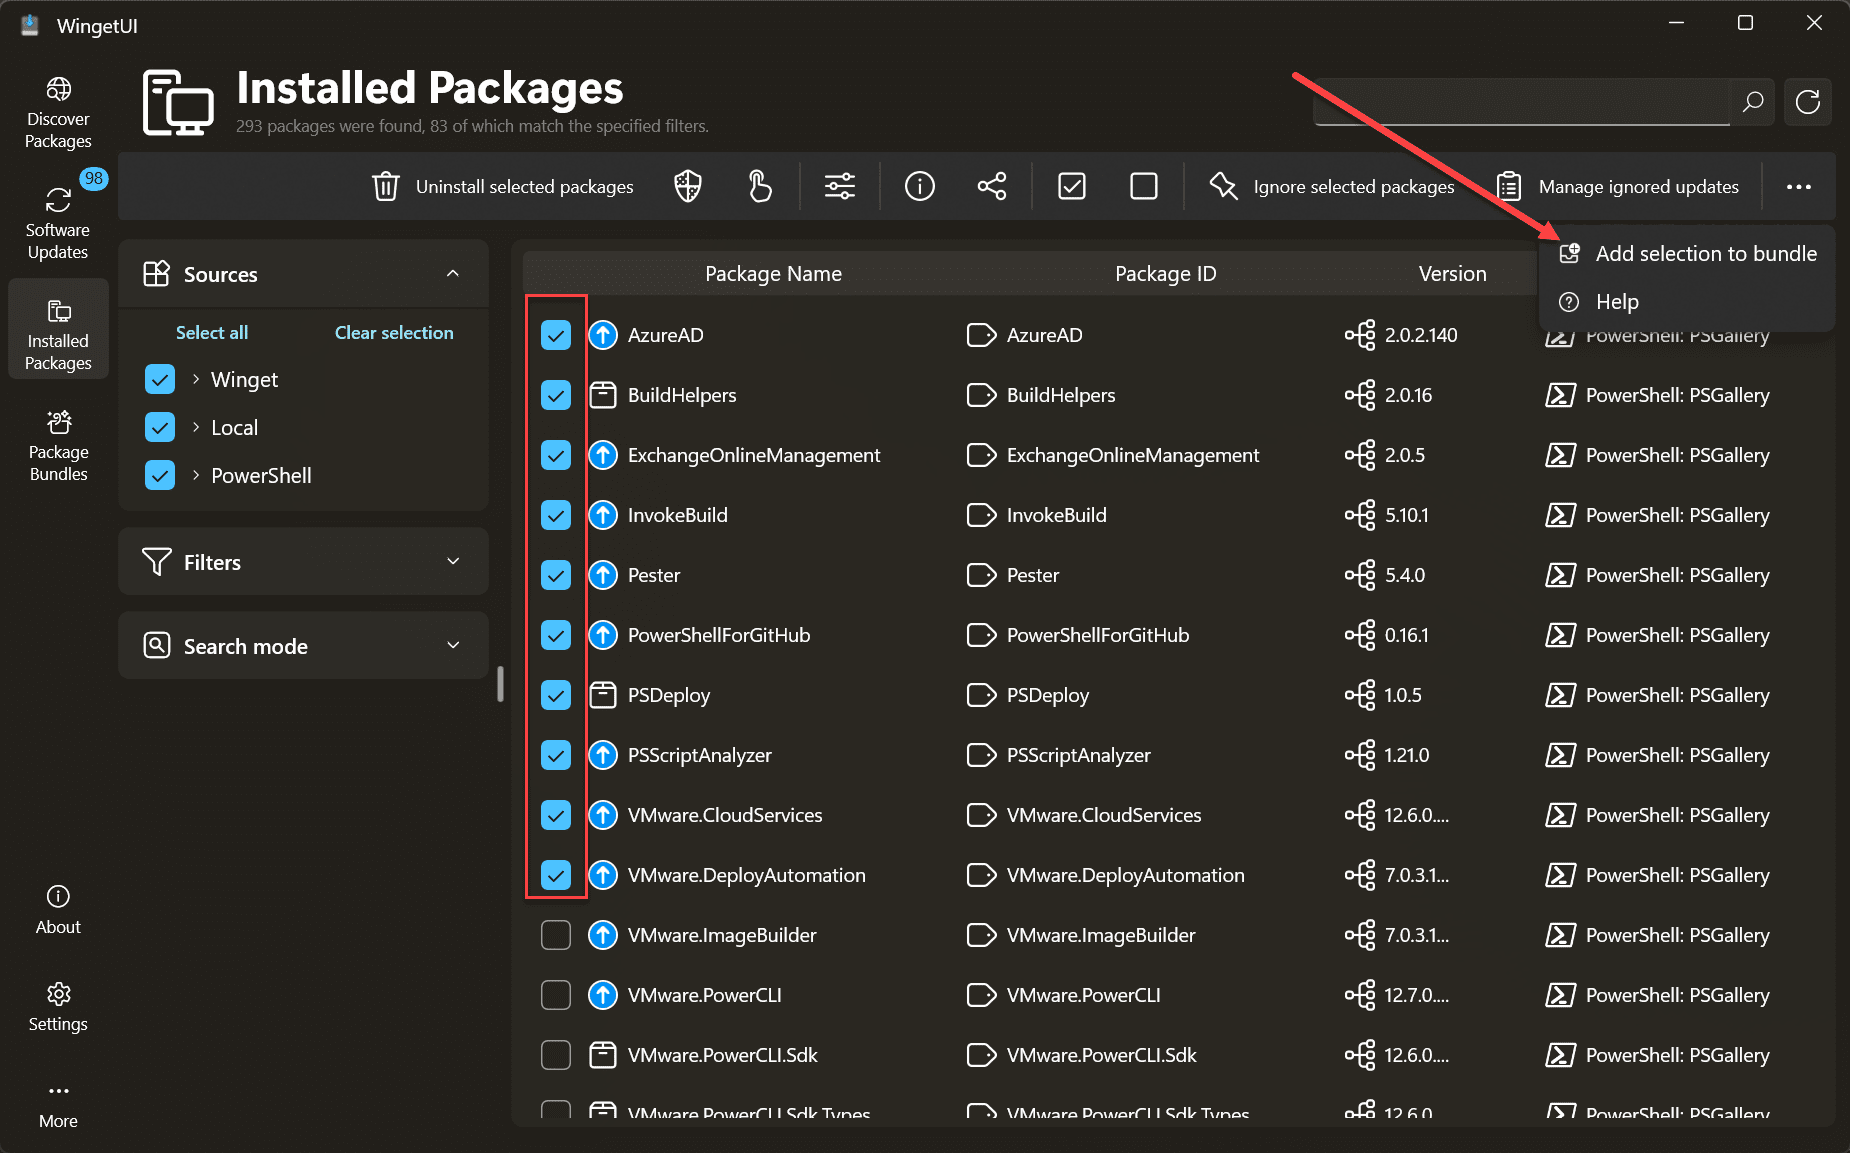
Adding software to packages is a great way that WingetUI allows you to create bundles of software that you can save and then install the bundles on a completely new machine to have the exact same software installed.
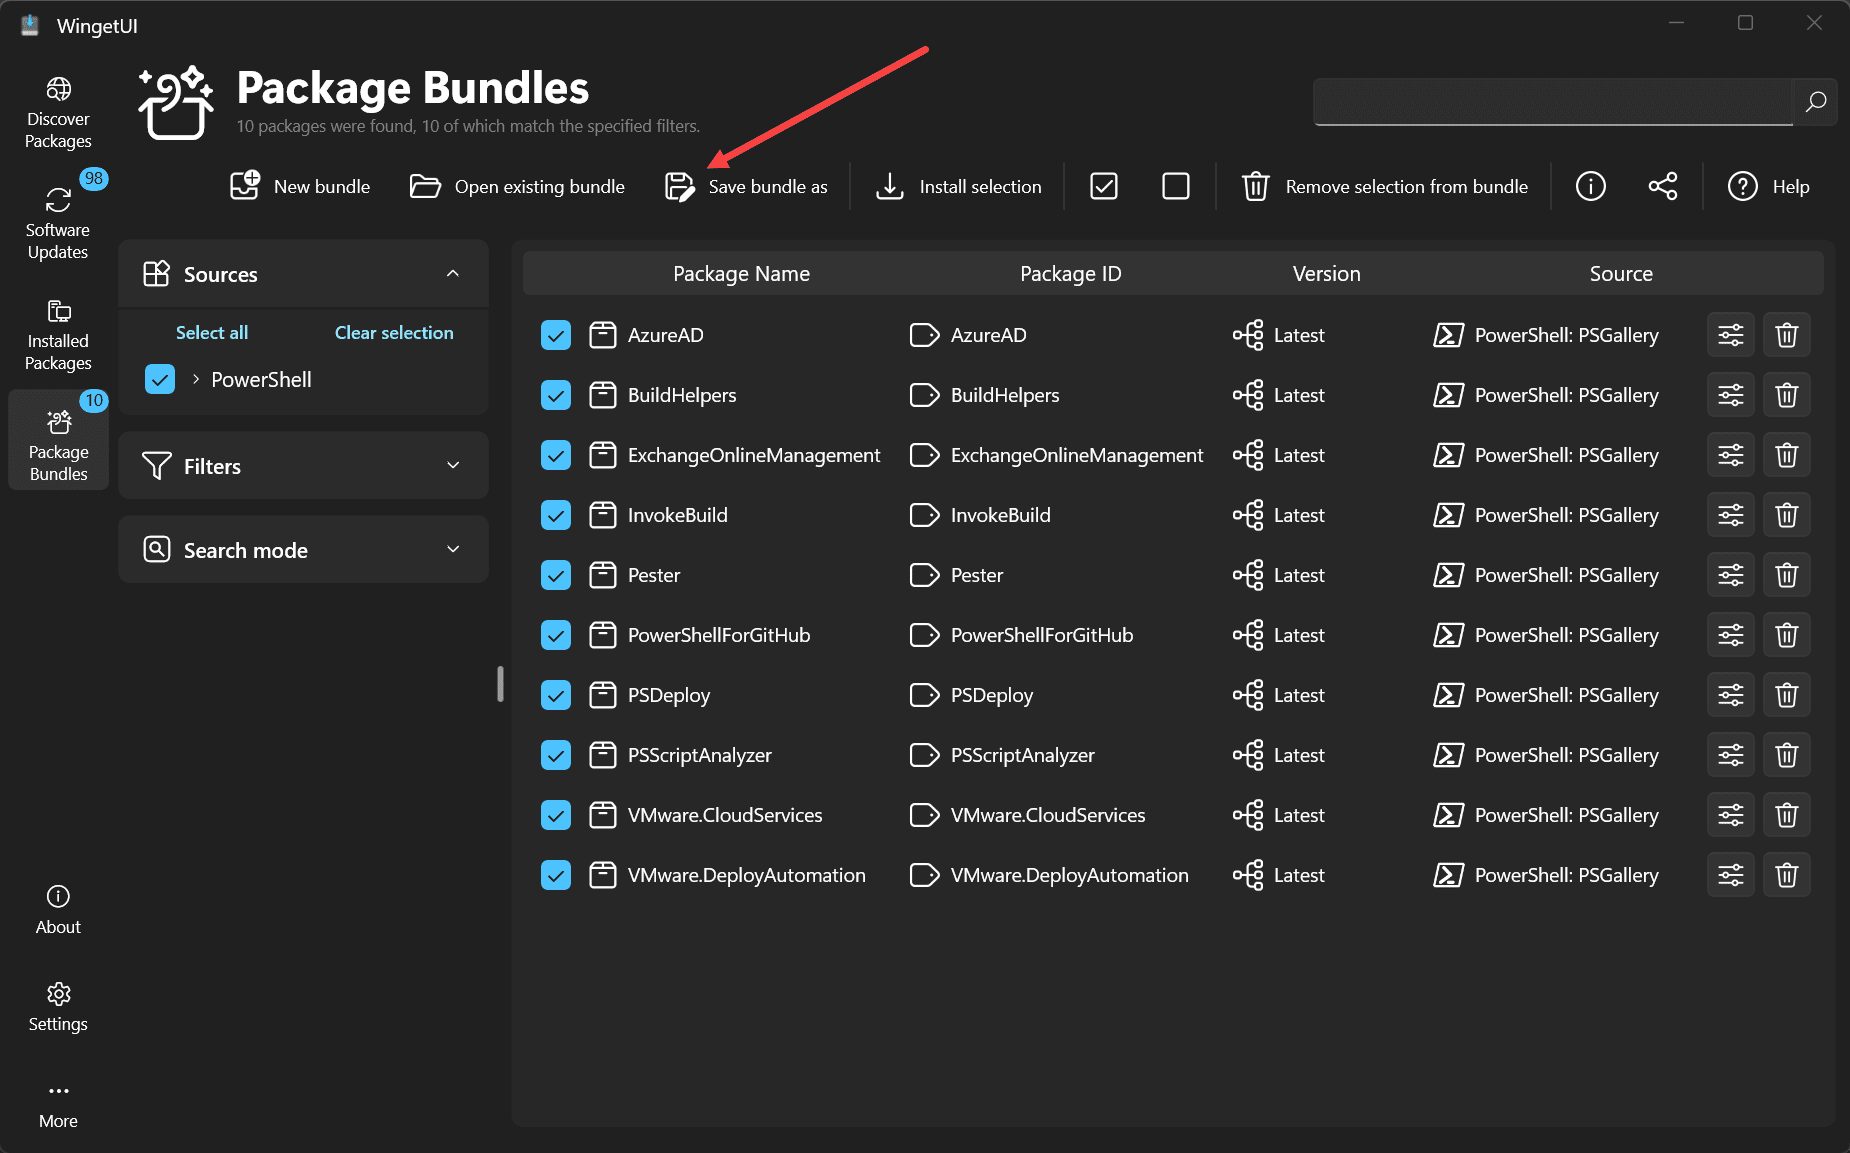
Then on the Package bundles screen, you will see the packages added. From here, you can save the software bundle. This will create a JSON file that describes all the software included in the bundle and allows you to open the bundle on a new machine then and install all the software described.
WingetUI settings
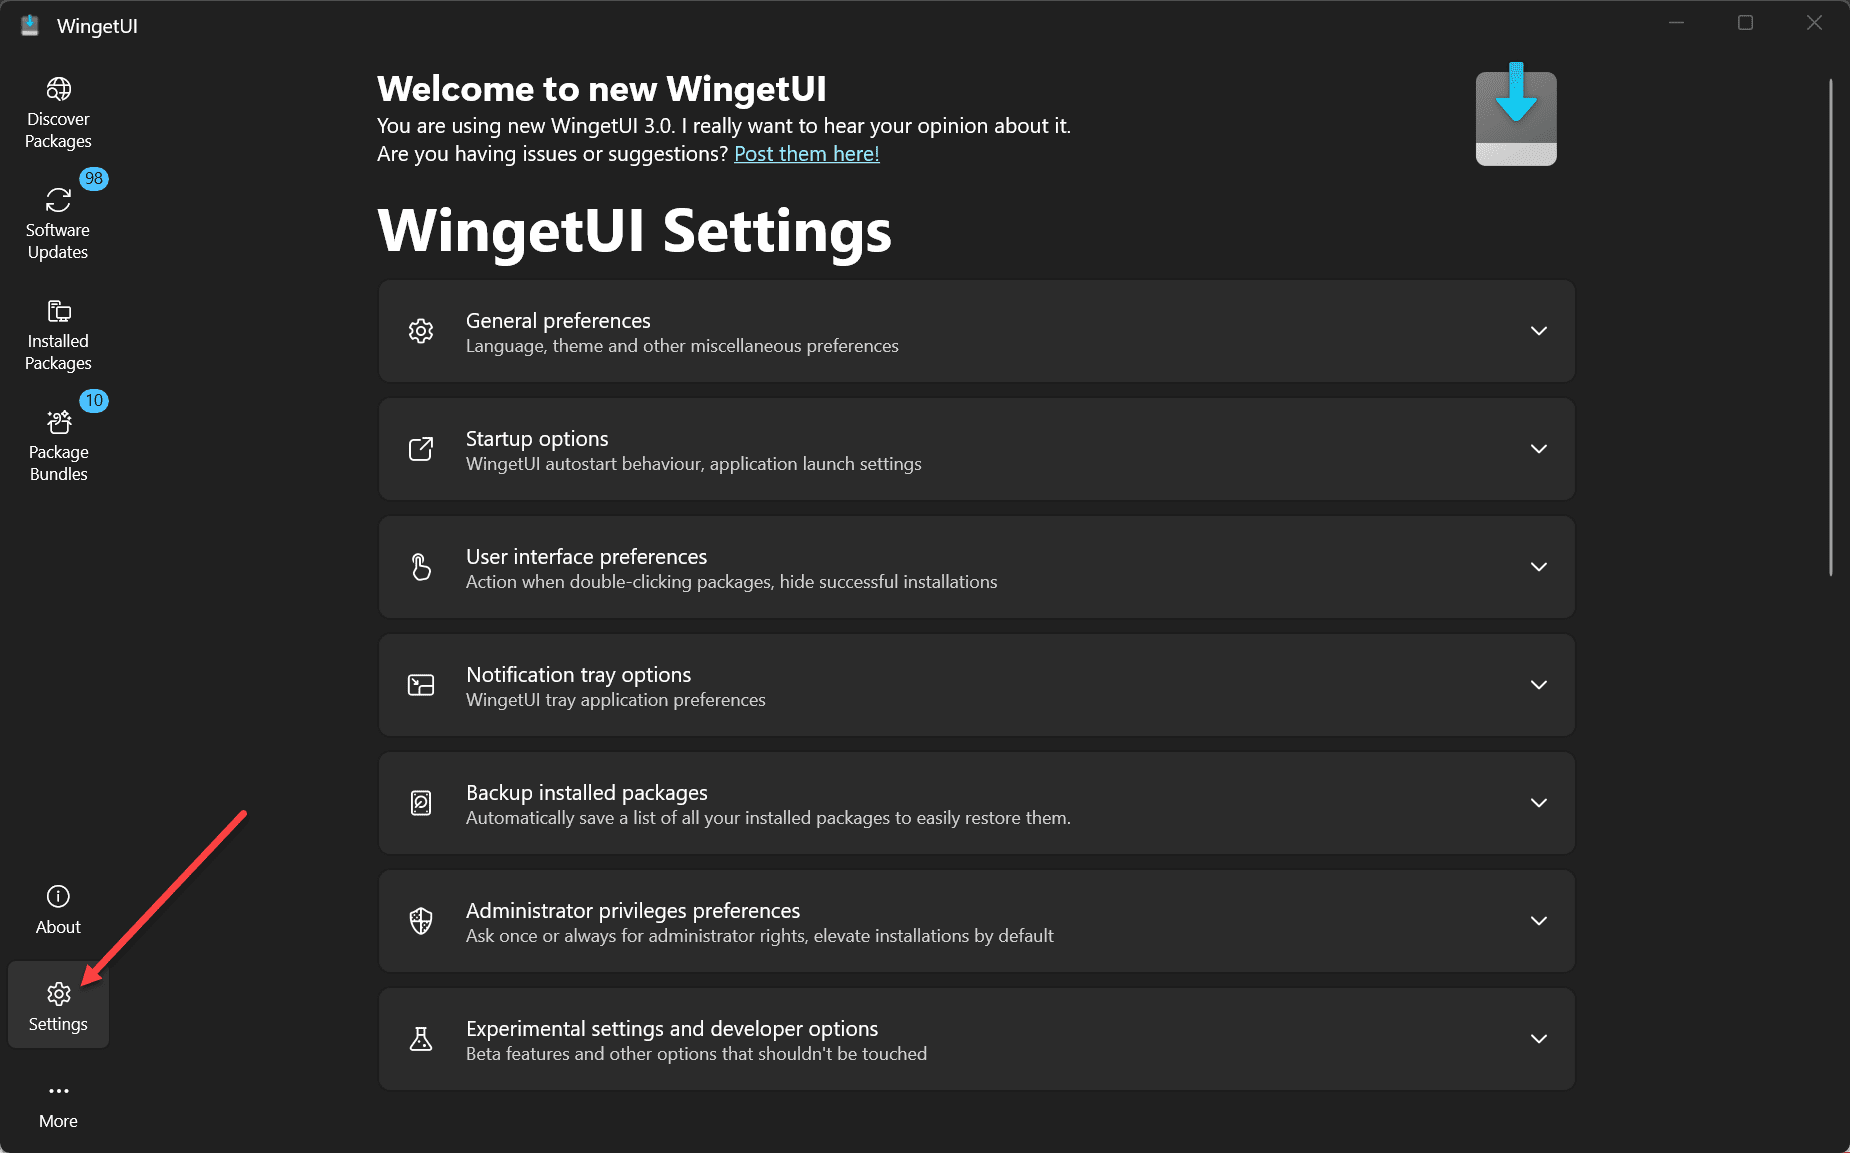
Note the following settings in the WingetUI settings menu:
- General preferences – Language, theme, and other miscellaneous preferences
- Startup options – WingetUI autostart behavior, application launch settings
- User interface preferences – Action when double-clicking packages, hide successful installations
- Notification tray options – Winget UI tray application preferences
- Backup installed packages – Automatically save a list of all your installed packages to restore them easily
- Administrator privileges preferences – Ask once or always for administrator rights, elevate installations by default
- Experimental settings and developer options – Beta features and other options that shouldn’t be touched
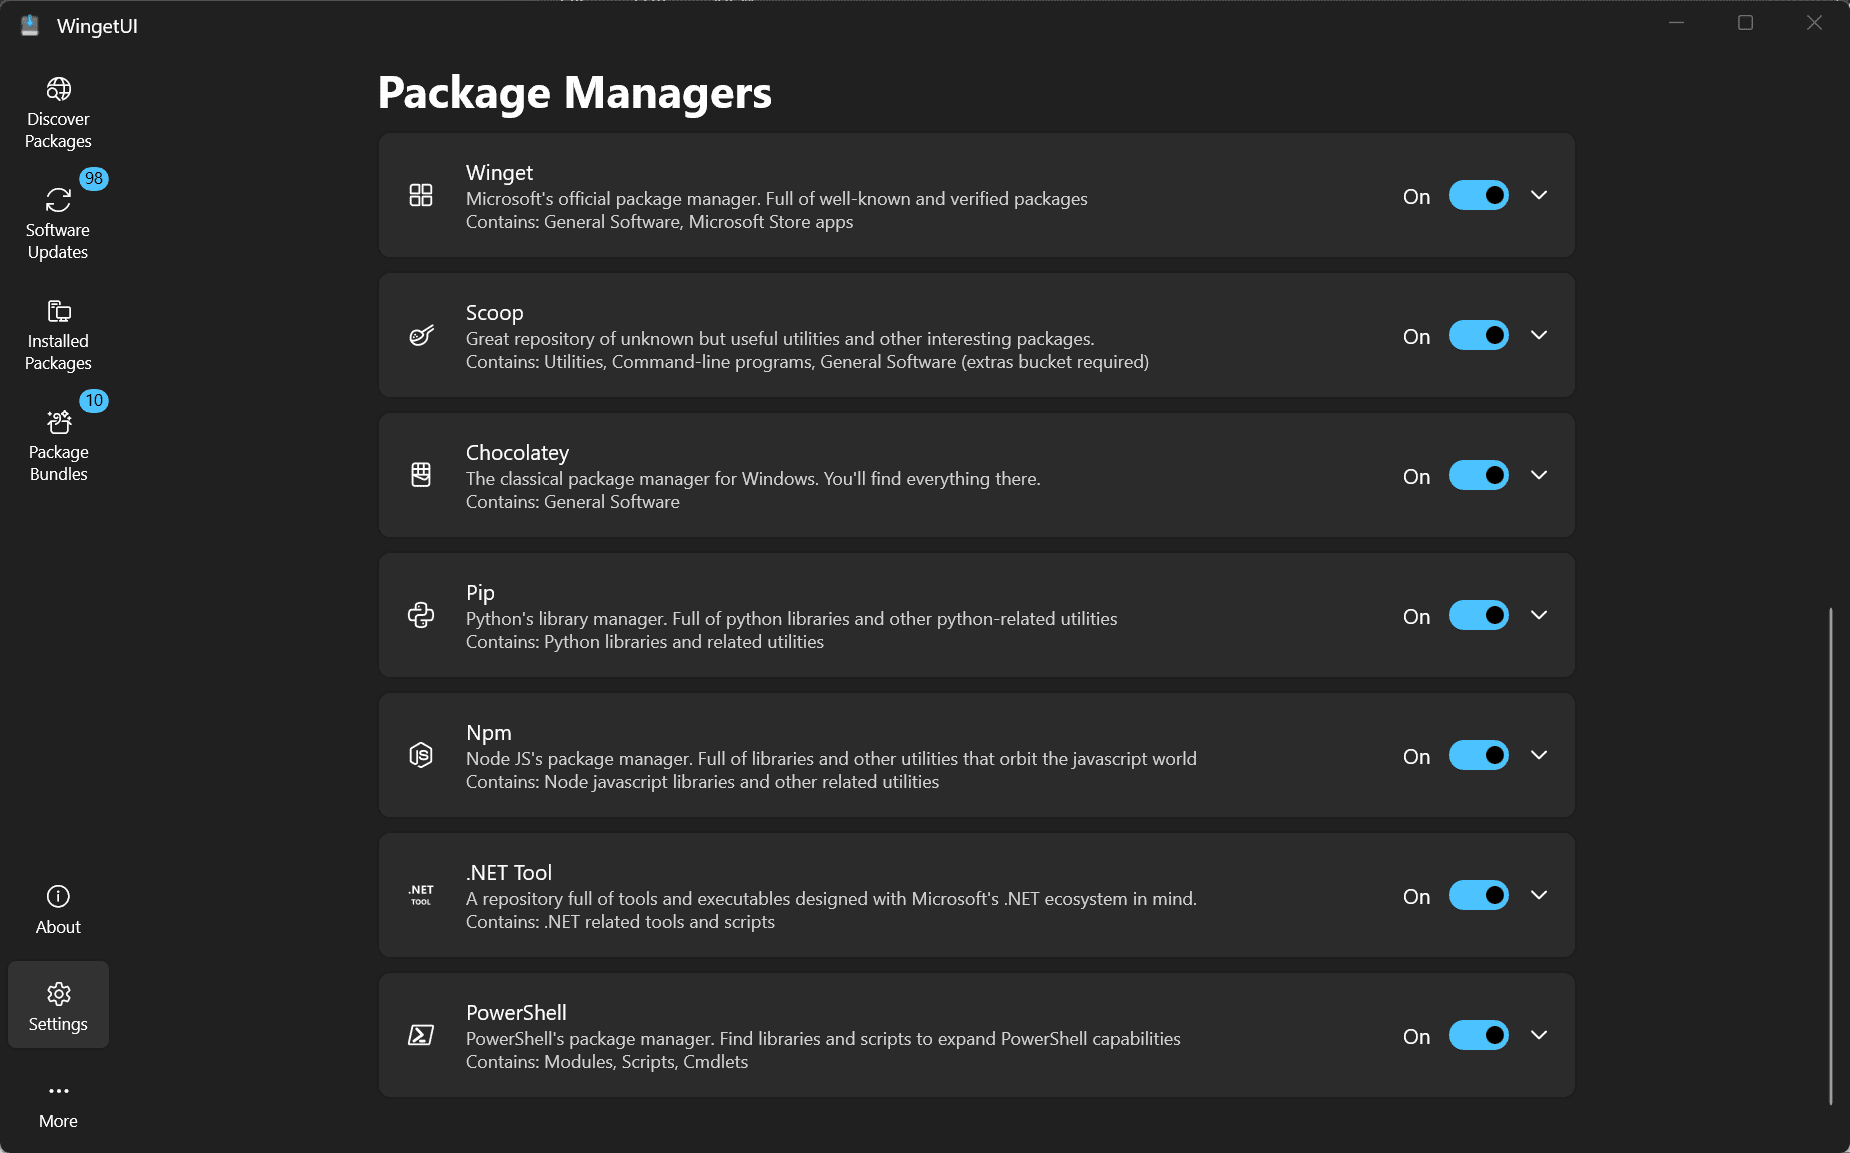
Enabling or disabling package managers
Under the settings, you can also enable or disable package managers. These include:
- Winget
- Scoop
- Chocolatey
- Pip
- Npm
- .NET Tool
- PowerShell
Wrapping up
WingetUI is a great tool to get the most out of the Winget Windows package manager command line tool. It also extends the capabilities with the packages you can save, bundle, and backup. The WingetUI is a great tool for keeping software updates installed for installed packages, installing new software, uninstalling software, and managing your apps. It is a free download from GitHub and is definitely a recommended install if you want to get the most out of your Windows package management.







Good stuff. Thanks, Brandon!
Thank you David! Definitely a good tool as a companion to winget. I’m liking it.
Brandon