Proxmox New Import Wizard for Migrating VMware ESXi VMs
I am super excited with some news coming from Proxmox hot off the press. They have released a new import wizard to migrate VMware virtual machines and it is available now! This I think is going to be a welcome tool for many in the home lab arena, but also those looking at Proxmox for production migrations. Let’s look at the new import wizard and see how you get access to it and then how you can use it.
Table of contents
- Overview of installing the new Proxmox import wizard
- Verify your Proxmox update repositories
- Install Proxmox updates
- Adding VMware ESXi storage to your Proxmox host
- Before importing a VMware ESXi virtual machine
- Importing a VMware ESXi VM in Proxmox
- Migrating a Windows VM
- Live import option
- Other things to note
- Troubleshooting
- Wrapping up the Proxmox new import wizard for VMware
Overview of installing the new Proxmox import wizard
It is easy to gain access to the Proxmox new import wizard for migrating VMware ESXi VMs and thankfully Proxmox has made the needed packages available with simple updates. There are a couple of things to know:
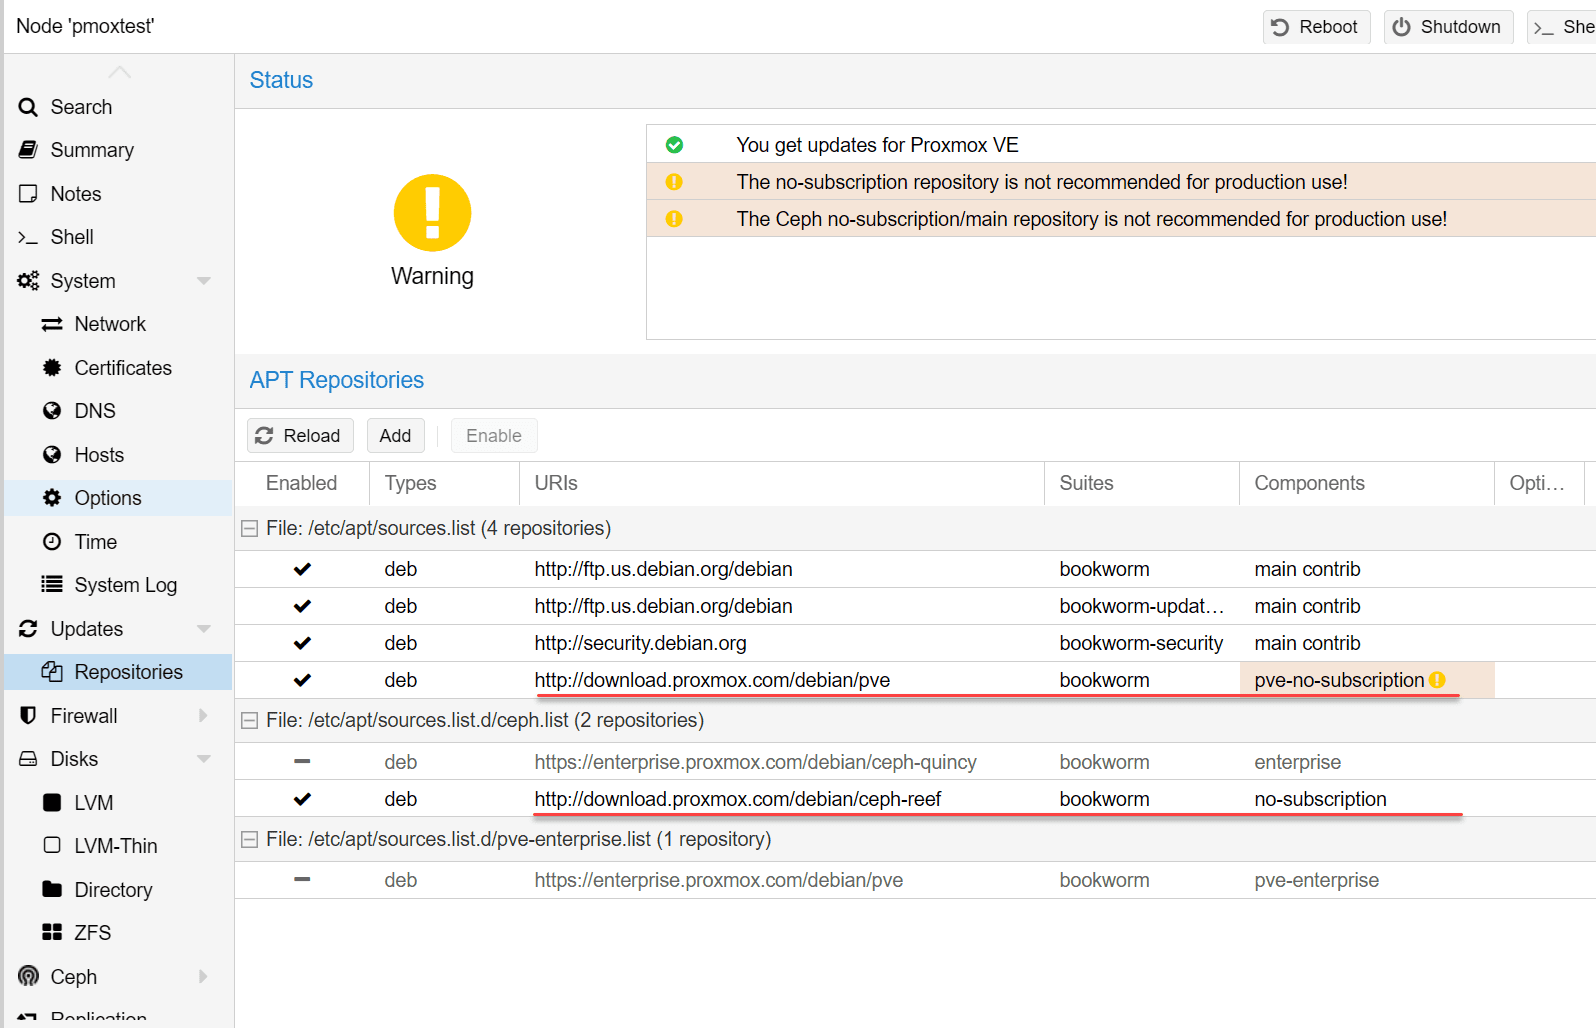
- You need to be pointed to the pvetest or pve-no-subscription repositories
- You need to update your pve-manager to version 8.1.8 and
libpve-storage-perlversion8.1.3or newer - With these updates, it will pull the pve-esxi-import-tools
Check out the official documentation here: Migrate to Proxmox VE – Proxmox VE
Verify your Proxmox update repositories
First, let’s verify the update repositories we are pointed to. Navigate to your Proxmox host > Upates > Repositories.
Install Proxmox updates
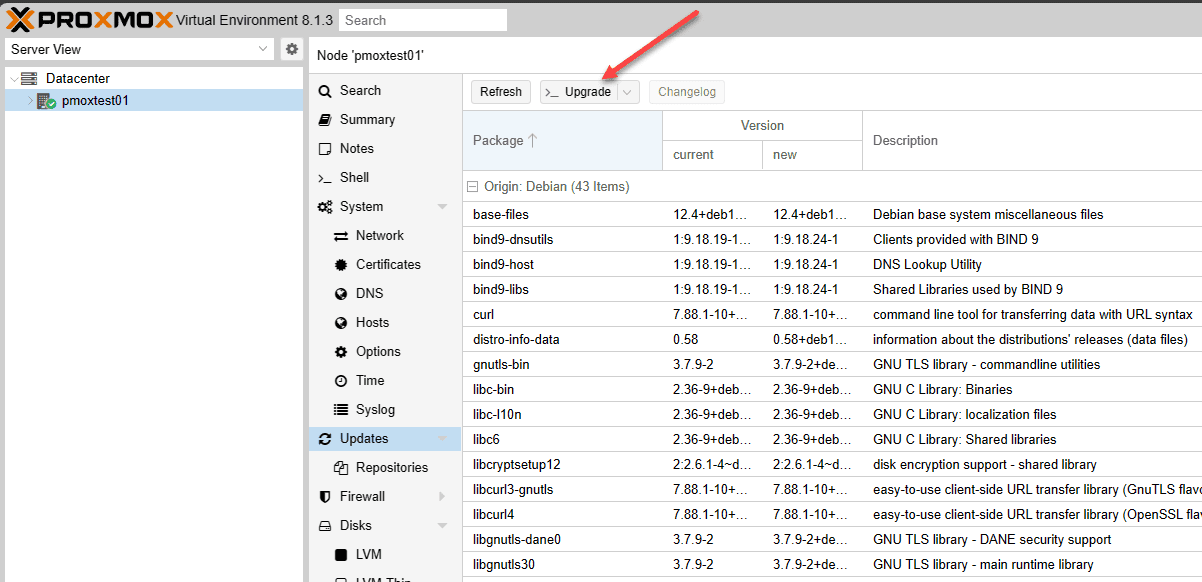
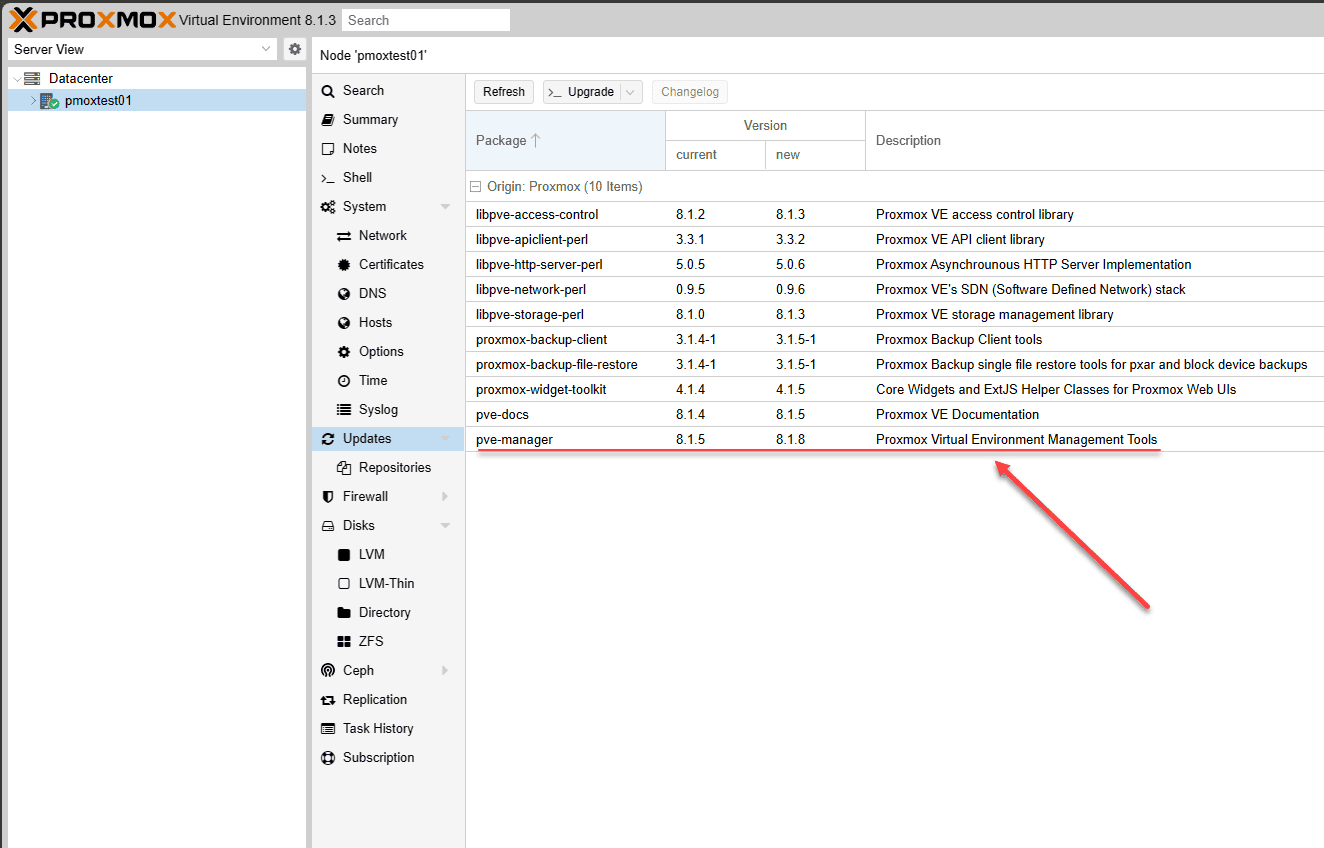
Next, we ned to navigate to the Proxmox host Updates > Upgrade and click the button. It will show you all the updates available.
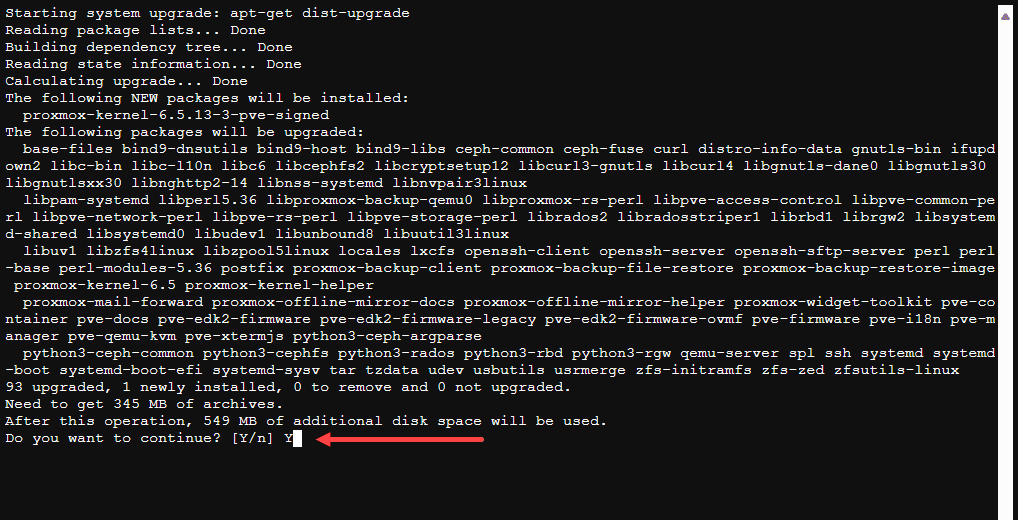
When you click the Upgrade button, it will have you confirm the installation of the available updates.
For my Proxmox test host, I was quite a few updates behind. When I refreshed the available updates and had more appear. I was excited to see the pve-manager 8.1.8 available.
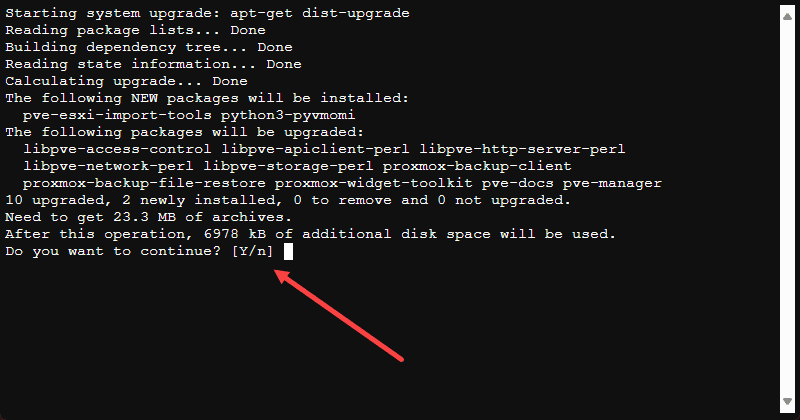
Going through the same process once more. Confirm the updates.
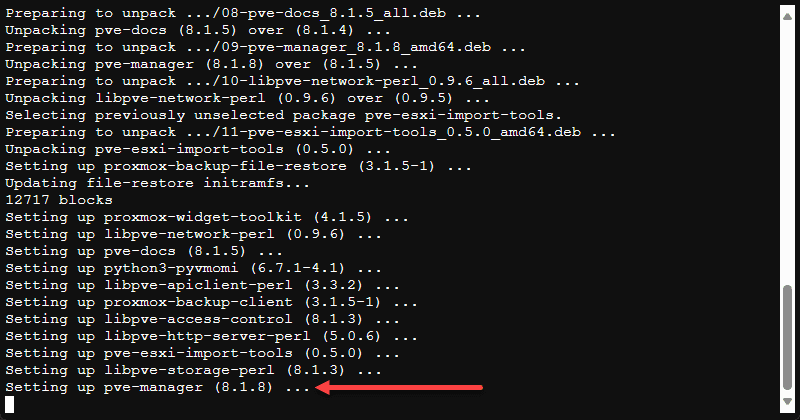
The pve-manager 8.1.8 installing.
Verifying the PVE-ESXI-IMPORT-TOOLS package is installed
After the updates completed successfully, one thing I did was just to verify the package is installed was run the following command:
apt install pve-esxi-import-tools -yThe command output confirmed the package was already installed.
Reboot your Proxmox VE host
Now, you need to reboot your host. I didn’t see this in the official documentation. However, when I went to import my ESXi storage, the option was not available, even after logging out and back in. So, a reboot is definitely in order.
rebootAdding VMware ESXi storage to your Proxmox host
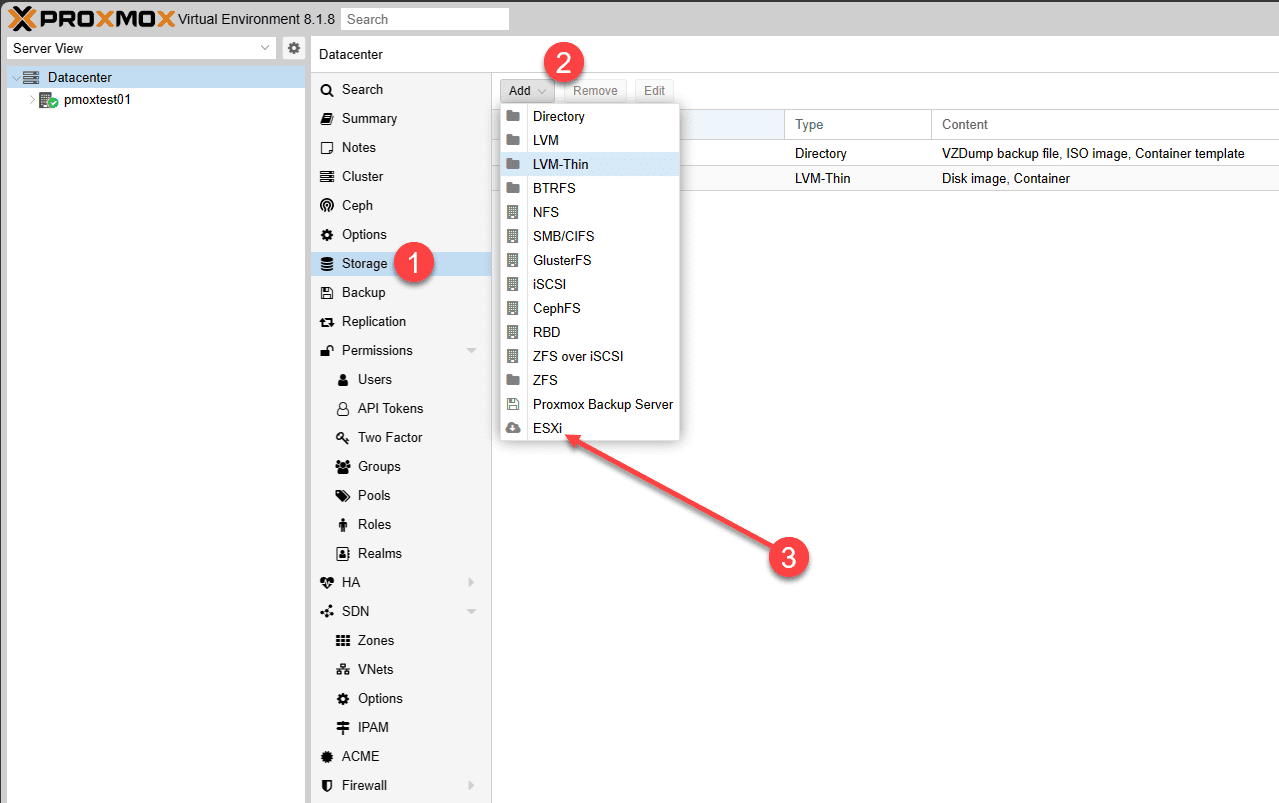
Now that we have the required packages installed and updates in place, you should be able to navigate to Datacenter > Storage > Add > ESXi.
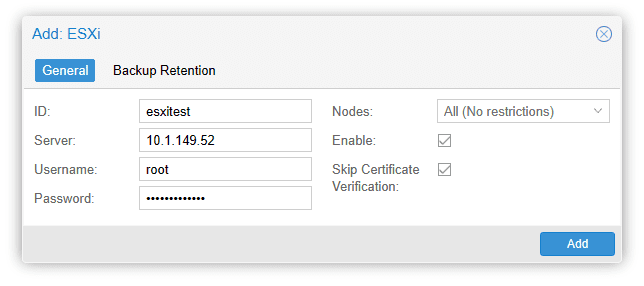
In the Add ESXi dialog box, enter a distinct ID, server (FQDN or IP), username and password and also select the Skip Certificate Verification checkbox if you are using self-signed certificates.
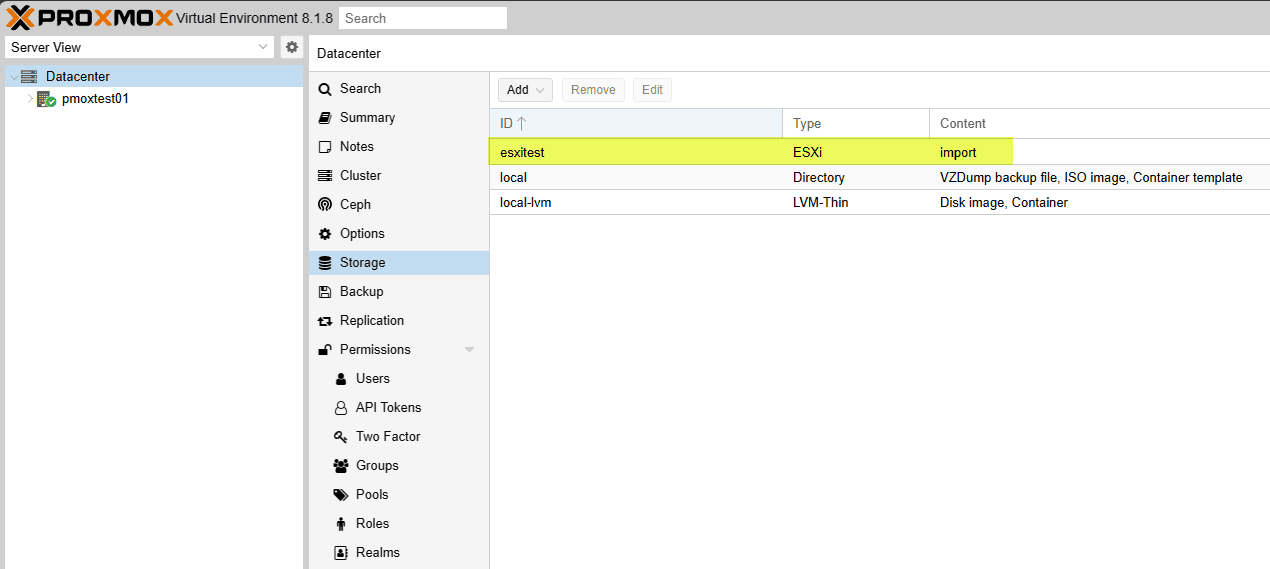
After clicking the Add button, you will see your new storage listed for your ESXi server under Storage.
Before importing a VMware ESXi virtual machine
- Before the migration, you will likely want to remove any guest tools (VMware Tools)
- Note down the guest network configuration, so you can manually restore it if something hapens
- On Windows, Proxmox notes in the documentation it is best practice to remove any static network configuration. After the migration, the network adapter will change identifiers and Windows will show a warning if you configure the same IP address on another network adapter, when the old adapter is no longer present.
- Keep DHCP reservations in mind. You can either reconfigure the reservation to the new MAC address of the target VM NIC, or set the MAC address on the target VM NIC manually to match the DHCP reservation.
- With full disk encryption used with a VM and keys are stored in a virtual TPM device, disable the encryption. It is currently not possible to migrate the vTPM state to Proxmox VE from your VMware virtual machine. Also, you will want to have the manual keys available to decrypt the VM if needed.
- Power down the source VM (this is required).
Importing a VMware ESXi VM in Proxmox
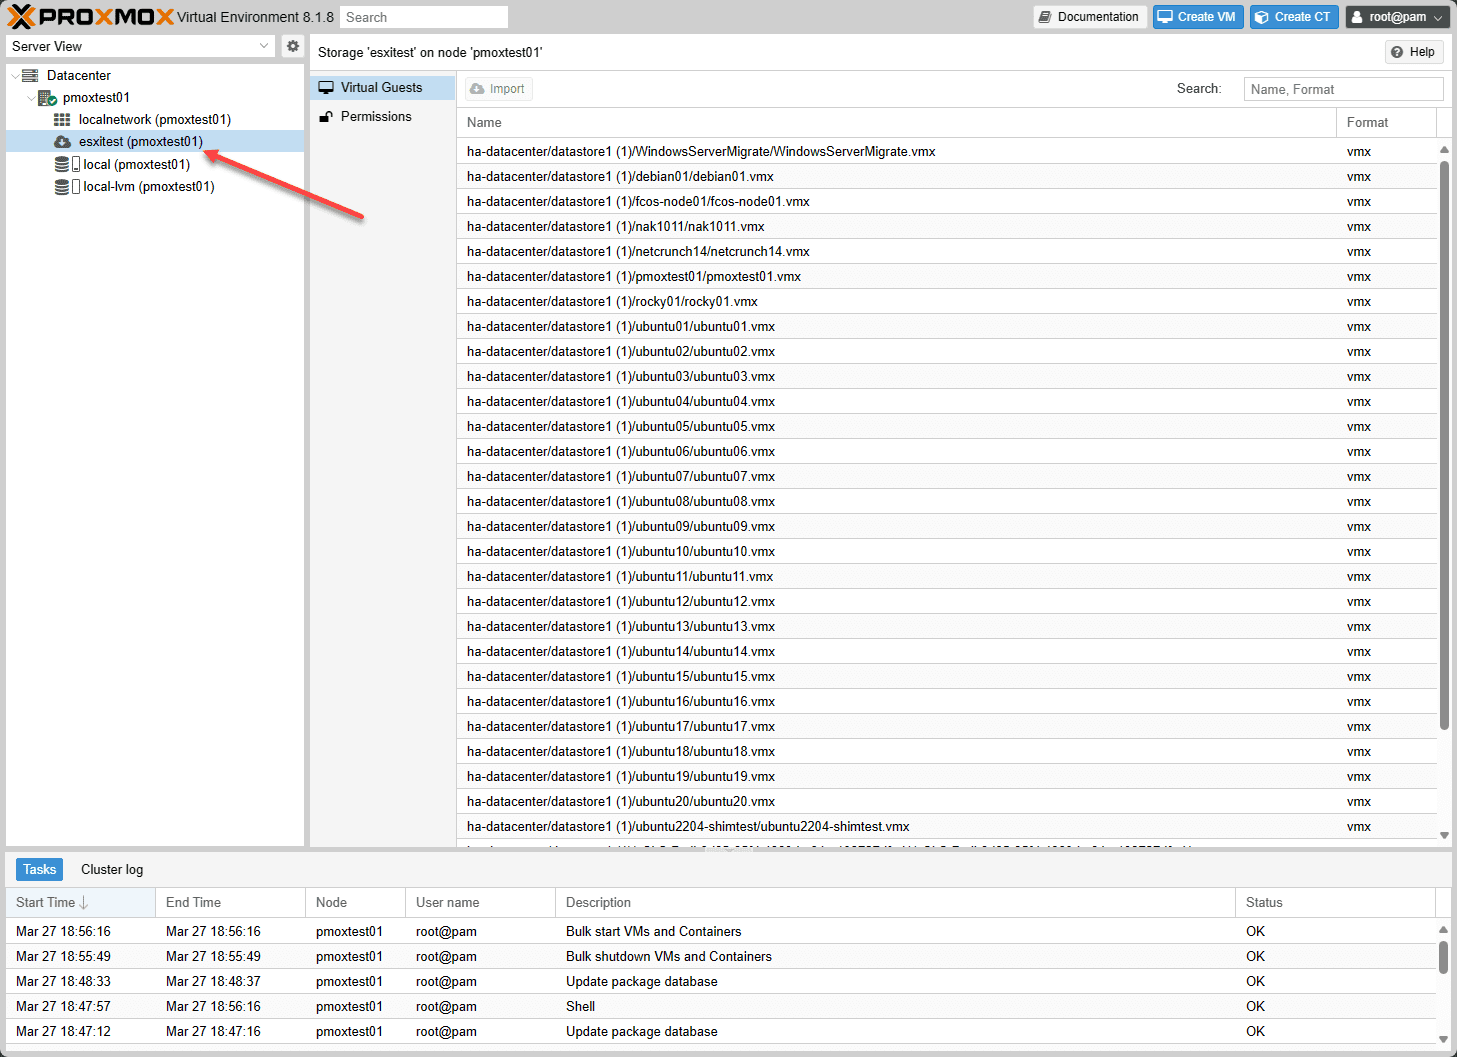
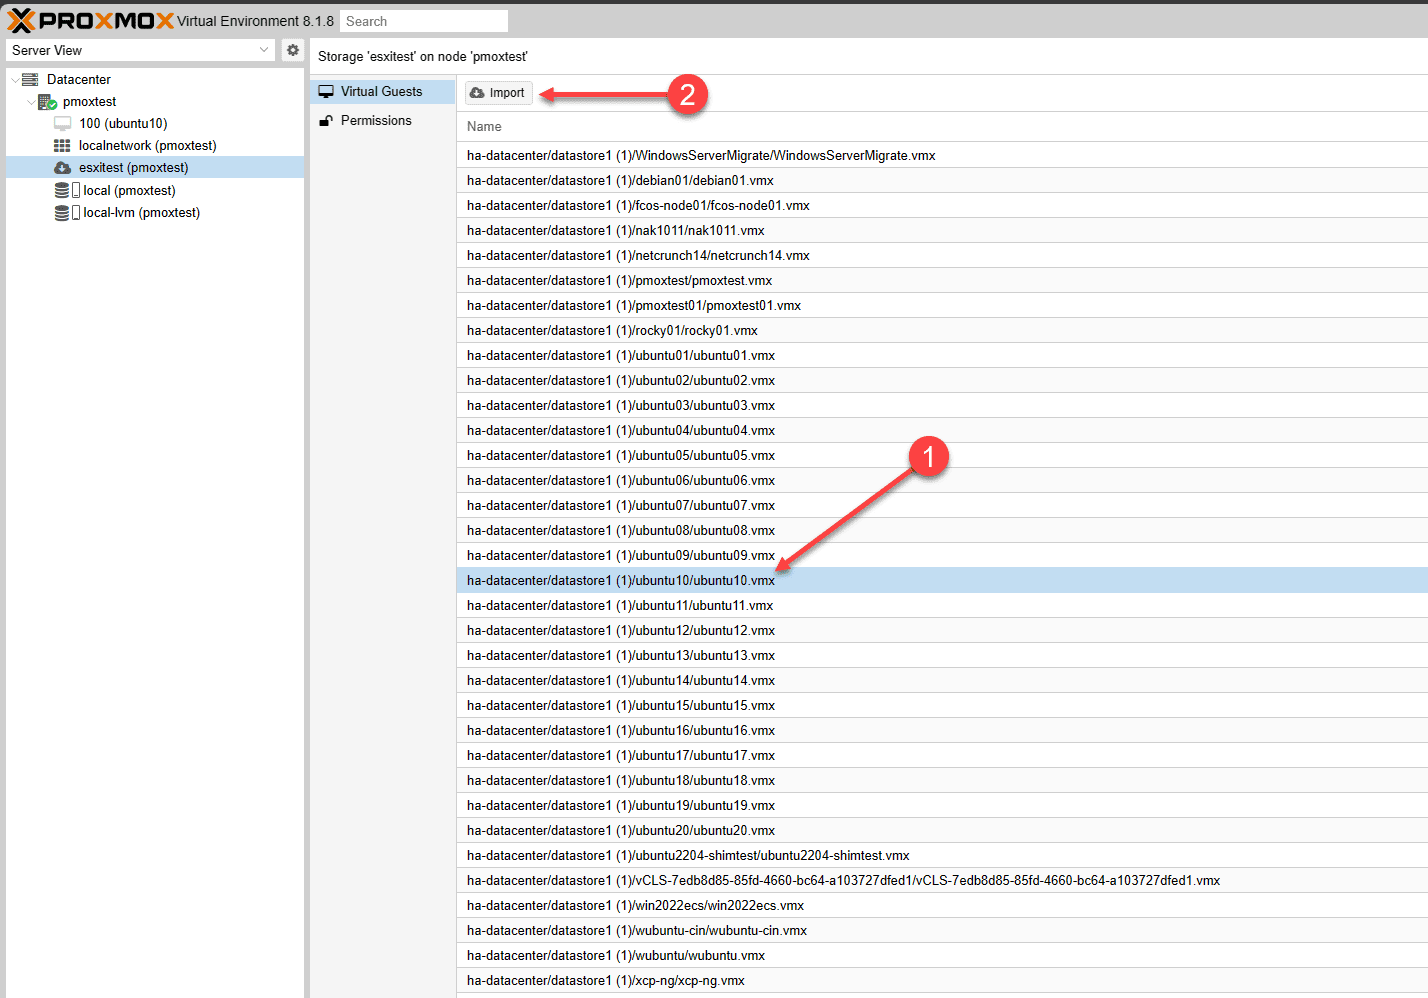
When you click your ESXi storage under your Proxmox VE server, you will see the virtual machines listed in your ESXi datastore.
To begin the import wizard for your VMware ESXi virtual machine, click the VM you want to import and then click Import.
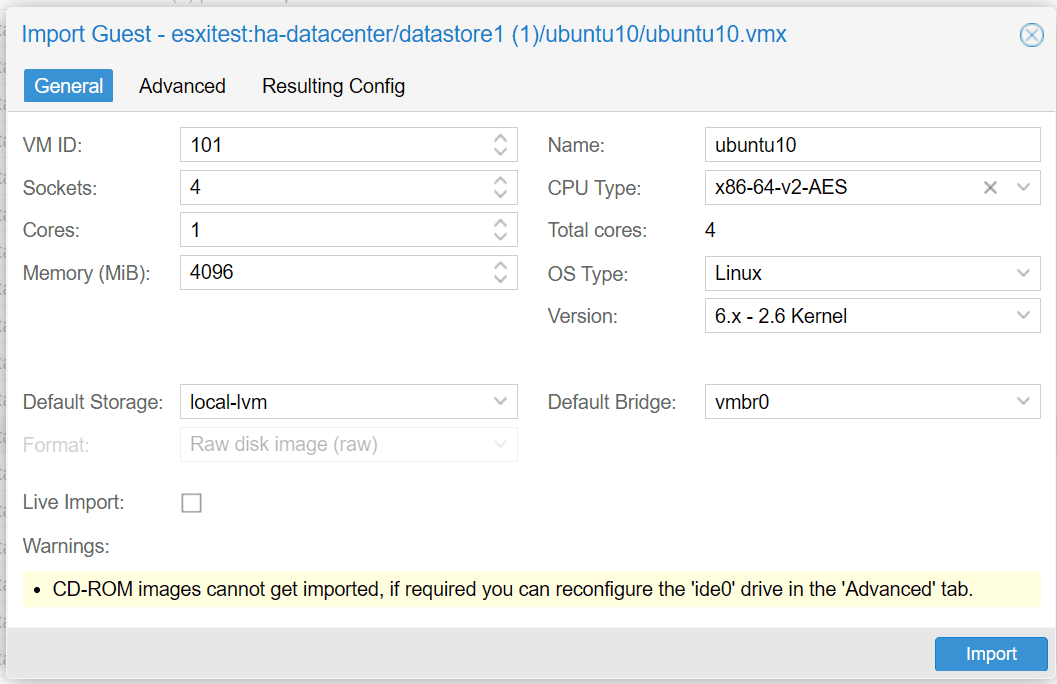
This will launch the Import Guest dialog box. On the General tab, you will see:
- VM ID
- Sockets
- Cores
- Memory
- Default storage
- Name
- CPU Type
- Total cores
- OS Type
- Version
- Default Bridge
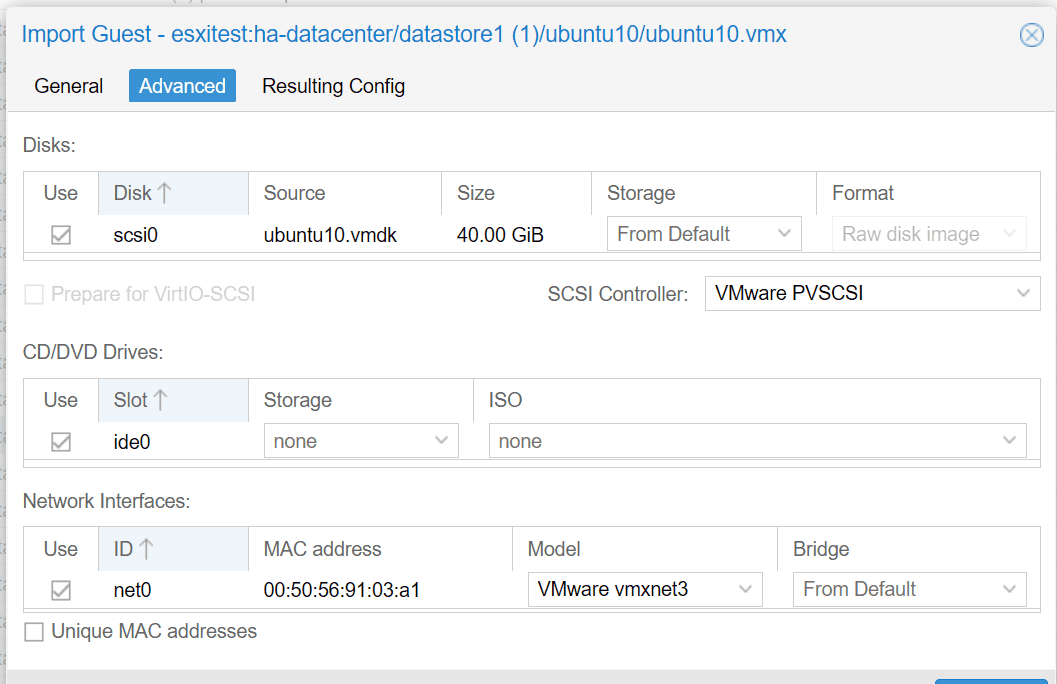
On the Advanced tab, you will see the SCSI controller, network interfaces, and other network related configuration. Here, I wanted to see what would happen if I left VMware PVSCSI controller for the import along with the VMware vmxnet3. The great thing about Proxmox is that it understands these hardware devices.
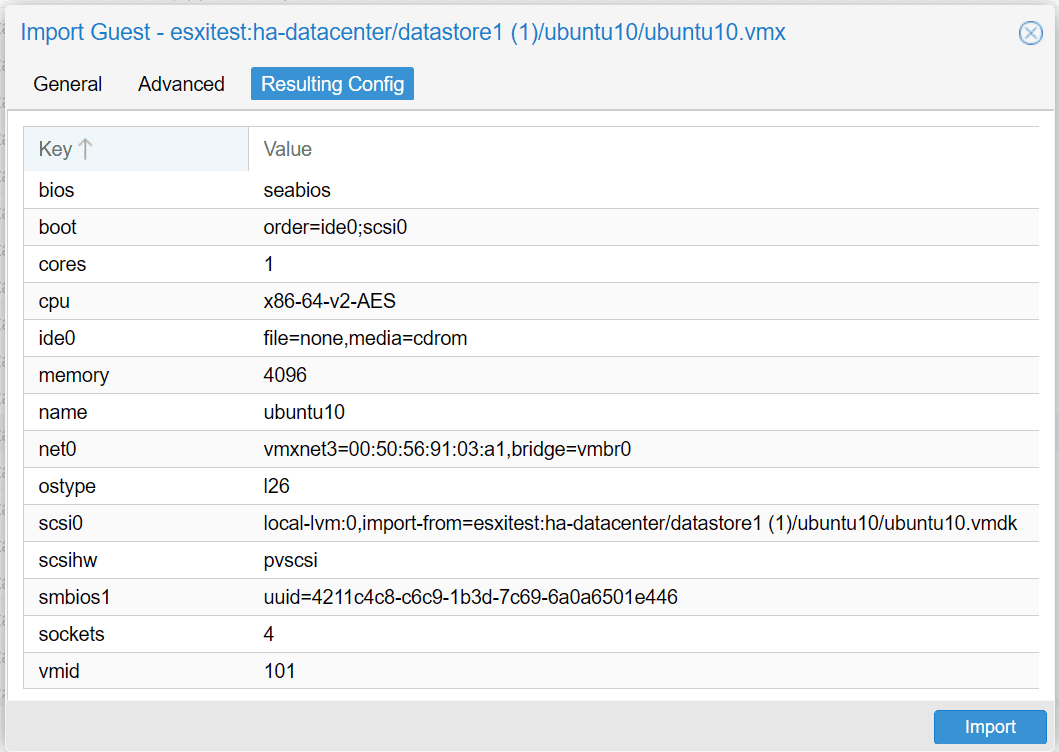
On the Resulting Config you can see the virtual machine hardware imported.
The import process begins.
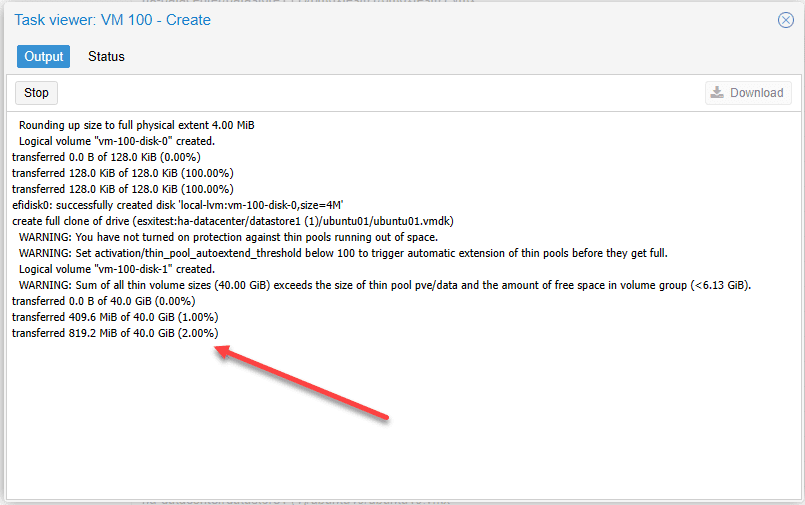
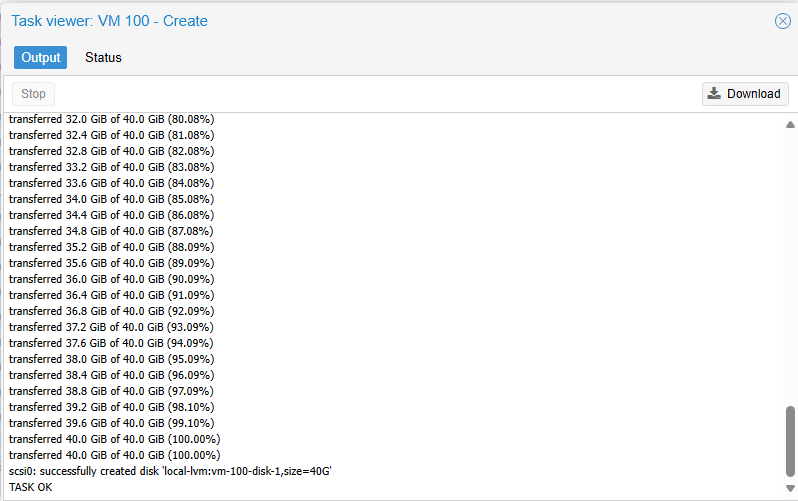
The new import process completes successfully.
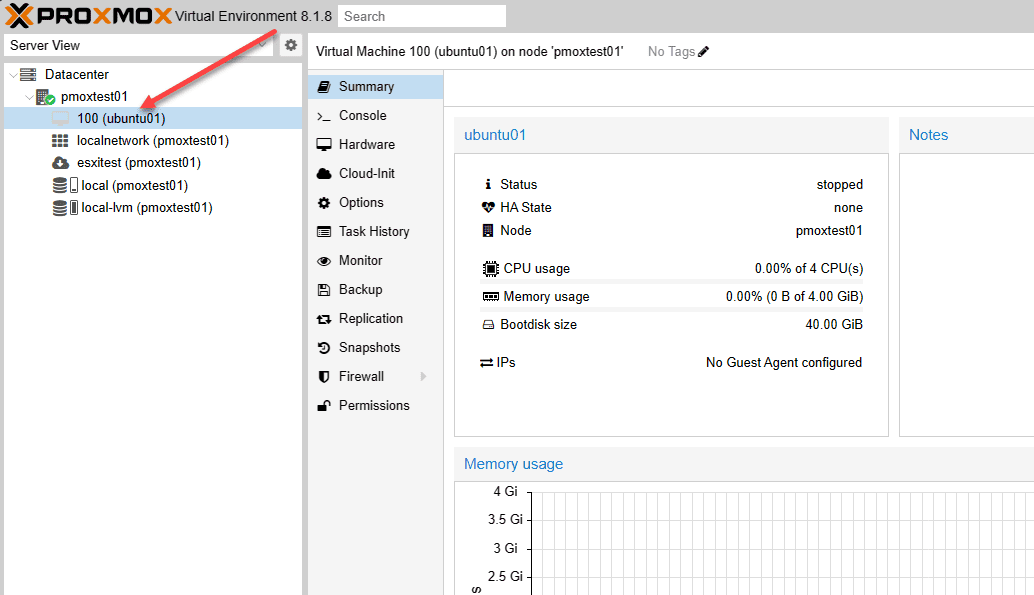
The virtual machine is imported into your Proxmox environment.
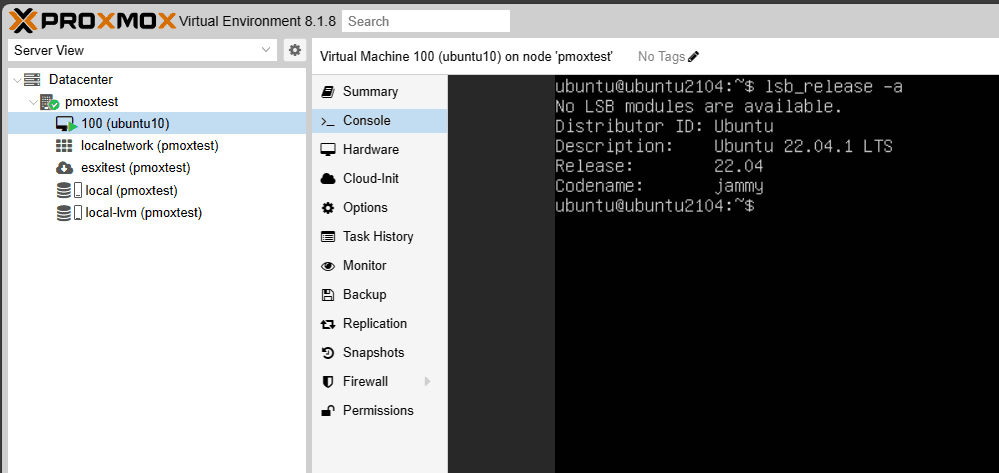
Powering on the Ubuntu virtual machine. The virtual machine boots up without issue.
Migrating a Windows VM
After successfully migrating an Ubuntu virtual machine, I wanted to try a Windows Server.
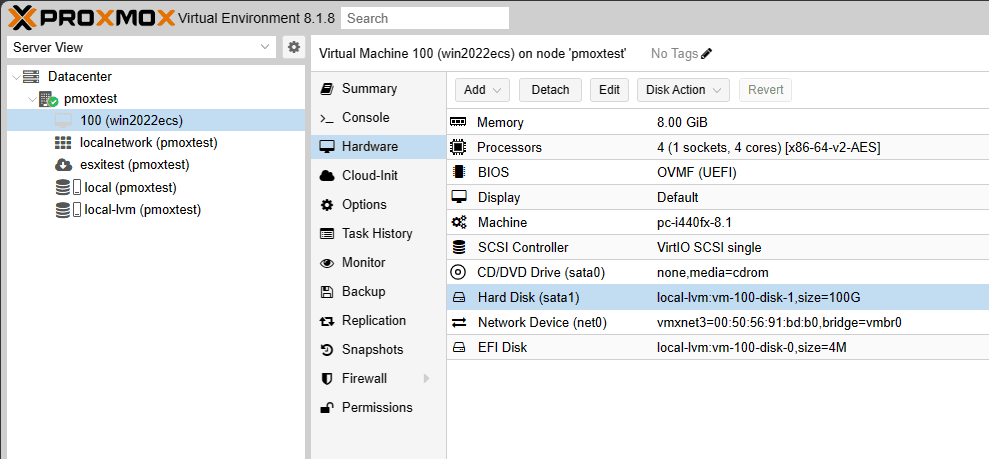
Without changing anything, I booted the Windows Server.
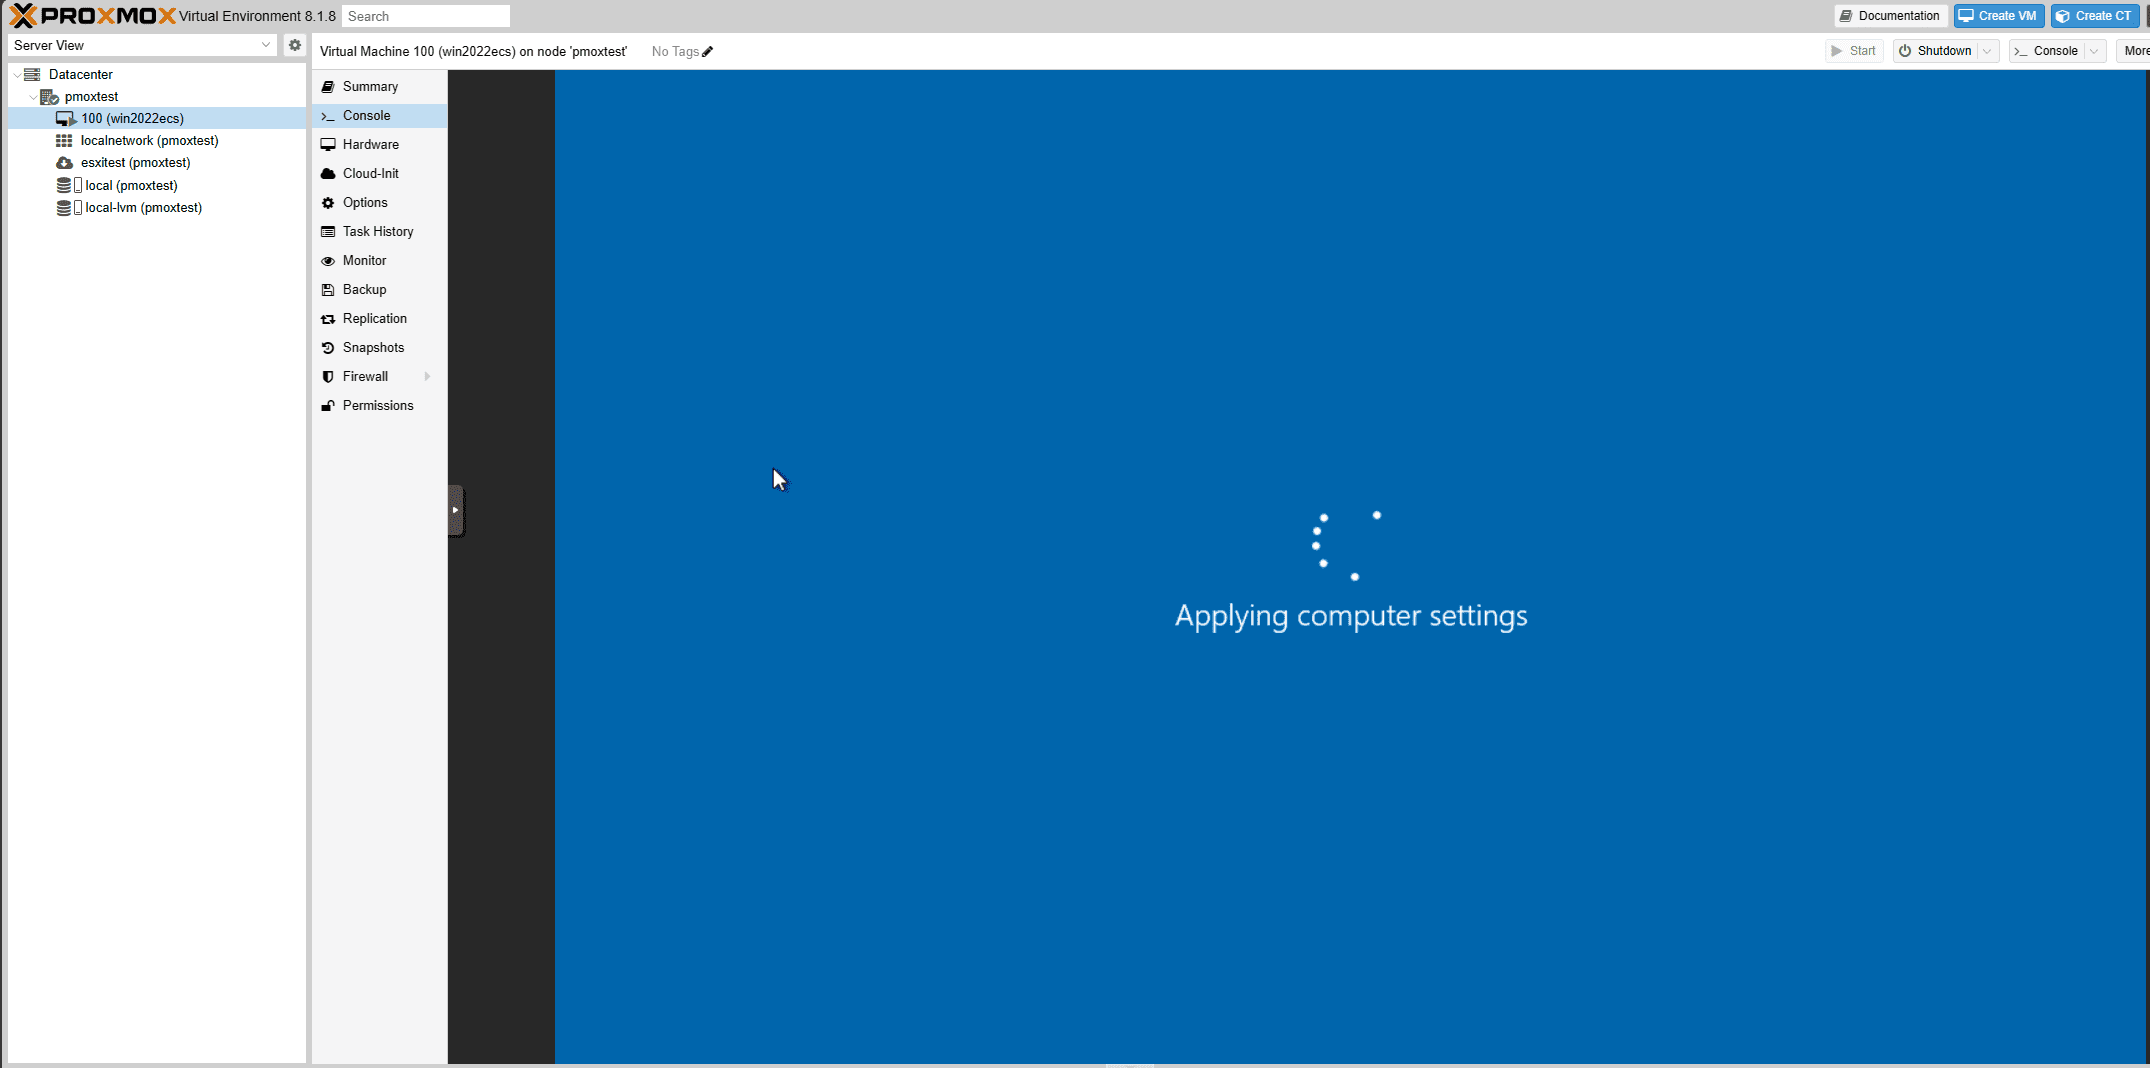
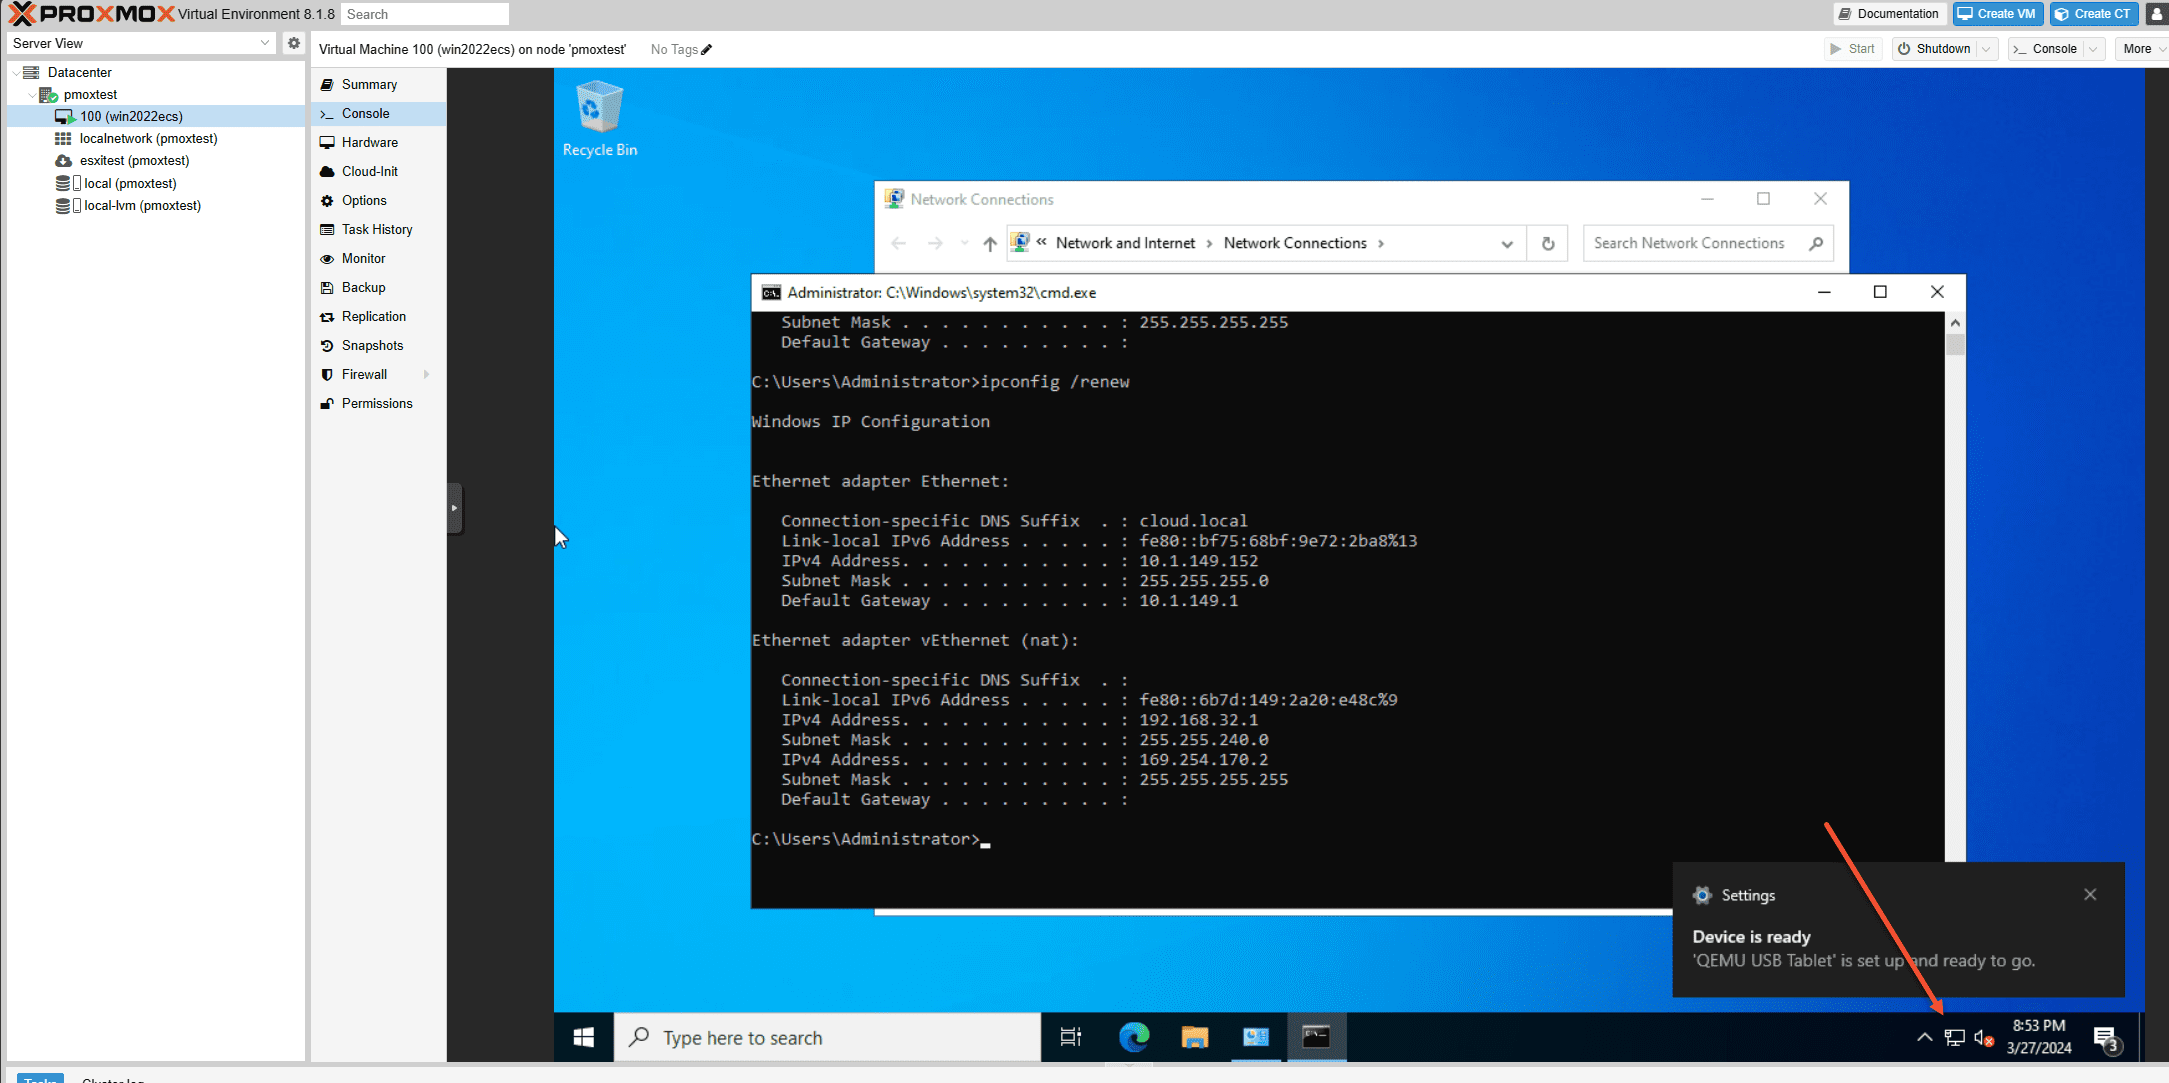
The Windows Server boots and is connected to the network.
Live import option
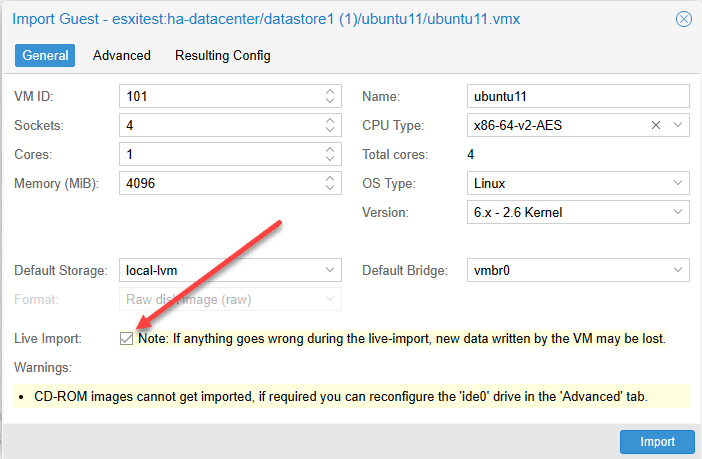
There is a live import option for migrating virtual machines. However, keep in mind, this is not what it may sound like. You are not able to migrate a “running”, “live” virtual machine. Rather, this means Proxmox will go ahead and power on the VM in Proxmox once it has enough data copied over to do so.
Then, it will asynchronously copy over the remaining data after the VM is running. This option is meant to reduce the downtime of a critical VM or service. However, again note the source VM will need to be powered down so there will still be downtime.
Also, avoid using this on low bandwidth networks as it will likely fail. Any data copied across if the import fails along the way, will be lost and you will have to re-import the VM. Test this process on a VM before relying on it for a production move.
Other things to note
There are a couple of things to note with the PVE migration of VMware ESXi:
- You can also point to vCenter Server, but Proxmox notes that vCenter Server imports of virtual machines are much slower (5-10x slower).
- The source virtual machine cannot be powered on – I think in this respect the new Proxmox tool is still inferior to other solutions that can migrate a running VM over to their hypervisor and orchestrate the process so it automatically powers down the old VM on VMware before powering up the new VM
Troubleshooting
I don’t see the Proxmox ESXi storage tool available?
Things to check: Have you installed the latest updates? Have you rebooted your Proxmox host after applying all the available updates? Have you pointed your update repositories to the pve-no-subscription or pvetest repositories? Make sure your Proxmox version is 8.1.8. Also, you can run the apt install pve-esxi-import-tools -y to make sure the package is installed.
The tool is slow
Are you pointed to vCenter Server instead of directly at an ESXi host? Proxmox notes that vCenter Server is 5-10x slower than pointing directly to an ESXi host. Also, your network speed and bandwidth are crucial for the import. Are your links between the Proxmox host and ESXi host 1 gig or 10 gig? Also, make sure the hosts on the same layer 2 network.
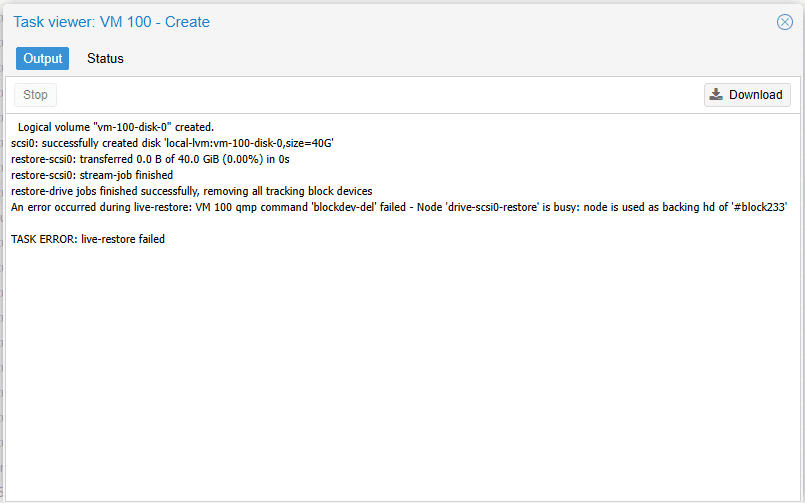
The import process fails
Did you make sure you powered off the source VM in VMware ESXi? You will see an error that looks like this:
Wrapping up the Proxmox new import wizard for VMware
I think the new import wizard for migrating VMware ESXi is a great new tool that certainly helps fill the gap to migrate from VMware to Proxmox. This will certainly be a great tool to use in the home lab community as well as SMBs who are looking at migrating over small VMware environments to a Proxmox environment. I think there are improvements that can be made to the utility such as orchestration of powering down VMs and even the ability to leave the VM running, create a snapshot, copying the data from the snapshot, and then incrementally copy over remaining data before powering off the VM. However, this is a great start and tool for migration from VMware over to Proxmox VE.
Let me know in the comments what you think about the new import wizard for migrating VMware VMs utility and create a forum thread if you run into any issues using it.







Hi, thanks for the tutorial.
> Note down the guest network configuration, so you can manually restore it if something hapens
Wouldn’t a VM backup(as a rollback) serve the same purpose? Or am I missing something?
Cheers.
J MacDonald,
Thank you for the comment! Yes I would think so. I am summarizing the documentation here from Proxmox. Also, keep in mind, your source VM on your VMware ESXi host isn’t really getting changed at all. So, you can always re-import the VM from there. I think this is just good practice to maybe document everything before beginning as this will help quickly troubleshoot settings and configuration.
Brandon
Any information on the rate limiting problem some users are having? ie: Everything looks good and the VM starts copying and gets to some percentage copied and then fails because ESXi starts to rate limit the API. Is there a setting in ESXi to resolve or mitigate this?
Scott,
I have seen a couple of issues with VMs that have snapshots on them. Also, make sure you point to ESXi directly instead of vCenter Server.
Brandon
[email protected]
Thanks for your article. Excellent work in all points.
One thing to note, is if the vm has a snapshot, the import process with be extremely slow and take 4x to over 10x as long to import, so make sure you don’t have or create any snapshots. If you are extra worried about the data changing during transfer, it’s better to clone the vm and import the clone snapshot free.
Also, there are some maxSessionCount and sessionTimeout that might need to be set if the transfer starts but fails and the way you change those are fairly different between 6.x, 7.x and 8.x.
John,
Great insights and call outs on snapshots and the maxsessions. I did run into the snapshots issue when attempting to migrate a test machine I had in the lab over to my Proxmox host. So, good to know others are seeing this as well to give visibility to the issue.
Brandon
I have done a few tests and everything starts out great but at around 12GB to 15GB the task fails.
qemu-img: error while reading at byte 14596174848: Input/output error
qemu-img: error while reading at byte 14638117888: Input/output error
Also the LAN network which is 1GB seems to get saturated as monitoring systems seem to show errors with monitoring the ESXi hosts.
Would you know of a way to throttle the transfer between systems?
I will be doing a test with a 10Gb network next week to see if the results are the same.
Steve,
That is interesting. I honestly tested on a 10 gig network in my home lab between my supermicro host and my proxmox host. Do you have another NIC in your ESXi host by chance?
Brandon
I noticed that if your vms are on a vsan datastore, the import fails pretty quickly.
If you migrate from the vsan datastore to a regular datastore, it seems to work.
That is an important caveat.