Running your own home lab, where you manage your own server, can be fun and exciting. These can be used for learning, experimenting, or managing personal data and services; your own home lab can help you accomplish all of these. However, as power costs and other utilities increase, you may want to downsize your home servers and optimize your setup for more power efficiency and less heat. In this guide, we’ll look at how to downsize your home lab efficiently and get the most out of your setup while staying lean on power requirements.
Table of contents
1. Optimize with Containers and Virtual Machines
First, take stock of the applications that are important to you in your lab environment. You may be running media servers, DNS servers, file servers, dashboards, monitoring, web services, and many other self-hosted services.
When I took a look at all my services running in virtual machines (Windows VM and Linux), most of them could be collapsed down and run inside of containers. There were even readily available containers for most of the applications I was running, including the Unifi network controller, monitoring stacks, and many others.
- See my post on Why 2024 is the Real Year of Container vs VM.
From that perspective, containers are superior to VMs when it comes to downsizing and making your lab more efficient. They are a lightweight alternative to full-blown VMs, requiring less compute power and allowing you to run multiple applications on a single system. They usually don’t require a lot of horsepower to run, the disk space for most are minimal, and you can consolidate perhaps dozens of VMs on your hardware to running on a single docker container virtual machine in most cases.
This helps to reduce not only the compute, memory, and disk space required, but most find they need less hardware to run heavily containerized environments. So you can reduce the sheer amount of hardware you are running and also the specs of the hardware you are running so you can choose more power efficient hardware configurations.
2. Collapse clusters down to single servers
For most in the home lab, building a cluster may not be something that you “need,” outside of the coolness factor that it brings to run something that is resilient and provides high availability. However, for most, having a server go down or take down VMs may not be the end of the world.
Instead of running multiple machines (servers, mini PCs, or other hardware), you may/probably can get by with a single server running multiple VMs without the compute redundancy provided by clustering. To be clear, I am not saying have no storage redundancy. You always want to make sure your storage has the ability to withstand failed components without wiping out your data. Also, make sure you have backups of your critical data, regardless of high availability.
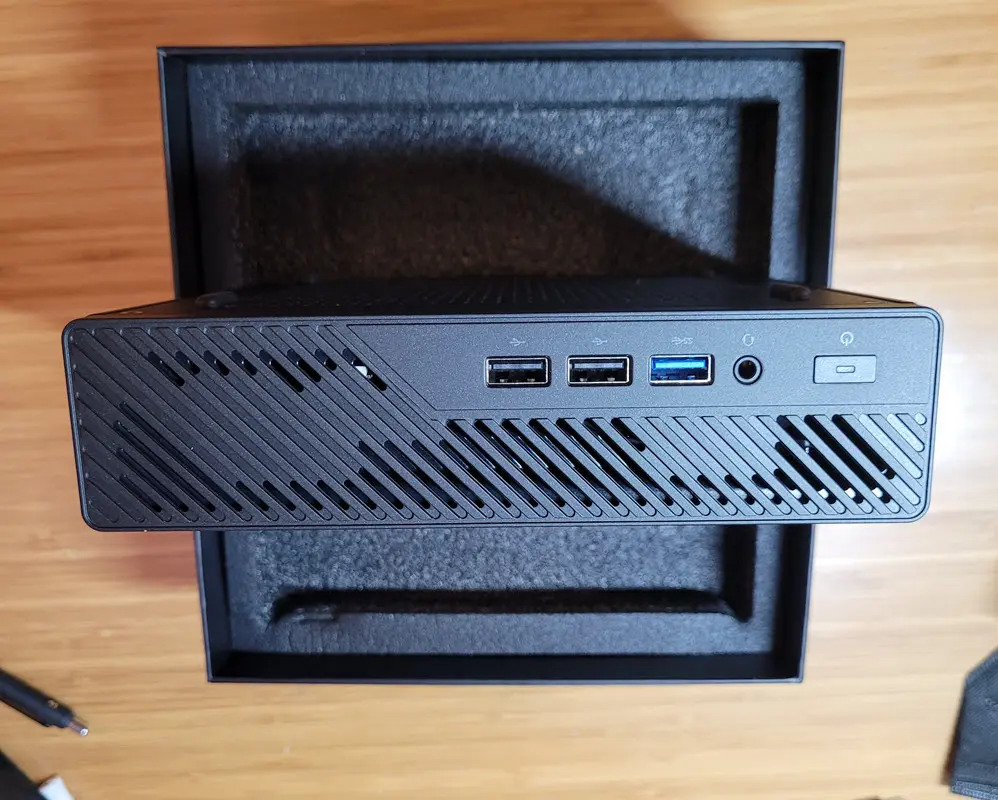
3. Use mini PCs
Mini PCs have exploded in popularity in the last few years. Part of the reason for this is mini PC hardware has matured to offer a wide varity of powerful, modern hardware in a very small package. You can often find mini PCs configured with very power efficient CPUs with the ability with DDR5 memory to host up to 96 GB of memory and multiple NVMe slots.
You can use these tiny PCs for everything from media servers to development environments. They have a small form factor and this can reduce the physical space needed for your home lab servers. It also generally means less power draw, less heat dissipation, and lower noise. These can also be a cost-effective solution to run essential services on your local network.
4. NAS devices for VMs and storage
Today’s Network-attached storage (NAS) devices are very powerful, both in terms of commercial solutions and in terms of free and open source NAS operating systems like TrueNAS. With modern NAS devices, you can host virtual machines, containers, apps (that are containerized) and traditional, raw storage for VMs, file servers, and other use cases like media servers.
- Learn about NAS vs Server: Pros and Cons for Home Lab.
I know on my Synology NAS device, I can natively host Plex server, Jellyfin, home automation system, and others. So, the long story short, NAS devices offer centralized storage and server capabilities. These help to make sure all your data is accessible across your home network.
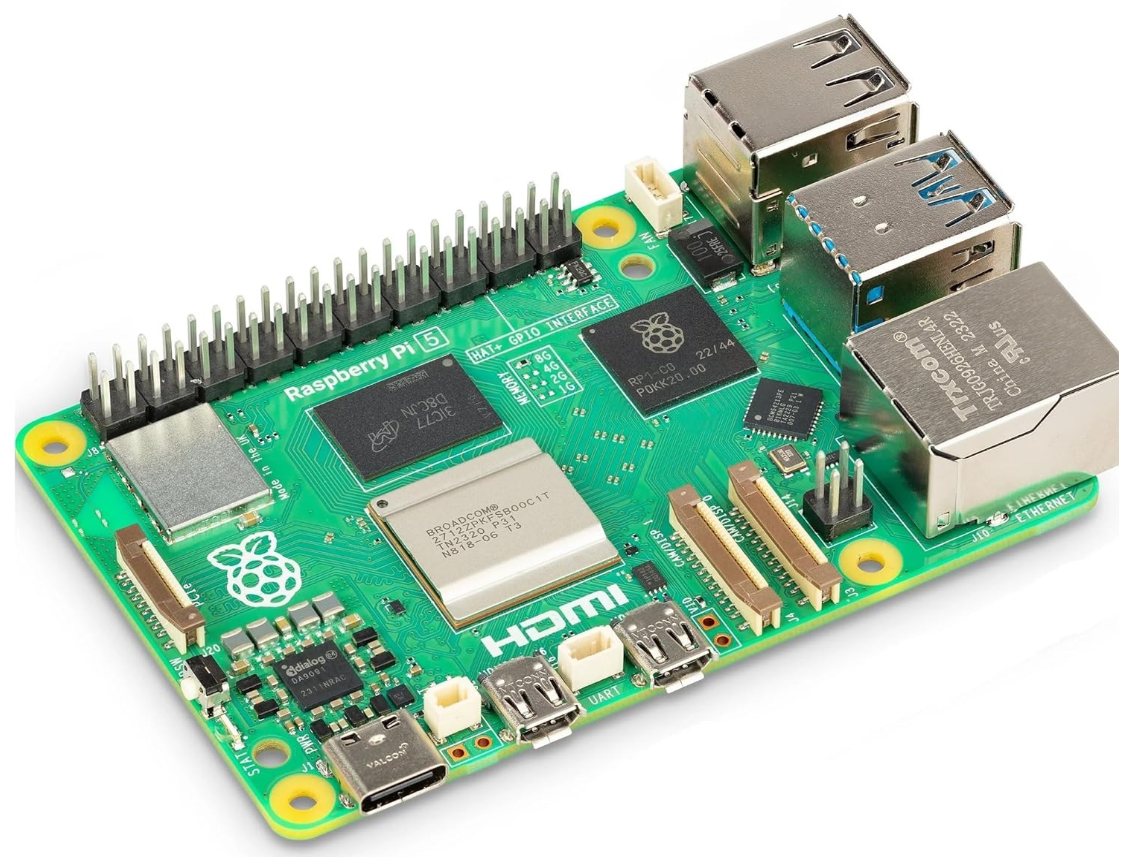
5. Raspberry Pi
There is no question that Raspberry Pi devices started the whole movement towards the most efficient homelab server imaginable with very power efficient ARM processors and a capable operating system with PiOS that can host multiple containers of many popular self-hosted solutions like Pi-Hole network ad blocking, home assistant, and many others.
The Raspbery Pi devices are incredibly versatile and cost-effective for handling light workloads. Now, with Raspberry Pi 5, the performance has been taken to a whole new level while still maintaining an extremely efficient platform compared to true server-class hardware in your homelab setup.
6. Network simplification
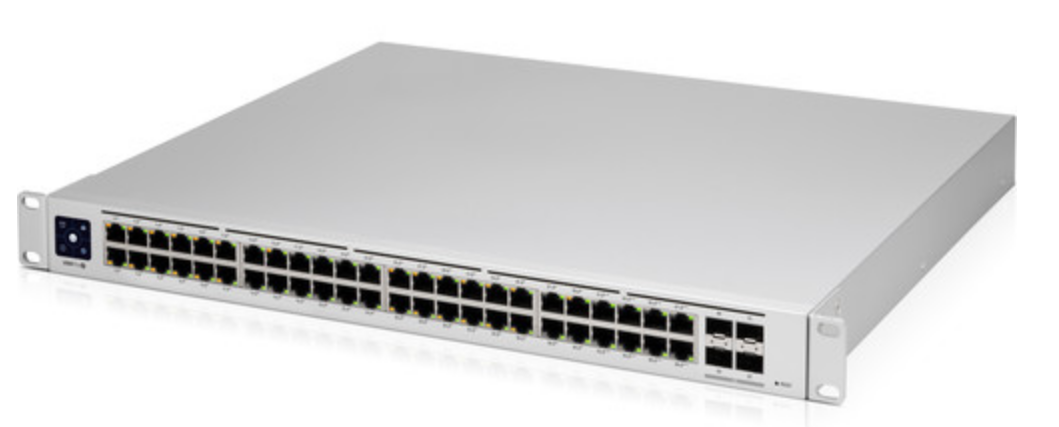
If you are like me, you may have collected 5-10 network switches of various sizes and varieties over the past few years, ranging from 1 GbE switches, 2.5 GbE switches, 10 gig and maybe more. However, most likely, like me, you don’t really need all those switches running in the environment. As we go, we may daisy chain switches together and introduce new devices without really keeping things efficient.
Consolidating network devices can help with downsizing your home lab. You can often reduce the number of devices handling your home network traffic to simplify your setup, reduce power consumption, and you may even improve performance if you have an inefficient uplink along the way. There are many devices like popular Unifi equipment that may even offer all-in-one capabilities allowing you to have combined functionality, like a firewall, router, and switch, all in one.
7. Use a KVM Switch
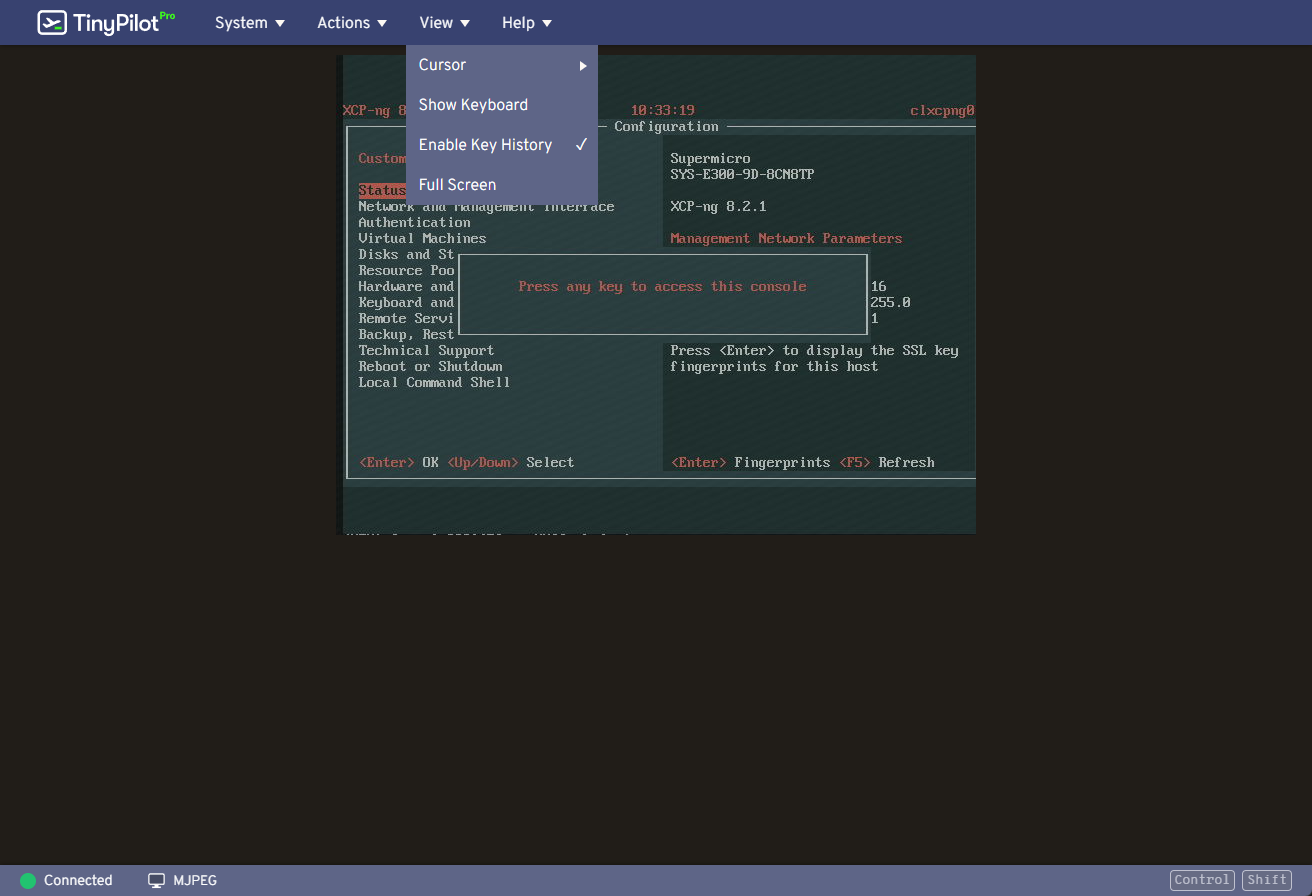
A KVM switch allows you to have a single keyboard, monitor, and mouse connected to multiple servers/computers. With a KVM, you can essentially have the space taken by a single keyboard, mouse, and monitor, as opposed to having multiple devices with their own keyboard, mouse, and monitor.
- Learn about the TinyPilot: Raspberry Pi KVM over IP Solution Review.
The KVM switch allows you to control multiple computers with just one set of peripherals. When you need direct console access to multiple servers but want to avoid the clutter and expense of multiple monitors, keyboards, and mice a KVM is the way to go. Also, there are now KVM devices that are based on Raspberry Pi’s that allow you to have a very efficient KVM that can be used to even remotely control your home lab environment.
What are your home lab goals in 2024?
Take a look at my recent video here covering the best virtualization projects in 2024:
Wrapping up downsizing Your Home Lab
Downsizing their home lab is something a lot have thought about doing to make these more power efficient, take up less space, and have less heat dissipation. With the advances in Docker containers, mini PCs, better network devices, Raspberry Pis, and KVM switches, most find they can drastically cut their power consumption in their home lab and find a happy medium where they have all the processing power they need while still having a very power efficient environment to learn, experiment, and self-host services.
Google is updating how articles are shown. Don’t miss our leading home lab and tech content, written by humans, by setting Virtualization Howto as a preferred source.


