Ceph Storage Best Practices for Ultimate Performance in Proxmox VE
Ceph is a scalable storage solution that is free and open-source. It is a great storage solution when integrated within Proxmox Virtual Environment (VE) clusters that provides reliable and scalable storage for virtual machines, containers, etc. In this post, we will look at Ceph storage best practices for Ceph storage clusters and look at insights from Proxmox VE Ceph configurations with a Ceph storage pool and benefit of various configurations.
Table of contents
What is Ceph and how does it work?
Ceph storage is an open source object storage solution that provides high availability and resilience. It can be the backing technology for traditional VM workloads and containers or it can be used for modernized solutions like Kubernetes, OpenStack, etc. Note the following components that make up the Ceph cluster:
- Ceph stores data objects as object storage using local storage devices architecture on the host in the storage backend
- Ceph Object Storage Daemons (OSDs) service that store data on Ceph volumes in the object store
- Ceph Monitors (MONs or ceph-mon) that keep track of the cluster’s state, usage, mode, class, controllers, and other details
- Ceph Managers (MGRs) that provide additional cluster insights
- Can be used with commodity hardware in the datacenter
- Can provide the Ceph filesystem for storing file shares, etc
- It is a type of storage that can provide default storage for Kubernetes, Openstack, etc
- Takes advantage of CPU, amount of RAM (memory), and network resources
- Multiple releases available for use with different Linux distros (Quincy, Reef, etc)
- It is free, so you can’t be the price when you contrast it with other HCI storage solutions in other systems
Read my post here on how to configure Ceph in Proxmox VE: Mastering Ceph Storage Configuration in Proxmox 8 Cluster.

What is the Ceph File System?
The Ceph File System (CephFS) is an interesting file system since its underlying storage underneath is Ceph HCI storage provided by the Ceph cluster to provide for storing files. On the flip side, the object storage of Ceph can be queried using the RESTful API interface, and supports the S3 and Swift protocols. This makes it a great choice that many like to use in their data storage systems.
Read my post here on how to configure Ceph File System on Proxmox: CephFS Configuration in Proxmox Step-by-Step.
Ceph Storage Best Practices for deployment
Note the following best practices to consider before deployment of your Proxmox VE cluster running Ceph for your organization or home lab.These help to ensure the best performance for your applications. It is always better to set the expectations and plan at the beginning instead of implementing storage in a non-best practice way and expect it to perform.
1. Planning the Cluster
- Ceph Storage Cluster Size: Shoot for a minimum of three Ceph monitors for production environments to ensure high availability and fault tolerance.
- Network Configuration: Implement a dedicated network for Ceph cluster traffic to optimize performance and reduce latency. Utilizing separate networks for public and cluster traffic can significantly impact throughput.
2. Hardware Considerations
- Storage Devices: Use Solid State Drives (SSDs) for Ceph monitors and managers for faster metadata operations. For OSDs, a mix of HDDs and SSDs can balance cost and performance, depending on your storage requirements.
- Network Bandwidth: Ensure adequate bandwidth for both client and cluster networks. 10GbE or higher is recommended for large-scale deployments.
3. Configuration and Tuning
- Erasure Coding vs. Replication: Choose erasure coding for storage efficiency in large, read-oriented clusters. For write-heavy scenarios, replication may offer better performance.
- OSD Configuration: Tune the number of placement groups per OSD to balance performance and resource utilization. Monitor OSD performance and adjust as necessary.
- Ceph File System (CephFS): When using Ceph as a file system, enable multiple active metadata servers (MDS) to distribute the metadata workload.
4. Maintenance and Monitoring
- Regular Health Checks: Use ceph health command to monitor the cluster’s health. Address any warnings or errors promptly to prevent data loss.
- Capacity Planning: Monitor storage utilization and plan for expansion well before reaching capacity limits. Ceph’s scalability allows for seamless addition of nodes and devices.
- Backup and Disaster Recovery: Implement a robust backup strategy, including regular snapshots and offsite backups, to ensure data durability and recoverability.
5. Security Considerations
- Access Controls: Use Ceph’s authentication modules to control access to the cluster. Regularly update and manage user keys and permissions.
- Network Security: Implement firewalls and isolate the Ceph cluster network from untrusted networks to prevent unauthorized access.
Now, let’s dive into the more detailed look at various configurations with Ceph and the top things you need to consider.
Network bandwidth considerations
Software-defined storage lives and dies based on the performance of the underlying storage network. The cluster network provides the backbone client traffic to OSDs and inter-OSD replication traffic.
For Ceph storage best practices, adequate network bandwidth helps to avoid performance bottlenecks and the inability to satisfy performance demands which is extremely important for hyper-converged setups with a lot of network traffic for storage traffic especially.

In addition, for optimal performance, you will want to segregate client and recovery traffic across different network interfaces for best practice. Using high-bandwidth connections can significantly enhance throughput and you will notice a huge difference in performance.
For example, note the following:
- A 10 Gbit/s network can easily be overwhelmed, indicating the need for higher bandwidth for optimal performance.
- A 25 Gbit/s network can offer improvements but may require careful setup and configuration to avoid becoming a bottleneck.
- A 100 Gbit/s network significantly enhances performance, shifting the bottleneck towards the Ceph client and allowing for remarkable write and read speeds.
The cluster network is responsible for client traffic to OSDs and inter-OSD replication traffic. You want to have sufficient network bandwidth for preventing bottlenecks. Implementing a separate network for cluster and public traffic can significantly improve performance.
For high-demand environments, 10 GbE networks may quickly become saturated; upgrading to 25 GbE or even 100 GbE networks can provide the necessary throughput for large-scale operations and operating system instances and image instructions.
Various storage and related Ceph configurations
Note the following different components of Ceph, Ceph configurations, and other important considerations to make for Ceph storage best practices.
Erasure Coding and Metadata Servers with Ceph storage
It provides an efficient way to ensure data durability while optimizing storage utilization. Erasure coding is done at the file level. File is cut into “K” data chunks and “M” parity chunks that are dispersed across unique hosts in your cluster.
Two common erasure coding configurations are 4+2 (66% storage efficiency) and 8+2 (80% storage efficiency). Equation, K value / K+M. Erasure coding disperses these chunks to multiple hosts.
Meanwhile, Ceph’s metadata servers (MDS) play a crucial role in the Ceph configuration in managing metadata for the Ceph File System. It enables scalable and high-performance file storage capabilities. Properly configuring MDSs can dramatically improve the performance of file-based operations.
Failure domains, replicated pools, CRUSH algorithm, and OSD management
A failure domain is a way to define the boundaries within which data replication and distribution should be aware of potential failures. The idea is to ensure that copies of data (replicas or erasure-coded parts) are not all stored within the same failure domain, where a single failure could cause data loss or unavailability. Common failure domains include hosts, racks, and even data centers.
Types of failure domains include:
- Hosts: A simple failure domain, where replicas are distributed across different physical or virtual servers. This protects against server failures.
- Racks: To protect against rack-level problems like power outages or network issues, replicas can be spread across different racks within a data center.
- Data Centers: For very high availability requirements, Ceph can distribute data across multiple data centers, ensuring that even a complete data center outage won’t lead to data loss.
Replicated pools are a core part of Ceph’s data durability mechanism, replicating data across multiple OSDs to safeguard against data loss.
The CRUSH algorithm is responsible for the data placement in the cluster. It ensures data is evenly distributed and remains accessible even when a node or disk fails. Efficient management of OSDs, including monitoring their health and performance, is crucial for maintaining a robust Ceph cluster.
Ceph cluster map
The Ceph cluster map is a collection of essential data structures that provide a comprehensive overview of the Ceph storage cluster’s state, configuration, and topology. This map is vital for the operation of the Ceph cluster.
It enables all components within the cluster to understand the cluster’s layout, know where data should be placed or found, and efficiently route client requests to the appropriate locations. The cluster map is actually composed of several individual maps, each serving a specific purpose. Here’s how it comes into play:
What makes up a Ceph Cluster Map
The Ceph cluster map is made up of data structures that provide the overall picture of the Ceph storage cluster’s state, configuration, and topology. This map is an important part of the operation of the Ceph cluster. It enables all components in the cluster to understand the cluster’s layout.
Also, it helps to know where data should be placed or found, and it also efficiently routes client requests to the locations needed. The cluster map is made up of several individual maps, each serving a specific purpose.
These include:
- Monitor Map (monmap): Contains information about the Ceph Monitor daemons in the cluster, including their identities, IP addresses, and ports. This map is crucial for the monitors to form a quorum, which is essential for cluster consensus and state management.
- OSD Map (osdmap): Provides a detailed layout of all Object Storage Daemons (OSDs) in the cluster, their statuses (up or down), and their weights. This map is crucial for data distribution and replication, as it enables the CRUSH algorithm to make intelligent placement decisions.
- CRUSH Map: Describes the cluster’s topology, including the hierarchy of failure domains (e.g., racks, rows, data centers) and the rules for placing data replicas or erasure-coded chunks. This map is fundamental to ensuring data durability and availability by spreading data across different failure domains.
- PG Map (pgmap): Contains information about the placement groups (PGs) in the cluster, including their states, the OSDs they are mapped to, and statistics about I/O operations and data movement. This map is essential for managing data distribution and for rebalancing and recovery operations.
- MDA Map (mdsmap): Relevant for Ceph clusters that use the Ceph File System (CephFS), this map contains information about the Metadata Server (MDS) daemons, including their states and the file system namespace they manage.
Block Storage and Data Replication
Ceph’s block storage, through RADOS Block Devices (RBDs), offers highly performant and reliable storage options for VM disks in Proxmox VE. Configuring block storage with appropriate replication levels ensures data availability and performance.
Additionally, tuning the replication strategy to match your storage requirements and network capabilities can further enhance data protection and accessibility.
Key Findings from benchmarking Proxmox VE Ceph
Proxmox documentation notes findings in an official benchmark run using Proxmox VE and a Ceph storage configuration. You can download the latest Proxmox VE benchmarking documentation here: Download Proxmox software, datasheets, agreements.
Proxmox used the following command for the benchmark:
fio --ioengine=libaio --filename=/dev/nvme5n1 --direct=1 --sync=1 --rw=write --bs=4k --numjobs=1 --iodepth=1 --runtime=60 --time_based --name=fio

fio --ioengine=libaio --filename=/dev/nvme5n1 --direct=1 --sync=1 --rw=write --bs=4M --numjobs=1 --iodepth=1 --runtime=60 --time_based --name=fio

rados -p bench-pool bench 300 write -b 4M -t 16 --no-cleanup -f plain --run-name bench_4m rados -p bench-pool bench 300 seq -t 16 --no-cleanup -f plain --run-name bench_4m
The findings from the benchmark include the following:
Network results
- Network Saturation: A 10 Gbit/s network can quickly become a bottleneck, even with a single fast SSD, highlighting the need for a network with higher bandwidth.
- 25 Gbit/s Network Limitations: While improvements can be achieved through configuration changes, a 25 Gbit/s network can also become a bottleneck. The use of routing via FRR is preferred for a full-mesh cluster over Rapid Spanning Tree Protocol (RSTP).
- Shifting Bottleneck with 100 Gbit/s Network: With a 100 Gbit/s network, the performance bottleneck moves from hardware to the Ceph client and other system resources, showcasing impressive write and read speeds for single and multiple clients.
A Ceph full mesh setup refers to a network configuration within a Ceph storage cluster where each node is directly connected to every other node. This design is aimed at optimizing the communication and data transfer paths between the nodes, which can include Ceph OSDs (Object Storage Daemons), Monitors, and Managers, among others. The primary goal of a full mesh topology in a Ceph context is to enhance redundancy, fault tolerance, and performance.
A full mesh setup has the following characteristics:
- High Redundancy: By connecting each node directly to all others, the network ensures that there are multiple paths for data to travel. This redundancy helps in maintaining cluster availability even if some nodes or connections fail.
- Improved Performance: A full mesh network can reduce the number of hops data must travel between nodes, potentially lowering latency and increasing throughput.
- Scalability Challenges: While offering significant advantages, a full mesh topology can become complex and challenging to manage as the cluster scales. The number of connections grows quadratically with the addition of each node, leading to increased network complexity.
Hardware Considerations
Selecting the right hardware is crucial for achieving the best performance. Using fast SSDs and multiple NICs have the potential for significant performance gains with the appropriate hardware setup. Ceph performance will depend largely on fast storage and the right network bandwidth.
Storage and OSD Configuration
There is a relationship between the number of OSDs (Object Storage Daemons) and placement groups (PGs). It recommends configurations that balance performance with the ability to recover from failures, especially in smaller clusters.
The Ceph OSD daemon (Object Storage Daemon) is responsible for storing data on behalf of Ceph clients. They also handle data replication, recovery, rebalancing. Ceph OSD daemons also provide information to the Ceph monitor and managers about the state of the Ceph storage cluster.
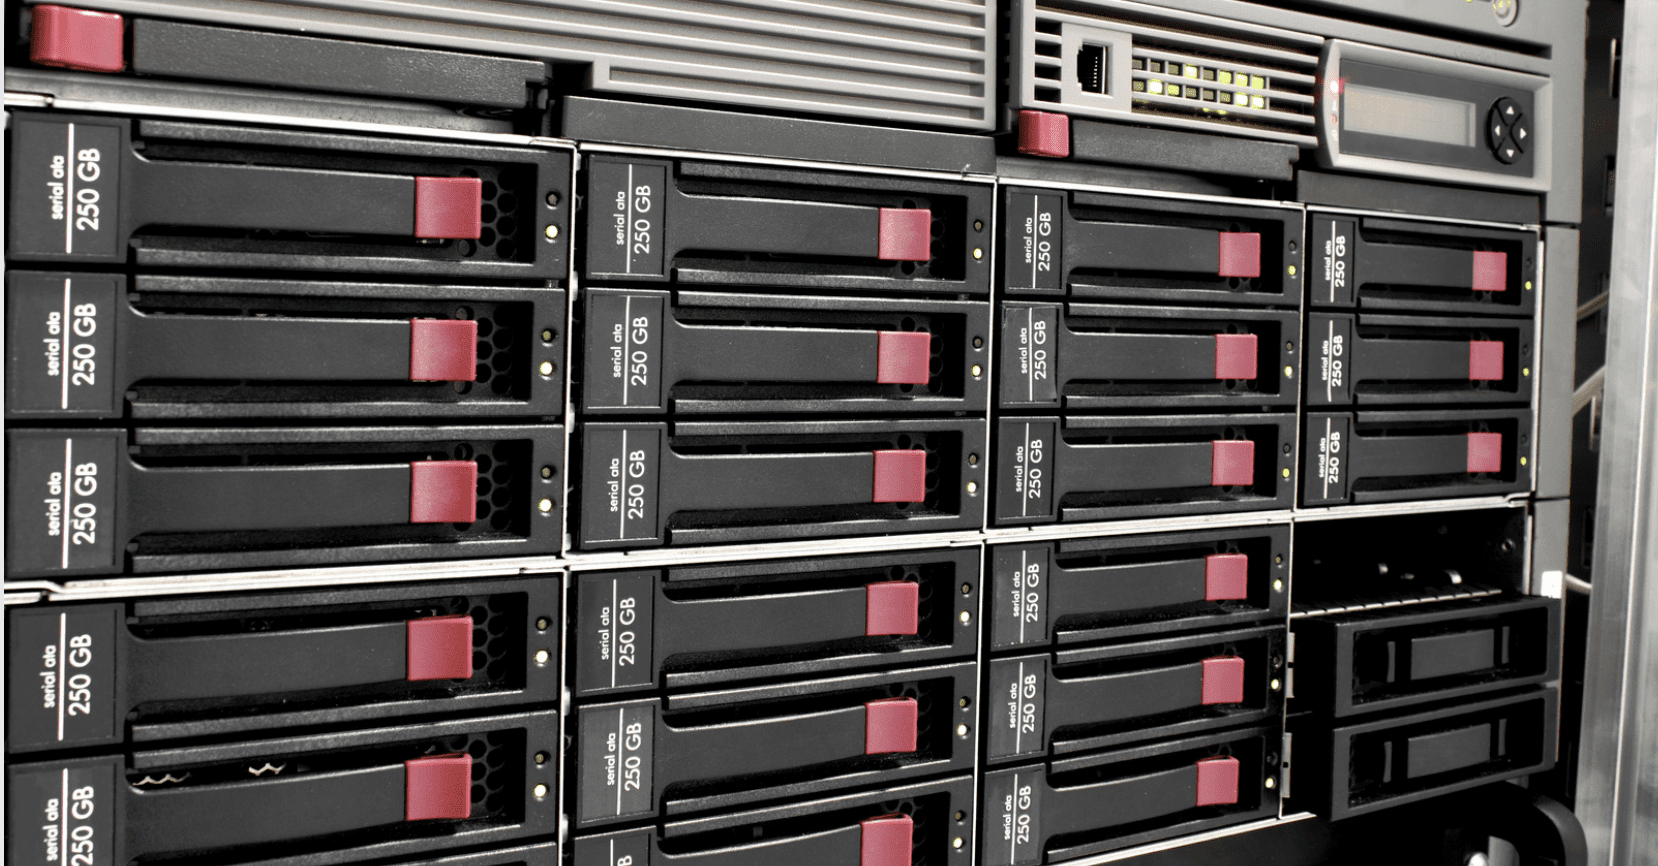
Each OSD daemon is associated with a specific storage device (e.g., a hard drive or solid-state drive) in the Ceph cluster. The OSDs collectively provide the distributed storage capability that allows Ceph to scale out and handle large amounts of data across many machines.
Practical Recommendations
Several practical recommendations can be made for deploying Ceph with Proxmox VE:
- Network Planning: Use high-bandwidth networks and consider full-mesh configurations with routing via FRR for larger setups. Also, the configuration of failure domains should take into account the network topology to avoid potential bottlenecks or latency issues during data replication and recovery.
- Hardware Selection: Invest in fast SSDs and ensure the network infrastructure can support the desired performance levels. For production, don’t use consumer SSDs.
- OSD and PG Configuration: Optimize the number of OSDs per node and PGs based on the cluster size and performance goals.
- Capacity Planning: When configuring failure domains, it’s crucial to ensure that there’s sufficient capacity across the domains to handle failures without compromising data availability or cluster performance.
- Monitoring and Maintenance: Effective monitoring tools and practices are essential to quickly identify and address failures within any domain, minimizing the impact on the cluster, and storage optimization.
Make sure to backup your data
No matter how resilient a file system, storage technology, or resiliency scheme is following Ceph storage best practices, you need to always have a means for disaster recovery. Data backup provides a solution that allows you to totally recreate your data and other details in the event it is lost due to any number of things. It is essentially a separate copy of your production data.
Most modern backup solutions take a base full backup and then take incremental snapshots of your data to reduce backup times and data storage.
The need for data recovery includes hardware failure, ransomware (or other security incident), user error/development mishap, or anything else. They are required by many compliance regulations along with encryption and other data best practices.

Wrapping up Ceph storage best practices
As we have seen throughout this post, there are a lot of Ceph storage best practices and things you should note for achieving the ultimate performance and scalability for your Ceph storage cluster. The network is extremely important. Obviously, the faster the network, the faster your storage will be.
10 gig networking should be a bare minimum with Ceph HCI clusters. 25 gig is better and 100 gig will essentially move the bottleneck to other components like the Ceph monitors, etc.


