Backups are essential to running Proxmox VE in the home lab or production to avoid data loss. Proxmox Backup Server is a free solution to back up and recover Proxmox VE VMs and containers.
Table of contents
What is Proxmox Backup Server?
Proxmox Backup Server or PBS is a free solution from Proxmox. It is free to download and install on a server just like Proxmox VE server is. It allows you to have a totally free and open source solution for backing up your Proxmox Server virtual machines and LXC containers without any licensing costs associated. For those running a home lab environment, this is a great solution to make sure you have things backed up.
Also, with organizations that are deciding to migrate from VMware vSphere with the Broadcom changes, it means you will not only save on licensing for the hypervisor, if you use PBS, you can save on the licensing costs for enterprise backup solutions you may have needed with VMware.
You can read more about the official features from the Proxmox documentation located here: Proxmox Backup Server – Open-Source Enterprise Backup Solution.
Proxmox Backup Server installation
Like installing Proxmox VE virtualization server, installing PBS is extremely easy and looks very much like installing Proxmox VE. Let’s install PBS and configure backups of Proxmox virtual machines.
First, you will need to download the PBS release ISO image from Proxmox here: Proxmox Backup Server.
Once you have the ISO file, “burn” the software to a USB flash drive or upload it to your Proxmox VE host if you are hosting your backup server as a virtual machine.
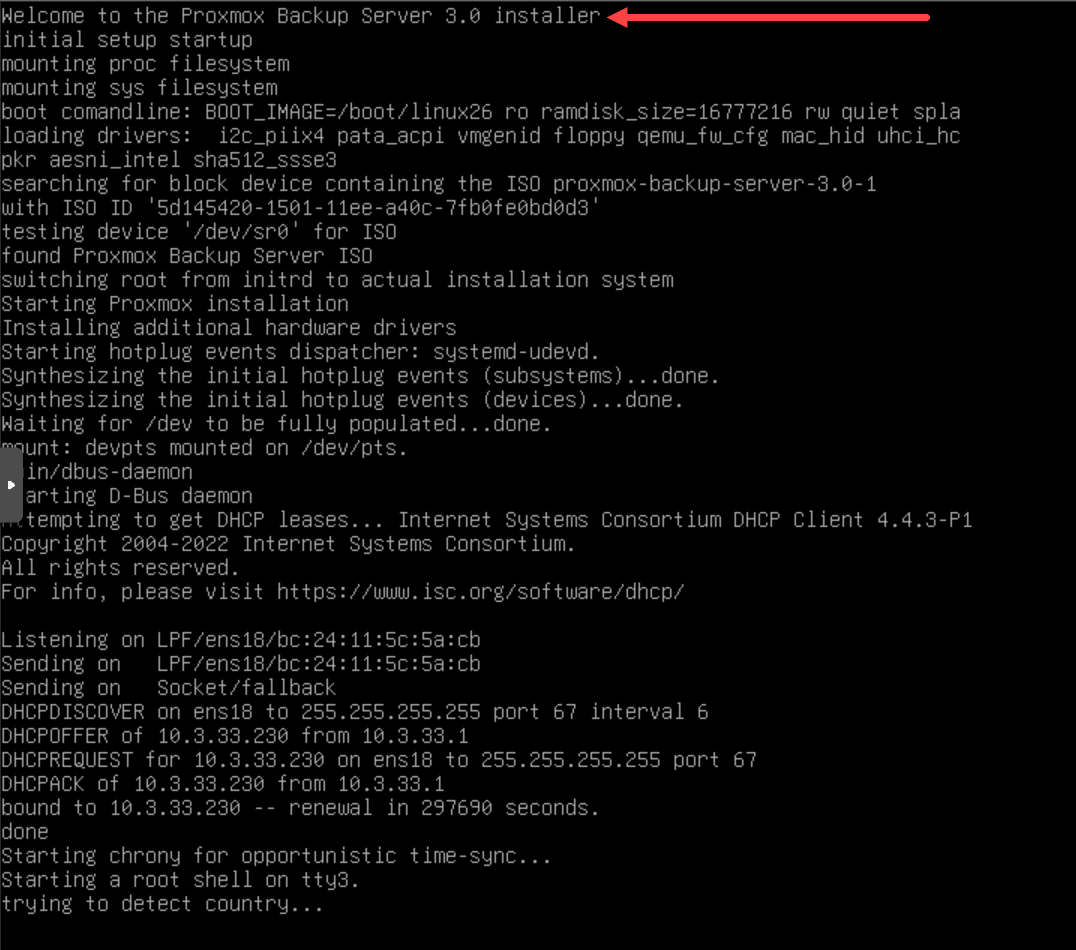
Below is a screenshot of the Proxmox Backup Server virtual machines booting from the ISO installation.
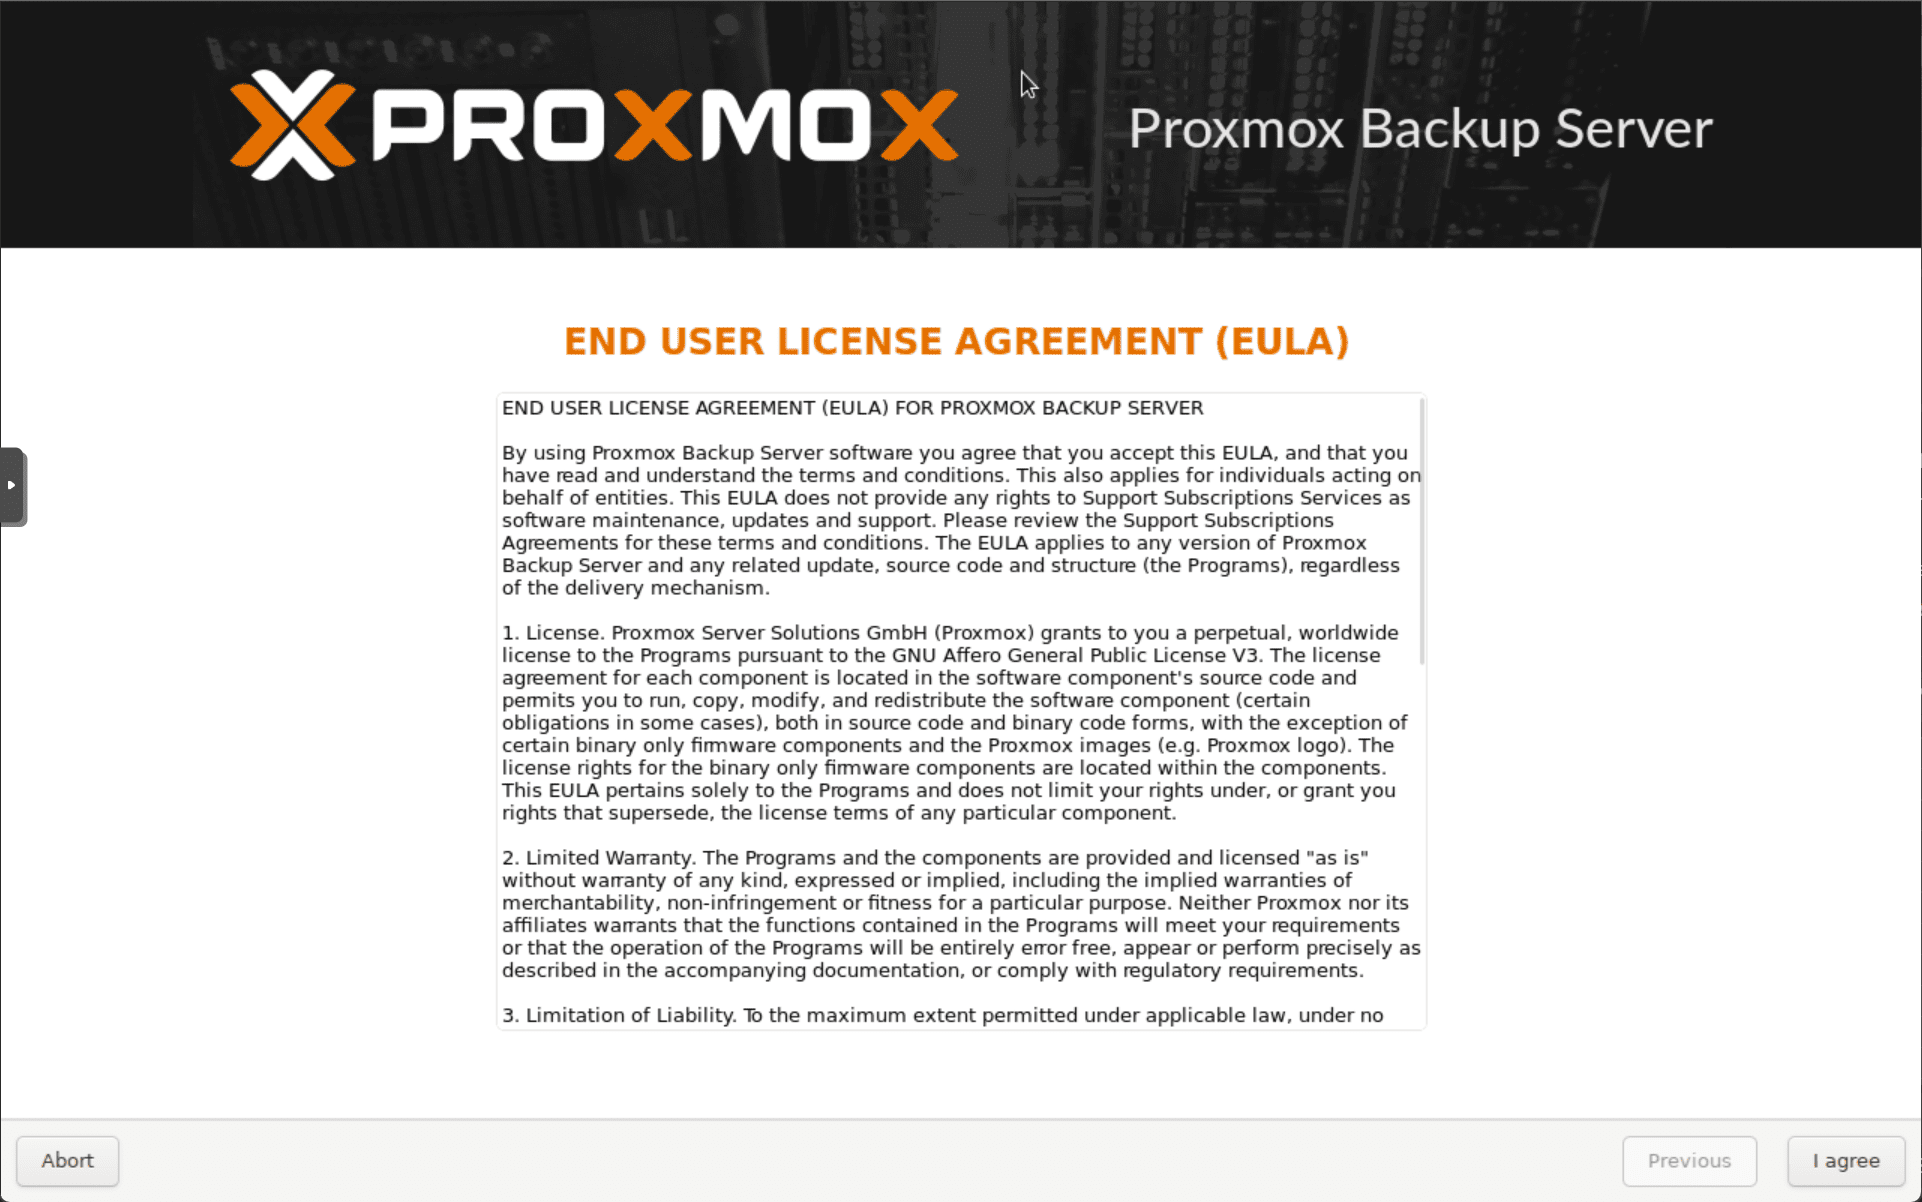
Accept the end user license agreement (EULA).
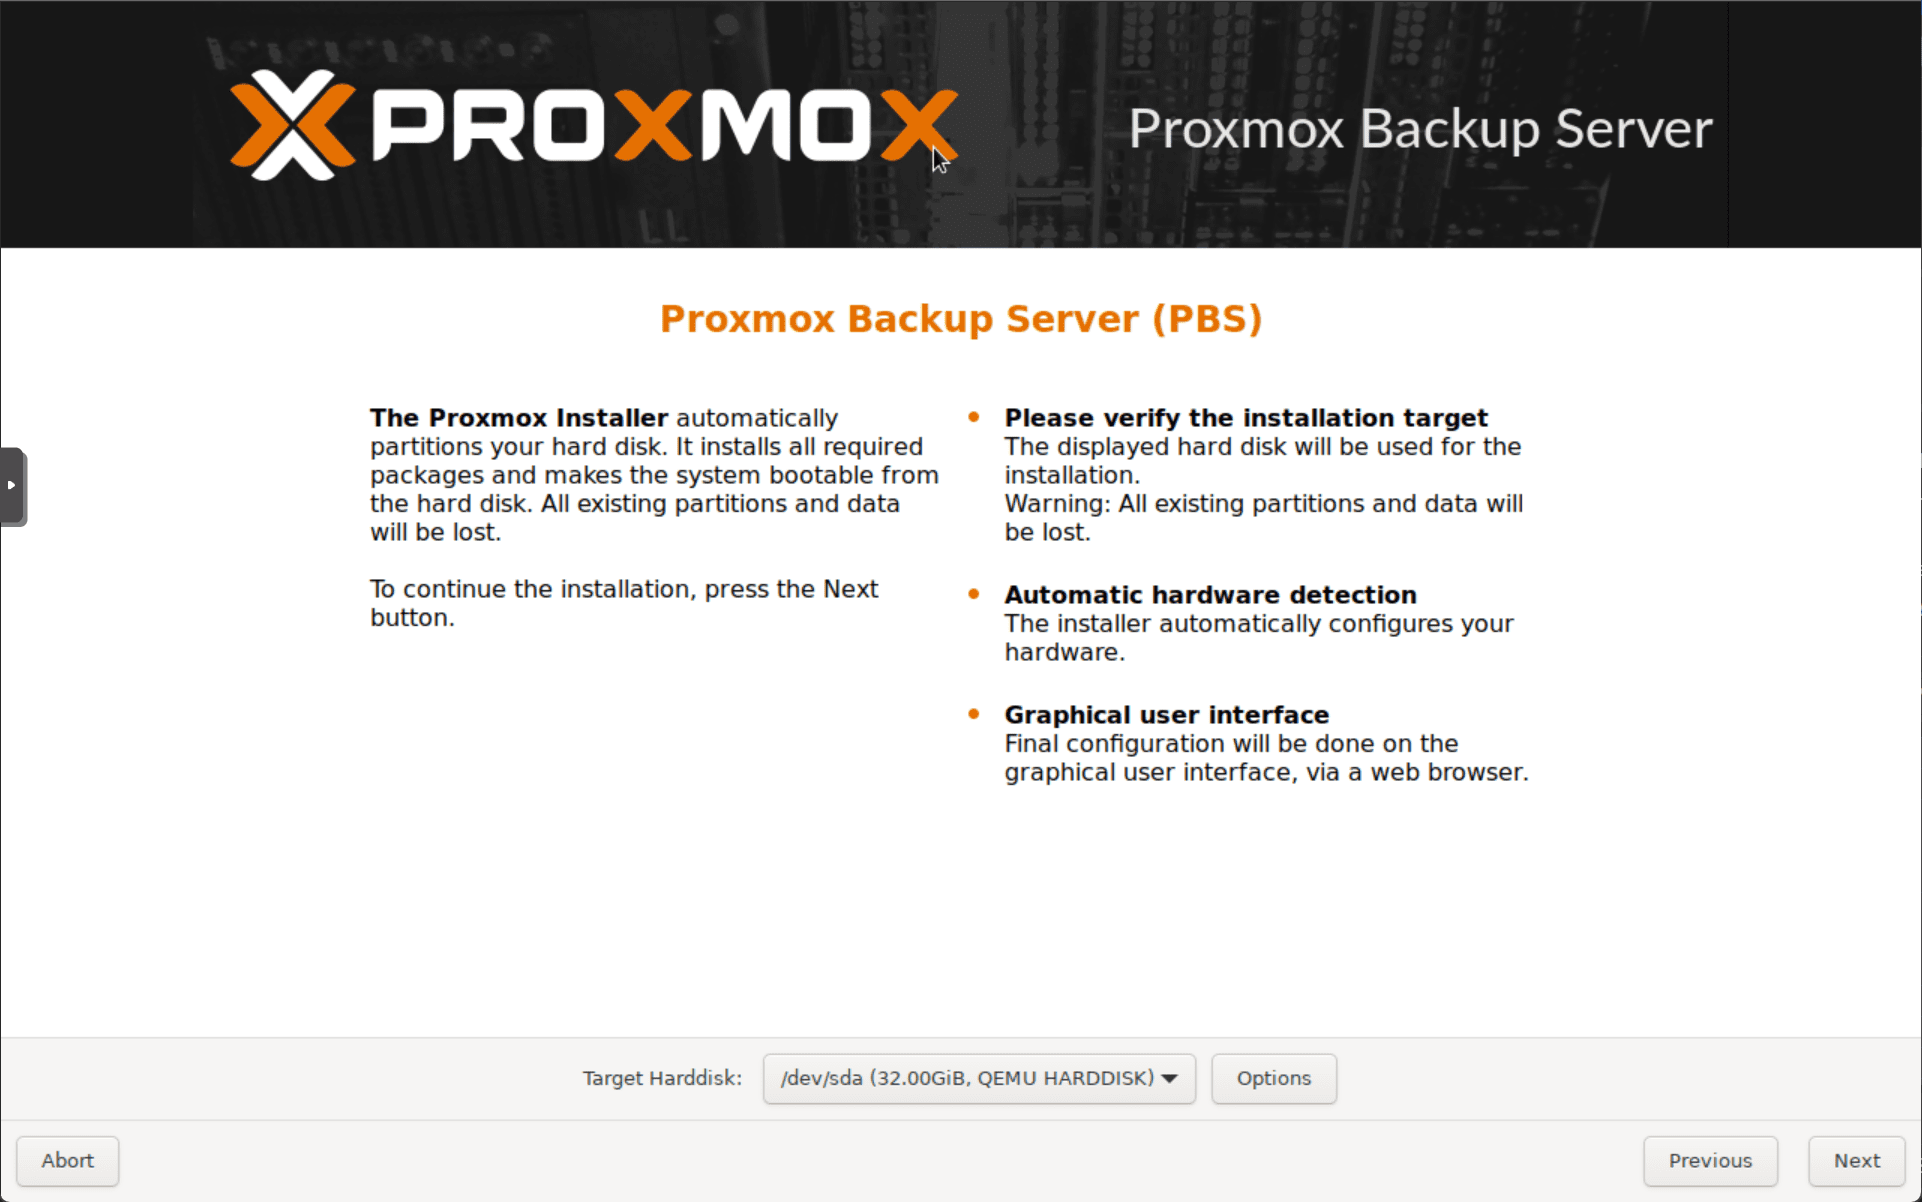
Select the installation drive.
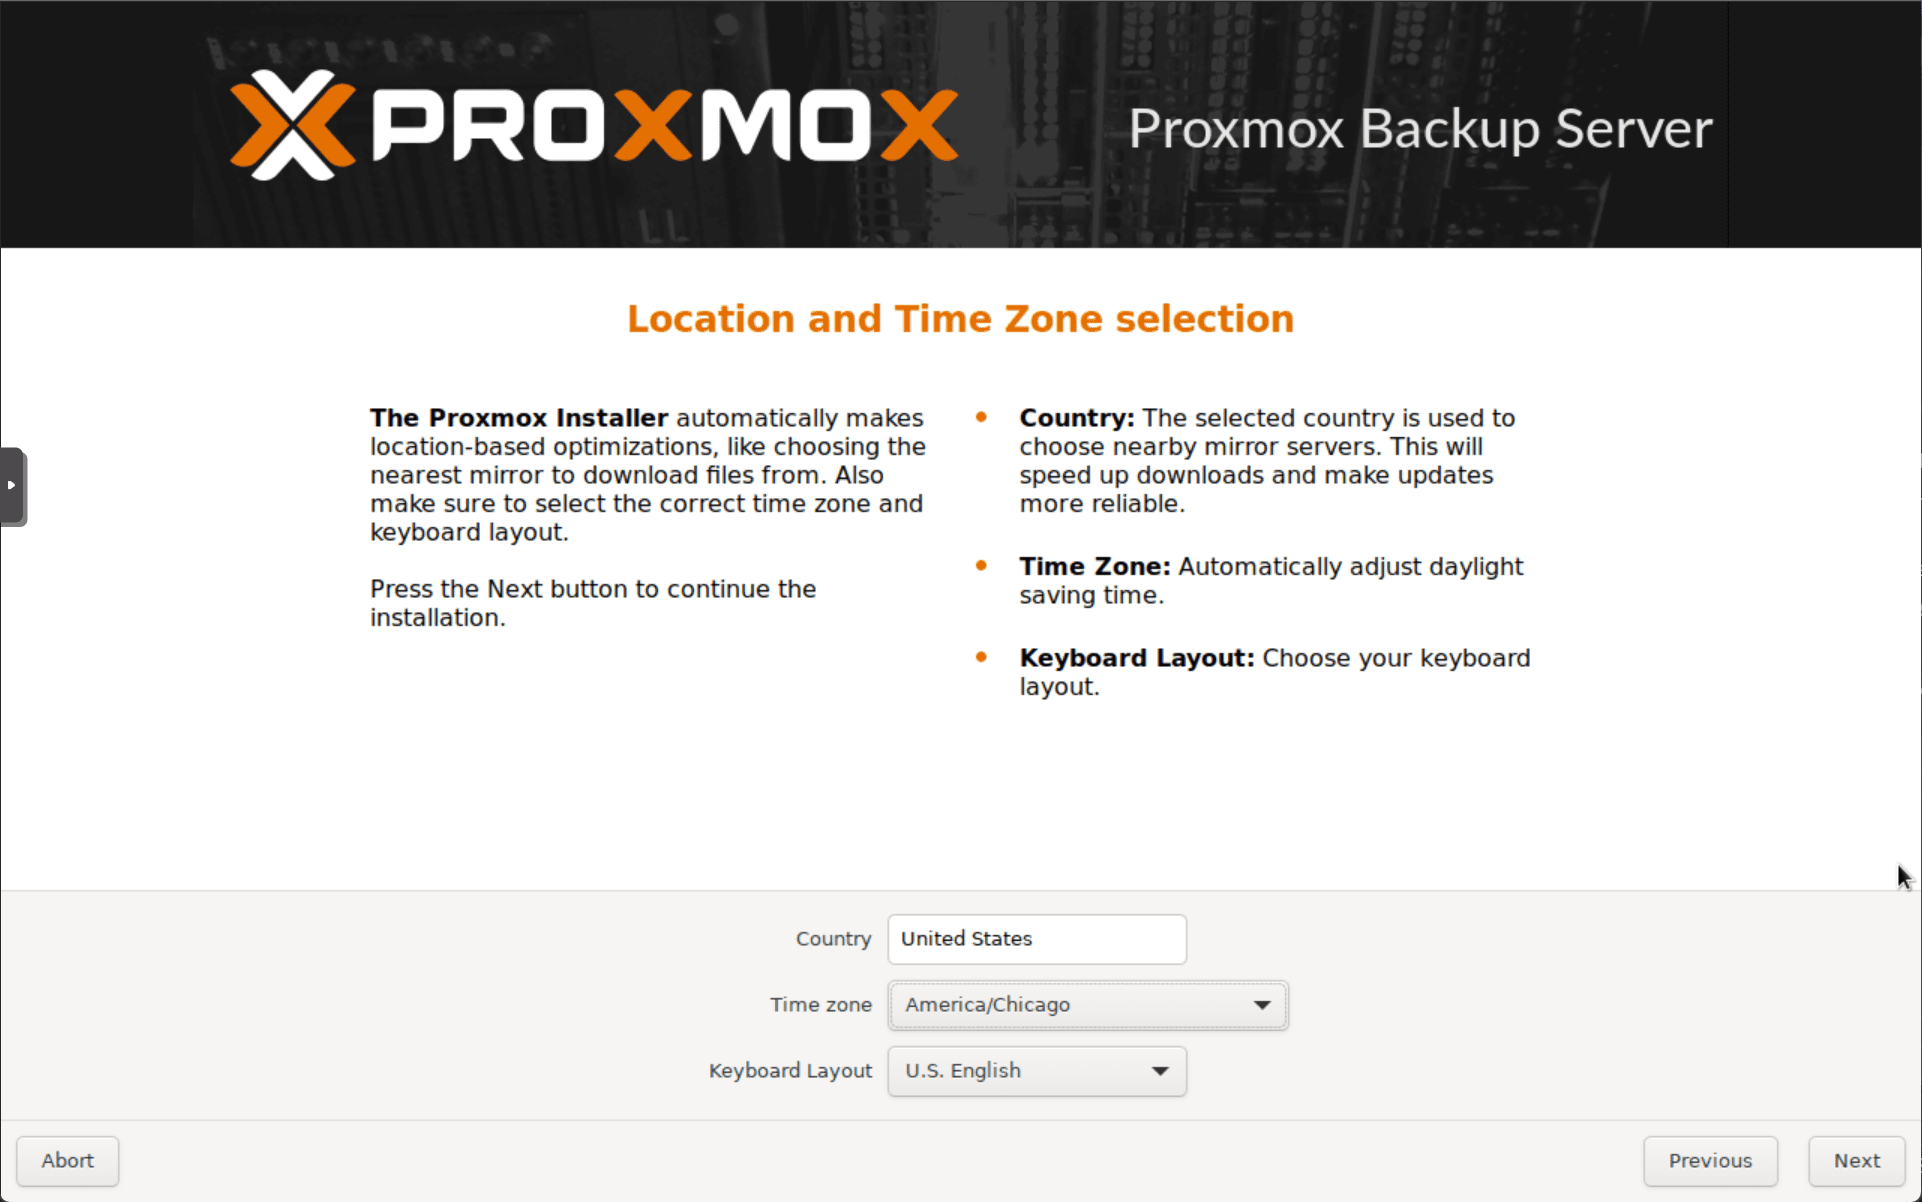
Set your country, time zone, and keyboard layout language.
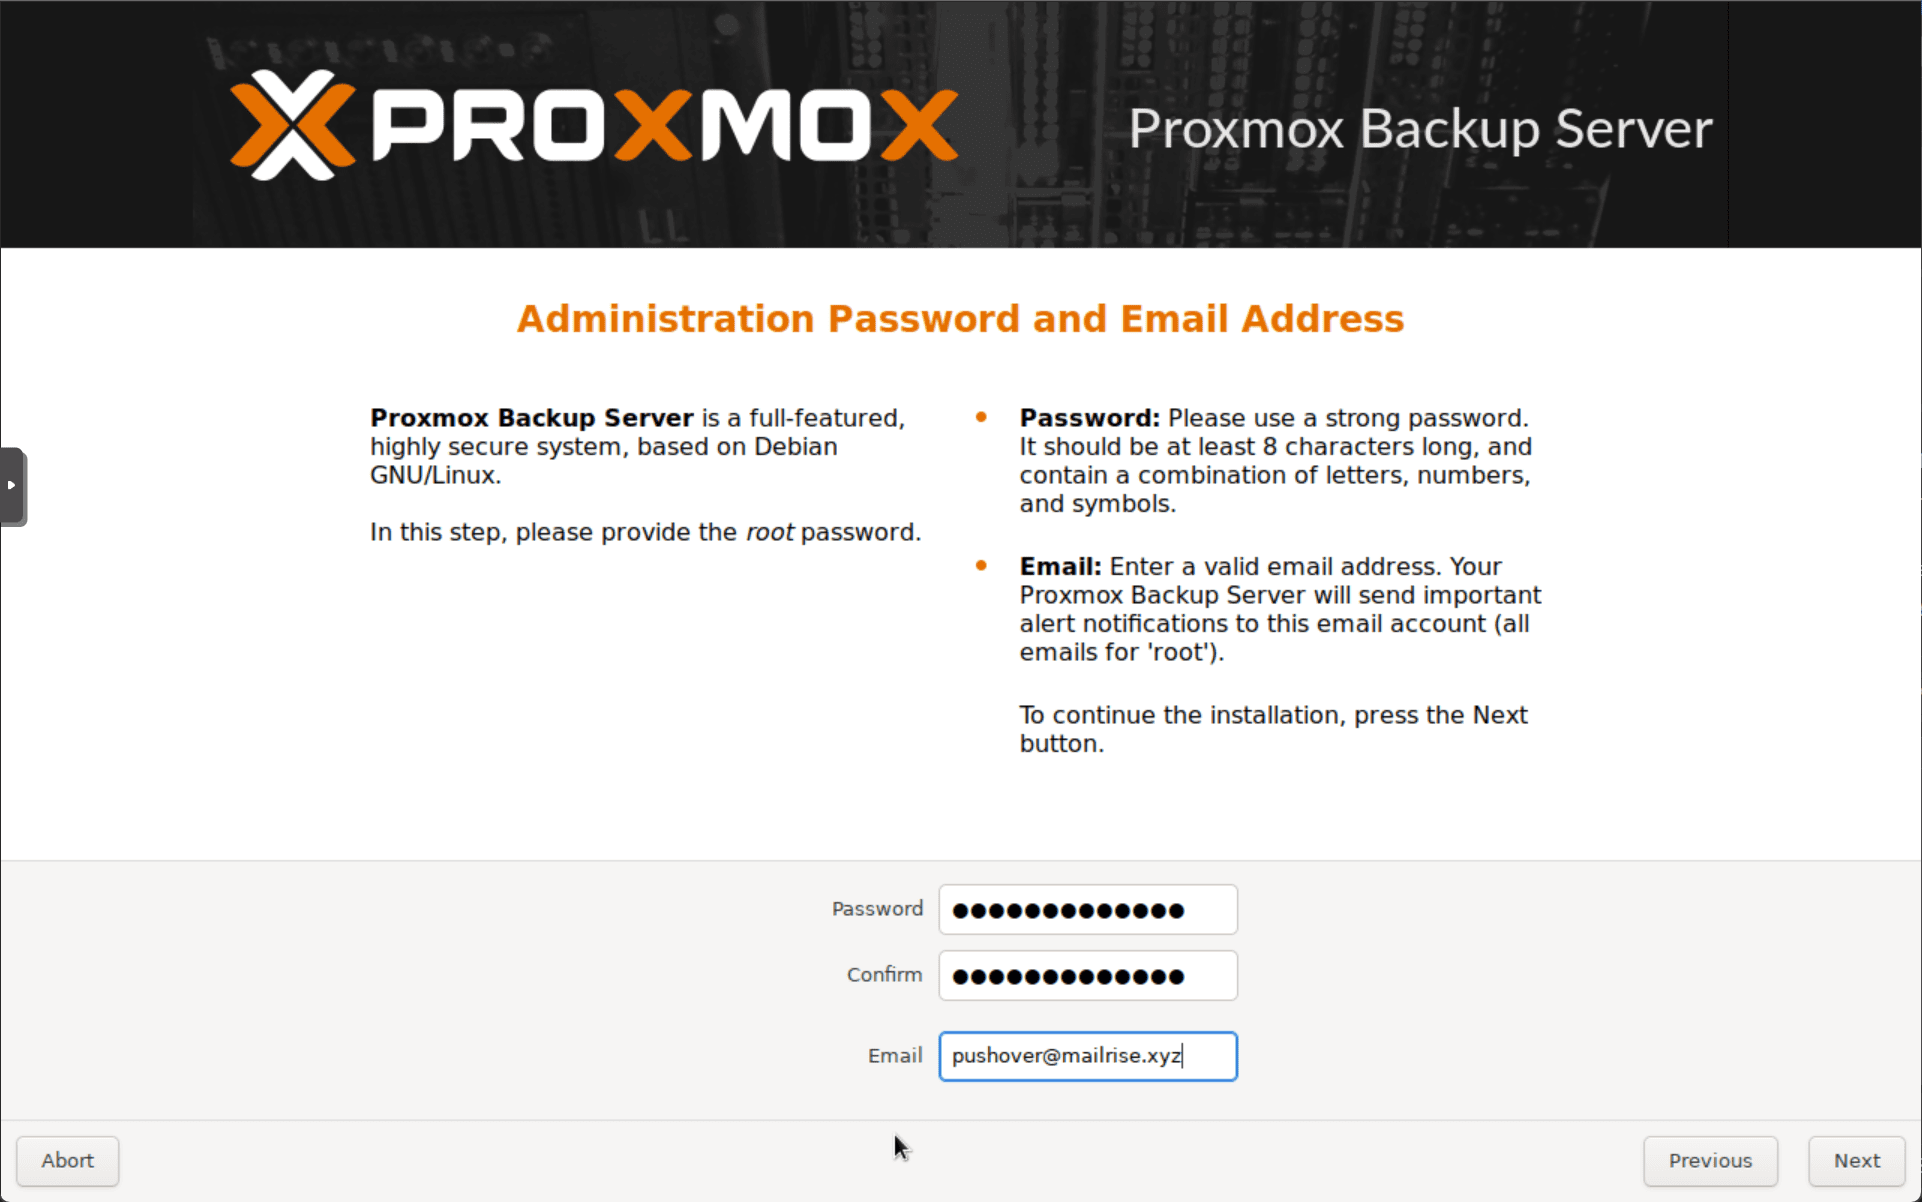
Create an administrative password and email address.
Enter the FQDN and IP address configuration.
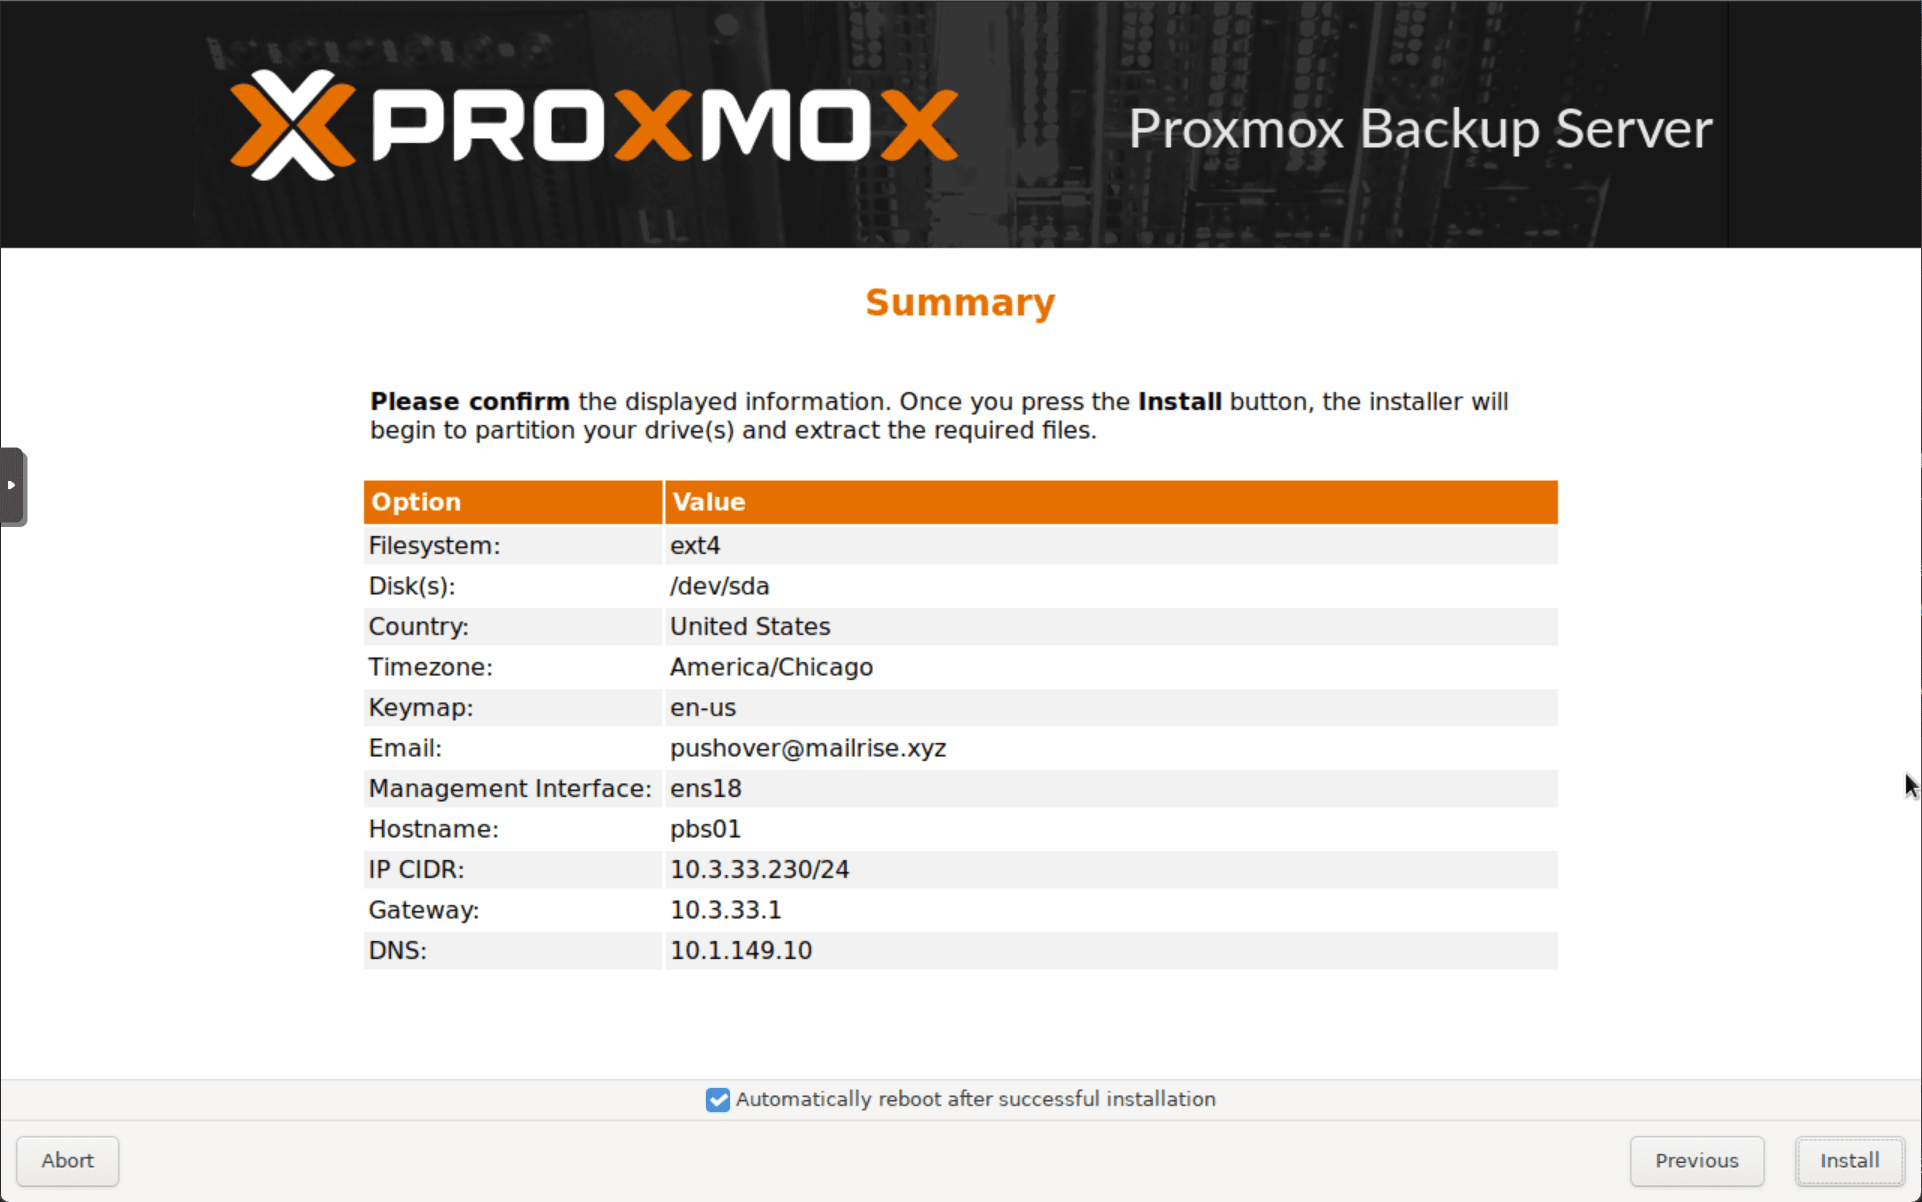
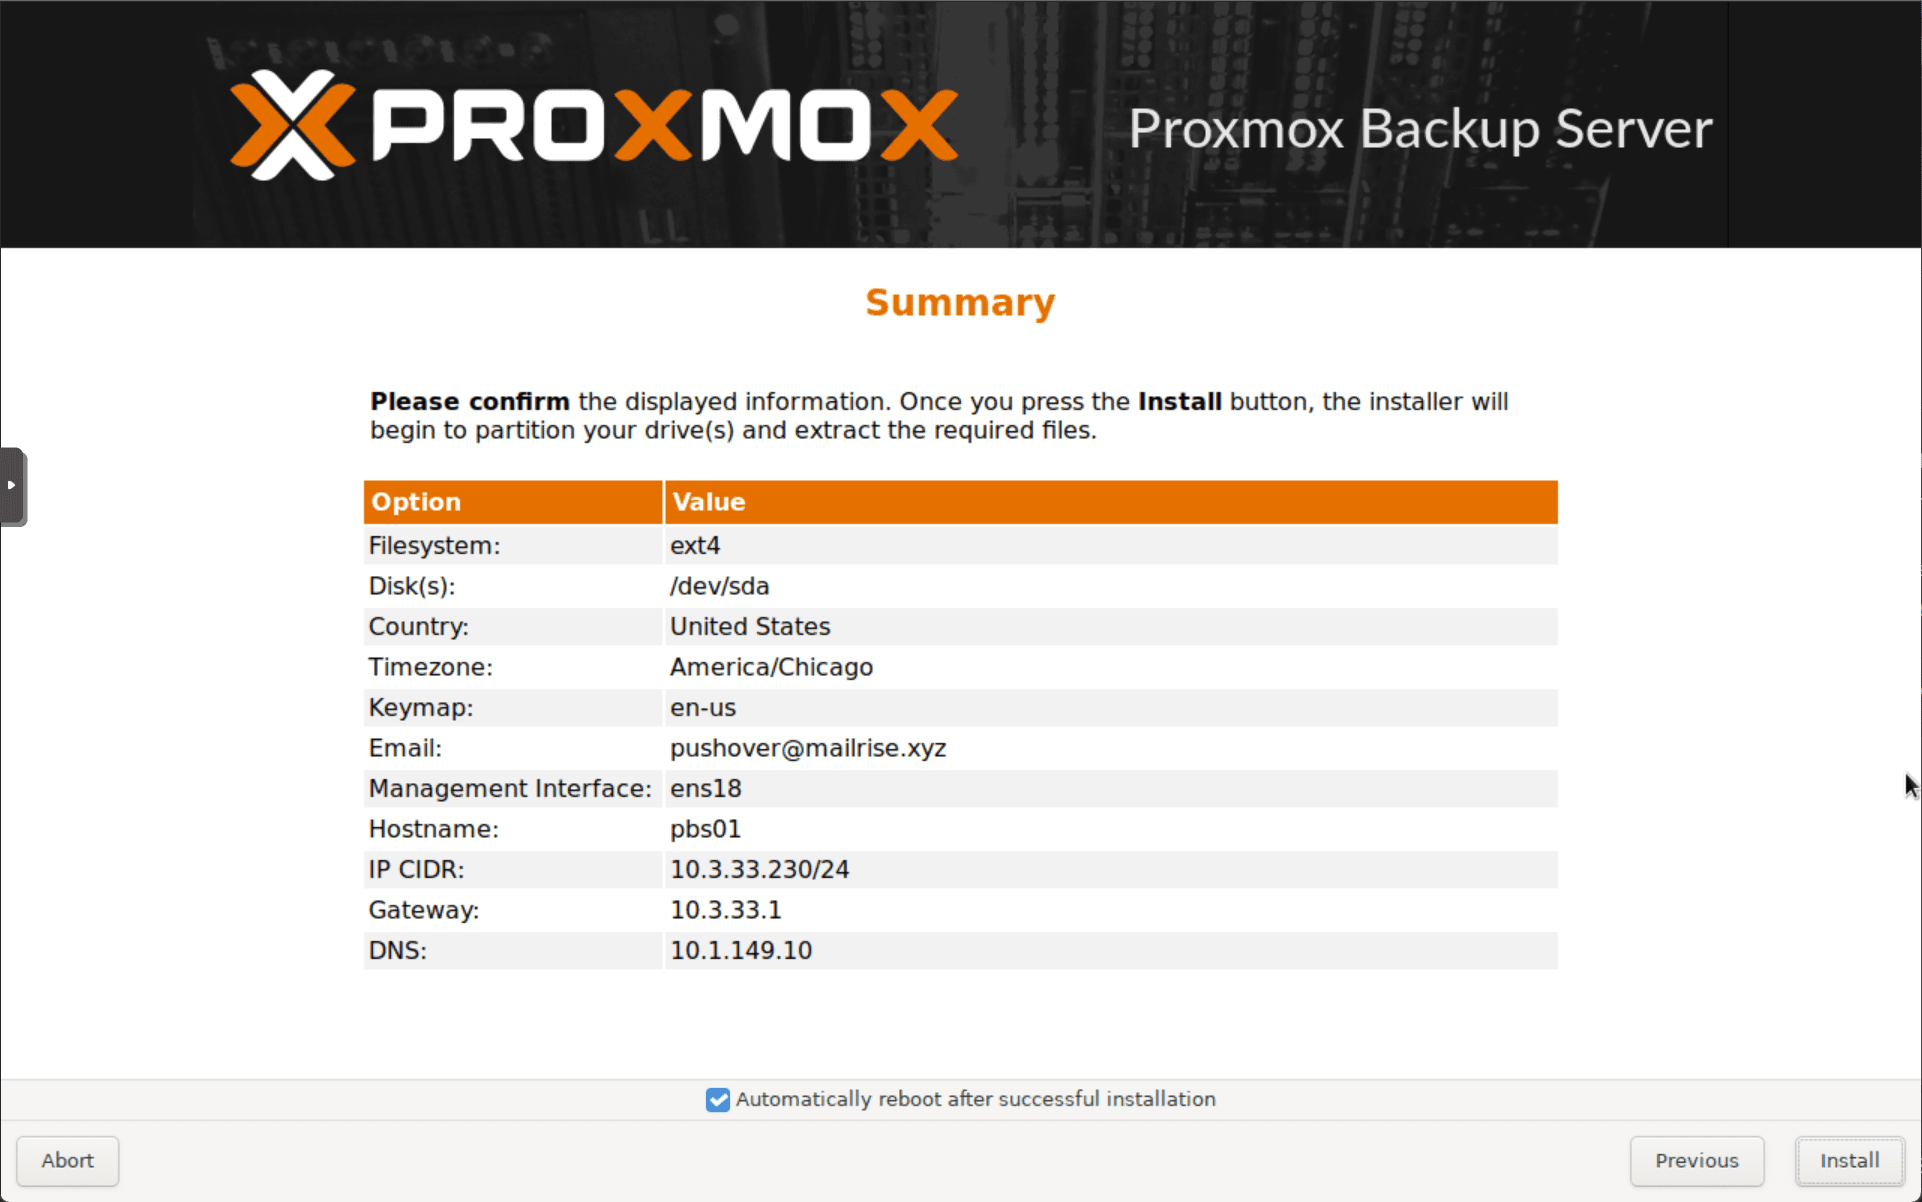
Review the summary screen.
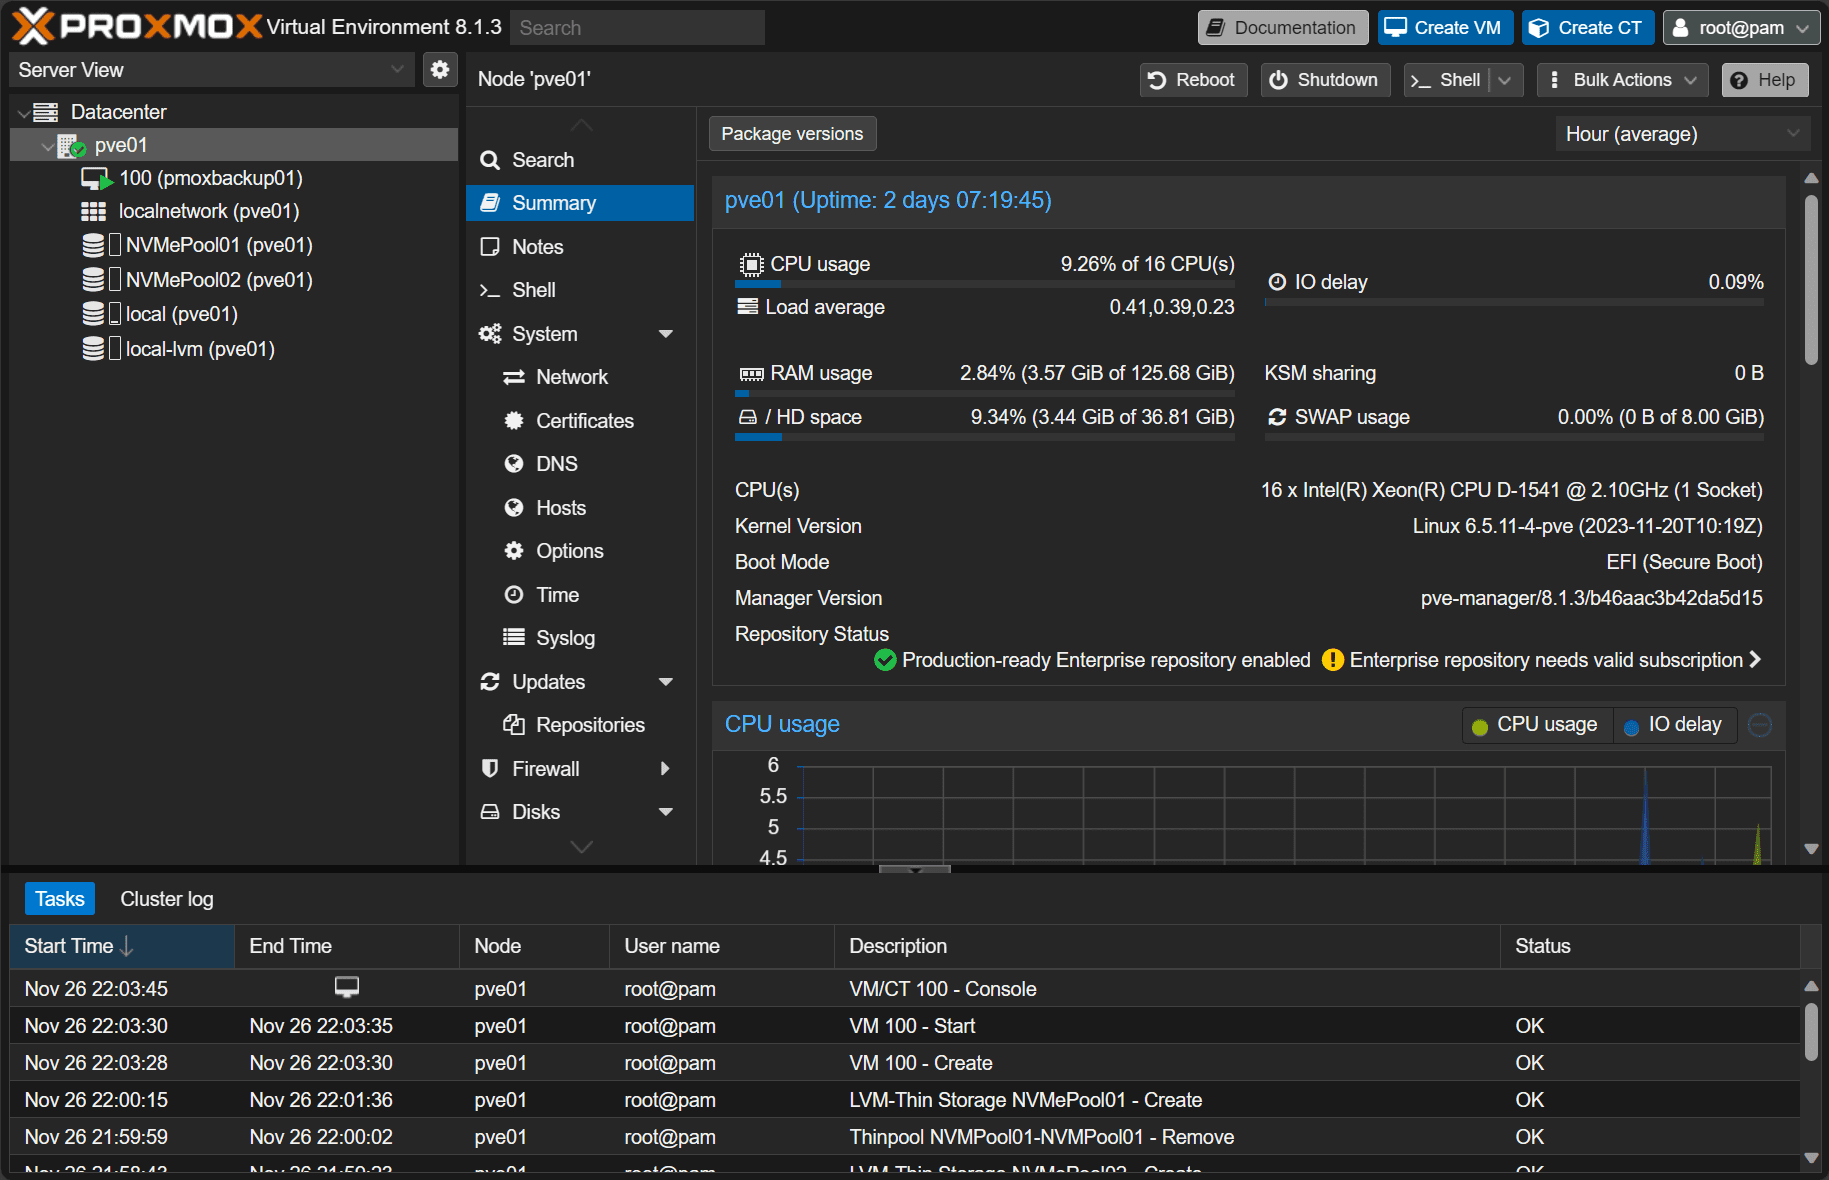
Below is a screenshot of the Proxmox Backup Server running on Proxmox VE.
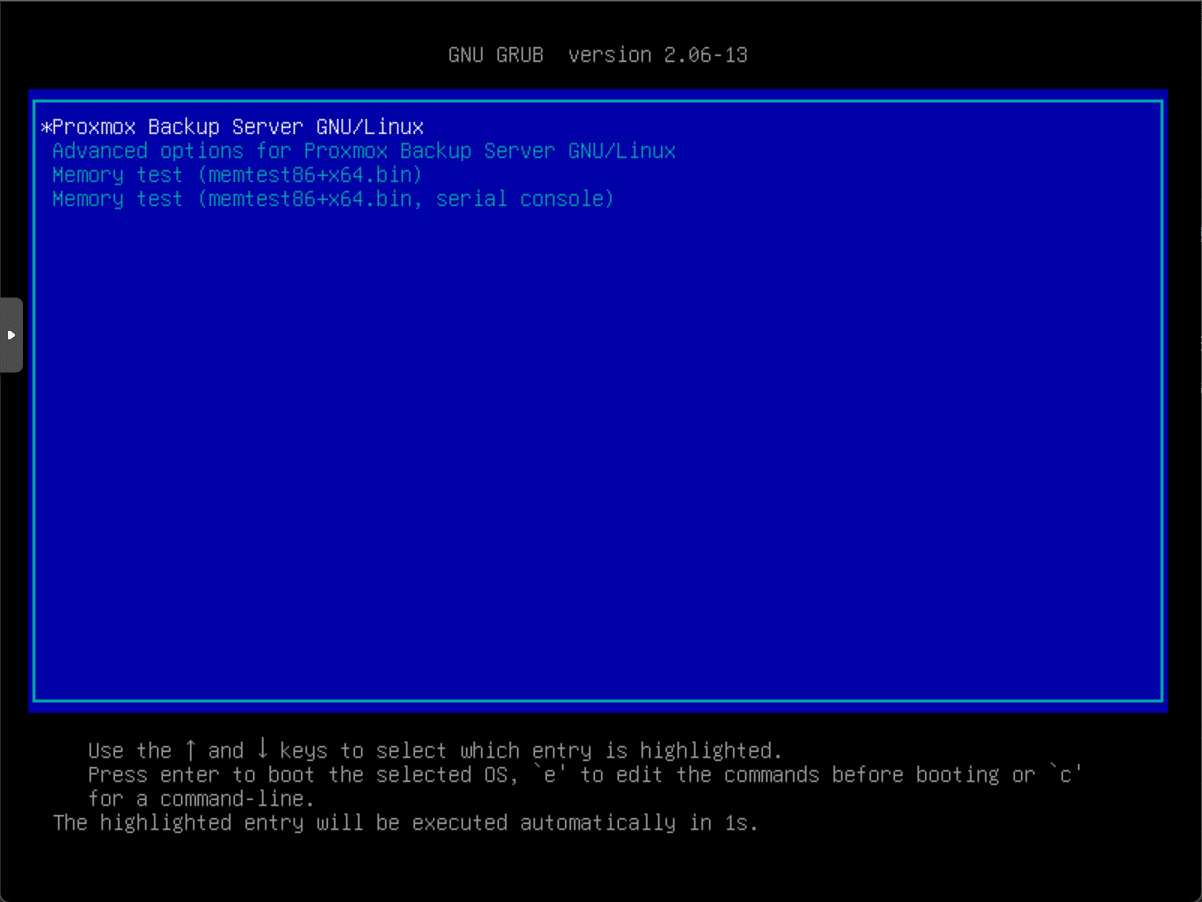
Booting the Proxmox Backup Server after installation.
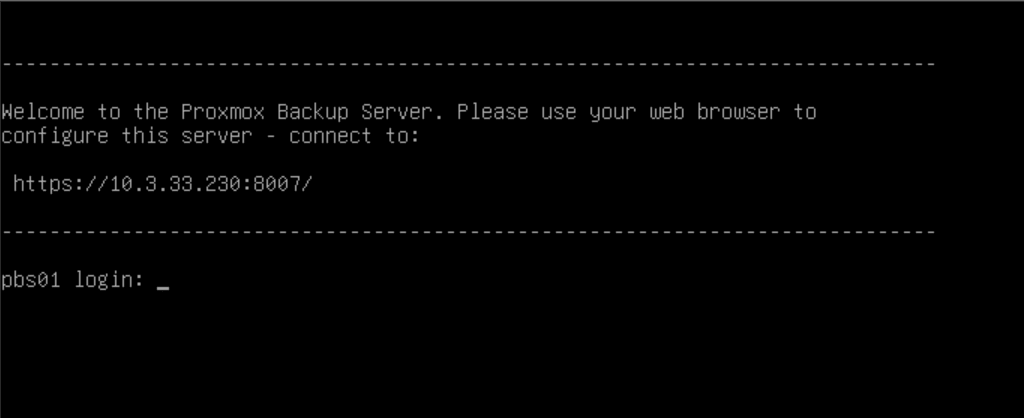
After the Proxmox Backup Server boots, you will see the default text splash screen directing you to open a browser to start managing the server. Note the port 8007, which is different from the Proxmox VE port 8006 for accessing the GUI. This is the command line interface (CLI) from the console.
Logging into the Proxmox Backup
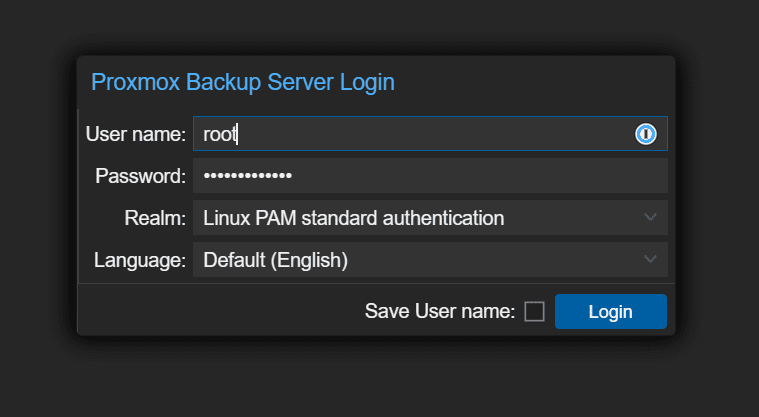
Next, let’s navigate to the web UI and log in to the web UI for the Proxmox Backup Server.
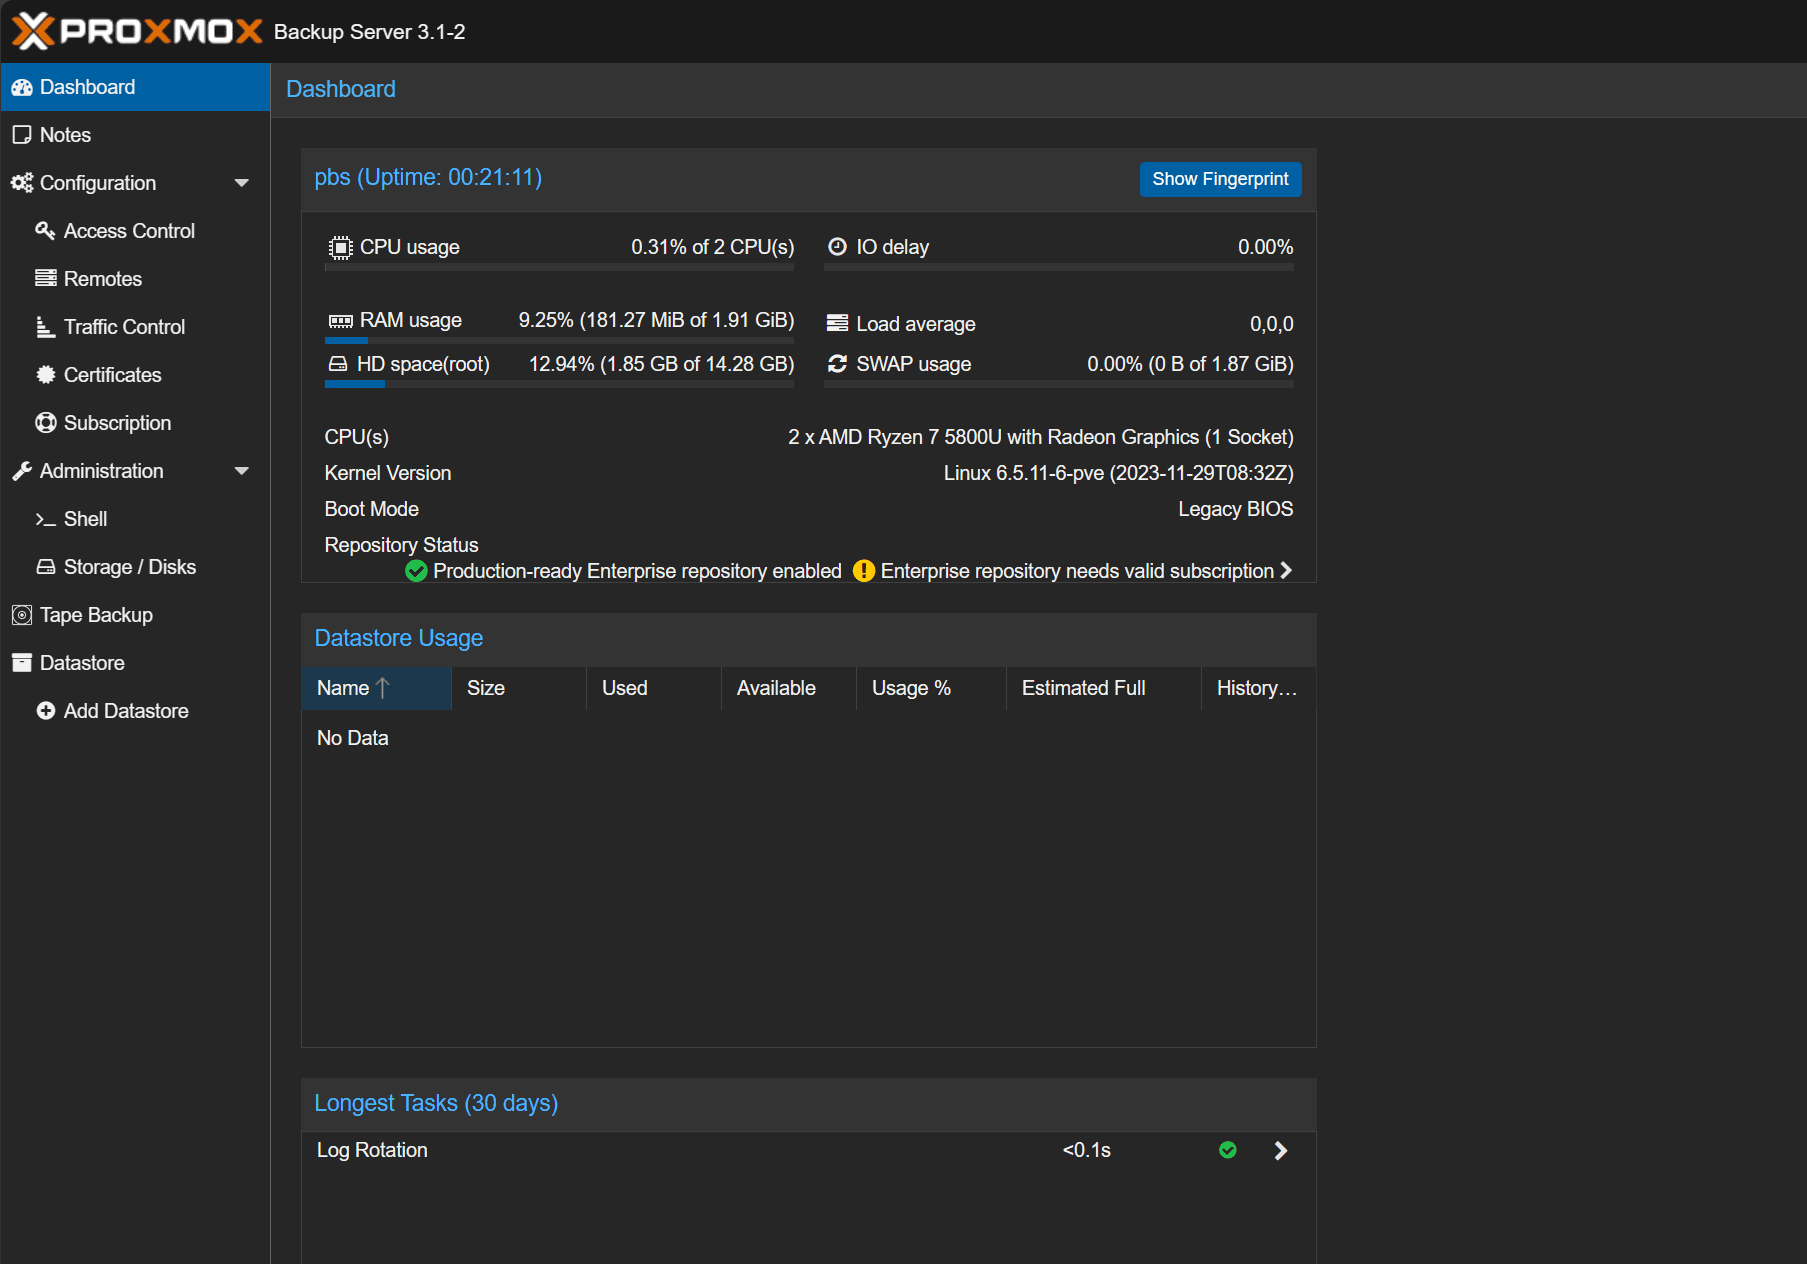
Below, we see the overview of the PBS tool.
Adding a datastore for storing backups
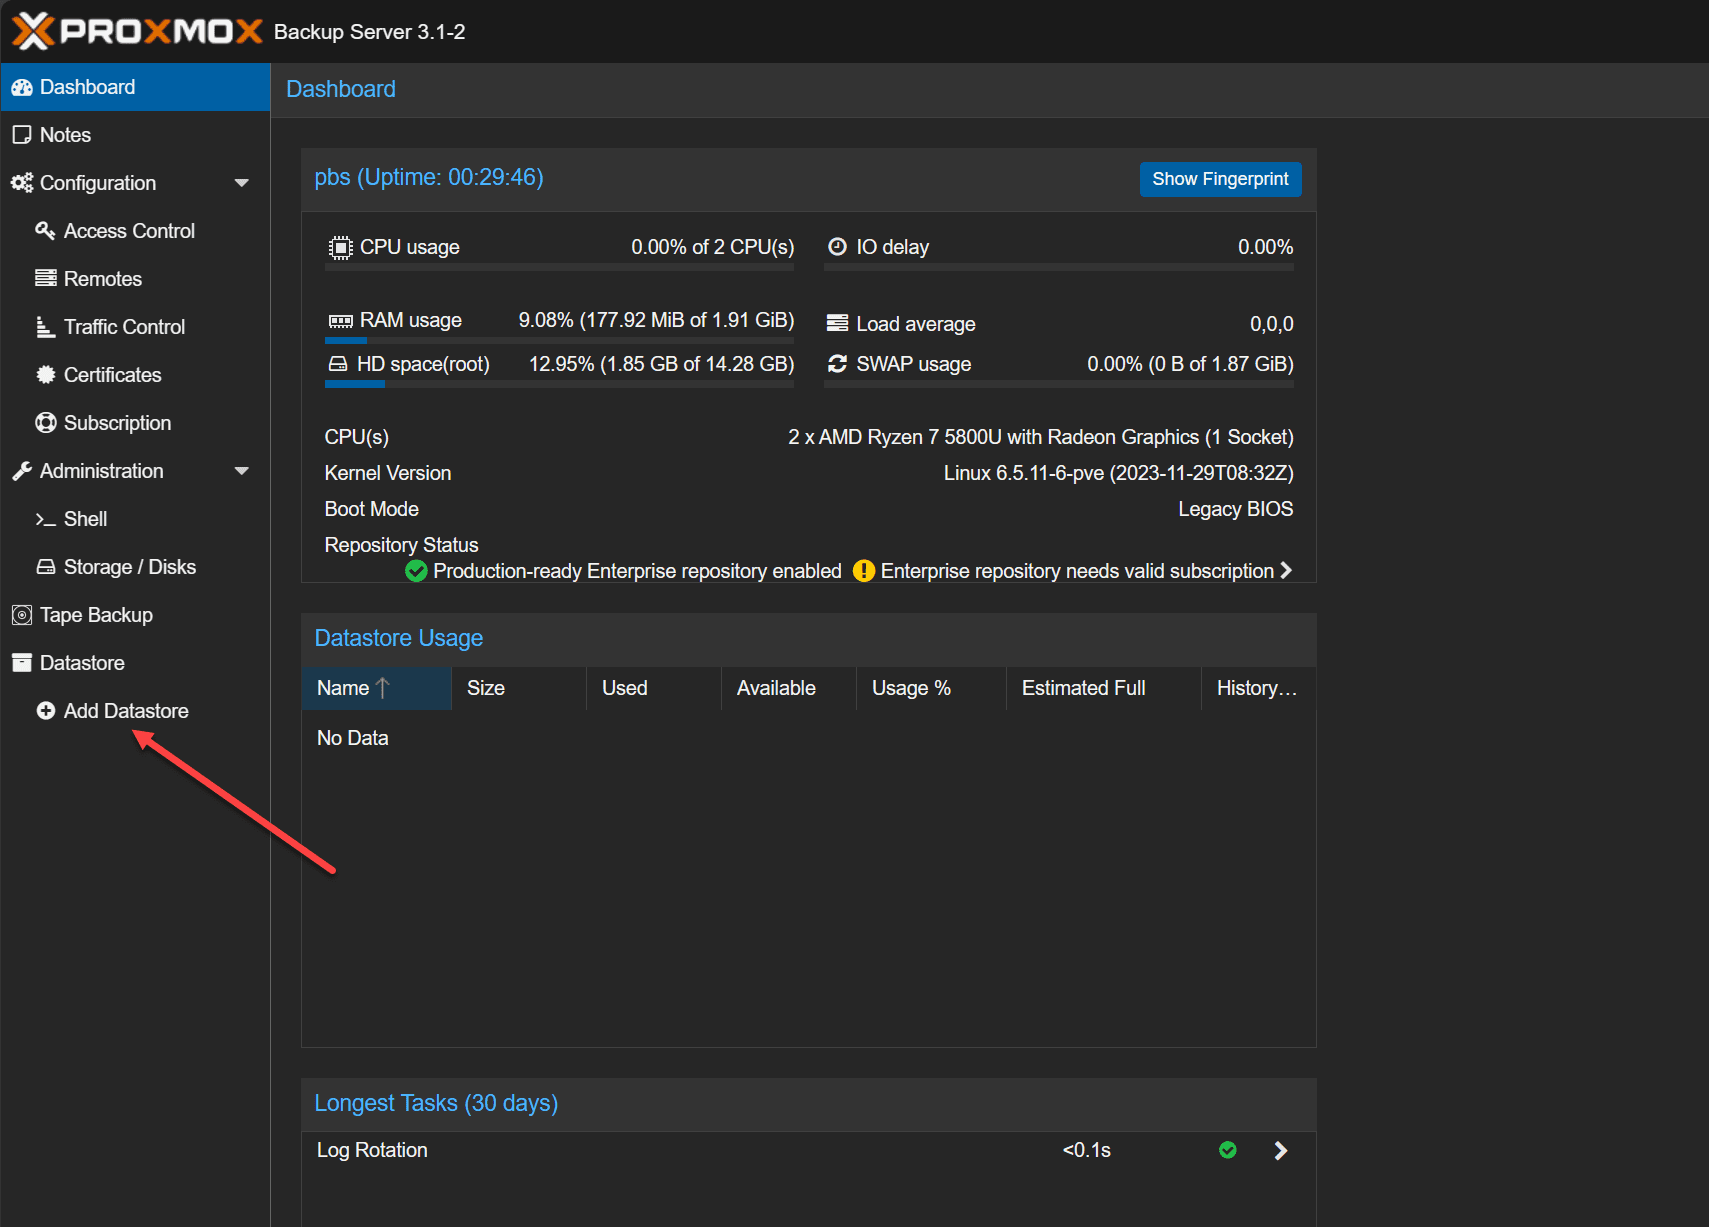
Next, let’s add a datastore for storing Proxmox backups. After logging into the Proxmox Backup Server, click the Add Datastore option under Datastore.
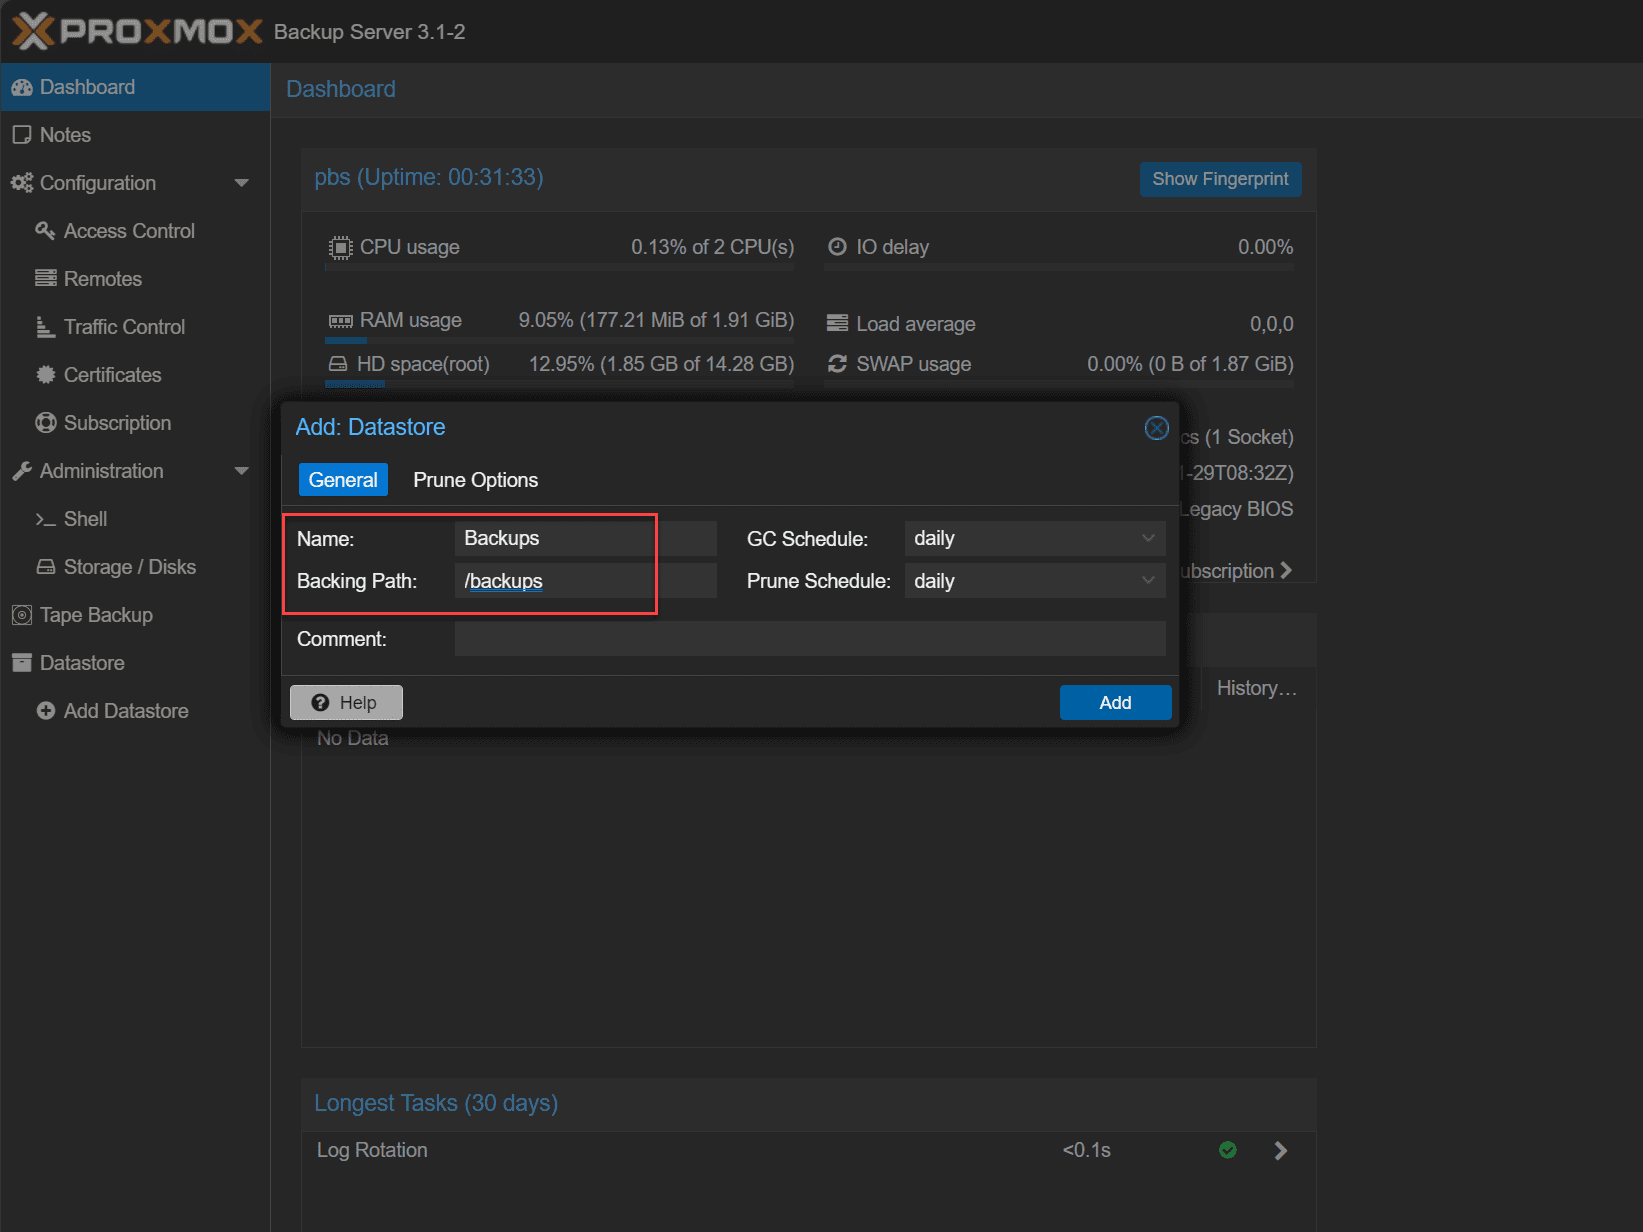
This will launch the Add Datastore dialog box. Name the new datastore and then enter the backing path. You don’t have to create the backing path location as the process will do this for you. Click Add. This will add the backup storage location to local storage on your Proxmox Backup Server.
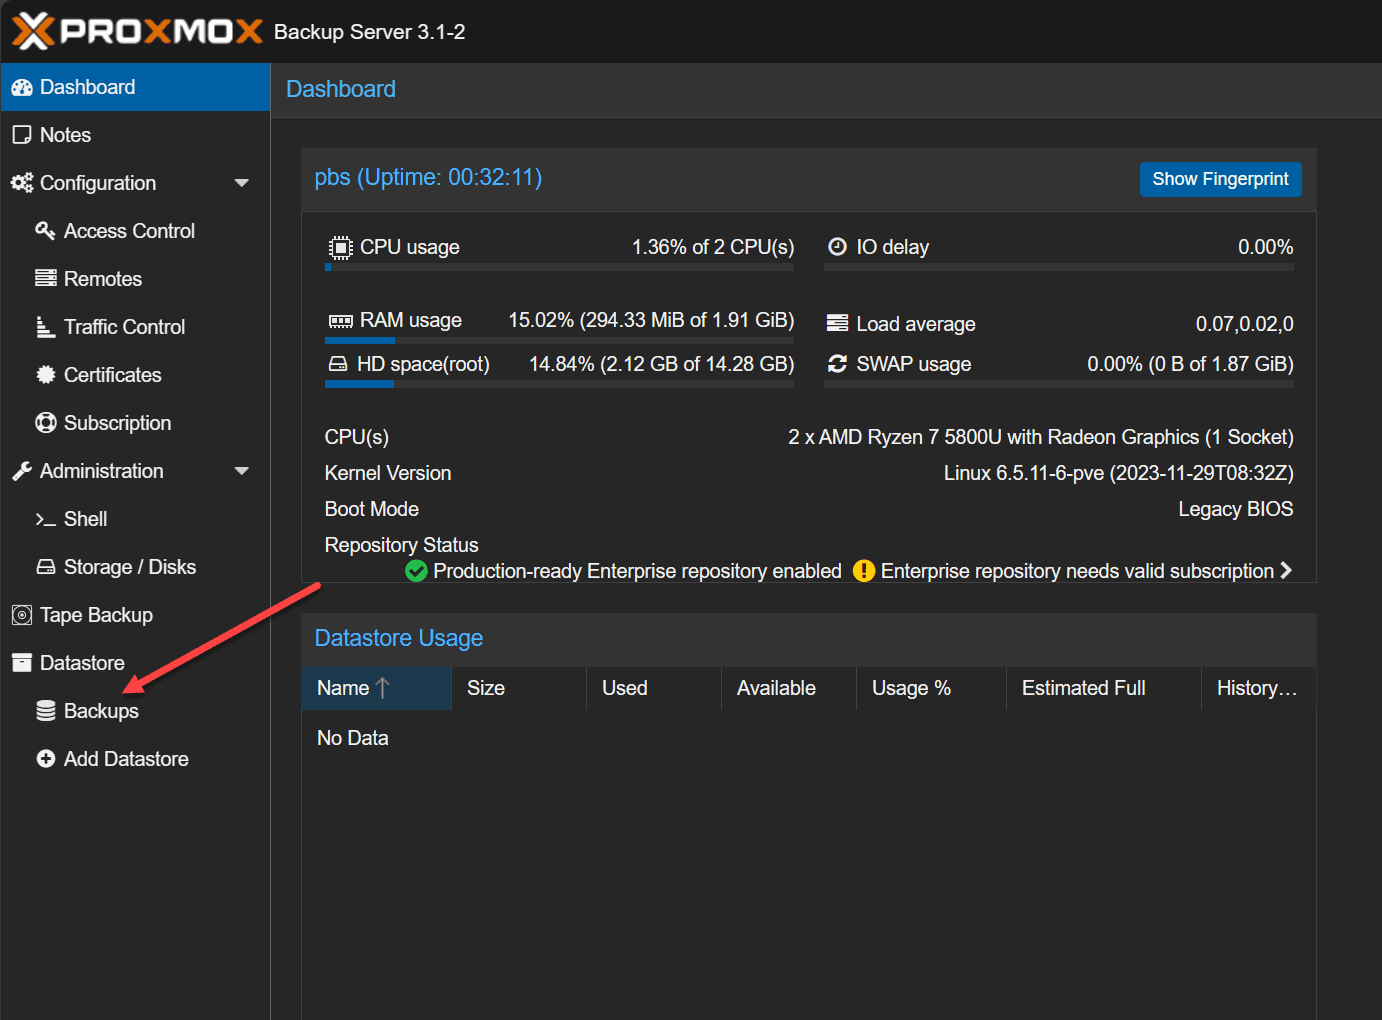
Now, we see the datastore displaying in our Proxmox Backup Server.
Add the Proxmox Backup Server instance to your Proxmox VE server
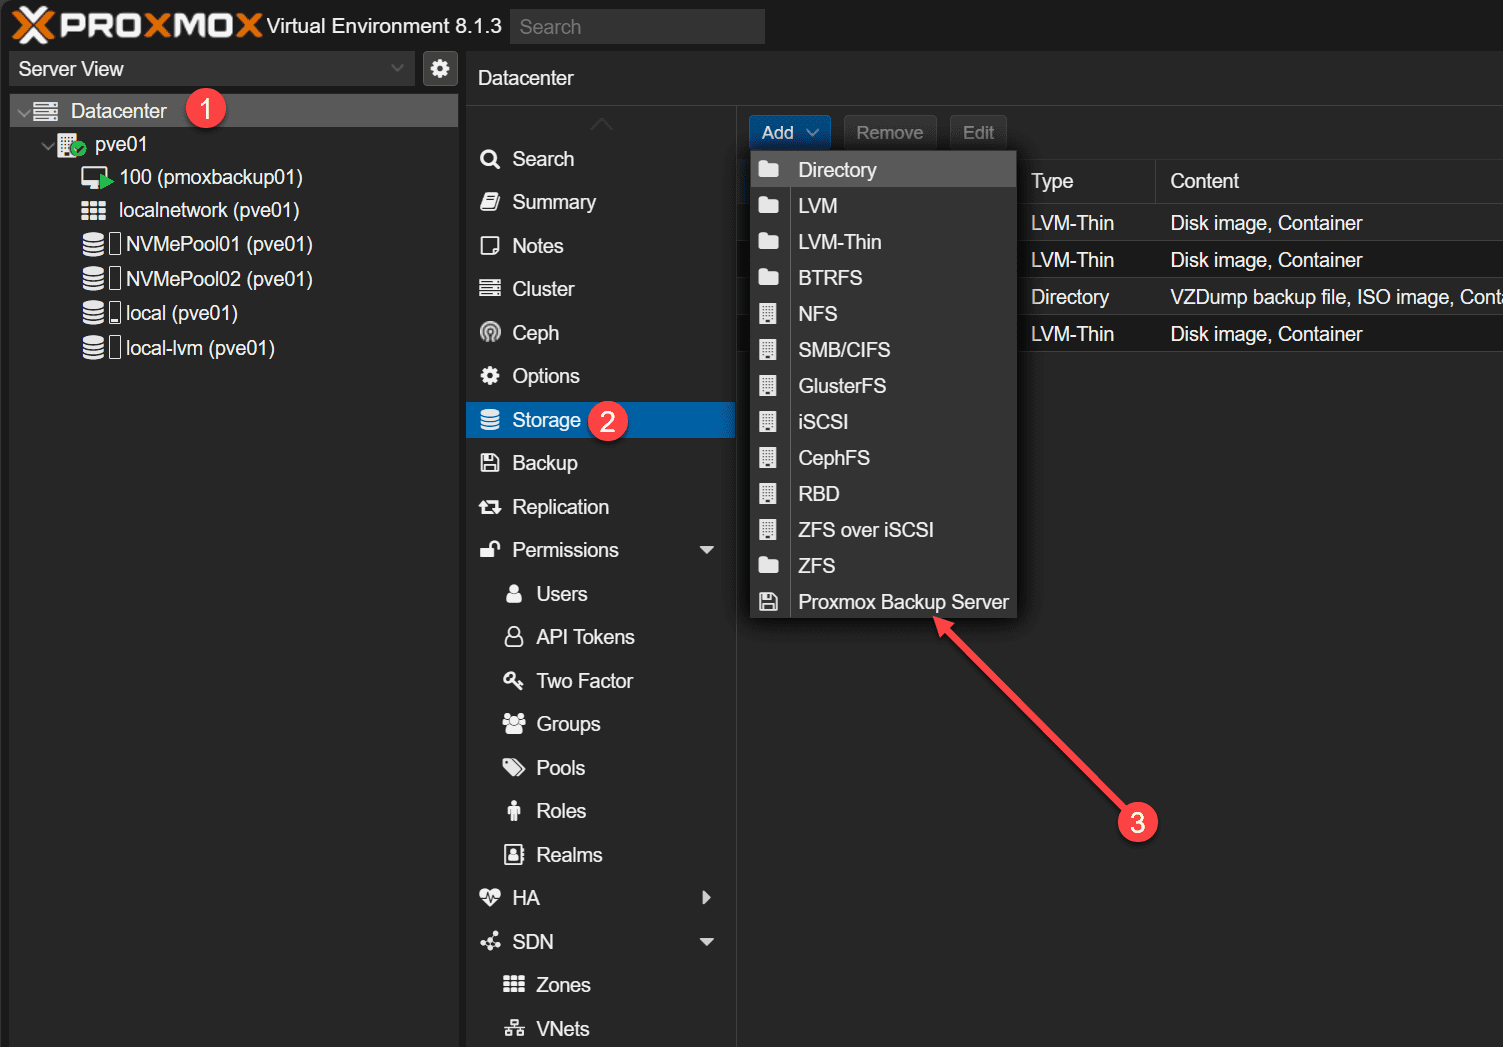
On our Proxmox VE host, the Proxmox Backup Server is viewed as Storage. So, we first need to add it as storage to our Proxmox VE host.
Navigate to Datacenter > Storage > Add > Proxmox Backup Server.
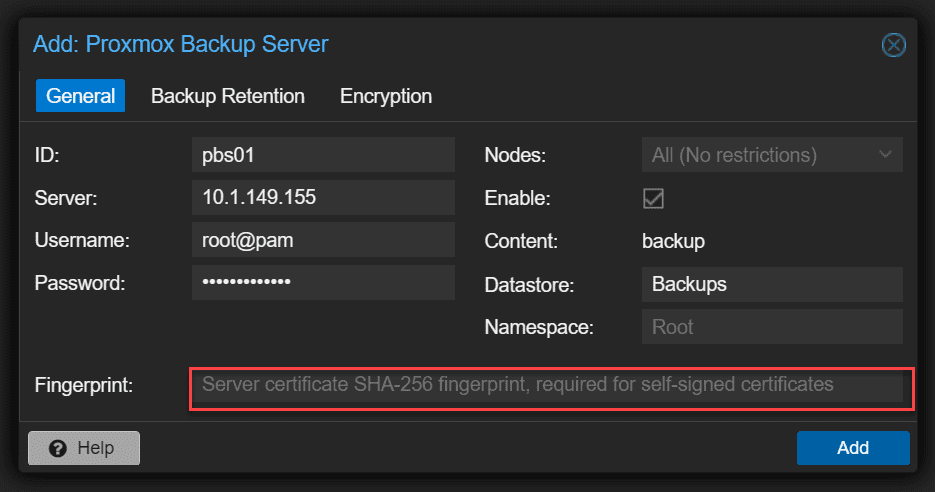
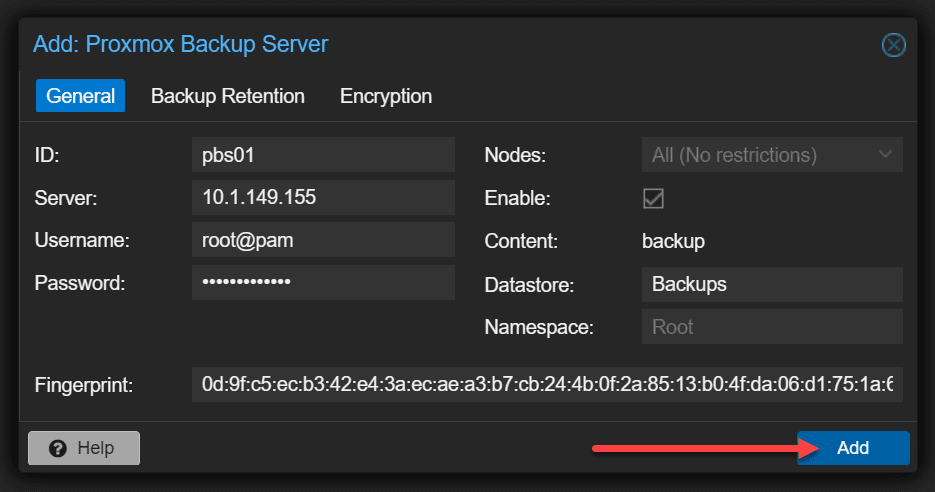
This will launch the Add: Proxmox Backup Server dialog box. Here we enter the following information:
- ID
- Server
- Username
- Password
- Datastore
- Fingerprint
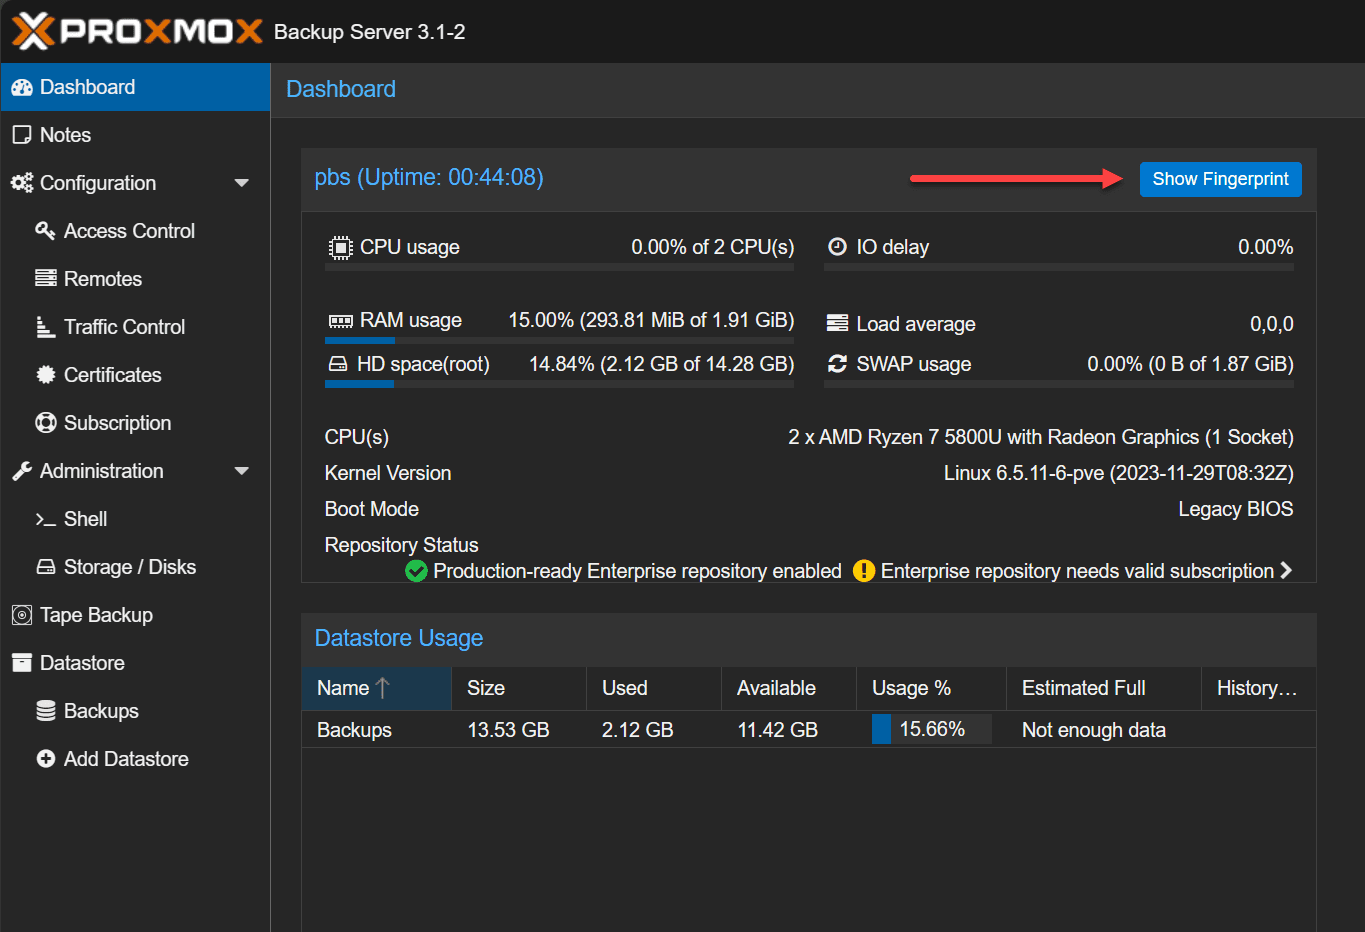
You may wonder where we get the fingerprint.
Navigate back to your Proxmox Backup Server and click on the Dashboard > Show Fingerprint button.
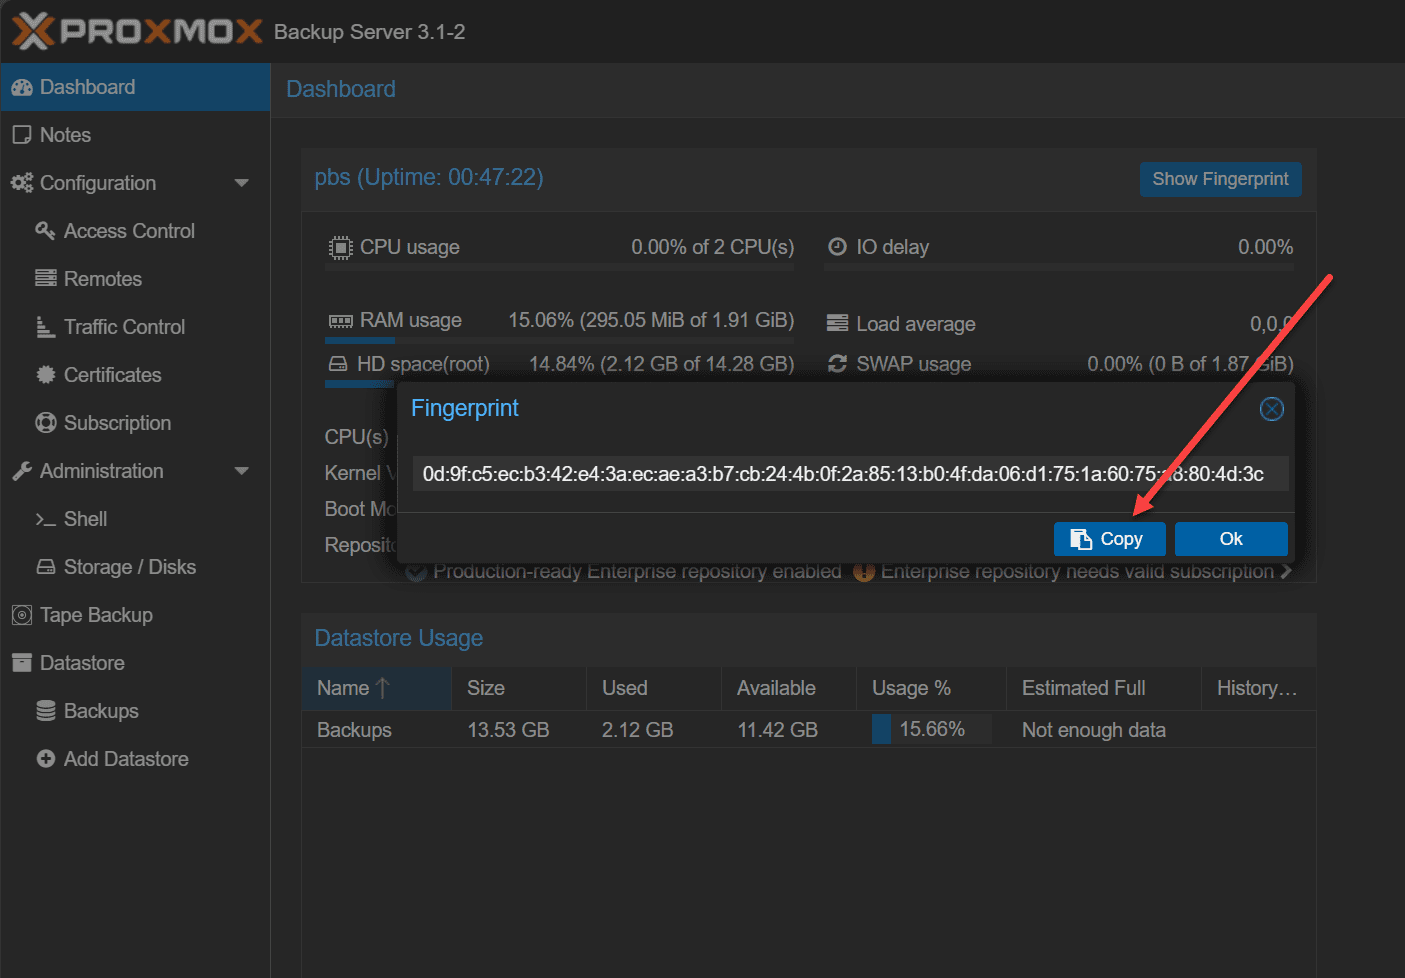
Here, we can copy the fingerprint.
Now, we can paste in the fingerprint.
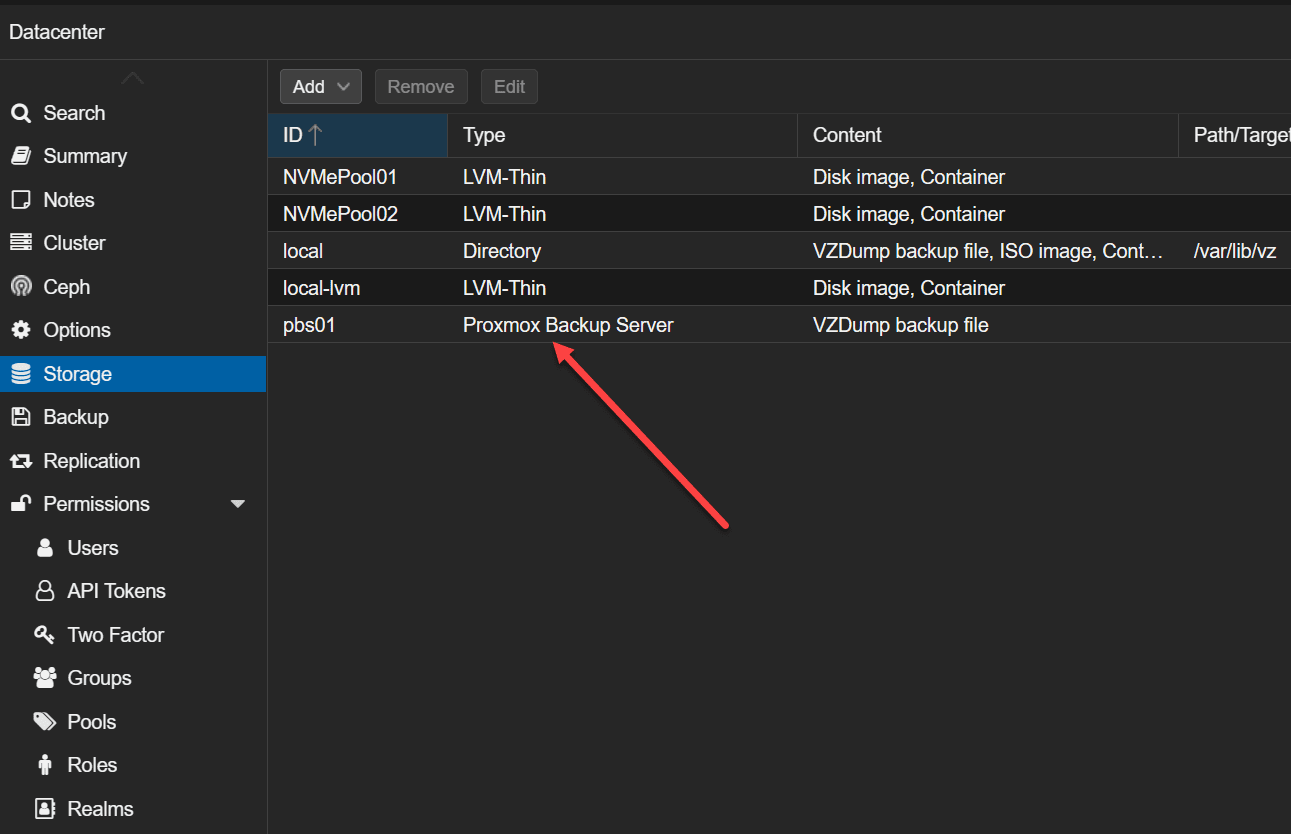
After adding the fingerprint and clicking the Add button, we see the Proxmox Backup Server listed.
Creating a backup job
Now that we have the Proxmox Backup Server added as storage to our Proxmox VE host, let’s create a backup job.
You might think we would do this from the Proxmox Backup Server side. However, we create the Proxmox backup job from the Proxmox VE host. Proxmox Backup Server offers advanced features like snapshot mode and customizable backup retention policies.
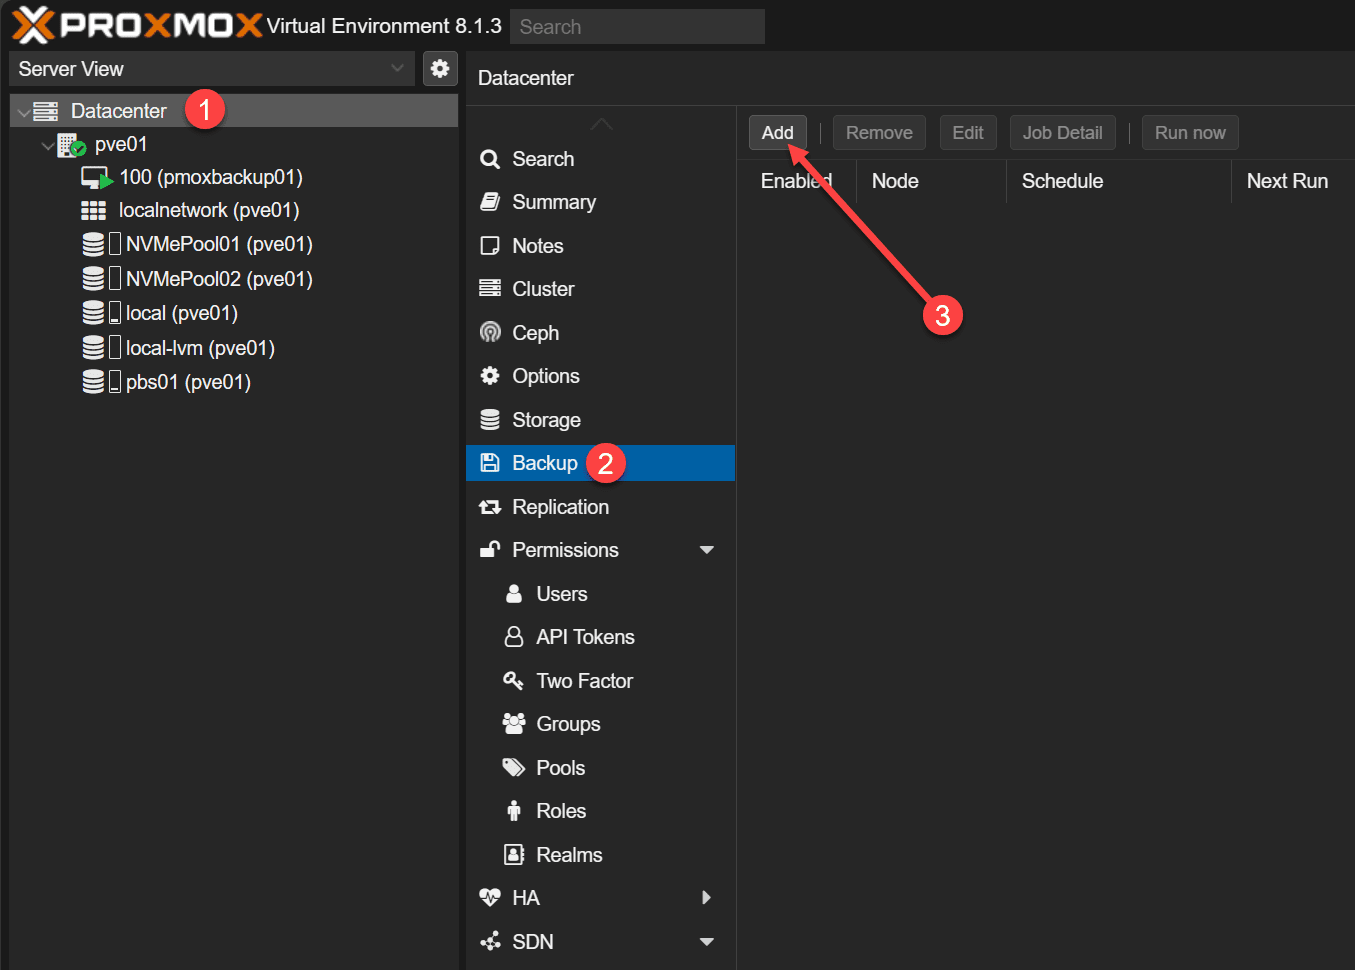
Navigate to Datacenter > Backup > Add.
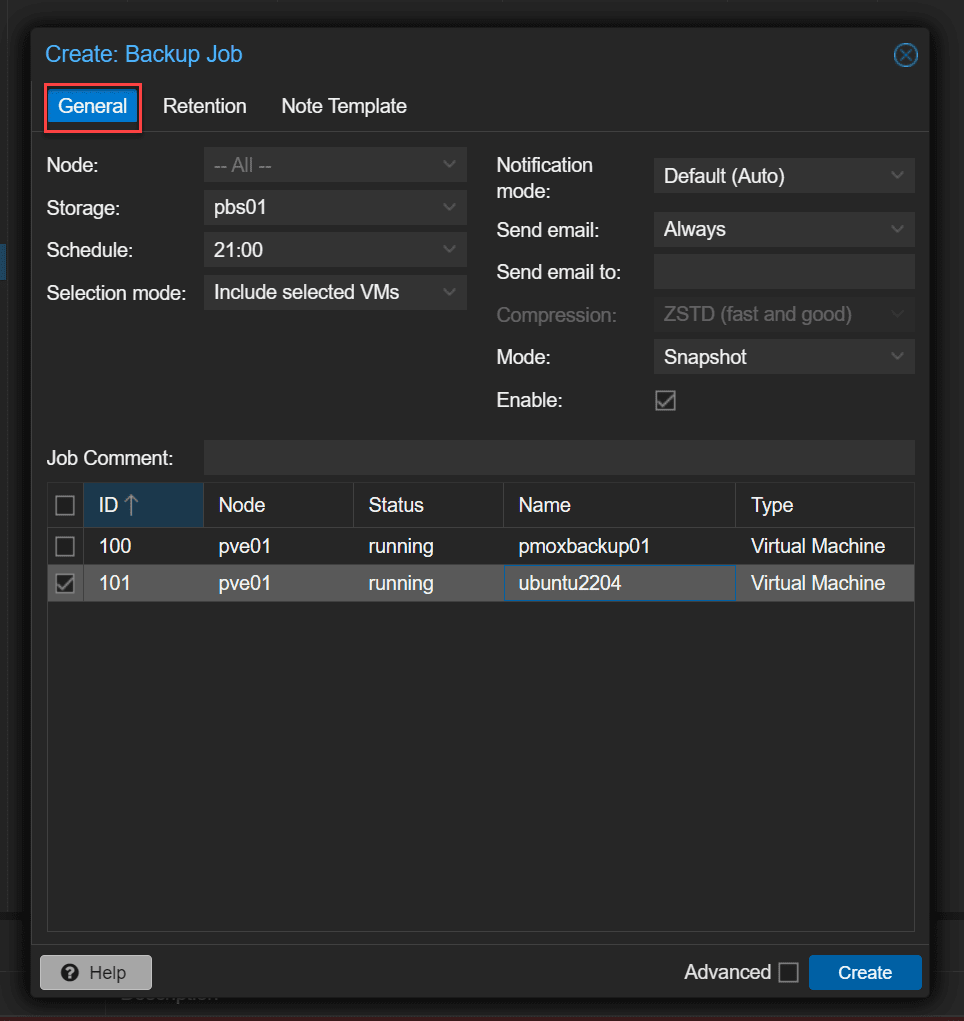
On the general tab, we can set all the main backup option selection for our Proxmox backup job. This includes:
- Source nodes from which to backup
- Storage that we want to target for the backup
- Schedule when your backup job will runReading the previous sentence, it becomes evident that determining the storage and backup schedule are crucial aspects when setting up a Proxmox backup server.
- Selection mode (which VMs)
- Notification mode
- Send email options
- Send email to for configuring an email address
- Backup mode – snapshot, suspend, stop
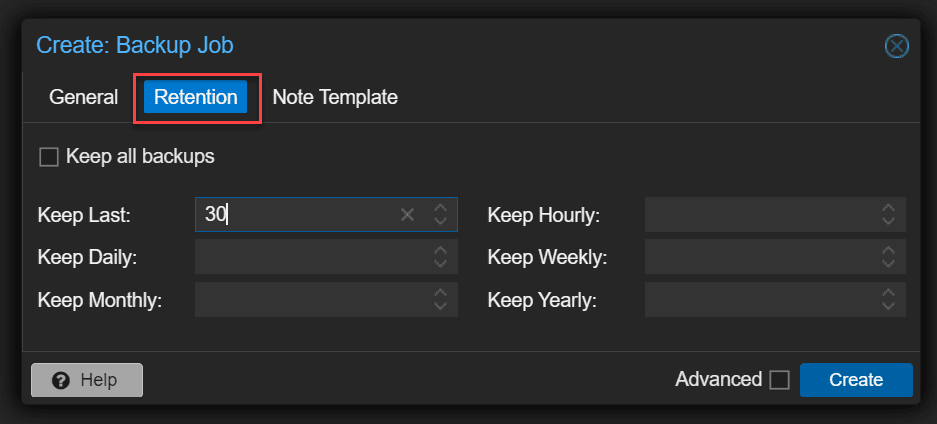
On the retention screen, you can configure all things retention and archive related, including:
- Keep all backups
- Keep last
- Keep daily
- Keep monthly
- Keep hourly
- Keep yearly
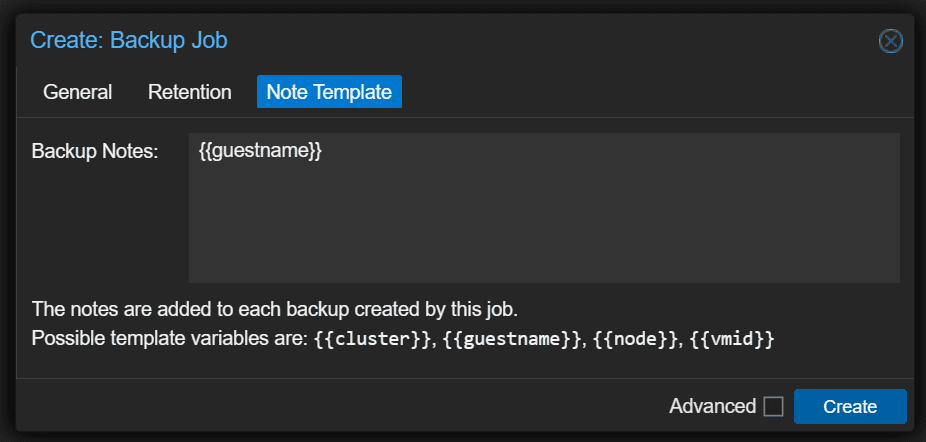
You can also configure the Note template.
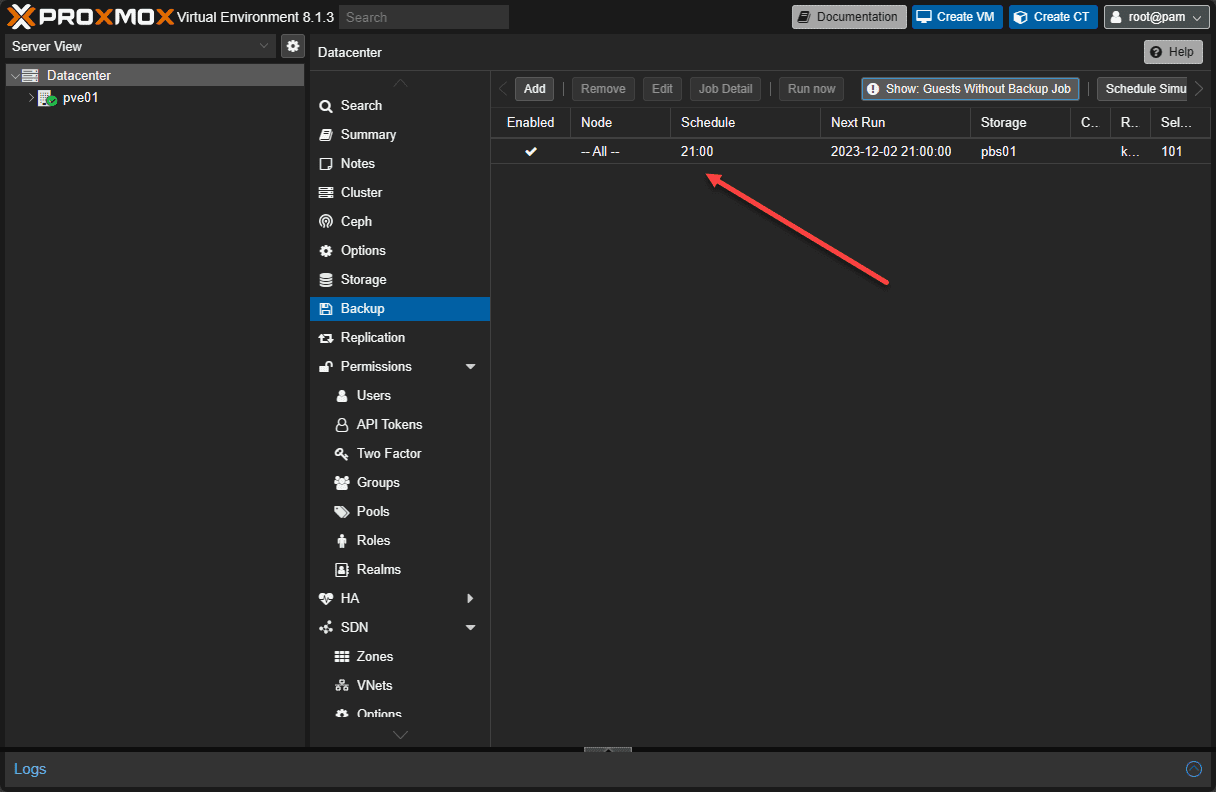
After creating the backup job.
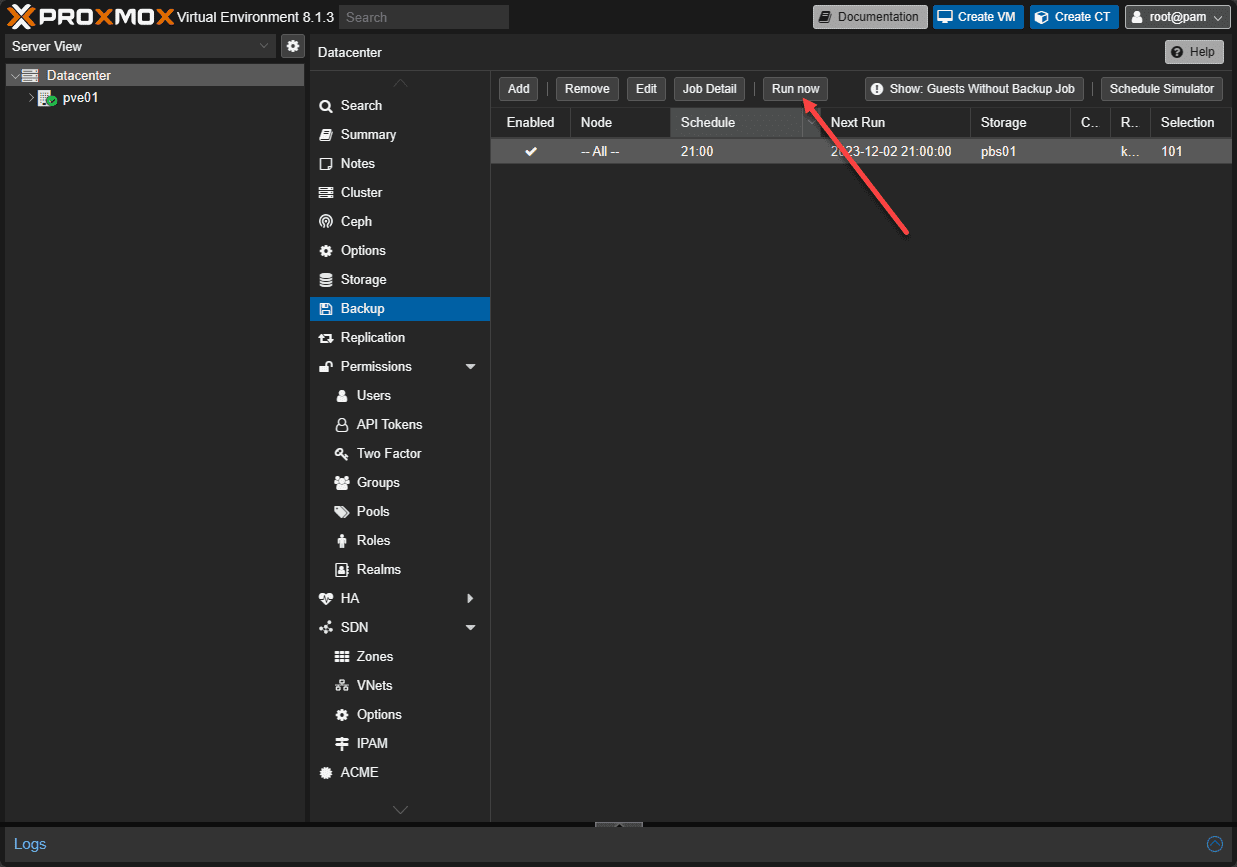
We can choose to run the backup job now:
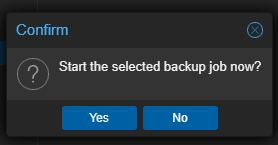
Confirm you want to run the backup now.
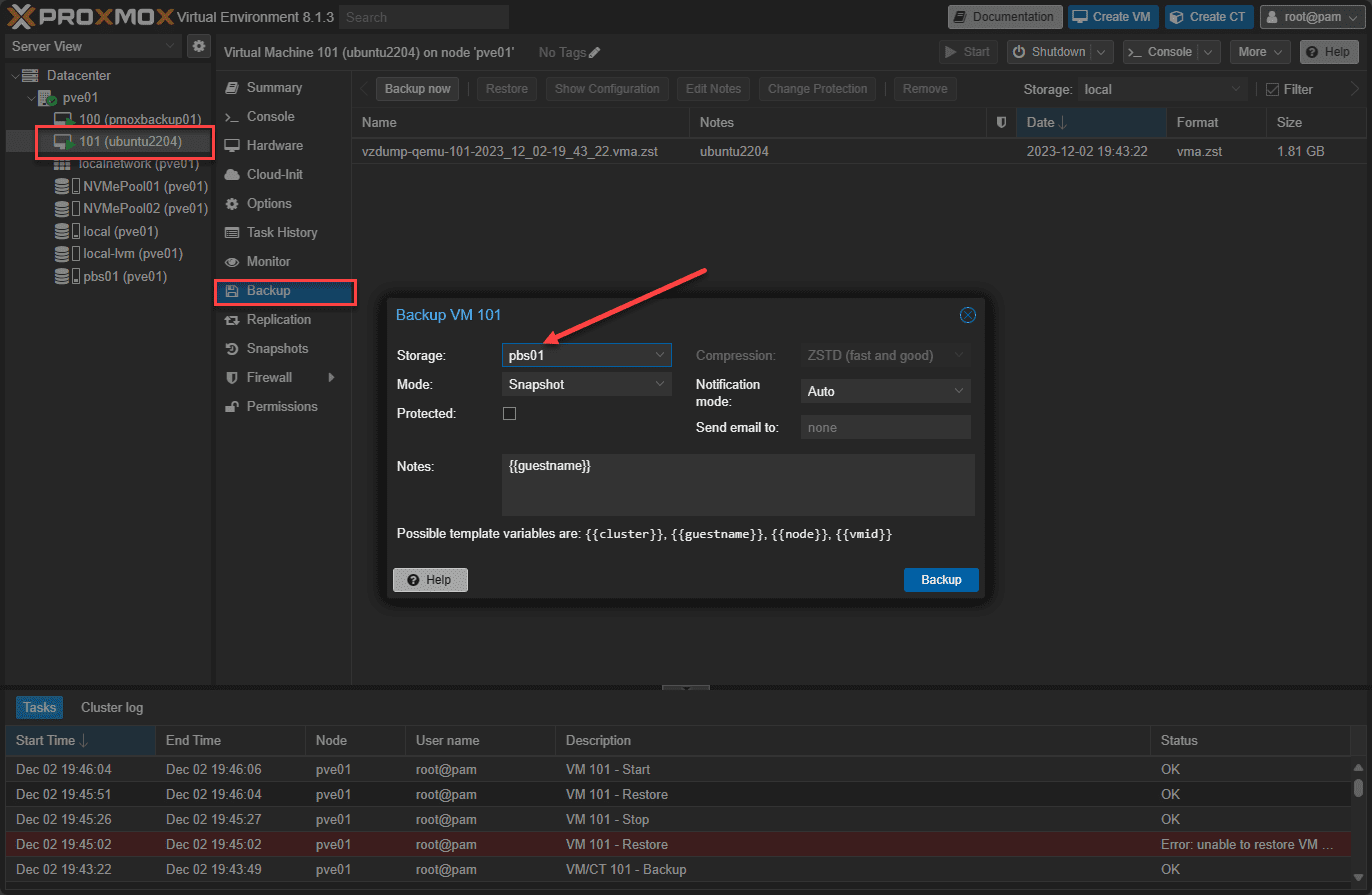
You will also note, that you can navigate to the Proxmox VE host virtual machine and select Backup and you will have the option to backup your VM from here. Make sure you choose your PBS storage location.
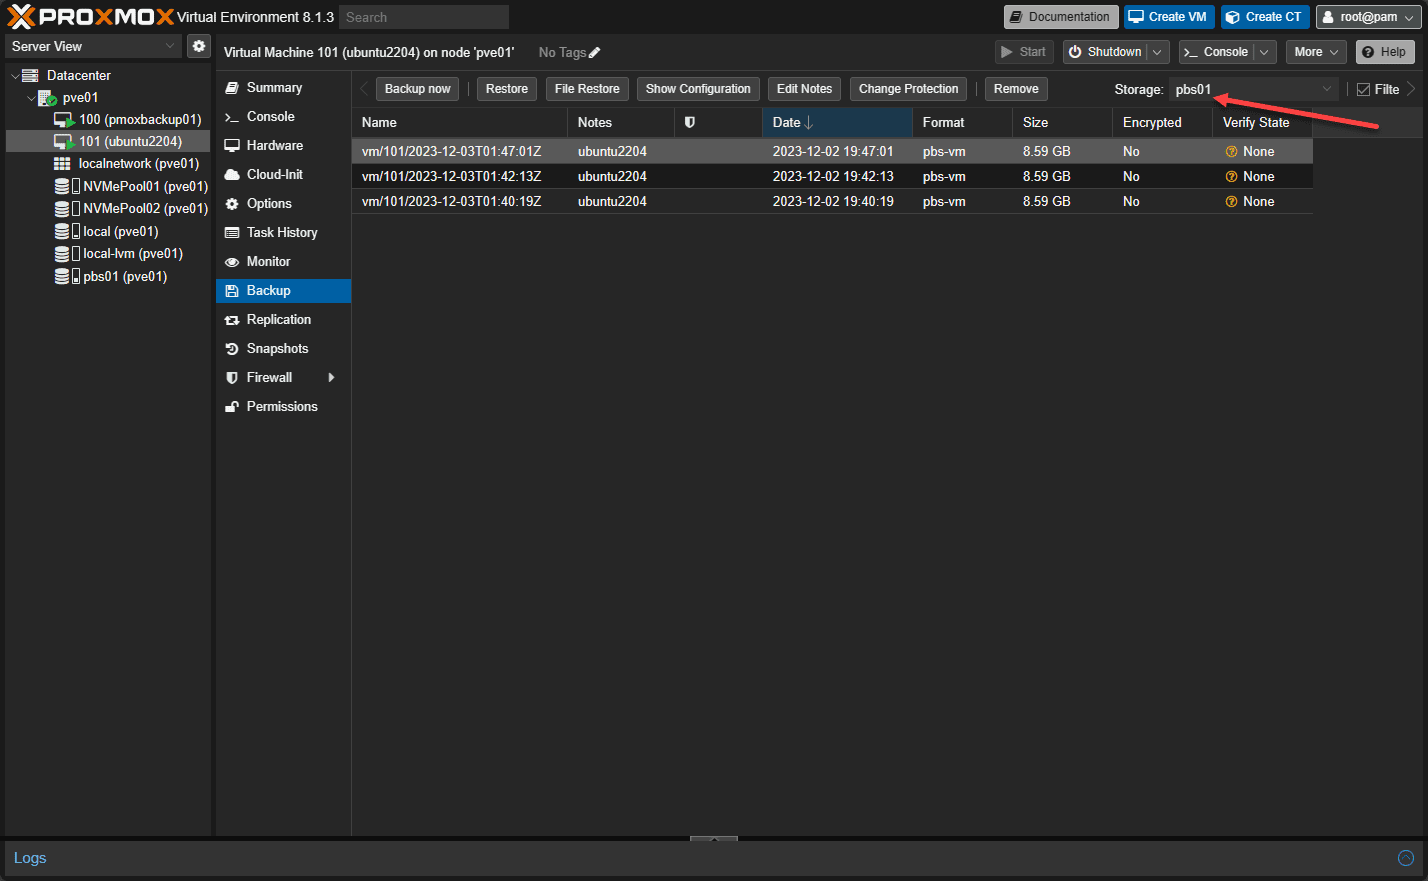
After you run the backup, you can see the vzdump backups details for the VM by selecting your PBS storage location.
Restoring a Proxmox virtual machine
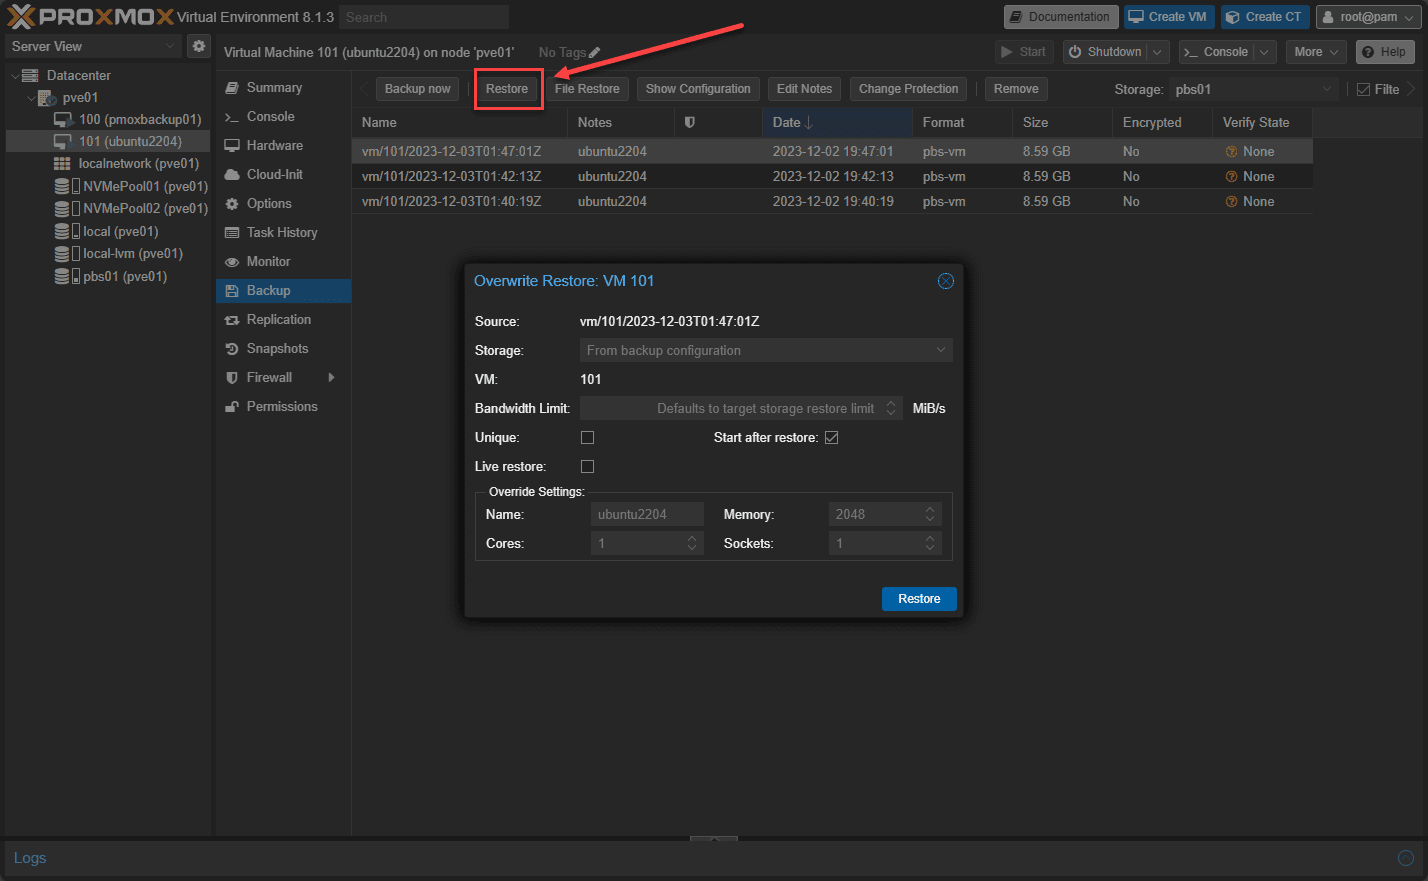
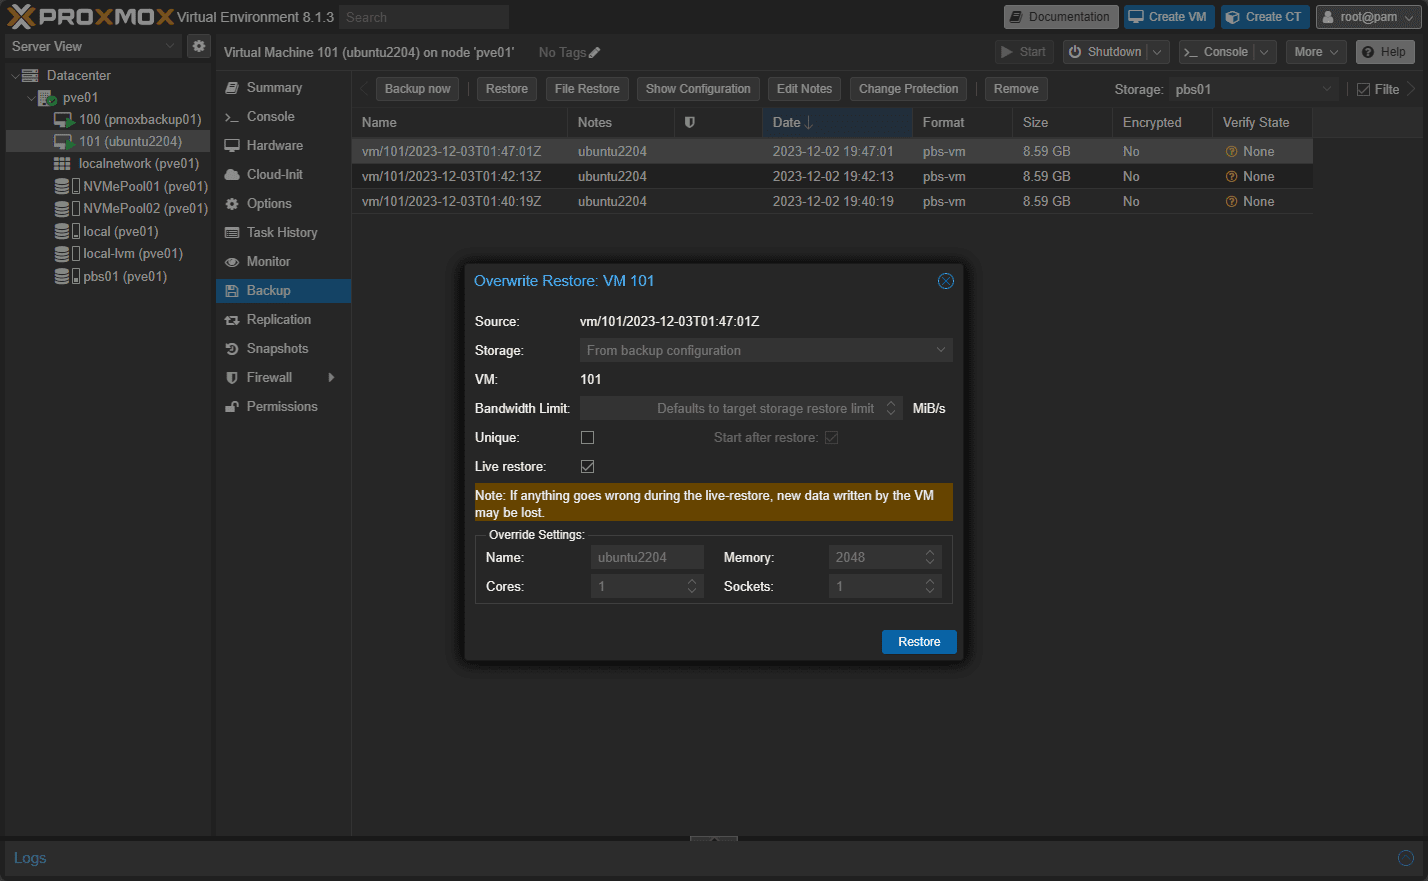
After selecting your PBS backup location, you can select one of the restore points and select Restore
You can select to start the VM and also perform a Live restore.
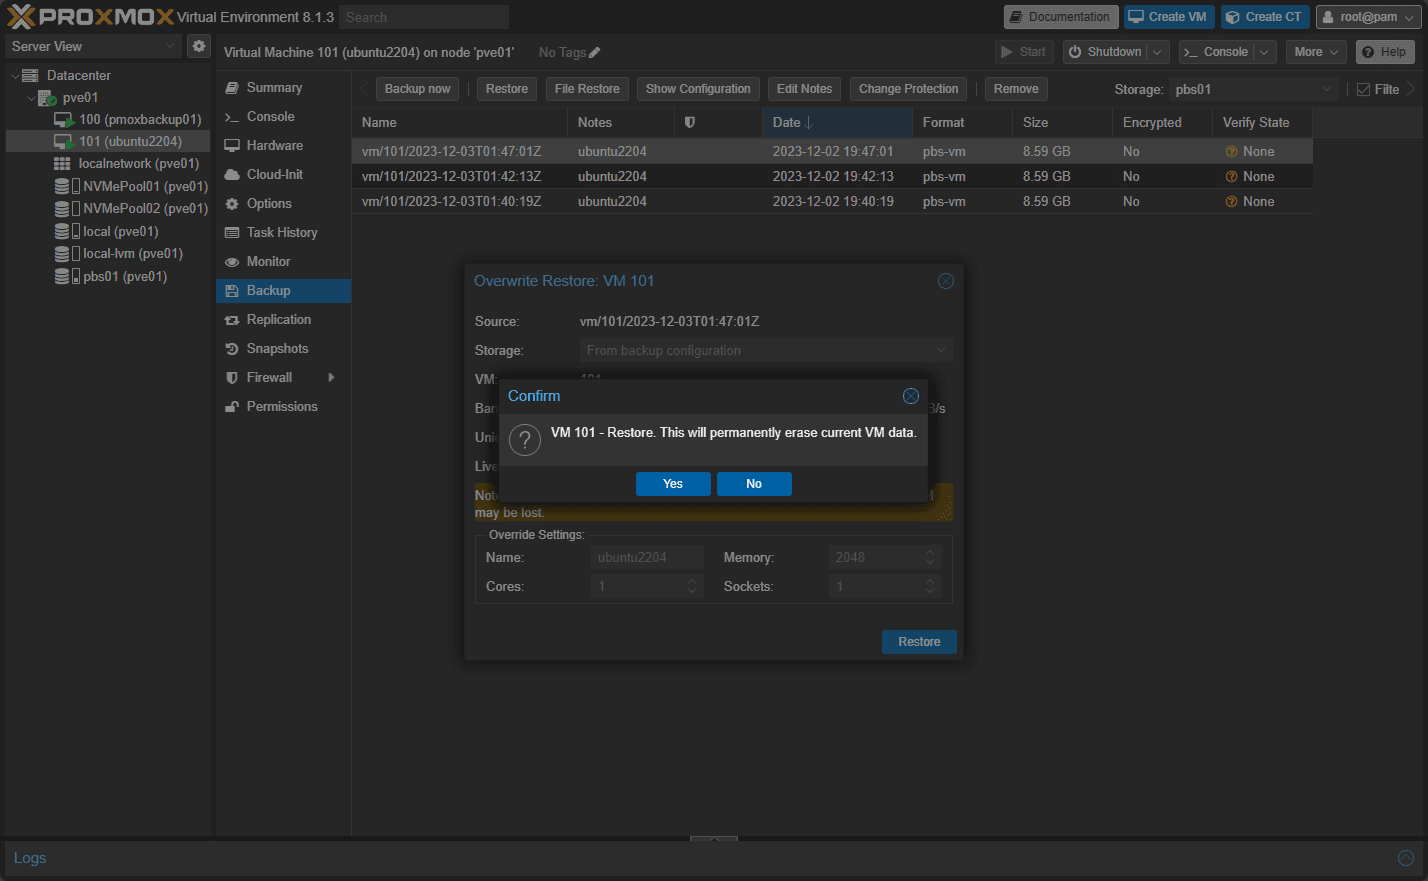
Confirm you want to restore the VM.
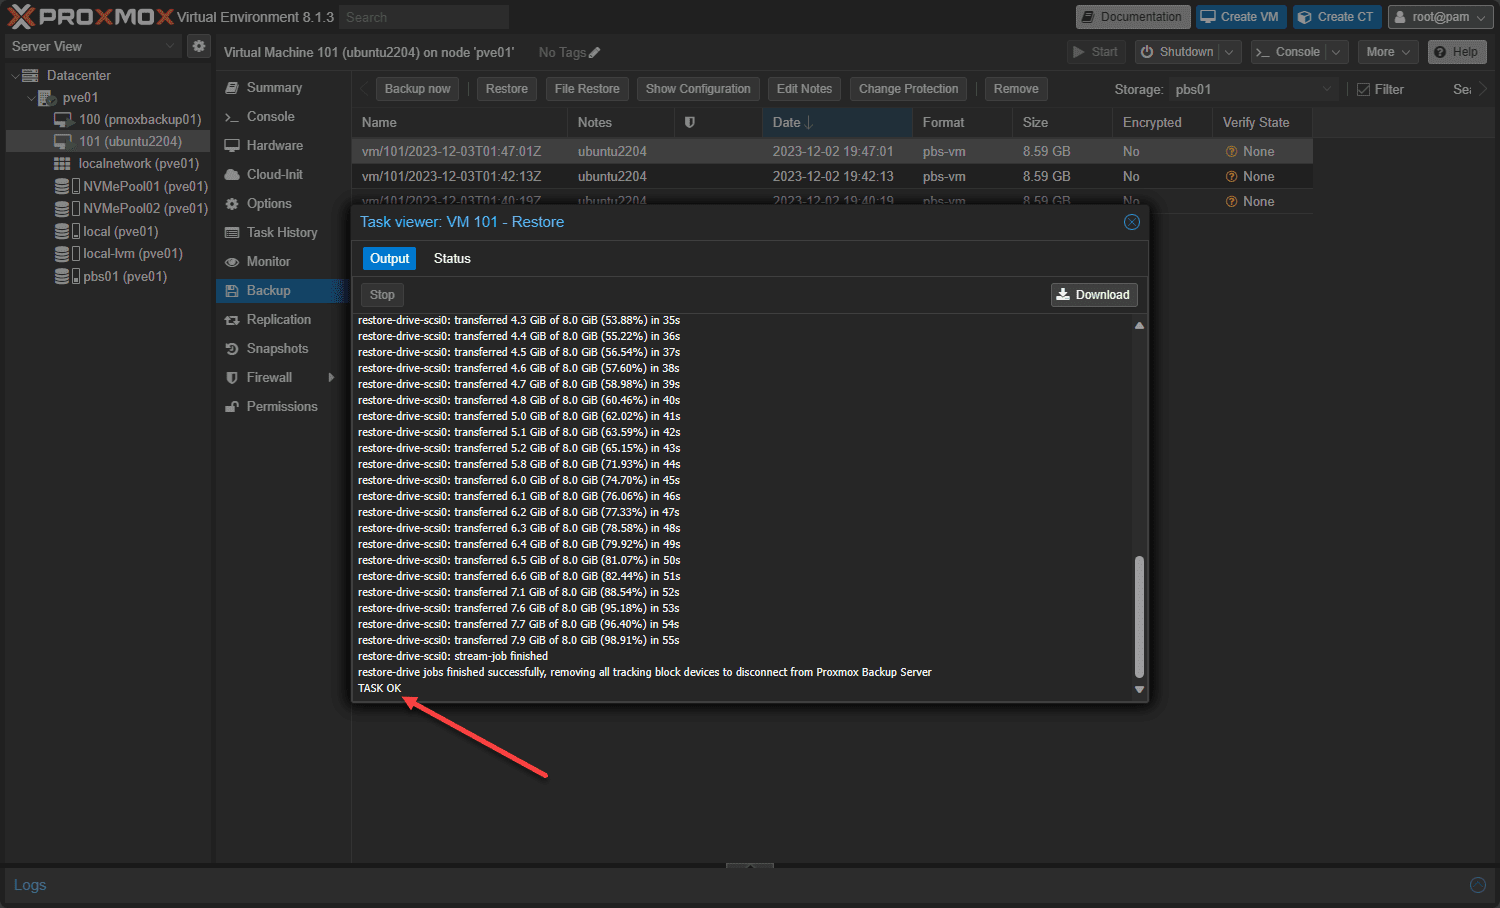
The task will progress and should finish successfully. The speed will depend on the network bandwidth you have between your Proxmox VE host and your Proxmox Backup Server.
Granular file restore
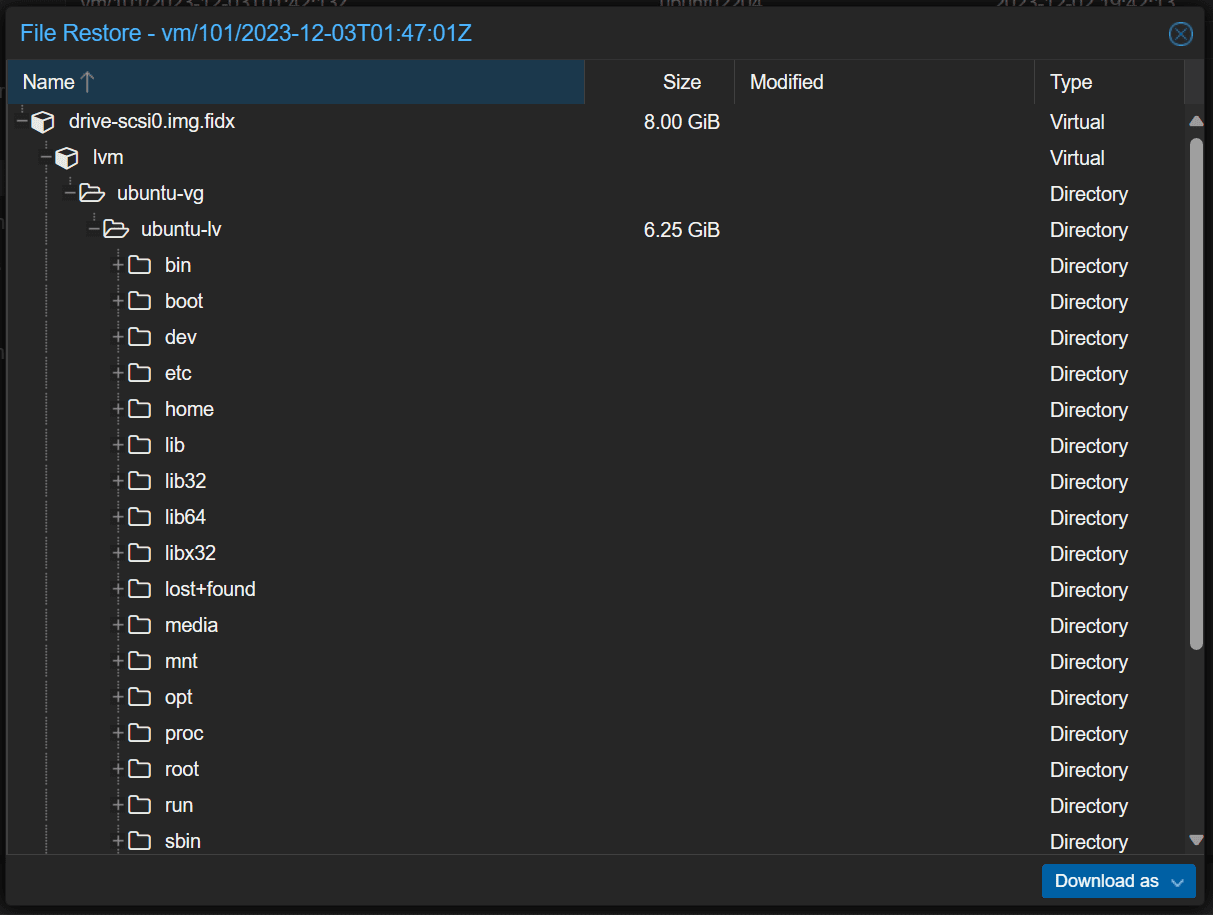
You can also click the File Restore button to restore individual files from the backups.
Wrapping up
Proxmox Backup Server allows you to have a way to protect your virtual machines and containers inside Proxmox. It is also great for those with home lab environments to protect VMs and containers they don’t want to lose or configurations that are hard to reproduce. But it is also good for production and is ready for that use case. As shown, the solution is not hard to install. It is easy to set up backup jobs, and you can quickly restore your backups in the Proxmox VE environment.
Google is updating how articles are shown. Don’t miss our leading home lab and tech content, written by humans, by setting Virtualization Howto as a preferred source.

