If you have a Proxmox VE server in your home lab or production environment and want to play around with VMware ESXi, you can easily do that with Proxmox nested virtualization. Let’s look at the steps required for a nested ESXi server install in Proxmox.
Table of contents
Nested Virtualization in Proxmox
Nested virtualization in Proxmox VE is easy to set up and has real benefits in learning and setting up rather complex architectures without the physical hardware that would otherwise be needed to set them up physically.
Now, you can use something like VMware Workstation to easily nest ESXi. However, if you already have a dedicated Proxmox host, it is a better platform for a dedicated lab experience. There is always running it on VMware ESXi if you have a physical VMware host.
Proxmox nested virtualization allows exposing the CPU’s hardware virtualization characteristics to a nested hypervisor. This process to expose hardware assisted virtualization to the guest ESXi VM is required so the nested hypervisor can run virtual machines.
Preparing your Proxmox VE host to enable nested virtualization for ESXi
If you don’t know how to configure Proxmox Nested Virtualization or enabling hardware assisted virtualization, you can see my recent guide to do that here: How to Enable Proxmox Nested Virtualization.
An overview of the few steps exist to enable nested virtualization for Proxmox and run a nested VM hypervisor are as follows:
- Make sure your CPU supports hardware-assisted virtualization
- Enable hardware-assisted virtualization if it isn’t enabled already
- Enable nested virtualization on the nested ESXI installation VM
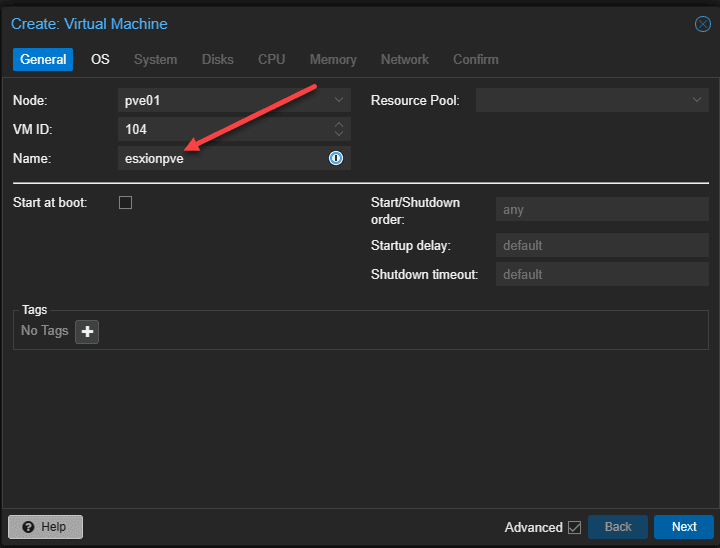
Creating the ESXi VM in Proxmox
VMware hypervisors are extremely popular in the enterprise. Let’s look at the process to create the VMware ESXi VM in Proxmox. This is a normal creation process for the most part. I will show you guys one option I chose that didn’t work, surprisingly when creating the VM running ESXi.
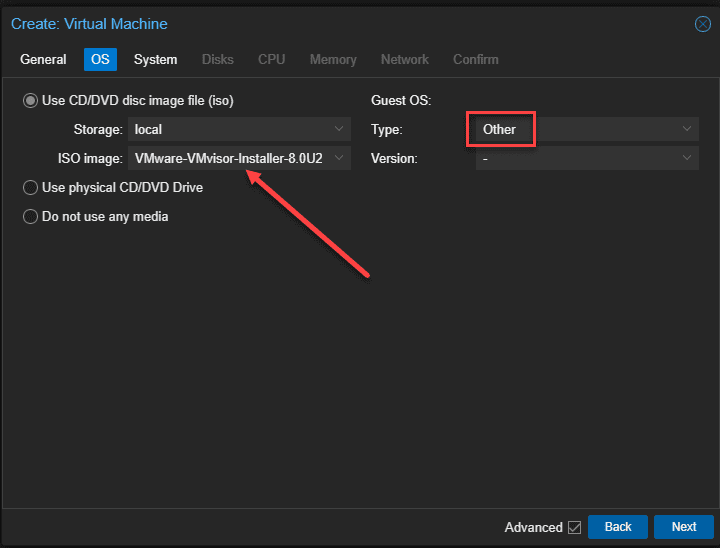
Upload your VMware ESXi 8.0 U2 or other ESXi ISO to your Proxmox server and select this in the wizard. On the type, choose Other for the guest operating system.
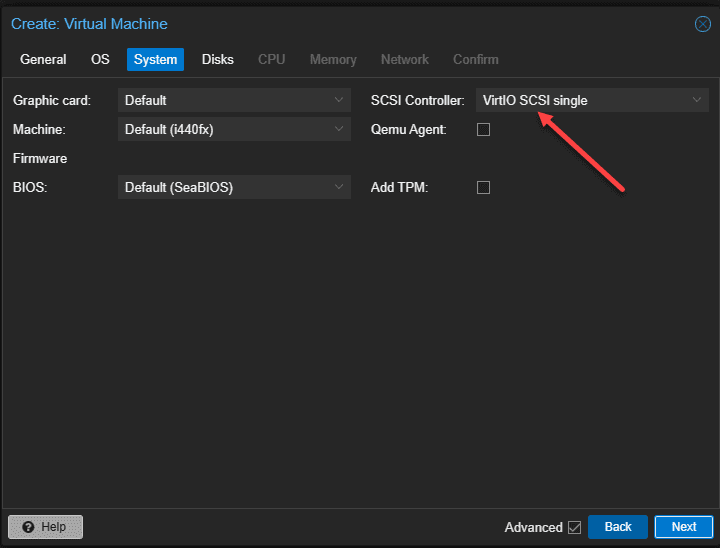
Here I left VirtIO SCSI single selected for SCSI controller.
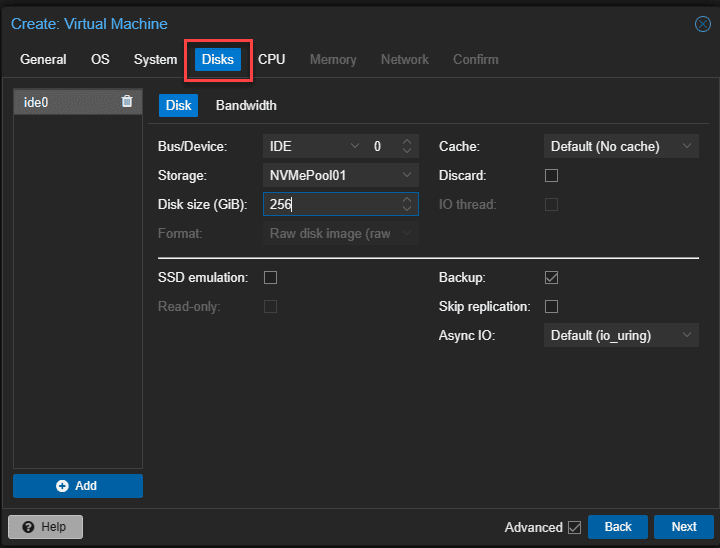
On the Disks screen, configure the disk size you want and also the Storage location for your VM files and hit Next.
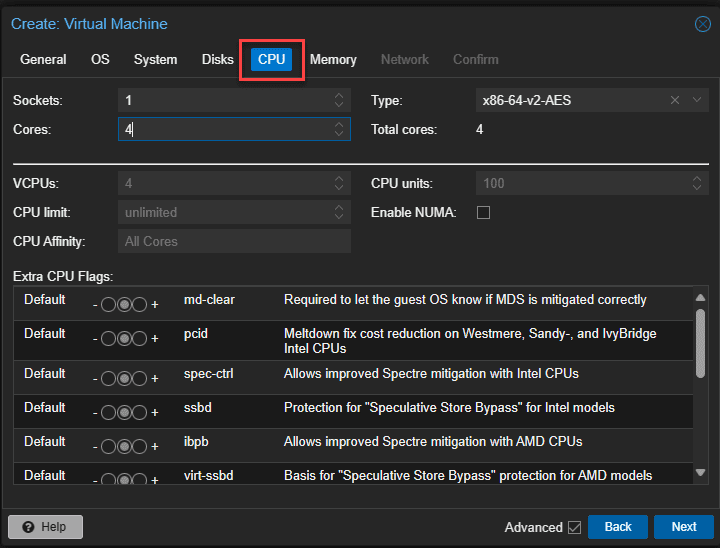
Choose your CPU options.
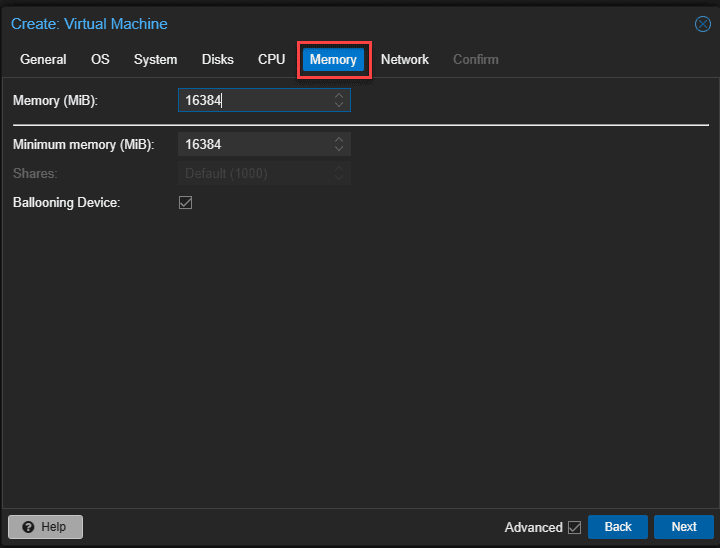
Configure your memory.
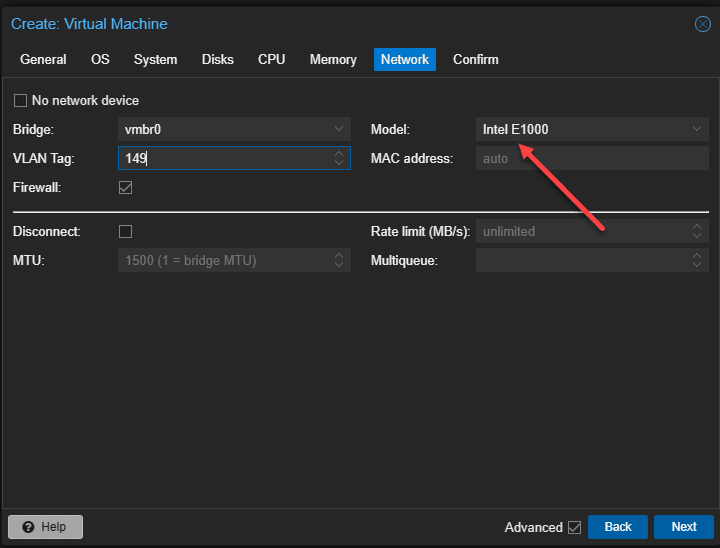
Ok, so this is the step that surprised me a bit. I here selected Intel E1000 which is a standard Intel driver. But I will show you what happens during the install.
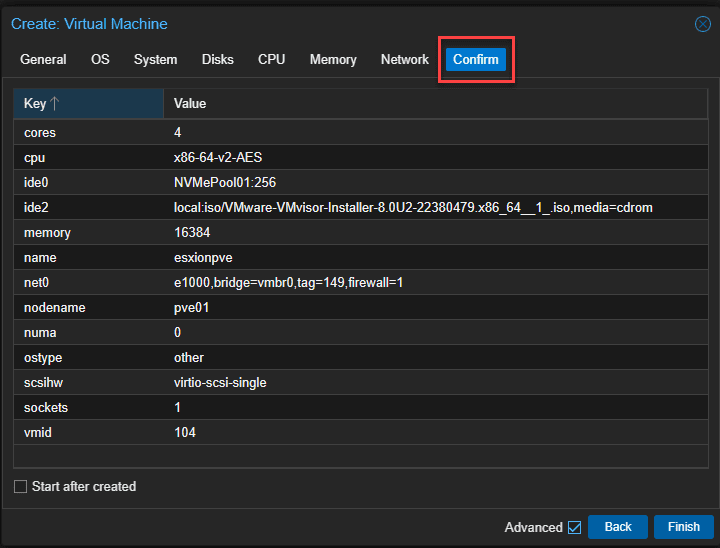
Confirm your configuration and click Finish.
Step-by-Step Installation of Nested ESXi
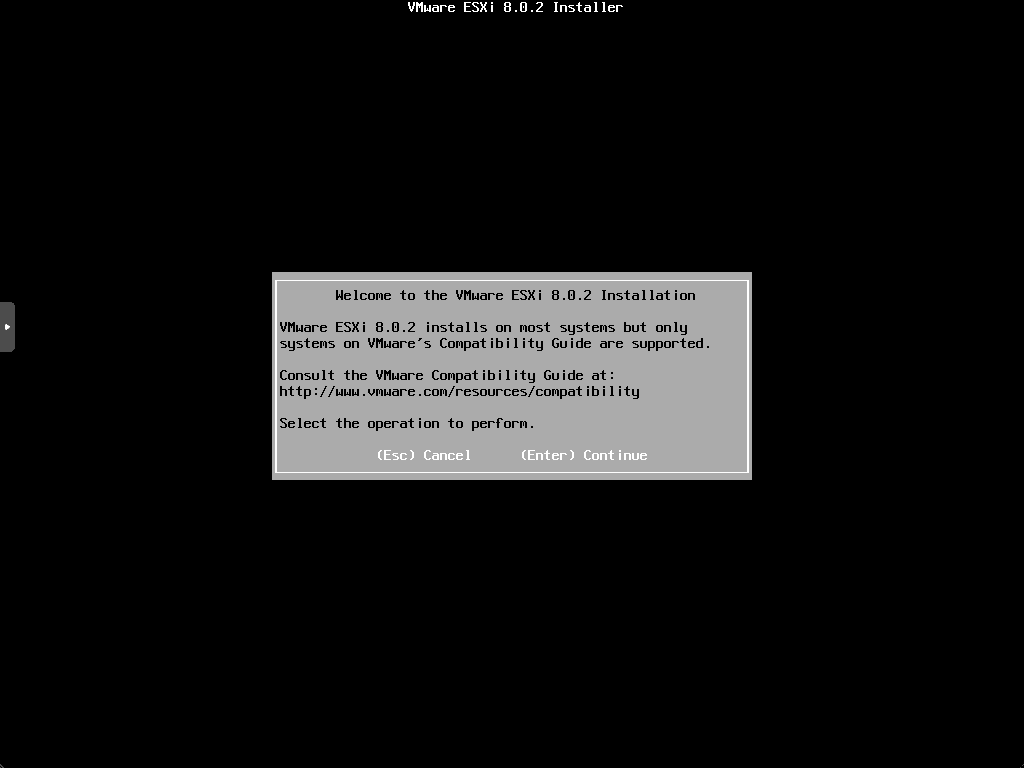
Let’s look at how to install ESXi in Proxmox after we have created the Proxmox virtual machine to house the nested virtual machine install.
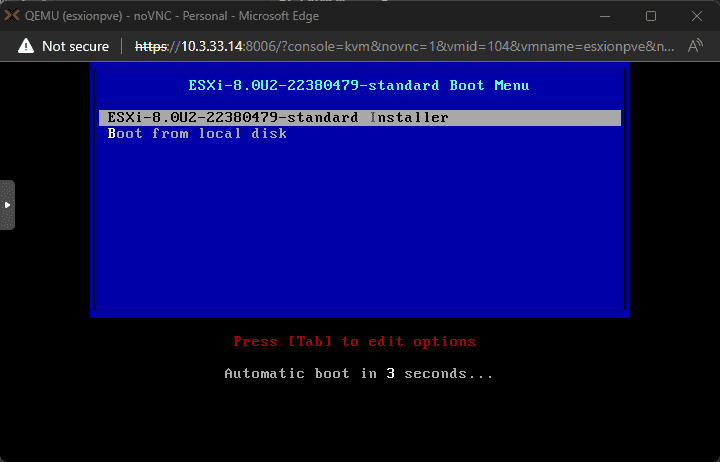
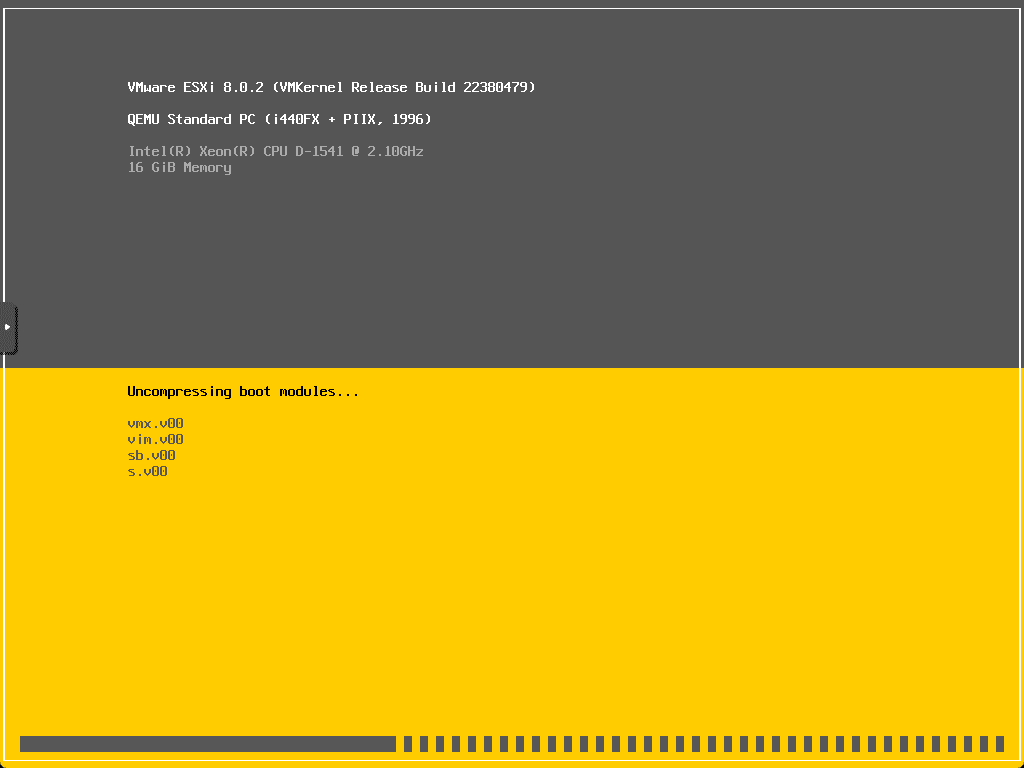
Below is booting the VMware VM guest OS in Proxmox.
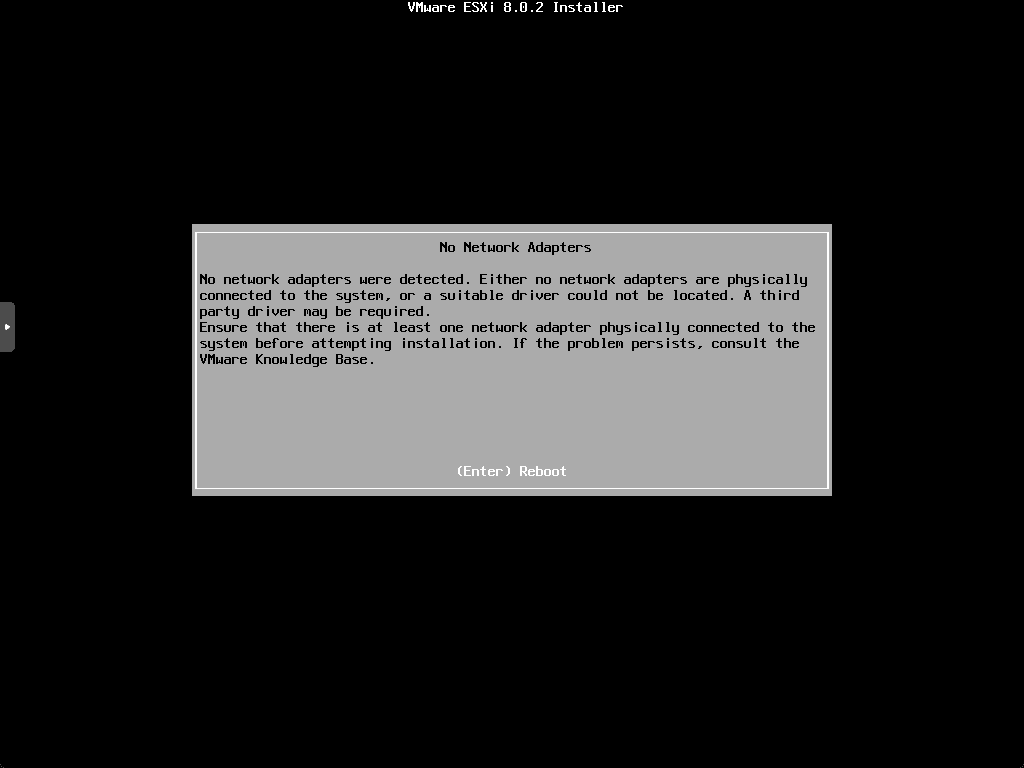
OK, so I told you there was something unexpected happen with the Intel E1000 driver. It didn’t detect the network adapter in ESXi.
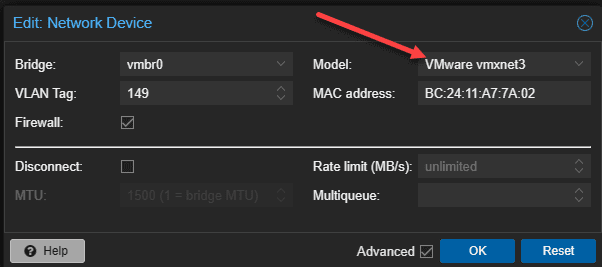
I powered the ESXi VM down and went back and selected VMware vmxnet3 adapter for the model.
Now, the network adapter was recognized and the installation proceeded.
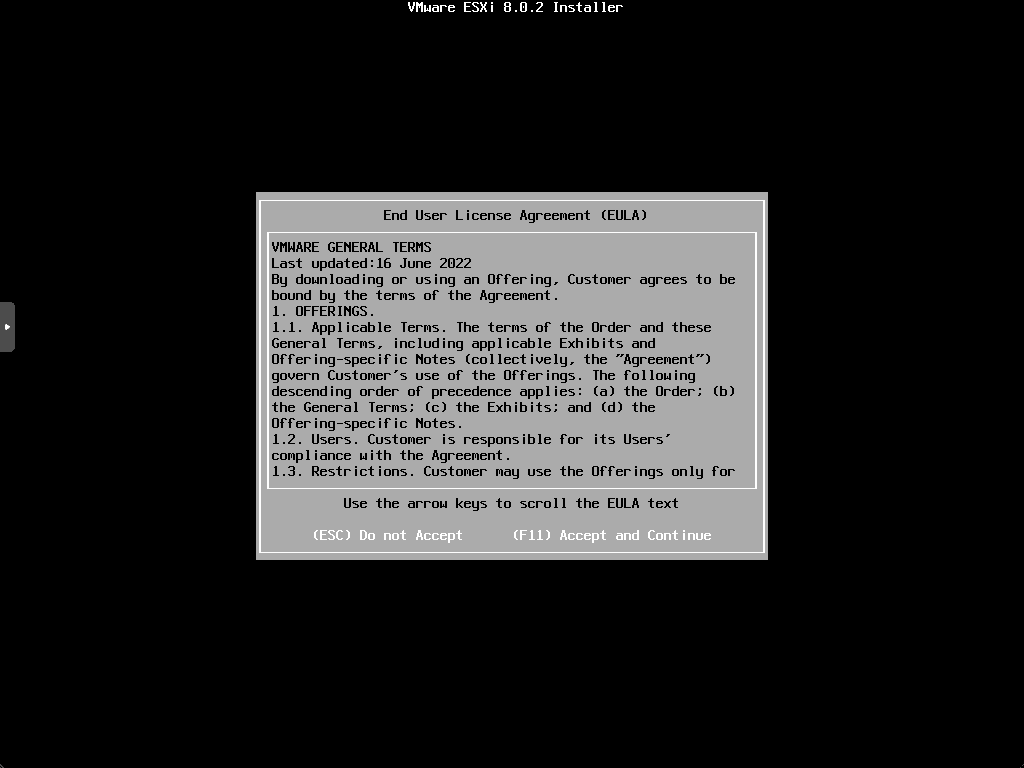
Now for the standard screens, but we will show them anyway. Accept the EULA.
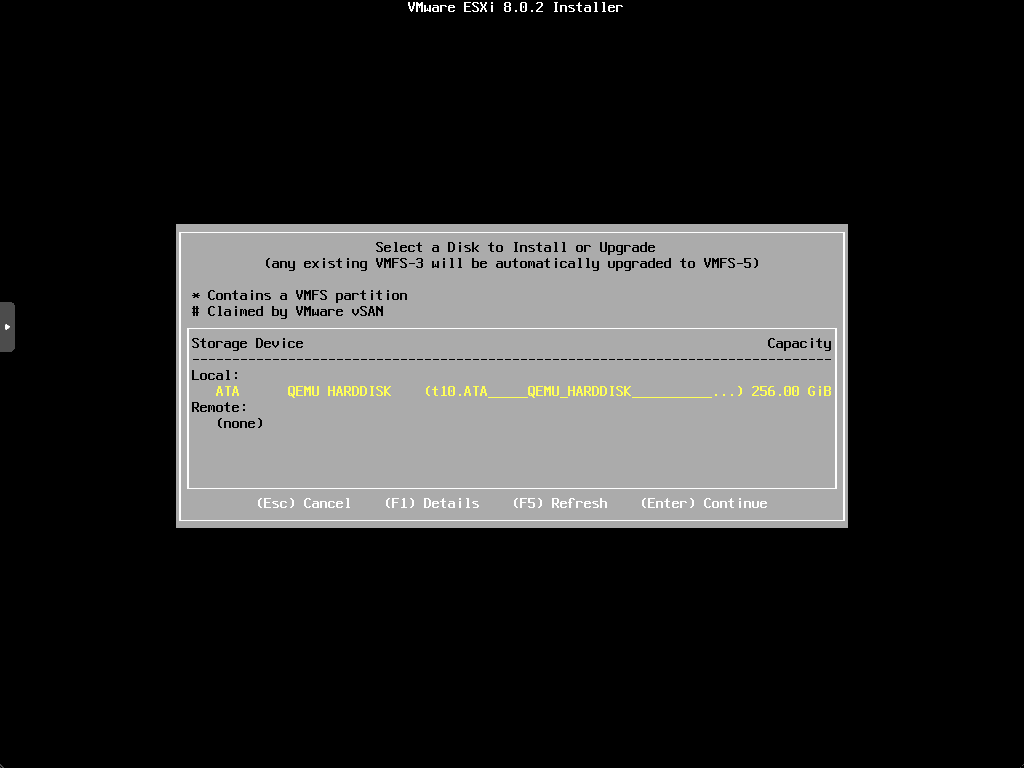
Select the target storage for the installation.
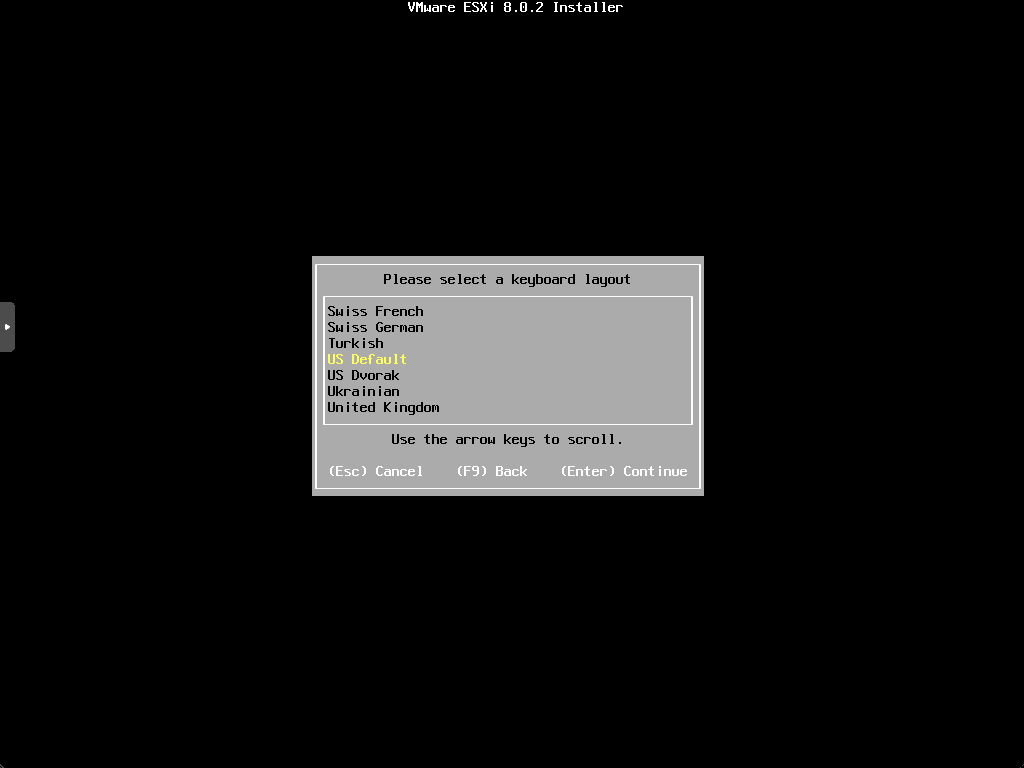
Select the location for the keyboard layout.
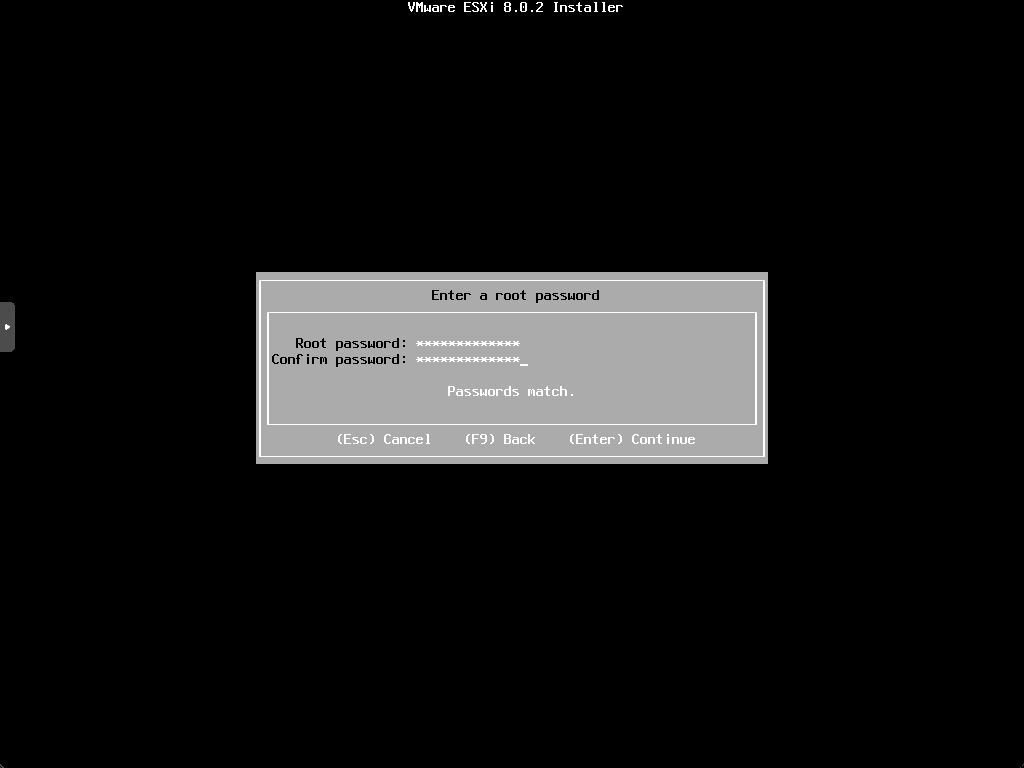
Enter and confirm your password.
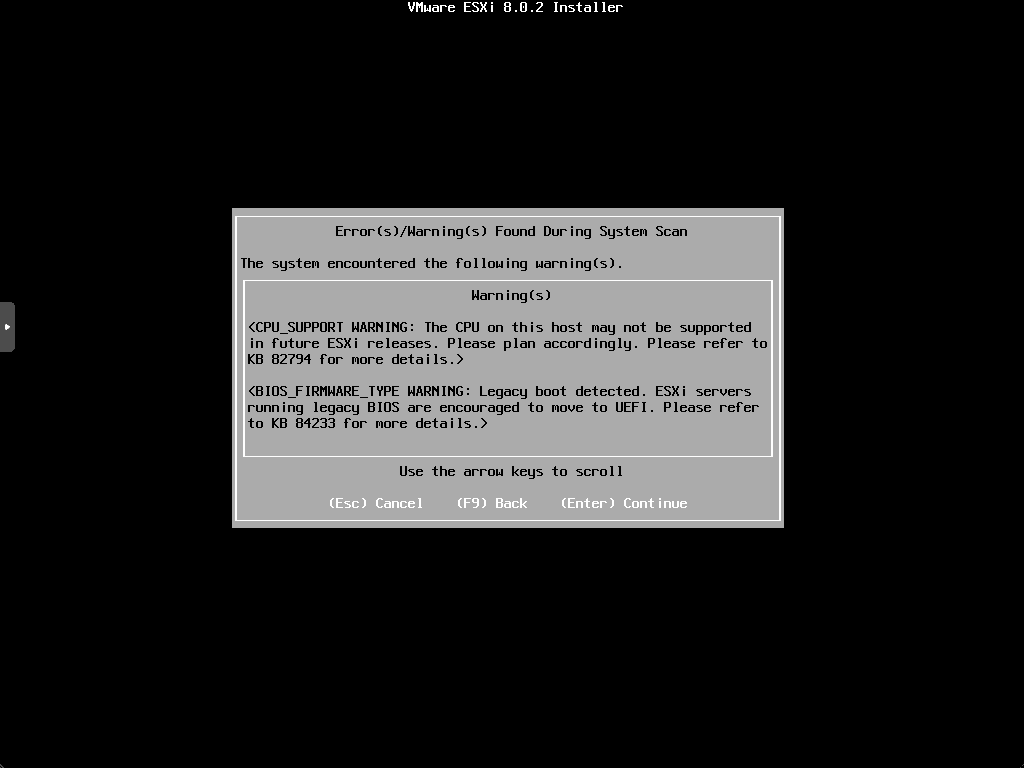
I am running on an older Xeon D processor so we see the alert about an outdated processor that may not be supported in future releases. You will see the same error on bare metal.
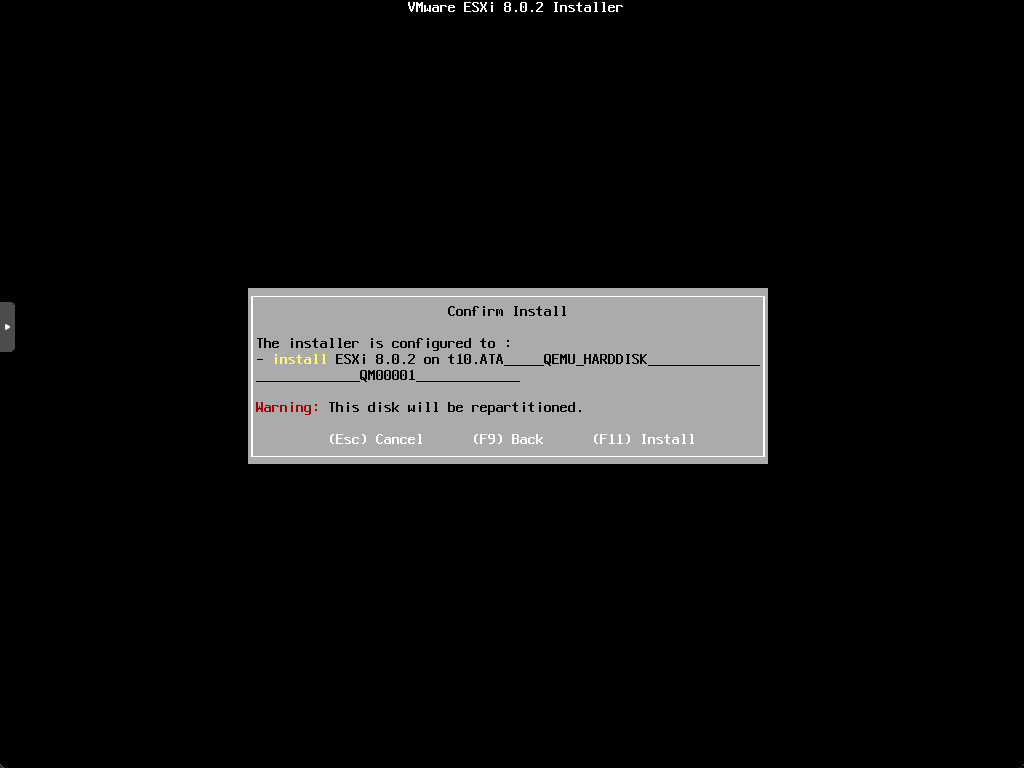
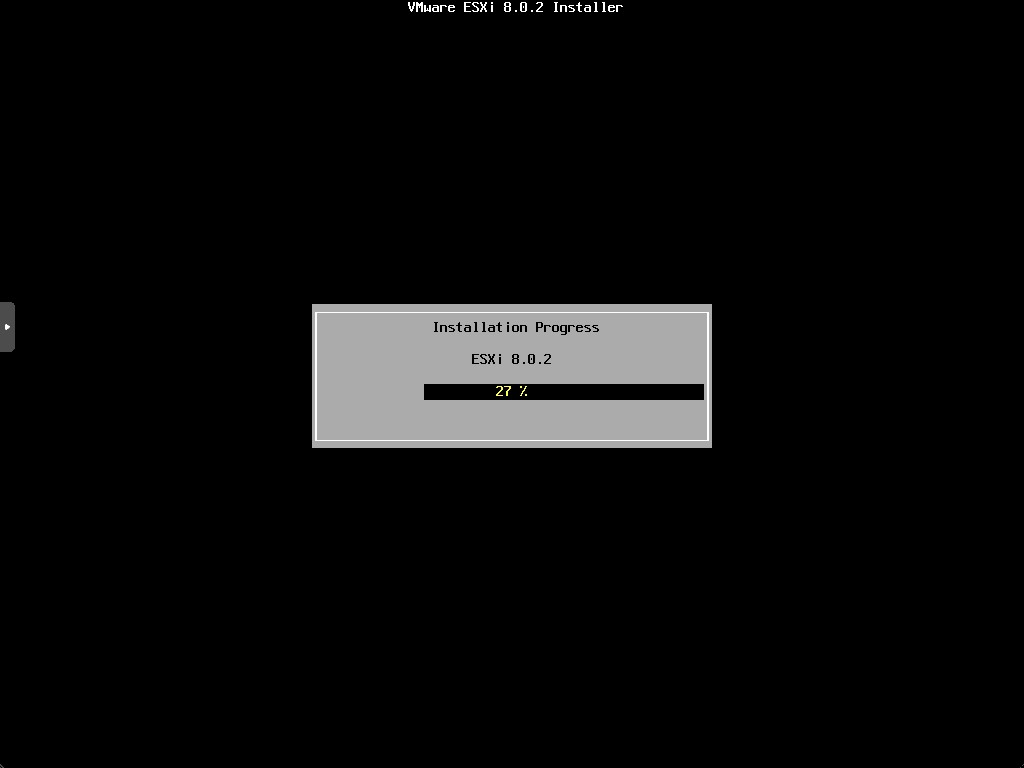
The installation begins.
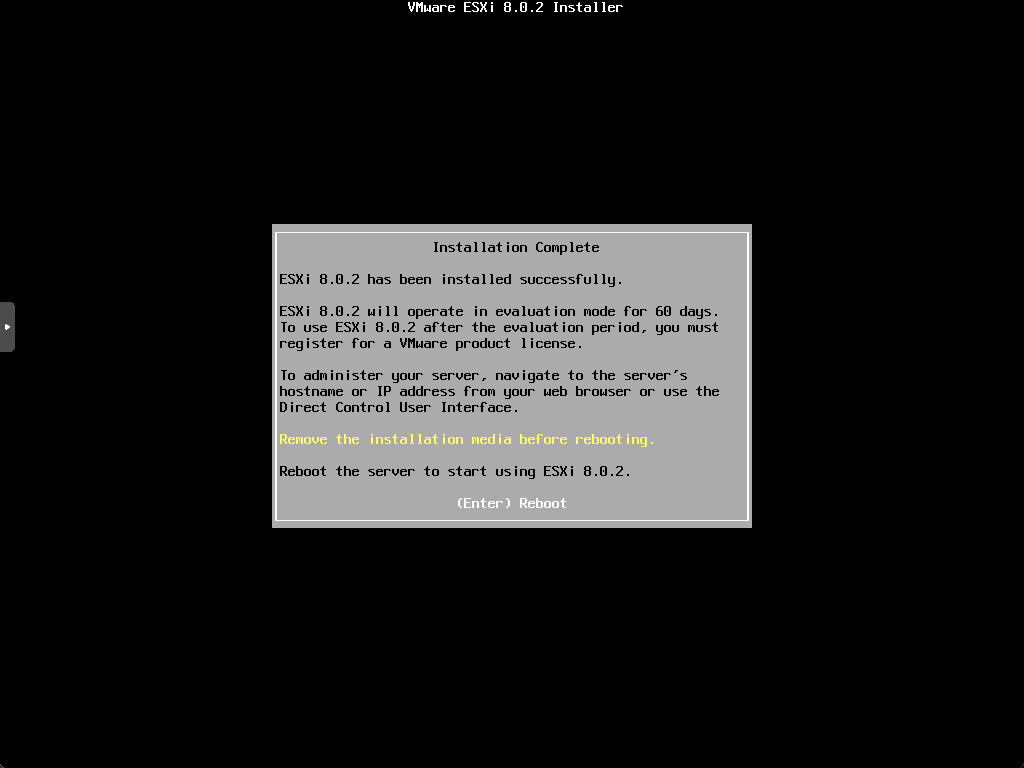
Finally, we are prompted to remove the installation media and reboot.
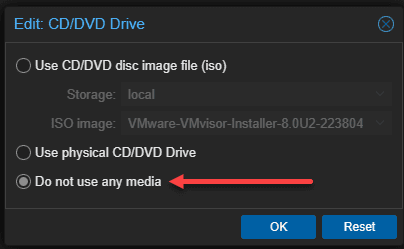
Hopping back over to Proxmox, I remove the ESXi ISO before rebooting.
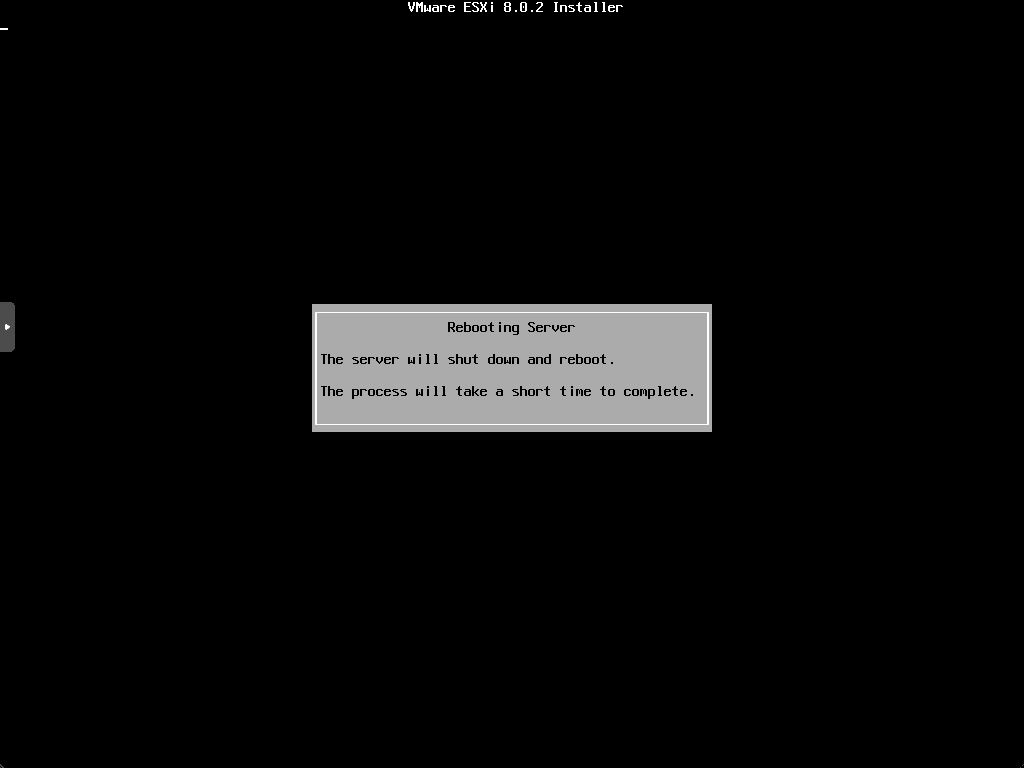
After initiating a reboot.
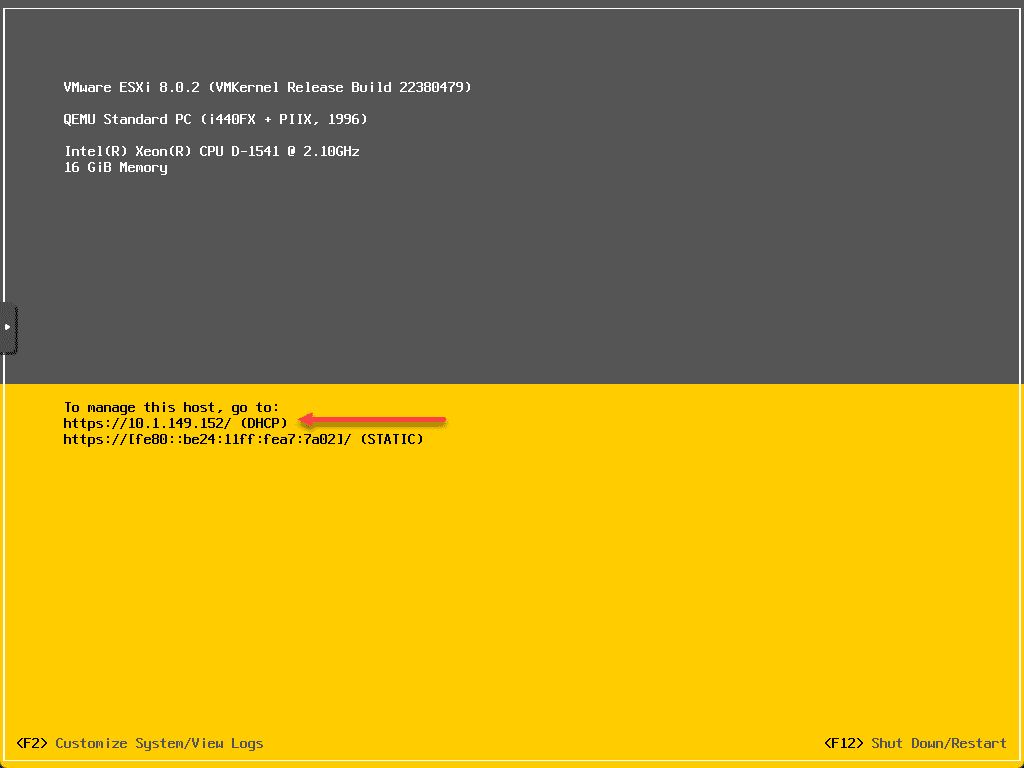
After the nested ESXi installation boots, we see it has correctly pulled an IP address from DHCP so the network adapter is working as expected.
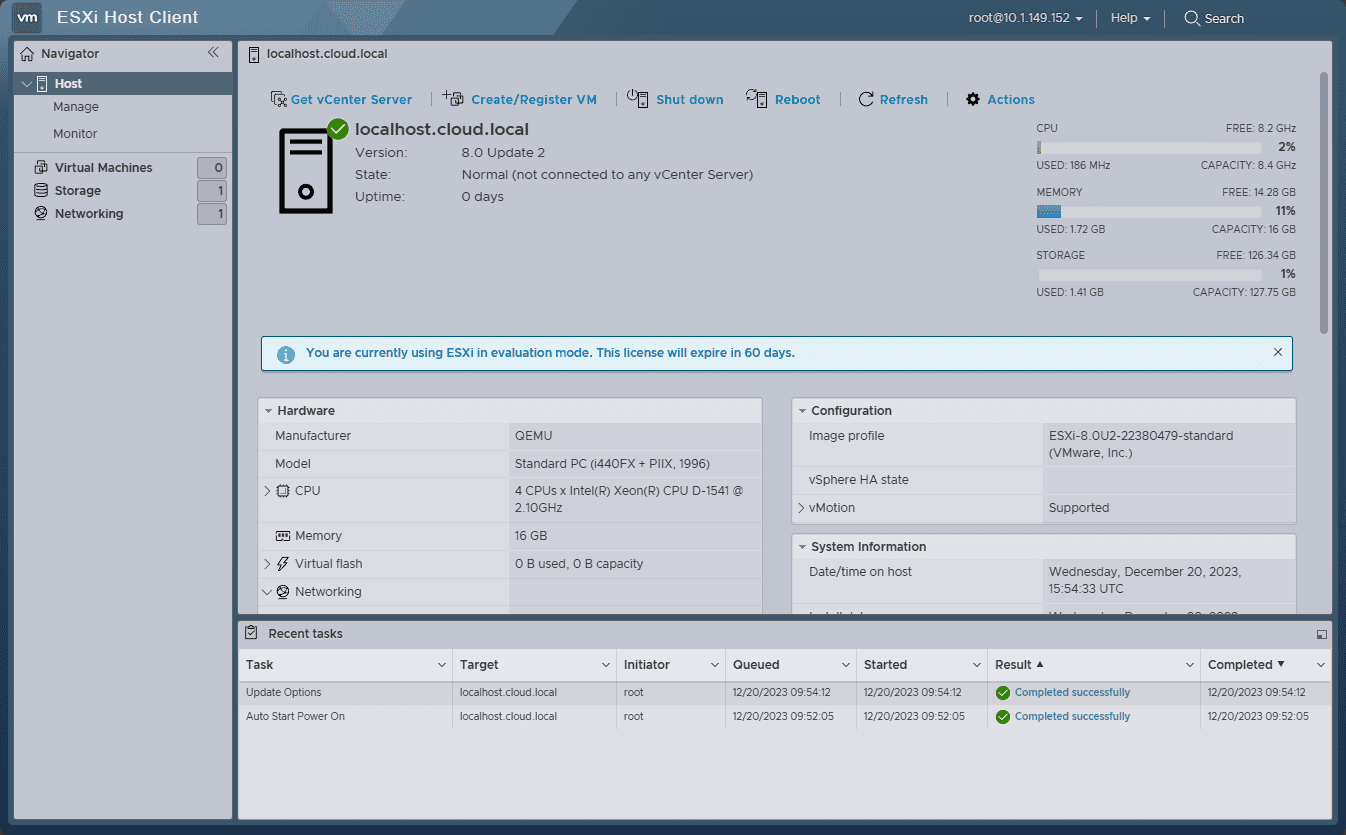
Below, I logged into the VMware host client to manage the ESXi host running in Proxmox.
Managing Virtual Machines in a Nested Setup
The cool thing about working with ESXi that is nested in a Proxmox VM is that, for the most part, you won’t notice much difference if you are used to accessing the ESXi host client or adding the ESXi host to the vCenter Server and managing it with vCenter.
Using advanced features in nested VMs
The great thing about running ESXi as a nested hypervisor, is you won’t see any difference in the advanced features for nested VMs. You will still be able to do things like installing VMware Tools in Linux and your Windows Server operating system instances.
If you are configuring a cluster of ESXi hosts with vCenter, you can utilize features like vMotion and DRS within a nested VMware vSphere cluster.
Troubleshooting Common Issues in Nested Environments
Running nested ESXi in Proxmox can be a bit of a mind-bender on the networking side. However, this is not unique to Proxmox, as running nested ESXi on a physical ESXi host can be the same challenge.
First, though, you need to understand Proxmox VLANs. I just covered this recently as well. So, check out my post on Proxmox VLANs to first understand how to configure VLANs in Proxmox.
Just remember, on the nested VMware ESXi side, you can’t tag VLANs on your port groups as this will lead to “double tagging”. They will instead assume the tag from the Proxmox side.
What I like to do is set up the Proxmox Linux Bridge as a trunk bridge, which is the default configuration when you make it VLAN aware. Then, you can change the tag on your network adapter configured for your VMware ESXi VM to tag the traffic from the ESXi VM.
Wrapping up
Hopefully, this blog post has been a help to any who are running Proxmox as your hypervisor running your home lab environments. It is easy to get a virtual machine running with VMware ESXi in a Proxmox nested environment. Keep in mind the need to use the VMware vmxnet3 adapter and the note on Proxmox VLAN tagging. If you are running guest VMs in your ESXi VM, you will also need to keep in mind the need to enable promiscuous mode for your Proxmox bridge.
Google is updating how articles are shown. Don’t miss our leading home lab and tech content, written by humans, by setting Virtualization Howto as a preferred source.



During setup you selected the CPU type as x86… Shouldn’t it be set to “host”?
Yes – he changed that. Because on the screenshots below I can see he’s using a xeon d 1541
Does your nested ESXi host see the VMxnet3 nic as 10Gbit or 1Gbit?