Proxmox GPU PassThrough: Step-by-step Guide
GPU passthrough provides many advantages when running a virtual machine with a GPU exposed directly to the operating system from the Proxmox host. Let’s look at GPU passthrough and how this is configured with your internal PCI GPU.
Table of contents
What is Proxmox GPU Passthrough?
Passing through a GPU allows you to create a Proxmox virtual machine that can directly use the graphics card installed in your Proxmox VE host. If you need a virtual machine that has a lot of graphics processing power for gaming, 3D rendering, or running GPU-accelerated applications like AI, GPU passthrough allows you to have this in a VM.
AMD GPU or an NVIDIA GPU with NVIDIA drivers can be used for GPU passthrough, and it also doesn’t matter if it is an Intel processor or AMD processor as long as you have the options configured correctly in the BIOS and the required Proxmox configuration.
However, remember that some have better success passing through their primary GPU with NVIDIA corporation cards or AMD cards, depending on the motherboard and the specific graphics adapter.
GPU passthrough is an example of the general capability of Proxmox and other hypervisors to pass through sys BUS PCI devices to virtual environments. Since the VGA controller is likely a PCI device, you can pass it through to a virtual machine.
Why GPU Passthrough?
Instead of the hypervisor abstracting the physical graphics processing unit, with GPU passthrough VMs can the host’s full GPU potential with almost native performance. It also allows you to use your Proxmox host as a Type 1 hypervisor, have a full-blown graphics workstation running as a VM, and still host several other virtual machines and containers.
In this way, you don’t have to have a separate workstation for your other day-to-day tasks or running graphics-intensive software. So, you really get more bang for your buck and more out of your investment into more powerful Proxmox hardware.
***Disclaimer***
GPU passthrough with Proxmox is not for the faint of heart, and it often leads to frustration when it doesn’t work. There are many variables to this process, and some steps work for some people and the same steps don’t work for others.
It may require some experimentation on your side to find the right combination of settings and configuration that works for your hardware and individual setup.
There are also noted issues with certain video cards, such as the AMD GPU reset bug, that we will discuss below in the troubleshooting section.
Also, let me and others know in the comments below on what you may have had to do to get GPU passthrough working correctly, if different than the steps listed below, to add to the knowledge base for the community.
Setting Up Proxmox for GPU Passthrough
Several steps need to be accomplished before you can configure GPU passthrough in Proxmox. At a high level, let’s look at the list of tasks we need to accomplish:
Enable IOMMU settings in the BIOS
Install Proxmox
Edit modprobe configuration
Update the GRUB bootloader
Edit kernel modules
Identify and isolate the GPU
1. Enable IOMMU settings in the BIOS
Before initiating the Proxmox GPU passthrough, ensure your host system is adequately prepared. This preparation involves configuring the BIOS settings to support IOMMU interrupt remapping and selecting the appropriate CPU and GPU hardware.
Intel CPUs and IOMMU
There are a few tricks for Intel CPUs and IOMMU. These include enabling VT-d in the BIOS as this is the first step to make sure you have IOMMU support. The IOMMU stands for Input-Output Memory Management Unit. This is a technology that is key to GPU passthrough since it allows hardware to access and map memory that makes it where it has passthrough capabilities.
AMD CPUs and IOMMU
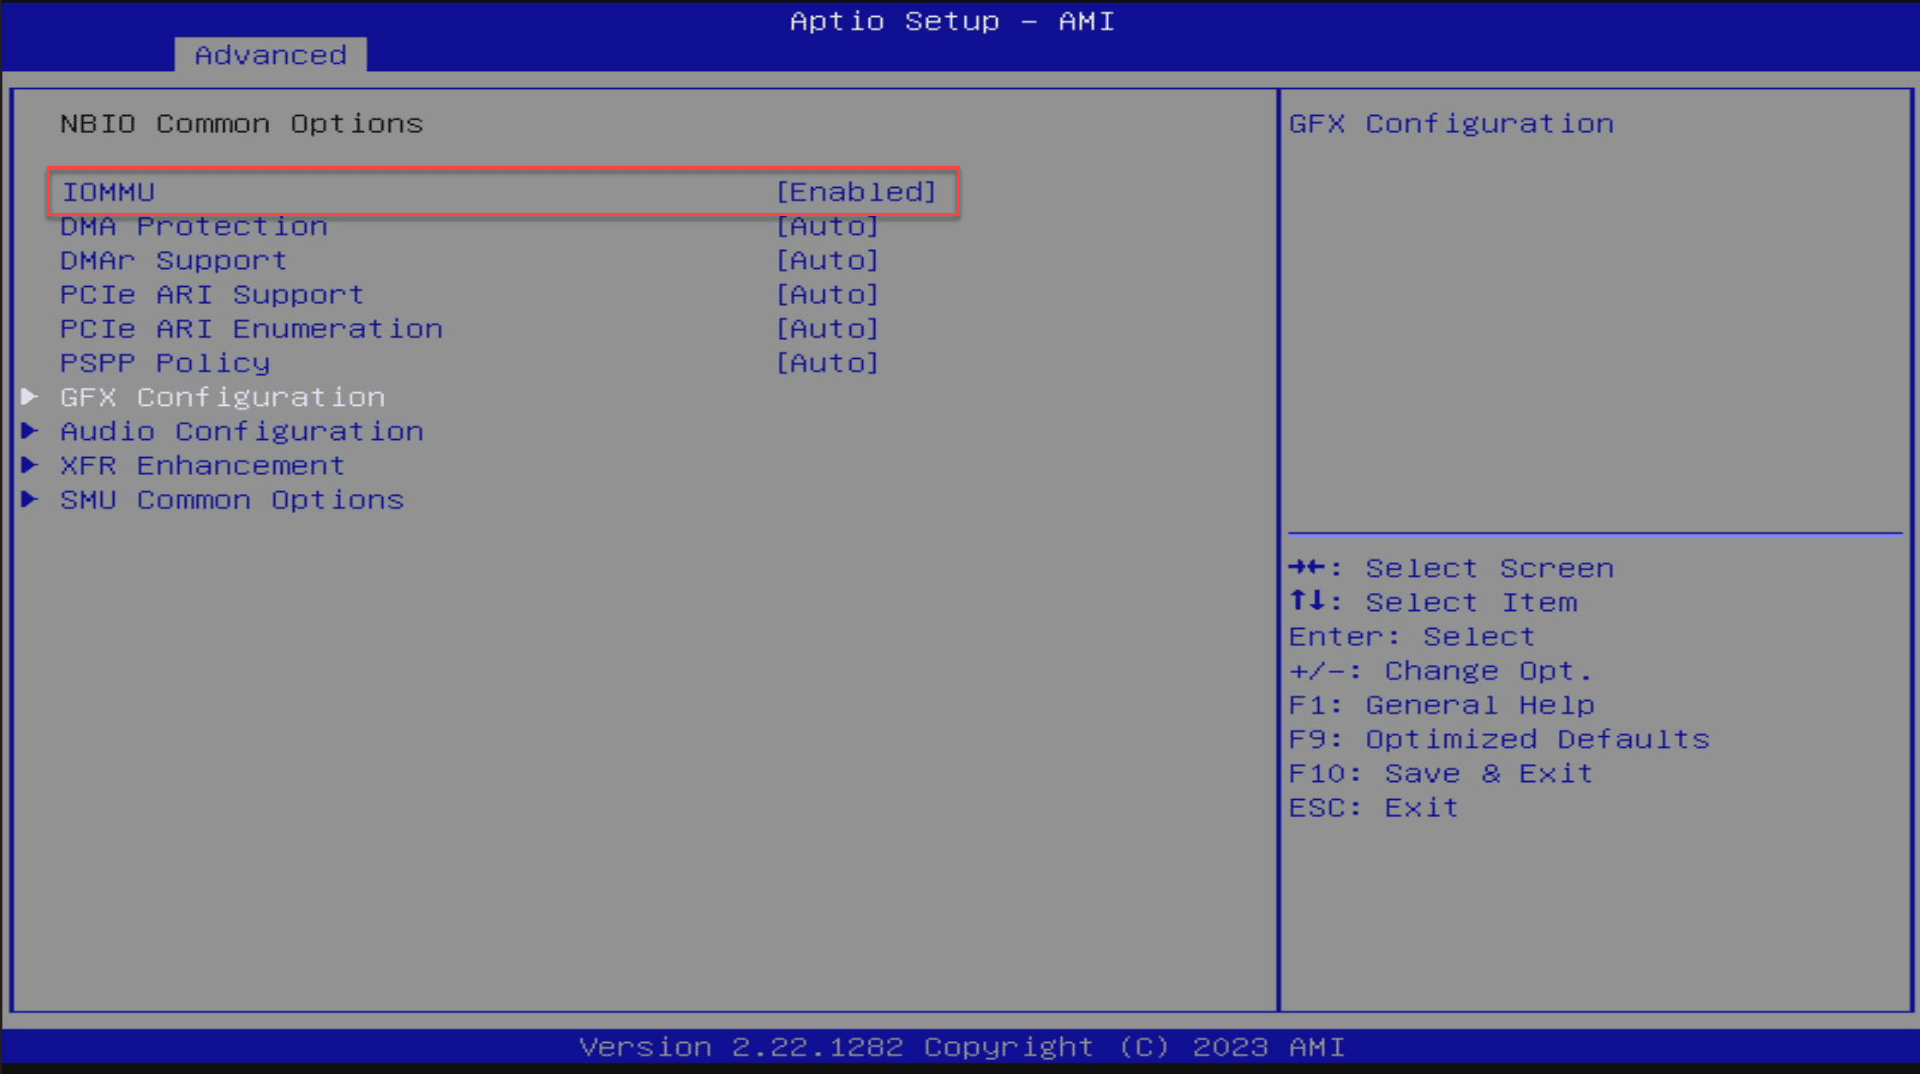
If you are using AMD CPUs, enable AMD-Vi in the BIOS. This is AMD’s version of IOMMU technology. It is similar to Intel’s VT-d and is needed to provide the necessary support for directing and isolating I/O accesses.
Below is a look at enabling IOMMU in the BIOS:
2. Install Proxmox
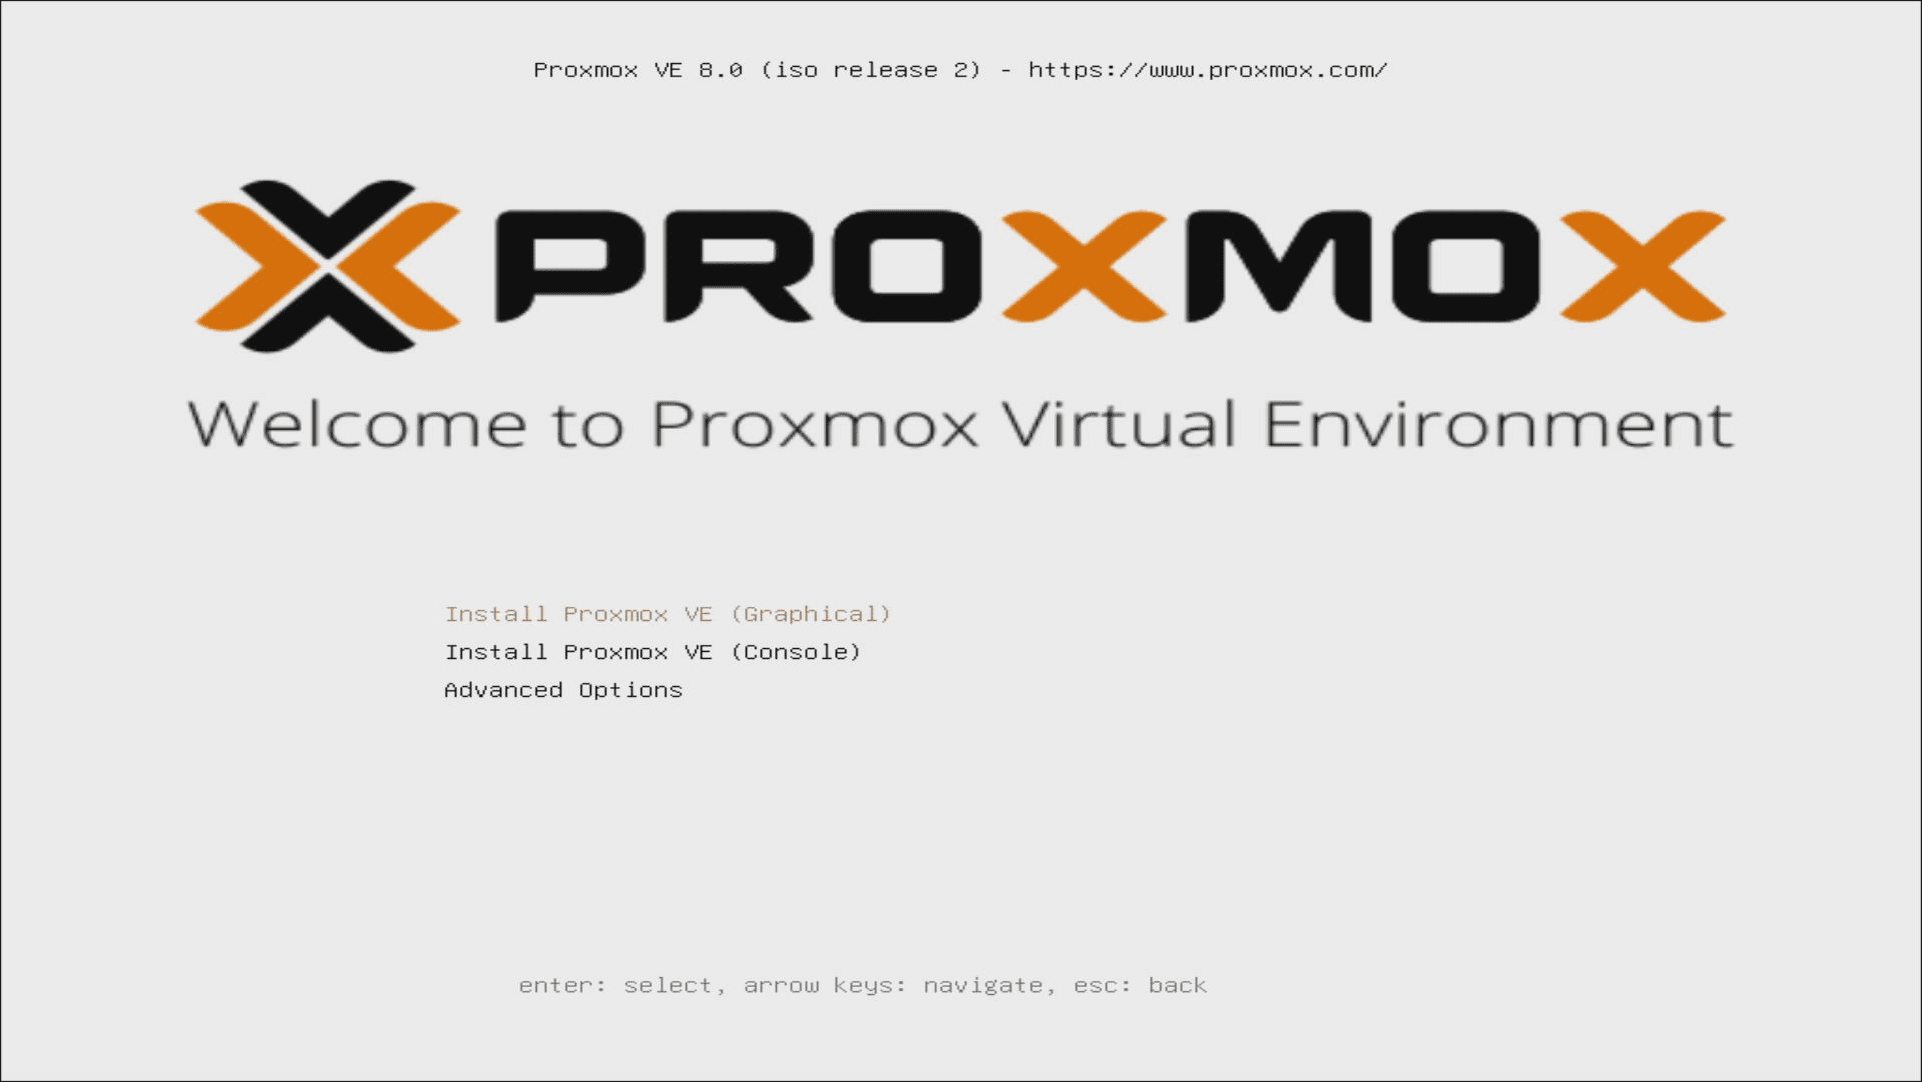
If you haven’t installed Proxmox already, you can do that easily using a Rufus or my personal favorite now, Ventoy, to install Proxmox on your host hardware. The latest Proxmox release is Proxmox 8.x.
Check out my Top 5 tips to get started with Proxmox here: Proxmox Homelab: First 5 Basic Configuration Steps.
Configuring the Proxmox Host
Once the host system is ready, proceed with configuring the Proxmox host to support GPU passthrough. This configuration involves editing specific files and adjusting settings to ensure compatibility and performance.
3. Edit modprobe configuration
In the /etc/modprobe.d/blacklist.conf file, add the following blacklist the nouveau, nvidia, and radeon drivers. Blacklisting these drivers prevents the host from loading them, allowing the passthrough to function correctly.
echo "blacklist nouveau" >> /etc/modprobe.d/blacklist.conf echo "blacklist nvidia" >> /etc/modprobe.d/blacklist.conf echo "blacklist radeon" >> /etc/modprobe.d/blacklist.conf4. Update the GRUB bootloader
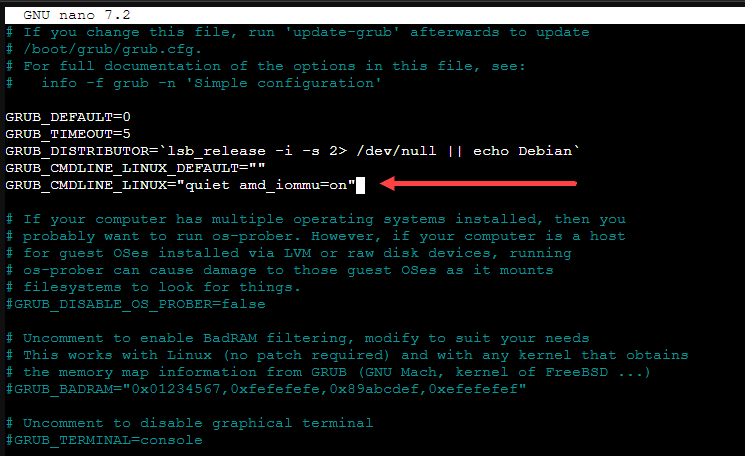
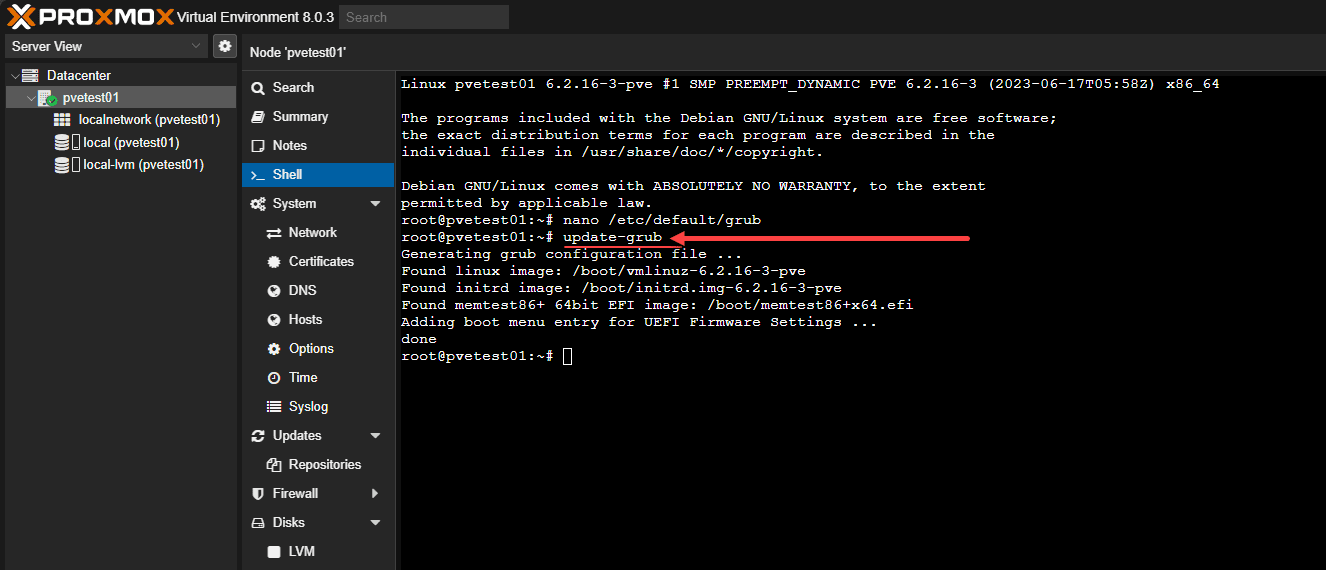
After configuring the necessary files, update the GRUB bootloader to apply the changes. Edit the /etc/default/grub file to add the intel_iommu=on or amd_iommu=on (depending on your CPU) and vfio_pci.ids parameters.
#Intel
GRUB_CMDLINE_LINUX_DEFAULT="quiet intel_iommu=on"
#AMD
GRUB_CMDLINE_LINUX_DEFAULT="quiet amd_iommu=on"
Then, update the GRUB configuration and reboot the system. ***Note*** some have had to add many more parameters to the GRUB_CMDLINE_LINUX line to get passthrough to work for their particular card. See the Troubleshooting section below.
Make sure to reboot after you update grub.
update-grub reboot5. Edit the kernel modules
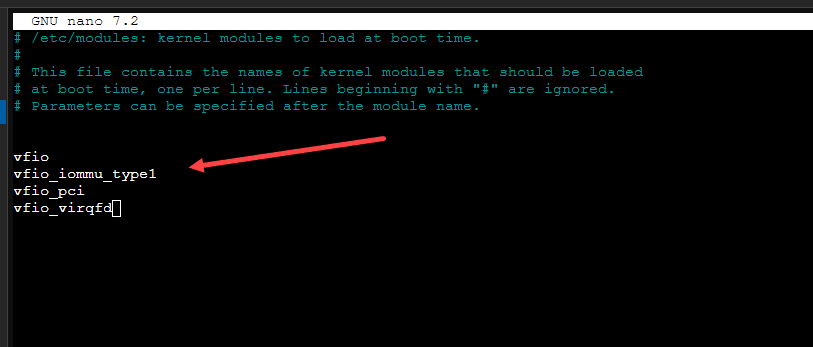
Add the vfio, vfio_iommu_type1, vfio_pci, and vfio_virqfd modules to the /etc/modules file to load them at boot.
echo "vfio" >> /etc/modules
echo "vfio_iommu_type1" >> /etc/modules
echo "vfio_pci" >> /etc/modules
echo "vfio_virqfd" >> /etc/modules6. Identify and isolate the GPU
Locating the PCI Device
Identify the PCI device IDs associated with the GPU you intend to pass through. You can locate these IDs using the lspci command, which lists all PCI devices connected to the host system. This command will return devices like audio devices, USB controller, etc. However, look for your GPU.
#To see all devices use:
lspci -v
#To search for a specific device name:
lspci -nn | grep -i nvidiaViewing IOMMU Groups
There is also a command to view IOMMU groups to see if the GPU is in its own group or with devices you intend to pass through together, which is helpful. The forums and other posts mention that generally speaking, users are more successful with GPU passthrough when the GPU is isolated to its own group. Use the following command to list the IOMMU groups and their associated devices:
find /sys/kernel/iommu_groups/ -type lEditing /etc/modprobe.d/vfio.conf
Once you have identified the GPU’s PCI device IDs, isolate the device to prevent the host system from using it. This isolation ensures the GPU is available exclusively for passthrough to the VM. You can do that with the following commands:
#First
echo "options vfio-pci ids=1002:1638,1002:1637 disable vga=1" /etc/modprobe.d/vfio.conf

#Second
update-initramfs -u

#Third
reboot or reset
Next, identify and list the PCI device IDs of the GPU and its audio function in the /etc/modprobe.d/vfio.conf file. This step ensures that the VFIO driver binds to these devices during boot.
7. Create and configure your virtual machine
The next step is installing your guest operating system in a virtual machine. There isn’t anything really special about this step as this is installing the OS in the virtual machine that you are passing through your GPU to.
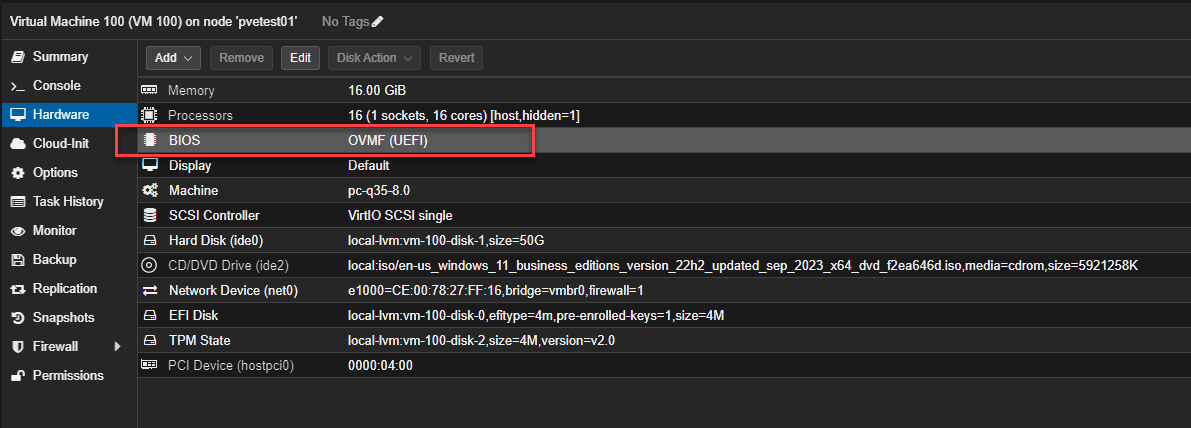
This configuration involves adding the PCI devices (GPU and audio function) to the VM and ensuring that the VM uses the OVMF (UEFI) firmware instead of the traditional BIOS.
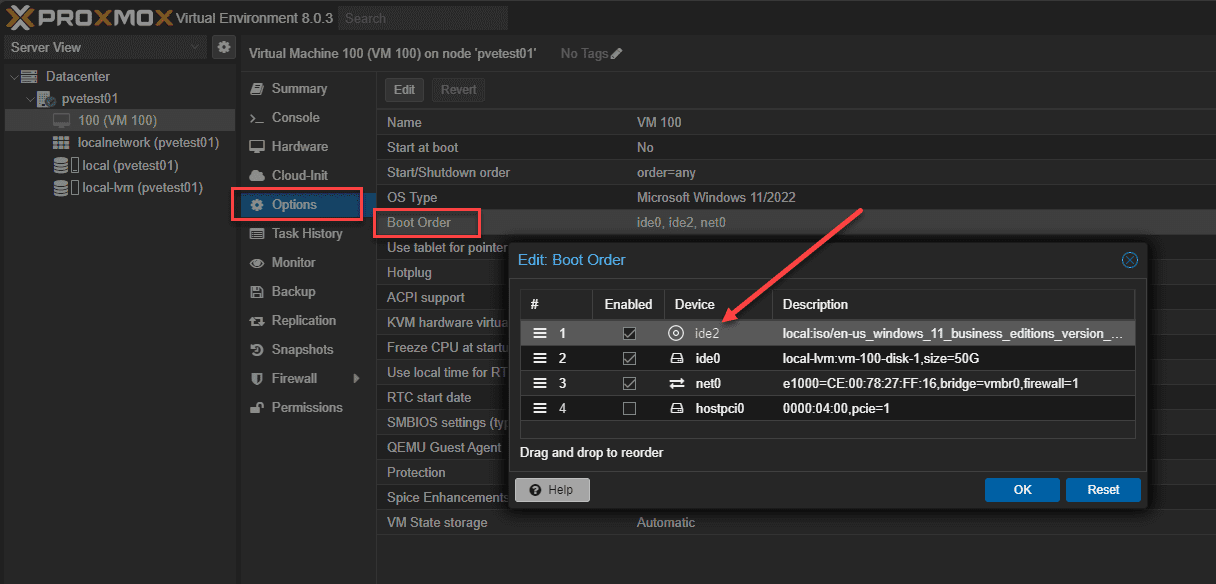
Set the boot order for your virtual machine to boot from an uploaded ISO image file.
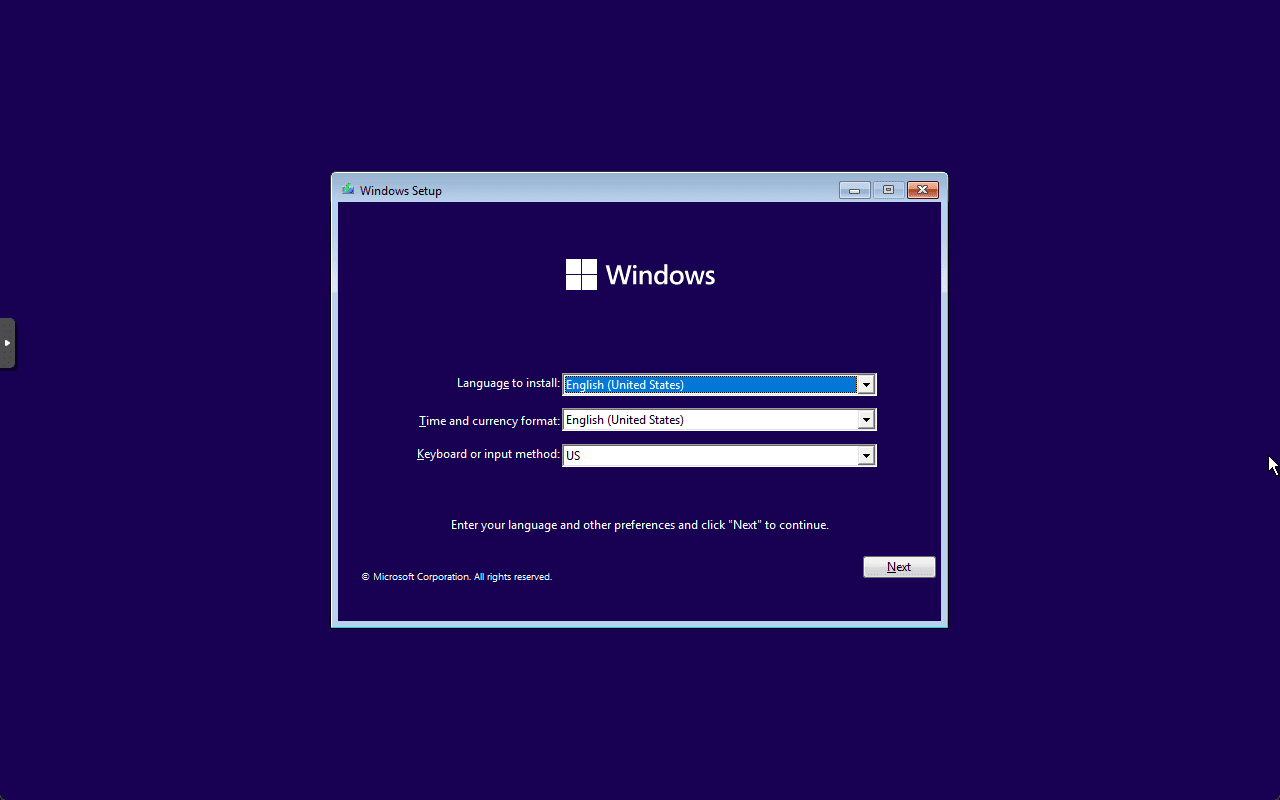
Below, we are installing Windows 11. After the installation, you should see your GPU passed through to your virtual machine, which you can verify in Device Manager (in Windows).
Testing and Troubleshooting
AMD reset bug
Many newer AMD GPUs have a problem known as the AMD Reset Bug. This bug means the card can’t reset correctly, so it can only be used once after the host computer is turned on. If you try to use the card a second time, Linux will try and fail to reset it. This can cause the VM to not start or make the guest, host, or both systems freeze.
Verifying GPU Passthrough Functionality
Once the VM is configured, start it and install the necessary GPU drivers. After installation, verify that the GPU passthrough functions correctly by checking the device manager (Windows) or using the lspci command (Linux).
Troubleshooting Common Issues
If you encounter issues during the setup or operation of GPU passthrough, consult the Proxmox documentation and community forums for guidance. Common problems may include IOMMU group conflicts, driver installation failures, or performance inconsistencies.
Extended GRUB configuration
Some have seen they need to enter the configuration parameters all in their GRUB bootloader config like so, with extra parameters for stability and to keep the host from crashing.
An example of an extended configuration is below:
GRUB_CMDLINE_LINUX_DEFAULT="quiet amd_iommu=on pcie_acs_override=downstream,multifunction video=efifb:off video=vesa:off vfio-pci.ids=1002:1638,1002:1637 vfio_iommu_type1.allow_unsafe_interrupts=1 kvm.ignore_msrs=1 modprobe.blacklist=radeon,nouveau,nvidia,nvidiafb,nvidia-gpu"Wrapping up
Unfortunately, there seems to be no one size fits all approach for GPU passthrough with Proxmox. There is such a wide variety of hardware configurations and different types of GPU devices that this leads to varied results. But, following the recommended tips listed here will help to make sure you have the best chance of succeeding with GPU passthrough.







Seems an obvious question, but can you pass one GPU through to multiple VMs?
Stu,
Thank you for the comment! I believe you will have issues doing this on consumer grade GPUs. Enterprise GPUs have abilities to do paravirtualization with multiple VMs. I have not explored this personally with Proxmox unfortunately.
Brandon
Congratulations on the content, it’s fantastic!
Could you produce an intelligent integrated graphics walkthrough?
I need this for jellyfin, they recommend using integrated graphics.
Thank you very much
Thank you Lucas! I really appreciate your comment. I will keep this in mind on the graphics walkthrough on Jellyfin.
Brandon