Headlamp is a really good tool that reduces needing the learn the inner workings of working with Kubernetes. It gives you a desktop app that brings the Kubernetes dashboard to your fingertips. Let’s delve into the details.
Table of contents
What is Headlamp?
Headlamp is designed to be an extensible Kubernetes web UI that delivers functionality seen in other Kubernetes dashboards and IDEs but with an added benefit.
It provides a unique plugin system that gives you extra functionality needed that goes beyond just viewing basic metrics.
You can manage multiple Kubernetes clusters, visualize, and work with your individual Kubernetes resources, including networks, storage, etc, without having to find this information using the kubectl command line tool.
Key features
UI for Kubernetes, independent of specific vendors
Can operatate both within the cluster and as a standalone desktop application
Efficient management of multiple clusters
Customizable with plugins
User role-specific UI controls to enforce RBAC in K8s
The interface looks good
You can create, stop creation, update, or delete processes as required
It gives you features like viewing logs, exec, and resource editor with associated documentation
Installing Headlamp
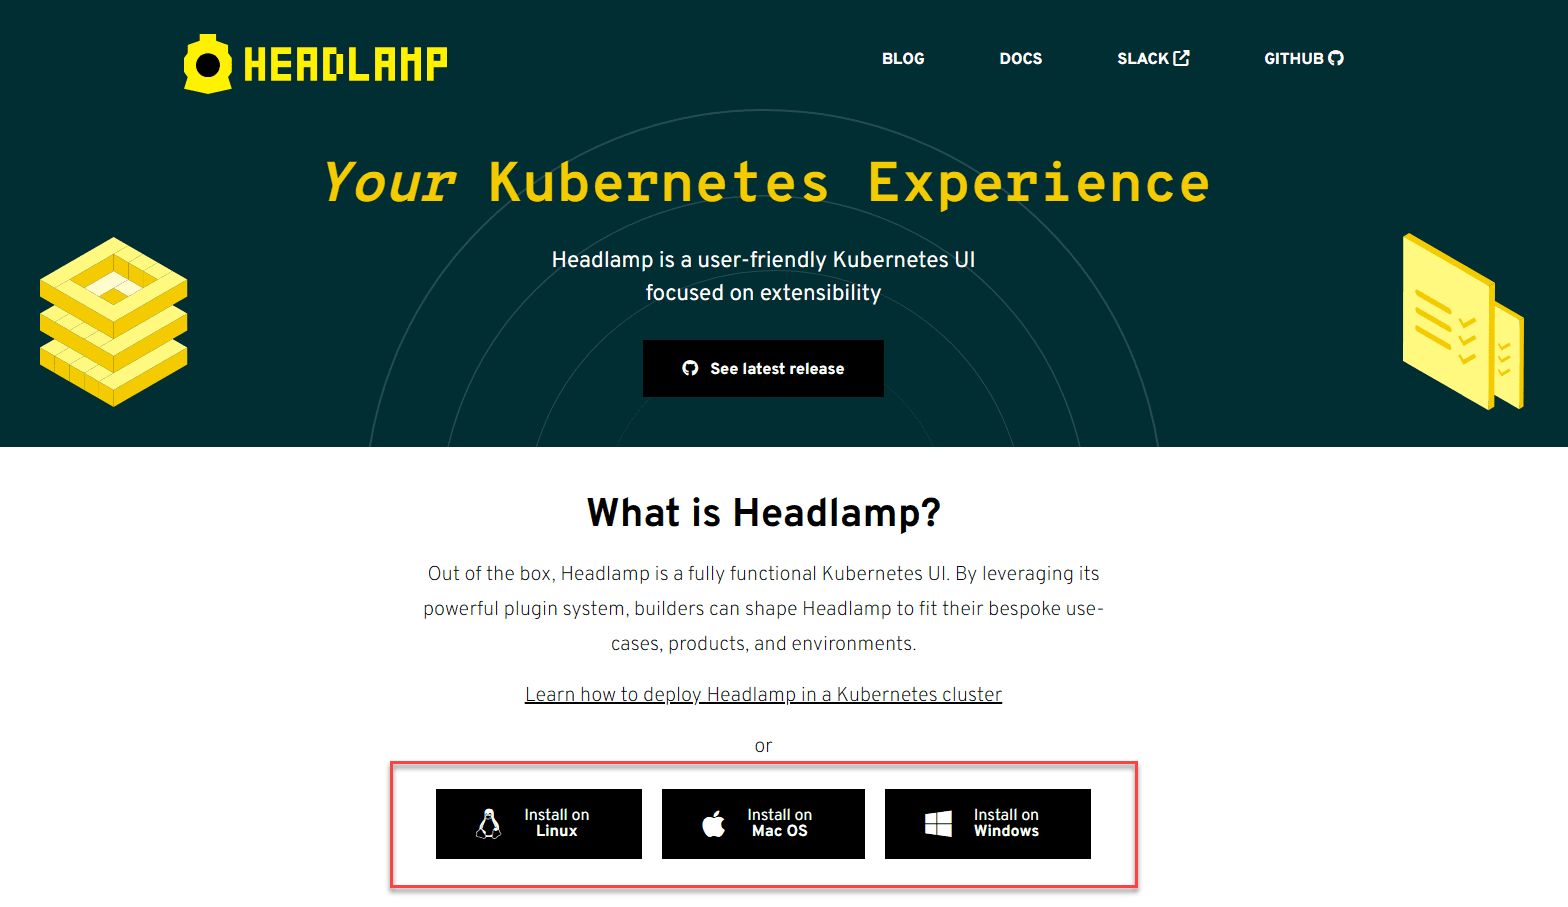
Installing Headlamp is simple. You can install it via a Helm repo directly from the source or use the installers on the GitHub repo. You can access the tool from a web interface if you deploy it directly to a Kubernetes cluster. However, it is also available as a desktop installation, as mentioned.
For Windows, you have the option to use Chocolatey as well.
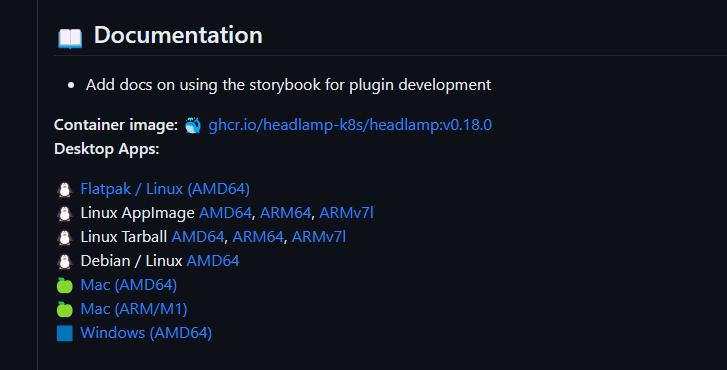
If you choose not to build from source or use helm, full installers are available on the GitHub repo for Linux, Mac, and Windows. You can download it from here: Releases · headlamp-k8s/headlamp (github.com).
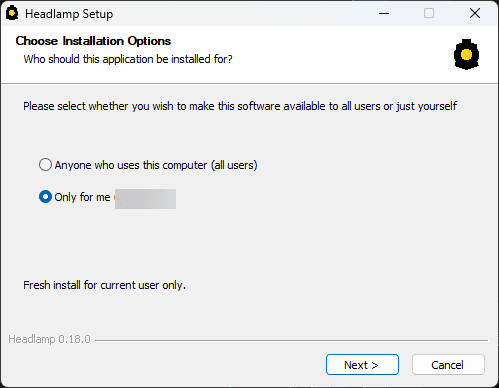
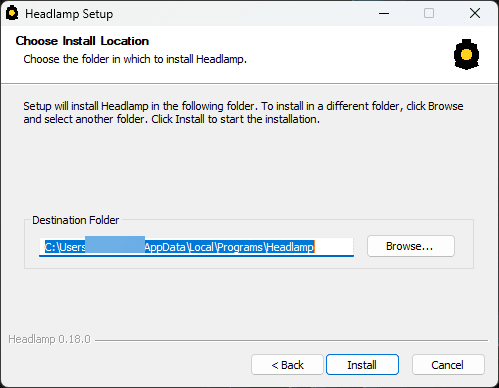
Below, I am using the Windows (AMD64) installer to install Headlamp in Windows 11.
Selecting the path of the installation.
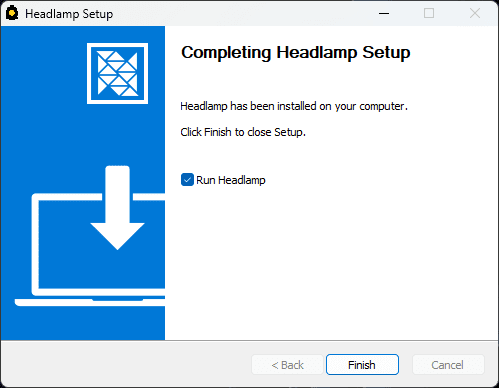
Completing the setup.
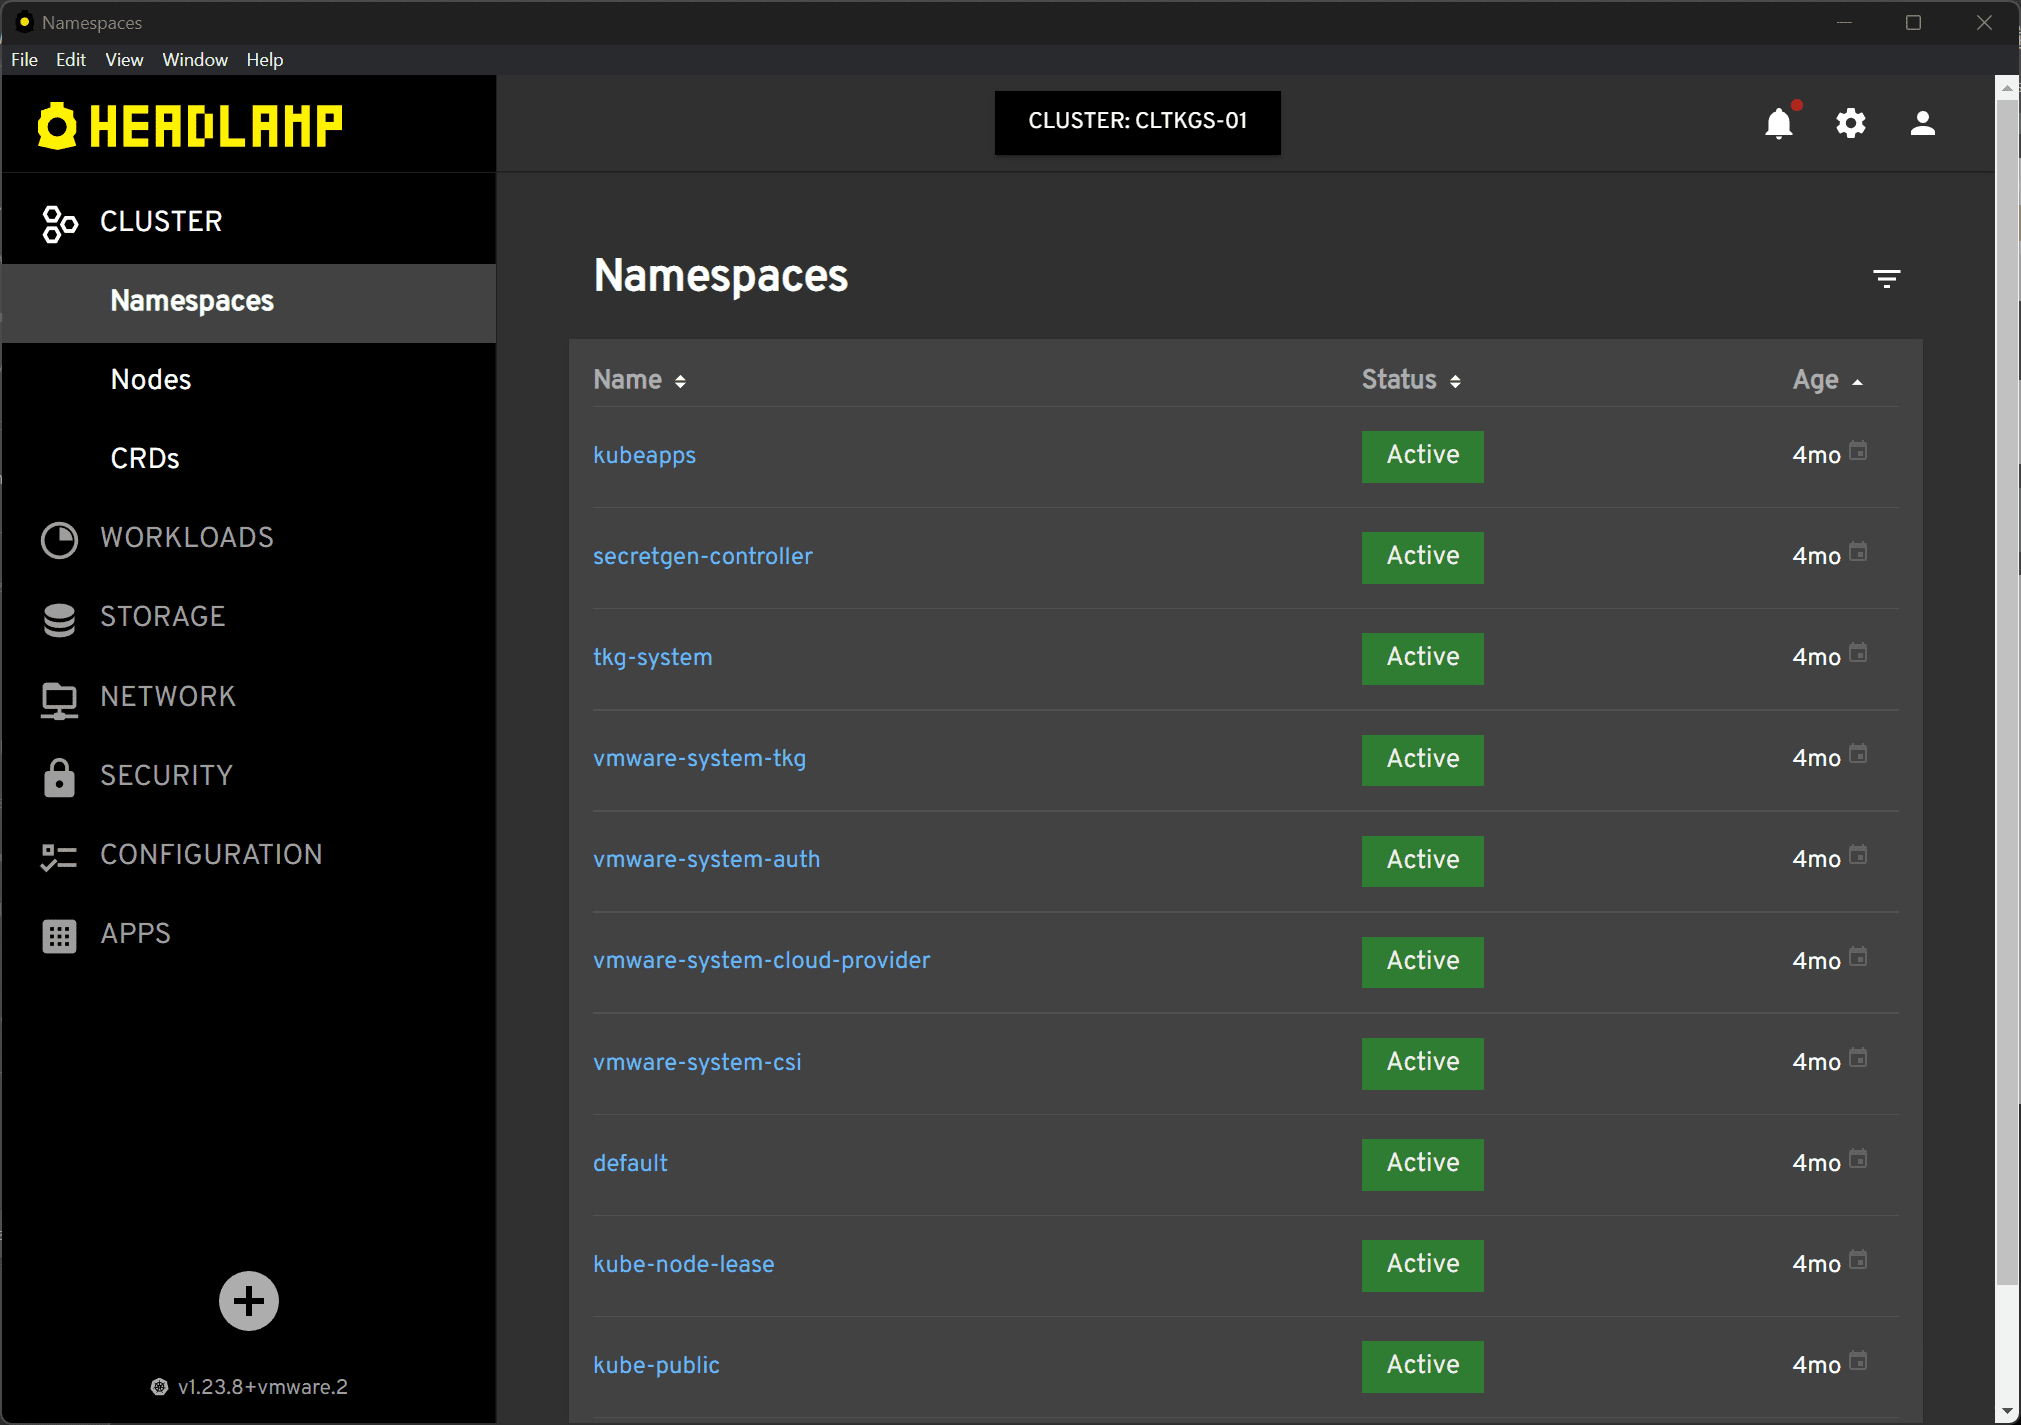
Headlamp’s UI uses a user-friendly approach, presenting a default cluster view showing all the Kubernetes objects in your cluster.
To maintain multiple clusters, you can switch between different contexts easily. Headlamp uses your kubeconfig file for configurations, just like kubectl, which means no extra setup for the user. It supports any Kubernetes cluster, whether it’s Minikube on your local machine or a big multi-node cluster.
Service Account and Access to Resources
Headlamp uses a service account to access resources in your cluster by default. This account needs to have enough permissions to view metrics and other details.
The documentation provides step-by-step guidance on creating a service account with the right permissions. For instance, you can create a token that Headlamp uses to interact with your cluster.
Headlamp can be logged into using a client certificate or a bearer token. It also has the means to support external identity providers.
Creating a service account to access resources
Headlamp implements RBAC to interact with Kubernetes clusters, which is best practice. A Service Account token is recommended to log in to your Kubernetes cluster with Headlamp.
Let’s consider an example of creating a service account token to authenticate:
kubectl -n kube-system create serviceaccount headlamp-adminGive admin rights to the account:
kubectl create clusterrolebinding headlamp-admin --serviceaccount=kube-system:headlamp-admin --clusterrole=cluster-adminIf you are running Headlamp in a Kubernetes cluster with version greater than 1.24, create the token using the following command:
kubectl create token headlamp-admin -n kube-systemOtherwise, run the following command to get the token associated with the service account:
export HEADLAMP_SECRET=$(kubectl get secrets --namespace kube-system -o custom-columns=":metadata.name" | grep "headlamp-admin-token")
kubectl get secret $HEADLAMP_SECRET --namespace kube-system --template={{.data.token}} | base64 --decode
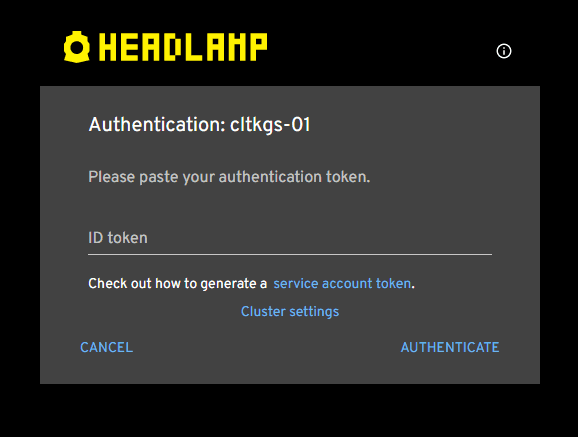
Once you have the Service Account token, paste it when Headlamp prompts connecting to your cluster.
Using Headlamp
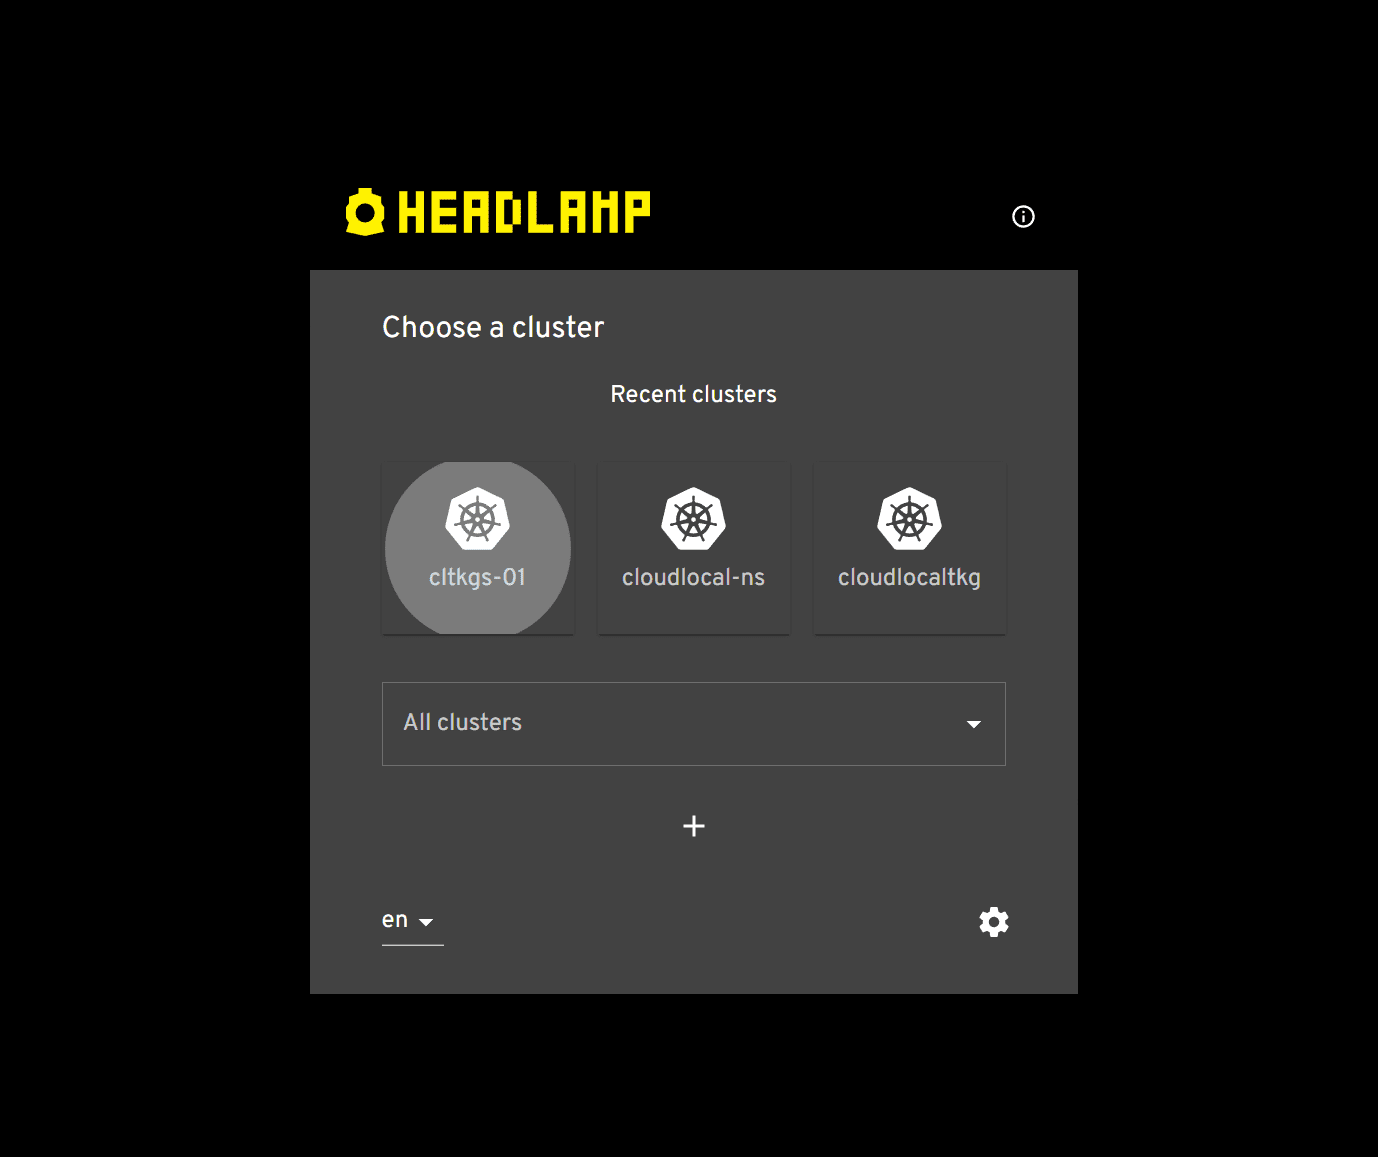
Once installed, Headlamp can be launched as a desktop app, enabling you to access resources like your Kubernetes objects from your desktop. Headlamp will read from your existing kubeconfig file if you have one and will display clusters you have contained there.
However, it doesn’t just use kubeconfig authentication method for accessing your cluster. When you click a cluster to connect, it will prompt you for the ID token. This is the token you created above using the kubectl create token command.
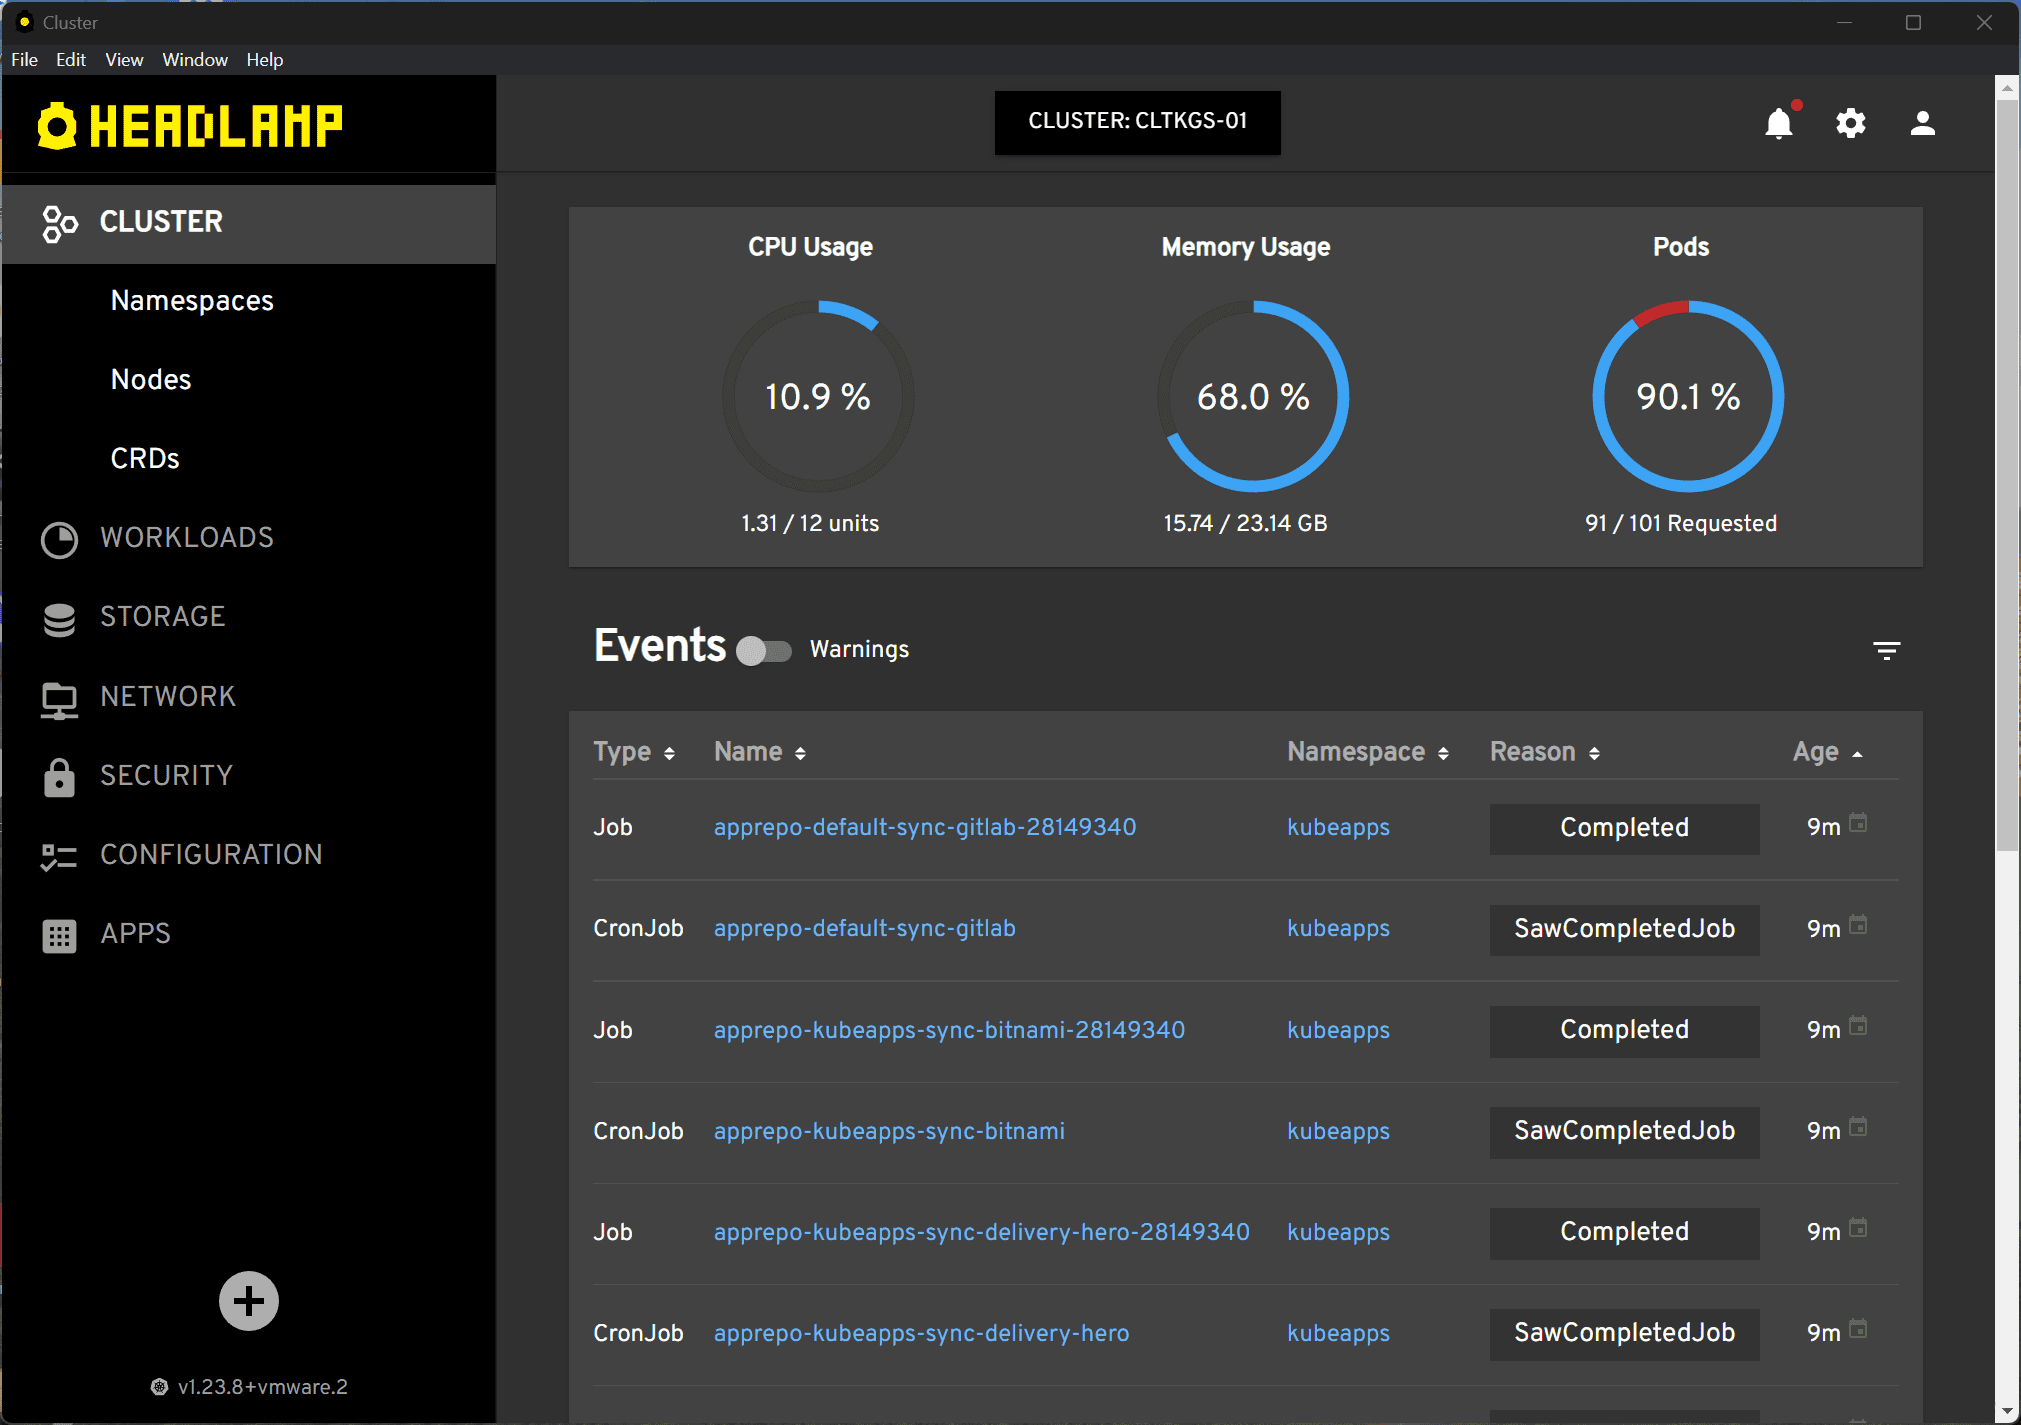
The Headlamp dashboard displays the cluster health overview after launching the tool with a sample user token.
The interface contains the options below:
Cluster
Workloads
Storage
Network
Security
Configuration
Apps
Extensible with Plugins
The key feature that sets Headlamp apart from traditional Kubernetes dashboards is its extensive plugin system. Developers can create plugins to extend the functionality of Headlamp, offering features that go beyond the default cluster view.
For example, while you can view namespaces and resources out of the box, a plugin might provide a more detailed view or additional metrics. The plugin system allows you to customize Headlamp to fit your needs and workflows, making it a truly extensible Kubernetes web UI.
Comparing with Other Tools
Comparing Headlamp to other Kubernetes tools like Lens Desktop, developed initially by cloud-native ecosystem pioneers, can be interesting. While Lens focuses on providing a read-write interface to your cluster for modifying individual Kubernetes resources, Headlamp, with its plugin system, is designed to be extensible and readily provide access to your cluster data.
Some have been turned off of Lens recently with the nags for upgrading to the paid version of Lens. The Open Lens project is another alternative to Lens as well and is a solution I have written about here:
It lets you maintain a robust and detailed view of your cluster, focusing on providing a powerful visual interface. Depending on your needs, you might find one tool more appealing.
Check out my video on Openlens here:
Wrapping Up
I have tried a lot of Kubernetes IDE and dashboard type solutions and Headlamp is a great project that enables Kubernetes admins and home labbers to have most of what they need to work with their Kubernetes clusters. I think it isn’t quite as slick as something like OpenLens, but the project is getting traction.
Google is updating how articles are shown. Don’t miss our leading home lab and tech content, written by humans, by setting Virtualization Howto as a preferred source.

