pfSense Port Forwarding Setup Guide
Understanding port forwarding when using a firewall solution like pfSense is an important topic. Let’s look at port forward setup and see how this is implemented when using pfSense.
Table of contents
- What is port forwarding?
- Setting up port forwarding
- Step 1: Log into the GUI interface
- Step 2: Create a NAT port forward
- Step 3: Creating a New Port Forward Rule
- Step 4: Configuring the Port Forward Rule
- Step 5: Configure the Firewall Rule for the port forward
- Step 6: Saving and Applying the Port Forward Rule
- Step 7: Testing the Port Forwarding Configuration
- Command line config
- Wrapping up
What is port forwarding?
Port forwarding allows an admin to set the configured firewall so that it “listens” for specific traffic that is trying to connect to a certain port. When the firewall sees the traffic coming through, it “forwards” the traffic listened for to the internal destination host. This can be on another interface, whether that is in the DMZ, or another network zone.
Port forwarding can forward to the exact identical same internal port, which may be common in many cases, or it can “flip” the traffic and forward traffic to a different internal port altogether for obsfucation purposes. For example, traffic that is destined for port 443 on the outside could be forwarded to port 4443 on the inside.
Setting up port forwarding
Step 1: Log into the GUI interface
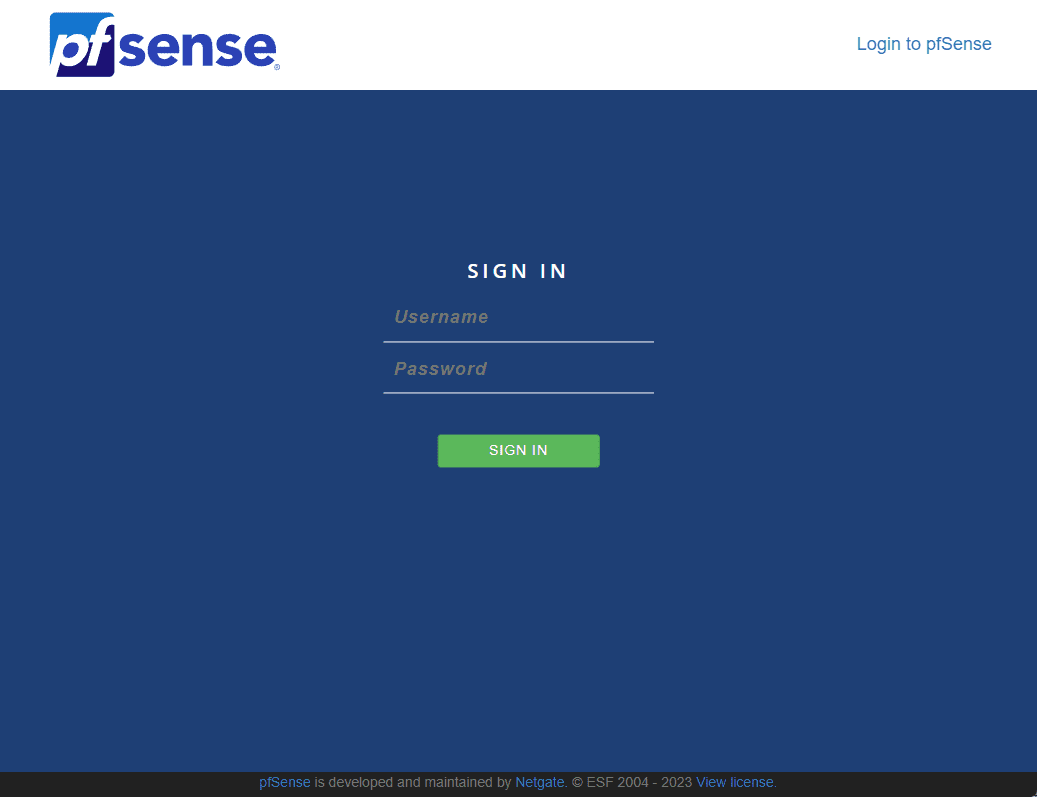
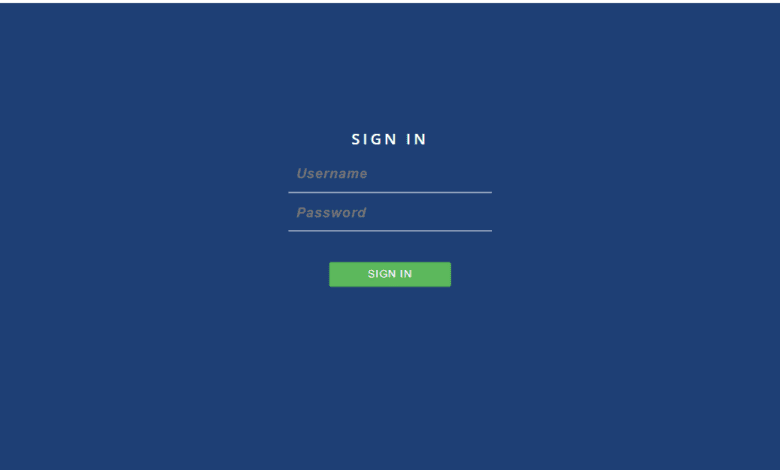
Access your pfSense web GUI and login.
Step 2: Create a NAT port forward
After you log in, click on the Firewall > NAT. Here, you will find the “Port Forward” tab. Click on it to load up the the NAT port forward rules.
Step 3: Creating a New Port Forward Rule
You will see green “Add” buttons located at the bottom of the interface and under any rules that are already there.
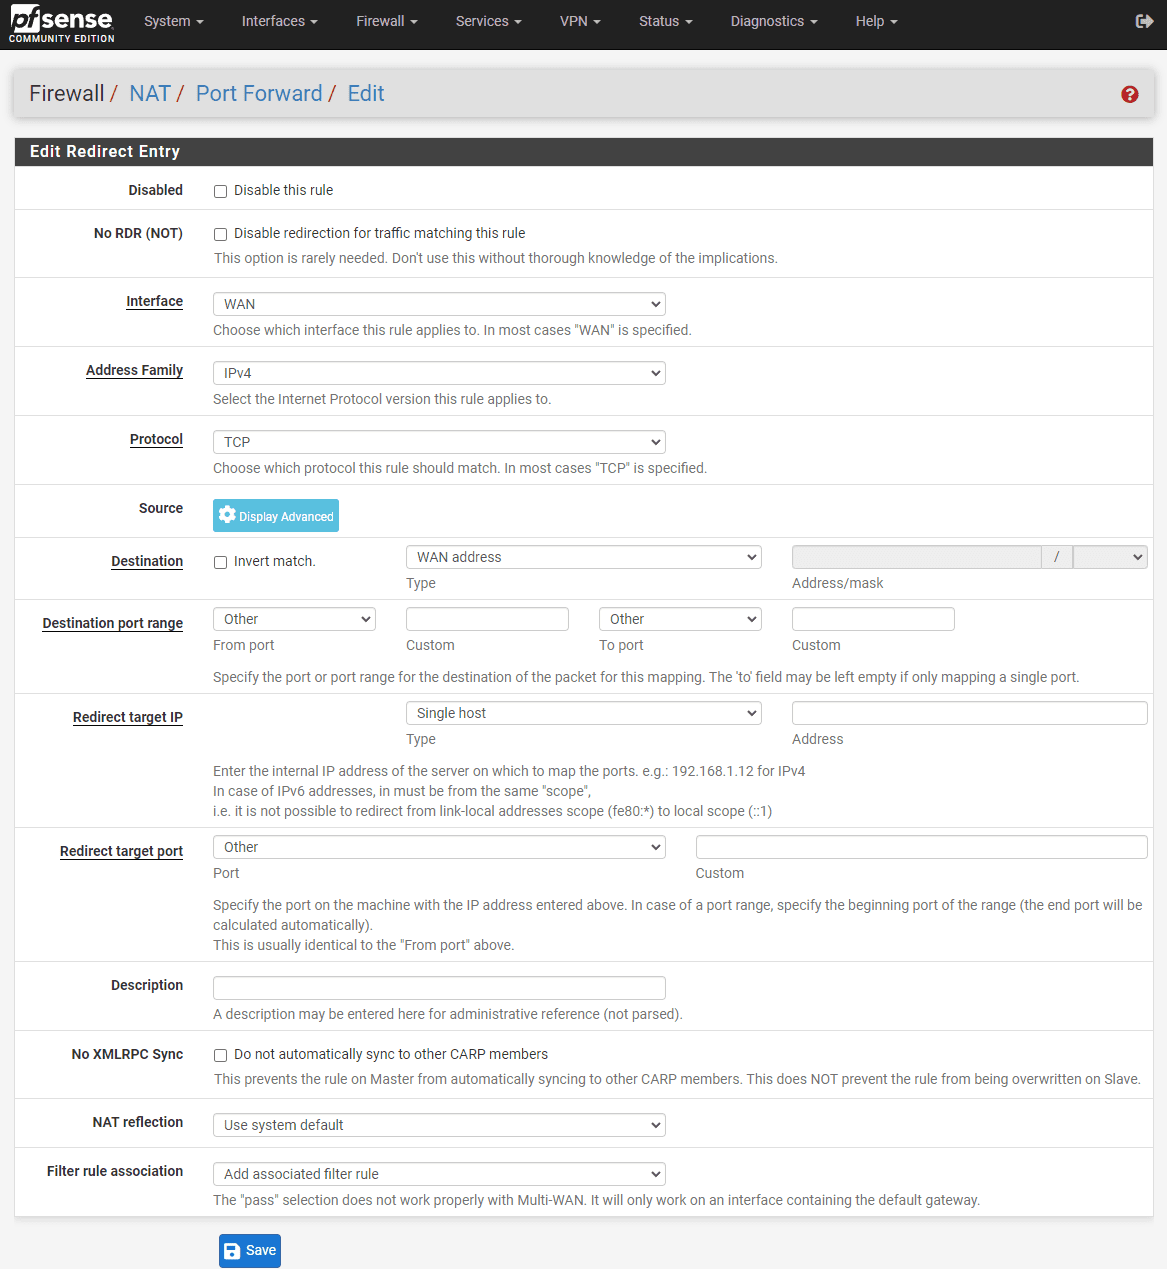
One add button allows admins to adds rules to the top of the list and the other Add button adds to the bottom of the list. Either button will open the new port forward screen:
Step 4: Configuring the Port Forward Rule
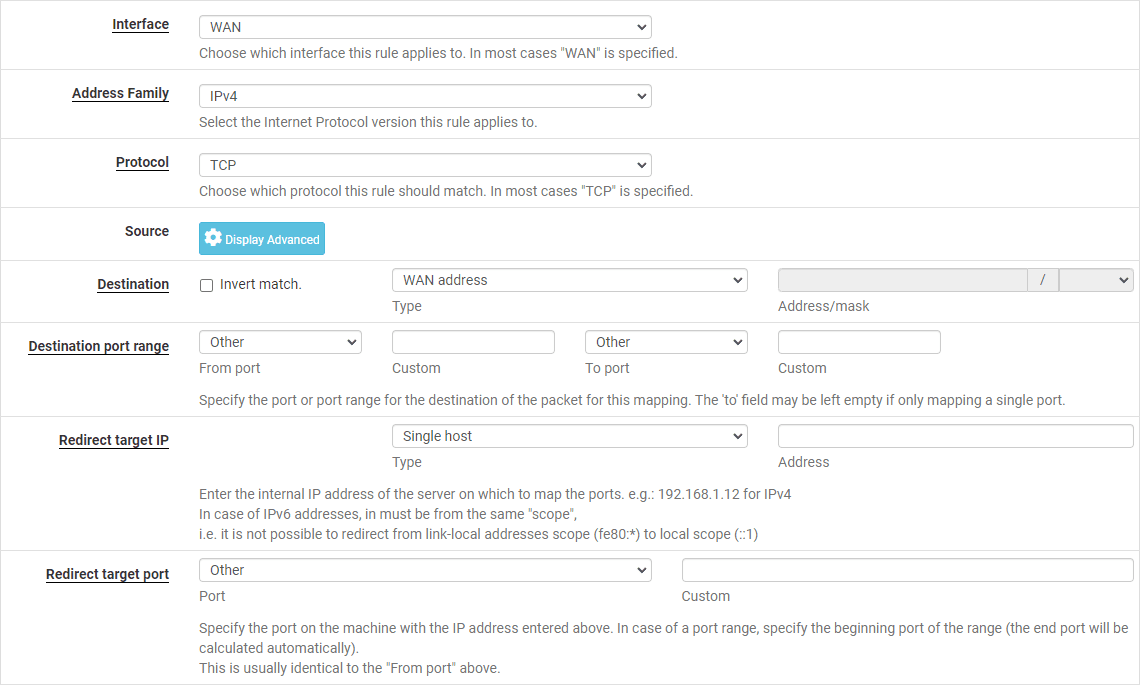
On the Interface select WAN. Address family is IPv4 in this case. Next, on the protocol you can pick (TCP, UDP, or both). In the “Destination” section, choose “WAN address” as the destination address.
In the “Destination Port Range” section you will configure the port number or range you want to forward. If you’re forwarding a single port, enter the same port number in both the “From” and “To” fields.
In the “Redirect Target IP” field, set the IP you wan to access forward the traffic to. In the “Redirect Target Port” field, enter the port number or port range on the internal host that should receive the forwarded traffic.
Step 5: Configure the Firewall Rule for the port forward
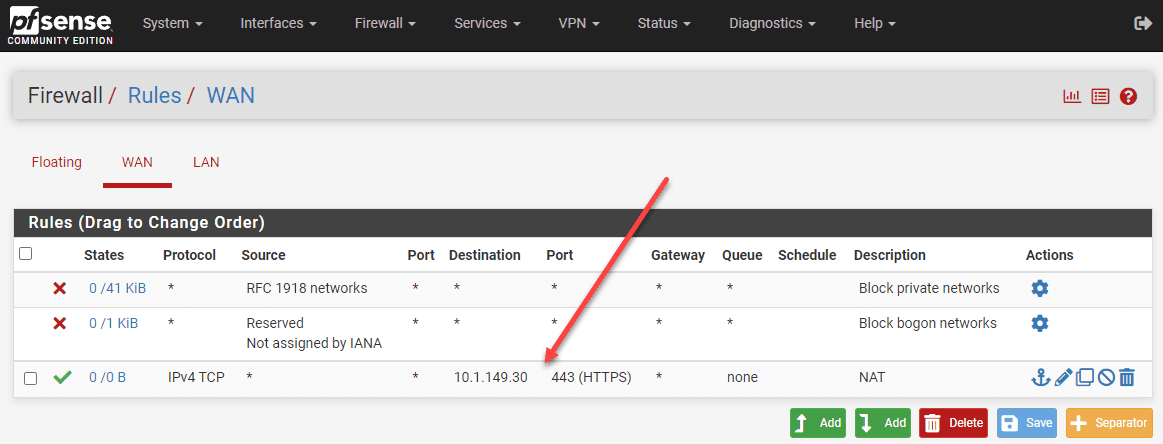
By default, pfSense creates an associated firewall rule for each port forward rule. In the “Filter Rule Association” dropdown menu, you can make sure that “Add associated filter rule” is selected. This will do the heavy lifting and automatically allow the traffic that is forwarded in the port forward rule.
Step 6: Saving and Applying the Port Forward Rule
Once you have configured the port forward and associated firewall rules, click on the “Save” button at the bottom of the page.
This will save your new port forward rule. After saving, click on the “Apply Changes” button to apply the new rule to your pfSense firewall. The port forwarding configuration is now complete.
Step 7: Testing the Port Forwarding Configuration
To test if the port forwarding configuration works correctly, try accessing the internal web server or service from a device outside your network using the public IP address and the forwarded port number. You can use external services to test these connections as well, like:
Command line config
If you want to configure port forwarding with the command line and you are not faint of heart, you can do that using the steps:
Step 1: Accessing the pfSense Shell or Establishing an SSH Connection
SSH into your firewall.
ssh <username>@<internal_IP_address_of_pfSense_firewall>Step 2: Editing the pfSense Configuration File
Once you’re connected to your pfSense firewall, edit the configuration file located at /conf/config.xml. The config.xml file contains all the settings for your pfSense firewall, including port forwarding rules.
To edit the configuration file, use the built-in vi text editor by entering the following command:
vi /conf/config.xmlStep 3: Adding the Port Forwarding Rule to the Configuration File
In the config.xml file, locate the <nat> section. Within this section, you’ll find the <rule> subsections for existing NAT port forward rules. Add a new <rule> subsection with the appropriate configuration settings to create a new port forwarding rule.
Here’s an example of a port forwarding rule in the config.xml file:
<rule>
  <type>pass</type>
  <interface>wan</interface>
  <protocol>TCP</protocol>
  <destination>
    <any></any>
  </destination>
  <dstport>80</dstport>
  <target>192.168.1.10</target>
  <local-port>80</local-port>
  <descr><![CDATA[Port Forward HTTP]]></descr>
  <associated-rule-id>pass</associated-rule-id>
  <created>
    <time>1649726956</time>
    <username>admin</username>
  </created>
</rule>
Admins can modify the following in the <rule> subsection to match your port forwarding requirements:
<interface>: Set to “wan” for the WAN interface.
<protocol>: Set to “TCP,” “UDP,” or “TCP/UDP” depending on the service.
<dstport>: Set to the destination port or port range you want to forward.
<target>: Set to the internal IP address of the device hosting the service.
<local-port>: Set to the port number or port range on the internal device that should receive the forwarded traffic.
<descr>: Add a description for the port forward rule.
Step 4: Saving Changes and Restarting Services
After adding the port forwarding rule to the config.xml file, save your changes and exit the vi text editor by pressing Esc, then entering :wq! and pressing Enter.
Finally, restart the pfSense firewall and related services to apply the new port forwarding rule:
pfSsh.php playback svc restart firewallStep 5: Testing the Port Forwarding Configuration
Like the GUI changes, you can test from the WAN side to see if the port forward works correctly.
Wrapping up
Setting up port forwarding in pfSense is a task that you will most likely want to setup as an admin or in the home lab since it will allow you to make internal services in your DMZ or LAN accessible from the WAN side/Internet side of things. pfSense makes this easy with the wizard-like approach and how it automatically adds the firewall rules needed for the port forward.


