Change vCenter IP Address – Step-by-step
You may have a need to cdhange your VMware vCenter Server IP address. Maybe you walked into an environment that wasn’t properly segmented and you need to move the VMware environment over. Let’s see how to change the vCenter Server IP address step-by-step.
Table of contents
- What is VMware vCenter Server?
- Prerequisites
- Step 1 – Look at your current vCenter Server IP Address
- Step 2 – Make sure you are ready and prepare the environment
- Step 3 – Get vSphere clusters ready
- Step 4 – Update DNS Settings and ESXi Hosts
- Step 5 – Changing the vCenter Server IP Address
- Step 6 – Verify Connectivity and Functionality
- Wrapping up
What is VMware vCenter Server?
VMware vCenter Server is the central management solution of a VMware vSphere environment. To enable most of the enterprise features in vSphere, you need to have vCenter Server as part of your environment. Today’s vCenter Servers are spun up using the OVA appliance download and you deploy the OVA to your VMware environment.
The vCenter Server Appliance or VCSA as it is referred to as, is a Photon-OS based virtual machine that will monitor and enable services in your vSphere environment for your ESXi server hosts.
Learn more about vCenter Server here: Server Management Software – vCenter | VMware.
Prerequisites
We will be looking at the process of changing vCenter server appliance (VCSA) IP address and not a Windows-based vCenter server, which is no longer supported.
Before look into the process for admins, make sure that you have the following:
A backup of your current vCenter Server configuration.
Administrator access to the vCenter Server Appliance and vSphere Web Client
A valid new IP address that does not conflict with any other devices on your network.
- Ability to make DNS changes as you will need to change DNS before making the change for vCenter Server as it will check to make sure the record points to the new IP address you want to implement.
Step 1 – Look at your current vCenter Server IP Address
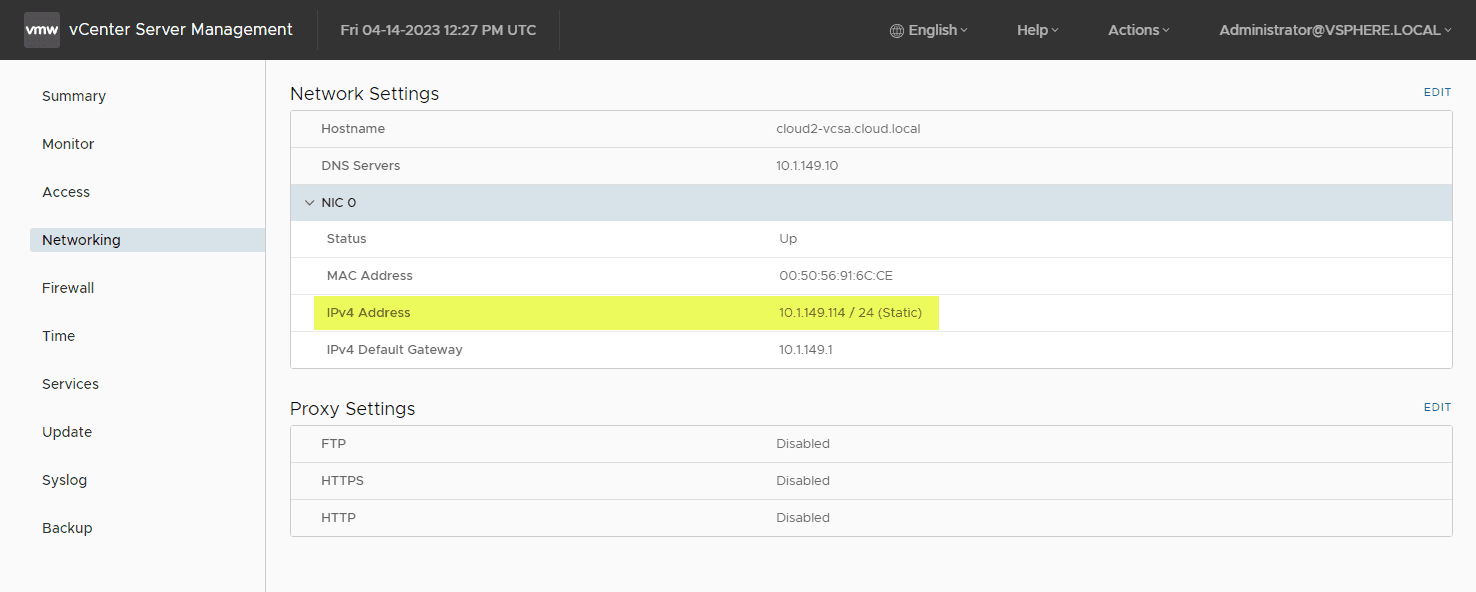
First, log in to the vCenter Appliance Management Interface (VAMI) using your root account credentials. Navigate to the “Networking” tab and note down the current IP address settings. This information will be useful as you proceed with the IP address change.
Step 2 – Make sure you are ready and prepare the environment
Before making any changes to the vCenter Server IP address, it’s crucial to prepare your environment:
Stop all backup jobs that connect to vCenter Server
Stop any other third-party integrations that rely on a vCenter Server connection
Notify all relevant stakeholders of the upcoming IP address change
Ensure that all ESXi hosts, virtual machines, and inventory objects are stable
Verify there are no vCenter Server-dependent tasks, such as VM migrations, that the change could disrupt
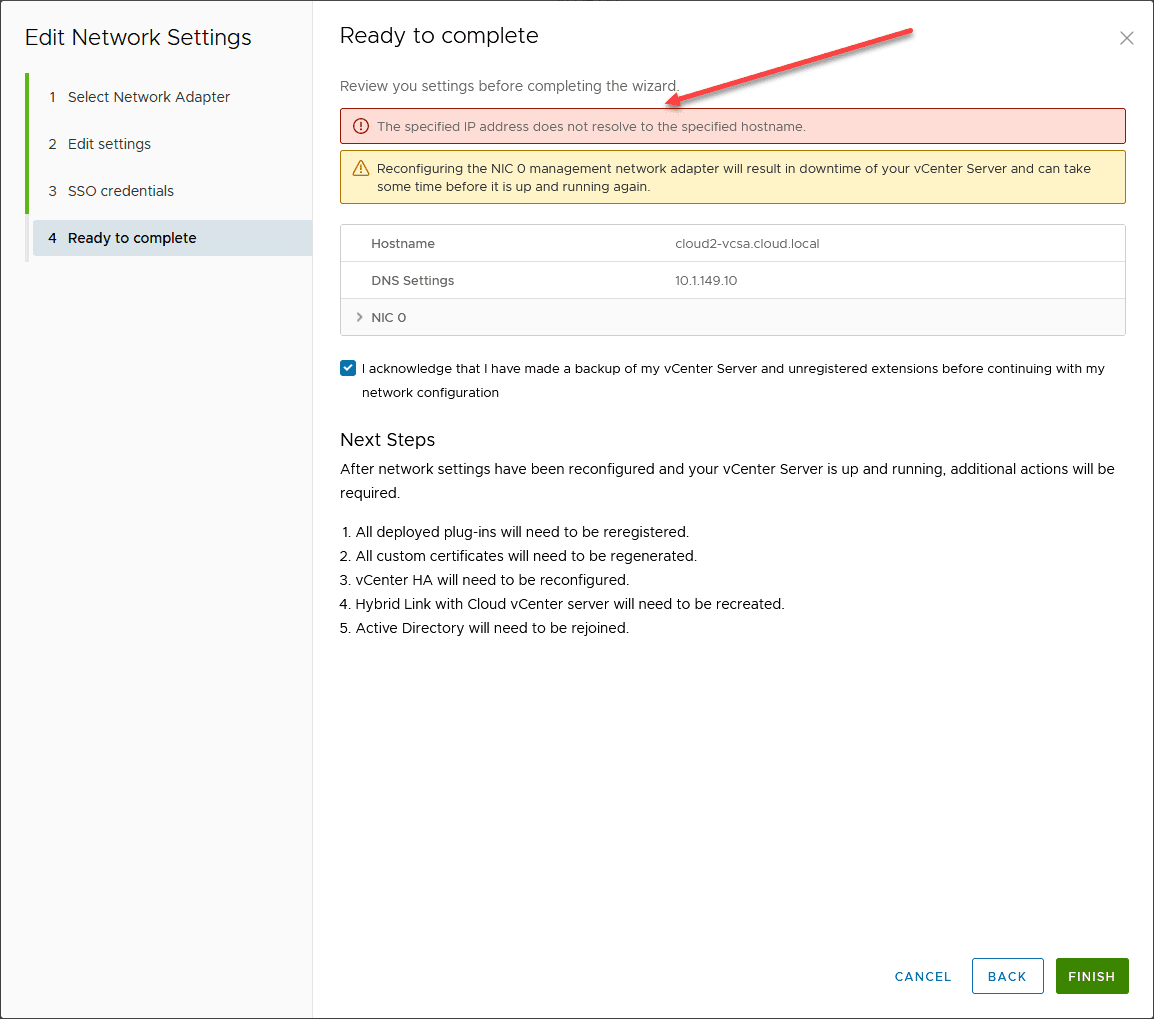
You need to make sure you update your DNS record for your vCenter Server appliance before you go through the wizard to change the IP address. The wizard checks to ensure DNS points to the correct IP address. You will receive an error message otherwise.
Step 3 – Get vSphere clusters ready
Before changing the vCenter Server IP address you will want to do certain things for your vSphere clusters:
Look at Cluster Health – Look at the health of your clusters, are they in good shape? You don’t want to introduce new changes over the top of existing issues
Disable HA – Make sure that vSphere High Availability (HA) is disabled on your vSphere clusters as taking vCenter down could trigger HA failures.
Suspend Cluster-Level Tasks – Pause cluster-related tasks like vMotion and Storage vMotion. Make sure all of the existing tasks are finished out
Disable vCenter Server Alarms – You may want to pause your monitoring and alerting during the IP address change as this will likely cause a flurry of alarm noise across the board
Coordinate with the business– Notify application teams and other stakeholders about the upcoming IP address change
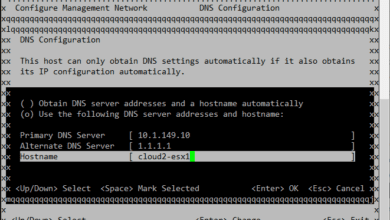
Step 4 – Update DNS Settings and ESXi Hosts
Before changing the vCenter Server IP address, update your DNS server settings to the new IP address:
You can login to each ESXi host to make sure they “see” the vCenter Server at the new address and DNS has updated correctly.
Step 5 – Changing the vCenter Server IP Address
To change the vCenter IP address, follow these steps:
Log in to the vSphere Web Client with your administrator account.
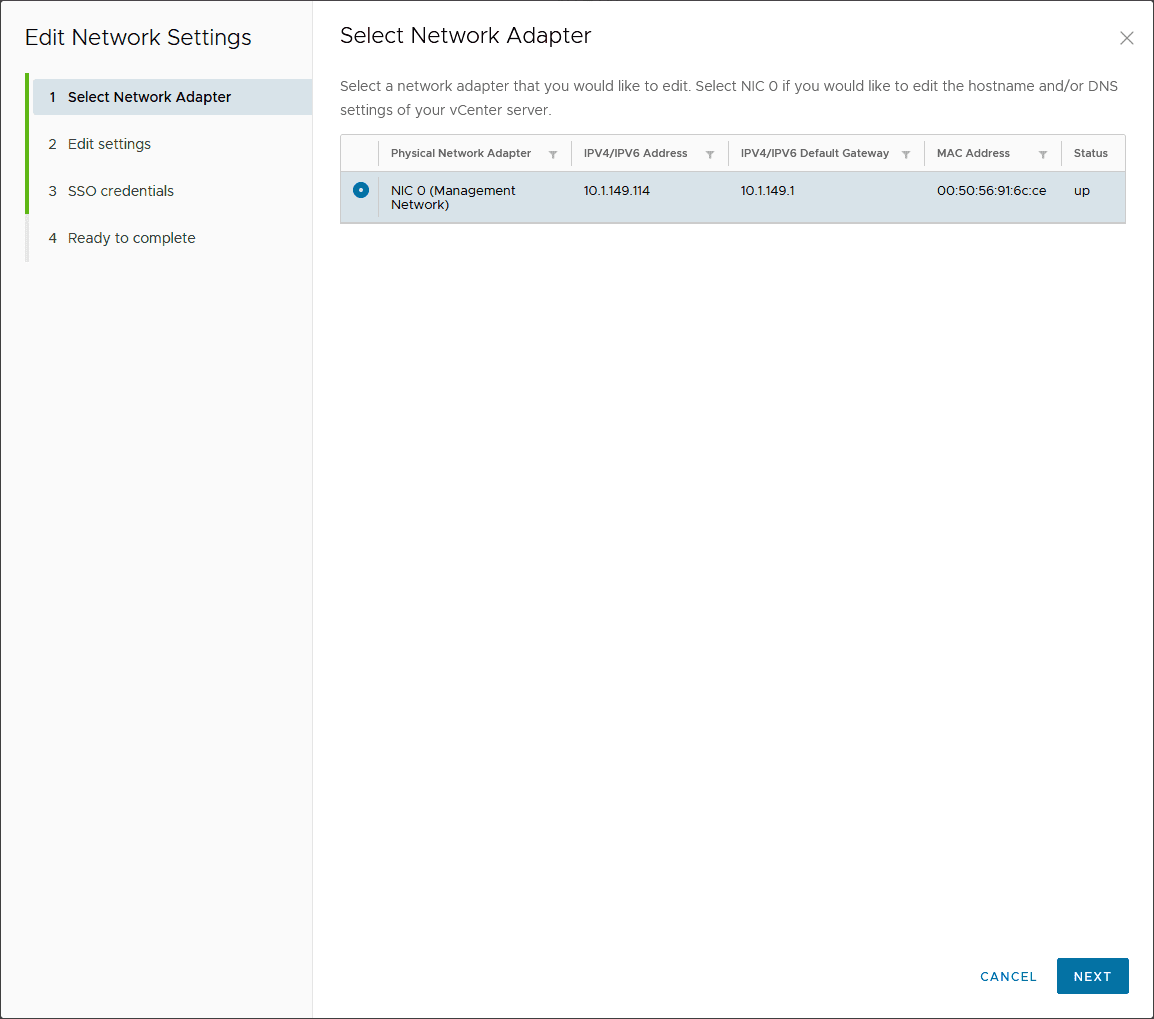
In the vSphere Web Client main interface, navigate to the vCenter Server instance you want to modify.
Click on the “Manage” tab and then select “Settings.”
Under “Settings,” click on “Edit” to open the IP settings configuration window.
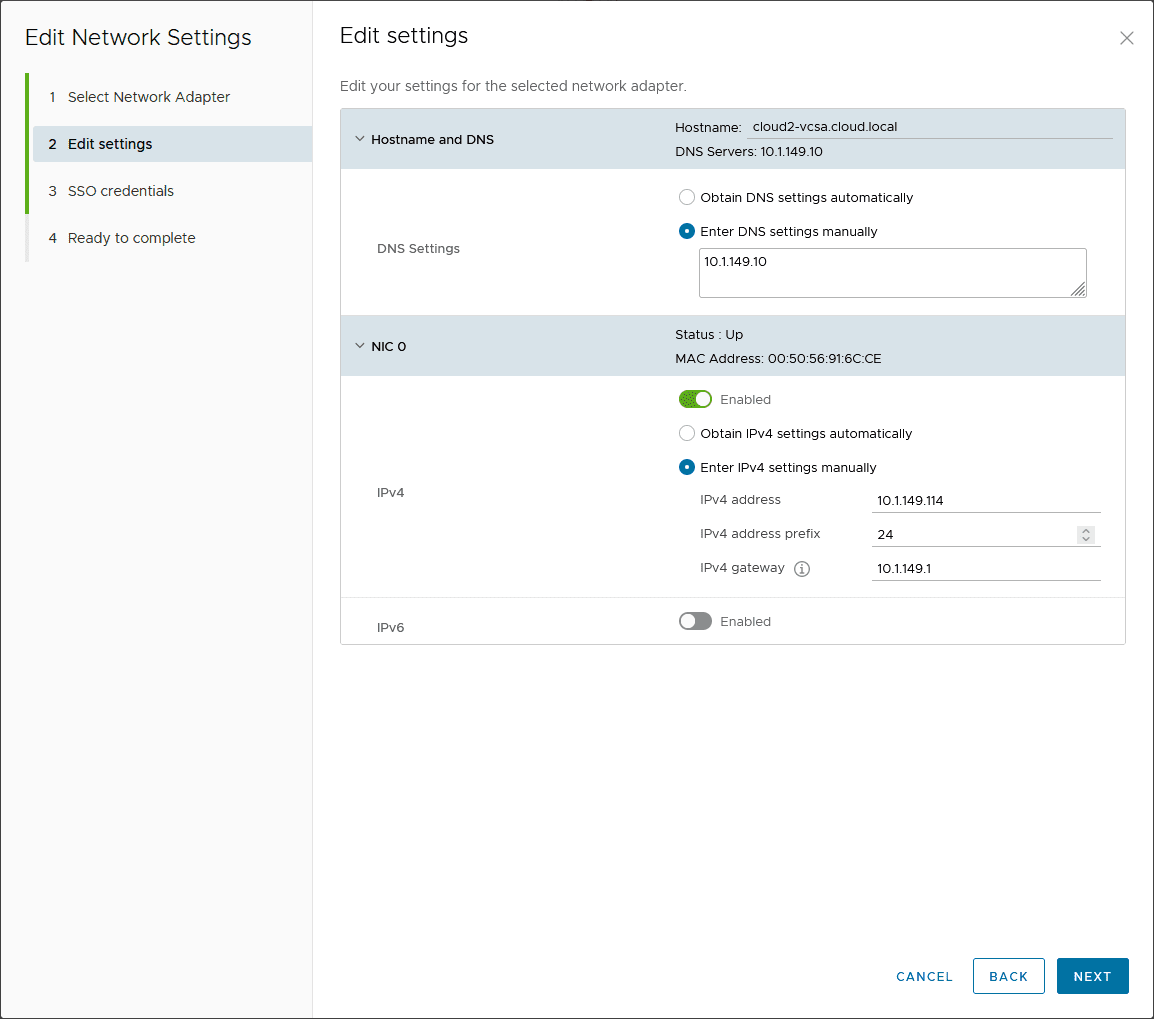
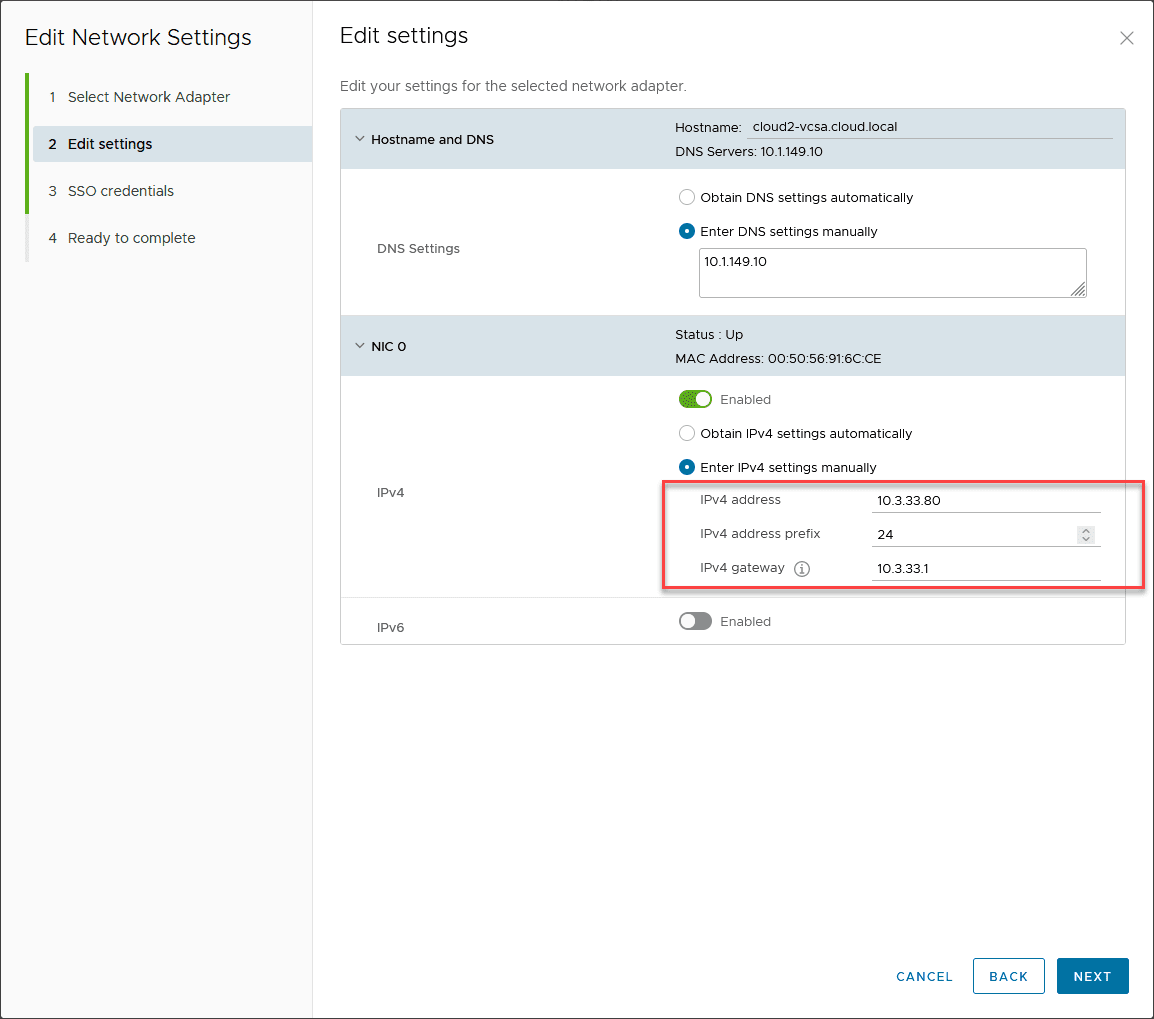
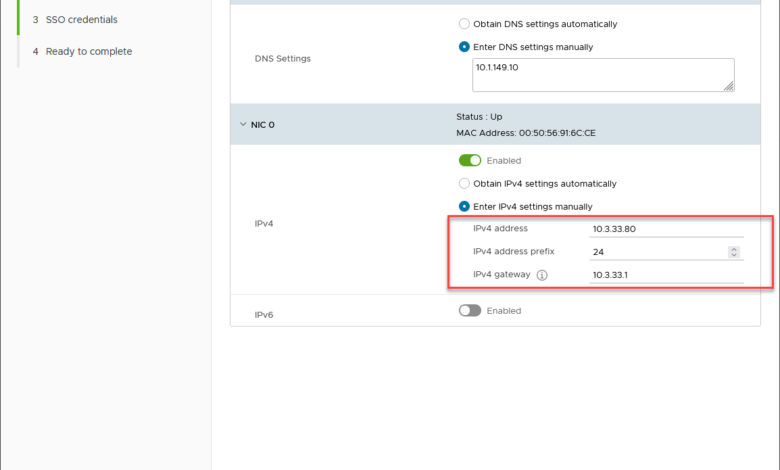
Update the IP address, subnet mask, and default gateway with the new IP address settings.
Updating the IP and mask on the network adapter settings.
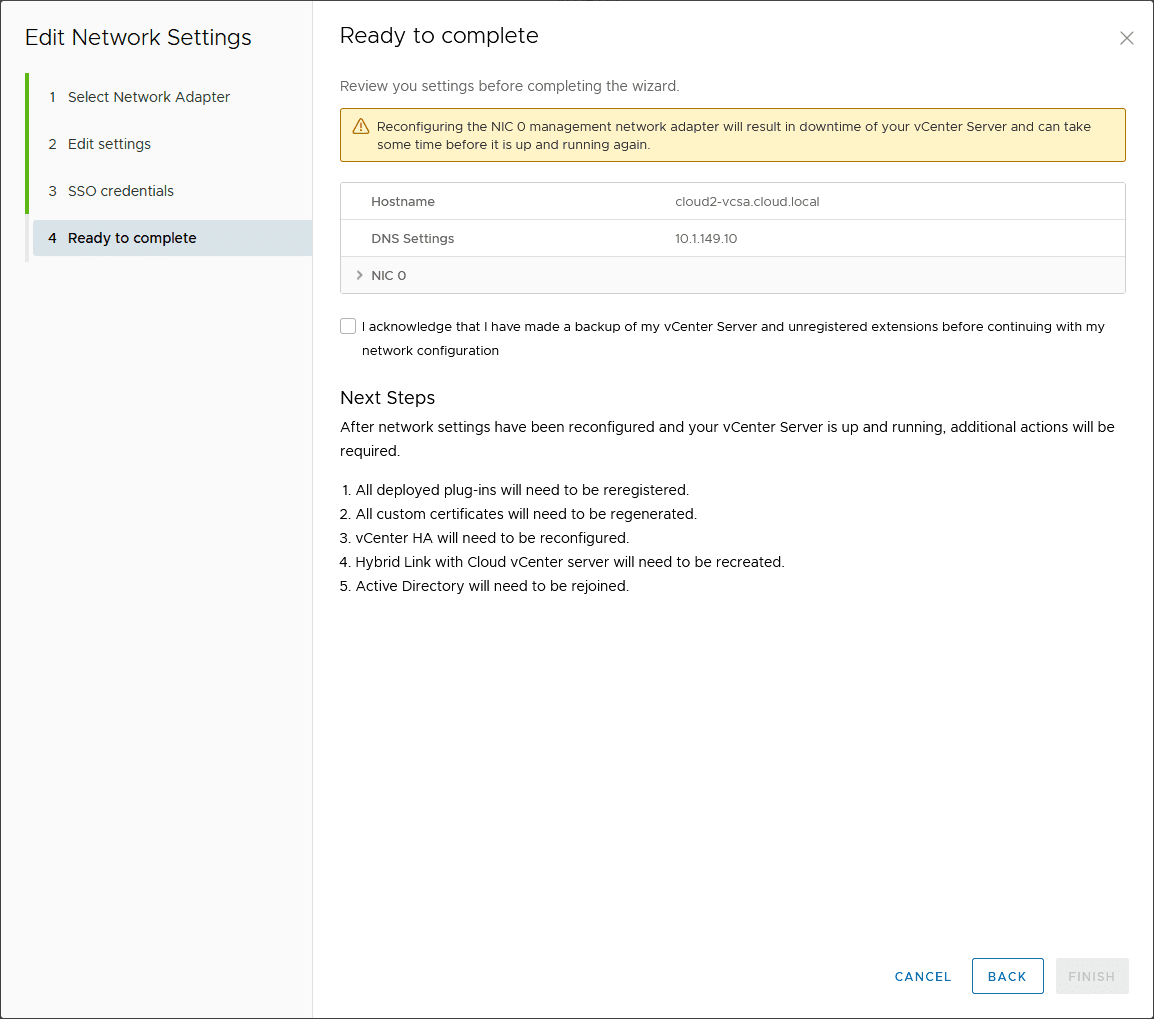
Note that reconfiguring means downtime as per the informational message.
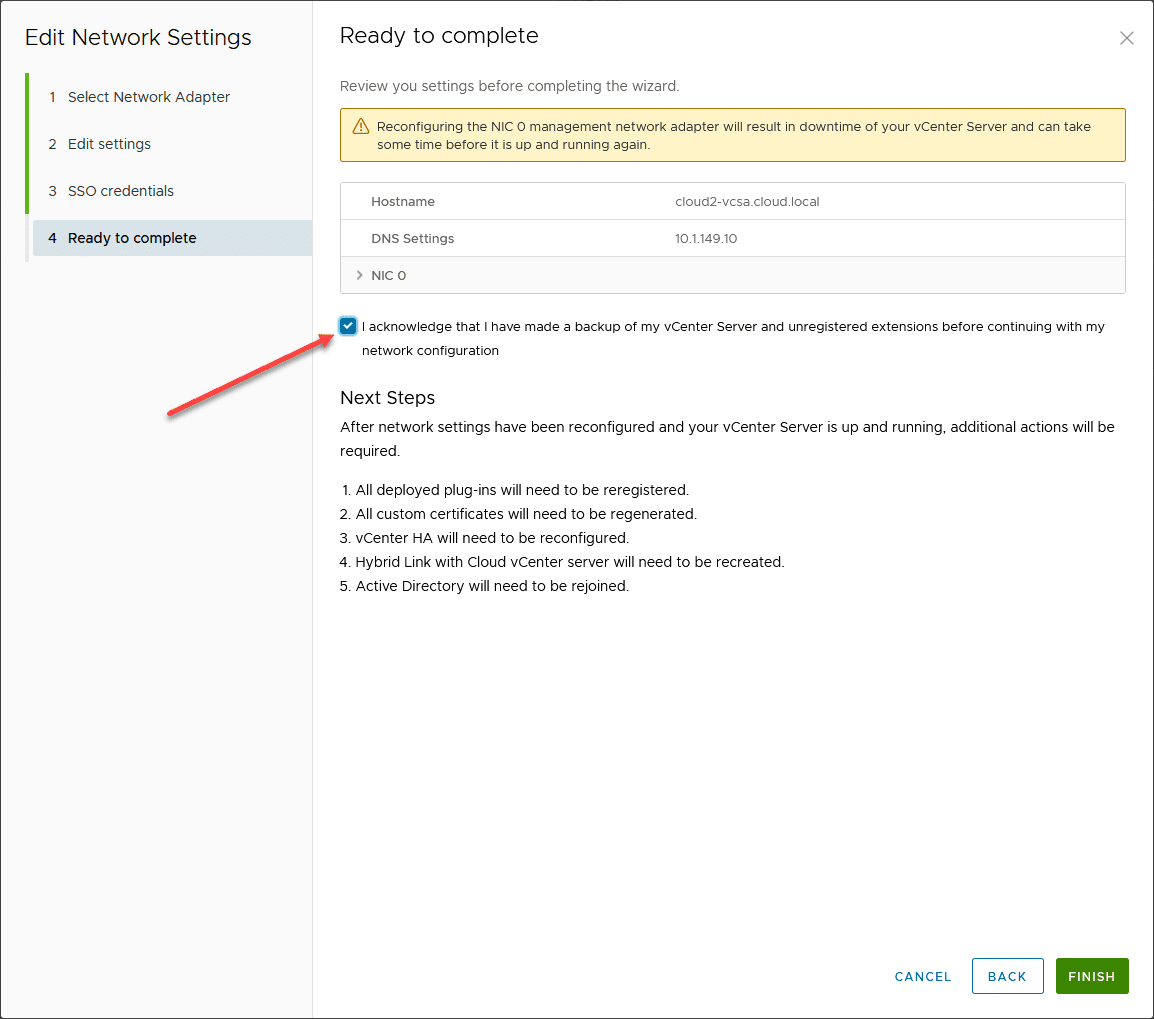
Check the box that you have backed up your vCenter Server appliance.
Confirm the changes and click “OK” to apply the new IP address configuration.
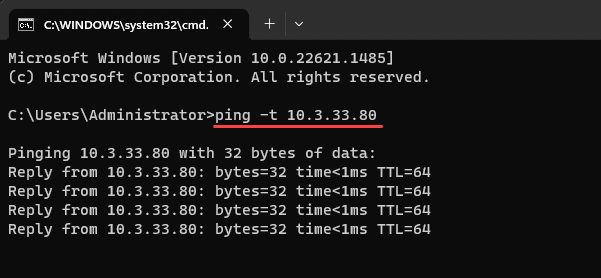
The new IP address of the VCSA appliance begins pinging correctly.
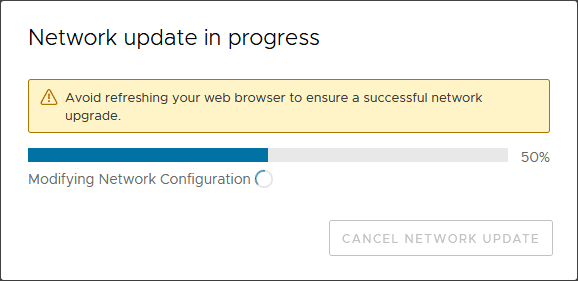
Please note that the vCenter Server will restart to apply the new IP settings. This will disrupt any active connections to the vCenter Server.
Step 6 – Verify Connectivity and Functionality
Once you’ve updated the vCenter Server IP address and made the necessary adjustments to your DNS settings and ESXi hosts, verify that everything is working correctly again:
Log in to the vSphere Web Client using the new vCenter Server IP address.
Make sure all ESXi hosts, virtual machines, and inventory objects are visible and accessible.
Verify that you can perform management tasks like creating and modifying virtual machines.
- Unpause backup jobs and other monitoring and make sure these all see the new vCenter Server IP address correctly.
Wrapping up
Changing the vCenter Server IP address is not rocket science, but it does require a bit of planning and making sure you have everything you need beforehand when thinking about getting the address changed. Be sure not to forget about DNS changes needed and make sure you verify your backups are working again after the change as this is an extremely important step you don’t want to miss only to find out later!


