Windows 11 Debloater with Tiny11 OS
Windows 11 has brought many new features and improvements to operating systems. While these advancements are welcomed, several pre-installed apps and services may not be essential to every user. These unnecessary apps can consume system resources, slowing down your PC and affecting performance. This blog post will explore various methods to debloat Windows 11 and enhance your computer’s performance, including a new method from a project called “Tiny 11 OS” that allows you to create a stripped-down, barebones Windows 11 ISO without the bloatware.
Table of contents
Why debloat Windows 11?
Debloating Windows 11 is essential for optimizing PC performance, improving battery life, and reducing data harvesting. By removing unnecessary apps and services, you can ensure that you are not wasting system resources, that these are utilized effectively, and that your computer operates at its full potential.
Many posts discuss how to debloat Microsoft Windows, as modern Windows versions contain all the apps, including unnecessary packages from the Microsoft Store by default, many of which most may not want. In the sections below, we’ll explore different tools and techniques to help you debloat Windows 11.
Windows 11 Debloater
Windows 11 Debloater is a PowerShell script designed to remove bloatware and disable unnecessary services. This script can declutter your Start menu, improve system performance, and free up system resources. Remember that using such a tool comes with its own risks, so it’s essential to create a restore point before using the script.
You can look at the official GitHub repo here: kdpuvvadi/debloat-windows11: Powershell script to debloat the Windows 11 Installation with GUI. (github.com)
Debloat Windows 11 From Unnecessary Apps and Services
Several methods exist to debloat Windows 11, from traditional uninstall methods to specialized tools and scripts. We’ll discuss these methods in detail below for debloating a Windows PC running Microsoft Windows 11.
Use traditional uninstall methods
One simple way to debloat Windows 11 is by manually uninstalling unnecessary apps. To do this, right-click the app in the Start menu and select Uninstall. Remember that this method may not work for all apps, as some system apps cannot be removed using this approach.
Disable Cortana on Windows 11 using Debloater
Cortana is Microsoft’s virtual assistant that comes pre-installed on Windows 11. While it can be helpful for some users, others might consider it bloatware. Using the Windows 11 Debloater script, you can disable Cortana and free up valuable system resources.
Disable Cortana: To disable Cortana, add the following lines to the script:
# Disable Cortana Set-ItemProperty -Path "HKLM:SOFTWAREPoliciesMicrosoftWindowsWindows Search" -NUninstall OneDrive
OneDrive is a cloud storage service provided by Microsoft. If you don’t use OneDrive, you can completely remove it to save system resources. To do this, right-click the OneDrive icon in the system tray, select Settings, and then choose the Unlink This PC option.
Uninstall OneDrive: Add the following line to the script, which will uninstall OneDrive when the script is executed:
Get-AppxPackage Microsoft.OneDrive | Remove-AppxPackage
Use the debloat command in Powershell
To debloat Windows 11 using PowerShell (described as an ultimate PowerShell script for debloating), open a PowerShell window as administrator and run the following command:
Invoke-Expression -Command ((New-Object System.Net.WebClient).DownloadString('https://git.io/debloat'))This command will download and execute a PowerShell script to debloat your system. Be sure to create a restore point before running this command, as it carries some risk.
Use the Windows 11 debloater from GitHub
There are several Windows 11 debloater scripts available on GitHub. One popular option is the “EZ Debloater” tool, which provides a user-friendly interface to remove bloatware and disable unnecessary services. To use this tool, download the ZIP file, extract its contents, and run the PowerShell script as an administrator.
Remove Bloatware with Custom Blocklist on Windows 11
You can create a custom blocklist to remove specific apps and services if you’d like more control over the debloating process. You can also create a custom allowlist to ensure certain apps remain on your system. To do this, modify the Windows 11 debloater script to include your custom blocklist and allowlist, then run the script as an administrator. Be sure to test your custom blocklist and allowlist in a safe environment before applying it to your main system, as there’s always a risk of unintentionally removing essential apps or services.
Tiny11 OS
An amazing project as of late that you will want to take note of is Tiny11 OS. It uses legitimate tools to create a stripped-down version of the operating system to create a Windows 11 ISO image.
Tiny11 OS is an alternative, streamlined version of Windows 11 designed for advanced users who want to minimize bloatware and optimize system performance. This lightweight operating system removes many pre-installed apps, unnecessary services, and features to provide a faster, more efficient experience.
While Tiny11 OS offers significant performance improvements, it’s important to note that using it comes at your own risk. It may not include all the features you need or expect, and it’s possible that some drivers or software may not be compatible with this stripped-down version of Windows 11. Also, this is not an officially supported Microsoft release.
However, that doesn’t stop us from using it and benefiting from the drastically streamlined Windows 11 installation. The developer NTDevLabs has released a tool on the official GitHub repo to automatically create a Tiny11 ISO image. You can look at the project here:
https://github.com/ntdevlabs/tiny11builder
Instructions to Create Tiny11 OS
Follow these steps to create a Tiny11 OS using the downloaded Windows 11 ISO:
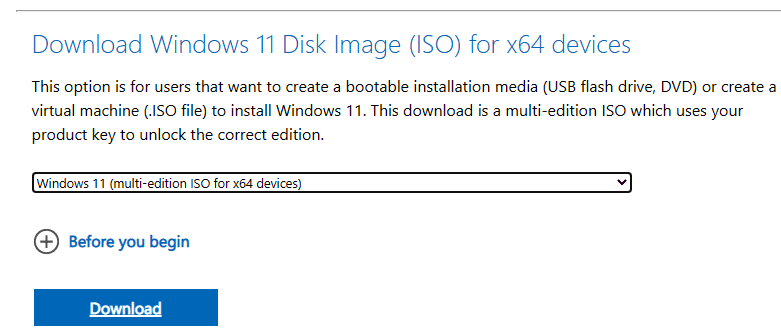
Download Windows 11 (version 22621.1265) from UUPDump or version 22621.525 or 25300 from the Microsoft website (https://www.microsoft.com/software-download/windows11).
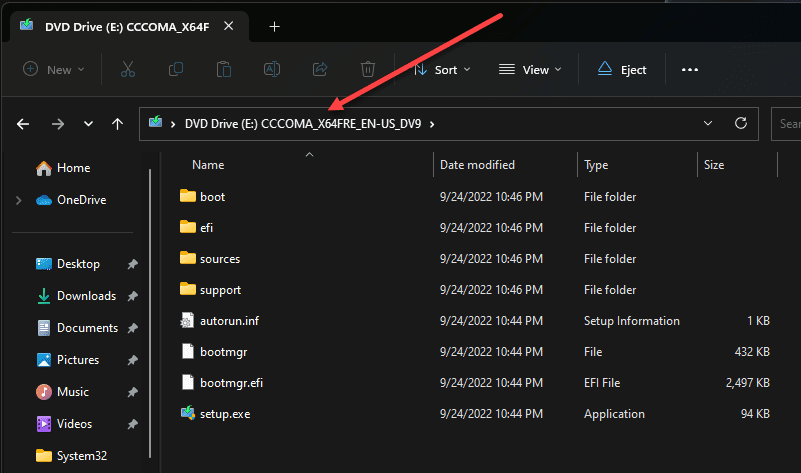
Mount the downloaded ISO image using Windows Explorer.
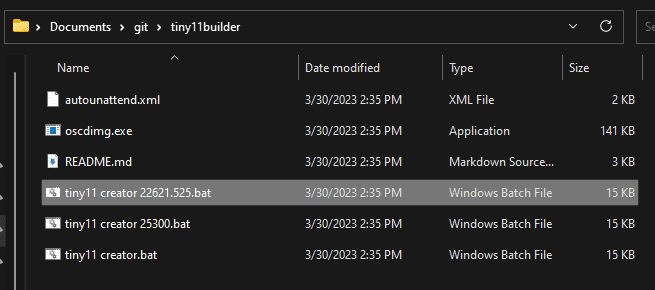
Depending on the version you downloaded, run the corresponding batch file (.bat) or script as an administrator. For version 22621.1265, use tiny11 creator.bat. For versions 22621.525 or 25300, use the appropriately named script.
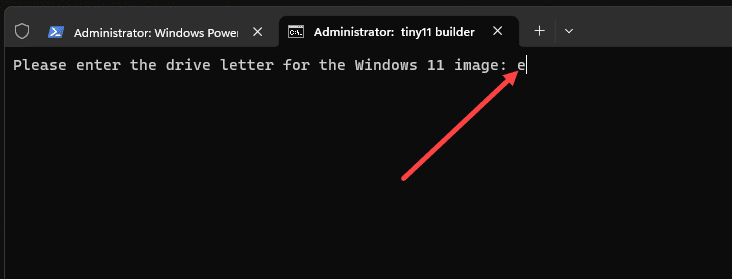
When prompted, enter the drive letter where the image is mounted (the letter only, without a colon).
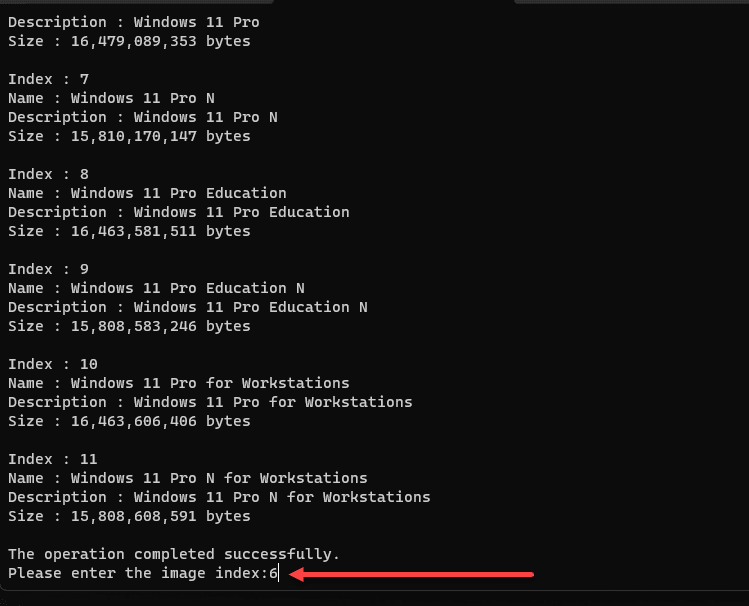
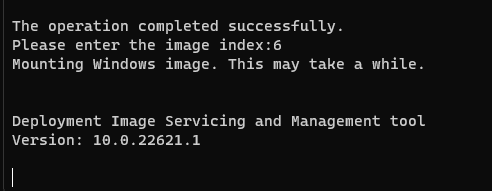
Select the SKU you want your image to be based on.
Sit back and relax while the script creates the Tiny11 OS image.
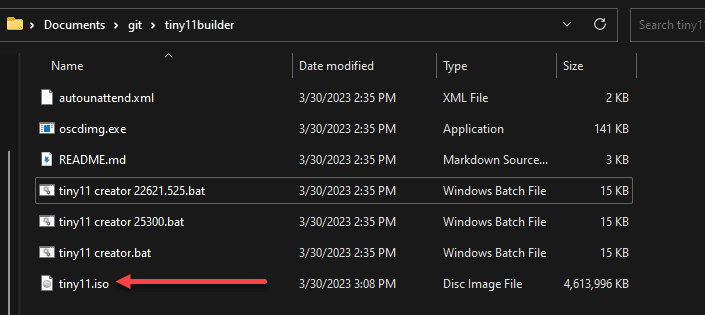
Once the process is complete, you’ll find the Tiny11 OS image (named tiny11.iso) in the folder where the script was extracted.
Components Removed in Tiny11 OS
The following components are removed in the Tiny11 OS:
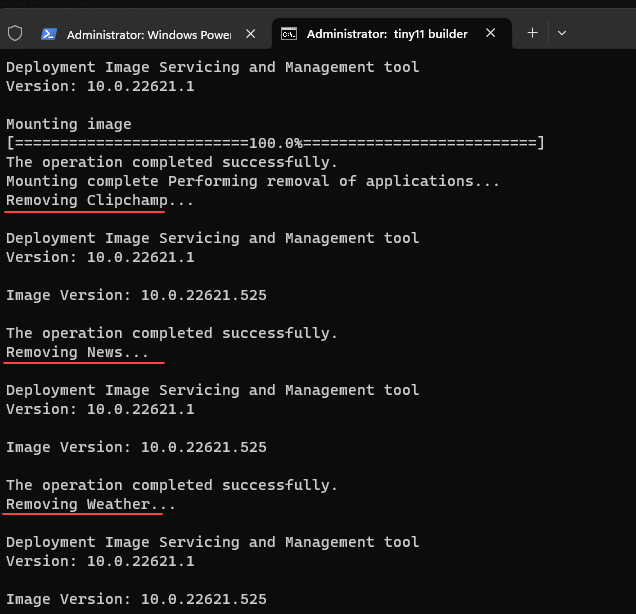
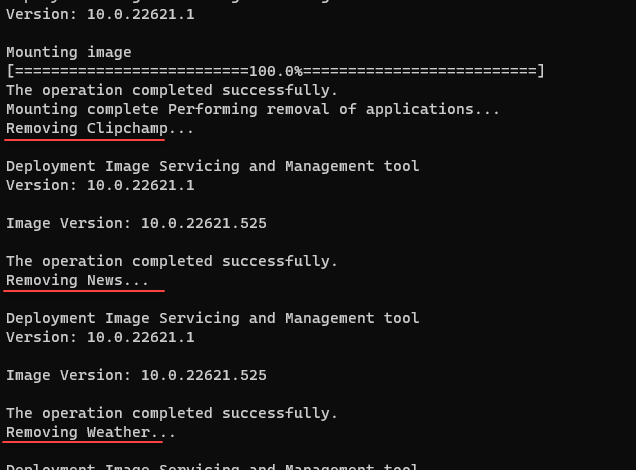
Clipchamp, News, Weather, Xbox (although Xbox Identity provider remains, allowing for reinstallation without issues)
GetHelp, GetStarted, Office Hub, Solitaire, PeopleApp, PowerAutomate, ToDo
Alarms, Mail and Calendar, Feedback Hub, Maps, Sound Recorder, Your Phone, Media Player
QuickAssist, Internet Explorer, LA57 support, OCR for en-us, Speech support, TTS for en-us
Media Player Legacy, Tablet PC Math, Wallpapers, Edge, OneDrive
Known Issues
Microsoft Teams (personal) and Cortana are still present. If you find a way to remove them, feel free to share your solution.
Although Edge is removed, its icon and a ghost taskbar pin remain. Some remnants can also be found in the Settings, but the app itself is deleted.
The script is tailored to specific builds, as Microsoft updates the inbox apps included with each new build. Using other builds may result in varying success, but some actions like removing Edge and OneDrive, bypassing system requirements, or applying other patches will always be executed.
Currently, only the en-us x64 version is supported. You can easily adapt the script for other languages and architectures by replacing instances of “en-us” with the desired language (e.g., “ro-RO”) and “x64” with “arm64.”
Let’s look at the steps. First we are downloading the ISO from Microsoft directly.
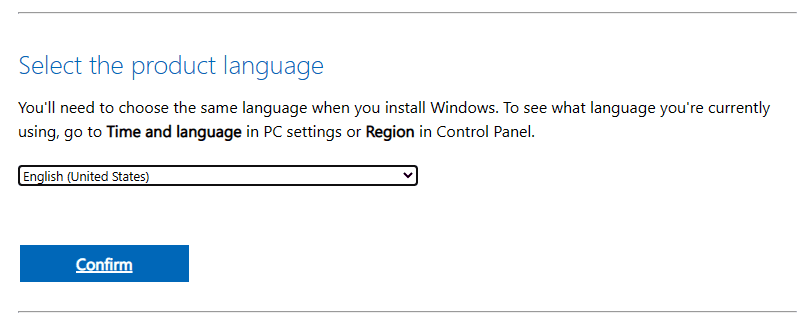
Select the product language.
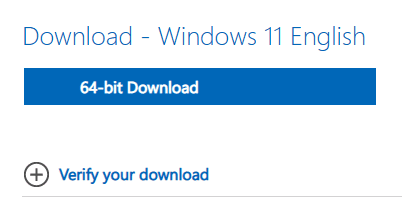
Confirm and download the ISO.
Mount the ISO image.
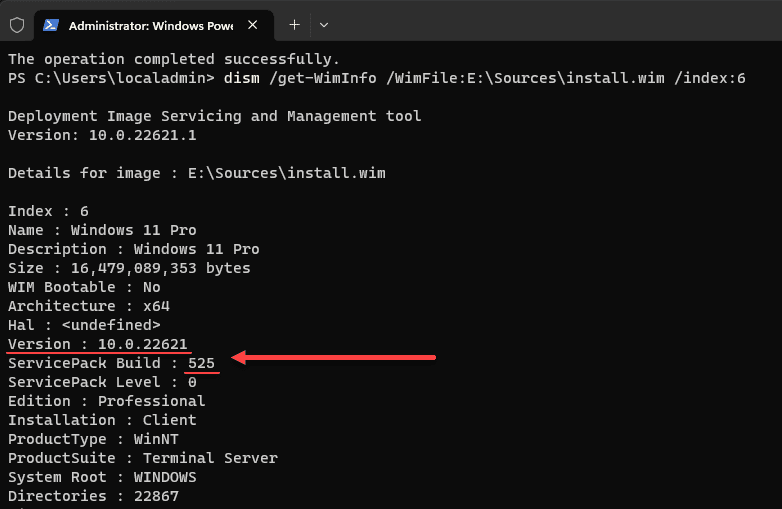
In case you are not sure which ISO version you have, you can use the following command (replacing the drive letter and index number for the ISO you have):
dism /get/WinInfo /WimFile:E:Sourcesinstall.wim/index:6
Clone down the Tiny11 OS GitHub repo.
Run the batch script noted.
Enter the letter of the drive where your Windows 11 ISO is mounted. Note, you do not put the “:” after the drive letter.
After that, the process to create the Tiny11 OS begins!
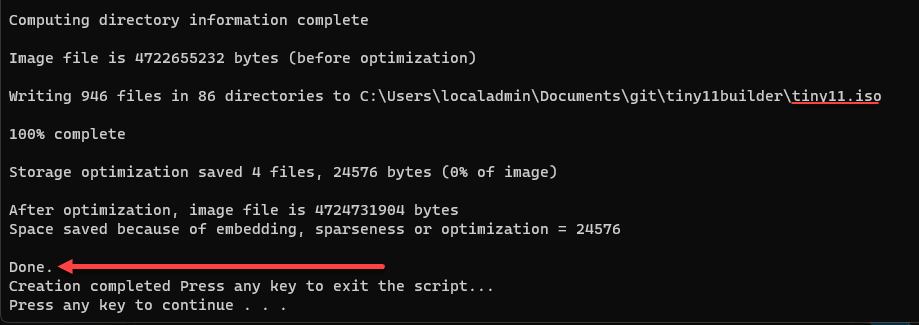
After just a couple of minutes, the ISO is created.
Note the components it begins removing, as detailed above.
The process completes.
We now have a debloated Windows 11 ISO we can install and enjoy free of unnecessary apps! Cool stuff.
Wrapping up
Debloating Windows 11 can drastically improve your computer’s performance, enhance battery life, and free up valuable system resources. You can remove unnecessary apps and services according to your preferences with the tools referenced and shown.
Remember that debloating carries some risk, so always create a restore point before making any changes to your system. If you have any questions or suggestions, feel free to share them in the comment section below. Happy debloating!


