How To Install Pi-Hole on Hyper-V with Debian
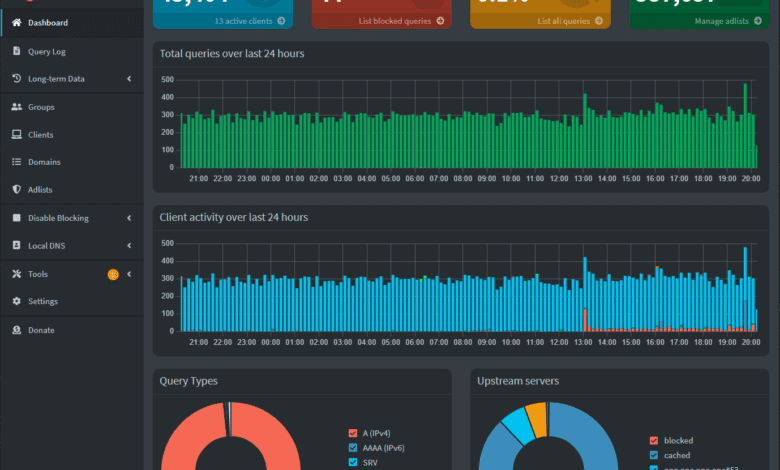
Can you run Pi-Hole on your Hyper-V server? Let’s see how you an get up and running with Pi-Hole running in a Hyper-V Debian virtual machine.
What is Pi-Hole?
Pi-Hole is a network ad blocker. What this means is it can block ads and trackers for your entire network. This leads to meany benefits to security and privacy. It can even help improve your network performance since types of traffic are blocked that aren’t needed like ad traffic.
What is Hyper-V?
LIke VMware ESXi, Hyper-V is a virtualization platform on which you can run virtual machines. It means you can run several “servers” on the same physical hardware. yMany have used Hyper-V Server up to 2019 in their home lab. However, 2019 is the last version of Hyper-V Server that is free for use at home.
Pi-hole on Raspberry Pi
Pi-Hole gets its name from being ran on Raspberry Pi devices. Raspberry Pi is a small, low-power SBC computer that is great to use as a home server.
Installing Pi-hole on Raspberry pi
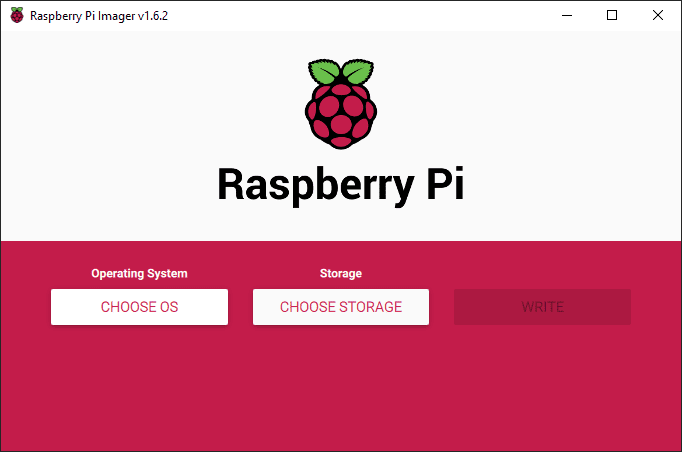
Installing Pi-hole on a Raspberry Pi is straightforward and fairly easy. There are many tutorials that are available that walk you through the process. The installation involves downloading the Pi-hole software. Then you can flash this to an SD card. You can then configure your Raspberry Pi. Once installed, you can manage your Pi-hole installation like you would on any other platform using the Pi-hole Admin Console.
Protecting your Home network
By blocking ads and unwanted content, Pi-Hole protects your privacy and data. It protects your personal information from trackers and improves website load times since you aren’t having to load unnecessary ads.
You can also use it as a sort of web filter, by blocking content you don’t want to appear for your kids or websites you don’t want them visiting.
To block ads and benefit from Pi-Holeto configure your DHCP server to point the DNS settings of your clients to your Pi-Hole server or servers. You should also make sure that your router is configured to use Pi-hole as your primary DNS server.
Setting up Pihole on Hyper-V
To set up Pi-hole on Hyper-V, you need to follow these steps:
To set up Pi-hole on Hyper-V, you need a Windows 10 or 11 Pro or Enterprise edition with Hyper-V enabled. You also need to download the Debian or Ubuntu ISO file.
If Hyper-V is not already installed on your computer, you can enable the role and then reboot the computer to have it loaded.
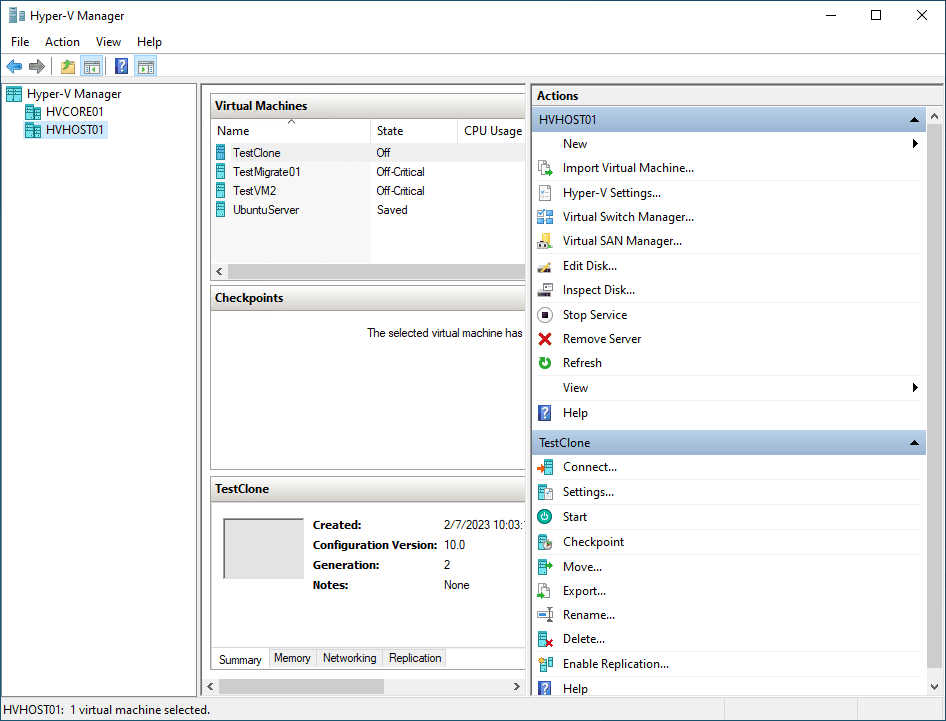
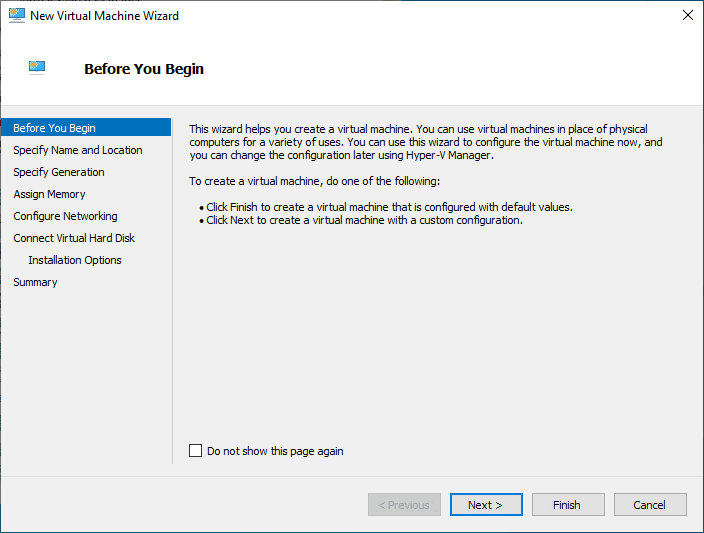
Open the Hyper-V Manager and create a new virtual machine. Name it, specify the amount of RAM and disk space to allocate, and connect it to the Debian ISO file using a virtual DVD drive.
Start the virtual machine and follow the on-screen instructions to install Debian.
After the Debian install, assign a static IP address to the virtual machine to ensure its IP remains unchanged even after a reboot command. This is important for setting up Pihole, as it requires a static IP address to function correctly.
Network configuration on your Hyper-V virtual machine
Open the command line interface in Debian. Run the following command to edit the network configuration file:
sudo nano /etc/netplan/<your netplan file>In the file, enter the following information, replacing the values with your own:
network:
  ethernets:
    ens160:
      dhcp4: no
      addresses:
        - 10.1.149.58/24
      gateway4: 10.1.149.1
      nameservers:
          addresses: [10.1.149.53]
          search: [cloud.local]
  version: 2
Save the file and exit. Restart the network using the following command:
sudo netplan applyConnecting to the virtual machine through the command line: Connect to the virtual machine using the command line interface, either through the Hyper-V Manager or a SSH client such as PuTTY.
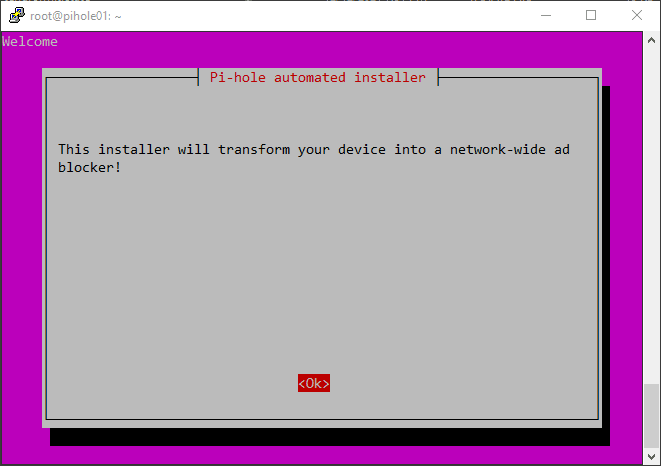
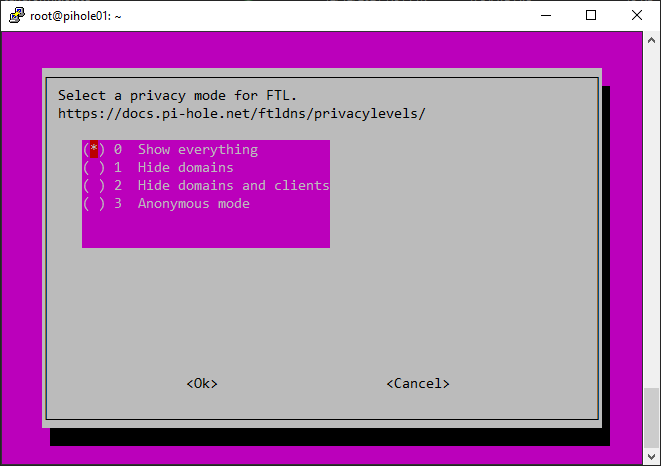
To install Pihole, enter the following commands in the command line interface:
wget -O basic-install.sh https://install.pi-hole.net sudo bash basic-install.sh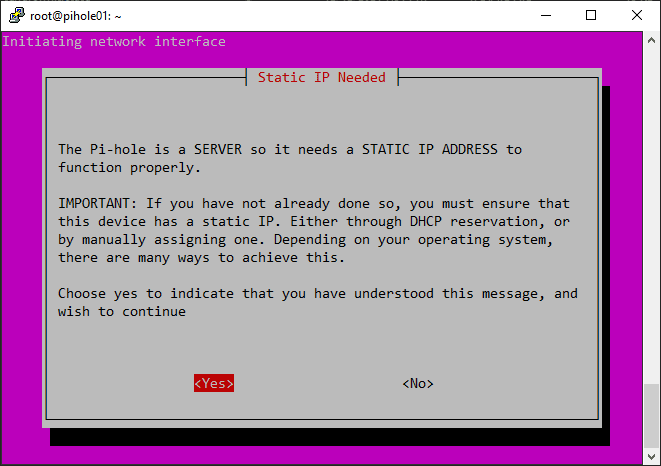
Let’s look at configuring pi-hole DNS servers, etc.
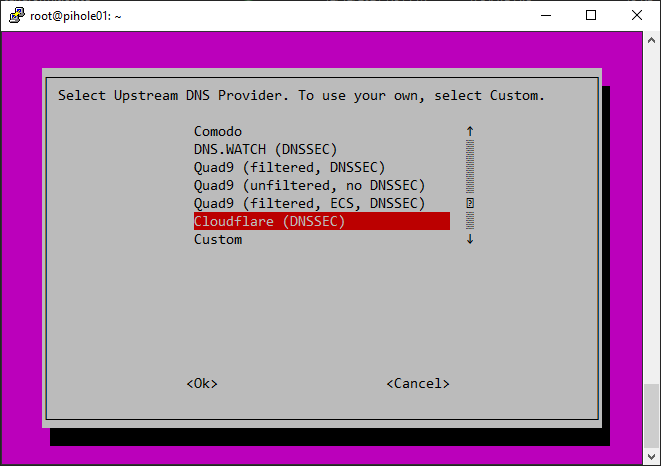
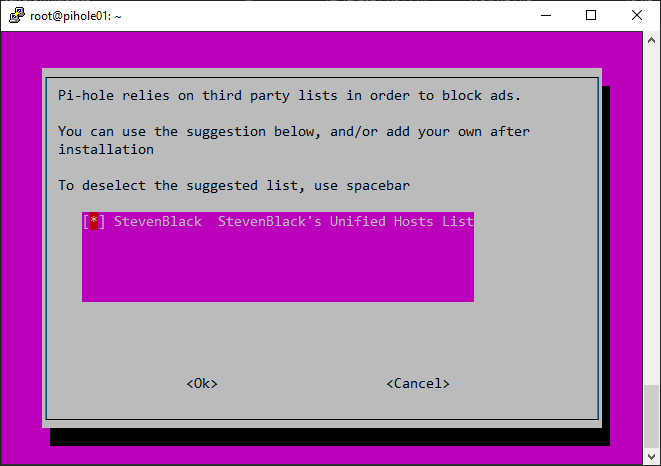
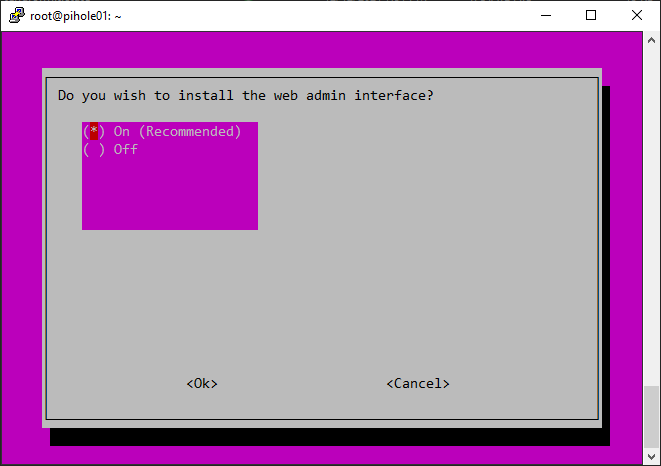
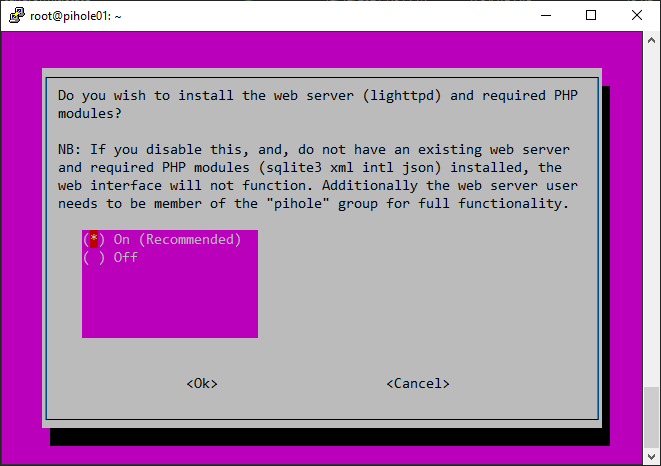
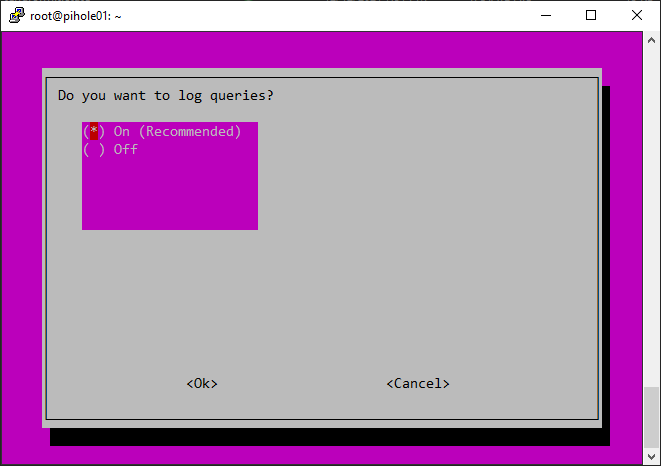
Setting up the DHCP server: If you choose to use the Pi-hole DHCP server, set it up to ensure that all devices on your network use Pi-hole as their DNS server. This is an important step for a network-wide ad-blocking experience. To set up the DHCP server, follow these steps:
Open the Pihole Admin Console in a web browser.
Navigate to the DHCP settings page.
Select the option to use the Pihole DHCP server.
Configure the DHCP server settings to your liking.
Save the changes.
Testing the Pihole installation: Test the Pihole installation by visiting a website that displays your IP address. If Pihole is working correctly, it should show that your DNS requests are being blocked.
Managing Pihole on Hyper-V
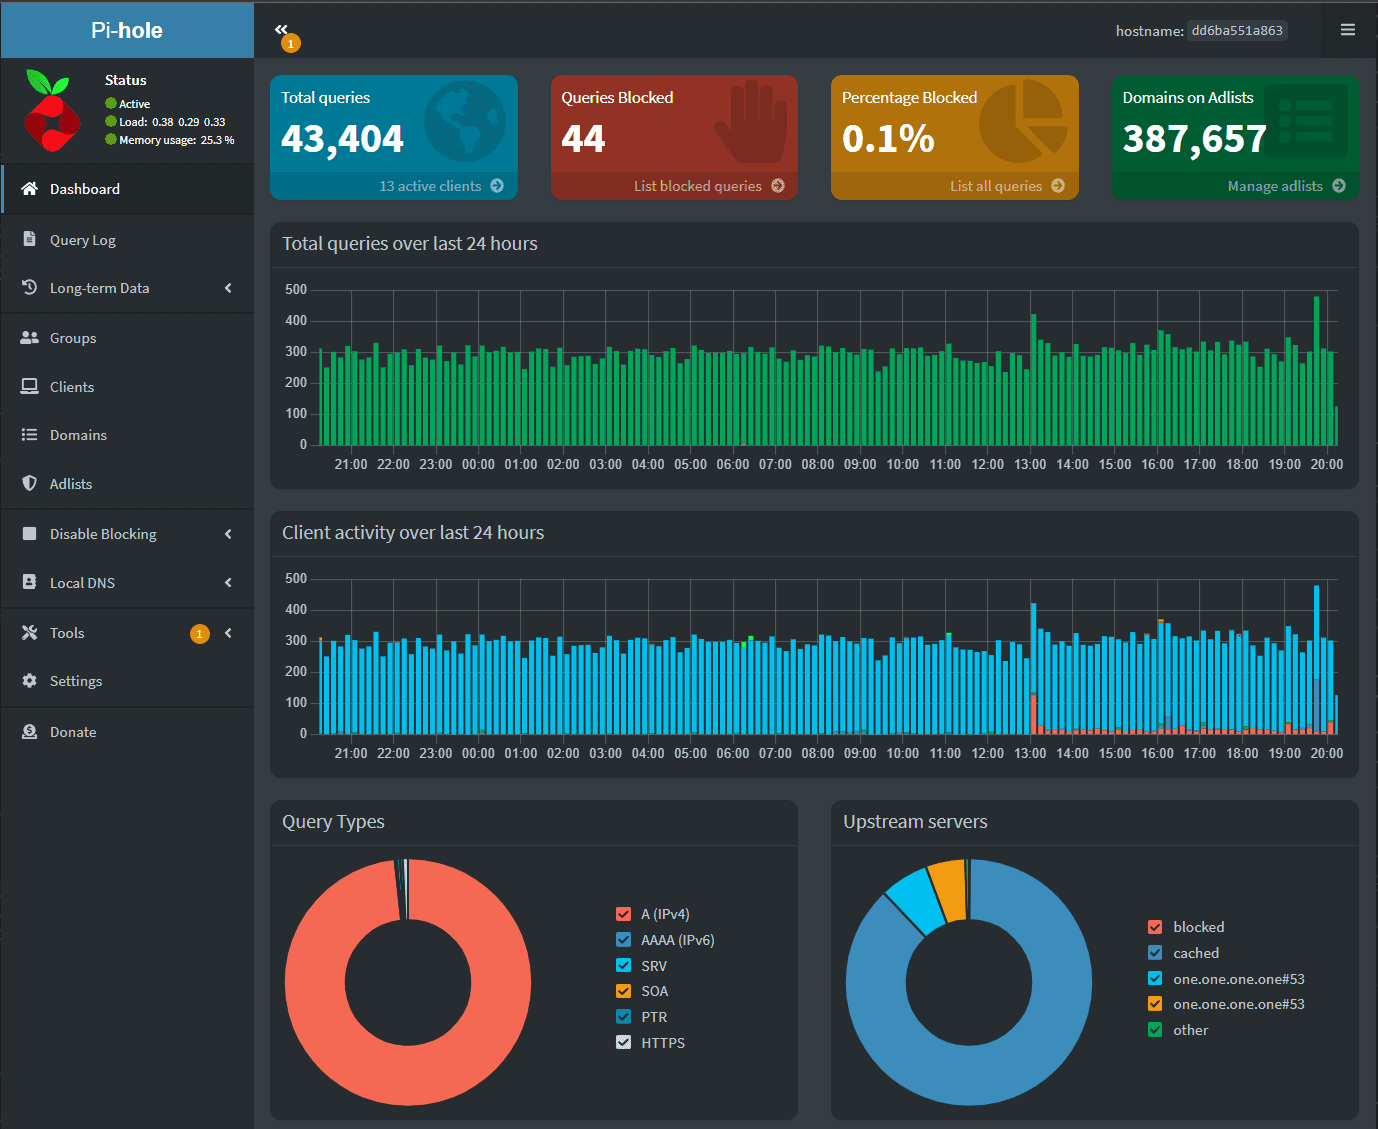
Once you have set up Pihole on Hyper-V, you can manage it using the Pihole Admin Console. The Admin Console provides you with various options for managing Pihole, including:
You can update Pihole to the latest version using the following command in the command line interface:
pihole -upConfiguring DNS settings: The Pihole Admin Console allows you to configure your DNS settings and choose custom DNS servers or use the Pi-hole DHCP server.
Blocking ads: Pihole uses a database of known ad-serving domains to block ads. You can add or remove domains from the database using the Pihole Admin Console.
Viewing logs: The Pihole Admin Console provides a log of all DNS requests made on your network, enabling you to view which domains are being blocked and troubleshoot any issues you may have with Pihole.
Managing other devices: The Pihole Admin Console provides information about all devices connected to your network, including their IP addresses, hostnames, and operating systems. You can use this information to manage and configure other devices on your network.
Managing disk space: Pihole stores its database of blocked domains on disk. You can manage the disk space used by Pihole by optimizing the database, removing old logs, or increasing the disk space allocated to the virtual machine.
Advanced Pi-Hole config
In addition to the basic configuration steps outlined above, Pihole on Hyper-V provides advanced configuration options. Note the following:
Pihole uses a blocklist of known ad-serving domains to block ads. The blocklist is regularly updated to ensure Pi-hole blocks the latest ads and unwanted content. You can download custom blocklists or even make your own.
Pihole logs all DNS requests made on your network by default. However, you can enable query logging for even more visibility about the requests, including the IP address of the device making the request. You can also see the requested domain name, and the request status (blocked or allowed). Query logging is essential for troubleshooting and understanding your network’s traffic.
If you choose to use the Pi-hole DHCP server, you can customize its settings. This includes setting things like the DHCP lease time, the range of IP addresses that the DHCP server assigns. You can also configure the DNS server that the DHCP server uses.
A reverse proxy is a server that sits between your client and Pihole. It forwards client requests to Pihole and returning the response back to the client. Setting up a reverse proxy enables you to access the Pi-hole Admin Console over the internet
Pihole is designed to work with a VPN to protect your privacy and security when using the internet. When using Pihole with a VPN your traffic is routed through the VPN connection for even more privacy
Wrapping Up
Pi-Hole is an excellent network-wide ad-blocker. There are other solutions out there, but it is one of the best and most well-known and trusted. Many are using Hyper-V already in their home lab or on their workstation, so it makes a good platform for running Debian virtual machines that can house a Pi-Hole installation.


