ESXi 8.0 Upgrade in three ways
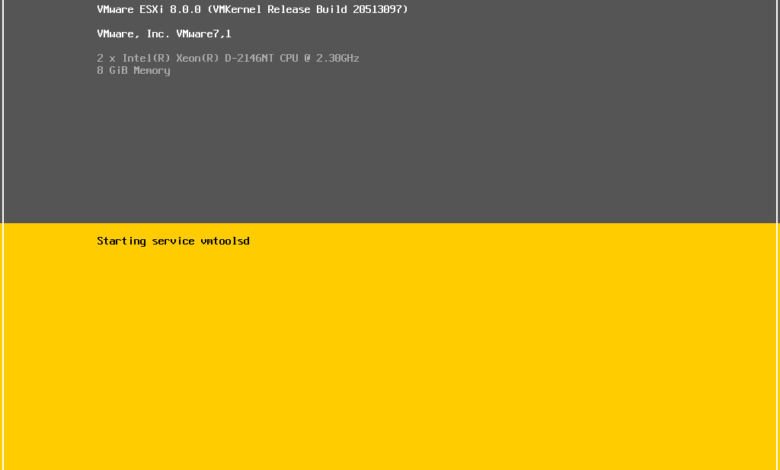
With the ESXi 8.0 release now available for download, many may consider upgrading their ESXi 7.0 servers to the latest and greatest ESXi version to get all that VMware virtualization offers. For the most part, many will only be doing this in lab environments as most will probably be holding off in their production environments. Let’s look at the ESXi 8.0 upgrade in three ways to see different ways you can upgrade your ESXi 7.0 or older ESXi hypervisor to ESXi 8.0.
If you would like to see the video of the upgrade methods, check out the YouTube video here:
ESXi 8.0 New Features
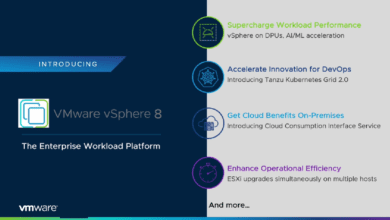
VMware ESXi 8.0 has many great new features, especially those related to VMware vSAN. There is a new virtual machine hardware version with the new vSphere version, a great new ESXi Host Client 2 included with the release, new configuration maximums, etc.
Take a look at what’s new with vSphere 8 here:
Check compatibility
One of the first things you need to do is check compatibility with solutions and hardware you may be running to see if it is compatible with ESXi 8.0. Check out the VMware interoperability matrix:
Backup your configuration
I always recommend that you backup your VMware configuration before running any type of migration or upgrade on your VMware ESXi host. Check out my guide on backing up your configuration and migrating to a different boot media. Even if you are not migrating to different media, the process is similar:
Using PowerCLI we can backup everything in the ESXi configuration in case we had to completely reload. You can reload the same version and then simply restore the configuration. This is especially helpful if you have a LOT of vSphere Standard port groups that would be a chore to reconfigure, along with VMkernel ports, etc.
ESXi 8.0 Upgrade in three ways
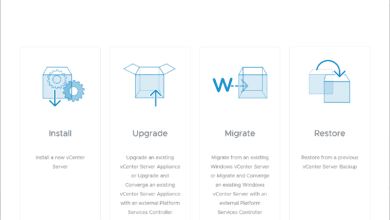
Let’s consider upgrading to ESXi 8.0 in the following three ways:
- Using the ISO
- Using the command line
- Using vSphere Lifecycle Manager
Using the ISO
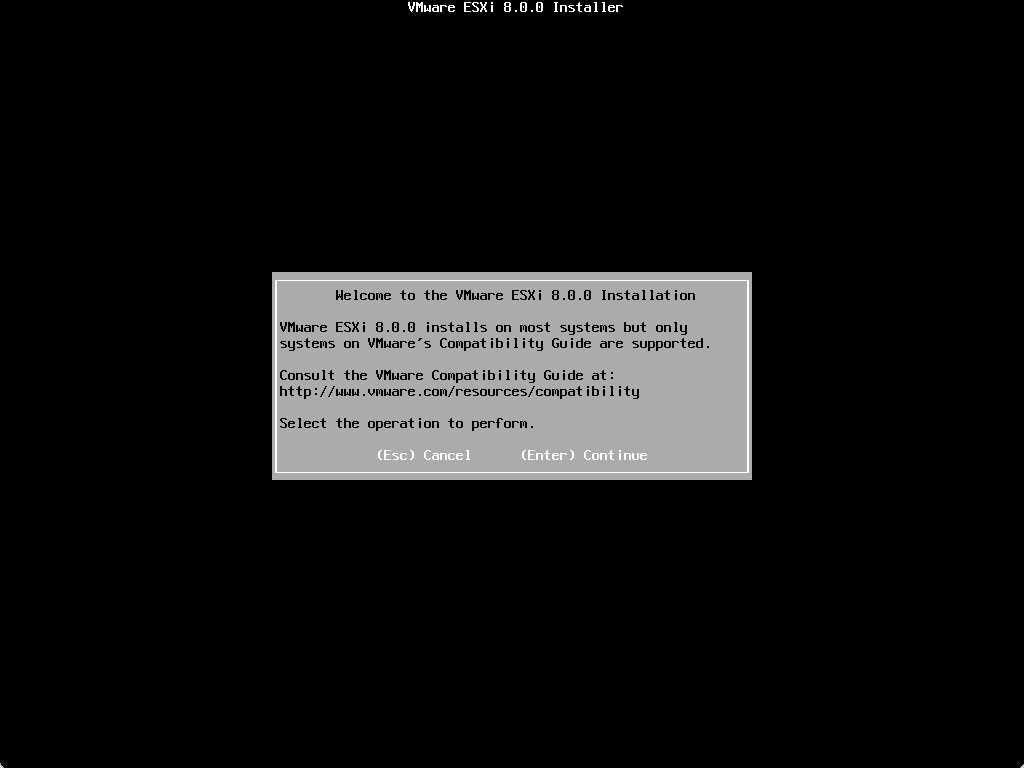
The first method is one that is familiar, using the ISO image. For this upgrade method, you simply mount the ISO image to your ESXi host, either using physical media, “burning to a USB” disk, or mounting the ISO to your ESXi VM running in a nested environment.
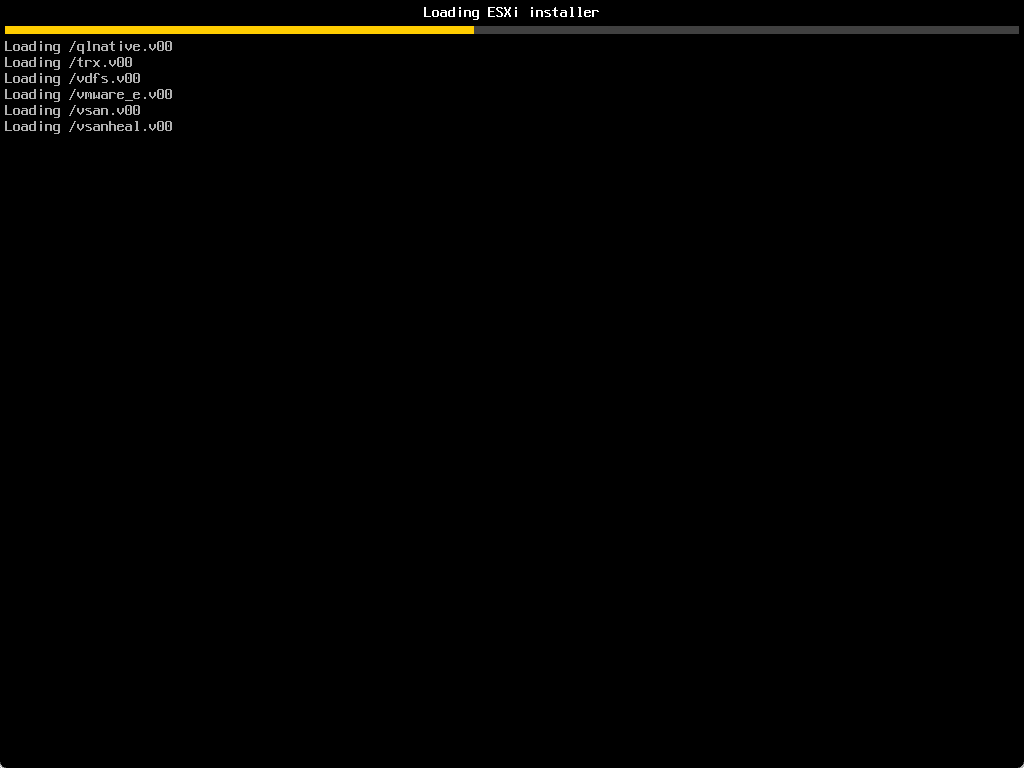
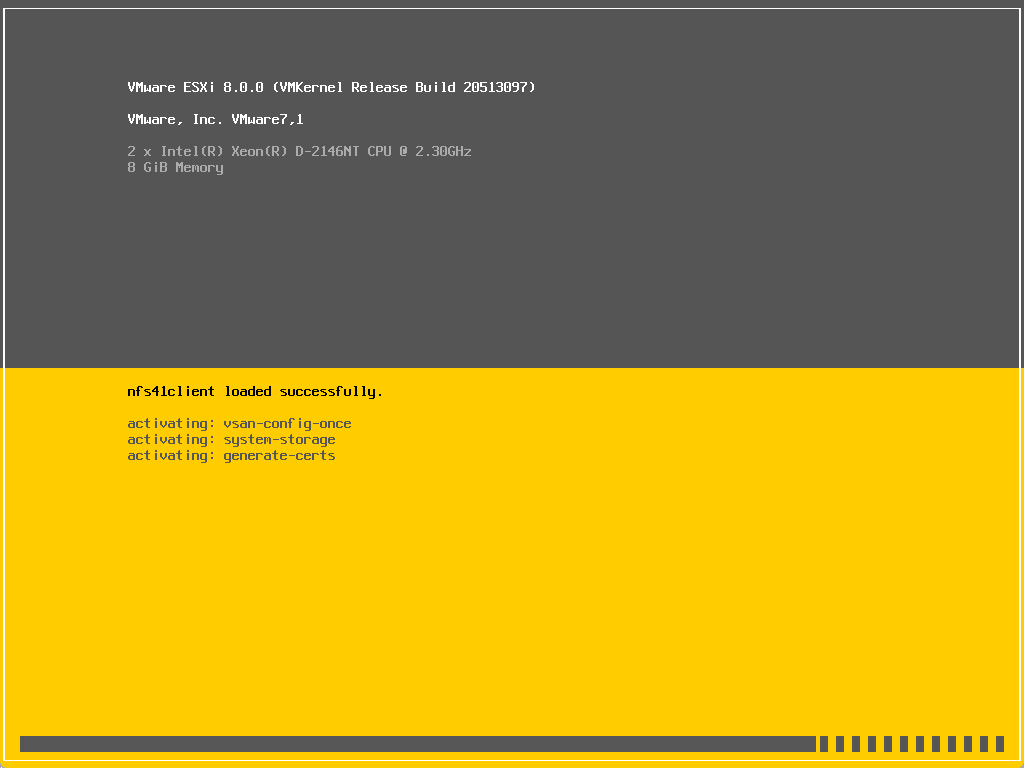
The ESXi 8.0 boot begins, booting into the installer/upgrader.
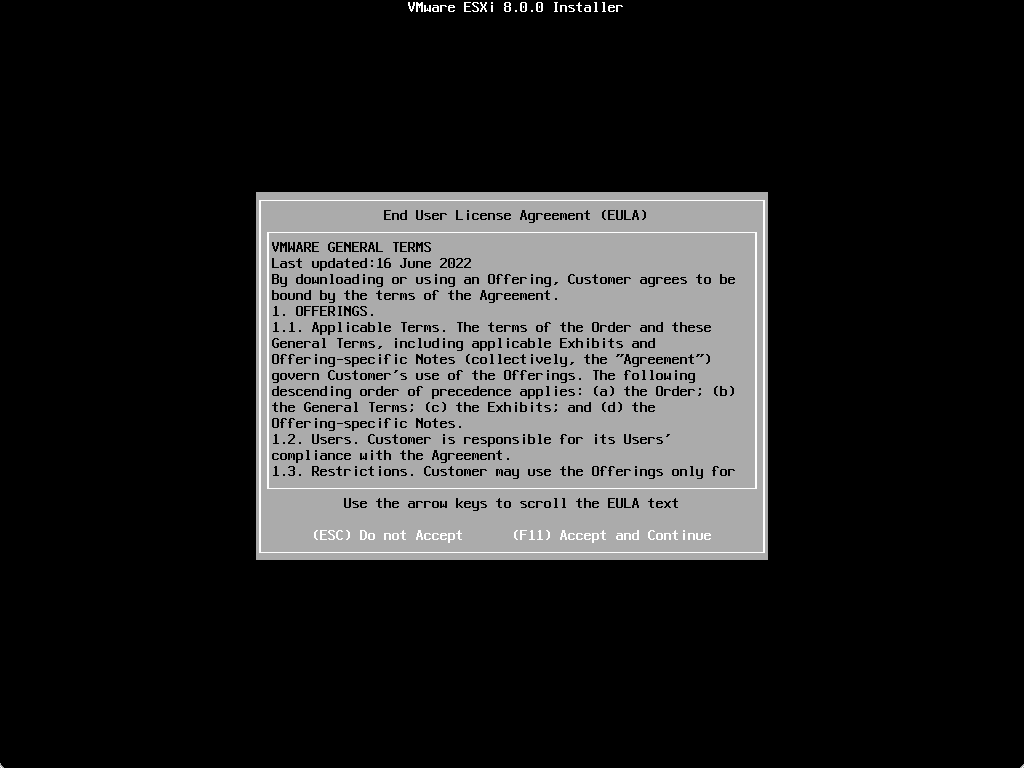
Accept the EULA.
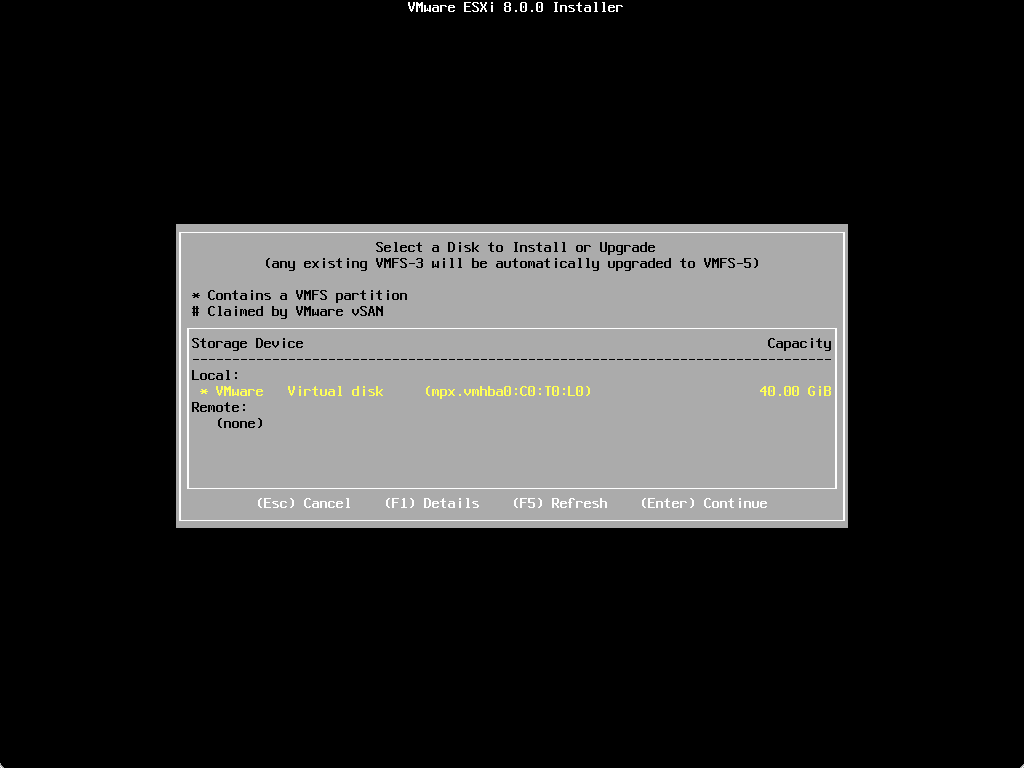
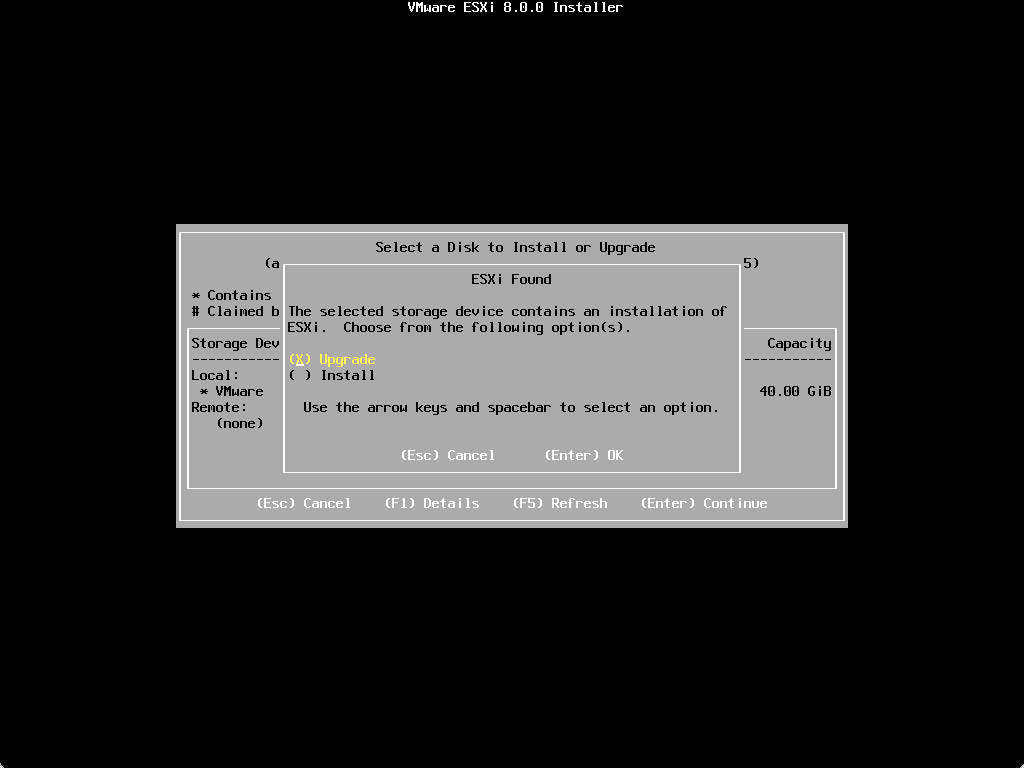
Select the destination for the install/upgrade.
The installer will detect you have a previously installed version of ESXi. It will prompt you to upgrade your existing installation or install a clean installation.
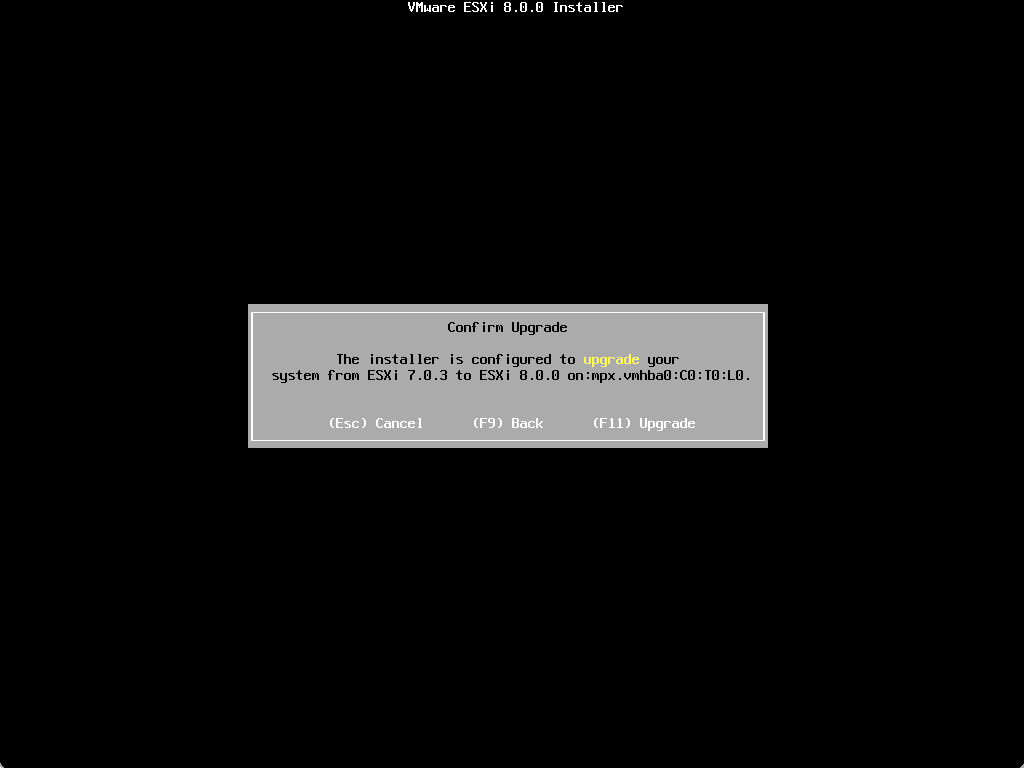
Press F11 to begin the upgrade.
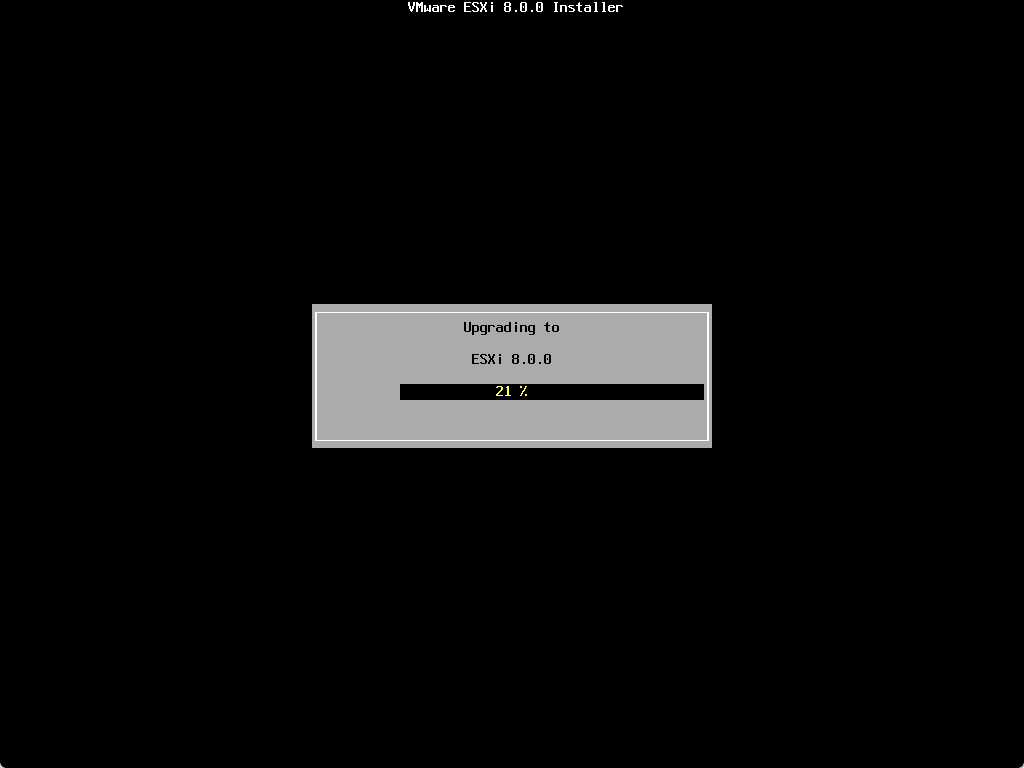
The upgrade to ESXi 8.0 begins.
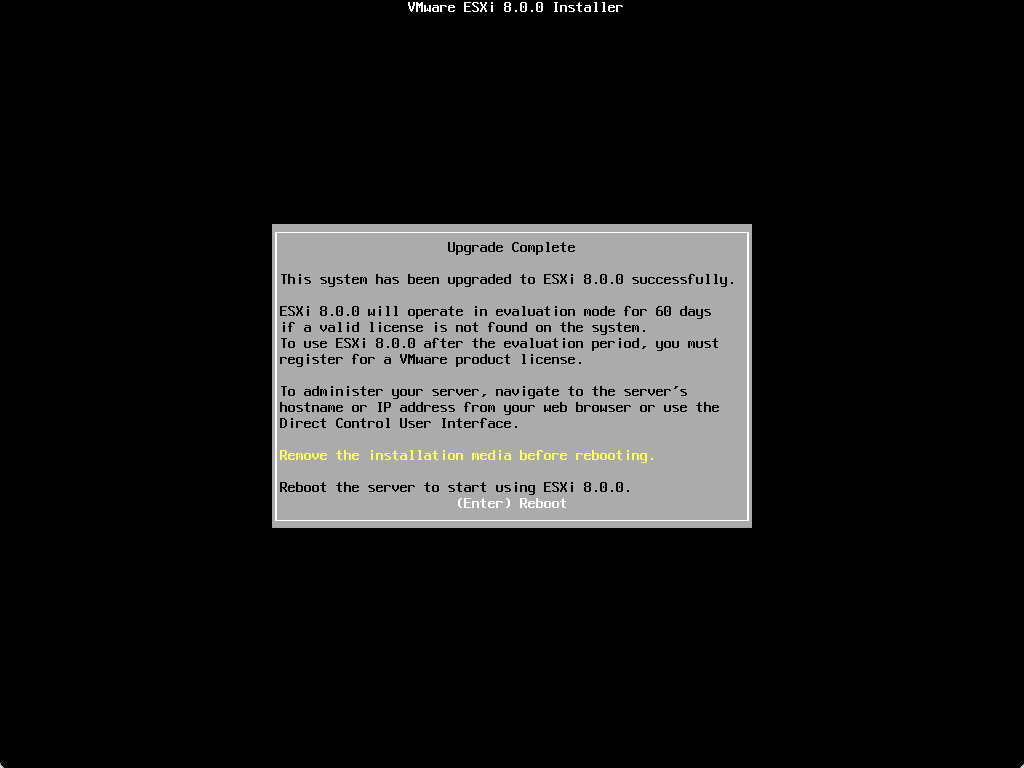
The upgrade process completes successfully. The installer will ask you to remove installation media and then reboot.
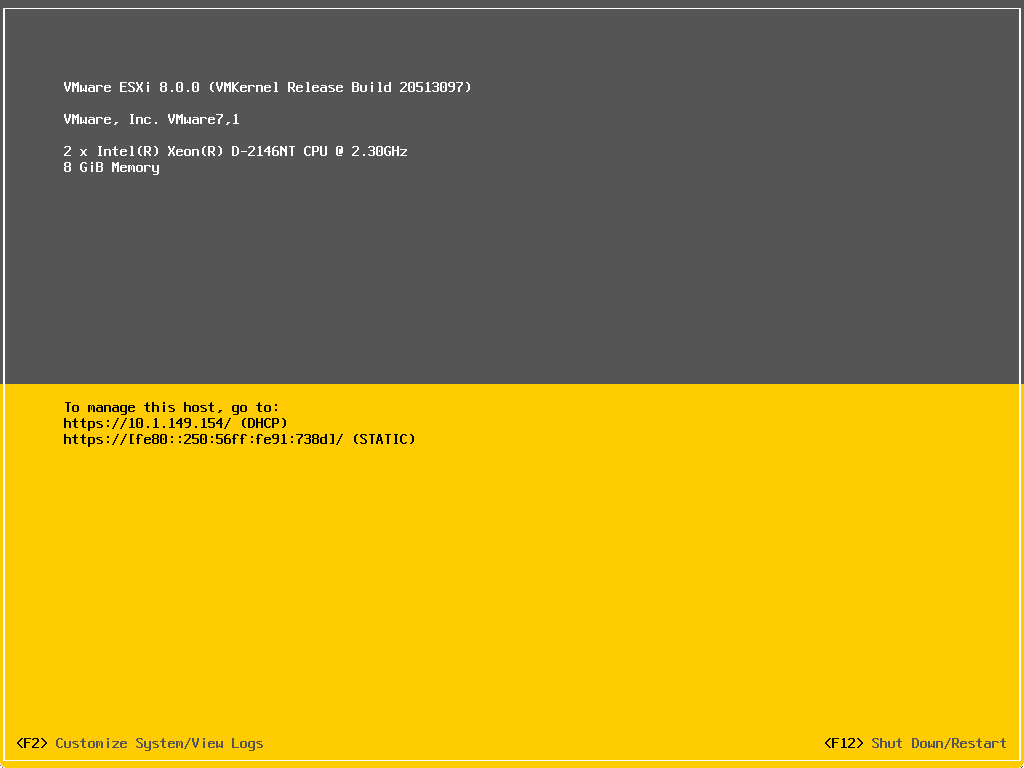
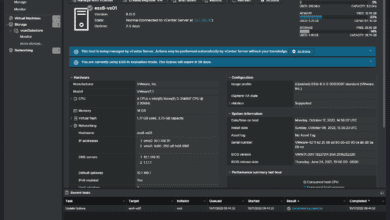
The new ESXi 8.0 host boots.
Using the command line
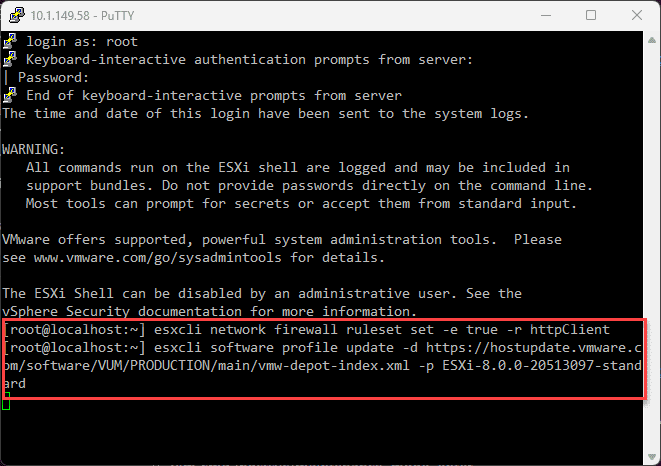
Next, we can upgrade our existing ESXi host using the command line via SSH. This is easily accomplished with only a couple of commands, including the following:
esxcli network firewall ruleset set -e true -r httpClient

##Get the list of available esxi profiles using the following:
esxcli software sources profile list -d https://hostupdate.vmware.com/software/VUM/PRODUCTION/main/vmw-depot-index.xml

##You can combine the above with grep to search for a specific major release
 esxcli software sources profile list -d https://hostupdate.vmware.com/software/VUM/PRODUCTION/main/vmw-depot-index.xml | grep ESXi-8.0U

esxcli software profile update -d https://hostupdate.vmware.com/software/VUM/PRODUCTION/main/vmw-depot-index.xml -p ESXi-8.0.0-20513097-standard
This will pull down the software bundle needed to update the VMware ESXi host to the image profile specified.
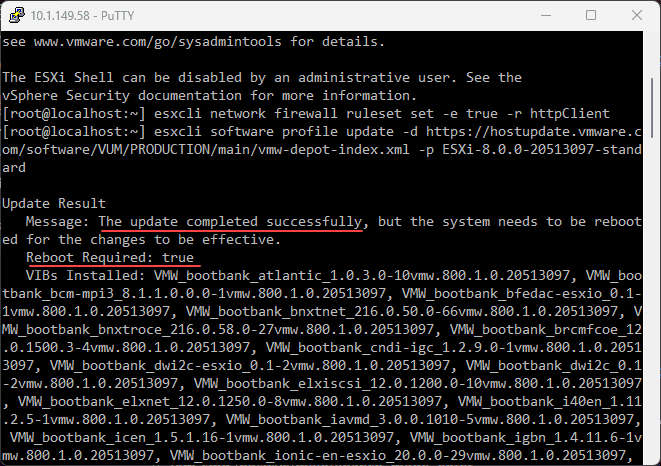
After a few minutes, the command line upgrade will display “The update completed successfully.” You will see the note of the “Reboot Required: true” displayed. Take note of any error you receive on this step for further troubleshooting if needed.
Using vSphere Lifecycle Manager
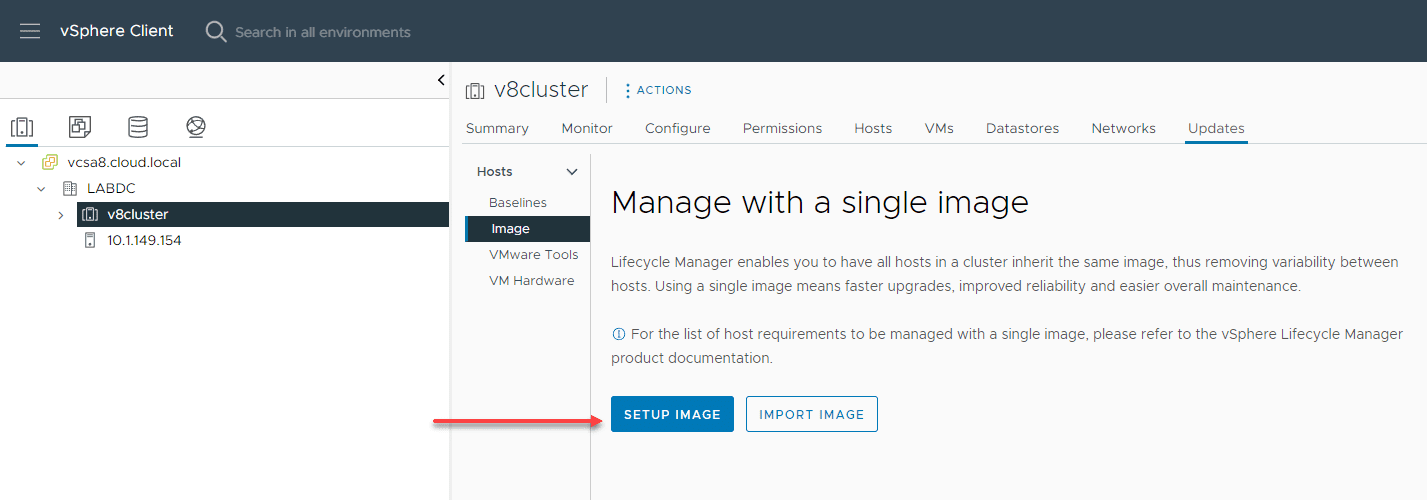
Finally, we can use vSphere Lifecycle Manager as part of vCenter Server for hosts managed at the cluster level by vCenter. On the properties for your vSphere cluster, click the Updates tab. Then click Image > Setup Image.
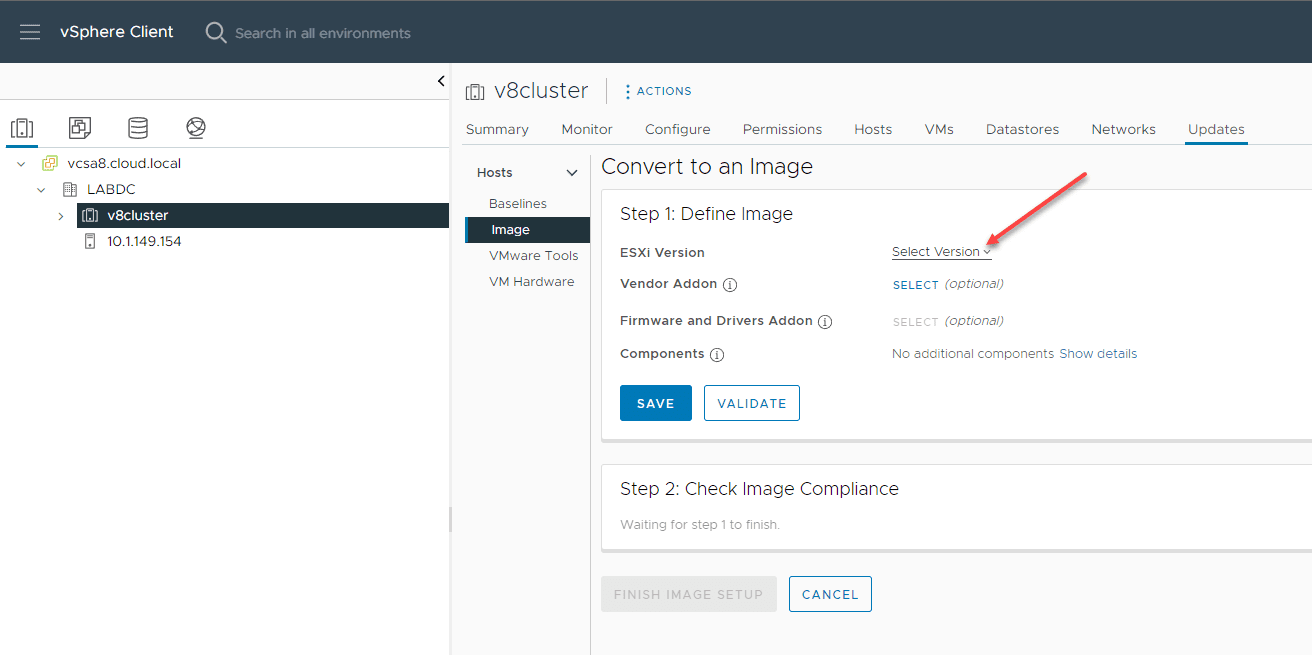
On the image configuration screen, choose the Select version drop-down on the ESXi version.
Here, we have selected the ESXi 8.0 image level for bringing the cluster into compliance. Click Save.
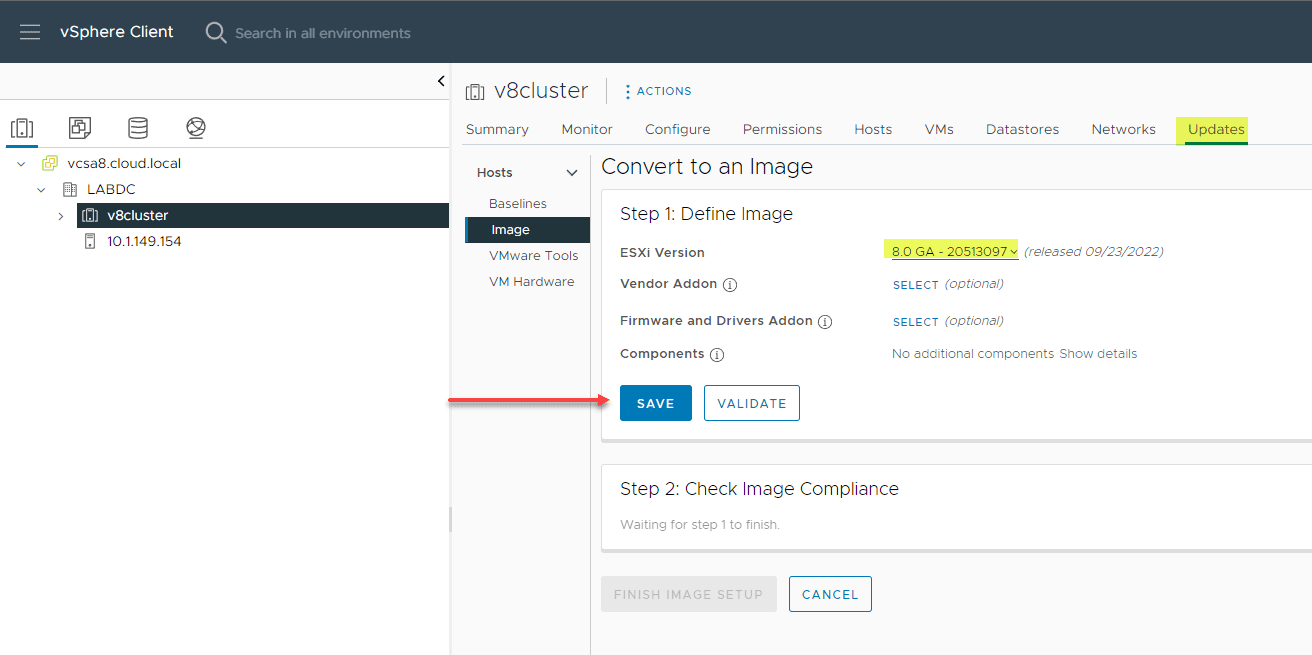
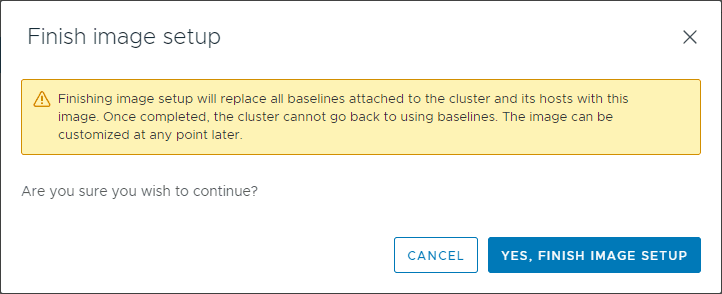
You will be asked to finish the image setup.
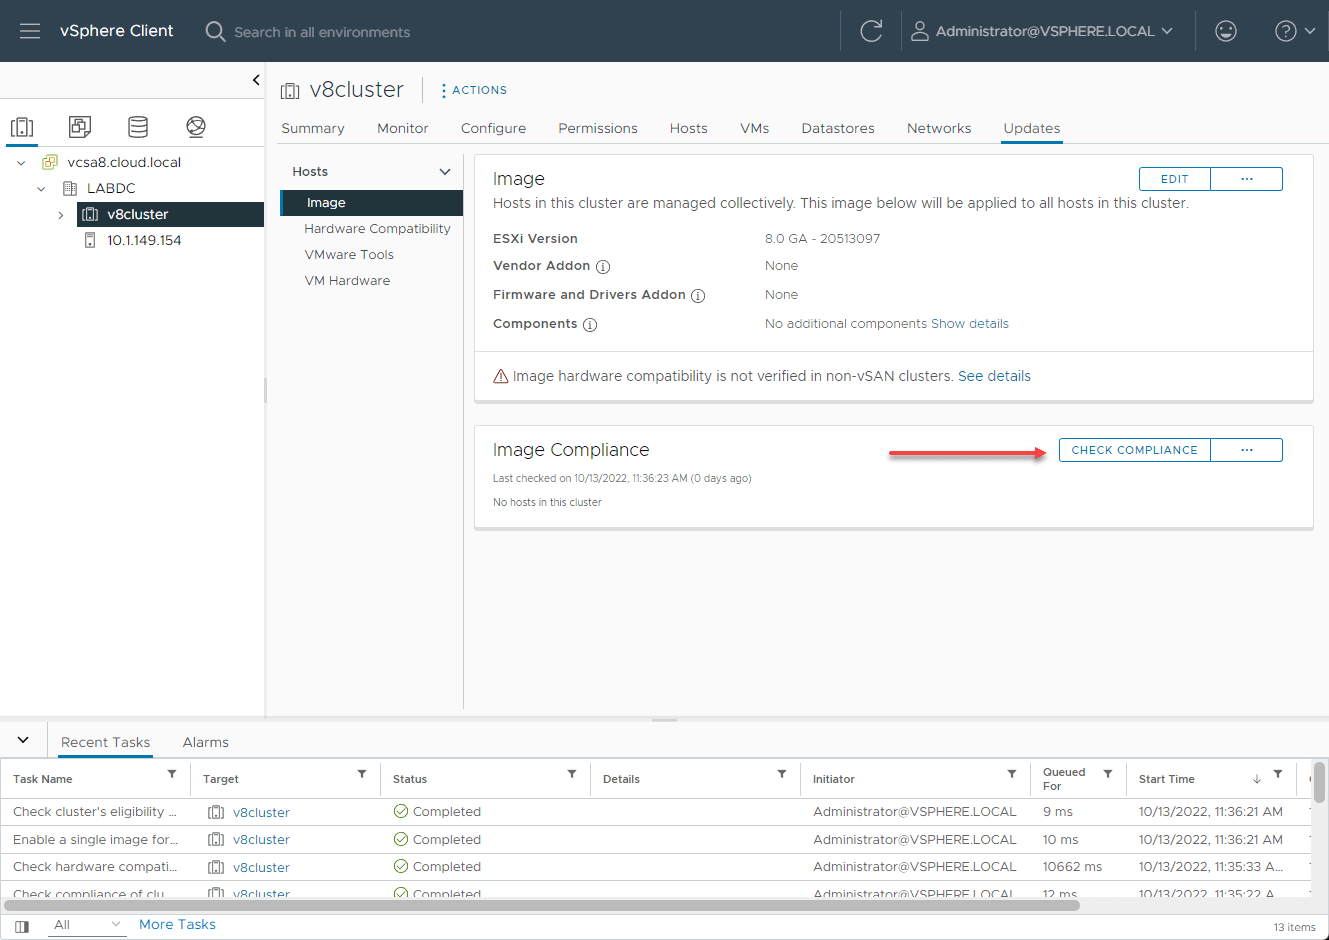
Now that we have the image configured, we need to check compliance at the cluster level. Click the Check Compliance button.
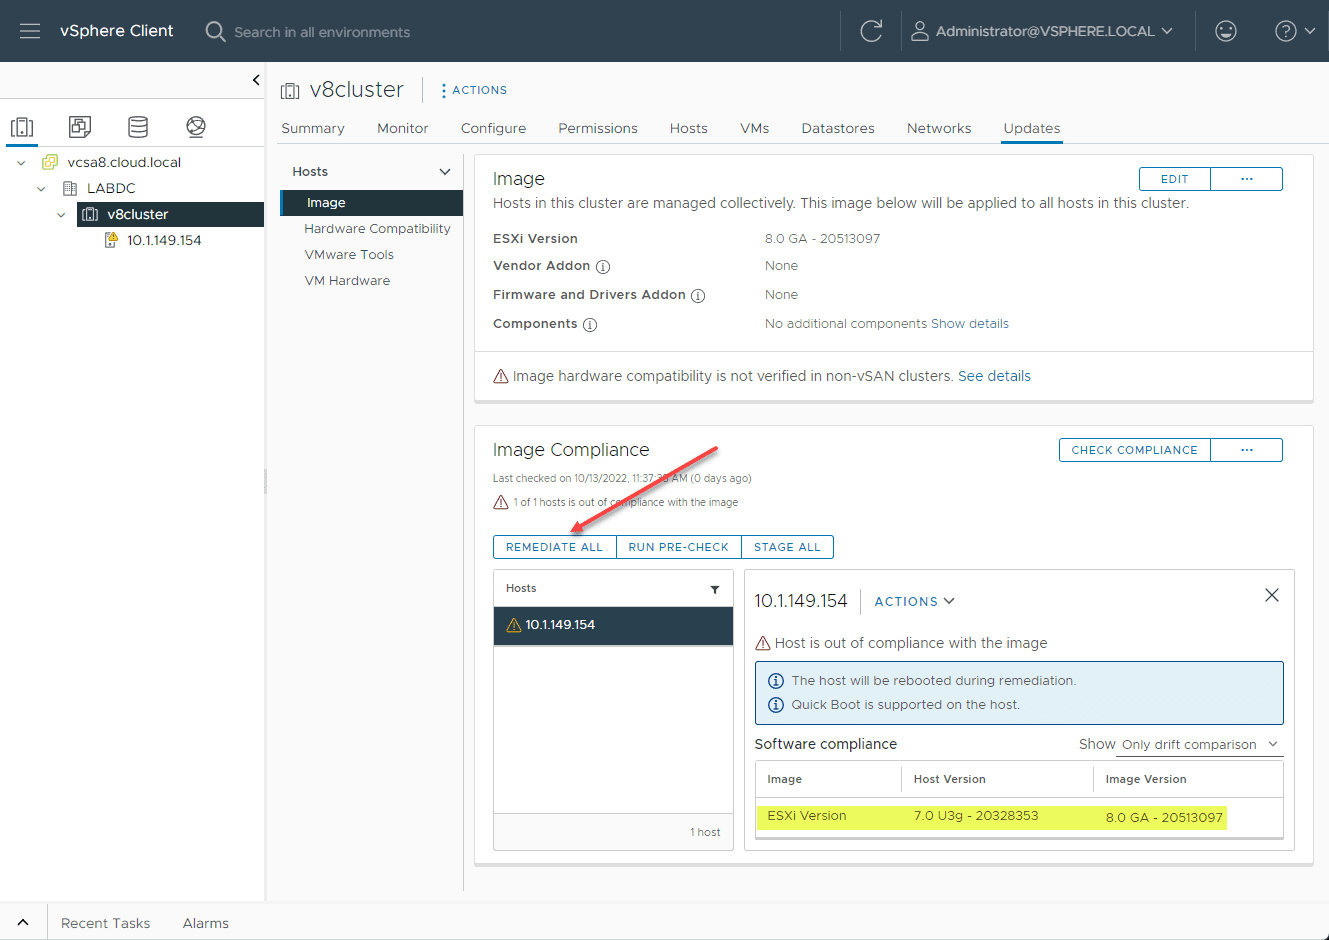
You will see hosts that are out of compliance. We need to Remediate the hosts. Here, I am clicking the Remediate All button.
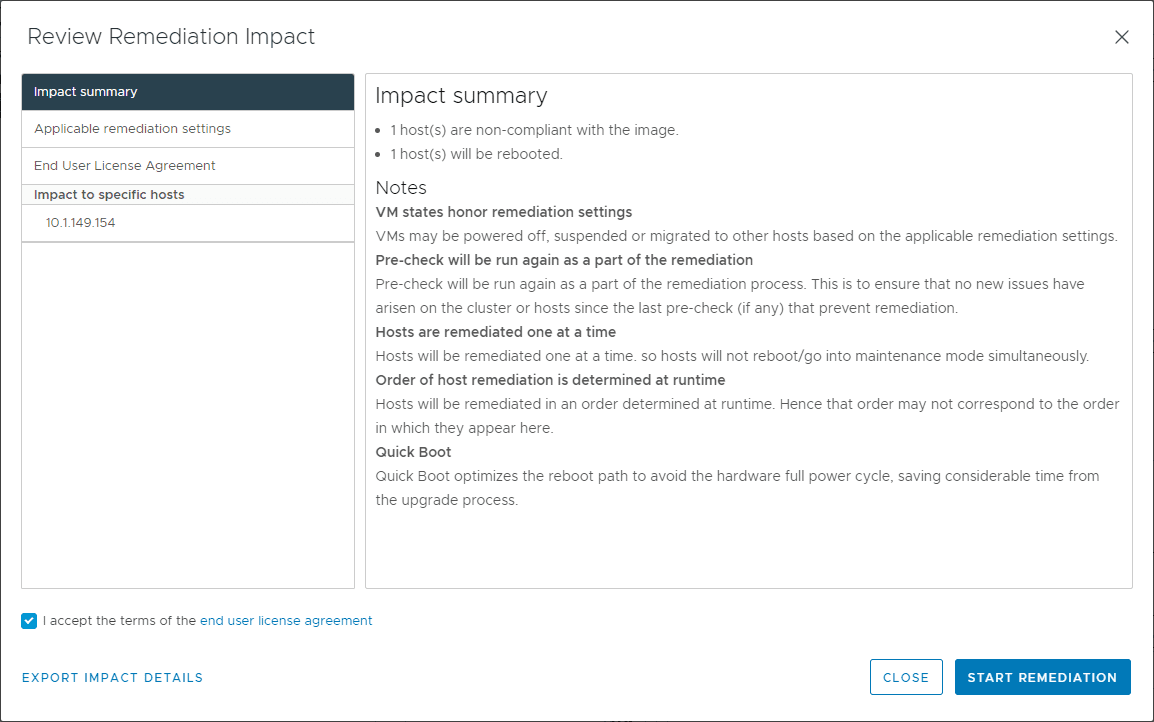
The Review Remediation impact dialog will pop up. Click the Start Remediation button.
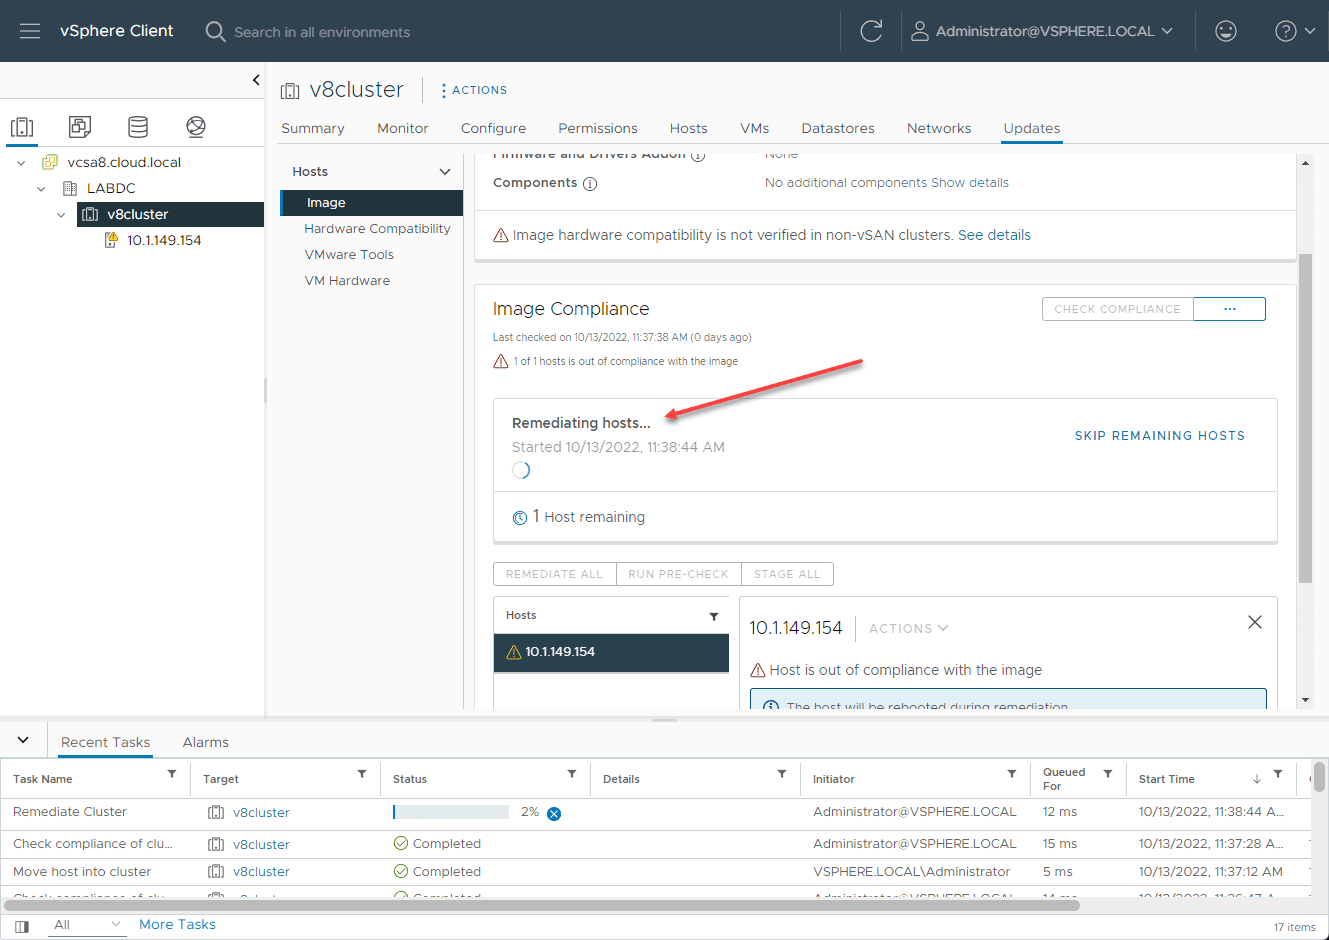
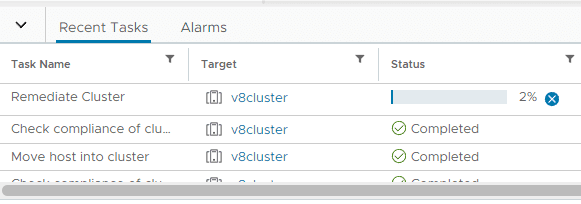
The task kicks off in vCenter Server tasks.
The hosts begin remediating.
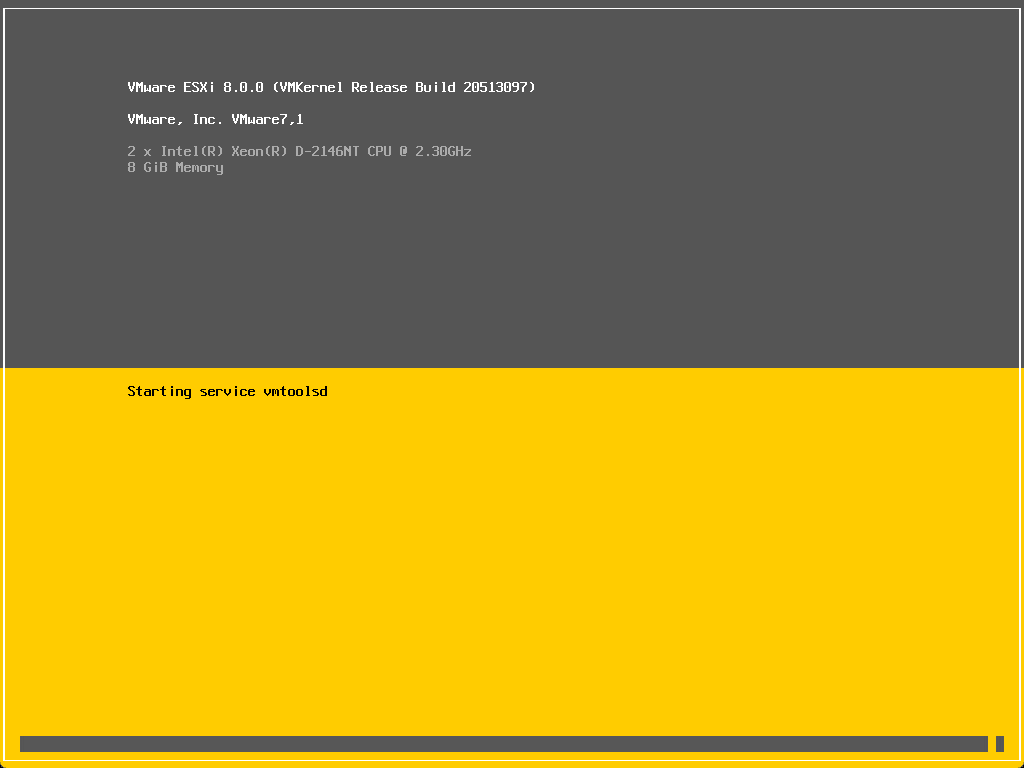
After a few minutes, you will see the ESXi host reboot and will boot into ESXi 8.0 after the upgrade process from vSphere Lifecycle Manager.
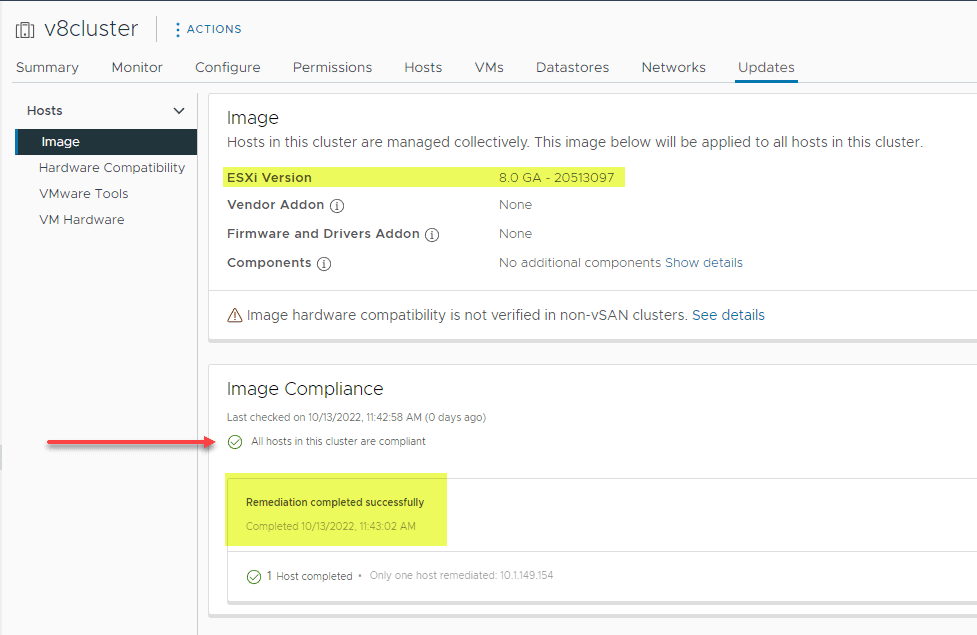
Om the image configuration, you will eventually see the remediation completed successfully and all hosts in the cluster are compliant.
After upgrading
Be sure after upgrading to make sure everything is running stably. You will also want to thing about things like upgrading VMware Tools on all your VMs, checking logs for errors, and checking in the vSphere Lifecycle Manager or Update Manager on the updates tab for any updates for ESXi 8.0 after the upgrade is successfully.
I like to move a VM over to the newly upgraded host that is not business critical at first. Make sure it runs ok along with any applications as a precautionary step. Once you have verified things are working as expected, move a few more VMs over until stability is verified.
Wrapping Up
Upgrading your existing ESXi hosts to ESXi 8.0 is fairly straightforward and can be accomplished in various ways, including using the ISO, command line, and vSphere Lifecycle Manager. Hopefully, this quick tutorial on the processes involved with each method will help to quickly get your lab environment up to date, running the latest ESXi 8.0 release. Let me know in the comments what you think about VMware ESXi 8.0 or join up in the VHT forum, where members are there to help if you run into any issues in your home lab with various updates, upgrades, or other projects in response to a comment you make there.






What about us with unsupported cpu,s from v7 to v8. (Lab)
I think you can set legacy-CPU-support setting to True and upgrade.
Hello,
I had to add a unsupported driver to my
install image when installing ESXi 6.7. Everything works great if I
upgrade the server using CLI is that driver going to be removed?
This is uncelar:
Next, we can upgrade our existing ESXi host using the command line. This is easily accomplished with only a couple of commands, including the following:
esxcli software profile update -d https://hostupdate.vmware.com/software/VUM/PRODUCTION/main/vmw-depot-index.xml -p ESXi-8.0.0-20513097-standard
The BIG question is how do we see the list off files we can use?
Peter,
Thank you for your comment. I have updated the blog post with this information below:
##Get the list of available esxi profiles using the following:esxcli software sources profile list -d https://hostupdate.vmware.com/software/VUM/PRODUCTION/main/vmw-depot-index.xml
##You can combine the above with grep to search for a specific major release
esxcli software sources profile list -d https://hostupdate.vmware.com/software/VUM/PRODUCTION/main/vmw-depot-index.xml | grep ESXi-8.0U
Using these commands you can find the available image profiles to use with the other commands in the post.
Kind regards,
Brandon
We have installed esxi 7.0.2 (18538813) on redundant 32 GB SD cards. Can we directly upgrade from this version to latest one i.e. esxi 8.0 update 2b. or will there be any issue with installing new version on SD cards?
Rishi,
I would recommend a plan to get off SDcards as soon as you can. However, it looks like based on VMware’s revised guidance, SD cards are still supported with vSphere 8. See the link here: https://kb.vmware.com/s/article/85685. Note the following: “VMware will continue supporting USB/SD card as a boot device through the vSphere 8.0 product release, including the update releases. Both installs and upgrades will be supported on USB/SD cards. The change from the previous guidance is that SD/USB as a standalone device will now be supported on previously certified server platforms. Customers can still however provision an additional persistent device to store the OSData partition, which VMware recommends. ESX will attempt to relocate the critical regions to such a persistent device. Starting from 7.0U3c, if an USB SD card boot device is detected during installs and upgrades, critical regions of the OSData partition such as VMTools and scratch will automatically be moved out. Moreover with vSphere 8.0, the entire OSData partition can be moved out.”
Kind regards,
Brandon