vRealize Automation SaltStack Config Installation using vRSLCM
Back in VMworld 2020, VMware announced the acquisition of SaltStack, the enterprise offering of the Salt automation platform. Since then, it has been integrated with the vRealize Automation solution with SaltStack Config. You can still download the free CLI Salt tool. However, SaltStack Enterprise is now the SaltStack Config offering with vRealize Automation. This post will consider the vRealize Automation SaltStack Config installation using vRSLCM and see the process involved in integrating the vRA instance with SaltStack Config.
What is Salt?
Salt is an Infrastructure-as-Code offering that, like others out there, i.e., Ansible, Puppet, etc., allows admins to declare infrastructure as code and use this desired state for configuration management. Salt is known for its automation, configuration & infrastructure management.
It is made up of a system that contains two main components:
- Distributed remote execution system – It provides a platform allowing you to execute commands against remote hosts and align these with the requirements and declarations found in the IaC code
- Configuration management solution – With Salt, admins, have a configuration management platform that implements the desired state of the infrastructure.
Like Ansible and other platforms like Kubernetes config files, Salt uses the popular YAML configuration format markup language to describe infrastructure.
VMware purchased the enterprise offering of Salt, called SaltStack Enterprise. This offering is now known as SaltStack Config as part of the VMware vRealize Suite.
Using vRealize Suite Lifecycle Manager (vRSLCM) to deploy
If you are familiar with the vRealize Suite Lifecycle Manager solution, it can be used to deploy vRA and SaltStack as part of an “environment” you can provision from vRSLCM. We will use this solution to deploy the vRA and SaltStack Config solution for the walkthrough.
Using vRSLCM is a great way not only to deploy VMware vRealize solutions but also to manage these. Suppose you have several vRealize Suite solutions deployed. In that case, the vRSLCM solution makes lifecycle management operations much easier and helps to keep your vRealize Suite environment running efficiently and without issues.
There are two installation methods you can use to deploy SaltStack Config. These include:
- Standard installation – The components needed for SaltStack Config are deployed in four or more separate nodes in this deployment.
- vRealize Automation integrated installation – All components are deployed inside a single node in this installation.
With the below walkthrough of the installation process, we will be looking at the vRLCM integrated installation method.
vRealize Automation SaltStack Config Installation
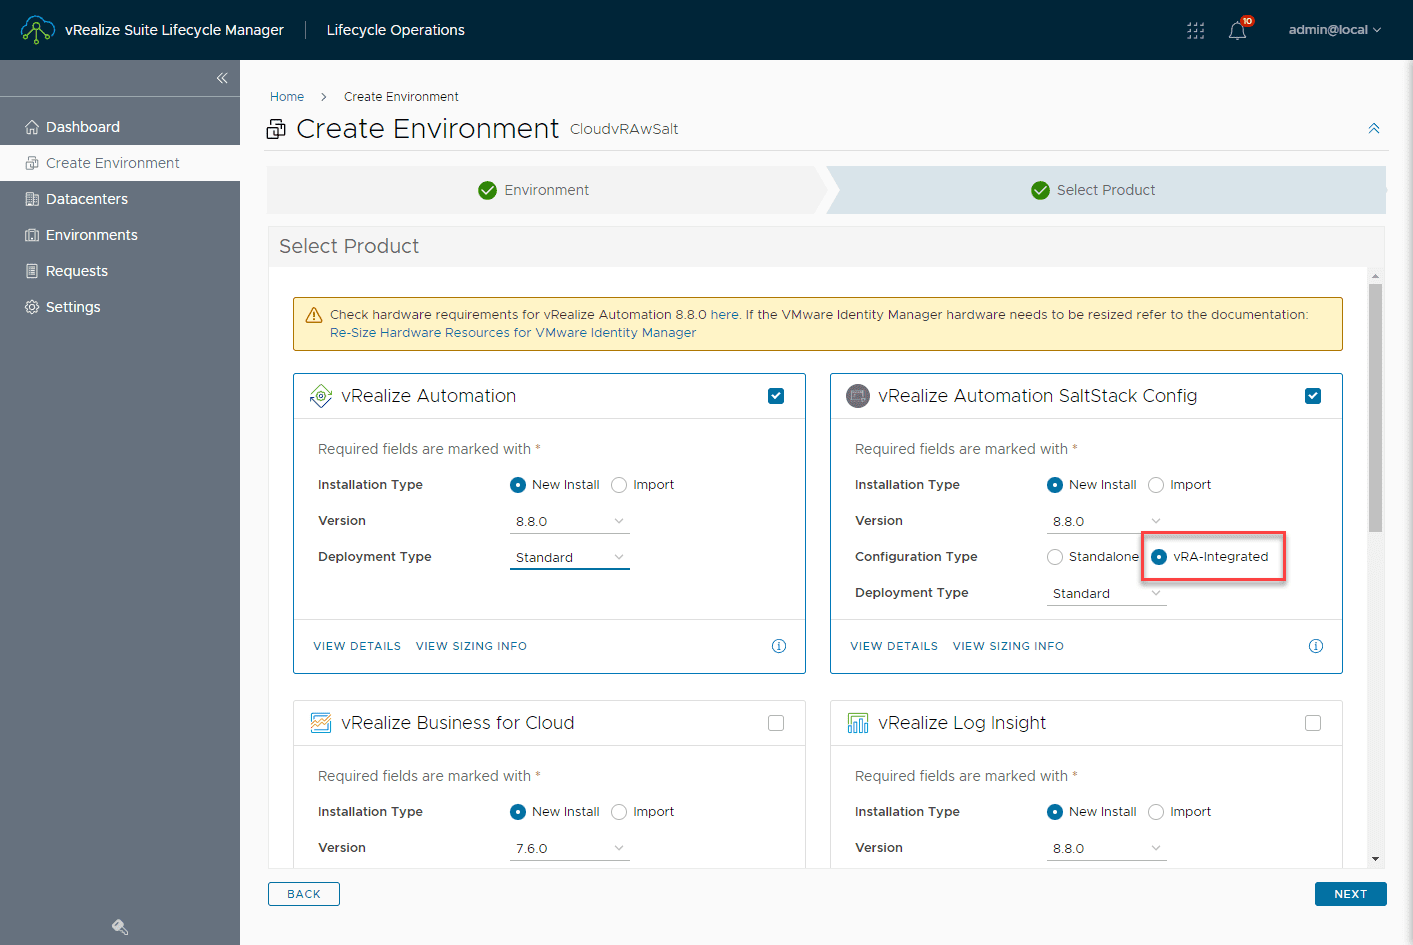
For vRealize Automation SaltStack Config installation, you create a new environment. On the Select Product page, you select both vRA and vRealize Automation SaltStack Config. Here I am performing a vRA-integrated configuration, so I am choosing the vRA-integrated option.
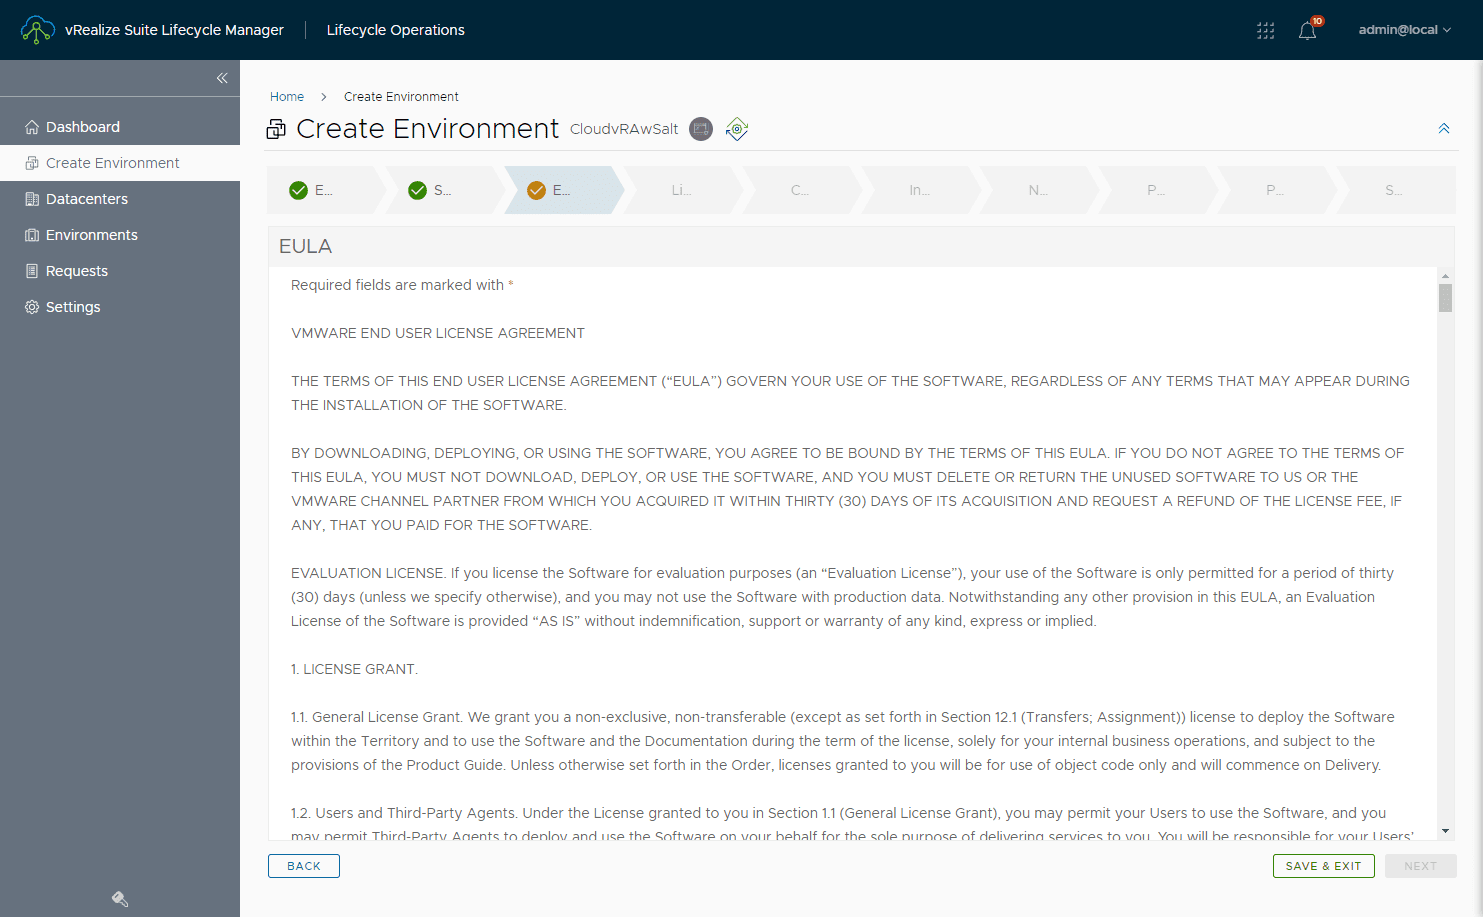
Accept the EULA.
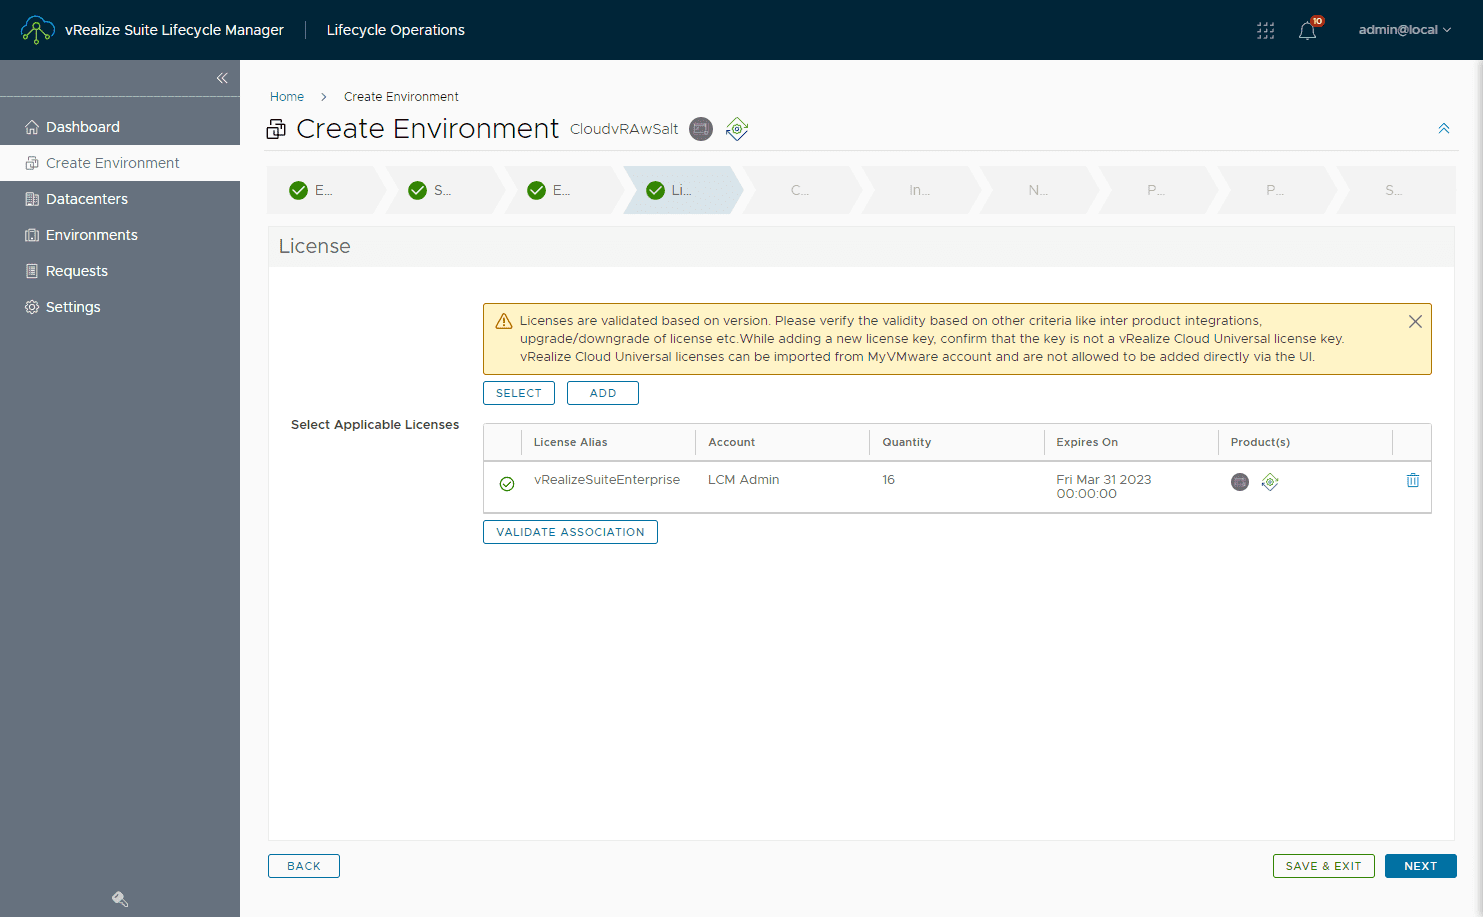
On the License page, you will need to select an existing license you have already uploaded, or upload a new license. If your deployment of SaltStack Config is integrated with vRealize Automation, you need one of the following licenses:
- vRealize Automation Cloud
- vRealize Automation Suite Advanced
- vRealize Automation Suite Enterprise
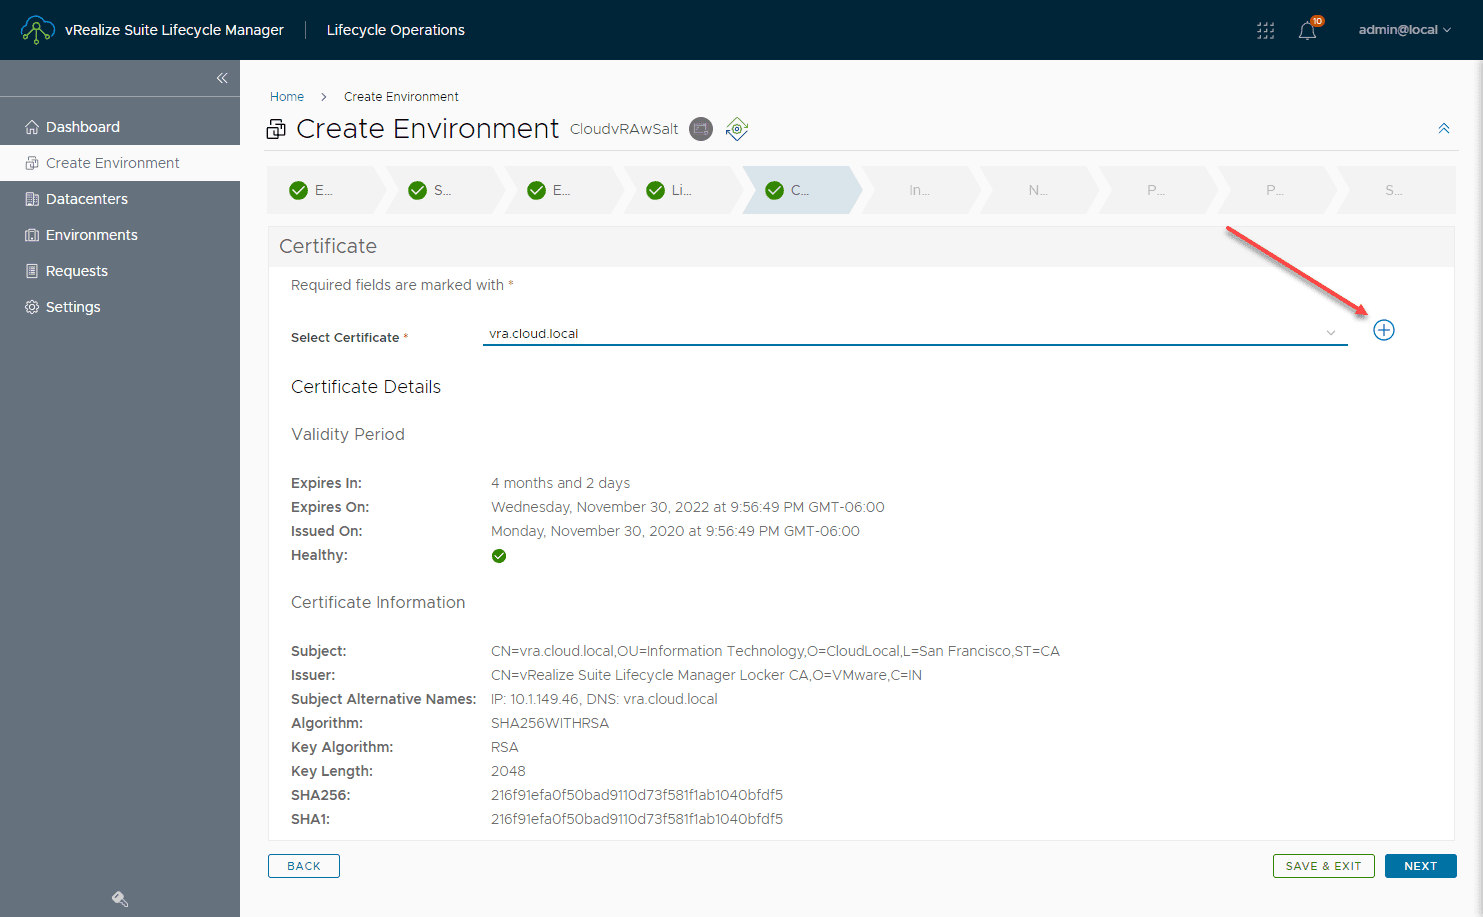
Select the certificate you want to use. Here you will need to have certificates for both your vRA and SaltStack Config hosts.
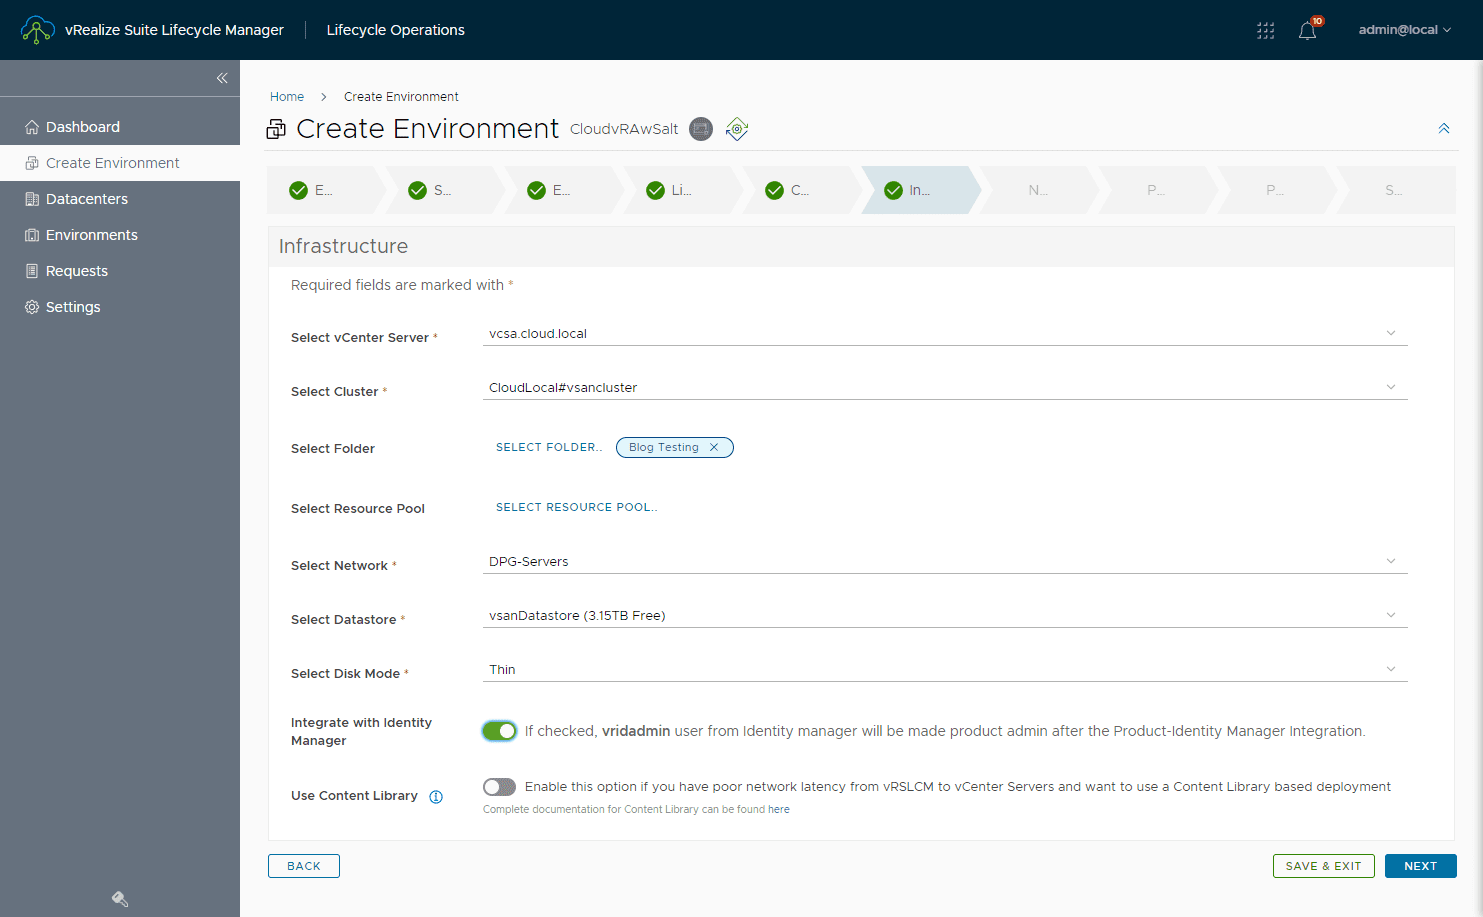
Select the appropriate settings for your environment on the infrastructure screen, including the vCenter Server, folder, network, datastore, disk mode, etc.
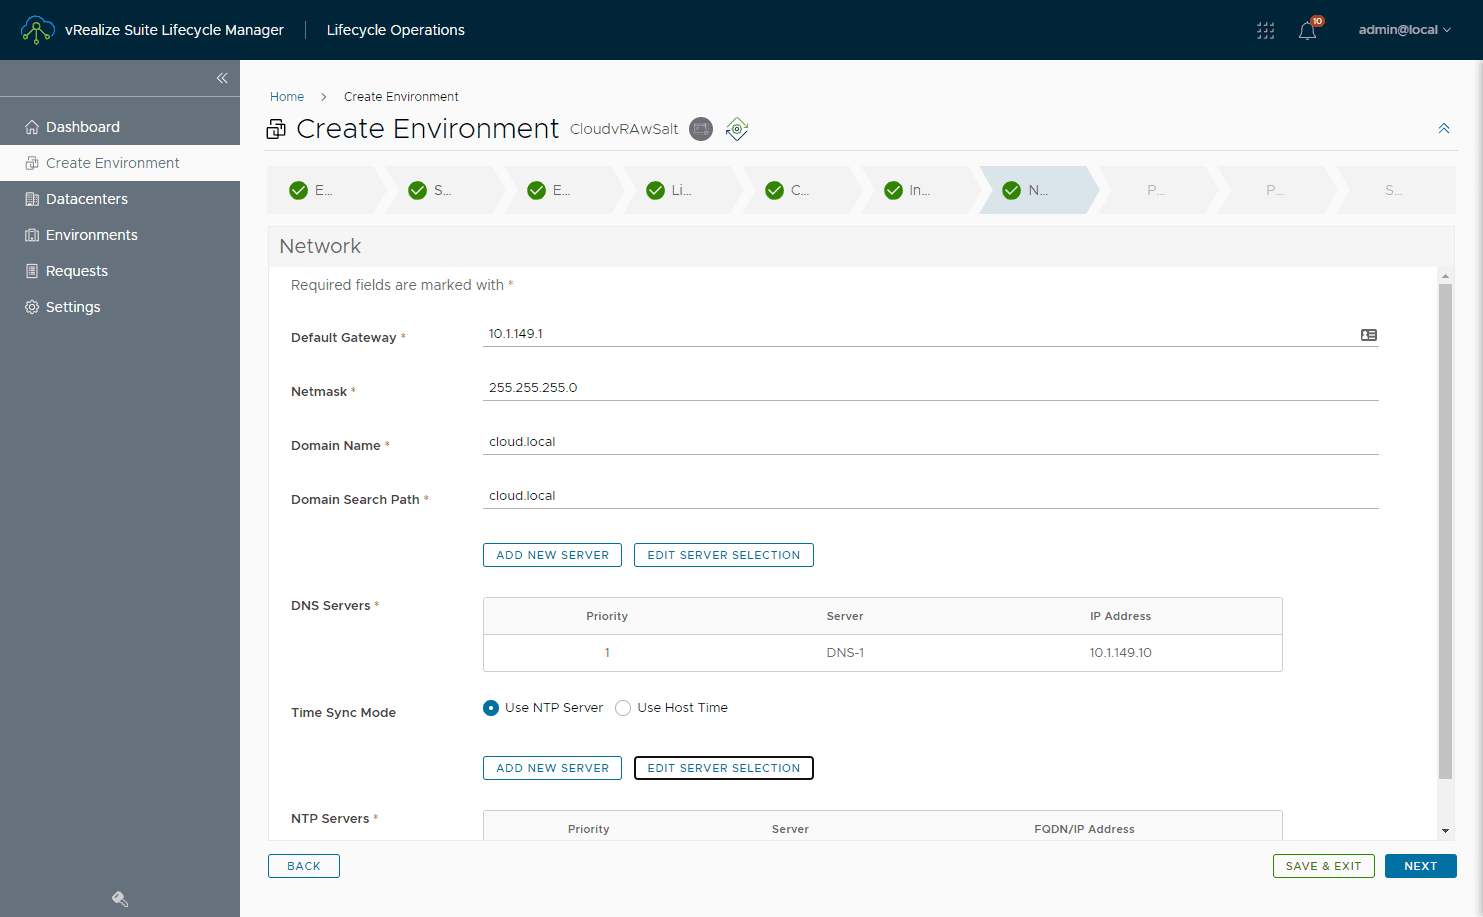
On the Network page, you configure the pertinent network configuration for SaltStack Config.
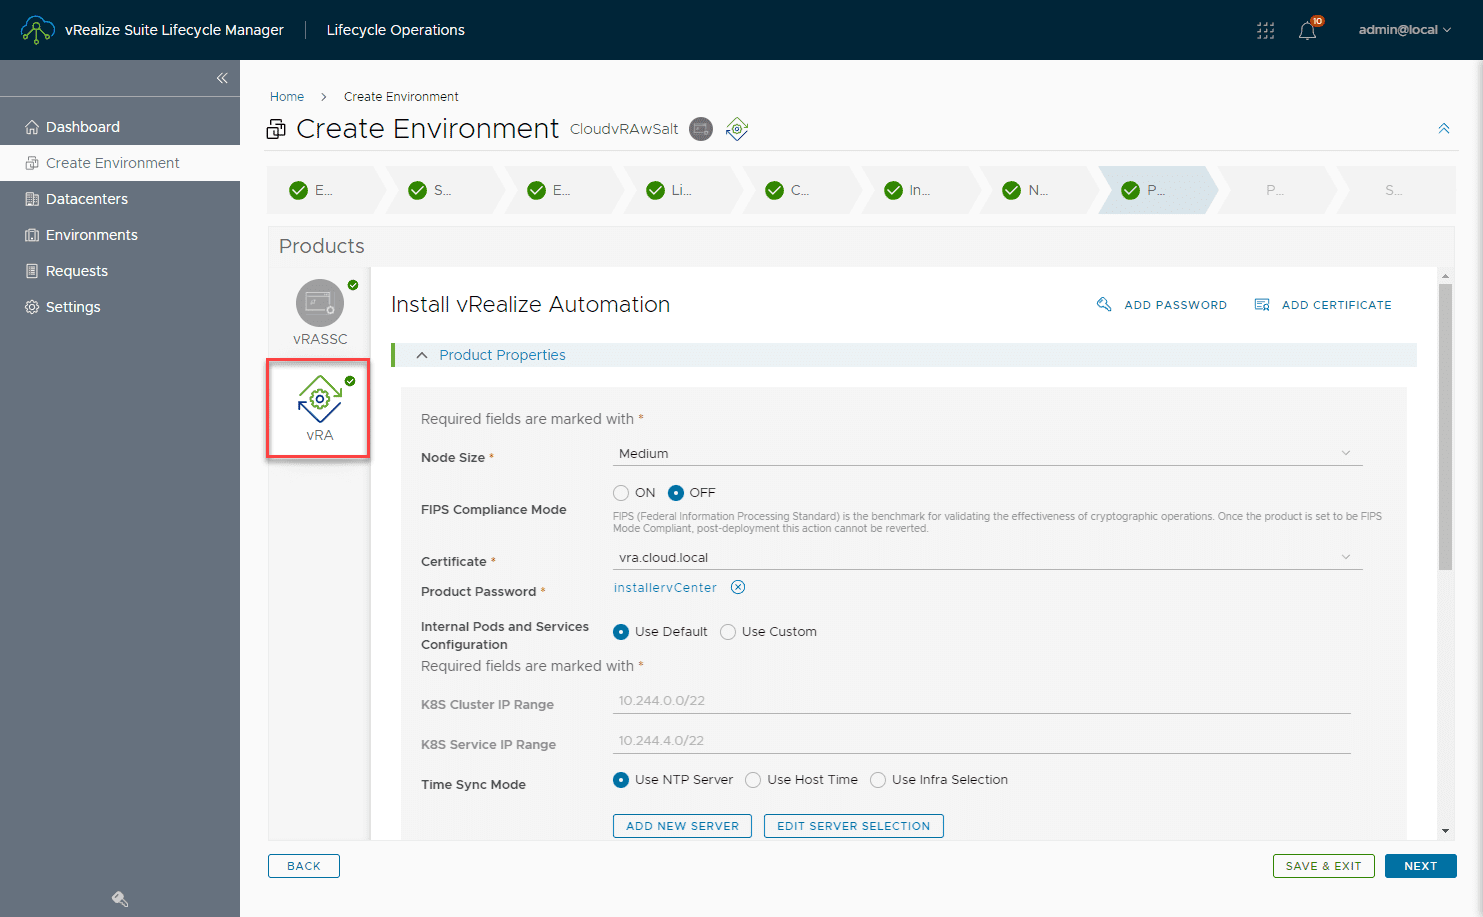
On the Products page, you will see to the left the ability to select between vRA and vRASSC. Complete the configuration needed on both tiles.
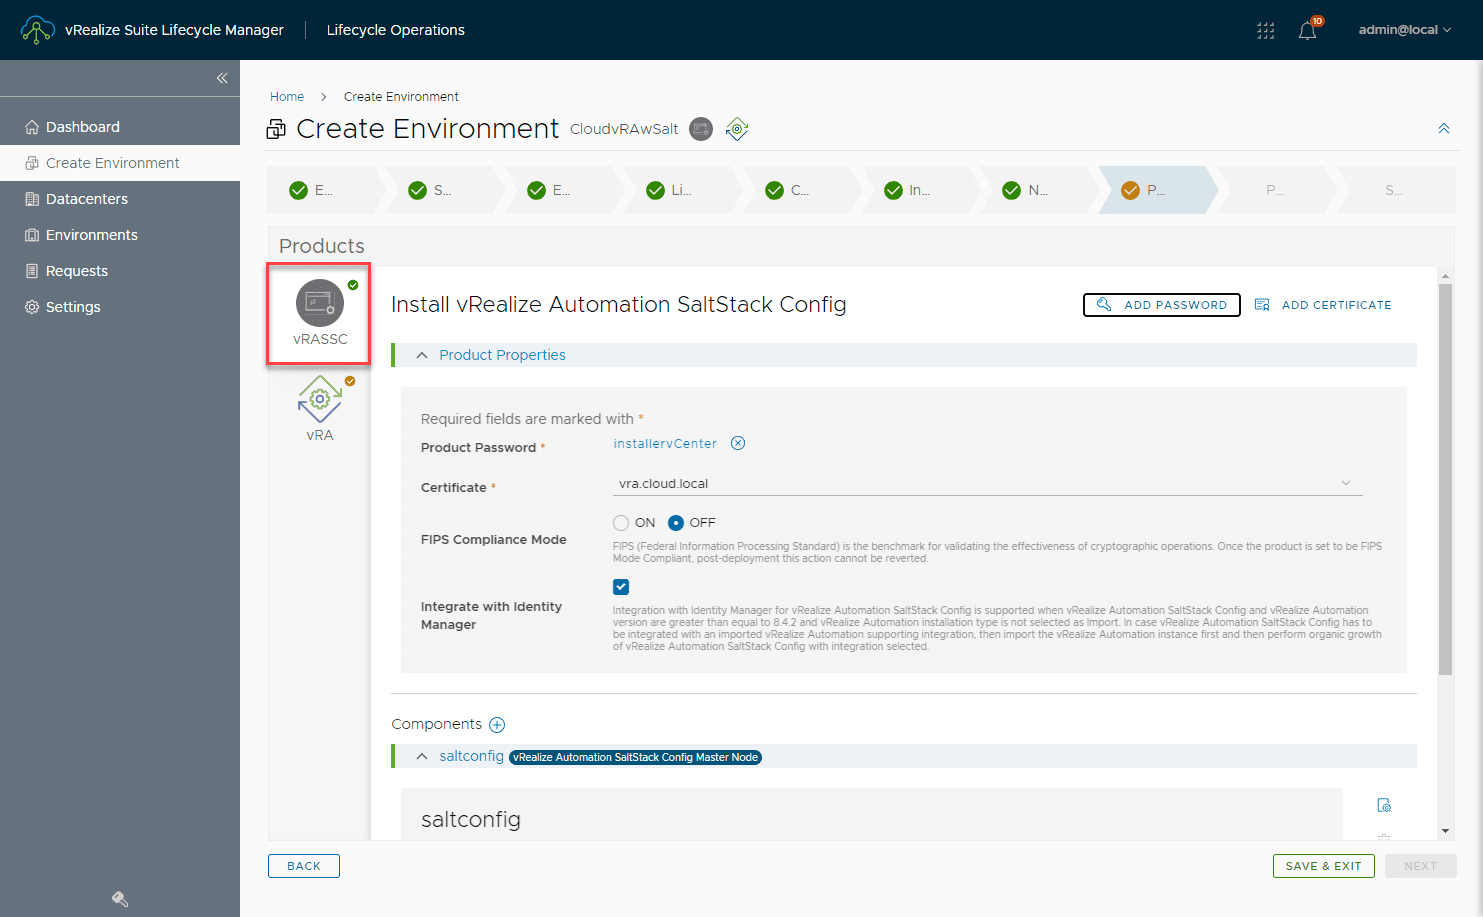
Completing configuration on the vRA deployment.
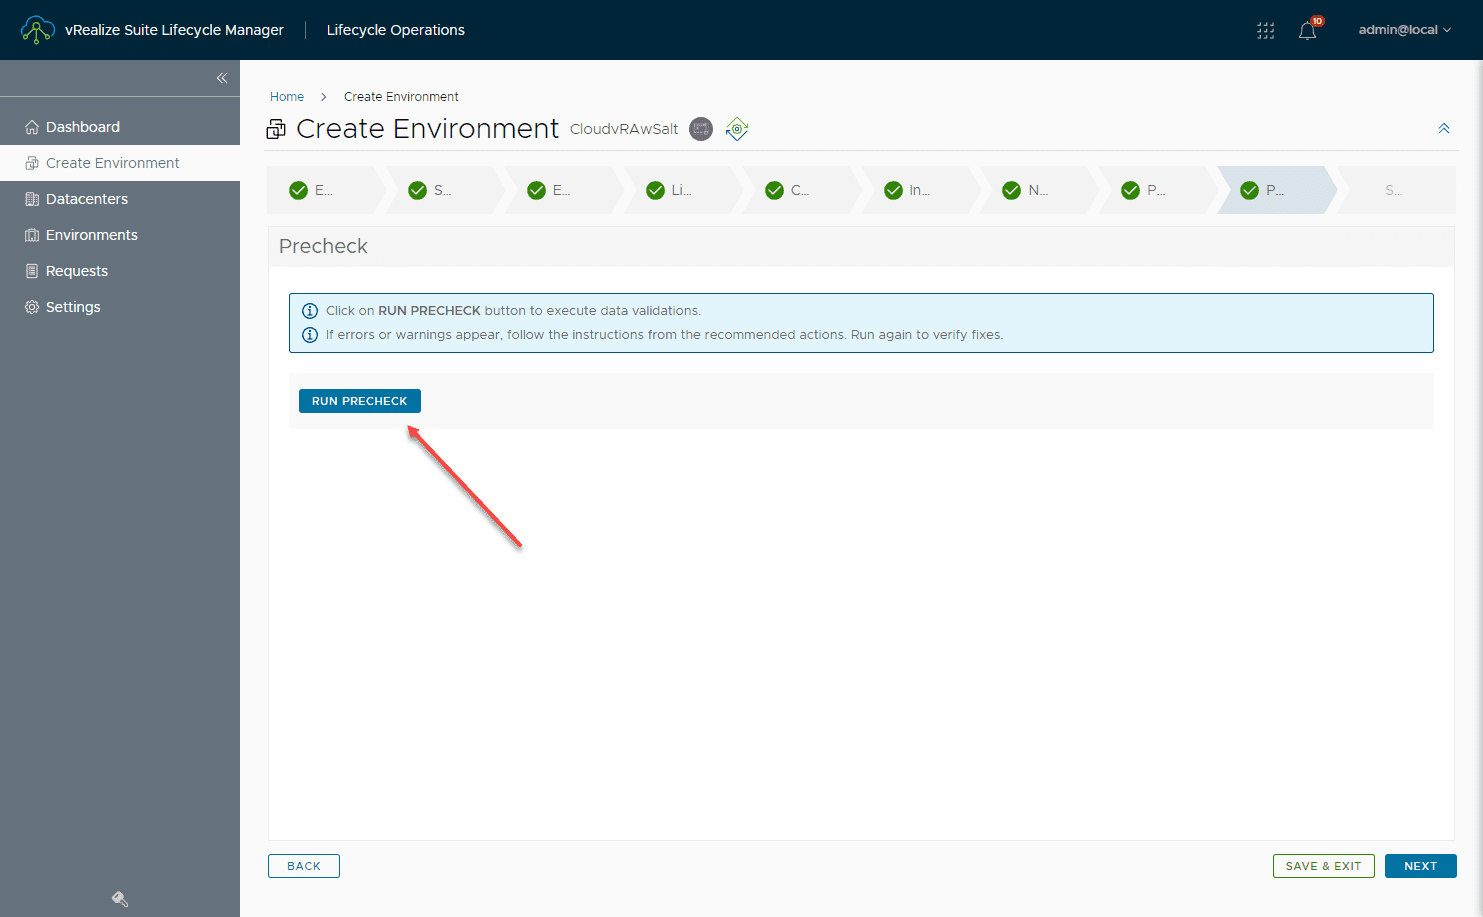
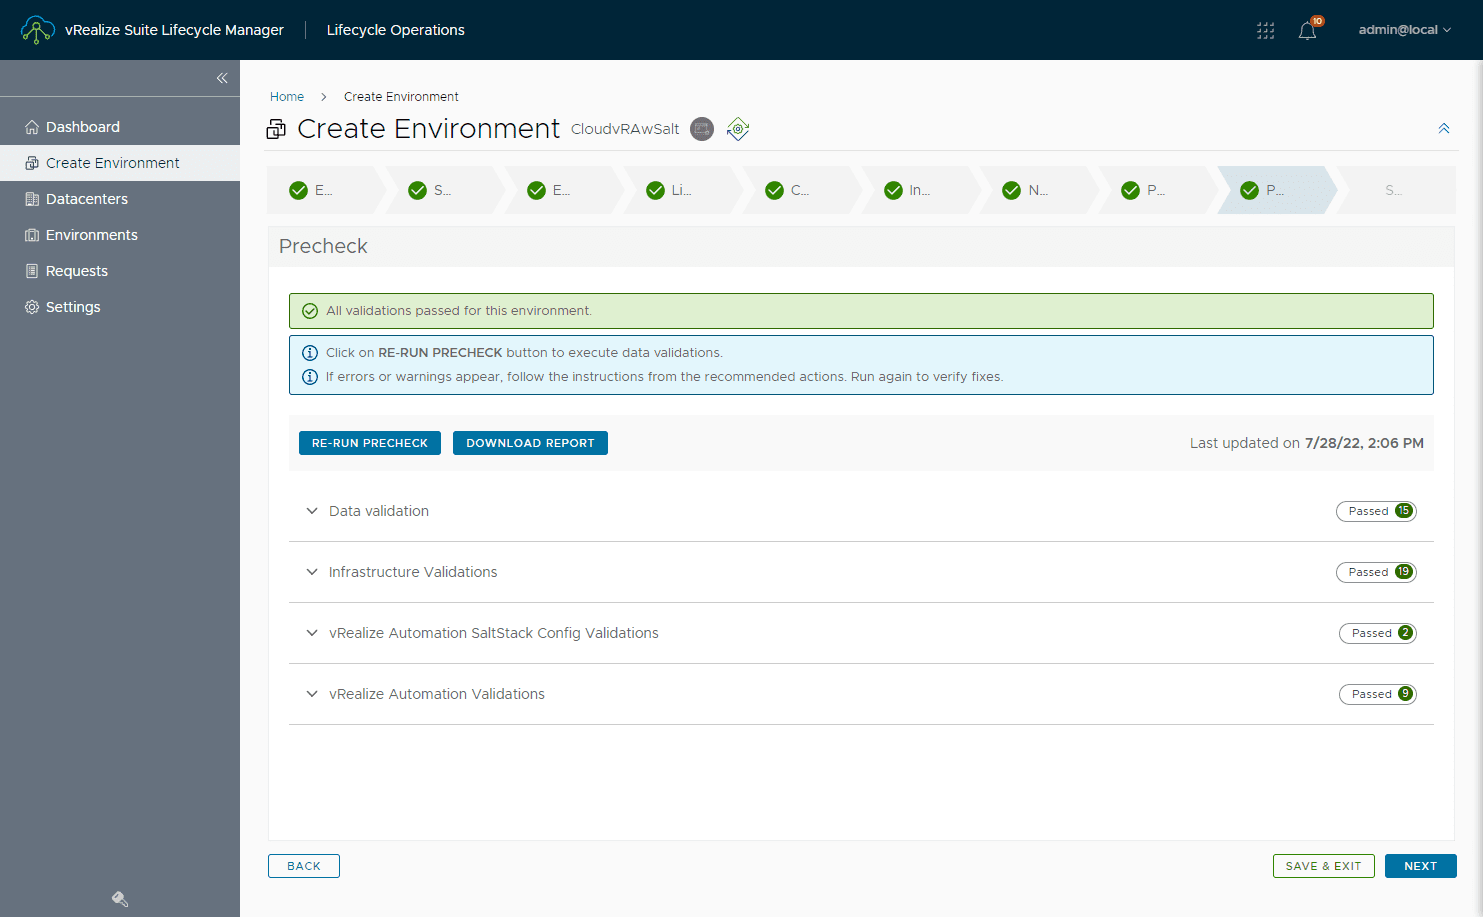
On next to the final page, click the Run Precheck button. This will validate all settings and ensure everything is correct before allowing you to move forward to submit the request.
After running the precheck, you should see the following, everything is in a PASSES state.
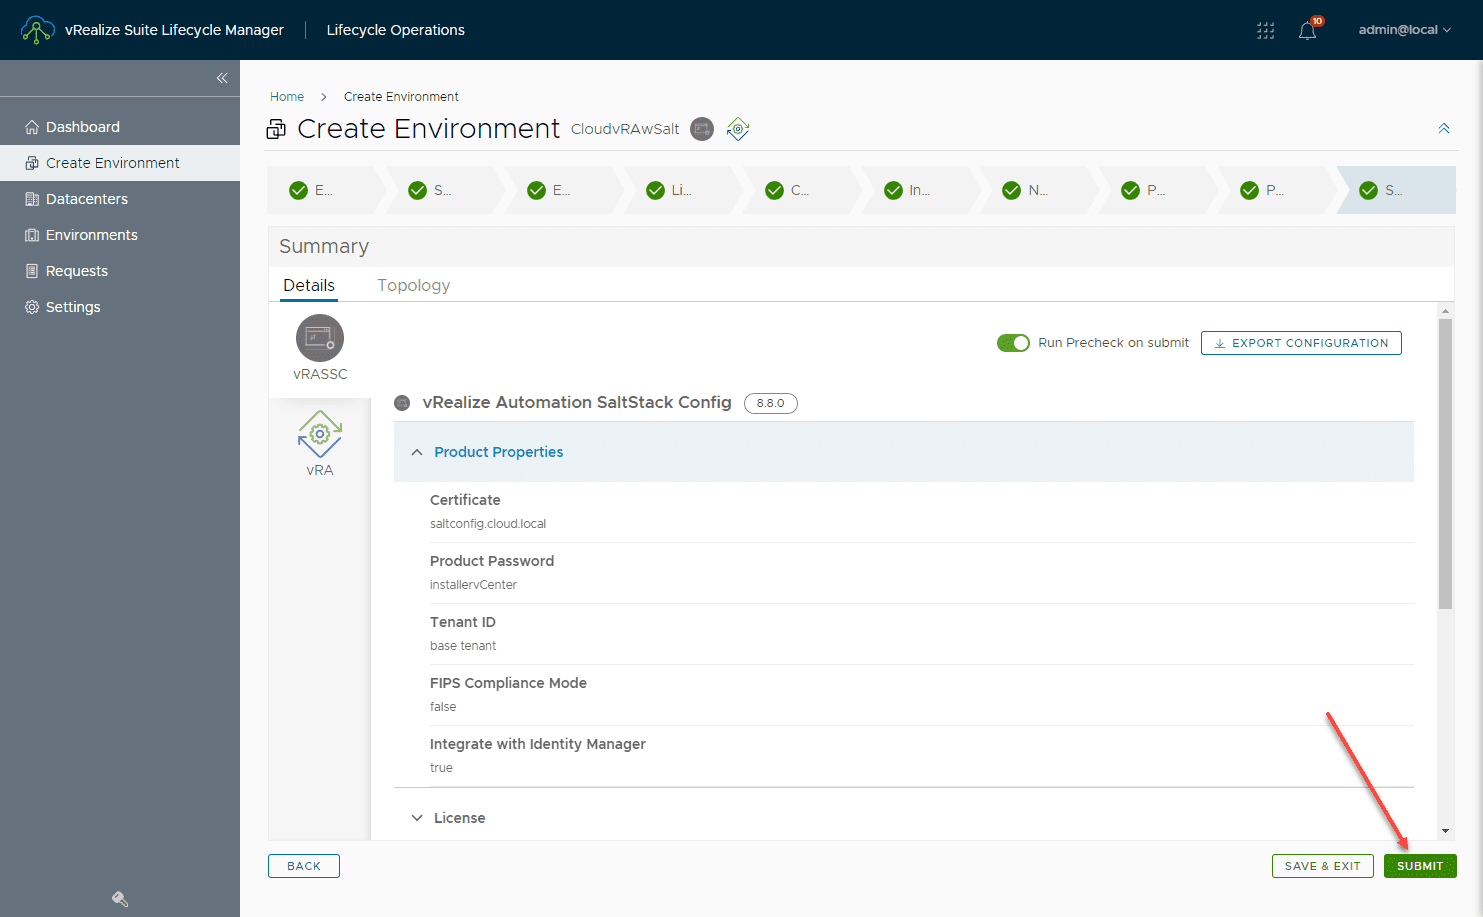
Finally, submit the create environment request for vRA and SaltStack Config. Click Submit.
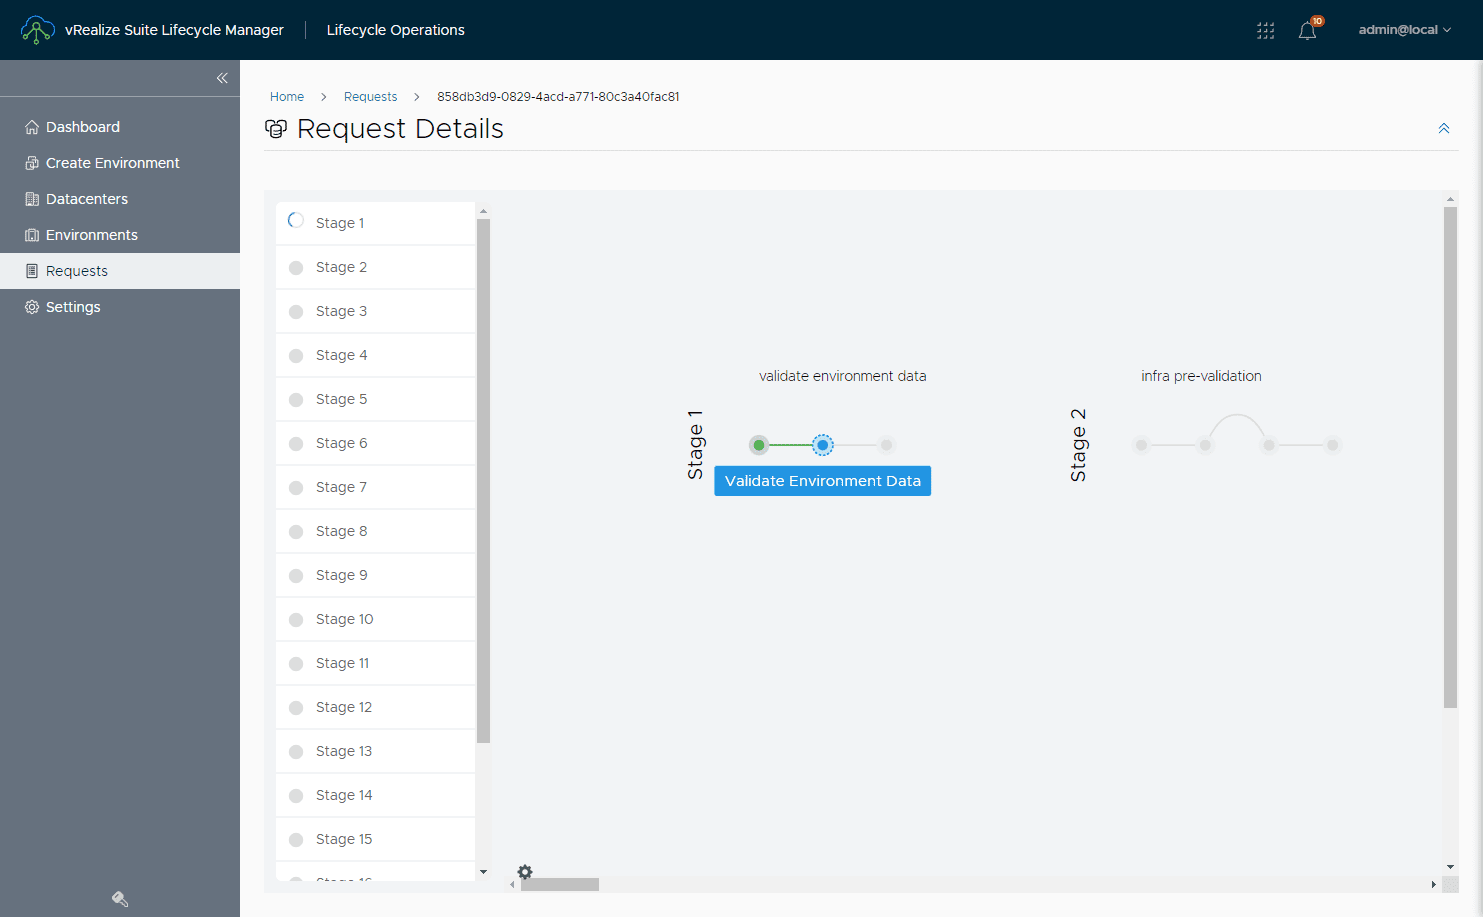
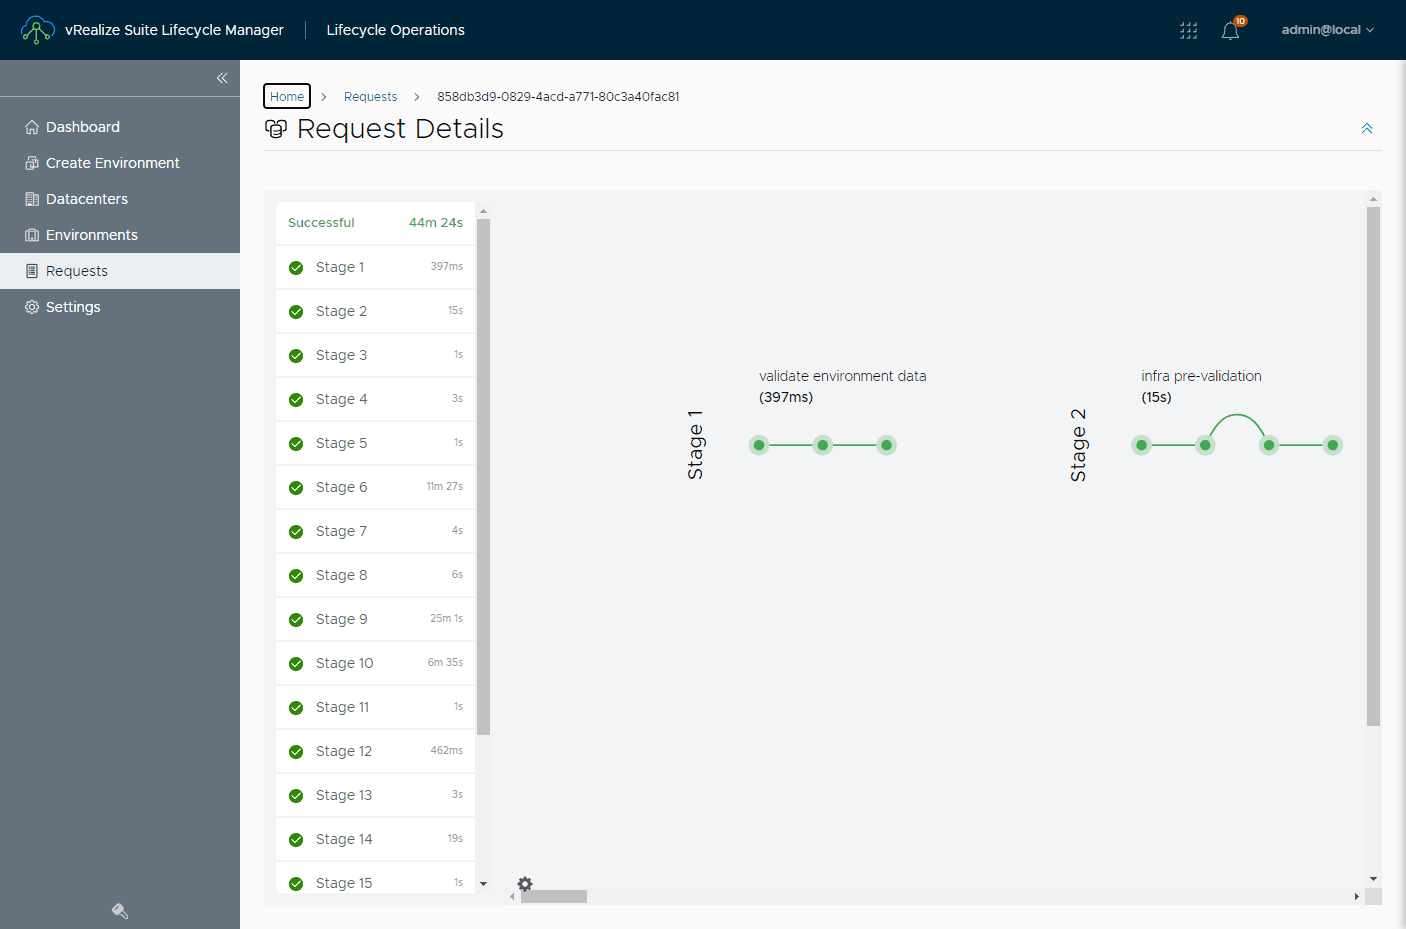
You can navigate over to the Request Details page and see the request begin for creating the deployment.
In my home lab environment, as you can see, it took around 44 minutes to deploy the vRA and SaltStack Config appliances.
The great thing abot vRSLCM, is it automates the process to the point of just plugging in the information needed and deploying the appliances.
vRealize Automation SaltStack Config Installation FAQs
- What is Salt? Salt is an open-source tool that provides automation and configuration management capabilities. It allows declaring your infrastructure as code and having a declarative state of your infrastructure, helping to achieve the desired state, versioning, and proper DevOps processes.
- What is SaltStack Config? SaltStack Config is the VMware product coming from the purchase of SaltStack Enterprise, the pay-for product of Salt. it provides the GUI management capabilities fully integrated with vRealize Automation.
- How do you install vRealize Automation with SaltStack Config? Using vRSLCM, this is a simple process of creating a new deployment as shown, filling in the required information, and deploying the products.
- What is vRSLCM? The vRealize Suite Lifecycle Manager is a great solution allowing lifecycle management and configuration management of your vRealize Suite products. You can deploy, update, and upgrade vRealize Suite solutions using vRSLCM.
Wrapping Up
Hopefully, this overview of vRealize Automation SaltStack Config Installation using vRSLCM helps to show the overall process of deploying your vRA and SaltStack Config environment. Look for an upcoming post that goes deeper into the after-deployment activities and steps in vRA and SaltStack Config.
Learn more about VMware SaltStack Config here:


