Recently there have been a few blogs and KB that have caught my attention. VMware has now deprecated SD Card and USB device support as a standalone boot device. The days of booting your ESXi server from an SD Card or USB device in a supported way are now over. In my home lab environment, all of my ESXi servers are booting from USB with vSphere 7. Since the posts, I have started looking and thinking about migrating my servers to more resilient persistent storage. In this post, let’s explore SD Card and USB boot no longer supported in ESXi easy migration to SSD. We will take a look at a process to easily clone your USB disk to persistent SSD storage with little downtime. Let’s see how.
Why the change and removal of USB ESXi standalone boot storage?
Many may wonder why the change in stance on SD Cards and USB storage for ESXi servers? The below information comes straight from the official VMware KB article discussing the new change and the reasons for the removal of the standalone boot options:
VMware has noted that vSphere customers have encountered many issues related to device reliability when SD cards are used as the boot device. Endurance ratings can no longer guarantee the viability of SD cards as a boot option.
Some of the reasons why SD cards will be unsustainable with the next major release are:
- OSDATA reads/writes – Reads/Writes to System Storage continue to grow, mainly to the ESX-OSDATA partition. The OSDATA partition is a critical component that is required to be always available and also be persistent across reboots. OSDATA will be used in a variety of different ways as services and applications such as vSAN and NSX grow. OSDATA is used to store some of the runtime state, and for probes, backups of items such as configuration, timestamps etc. Access to other areas on OSDATA, such as VMTools and scratch portions will also grow. With each new vSphere release, more features will start relying on the OSDATA partition.
- Performane concerns – Performance demands and IO loads cannot be continued to be met by SD cards. For example, the demands on writes to the scratch area have been growing. Another concern is the high frequency of IO with bursts such as logs or traces.
- No reliable monitoring and reliability checks – There is no way to reliably check and monitor for the SD card endurance, as these devices usually do not provide support for diagnostics data. Wear-out issues and remaining endurance or lifetime can go undetected. In addition, not just writes but reads are also known to cause wear issues.
- Not designed for endurance – SD/USB devices are prone to wear over time and are thus subject to failures, they are not designed for enterprise class use-cases.
Please refer to the official VMware KB article discussing the change and how customers can move forward with workarounds and planning for future ESXi versions.
SD Card and USB boot no longer supported in ESXi easy migration to SSD
With the removal of both SD Cards and USB keys as boot devices, I wanted to figure out the easiest path forward for my home lab environment, and hopefully, this will help anyone with a home lab configured with USB keys as I had and how you can easily get over to an SSD.
USB imaging tool
I had remembered seeing an article over at Paul Braren’s Tinkertry (@tinkertry on Twitter) from 2018 about cloning a USB key to an image. Read that article below:
In Paul’s article, he detailed a USB clone utility that allows effectively cloning USB keys containing ESXi partitions. Could this be a solution to easily getting over to a supported standalone boot configuration for an SSD? I wanted to find out. I downloaded the USB clone tool from here:
Hardware used
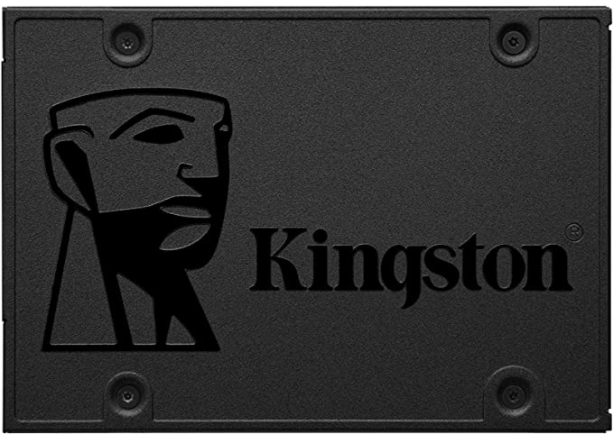
Before really testing to make sure this worked, I went ahead and snagged an ultra-cheap Kingston SSD from Amazon. I wanted to find the cheapest SSD option I could reasonably find as a device that would assume the role of the USB boot device I have currently. While these are not enterprise-class drives, I would imagine the endurance and reliability of the consumer-grade USB thumb drives I have been using.
I was actually surprised that you can now buy 120 GB SSDs in the neighborhood of $20-25. The exact SSD I bought is here:
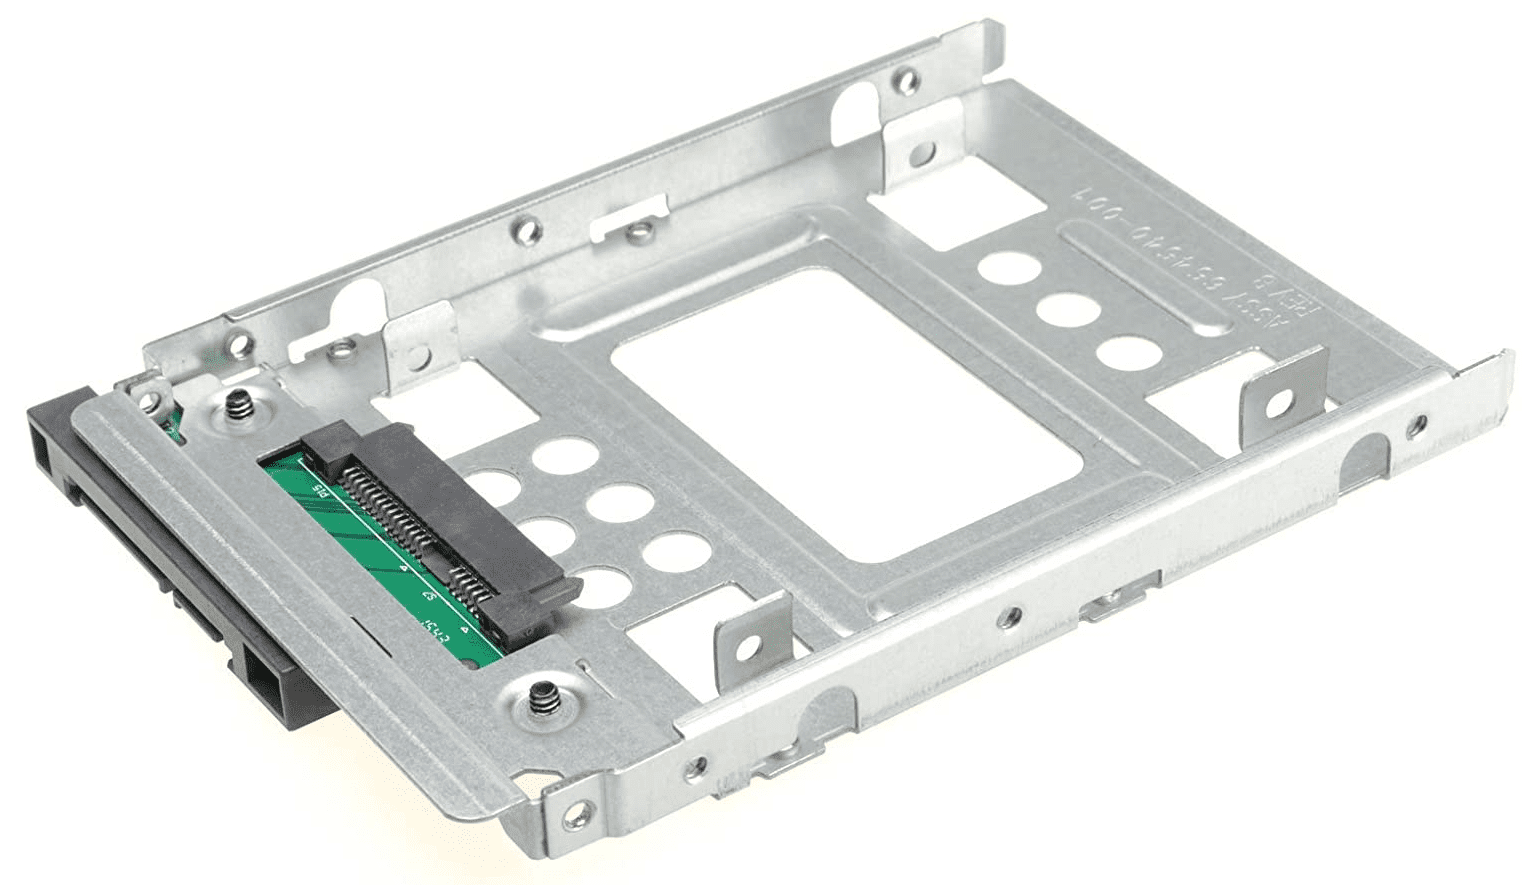
I am using all Supermicro servers. My Supermicro SYS-5028D-TN4T servers have 3.5 inch hot-swap drive bays. I knew I would need to purchase some drive trays to adapt the 3.5 caddies for the 2.5 inch SSD. Below is the tray I bought for my lab. This worked perfectly in the Supermicro servers.
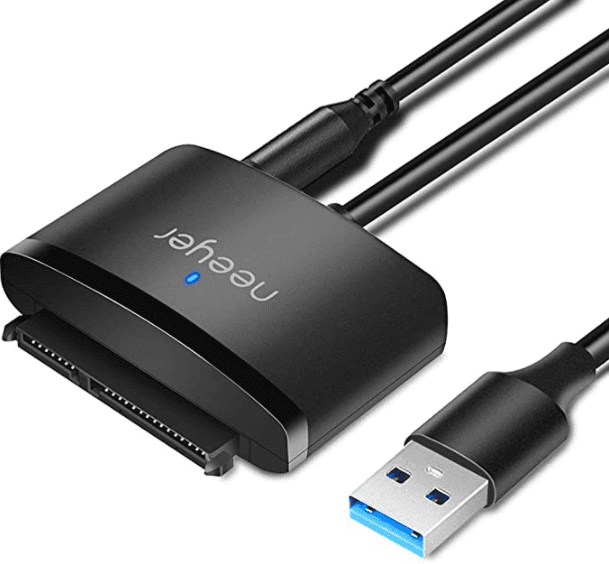
Also, I picked up a USB to SATA connector adapter from Amazon while I was at it.
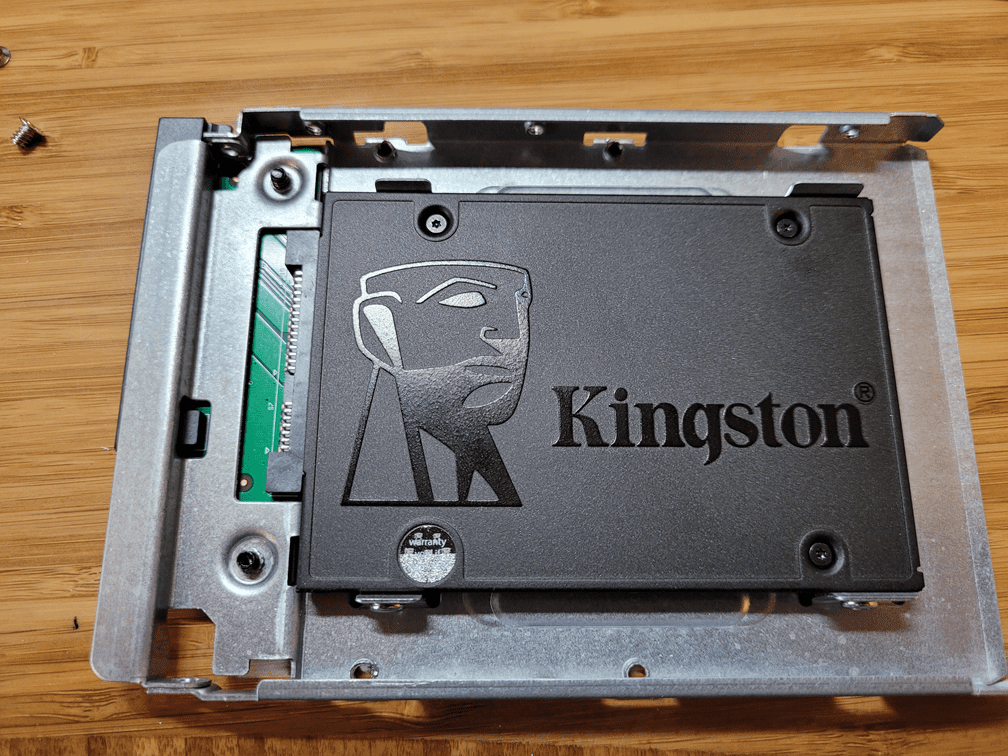
Below is a pic of the Kingston 120 GB SSD mounted into the drive tray which I mounted into the Supermicro hotswap drive.
Easy migration from USB to SSD
What I hope to accomplish:
- Shutdown the ESXi server
- Create an image of the USB drive previously used to boot
- Restore the image to a USB-mounted SSD drive
- Install the SSD drive
- Power on the server and hopefully it boots like nothing happened 🙂
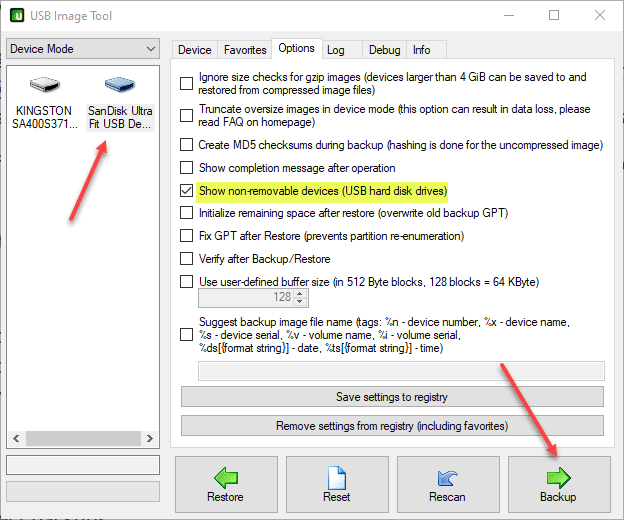
Now, with the hardware I needed, let’s look at the process to migrate from USB to SSD using the USB Image tool. Below is a screenshot of the USB Image Tool. As you can see, I have both the SanDisk Ultra USB (drive I am currently booting ESXi from), and the Kingston Drive showing (it is mounted using the external adapter I have listed above). As a note, you have to enable the option Show non-removable devices (USB hard disk drives) for your hard drive, mounted via an external USB adapter.
Next, you need to click your USB drive, then click Backup. The tool will ask you how you want to name your .img file. I named my backup file according to the name of the ESXi host. The
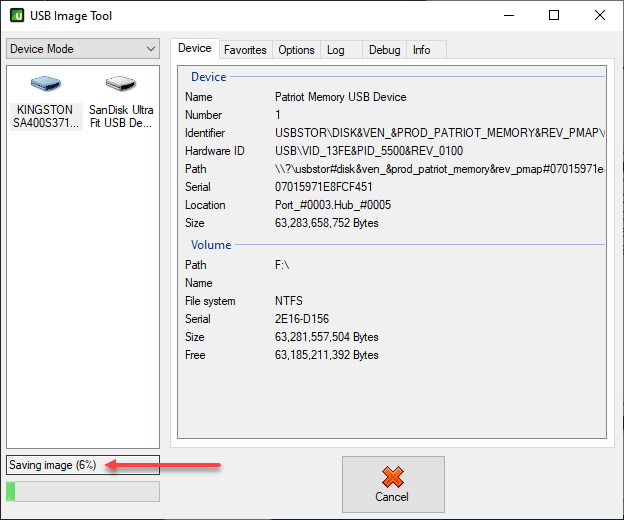
After clicking backup, the image begins to save. The tool is not terribly quick to create the image. However, after 5-8 minutes or so it had snapped the image of a 32 GB USB disk.
Restoring a USB image to a USB-mounted SSD drive
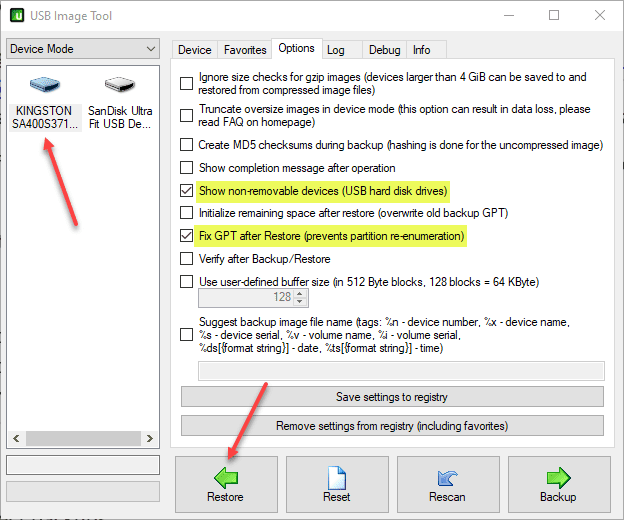
The process to restore the USB image to a USB-mounted SSD drive is straightforward. Click your USB-mounted SSD, then click Restore. Note the options checked in the Options tab.
- Show non-removable devices (USB hard disk drives)
- Fix GPT after Restore (prevents partition re-enumeration)
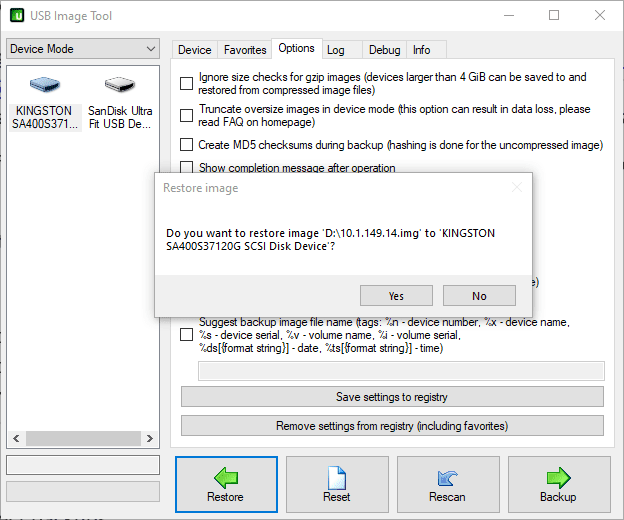
You will see a confirmation dialog asking you if you want to restore the image to the target device.
Before performing the process, note how the storage devices looked in the host.
Did it work? Yes! The ESXi host booted perfectly from the SSD drive once installed in the ESXi host. I didn’t change anything on the host as it recognized the boot partition on the SSD drive as opposed to the USB key (which was now pulled out of the host).
Can this be used to image SD Cards over to SSD? I didn’t specifically test this scenario. However, I assume this would work as well. As long as the SD Cards are mounted to your workstation via USB. The utility is great and looks to work as expected. I was hesitant that everything would come across as needed from the USB, but the image utility worked perfectly.
Video showing how to clone ESXi boot USB to SSD
If you want to see a video of this process, take a look below.
Concluding thoughts
With new installations of ESXi, SD Card and USB boot no longer supported in ESXi. Hopefully, the process shown to clone your USB drive to an SSD will help easily migrate from USB or SD Card to an SSD or other boot device. Using the steps and hardware listed above. I was able to shut down the ESXi host, clone the disk, restore the clone, install the SSD without the USB installed, and boot the ESXi host without any issues.
Google is updating how articles are shown. Don’t miss our leading home lab and tech content, written by humans, by setting Virtualization Howto as a preferred source.

