Connect to Windows 365 Cloud PC with RDP
Windows 365 Cloud PC is a new VDI offering from Microsoft that allows businesses to have a simple and seamless way to easily provision desktop PC for end-users that may be working remotely or even on-premises. Windows 365 Cloud PC allows accessing a Windows 10 or Windows 11 (when it is GA) desktop PC in the cloud on any device. With only a browser connection, Microsoft allows users to “stream” a Windows 365 Cloud PC through a normal browser session. However, you can also connect to Windows 365 Cloud PC with RDP connection. Let’s look at how to connect to Windows 365 Cloud PC with the Remote Desktop App provided by Microsoft.
Browser or Remote Desktop App?
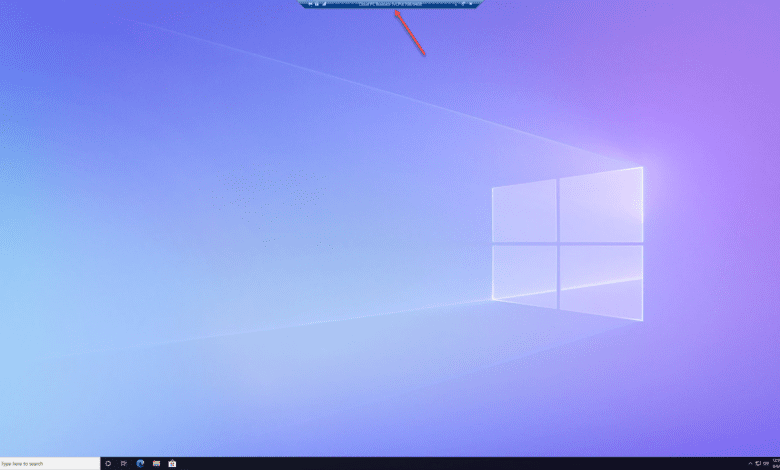
The great thing about the Windows 365 Cloud PC offering is it allows using either a browser or full remote desktop app experience. The browser connection means you don’t have to worry about loading any special client or application. It simply uses a modern browser to stream the Windows 365 Cloud PC experience to your remote end-users. Note below, you can make the browser window full screen and a few other controls such as uploading a file.
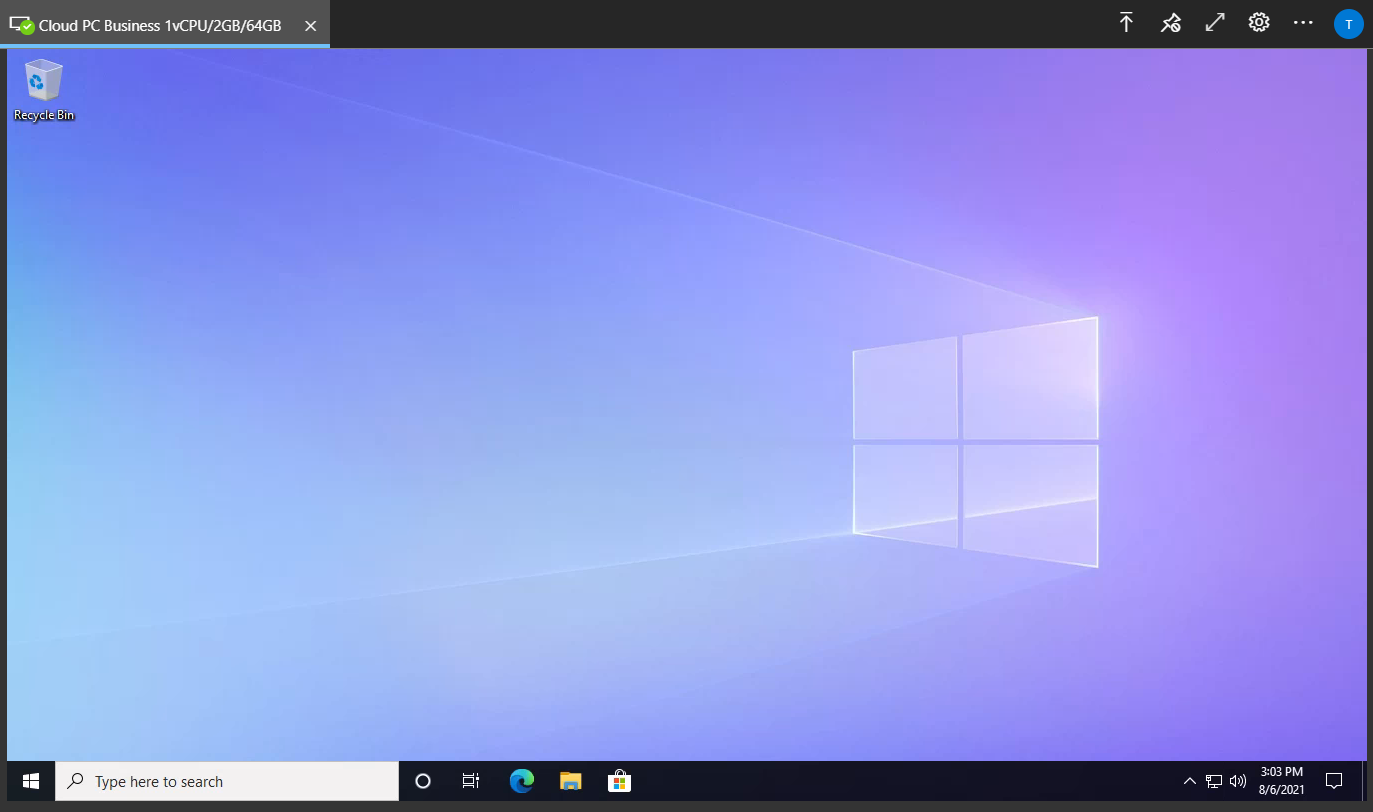
It provides ease of function, accessibility to your remote desktop, and requires no software for IT to manage for the end-user. However, if users need a richer experience with their remote desktop such as using all of their monitors for their session, the Remote desktop App provided by Microsoft in Windows 365 Cloud PC is a great way to consume your remote desktop.
Connect to Windows 365 Cloud PC with RDP
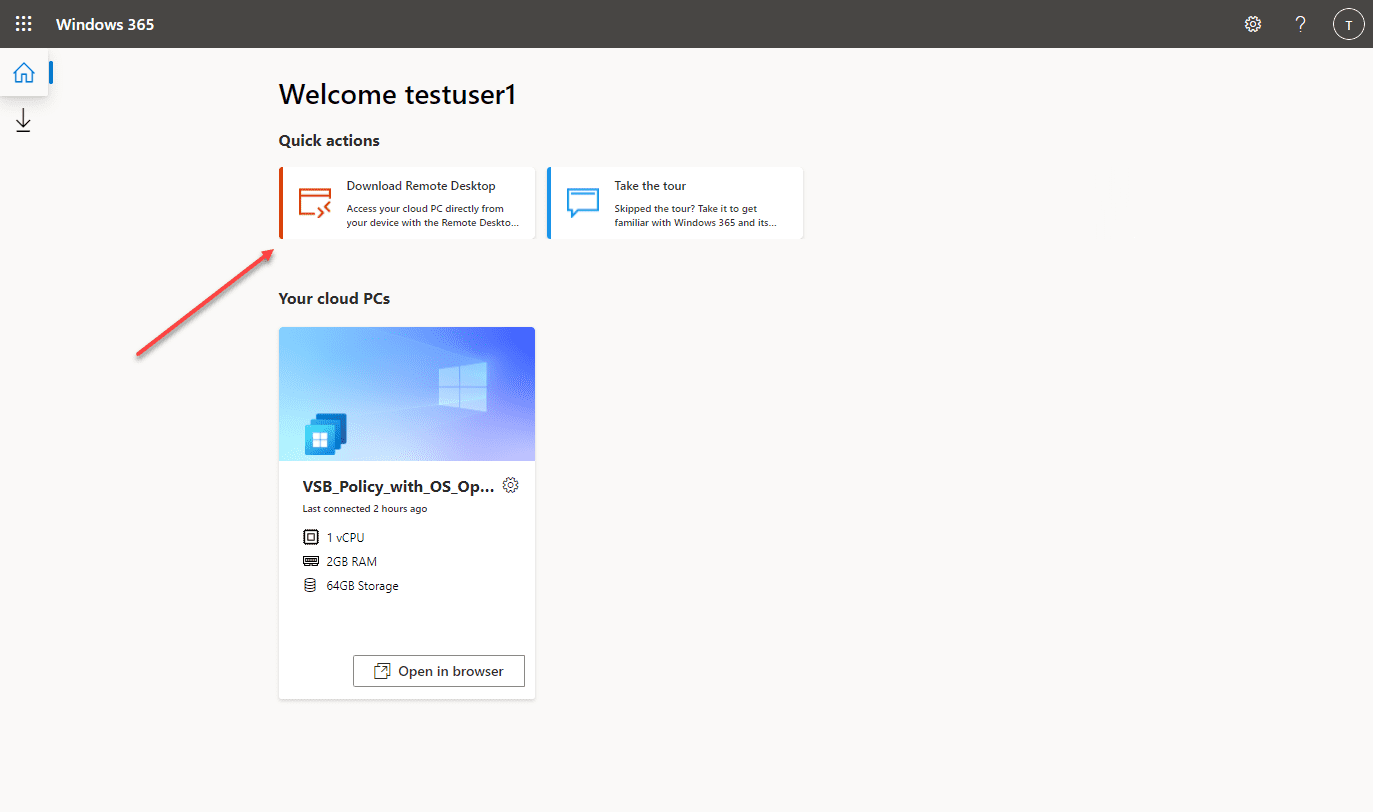
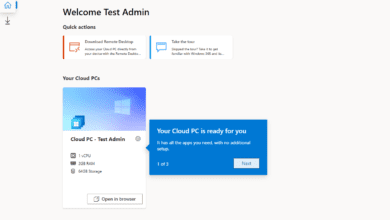
When you gain access to your Windows 365 Cloud PC dashboard, you will see the Download Remote Desktop link in the home screen.
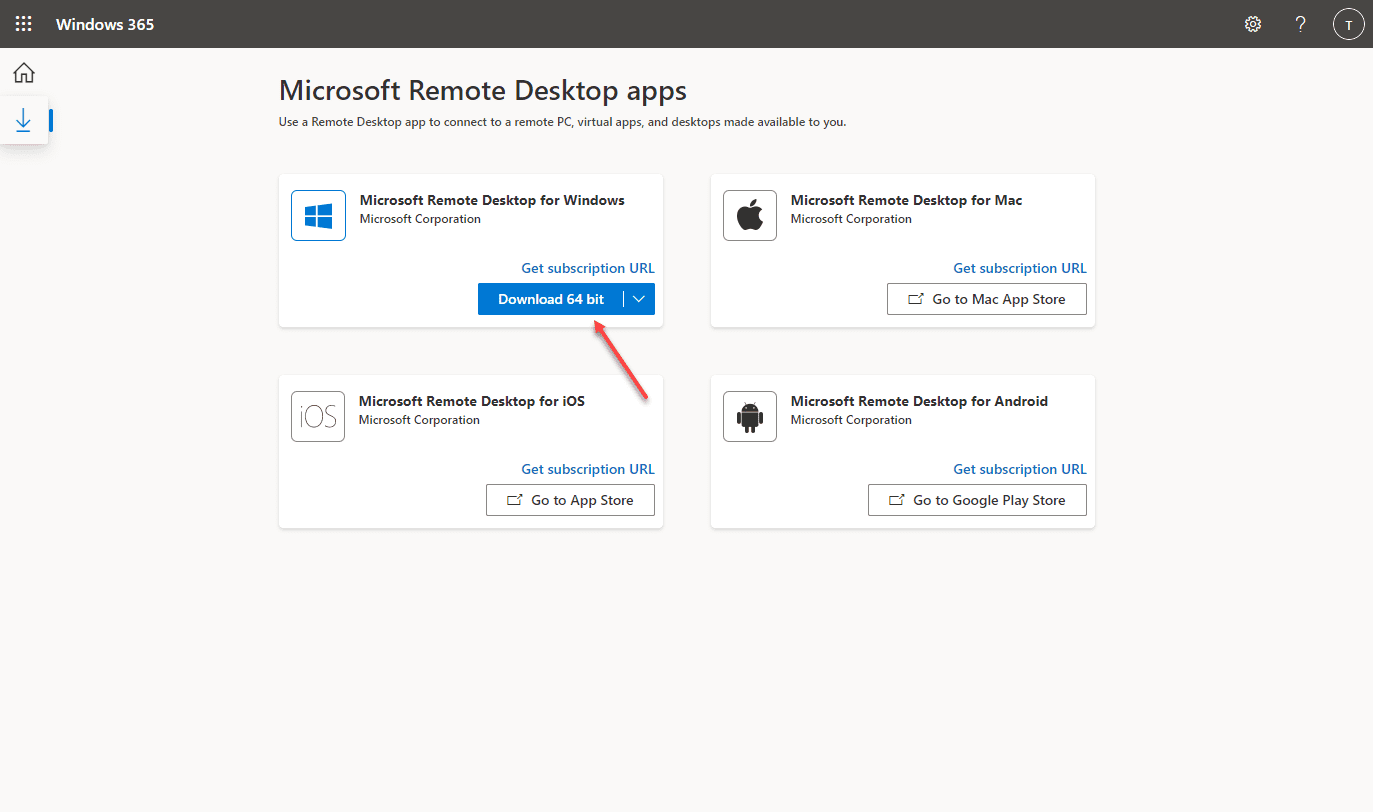
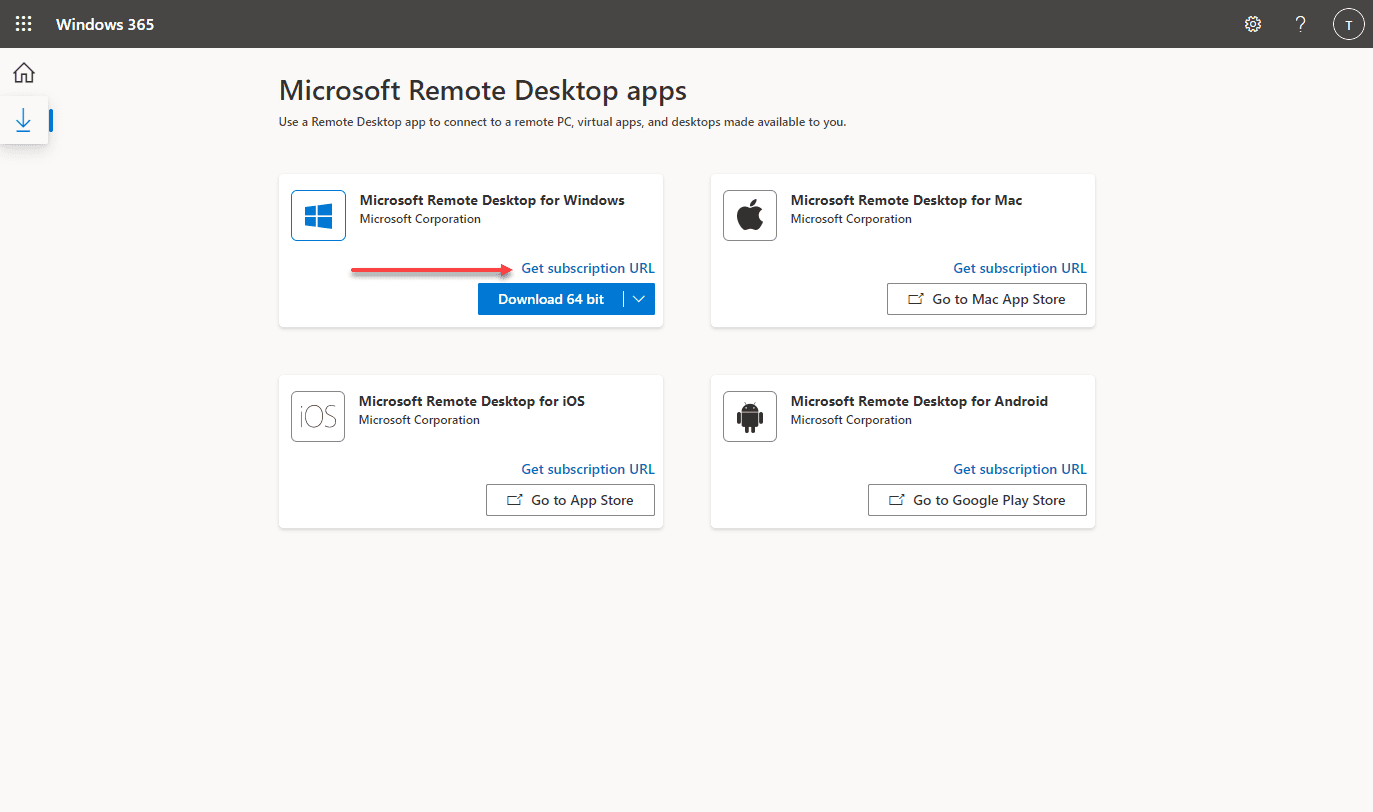
Once you click the Download remote desktop, you will see the screen below – Microsoft Remote Desktop apps. Download the application for your particular platform. You may think that you can simply use the built-in remote desktop RDP (mstsc) tool that is built into Windows. However, you need to download the new app for connecting via RDP. Download the installer.
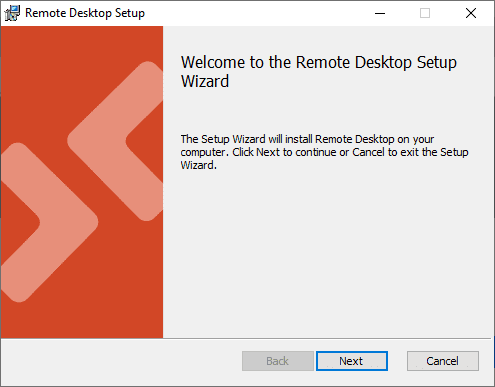
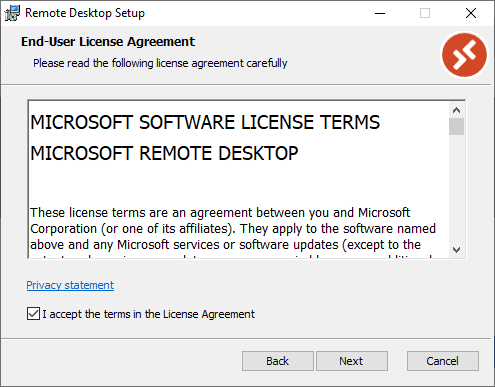
Once you have downloaded the installer, run the installation. It is a simple installer without many settings to configure.
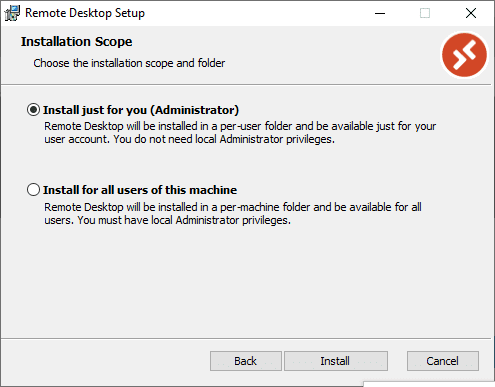
Choose the scope meaning which users can see the installation shortcut for the app.
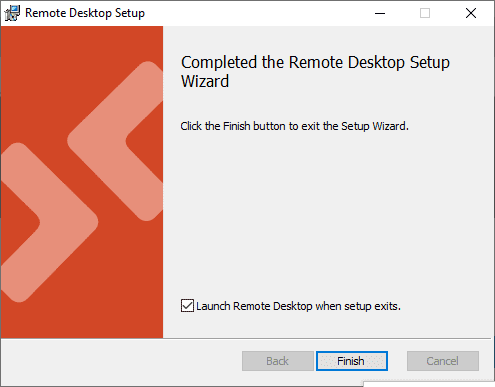
Finish the Remote Desktop setup wizard.
Configure the Windows 365 Cloud PC RDP connection
After installing the Remote Desktop App, how do you connect to your Windows 365 Cloud PC? Click the Get subscription URL link.
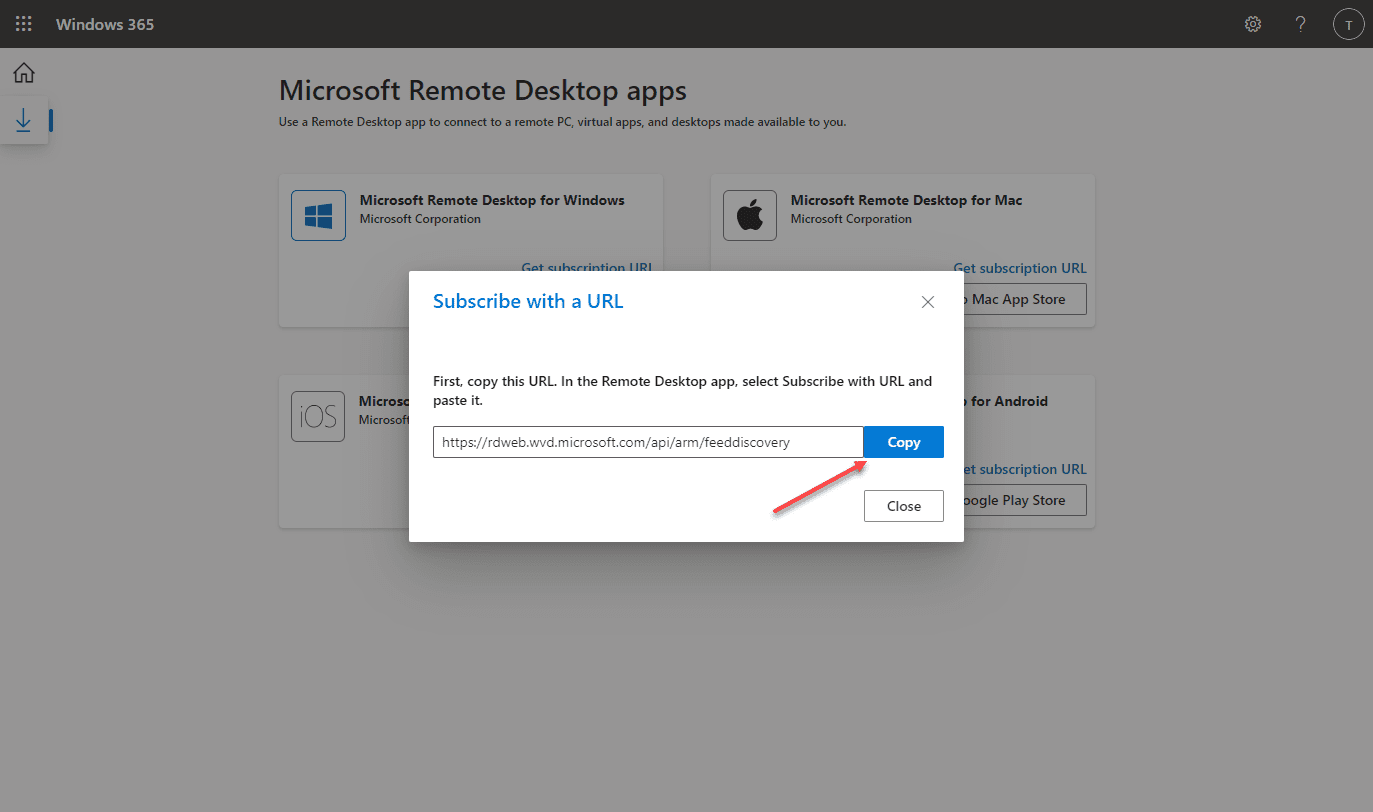
Copy the subscription URL listed in the subscription feed.
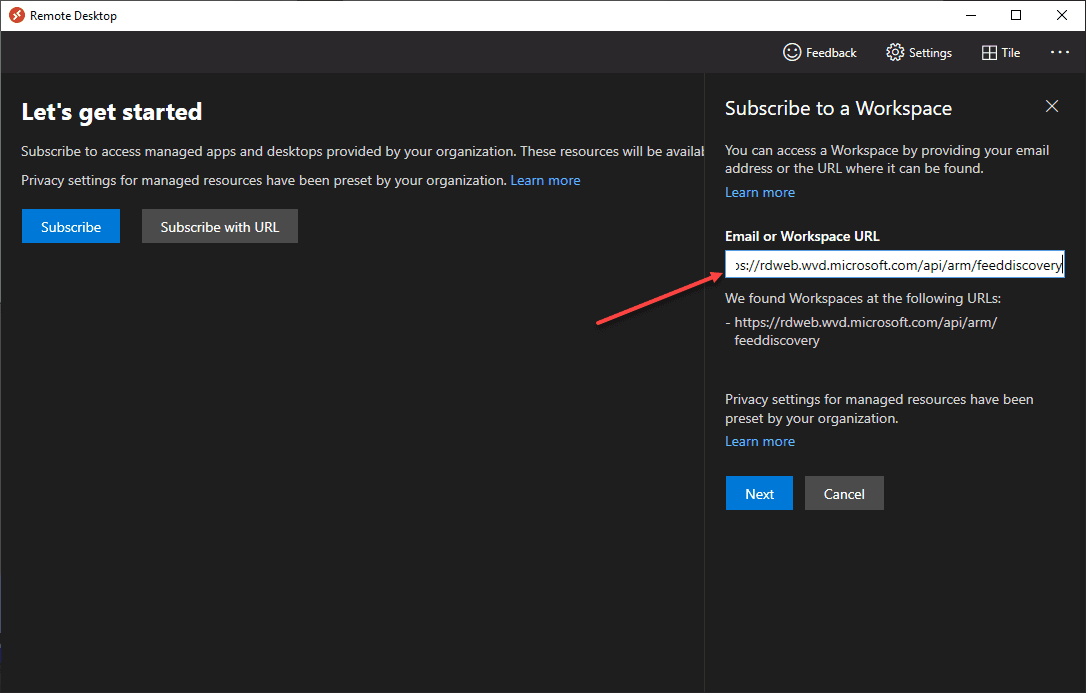
Go to your Remote Desktop app and click the Subscribe with URL.
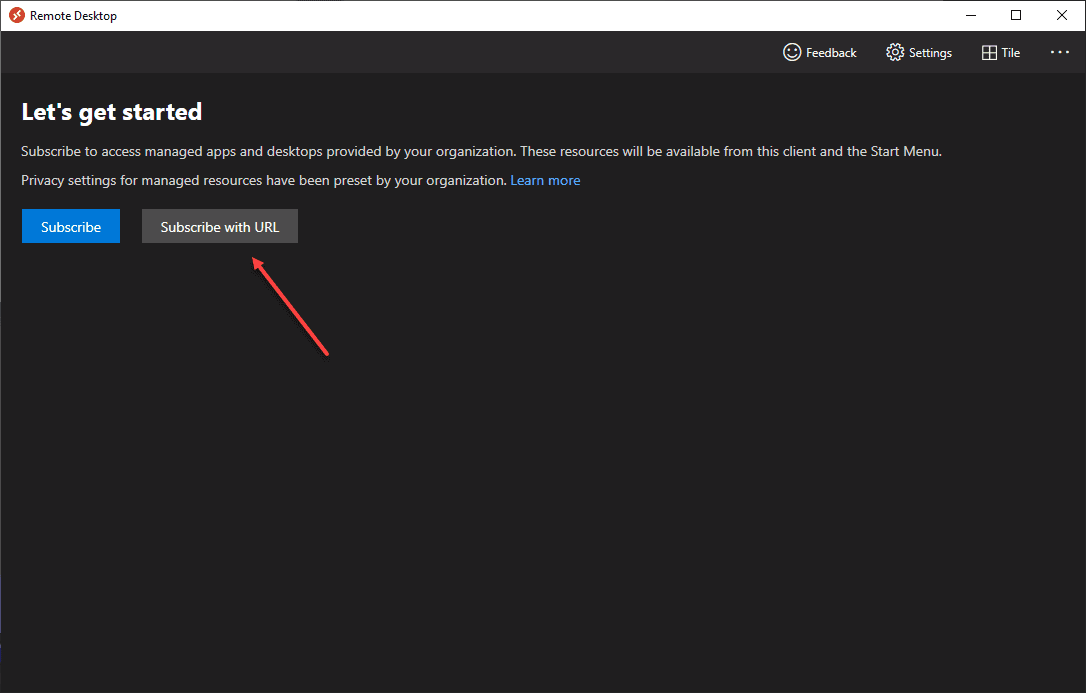
Paste in the subscription URL in the Subscribe to a Workspace. Click Next.
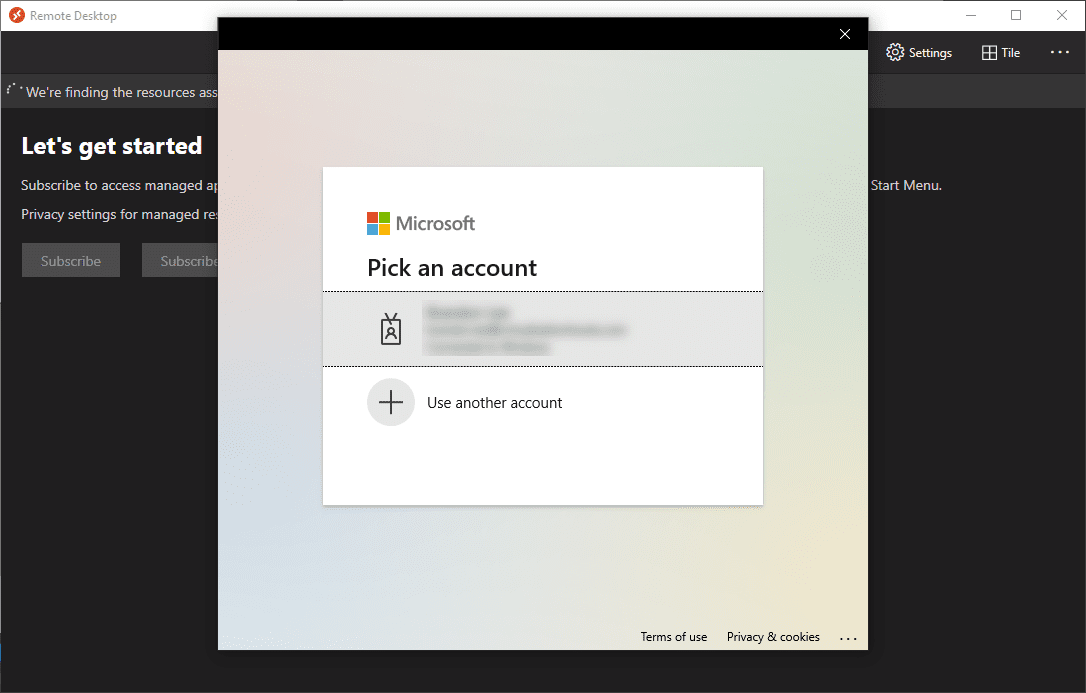
Login with your Windows 365 Cloud PC account.
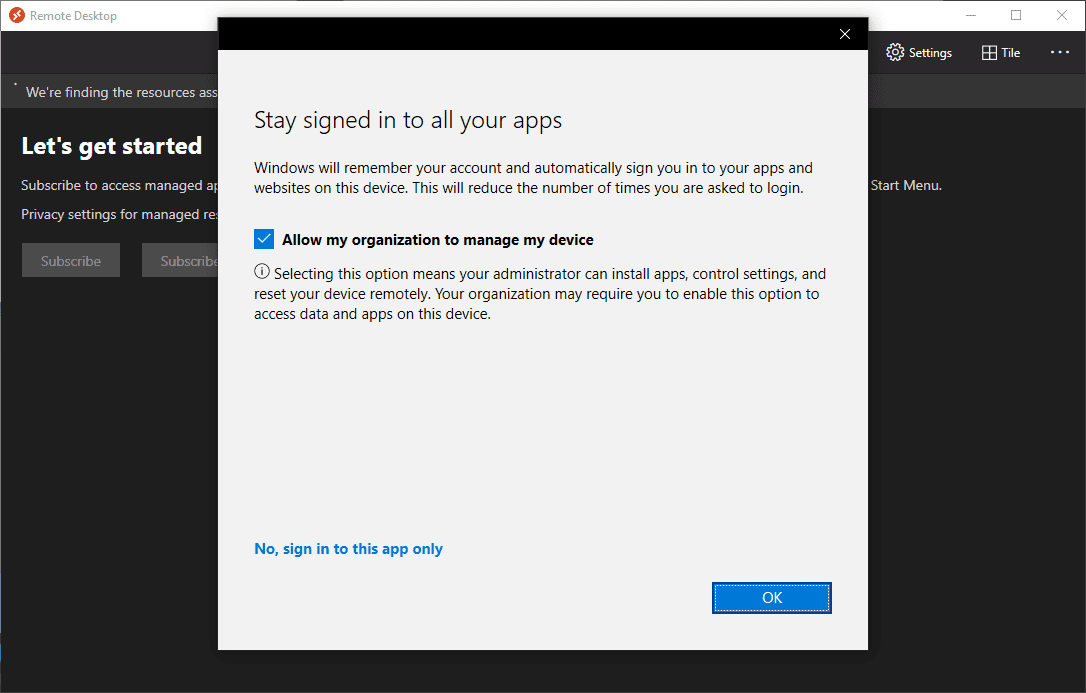
Choose how you want your device to be managed. You can uncheck the Allow my organization to manage my device and still connect to your Windows 365 desktop.
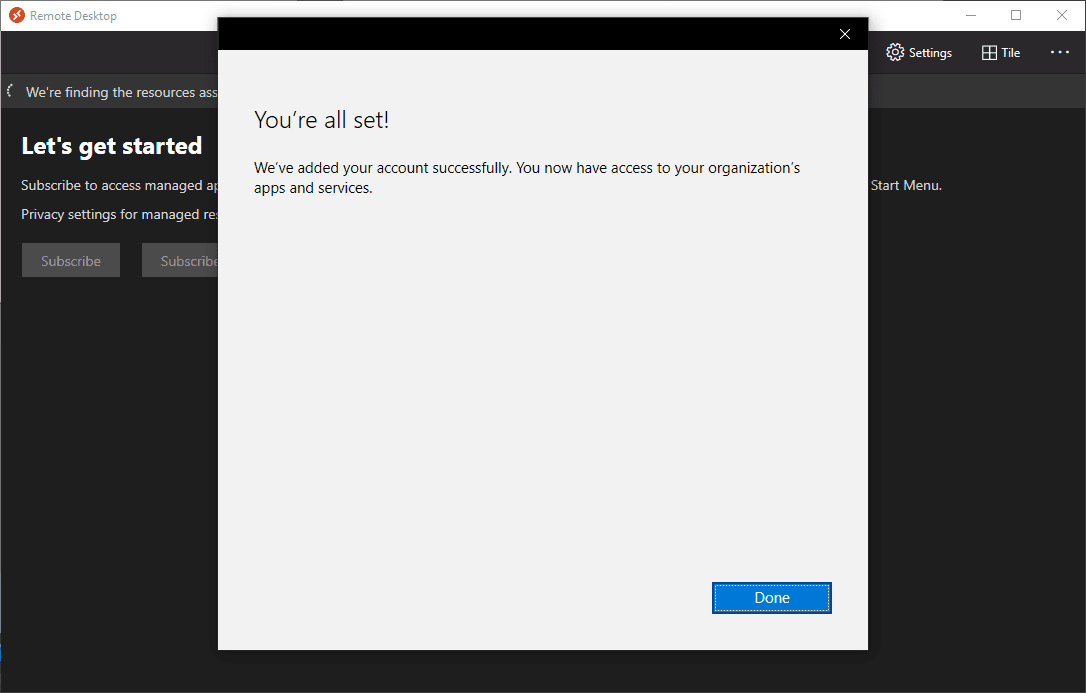
After making your selections, you are all set to connect.
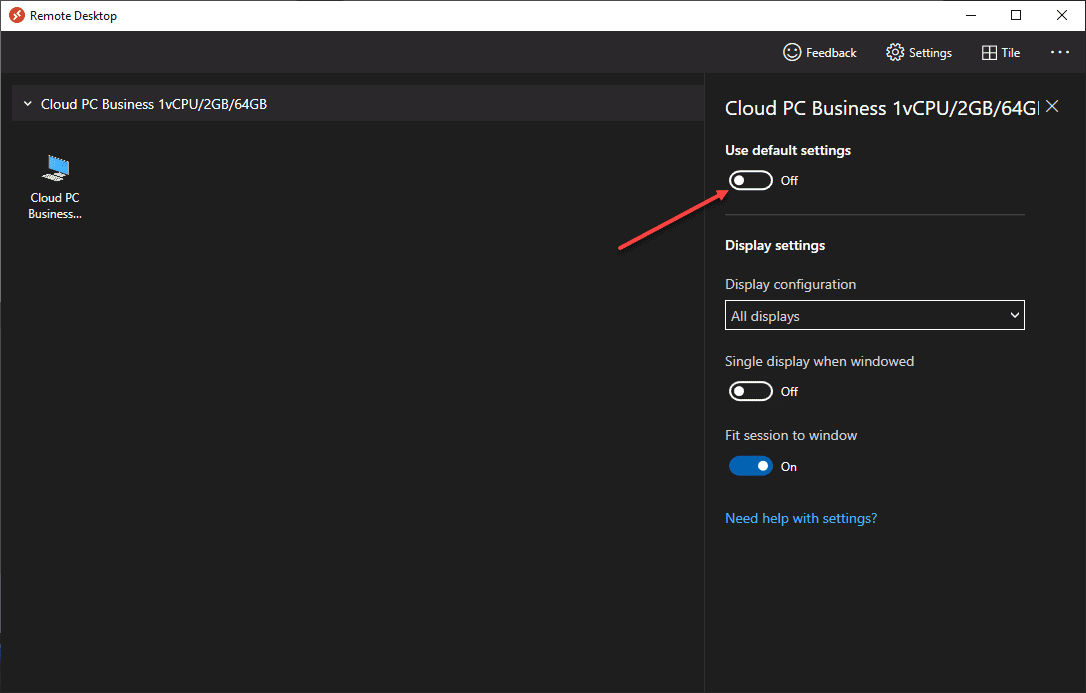
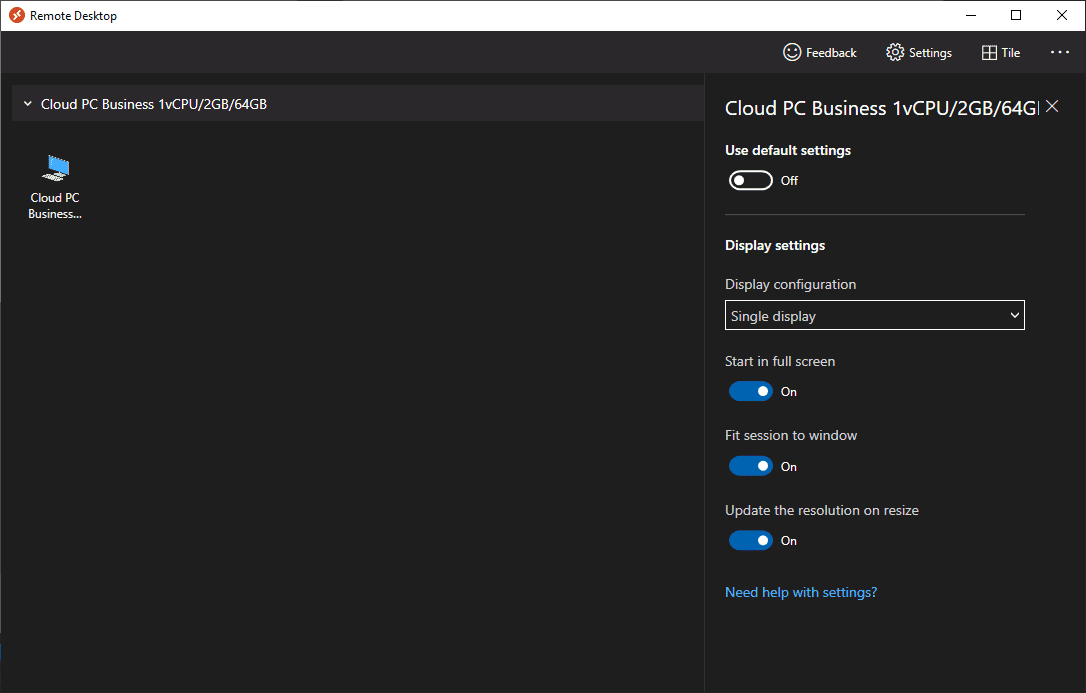
You should see your Cloud PC resources displayed in the Remote Desktop App. To change the settings of your Cloud PC connection, right-click on the connection.
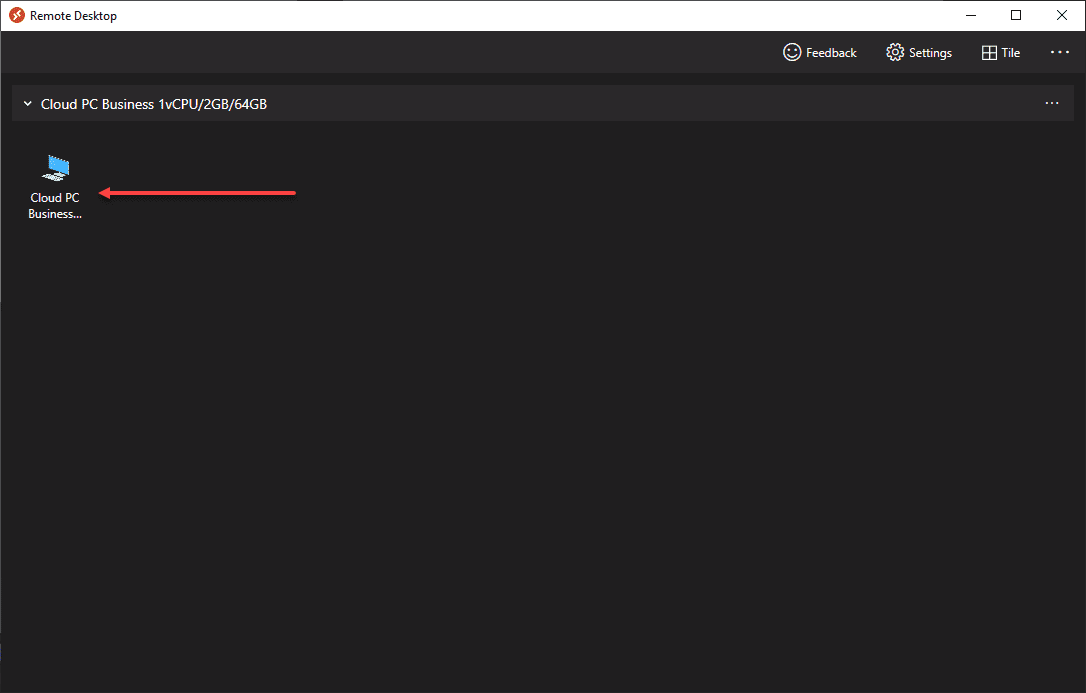
Choose Settings.
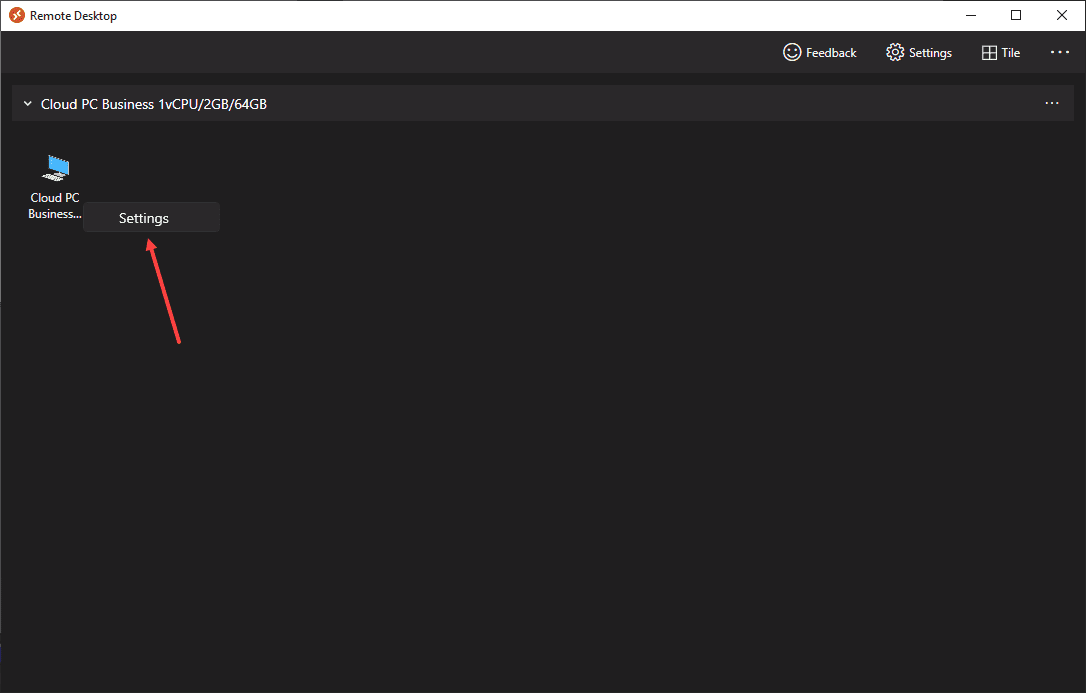
Untoggle the Use default settings.
Now, you can choose a Single display if you want as well as other display options.
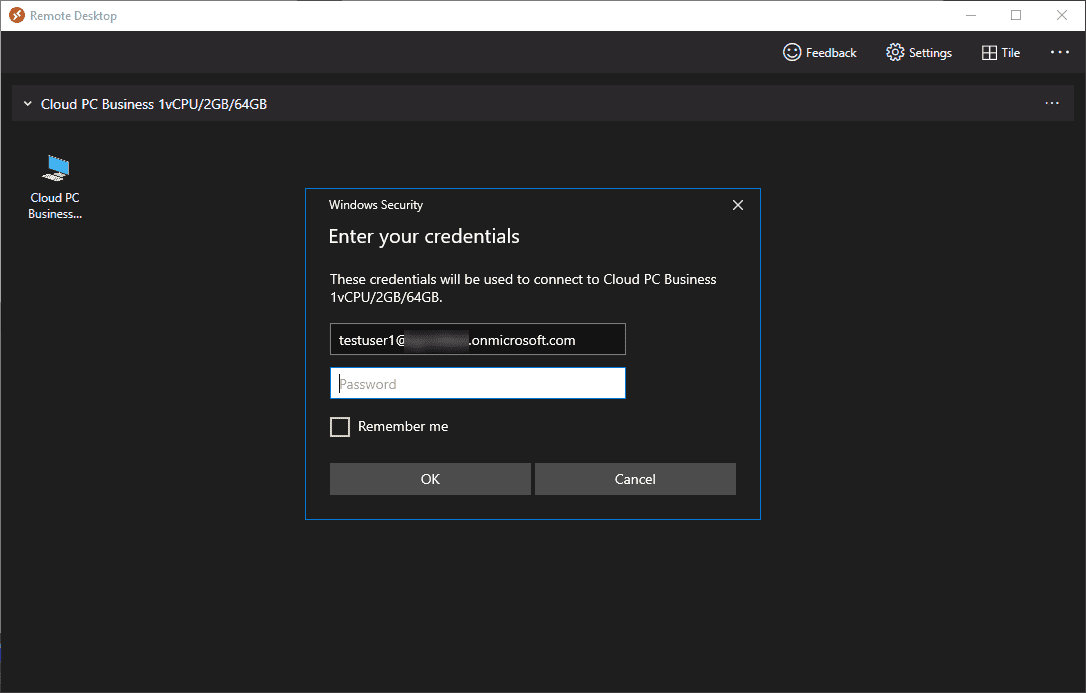
When you are ready to connect, double-click the desktop. Enter the password for the Microsoft account.
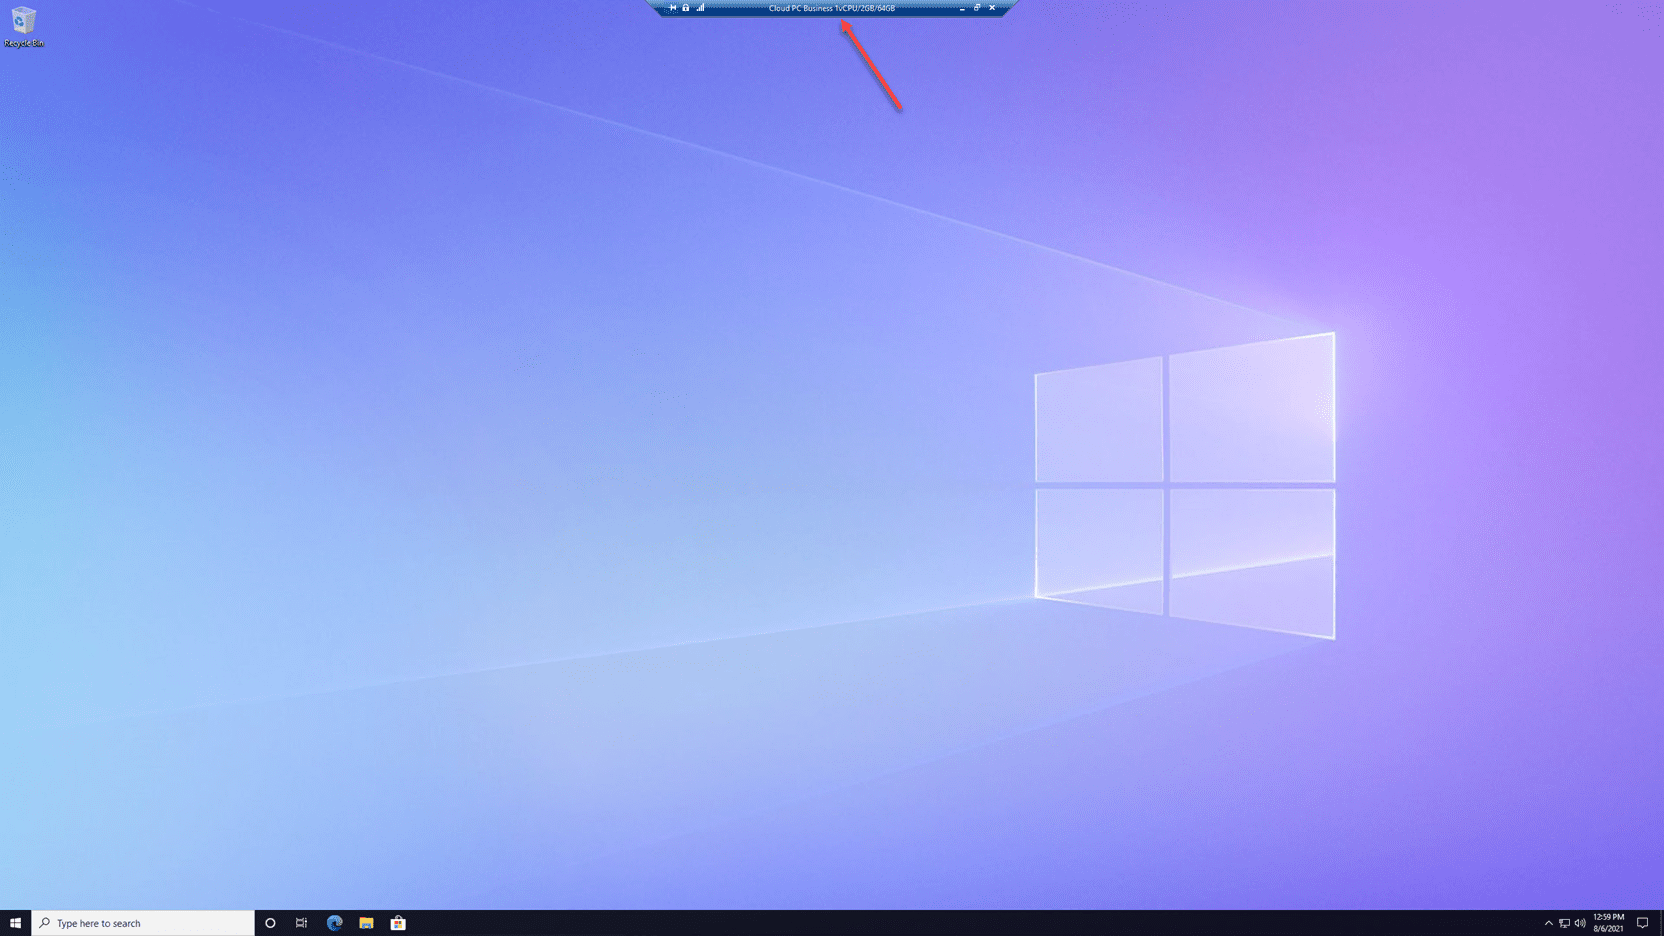
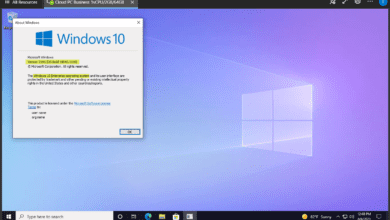
You are connected to your Windows 365 Cloud PC using the Remote Desktop App.
Wrapping Up
Hopefully this walkthrough of how to get connected to your Windows 365 Cloud PC using RDP is helpful to show how you can use the new Remote Desktop App to connect to your Cloud PC. The Remote Desktop App provides more options for your display compared to the browser session. However, both provide great experiences interacting with your desktop.






That is not an RDP File.
Hi Admin,
I’m here to make it quick and interesting.
Are you open to link insertions in old blog posts on your website? If so, what’s the cost?
If not, would you consider a 3-way link exchange to enhance your website ranking?
Cheers,
Celestina Jordan
Craigs 9