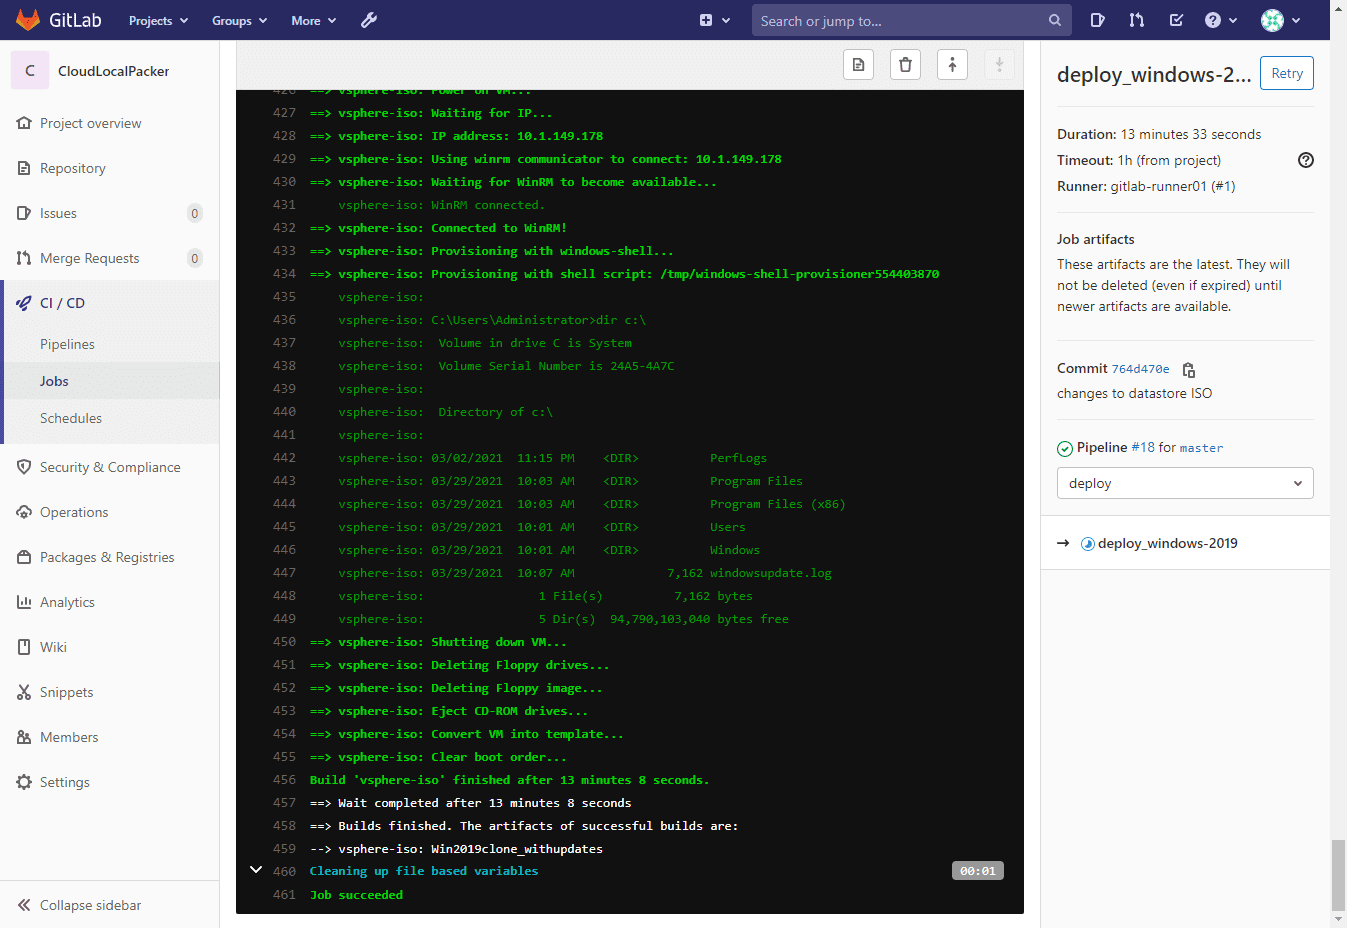
Lately, I have been getting more into automation, CI/CD pipelines, and other technologies. I knew it was time with the home lab to delve off into using CI/CD pipelines to do some common things I generally do in a manual way. I have been employing automation for quite some time by using Packer-built images. However, I wanted to take this a step further and further automate the process by using a CI/CD pipeline. When I make changes to the configuration of the Packer build, by way of a git push, I wanted to automatically kick off a build of the new templates contained in the pipeline. Let’s take a look at Automated VMware vSphere templates with automated Packer CI/CD Pipeline Build and see how this can be done.
GitLab CI/CD Pipeline tool
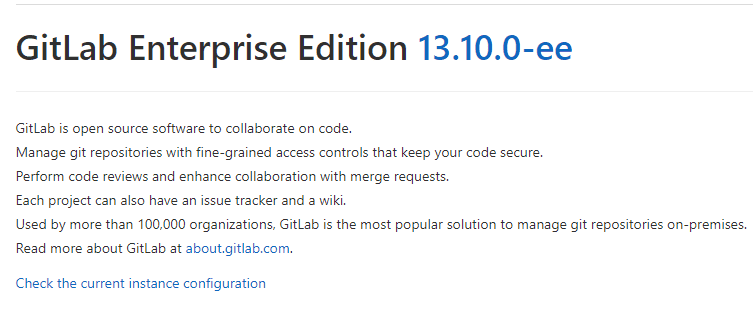
There are many CI/CD pipeline tools out there that are great for use with creating automated workflows that integrate nicely with Git. However, GitLab was the tool of choice for me in the home lab environment. It is loaded with a wealth of features and it has several versions that allow fully automating your home lab or production environment, depending on your needs. I am using GitLab Enterprise Edition in the home lab. There are a couple of limitations with CE that weigh into synchronizing remote Git repositories and such. However, for creating simple CI/CD pipelines for your VMware vSphere template builds, it is more than sufficient.
I want to give a shout-out to Mark Brookfield’s post here: Using GitLab CI/CD Pipelines to Automate your HashiCorp Packer Builds | virtualhobbit as this was a great help to do what I was looking to do. I used the basic pipeline file that @virtulhobbit used for the automated build process with tweaks for my environment and this worked well.
Installing GitLab in your environment
There are a lot of really great blog posts on this subject that help walk you through getting GitLab setup and configured for your environment. I have a post that I wrote as well walking through the process as well as a workaround for an error I encountered. You can find that post here:
Getting Self-Signed Certificate in place for GitLab runner
It is imperative for having a functioning GitLab environment with GitLab Runners that work as intended that you have trusted SSL certs. Now, the easy way is to actually have a trusted CA certificate in play and that is certainly how you want to do it for production environments. For my internal lab domain, however, I didn’t have anything exposed to the outside for this particular use case, so I went with a self-signed cert running on my GitLab server.
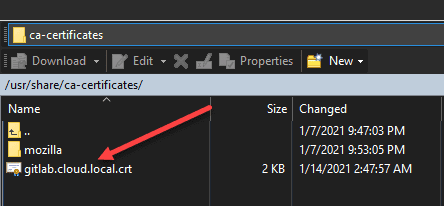
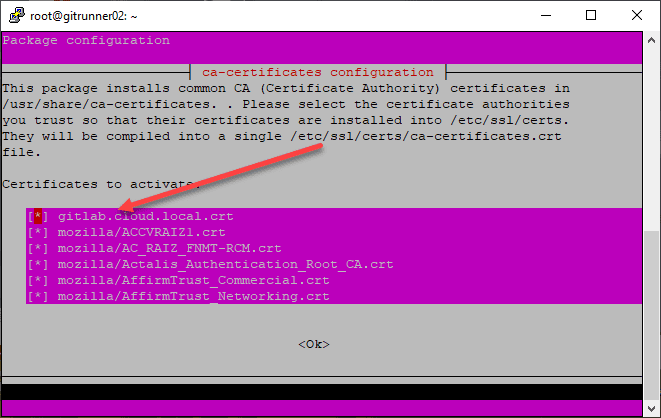
If you do that, you will need to export the self-signed certificate from your GitLab server and import it on the Linux boxes you are using for runners, or other OS’es. Below are the steps you take in Ubuntu to get the self-signed cert in place for import.
Copy your self-signed certificate in the form of a .crt file to /usr/share/ca-certificates/.
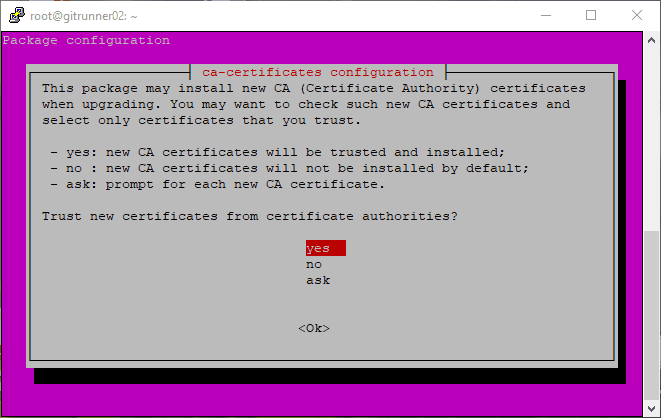
Then run:
sudo dpkg-reconfigure ca-certificates
This will automatically install the needed .pem file into the location
/etc/ssl/certs/
Installing the Gitlab Runner for executing CI/CD Pipelines
You can use GitLab as an appliance on its own for simple Github-like functionality where you are checking in code and using it as your version control system. However, once you want to start using GitLab for CI/CD purposes, you need to install GitLab runners in the environment. Think of the GitLab Runner as the “worker bees” that actually do the work that is defined in your CI/CD pipeline files.
The great thing about GitLab is it provides many great options for installing and using GitLab Runners in the environment, from installs in Windows, Linux, and even macOS, to running in Docker containers and Kubernetes.
I will be using the Docker Executor on my Ubuntu VMs. To do that, I will install Docker and then run the configuration for the GitLab runner. Run the following commands to install Docker in Ubuntu 20.04:
1.  sudo apt install apt-transport-https ca-certificates curl software-properties-common

2.  curl -fsSL https://download.docker.com/linux/ubuntu/gpg | sudo apt-key add -

3.  sudo add-apt-repository "deb [arch=amd64] https://download.docker.com/linux/ubuntu focal stable"

4.  sudo apt update

5.  apt-cache policy docker-ce

6.  sudo apt install docker-ce
7. Once you have Docker installed, you can install the GitLab Runner. To do that, use the following commands:
8.  curl -L "https://packages.gitlab.com/install/repositories/runner/gitlab-runner/script.deb.sh" | sudo bash

9.  export GITLAB_RUNNER_DISABLE_SKEL=true; sudo -E apt-get install gitlab-runner

10.  gitlab-runner register --tls-ca-file=/etc/ssl/certs/<your self-signed cert>.pem
Create the GitLab Pipeline file
You will want to already have a working Packer installation and files that you are able to use to build your machines/servers in your environment before working with GitLab. This helps to flush out any picky issues before you introduced CI/CD into the mix. I have committed my files to the repo and created a new GitLab Pipeline file. You can read my blog post here about creating a Packer installation for Windows Server 2019:
It looks for the file “.gitlab-ci.yml” by default. Note the leading period. The file below has two stages for build and deploy. These will run as separate jobs in your pipeline in GitLab.
stages:
  - build
  - deploy

image: ubuntu

before_script:
  - apt-get update
  - apt-get --yes --force-yes install wget git
  - apt-get install -y unzip
  - git config --global http.sslVerify false

get_packer:
  stage: build
  artifacts:
    paths:
    - packer
  script:
    - echo "Fetching packer"
    - wget https://releases.hashicorp.com/packer/1.7.0/packer_1.7.0_linux_amd64.zip
    - unzip packer_1.7.0_linux_amd64.zip
    - chmod +x packer

deploy_windows-2019:
  stage: deploy
  script:
    - echo "Deploying Windows Server 2019"
    - cd windows2019
- ../packer build -force -var-file varswin2019.json windowsserver2019.jsonWrapping Up
It opens up a whole new world of possibilities when you start to uncover the capabilities of CI/CD in the enterprise. This is just one use case that can help to explore those possibilities. As you can see, the process builds on a Packer template build you may already be using to build out your templates.
Google is updating how articles are shown. Don’t miss our leading home lab and tech content, written by humans, by setting Virtualization Howto as a preferred source.



Hi Mark,
I guess your packer variable file will have sensitive passwords and credentials. How do you ensure these secrets are not exposed in your repository and git lab pipeline as well?
Yared,
Thank you for the comment! I like to use CI/CD pipelines with GitLab. It provides a great way to mask variables so you don’t have to worry about things in plain text. Check out my post here and look at the section about pipeline variables: https://www.virtualizationhowto.com/2024/03/automate-home-lab-server-updates-with-gitlab-ci-cd/.
Brandon