Install GitLab Ubuntu 18.04 and UTF-8 Error
One of the projects that I have been wanting to accomplish in the home lab was getting my own local Git server in the environment. I have wanted for some time to get a GitLab server stood up in the lab and wanted to get this done among other high priority projects. In this quick walk through, I will show getting GitLab Enterprise Edition/Community Edition stood up in your environment as well as an error encountered. Let’s take a look at how to install GitLab Ubuntu 18.04 and UTF-8 Error.
GitLab Community Edition vs Enterprise Edition
Enterprise Edition is the pay for edition where you get a license and have access to additional features. This is on a subscription basis. As described on the official GitLab page, they tend to steer you to the Enterprise Edition. The reason being is that the Enterprise Edition without a subscription is basically community edition.
However, it allows you to be able to switch to the Enterprise subscription without having to upgrade your existing installation. So, there is more flexibility for you in terms of licensing and functionality if you first install Enterprise Edition. Community Edition is more cumbersome to switch between versions and between community and enterprise edition.
Install Ubuntu 18.04
The first thing that you will want to do is get an Ubuntu Server 18.04 box up and running, patched, and a few prerequisites which we will list below. By the way, if you want to have a super cool way to deploy Ubuntu in your lab or production environment, take a look at the post here on how to use Packer to spin up an automated install of Ubuntu 18.04.
What are the prerequisites?
sudo apt-get install -y curl openssh-server ca-certificates
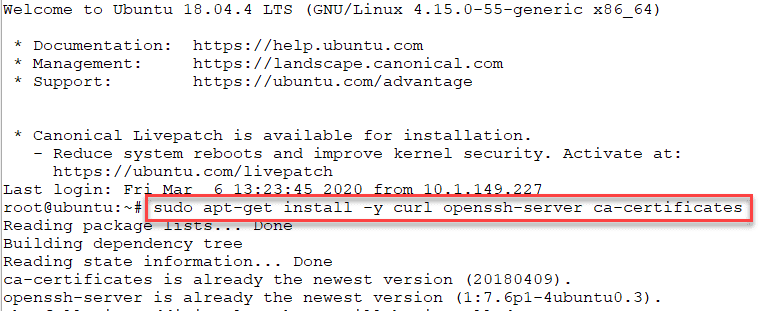
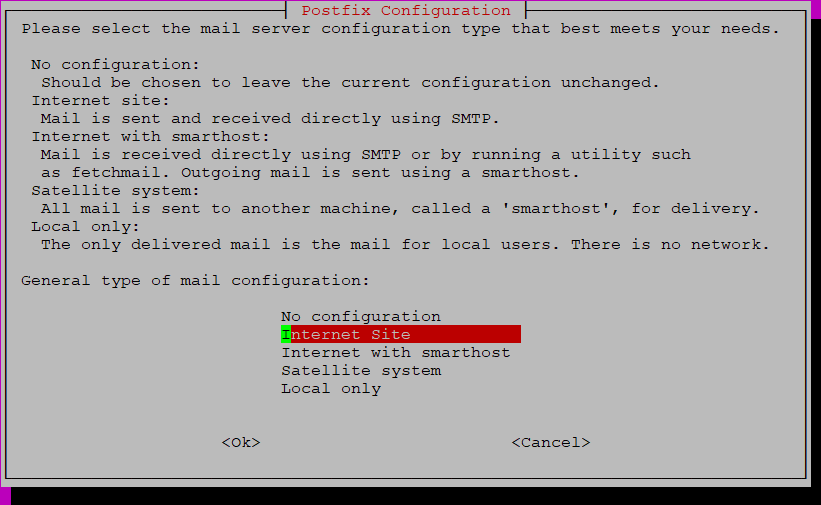
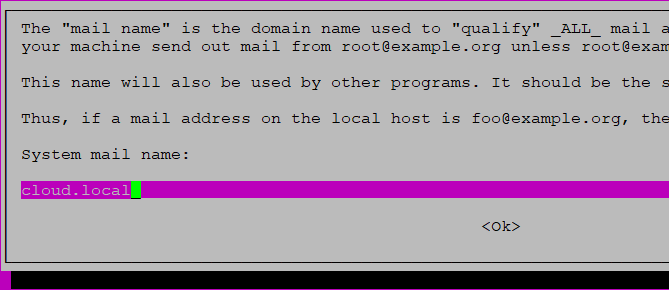
And also install Postfix:
sudo apt-get install -y postfix
Add GitLab Repository
Next, you need to add the GitLab repository to pull from for the installation of GitLab.
curl https://packages.gitlab.com/install/repositories/gitlab/gitlab-ee/script.deb.sh | sudo bash
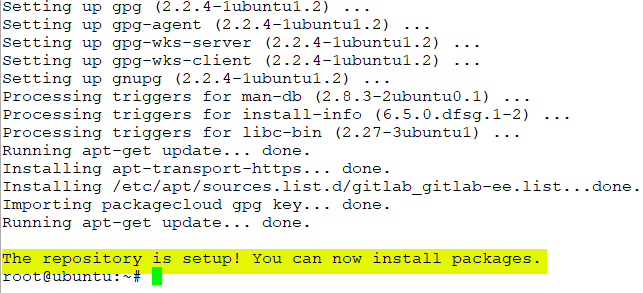
Install GitLab Ubuntu 18.04 and UTF-8 Error
Now, we can begin to install GitLab Ubuntu 18.04. To do that, you need to first decide on how you want to access your GitLab server address. So, you need to come up with your FQDN first. I went ahead and prestaged this DNS record in the lab so everything would just work once the install was finished.
Also, you will notice below, I am using HTTP instead of HTTPS. I want to setup my HTTPS manually, so to get GitLab installed without any HTTPS configured, you can just use the HTTP URL instead.
sudo EXTERNAL_URL="http://git.cloud.local" apt-get install gitlab-ee
At this point, you should start seeing the Chef installation script kick off and start installing GitLab. After a couple of minutes, I ran into the following error message:
There was an error running gitlab-ctl reconfigure:

execute[/opt/gitlab/embedded/bin/initdb -D /var/opt/gitlab/postgresql/data -E UTF8] (postgresql::enable line 85) had an error: Mixlib::ShellOut::ShellCommandFaile
d: Expected process to exit with [0], but received '1'
---- Begin output of /opt/gitlab/embedded/bin/initdb -D /var/opt/gitlab/postgresql/data -E UTF8 ----
STDOUT: The files belonging to this database system will be owned by user "gitlab-psql".
This user must also own the server process.

The database cluster will be initialized with locale "en_US".
STDERR: initdb: encoding mismatch
The encoding you selected (UTF8) and the encoding that the
selected locale uses (LATIN1) do not match.  This would lead to
misbehavior in various character string processing functions.
Rerun initdb and either do not specify an encoding explicitly,
or choose a matching combination.
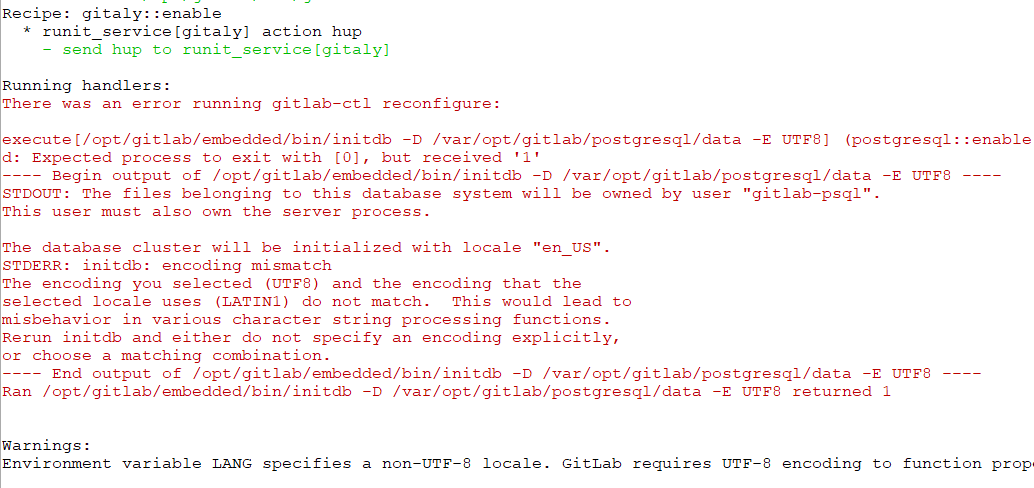
After a bit of Googling, the error refers to an encoding mismatch. The workaround? Just a few commands typed into the terminal on the Ubuntu 18.04 server:
export LC_ALL="en_US.UTF-8"
export LC_CTYPE="en_US.UTF-8"
Once you have done this, kick the GitLab installation back off using the following command:
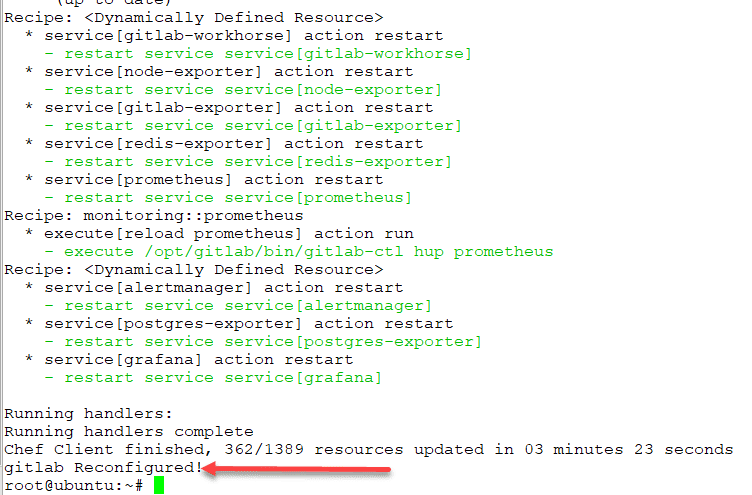
sudo gitlab-ctl reconfigure
After rerunning the command, GitLab successfully installed for me.
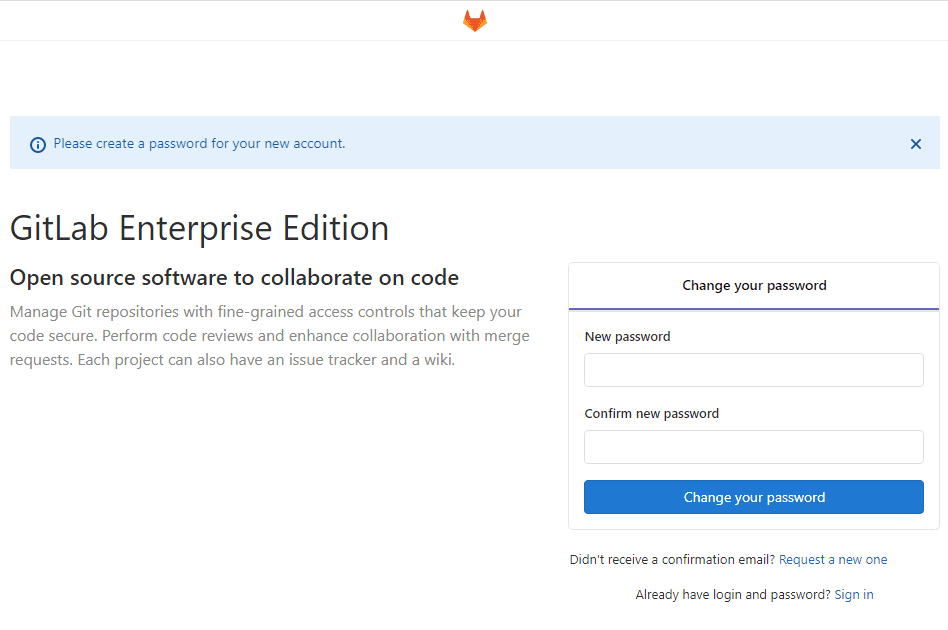
When you first login, you will need to set your password for your root account. After setting your password, use this and the user root to login.
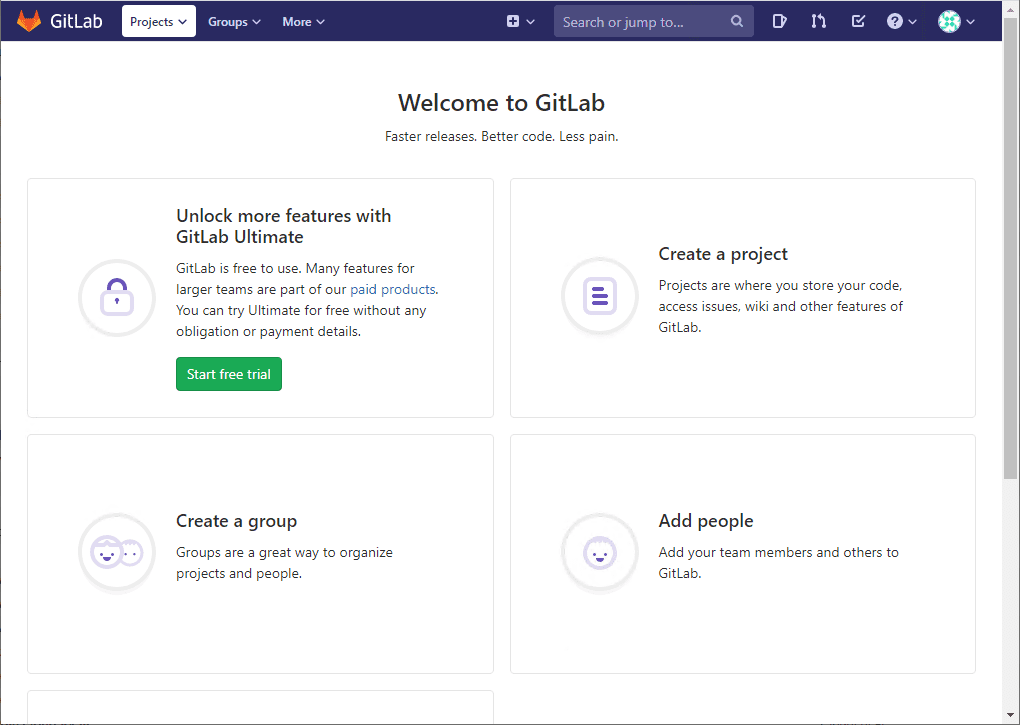
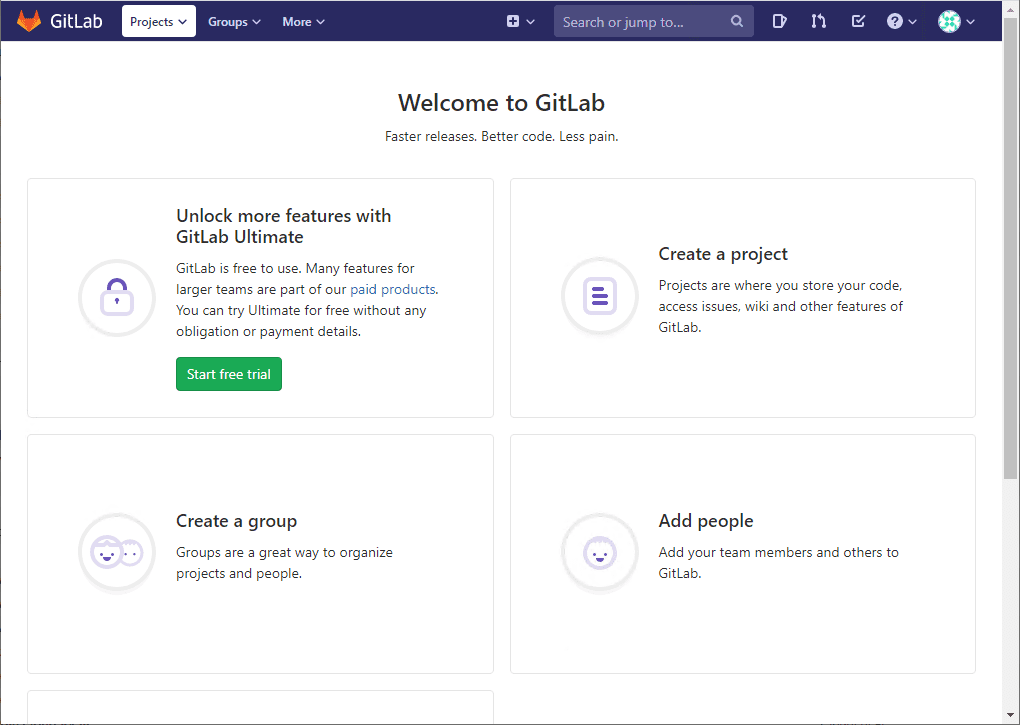
After logging in, you will see the GitLab interface so you can continue customizing your configuration.
Wrapping Up
Hopefully this post will help any who may Install and receive GitLab Ubuntu 18.04 and UTF-8 Error. The install itself is very straightforward. However, the error threw me off for just a bit, but as it turns out, there is a fairly easy workaround in just a couple of commands. Look for more posts covering my adventures with GitLab in the home lab.


