Upgrade vSphere 6.0 to 6.7 – vCenter Server VCSA
We just covered the topic of VMware 6.0 End of Life coming in March 12, 2020. If you are still running VMware vSphere 6 in your environment, now is the time to start thinking about your upgrade to vSphere 6.7. Actually, the process is not that difficult in more straight line configurations running a vCenter Server and ESXi hosts at version 6.0. In this post we will take a look at how to upgrade vsphere 6.0 to 6.7 and see how you need to start the process of getting your vSphere 6.0 environment upgraded to the latest and greatest 6.7 release. Let’s see where your journey needs to begin as we get started.
Upgrade vCenter VCSA 6.0 to 6.7
The first component you will upgrade when you upgrade vSphere 6.0 to 6.7 or 6.5 to 6.7 is vCenter Server VCSA. This is because you need to upgrade your vCenter Server to the latest version so it can “talk” to both downlevel and uplevel ESXi hosts. As you upgrade your ESXi hosts to 6.7, the upgraded vCenter Server appliance will be able to operate with all the hosts running either ESXi 6.0 or ESXi 6.7. For this process, let’s take a look at the following steps:
- Create a snapshot of your vCenter Server 6.0 VCSA appliance
- Apply any updates needed for your vCenter Server 6.0 appliance
- Download the latest vCenter Server 6.7 ISO image available from VMware
- Launch the vCenter Server Appliance 6.7 Installer utility
- Stage 1 – Deploy New VCSA 6.7 Appliance
- Stage 2 – Copy Data from the Source vCenter Server Appliance
1. Create a Snapshot of your vCenter Server VCSA Appliance
Where do you begin? Since you will be checking for updates and possibly applying updates to your vCenter Server 6.0 VCSA appliance, it is a good idea to create a snapshot. This allows having a quick rollback point in case something with the updates goes awry.
In the older vSphere 6.0 environment, you will need to connect to your ESXi 6 host directly with the vSphere “fat” Client and take a snapshot of your VCSA 6.0 appliance this way since there is no host UI in ESXi 6.0.
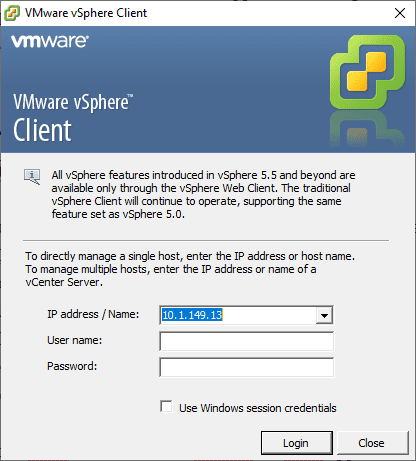
Once the snapshot is taken, you are ready to begin looking for and applying any updates that may be needed to your VCSA 6.0 appliance.
2. Checking for and Applying Updates to vSphere 6.0 VCSA Appliance
First things first. You will want to check and make sure you are running the latest and greatest vCenter Server 6.0 appliance version. Generally speaking, you want to be running the newest version of vSphere 6.0 that you can before running the upgraded to vSphere 6.7 via the VCSA upgrade appliance process. This helps to ensure problems are minimized and you are working with the latest version of vSphere 6.0 that hopefully has any upgrade bugs patched and so on.
To do that, login to your VAMI interface of the vCenter 6.0 VCSA appliance and under Update run the Check Updates > Check URL.
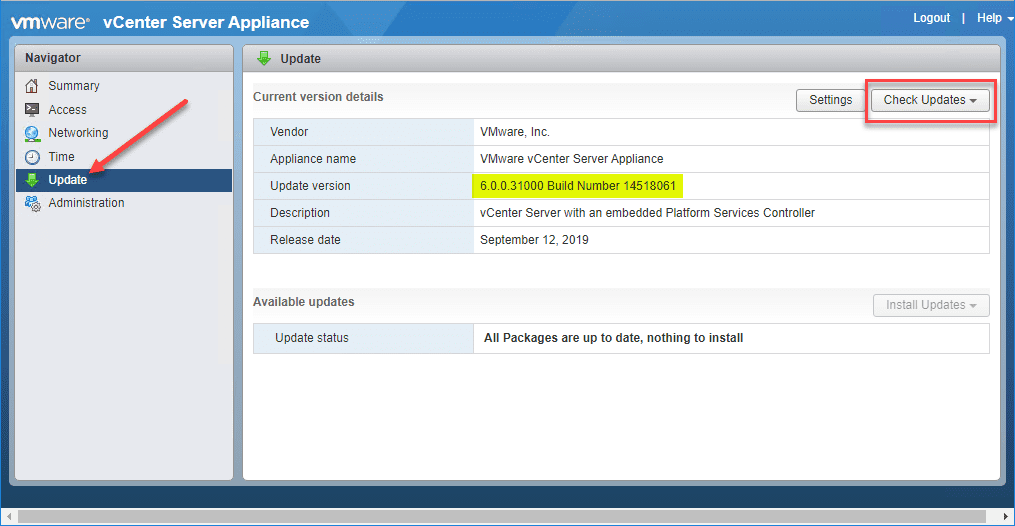
Run and apply updates that may be showing as needed for your appliance.
3. Download the Latest vCenter Server 6.7 ISO Available from VMware
The next step is you will want to obtain the latest VCSA version of the vCenter Server VCSA 6.7 Appliance ISO that is available from VMware. This will again be in ISO format. So, you will download the ISO, and then mount the ISO so you can run the VCSA installer which will allow the upgrade feature.
At the time of this writing, vSphere vCenter Server VCSA 6.7.0 U1b was available for download. The download is weighs in at 3.95 GB.
Launch the vCenter Server Appliance Installer
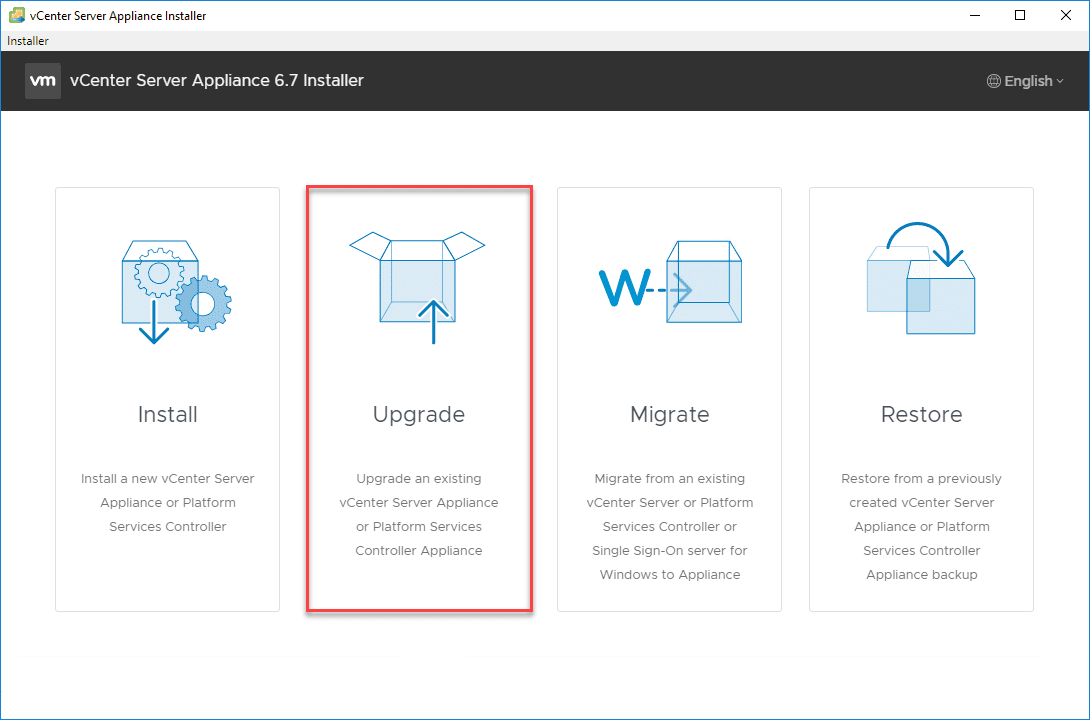
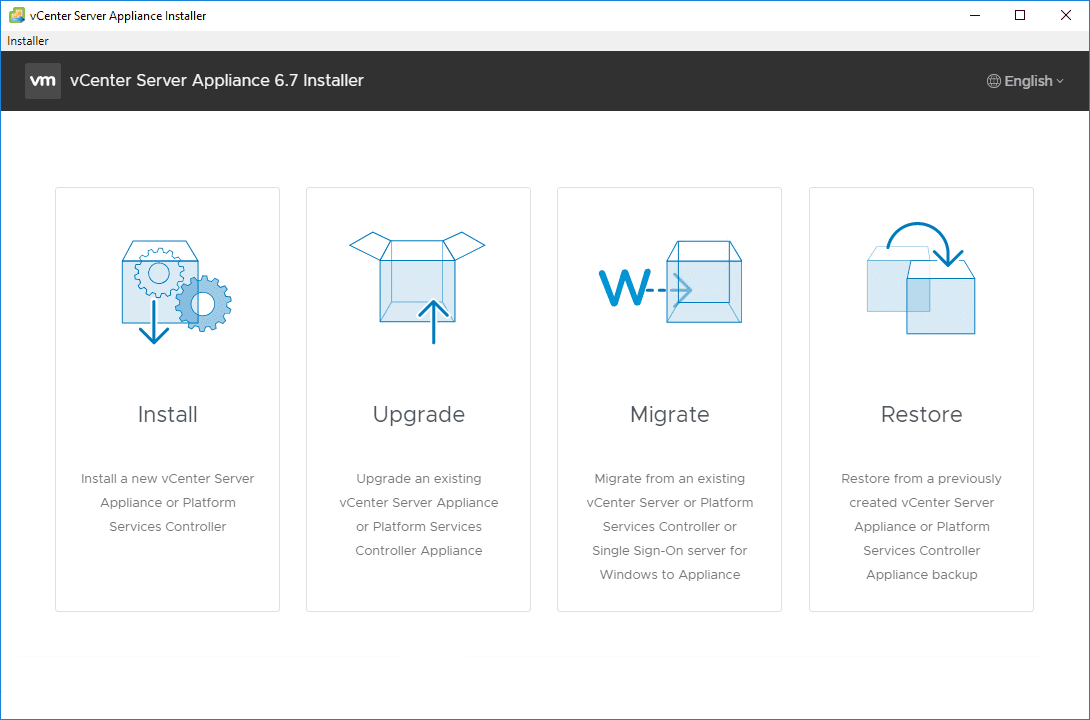
VMware has greatly enhanced the functionality of the vCenter Server Appliance 6.7 Installer. You no longer need a client plugin for your browser to install the VCSA appliance. It is a self-contained installer that you run from the mounted ISO file and then you have access to the installer tools that allow you to:
- Install
- Upgrade
- Migrate
- Restore
We are interested in the upgrade functionality, however, the below process will be similar to installing a brand new VCSA 6.7 appliance.
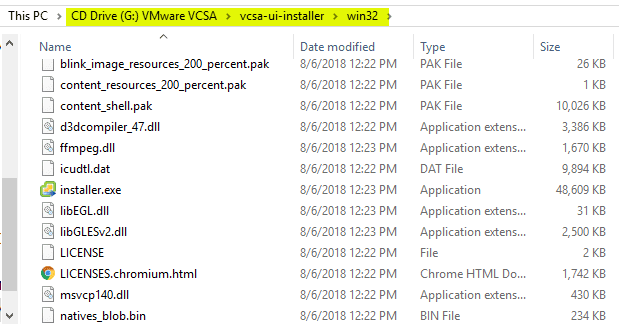
Below, you see the installer.exe file found in the vcsa-ui-installer > win32 folder of the mounted ISO downloaded from VMware.
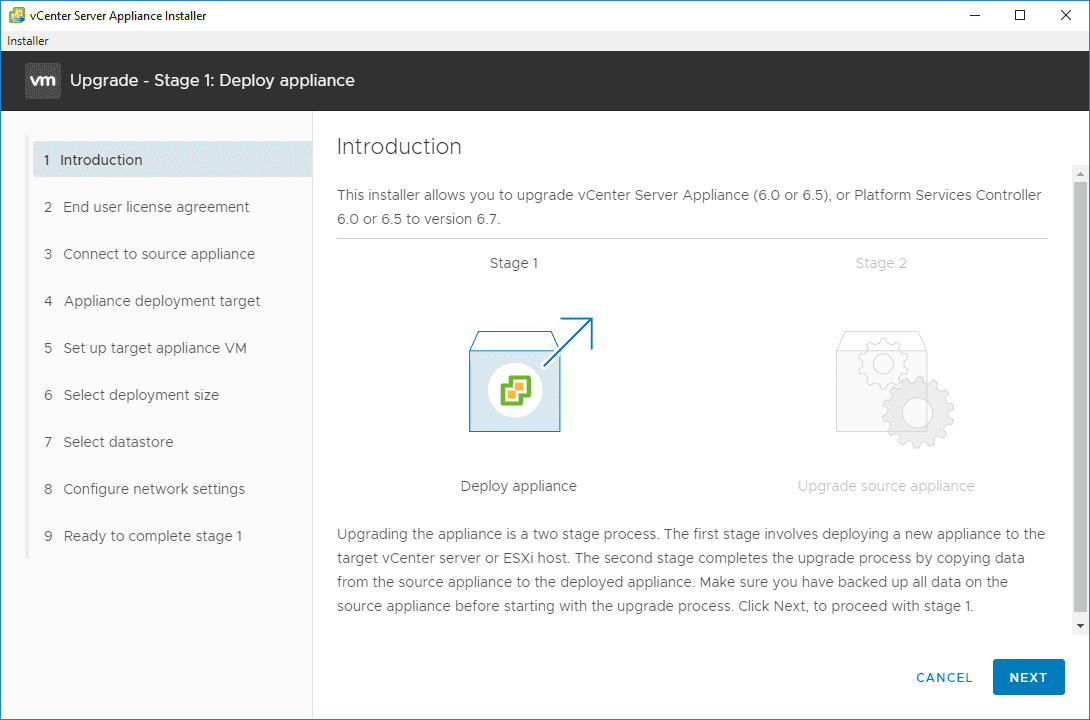
Launching the installer will launch the vCenter Server Appliance 6.7 Installer tool.
5. Stage 1 – Deploy a New VCSA 6.7 Appliance
The first stage involved to upgrade vCenter Server 6.0 to 6.7 deploys a new appliance to the target vCenter server or ESXi host. So, this will not be an in place upgrade of your existing vCenter Server 6.0 appliance. The process will be to stand up a new VCSA 6.7 appliance and then in Stage 2, copy your data over, assume identity, and power off the old vCenter Server 6.0 appliance.
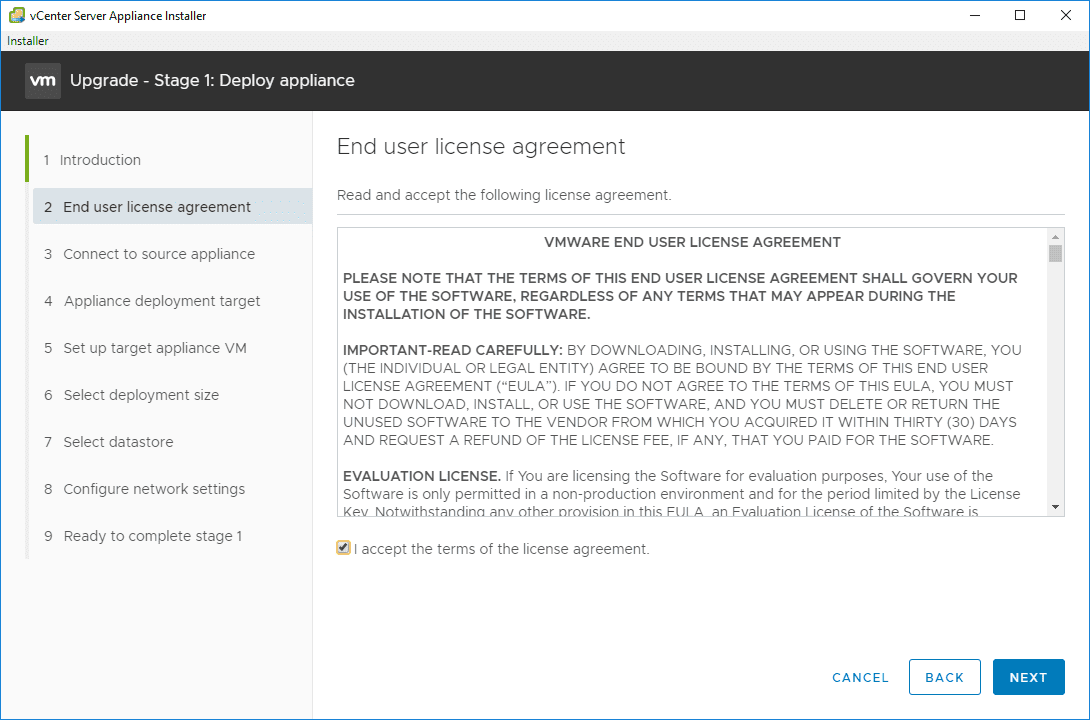
Normal stuff for the first screen here – accepting the EULA. Click Next.
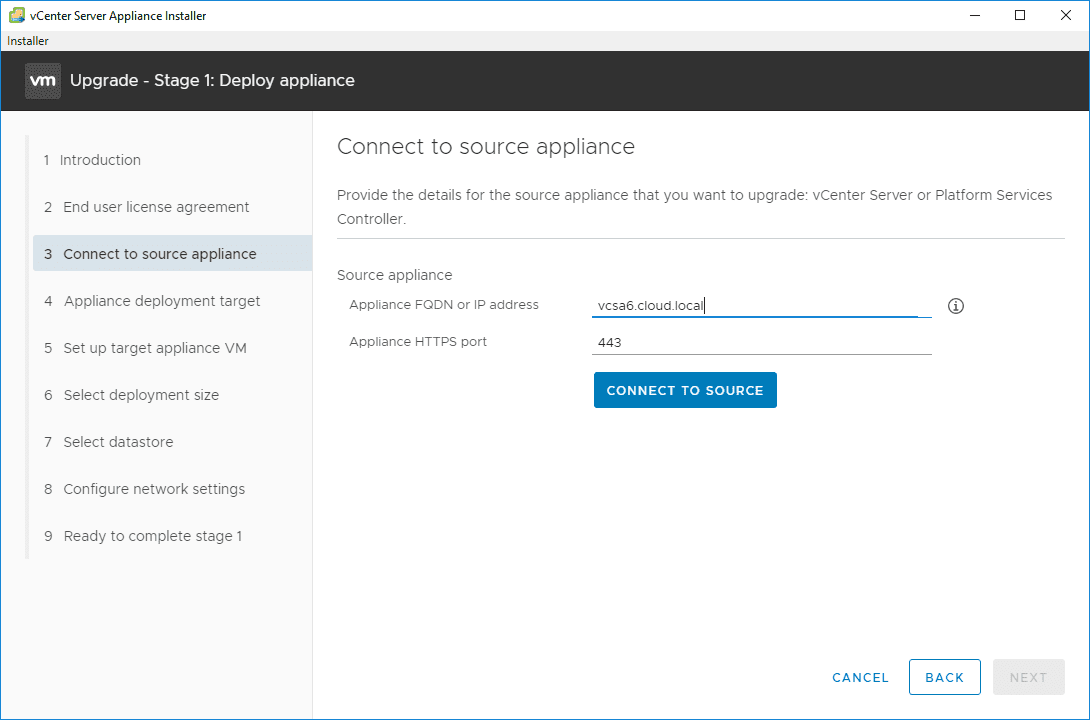
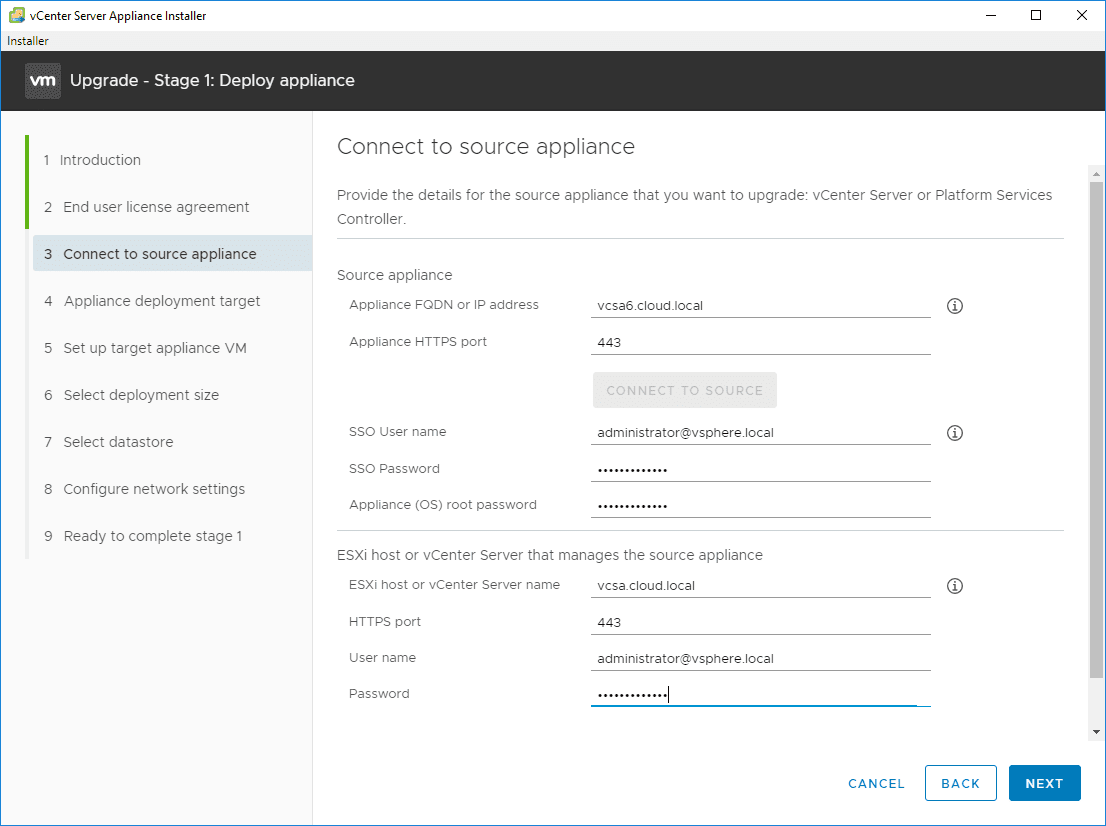
Connect to the source appliance. This is the vCenter Server 6.0 VCSA appliance.
You will need to accept the self-signed certificate.
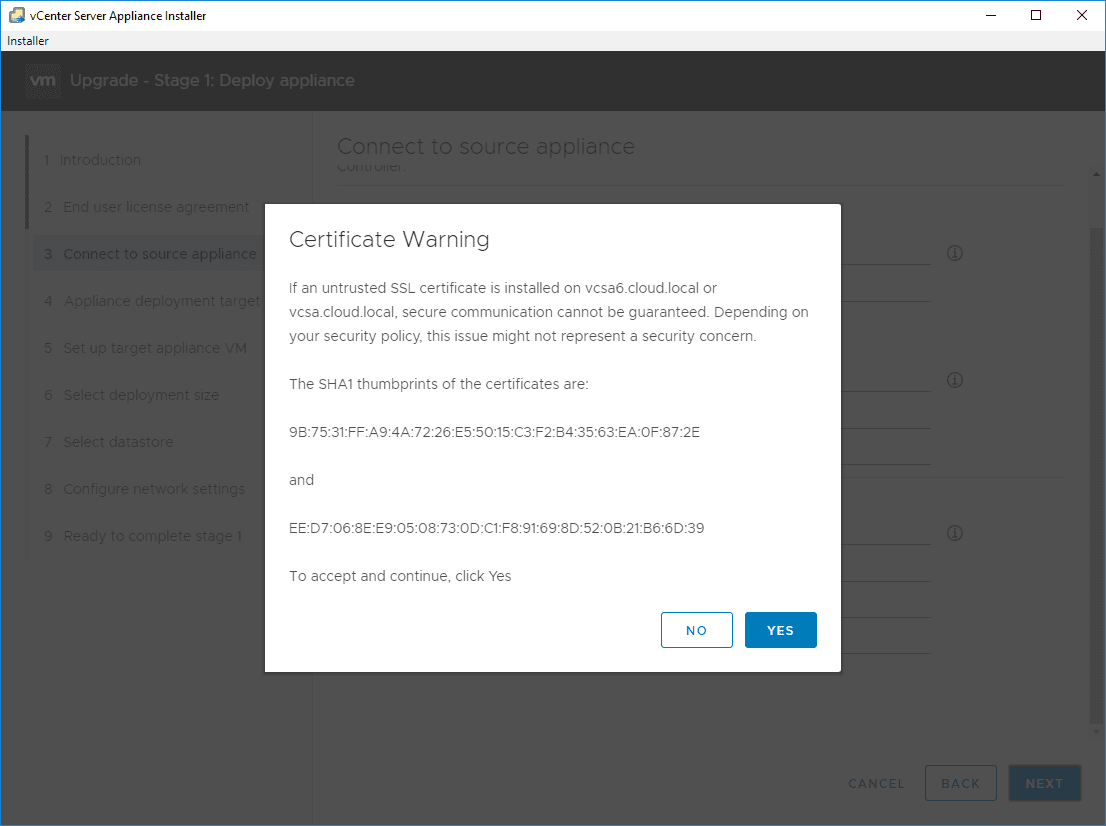
On the Connecto source appliance screen, after the certificate pops up for the source appliance and you accept it, you will be able to move on to entering the details of the ESXi host or vCenter Server that manages the source appliance.
Next, enter the appliance deployment target. Enter the address as well as the credentials for connecting.
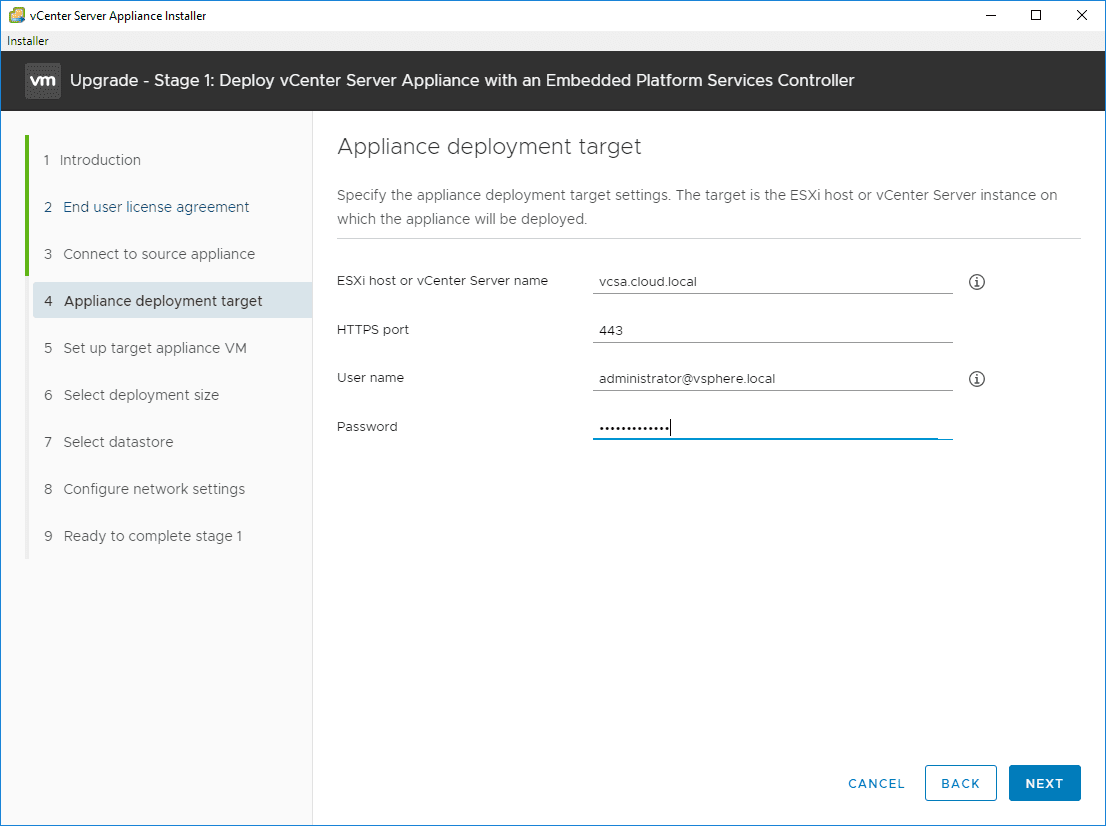
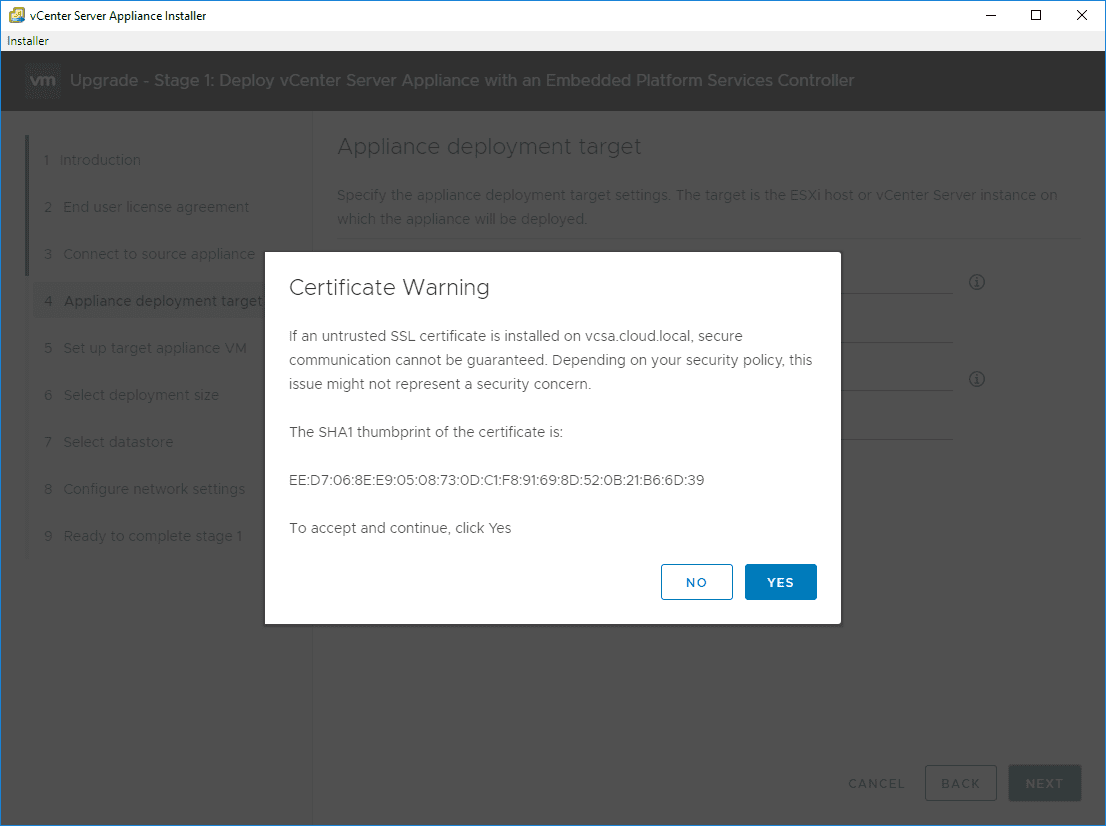
Again, accept the certificate warning that pops up.
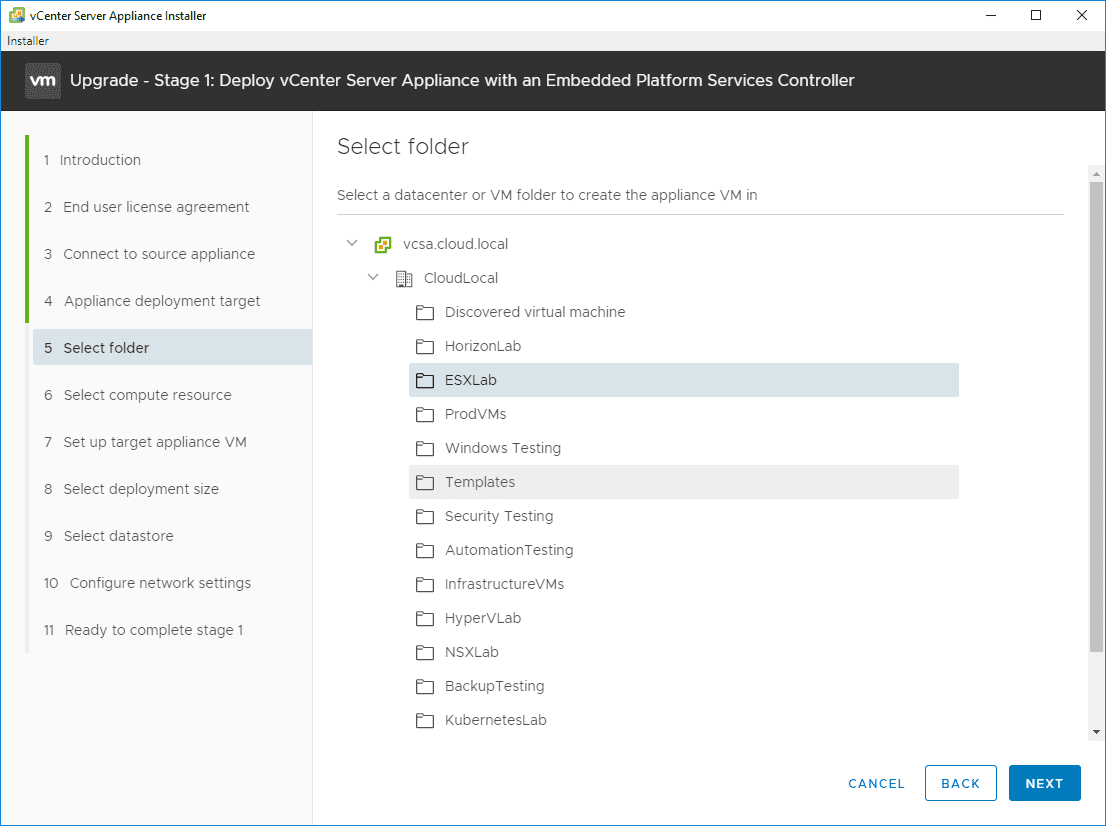
Select the folder you want to store the resulting VCSA 6.7 appliance.
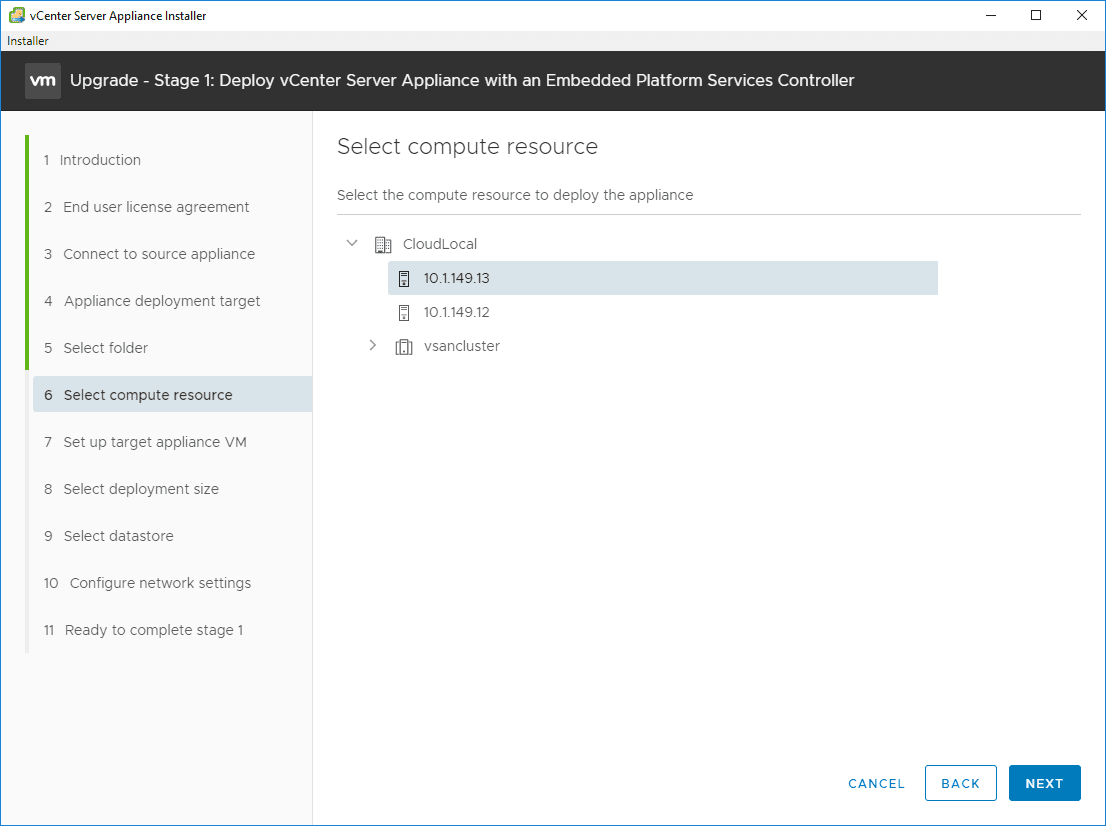
Select the compute host.
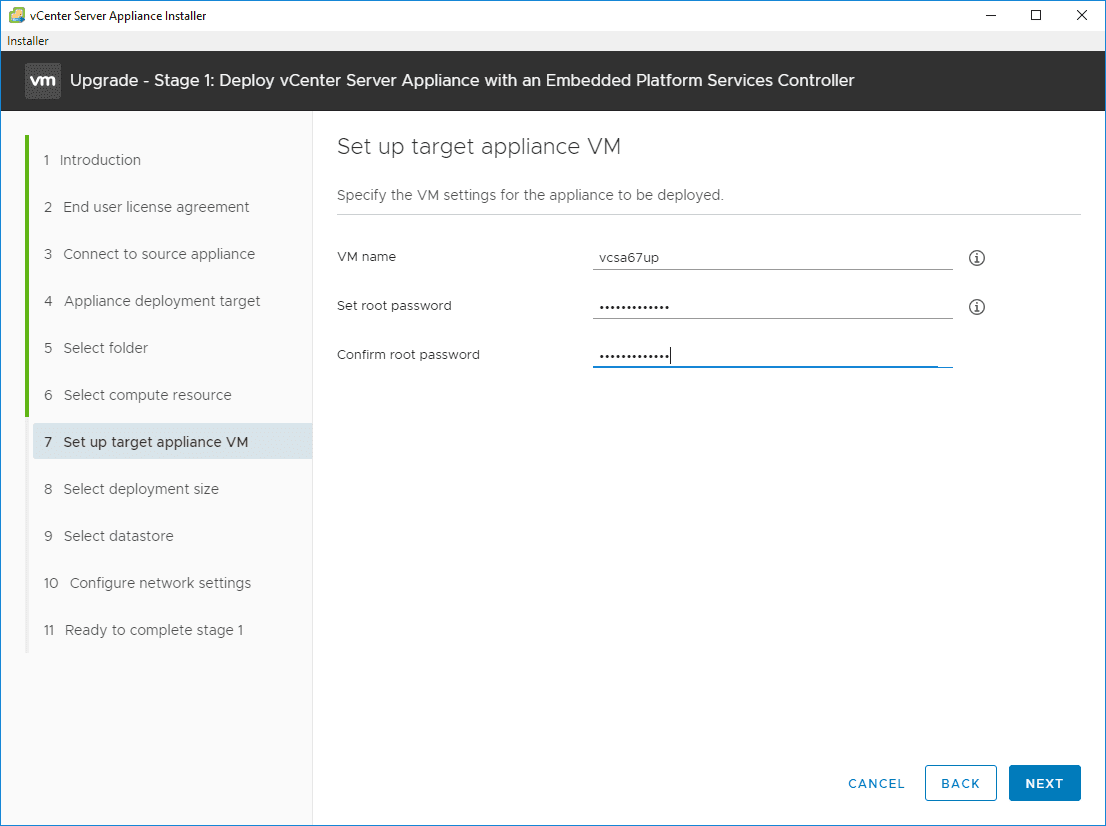
Name the VM and set the root password for your new VCSA 6.7 appliance.
Select the deployment size of the resulting VCSA 6.7 appliance. The installer itself describes the size differences in storage and so on.
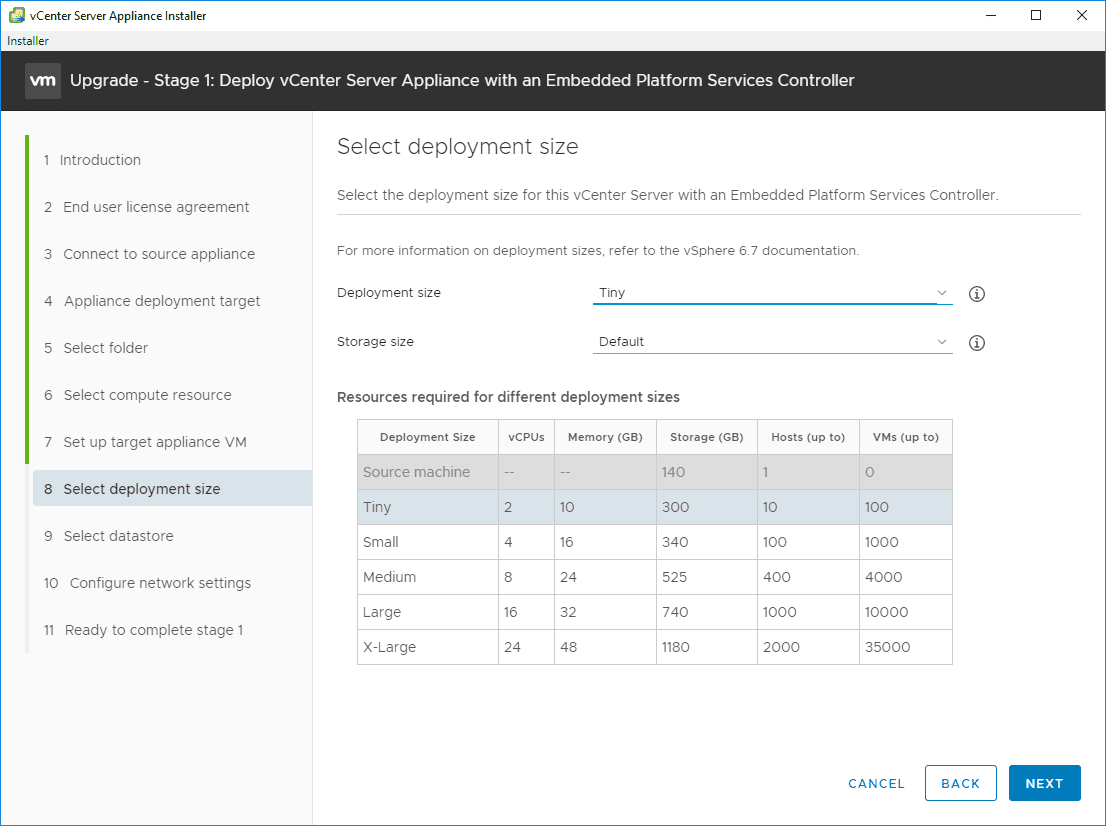
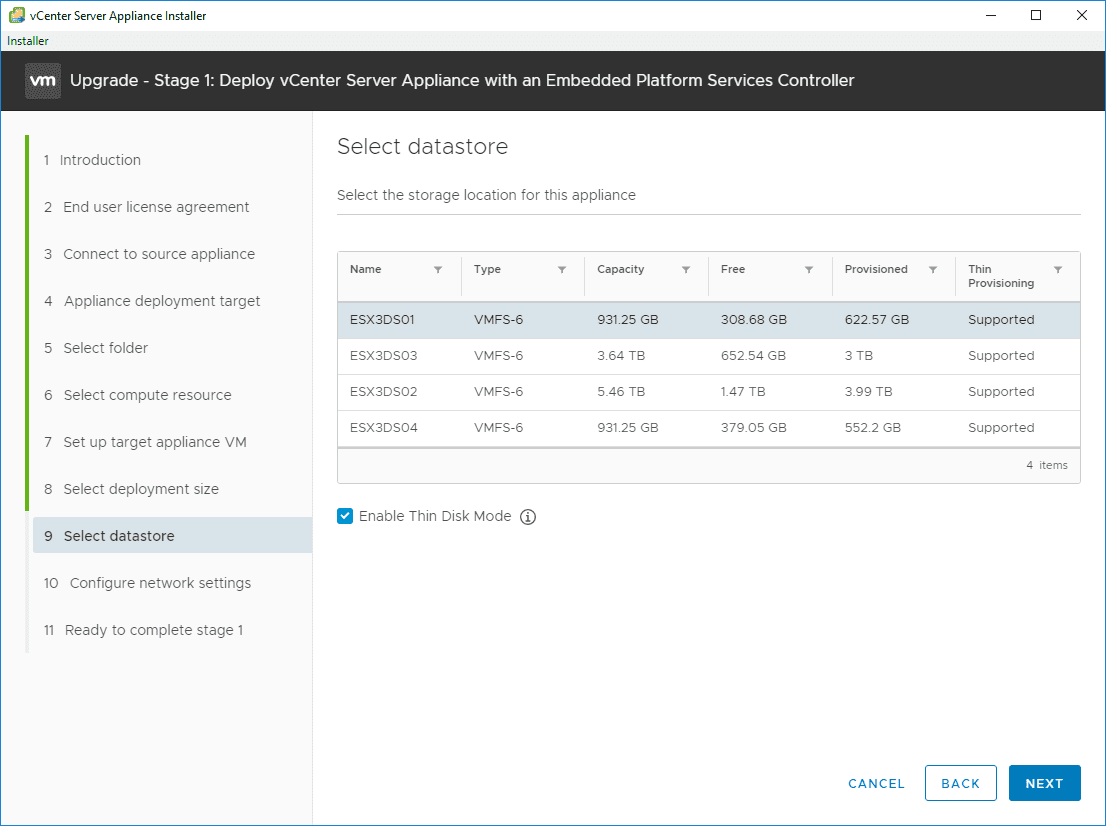
Select the target datastore for storing the VCSA 6.7 appliance that is deployed.
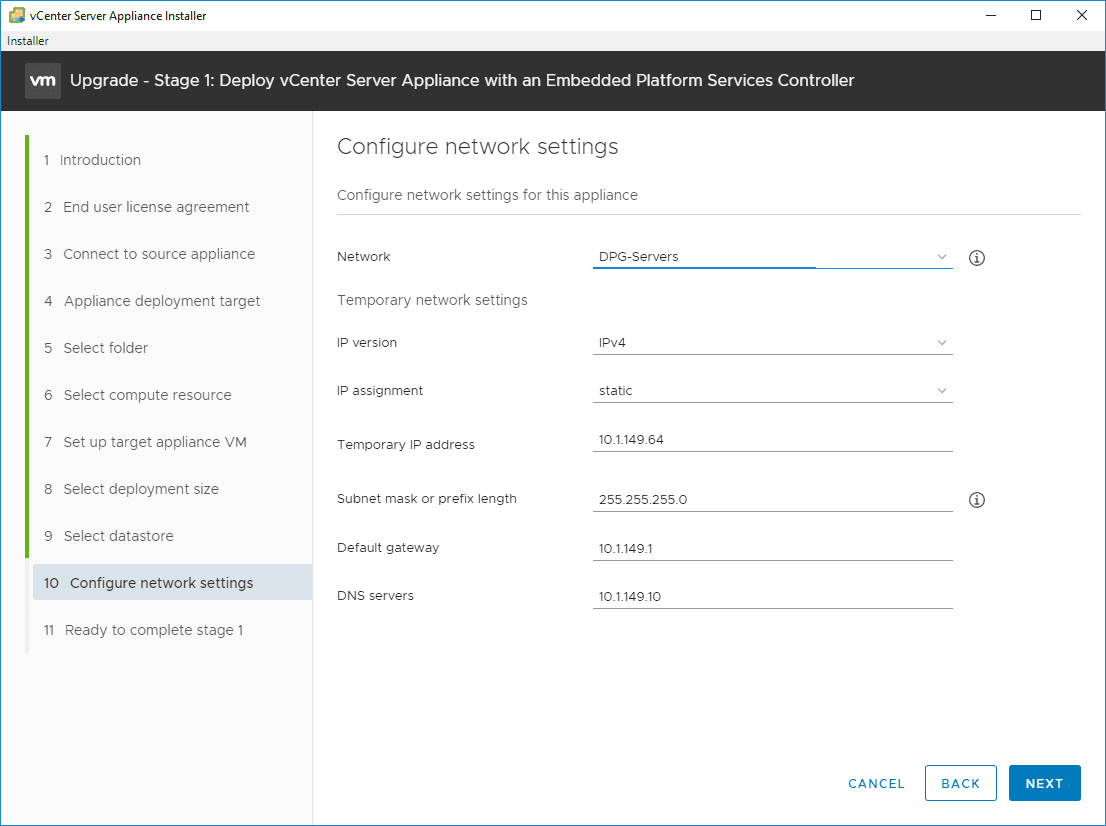
Select network settings for the VCSA appliance that is deployed. This includes the port group the VCSA appliance is connected to as well as the IP address temporarily that is assigned.
Keep in mind the upgrade process assumes identity including the IP address of the source appliance. So, the IP address you assign here is temporary.
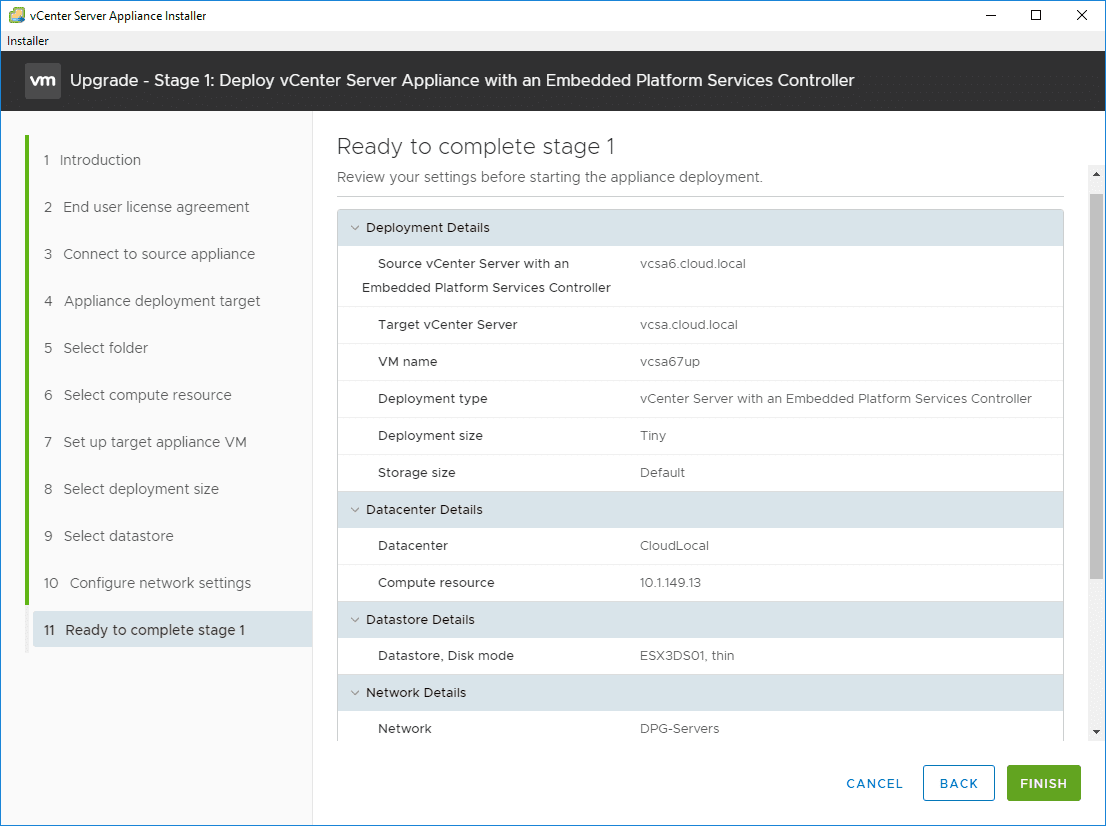
Confirm the deployment configuration settings for the Stage 1 process. Click Finish. Once you click Finish, you will see the deployment of the new appliance begin.
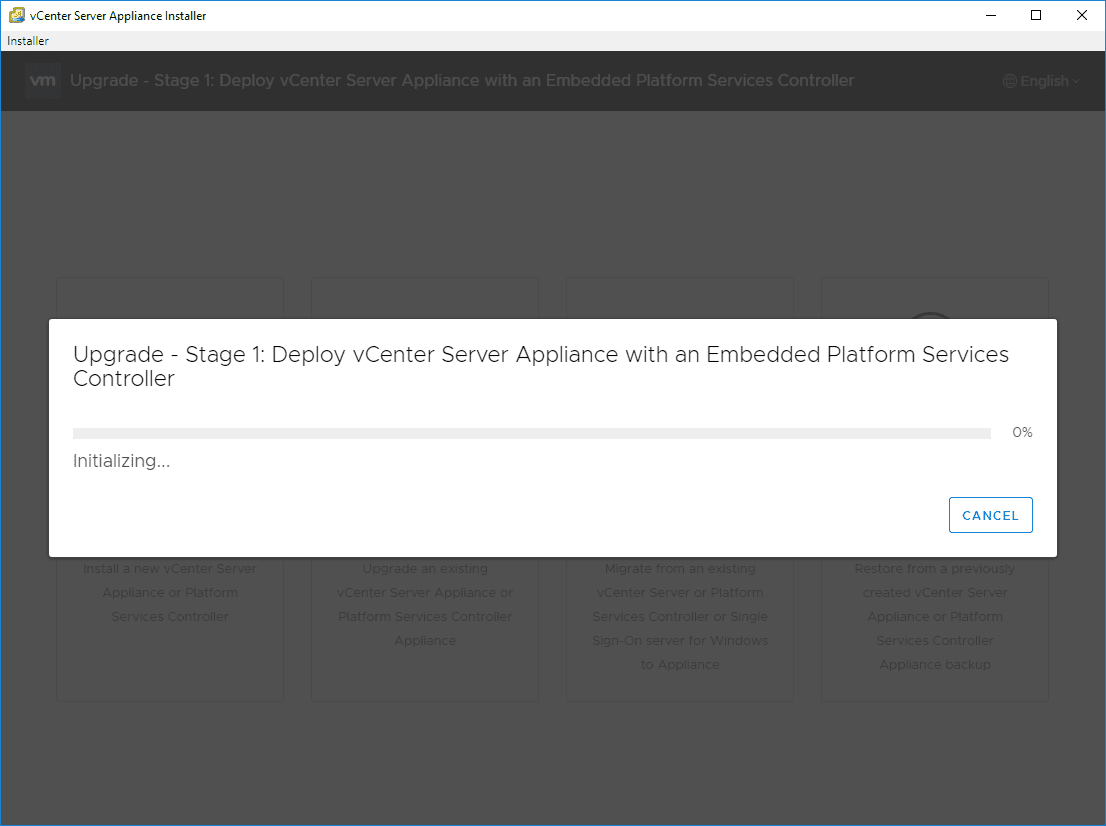
The deployment screen kicks off.
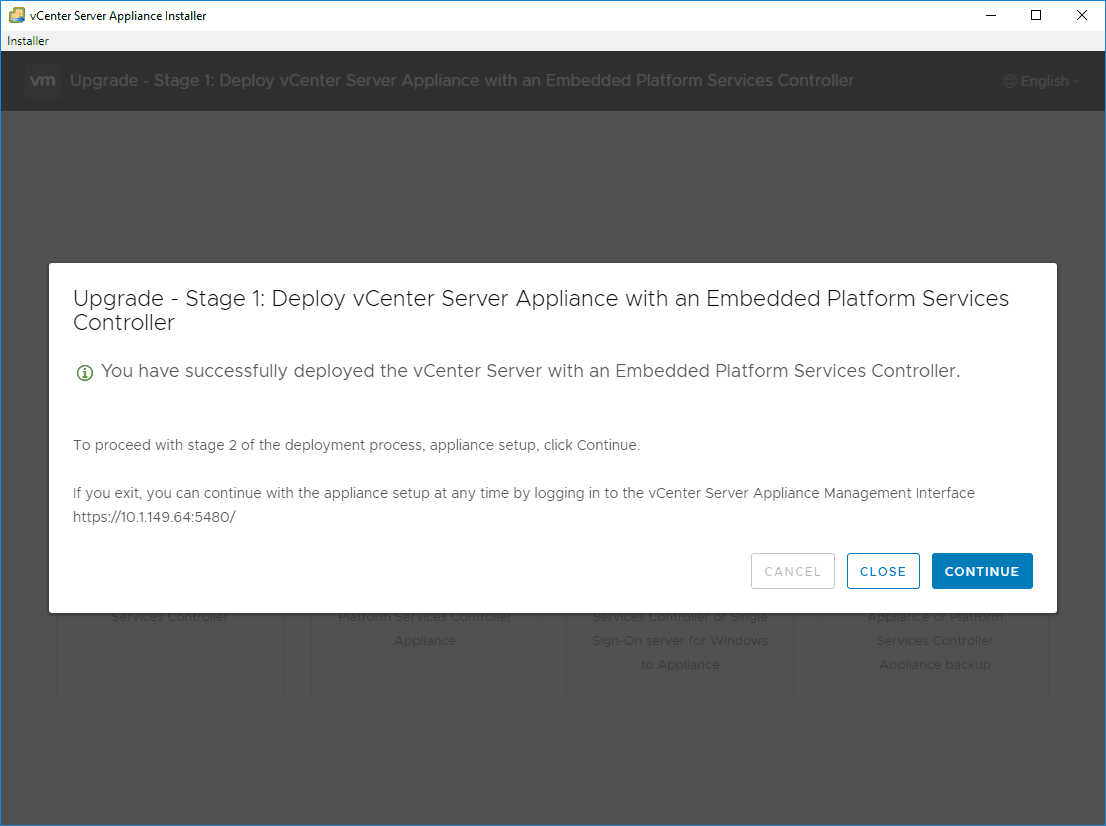
After a few minutes, the deployment of the new appliance completes and Stage 2 is ready to begin.
6. Stage 2 – Copy Data from the Source vCenter Server Appliance
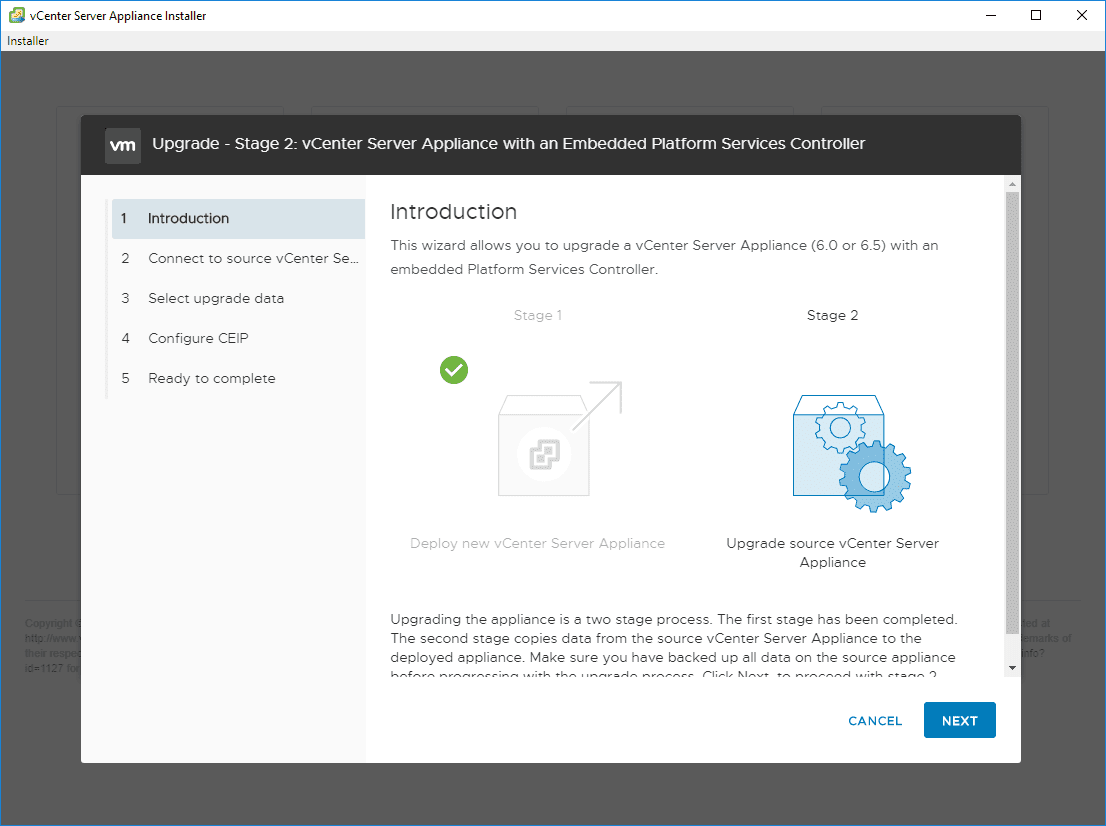
Stage 2 of the process is ready to begin. Click Next.
The next step is to Connect to source vCenter Server. If you run through from Stage 1 to 2 fairly quickly, this should already be done as it is remembered from Stage 1. However, if you let the Stage 2 wizard sit idle for a length of time, it will timeout and you will need to reconnect to the source vCenter Server.
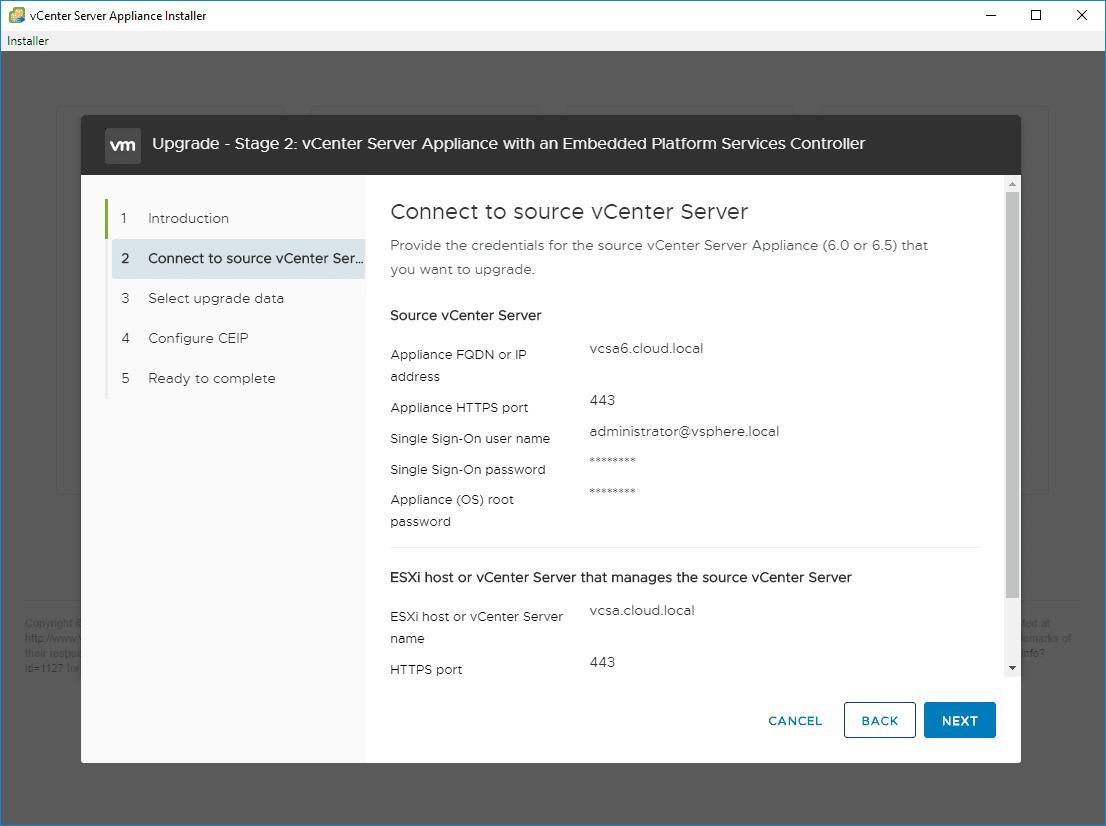
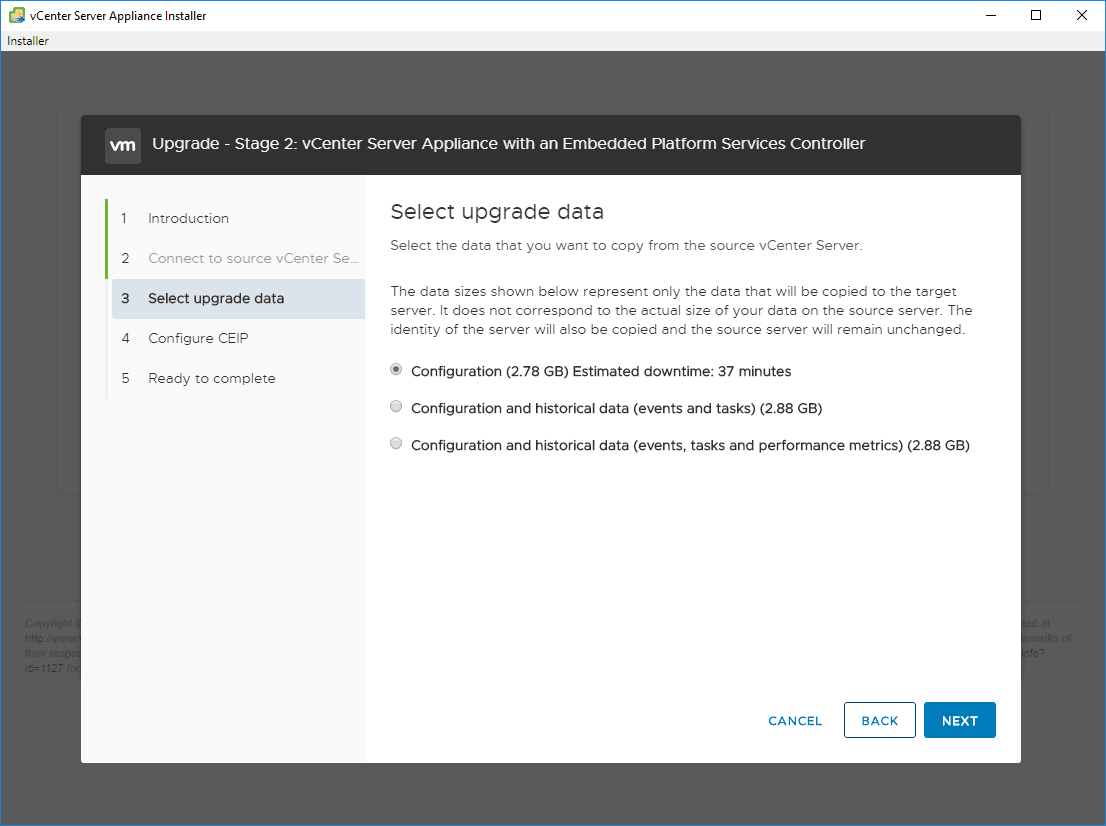
Select Upgrade Data allows you to pick how much data you want to be copied from the source appliance. If you don’t want to bring along all the historical data, you can simply choose Configuration.
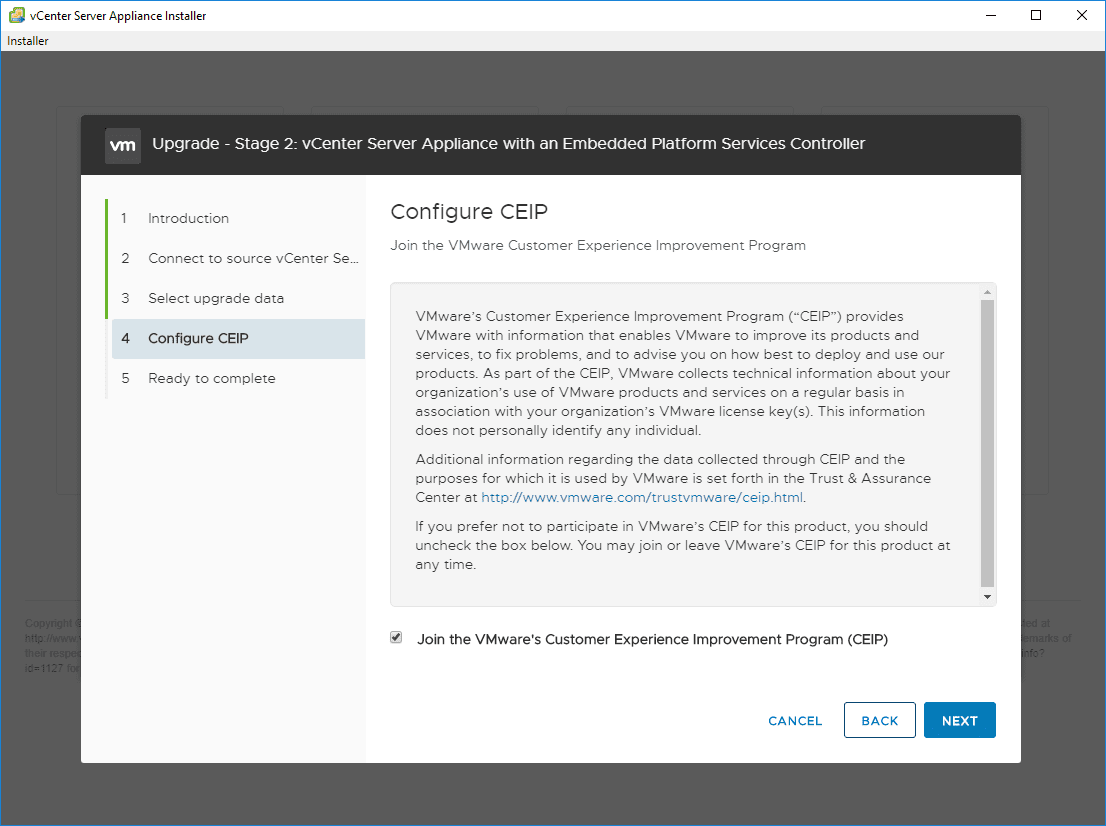
Choose your CEIP options.
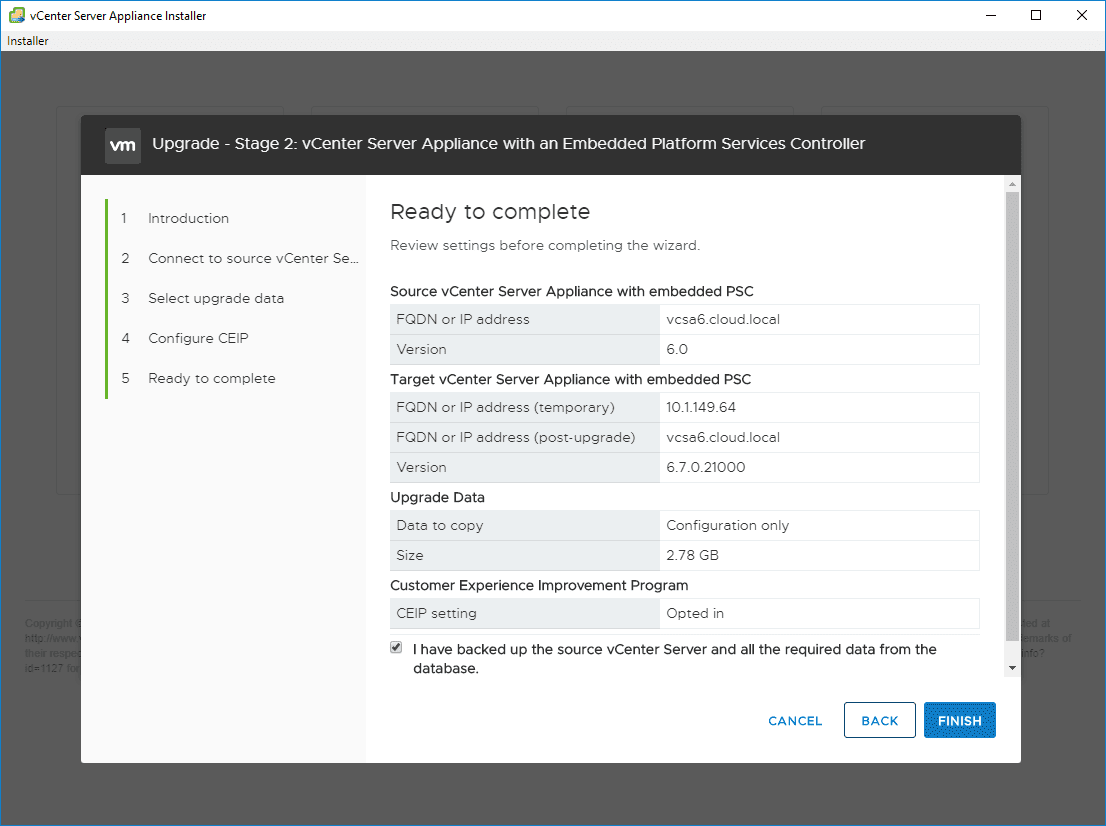
Finalize the Stage 2 configuration and click Finish to begin.
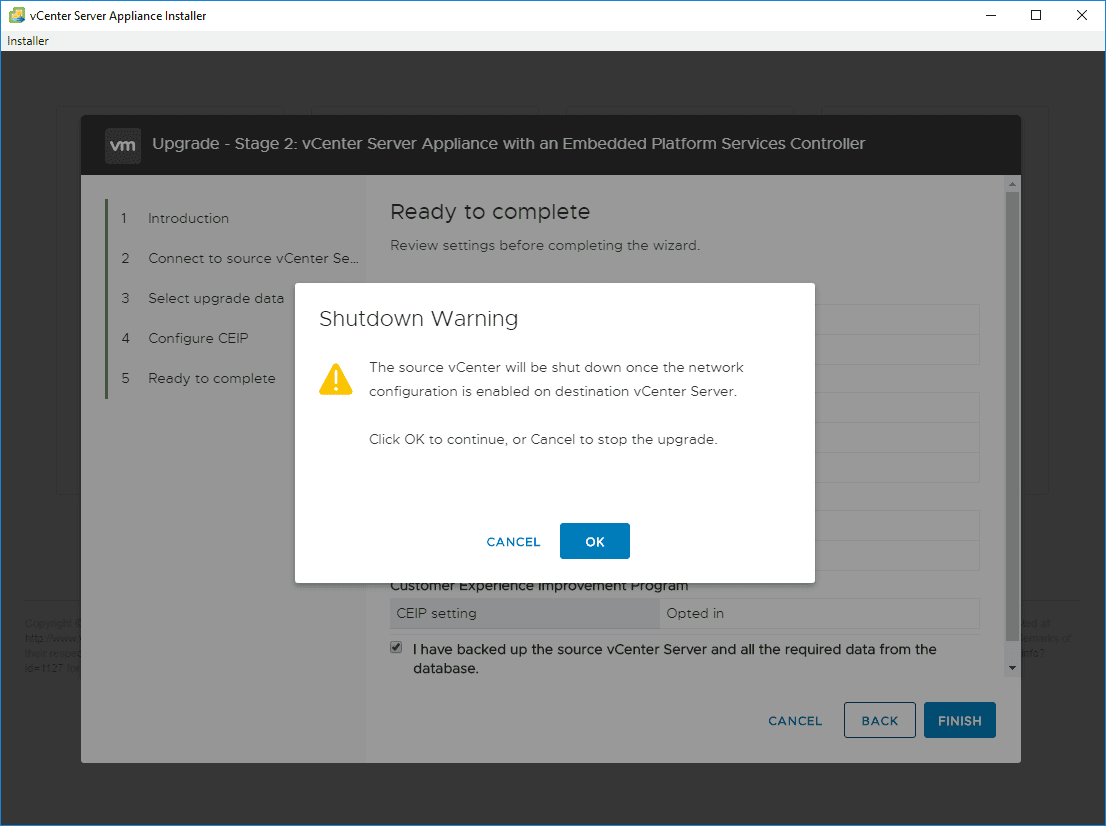
When you click Finish, you will see a warning about the source appliance being shutdown. Click OK.
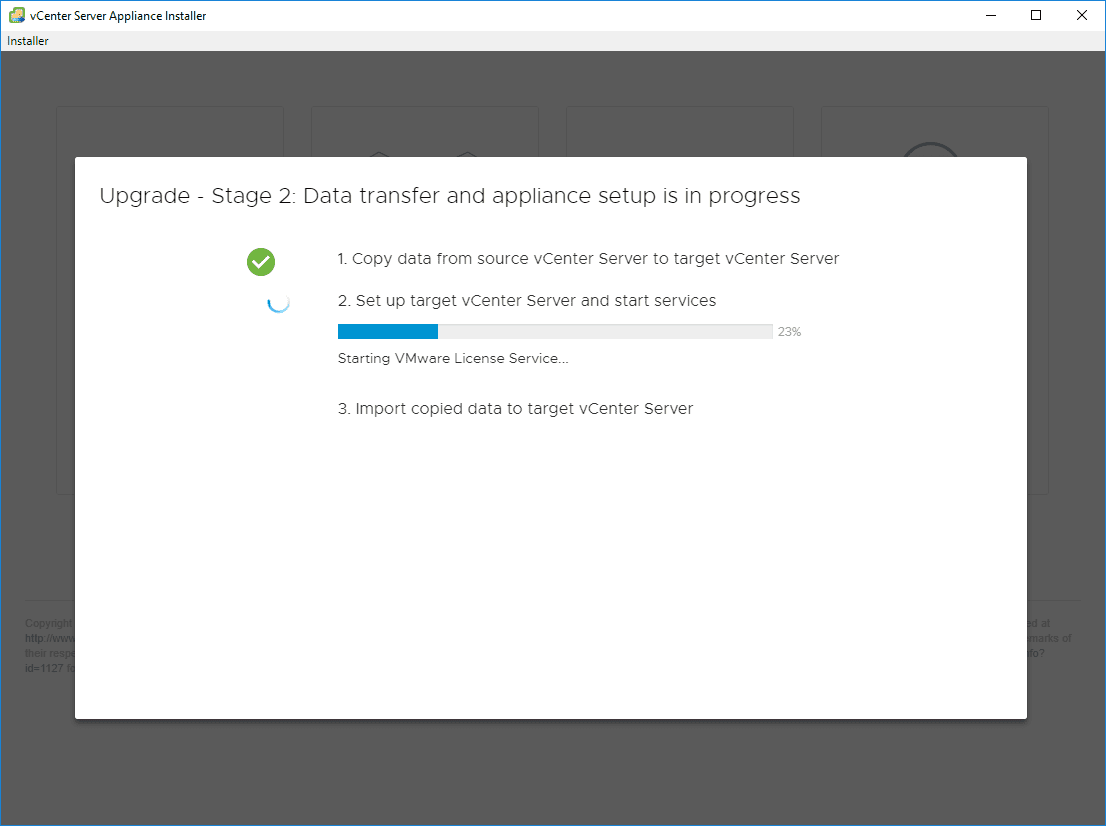
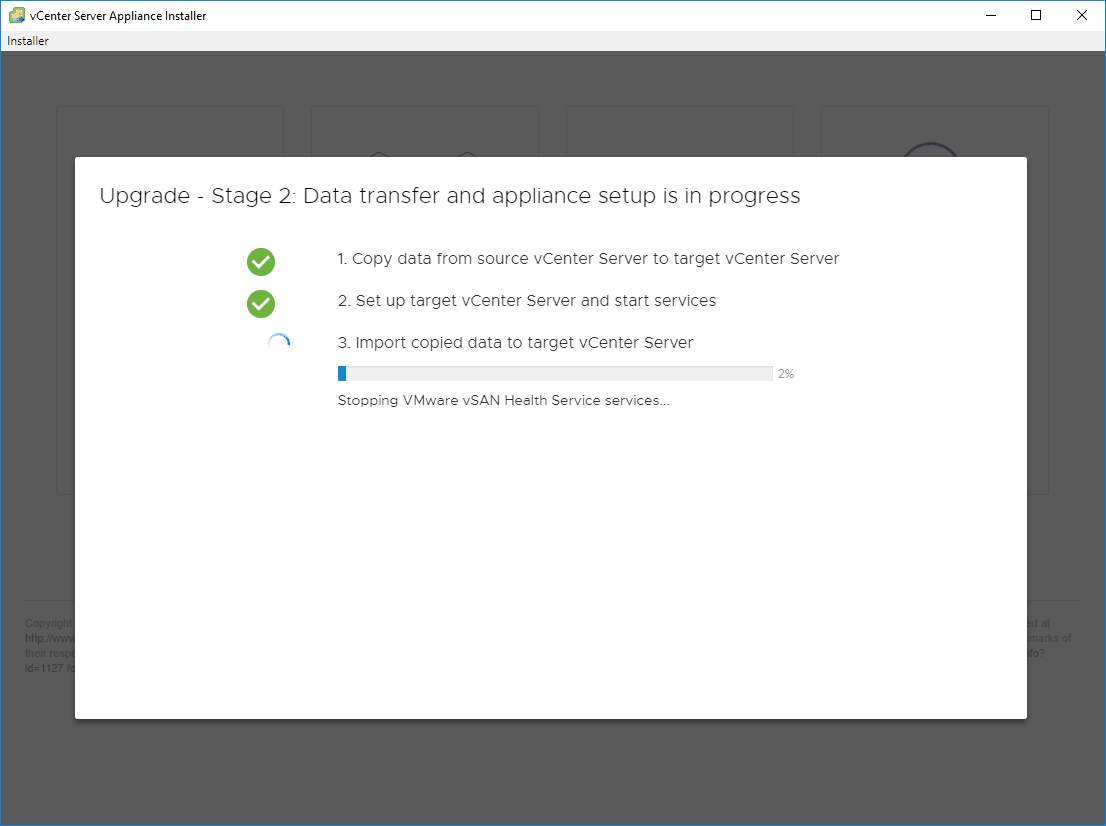
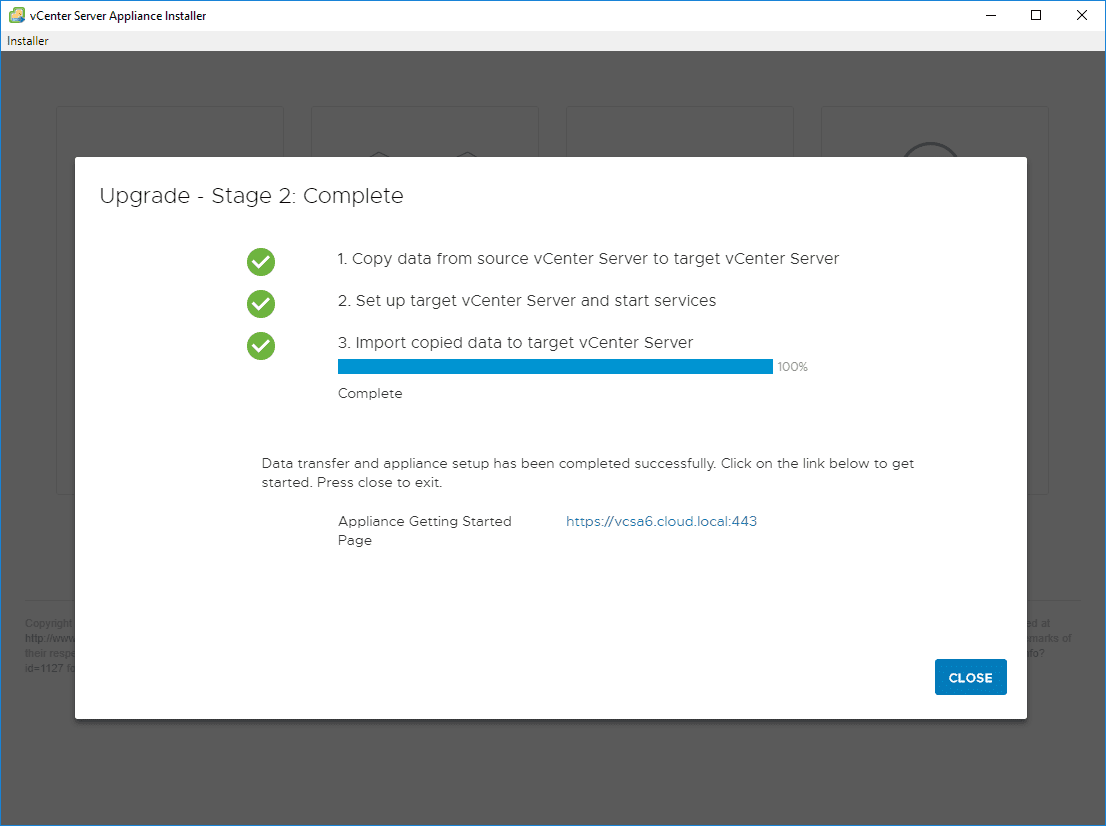
There are three steps to this process:
- Copy data from source vCenter Server to target vCenter Server
- Set up target vCenter Server and start services
- Import copied data to target vCenter Server
First, the copy of data from the source vCenter Server begins.
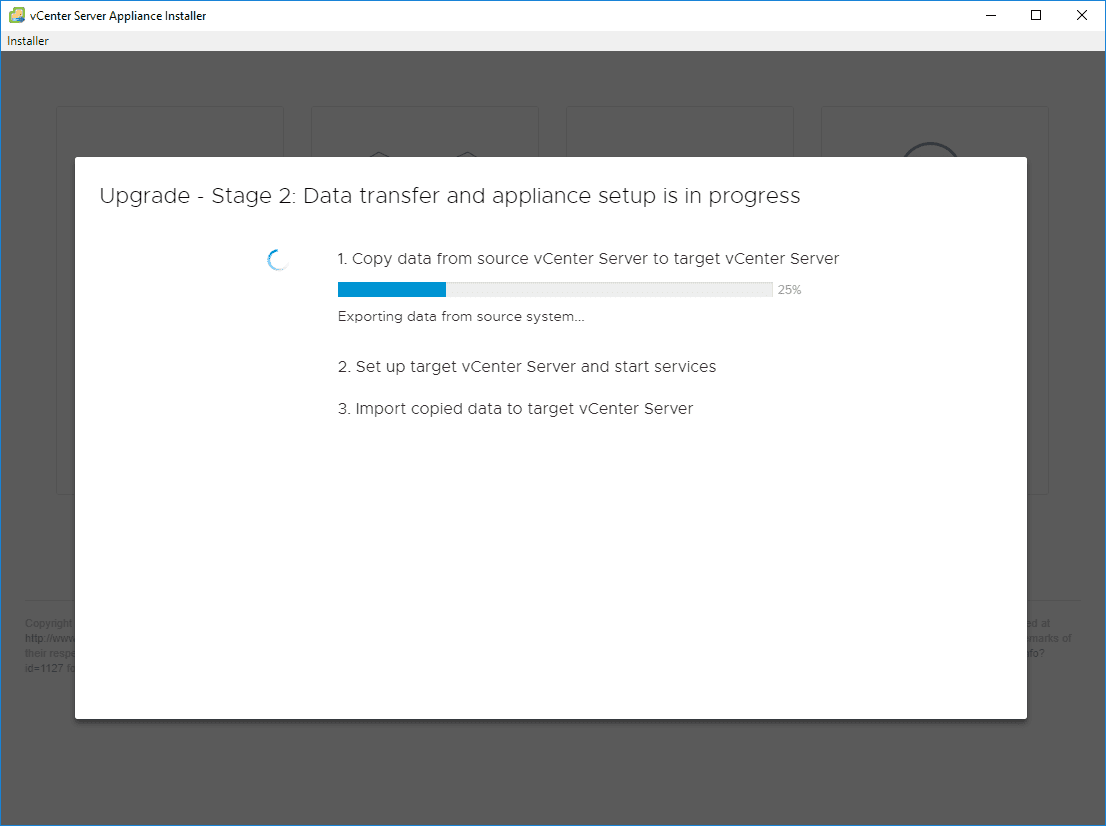
Next, the target vCenter Server is setup and services are started.
Finally, data is imported to the target vCenter Server.
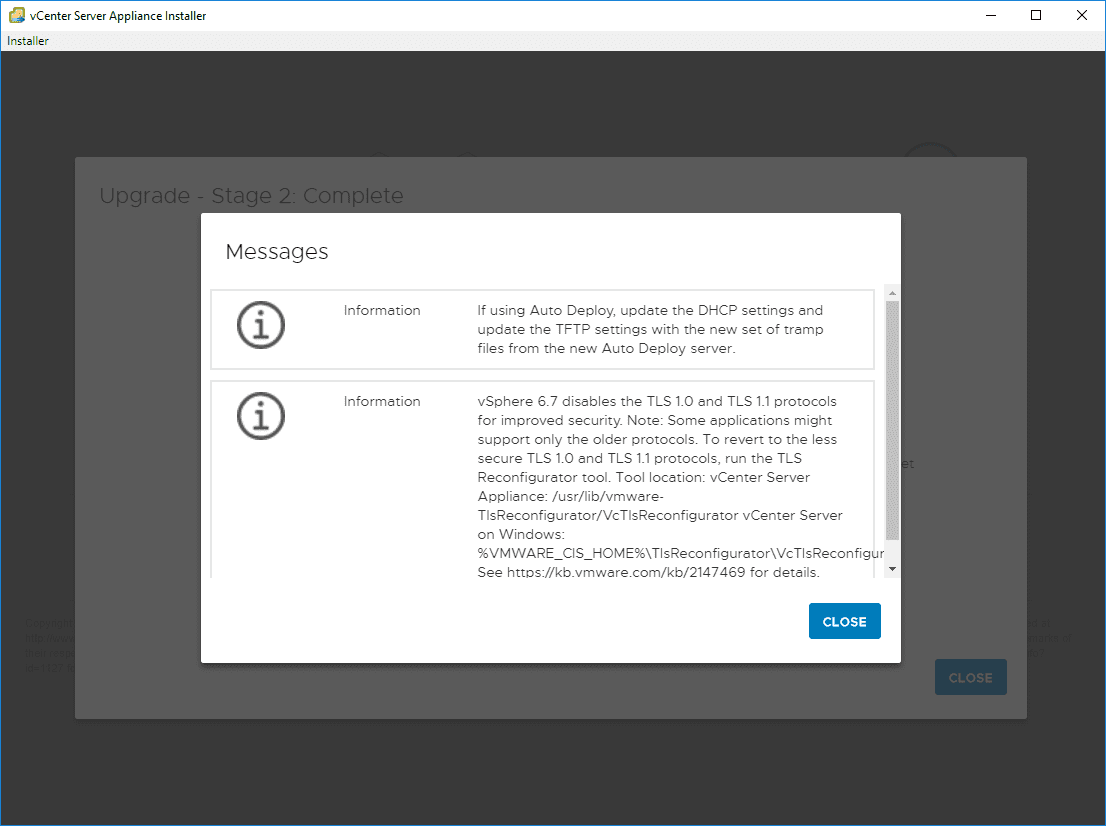
After the step completes, you will see messages that are final reminders about changes to vSphere 6.7 architecture such as TLS 1.0 and TLS 1.1 protocols being disabled.
The Upgrade of vCenter Server 6.0 to 6.7 has completed successfully.
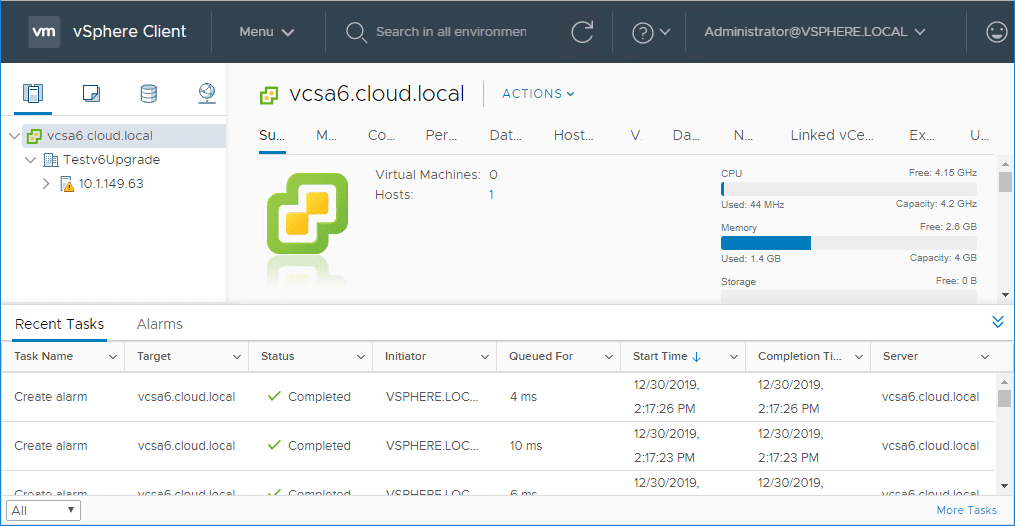
After logging into your VCSA 6.7 appliance, you will see the great new HTML 5 interface. No more vSphere Web Client. This is now referred to as the vSphere Client. You should also see your hosts that were there in the vSphere 6.0 vCenter Server appliance.
Concluding Thoughts
The process to upgrade vSphere 6.0 to 6.7 starts with the vCenter Server Appliance. As shown, with the great new vSphere vCenter Appliance Installer for 6.7 this is made fairly painless.
Next, let’s take a look at part two of the process – upgrading the ESXi hosts to vSphere 6.7 from ESXi 6.0.


