Keep Track of IP Addresses Automatically with GestioIP
I have been testing different IPAMs for use in the home lab as of late and seeing what I like about them and what I don’t. I am doing this to try to settle on the best IPAM solution for my home lab purposes between the functionality offered, etc. I have been doing a tremendous amount of testing and tweaking with Netbox lately. Also, I have tried NIPAP and both hold promise. Especially with Netbox, it seems to have a lot of great potential but simply lacks the maturity with the platform as of yet. Another name that has come up with various Google searches has been GestioIP. I wanted to stand up a quick installation of GestioIP and see how it performed for my lab IPAM needs. Let’s look at how to Keep Track of IP Addresses Automatically with GestioIP.
What is GestioIP?
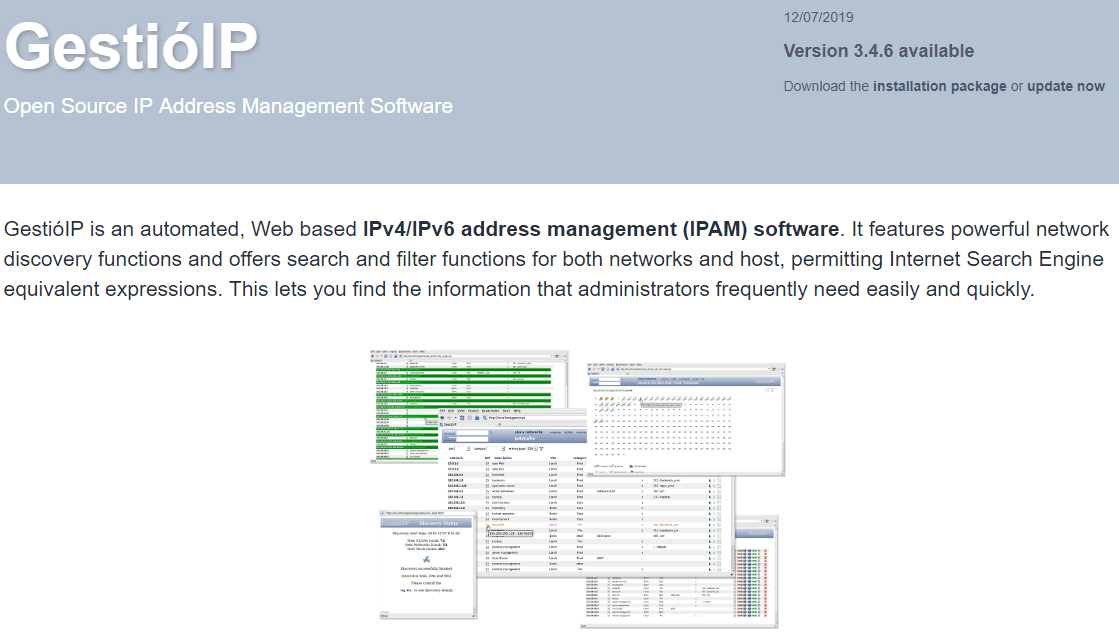
GestioIP is an automated, Web based IPv4/IPv6 address management (IPAM) software that features network discovery functionality, searching, and filter functions. I have highlighted the “network discovery” feature here as this is one of the features that for me, has been lacking in many of the other tools that I have used in testing.

GestioIP Features
What are the main features of Gestio?
- Web based interface
- Easy and intuitive interface
- Quick search for both networks and hosts to perform Internet Search engine equivalent expressions
- Advanced search
- SNMP discovery
- Host discovery via SNMP/ping/DNS
- VLAN discovery via SNMP
GestioIP also has some more serious enterprise features to make noteof, including:
- HA solution
- Integration with Microsoft and Bind DNS
- Customizable networks and hosts columns
- Integrated VLAN management
- Multiple tenants
- One-click ping and PTR check
- Subnet calculator
- Hierarchical IPv6 addressing plan
GestioIP is a free open source project, however, there are also commercial features and services including:
- API
- Configuration management Module
- Installation Services
- Custom Development
- Support
Keep Track of IP Addresses Automatically with GestioIP
When looking at and testing various Network IPAM solutions like Netbox and NIPAP, one thing becomes apparent. These are not supposed to be simple IP scanners, even if that is what you might want them to do. They do everything and the kitchen sync as far as having a way to interact with them and keep track of various information, but don’t have a way to automatically scan and synchronize the network.
As highlighted above, this is one of the touted features of GestioIP which grabbed my attention. Let’s briefly walk through some of the installation highlights.
My setup:
- minimally provisioned Ubuntu 18.04 VM with 2 cpus and 2 GB of memory, 32 GB of hard drive space
- Pulled down latest updates and installed
- Began following the GestioIP installation guide, found here: https://www.gestioip.net/docu/GestioIP_3.4_Installation_Guide.pdf
Installed the prerequisites as mentioned in the installation documentation:
sudo apt-get install make mysql-server mysql-client apache2 apache2-utils libapache2-mod-perl2 snmp snmp-mibs-downloader wget
Installation Overview
The installation of GestioIP is interesting in that it is basically in two parts:
- Command line portion (installing prerequisites – MySQL, etc), then copying over the gestioip.tar.gz file, unzipping, and running the setup script to perform the installation
- GUI portion that is finished on the web (Setup the MySQL DB, categories, passwords, connections to DB, etc)
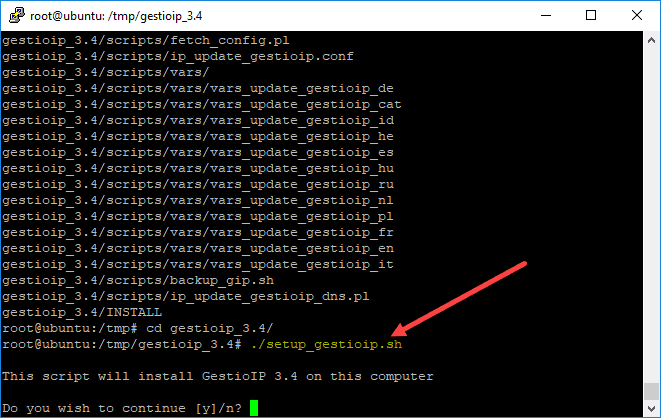
The main process in the command line portion involves simply running the setup_gestioip.sh script. This will run you through a number of questions regarding configuration settings and paths to needed components. The great thing here is for 99% of users, you will simply be able to accept the defaults on all questions.
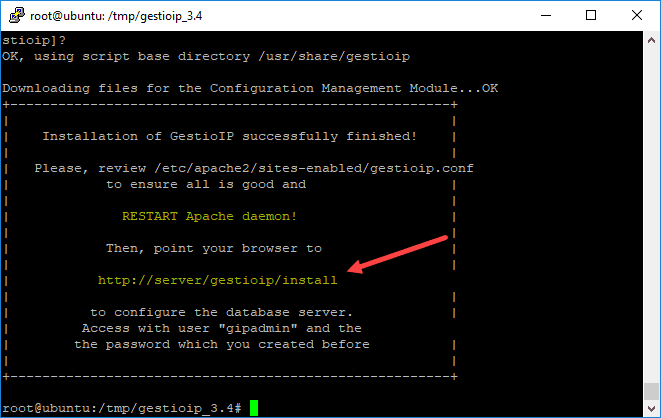
After running through the 15-20 questions or so, you should get down to the point of Gestioip telling you the installation is complete, restart Apache and move on to the web setup portion.
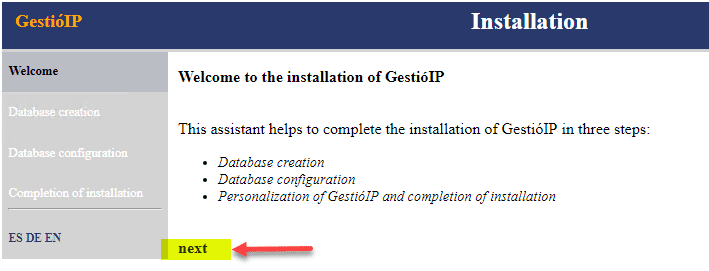
After opening a browser and continuing with the web installation, you will see a very simple wizard like setup. Click Next on the first screen.
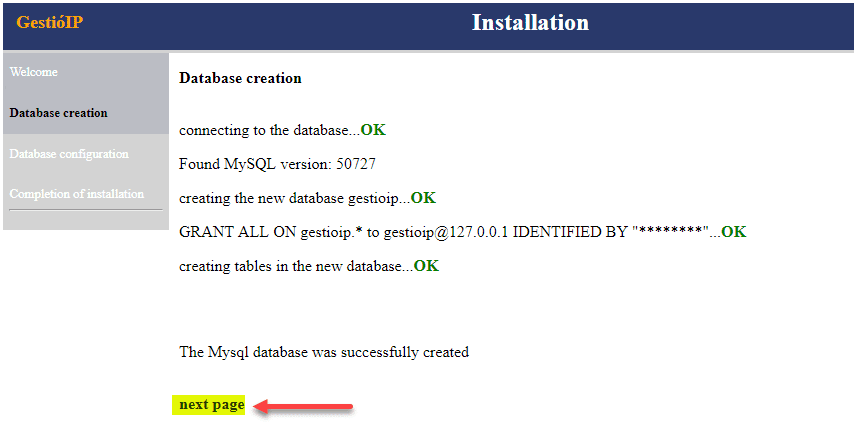
Next, setup the database connection and authentication to the MySQL DB.
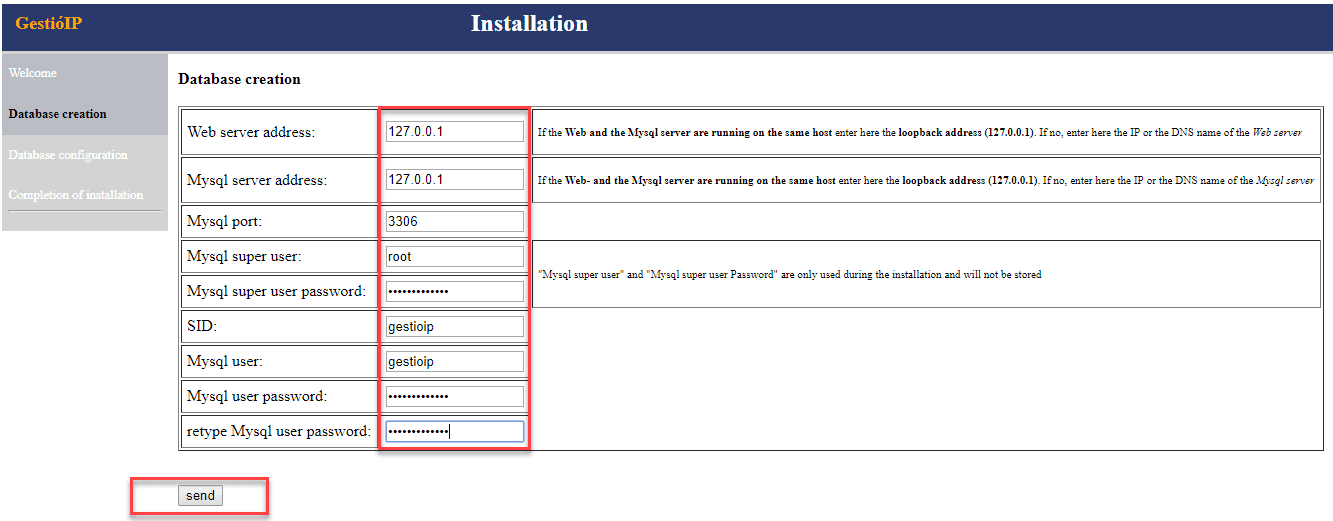
You should get to the point of the database getting created without any errors.
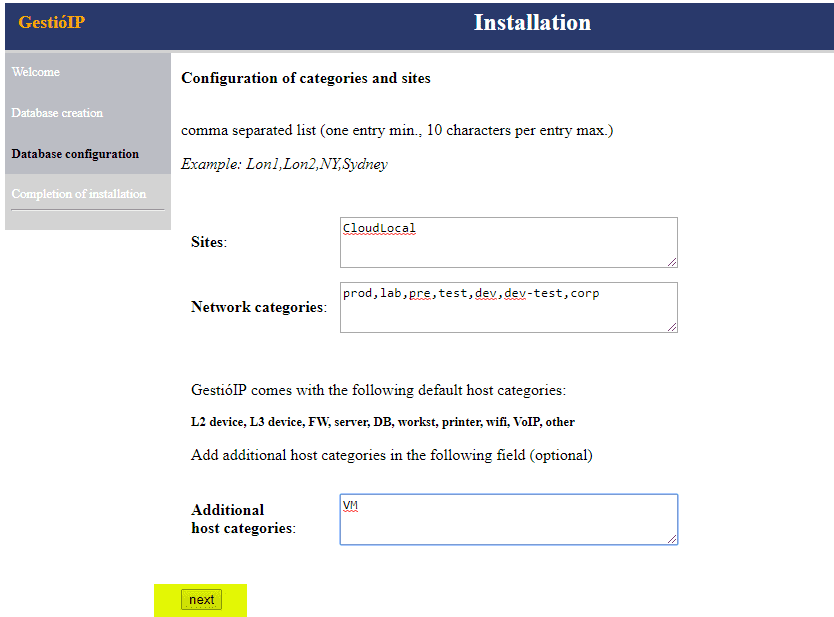
Next, you can configure your Sites, Network Categories, and Additional host categories.
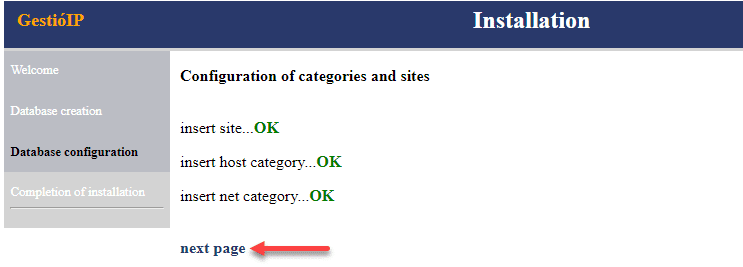
Configuration of categories and sites completes successfully.
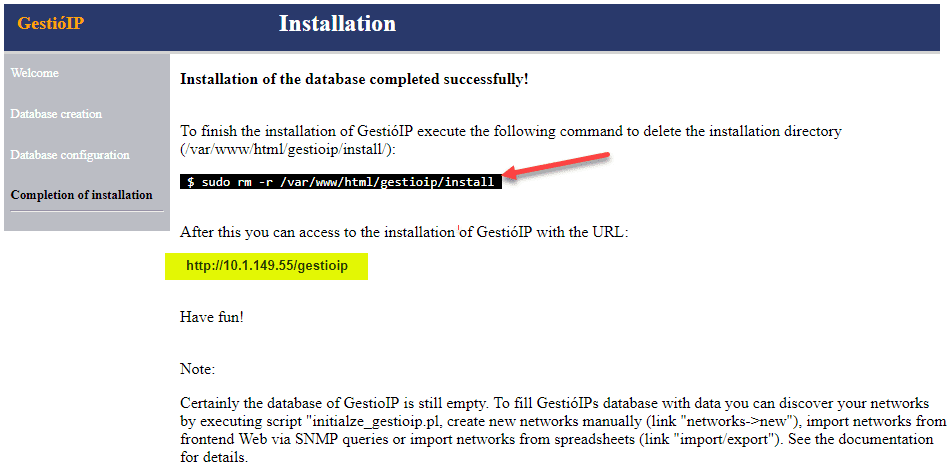
Finally, you will see the installation has completed successfully. You are directed to run a configuration command to delete the temporary installation folder and then access the web interface.
Adding Networks to Scan with Gestioip
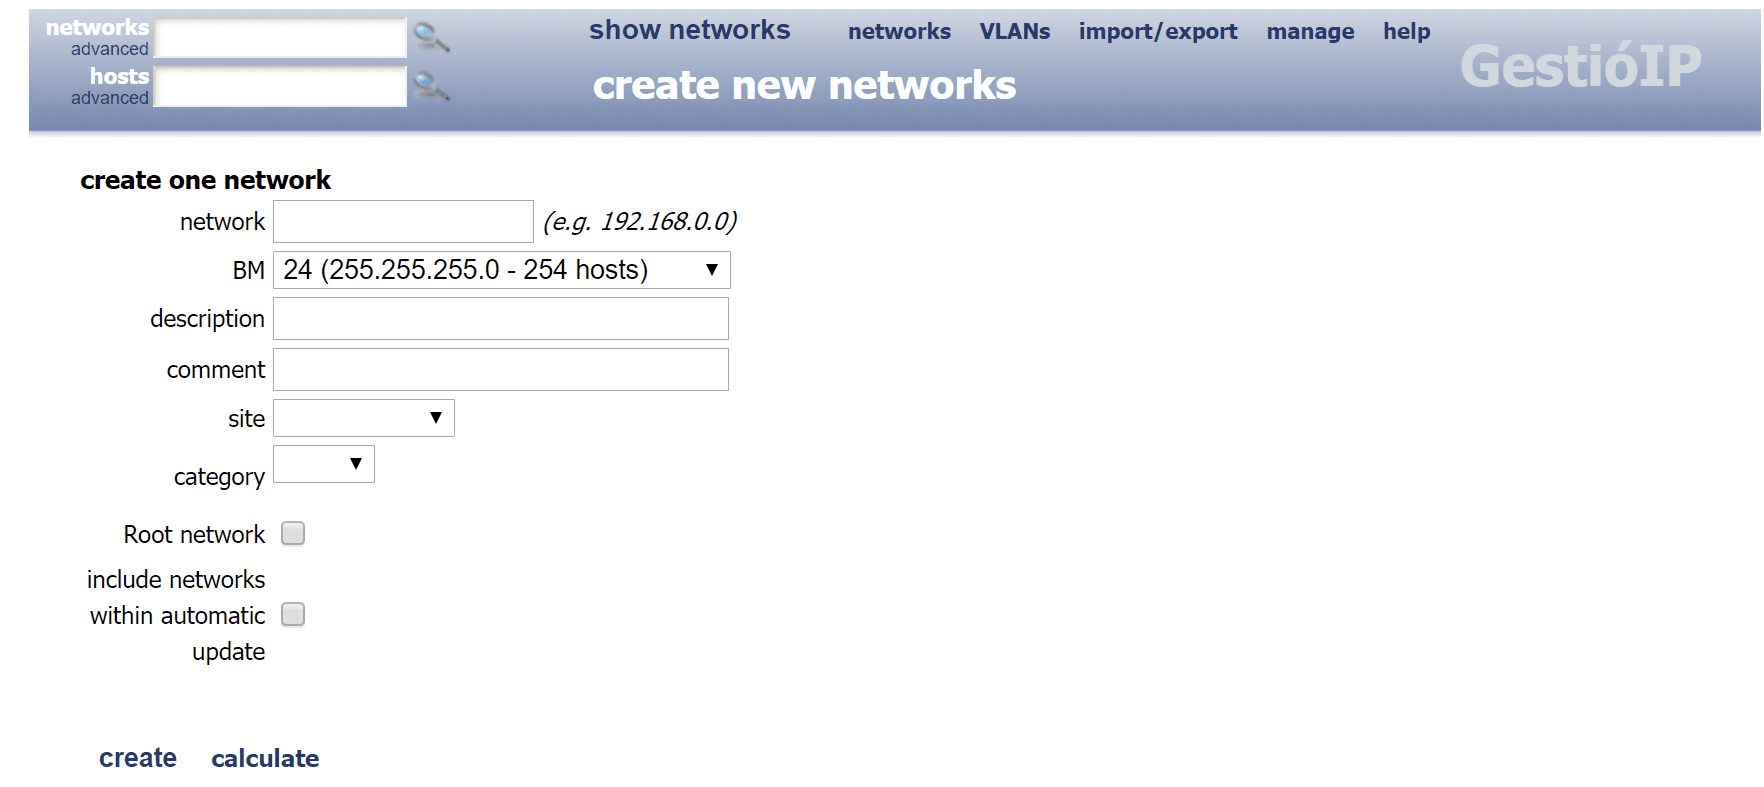
Go to Networks > New to create a new network for scanning. Enter the information needed for adding the network to Gestioip.
Below on the show networks screen after adding a couple of networks for scanning.
I didn’t find it that intuitive on how to actually initiate the scan. However, once you add the network, you have a menu bar of sorts in the upper right hand corner of the networks screen once you click on a network you have added. Clicking the DNS button will scan the network and pull information from DNS about hosts. For me, this was what I was looking for.
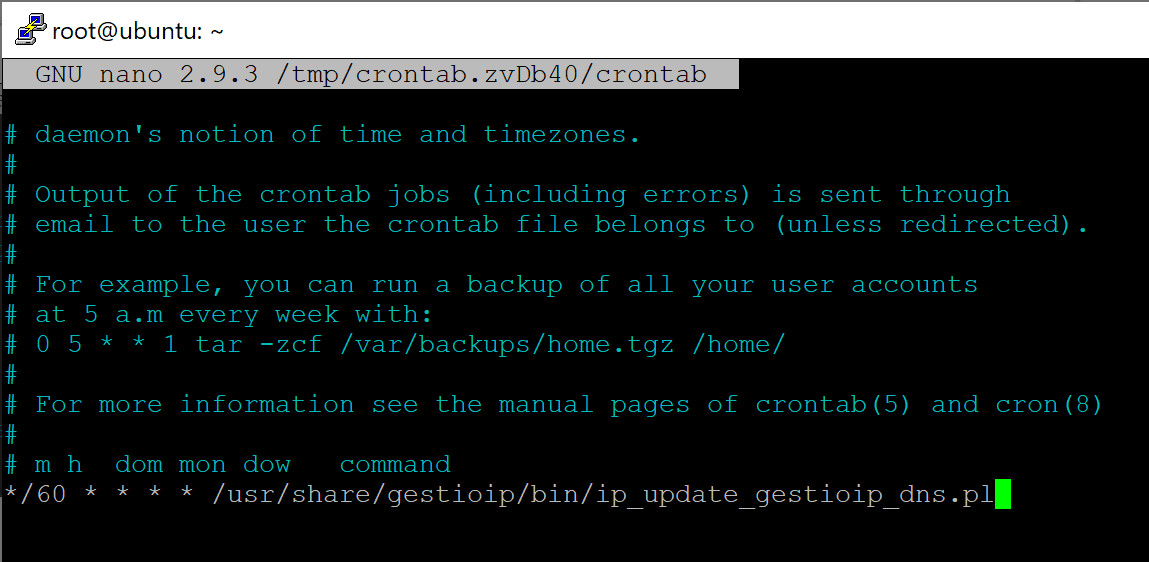
I found it a bit odd that with the scanning functionality built into the Gestioip solution, you still have to schedule this with an included script called ip_update_gestioip_dns.pl. As you can see below, this script is found in the /usr/share/gestioip/bin/ directory.
In Ubuntu, you can schedule this by typing crontab -e and adding the line below. This will schedule the scan to run every 60 minutes. However, you can adjust this as you need.
Gestioip – The Good and the Bad
So far, out of the open source IPAM solutions that I have tried, Gestioip does what I wanted an IPAM solution for my home lab to do – track IP address usage, hostnames, and other important usage information related to network ranges in use. Below are just a few of my observations of the good and bad.
The Good
- No mods necessary to scan your network and have it scan it automatically at certain intervals
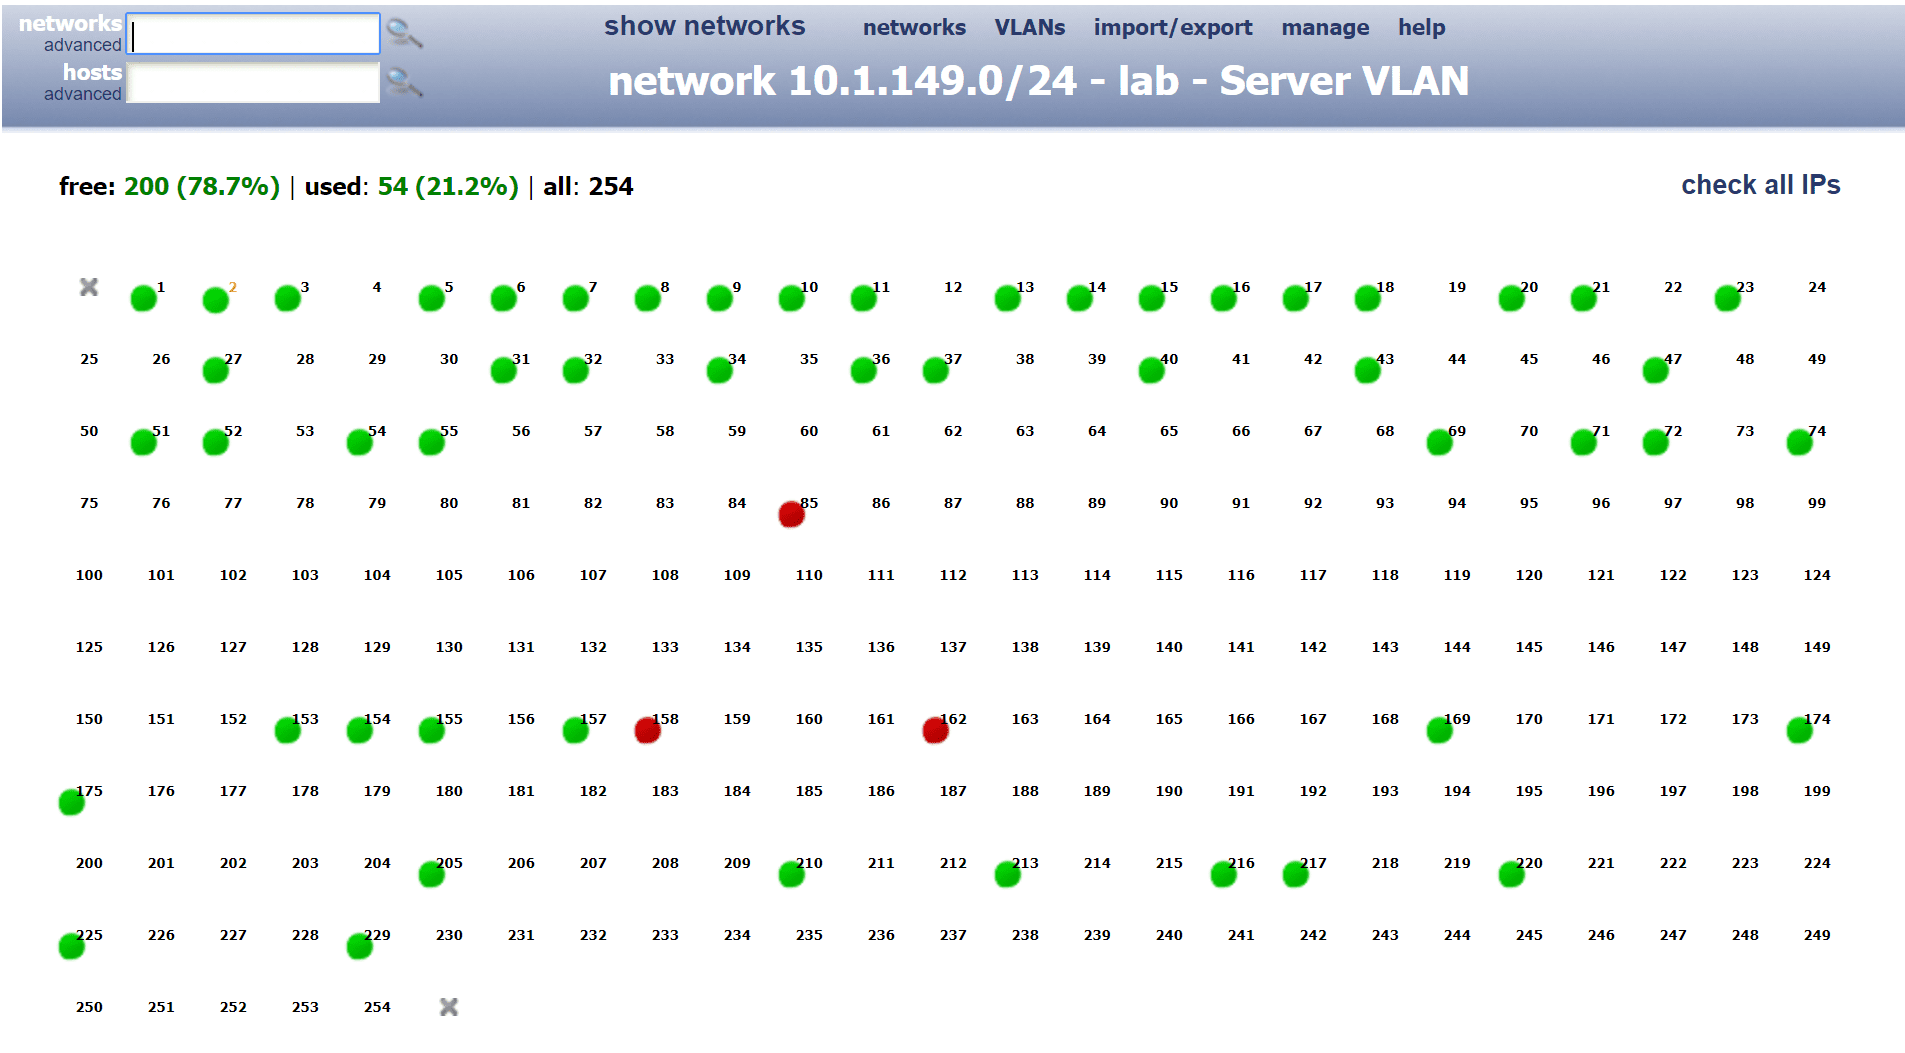
- View of networks, used IPs, and the high-level network map with green and red bubbles indicating used IPs and those that are down is a great way to see what is in use
- It automatically adds hostnames from DNS
The Bad
- GestioIP interface is extremely dated and looks like UX design from the 90’s. However, keeping up with your IPs doesn’t have to be pretty, but needs to be functional. Even with the dated interface it seems to achieve this.
- Workflows are a bit cumbersome between adding networks, scanning, etc
- You have to use a script and cron job to automatically scan your network ranges. This seems odd for a GUI interface that has this functionality built in to scan and discover hosts. Why can’t the scheduler be built in?
Wrapping Up
Keep Track of IP Addresses Automatically with GestioIP. It provides a great way to get up and running with an IPAM solution that allows you to keep up with the IP addresses that are used on your network as well as adds the hostnames from DNS automatically. Even though it has an extremely dated interface and cumbersome scheduling of scans, it still is a powerful little tool to keep up with your network. Even though I centered this around scanning IPs, you can keep up with your VLANs and other information as well. Check GestioIP out here: https://www.gestioip.net/


