There are many new and exciting features found in Windows Server 2019 and many of these have to do with much more seamless and tighter cloud integration. Microsoft has done a great job of introducing new and improved functionality and tooling to assist organizations with their migrations to the public cloud as well as hybrid cloud which is certainly the most common scenario among enterprise environments today who have the need for resources existing both on-premises and in the public cloud. With the introduction of the Windows Admin Center, Microsoft has made possible a powerful utility that provides powerful integration with Windows Server 2019 and Microsoft Azure. One of the great new features in Windows Server 2019 for Azure integration is the Azure Network Adapter. In this post we will take a look at what the Azure Network Adapter is as well as how to install and configure Windows Server 2019 Azure Network Adapter.
What is the Azure Network Adapter?
The Azure Network Adapter is a new functionality built into the Windows Admin Center that allows creating a virtual network adapter in Windows Server 2019 that is essentially a direct VPN connection to your Microsoft Azure. The really great thing about this new feature is that Microsoft takes all the heavy lifting out of the solution by taking care of the complexities of the configuration between your server and Azure all within the GUI, wizard driven interface of the Windows Admin Center.
This provides an extremely easy way to make a connection between a Windows Server 2019 workload on-premises to your Microsoft Azure environment. There are many different use cases this may fit, however, if you did not have the need to setup a site-to-site VPN connection between your on-premises environment and Microsoft Azure, this is a perfect fit for the Azure Network Adapter and the VPN connection it creates on the server itself. This might certainly come in handy in an edge environment without much network or other infrastructure. Creating a connection to your Azure resources would be easily accomplished in this edge environment with the Azure Network Adapter.
Install and Configure Windows Server 2019 Azure Network Adapter
Let’s take a look at the actual install and configure process in the Windows Admin Center to install and configure Windows Server 2019 Azure Network Adapter.
The below walk through assumes you have already got a Windows Server 2019 machine in place with access to the Windows Admin Center console.
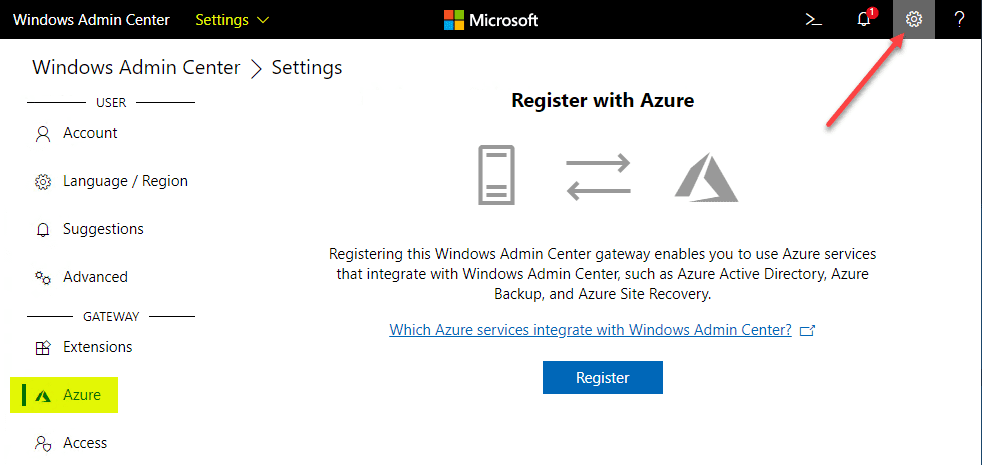
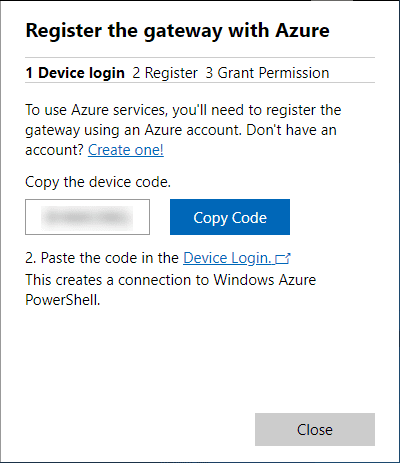
The process to connect your Windows Admin Center Azure Network Adapter is fairly straightforward. The process first generates a code for you to paste into the portal. Hit the Copy Code button to copy the code. In step 2, click teh Device Login link to paste the code.
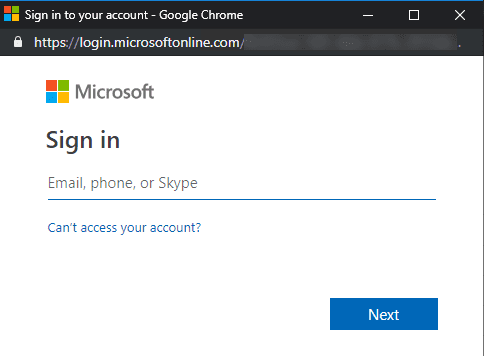
If you are not logged in already, you will be asked to login to your Azure PowerShell application on your device. After you have done this, you are returned back to Windows Admin Center.
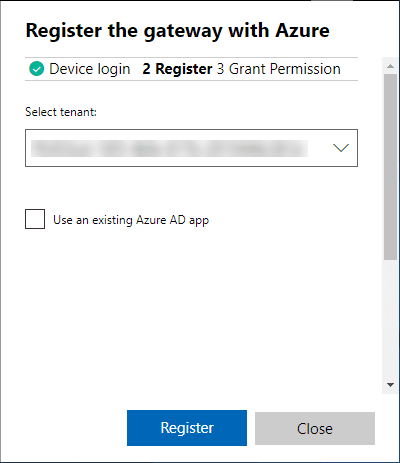
Windows Admin Center will have the Register the gateway with Azure displaying. Select your Azure tenant you want to use for the connection.
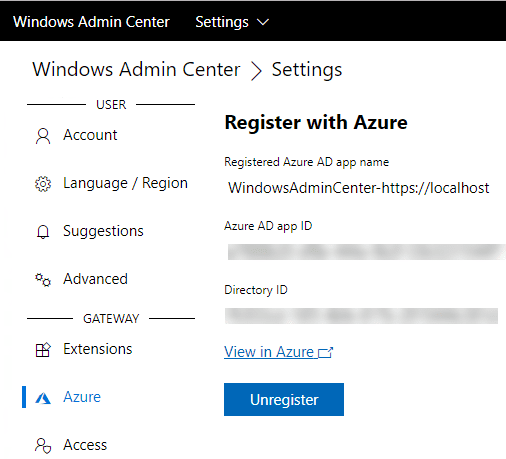
Once you have done this, you will see your Azure instance registered in the Windows Admin Center. Thankfully, they make it easy for you as well to view from the Azure side of things with a hyperlink right to the Azure portal screen to view your registration from Windows Admin Center.
Now, the first phase is done – registering Windows Admin Center with Azure. Next, we can Add Azure Network Adapter under the Network dashboard under your Windows Server 2019 host you are viewing in WAC.
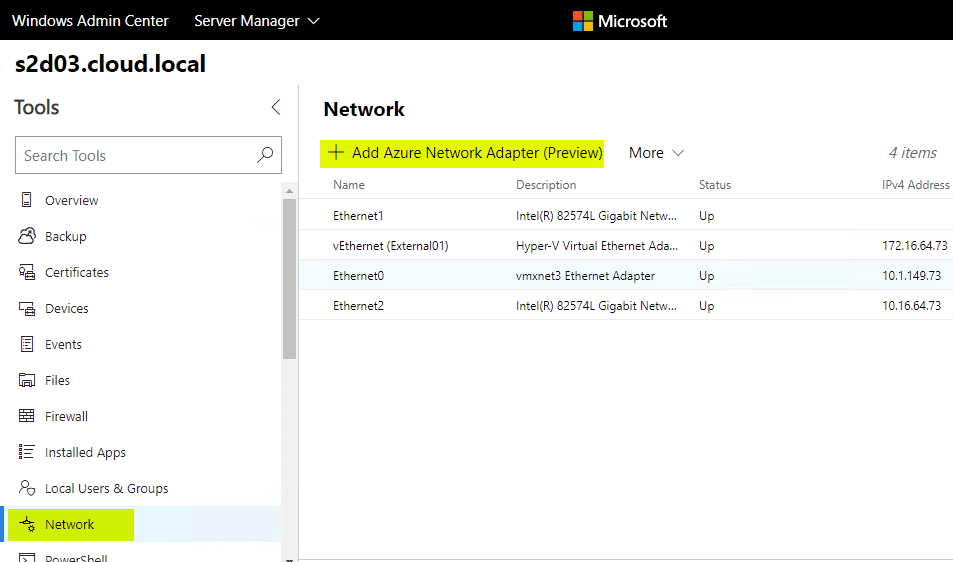
Again, you will need to sign in if you haven’t already.
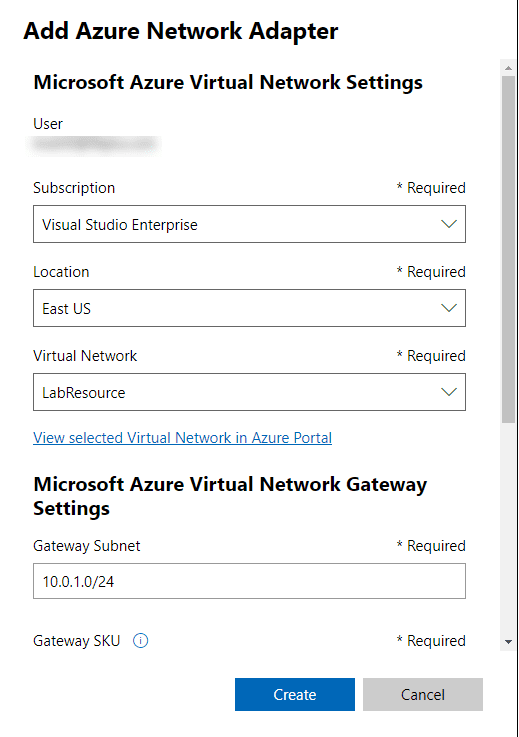
In Windows Admin Center, the Add Azure Network Adapter – Microsoft Azure Virtual Network Settings dialog box will display. You have several configuration settings that need to be configured on this screen. This includes:
- Subscription
- Location – Make sure you know the data center location for your Azure resource as the Virtual Network will not appear until the correct location is selected.
- Virtual Network
- Gateway Subnet
The request to create the Azure Virtual Network Gateway is submitted to Azure from Windows Admin Center.
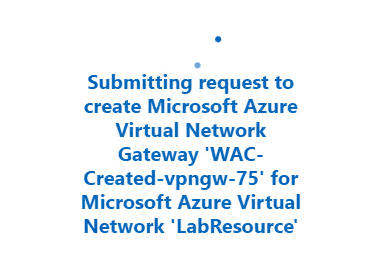
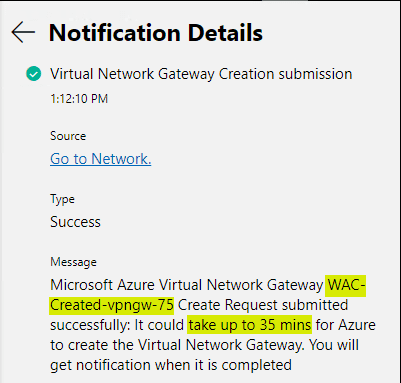
In the Notification dialog, you will see the Azure Virtual Network Gateway name as well as the estimated time for creating the Virtual Network gateway.
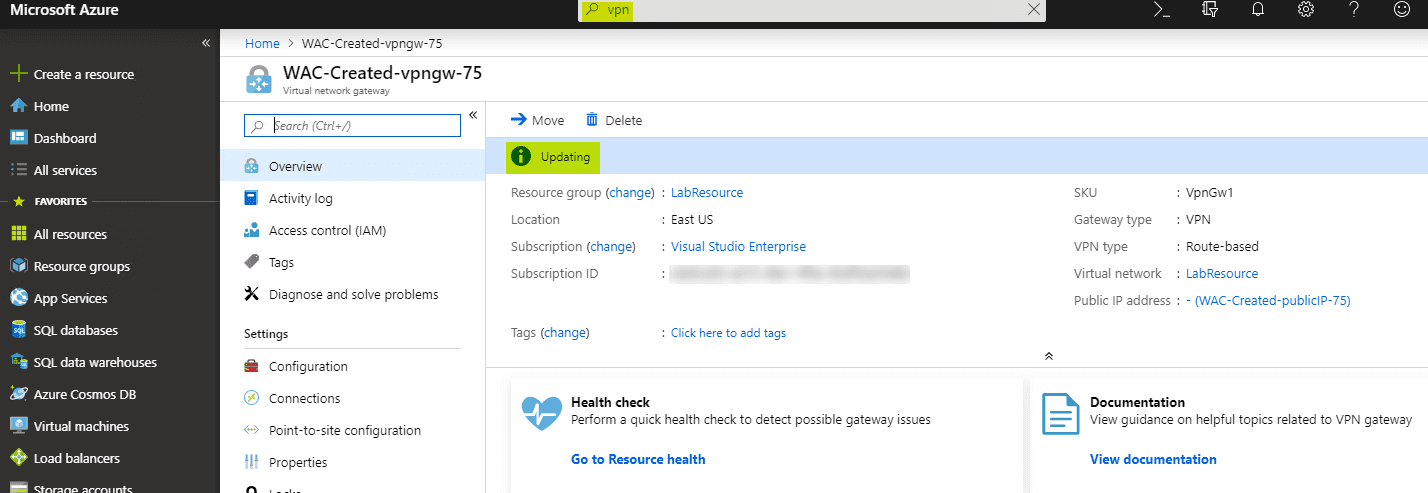
You can monitor the process of the provisioning in Azure under your Azure portal.
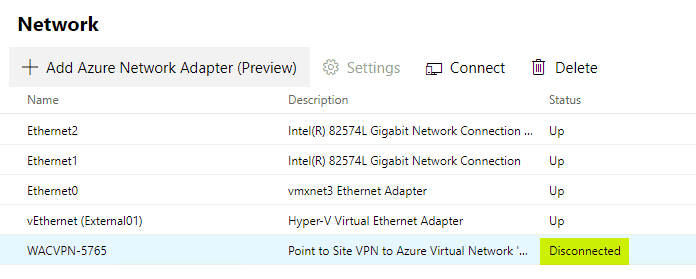
I noticed after I had created the adapter, the status was Disconnected which it should have attempted to connect automatically.
After checking the firewall logs, I found the following block events. In the Palo, I had to add the following application IDs:
- ike
- ipsec-esp-udp
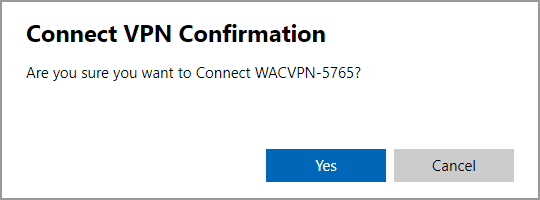
Now, let’s try to reconnect.
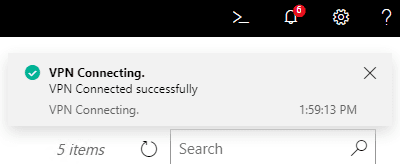
VPN is successfully connected!
Azure Network Adapter is now showing as connected in the Windows Admin Center!
Wrapping Up
The Azure Network Adapter is a great way to have point to site connectivity to your Azure environment. If you need across the board access from on-premises, you will probably want to use a site-to-site VPN connection, however, for one off or special use cases such as in edge environments, the Azure Network Adapter is an easy way to have access to your Azure resources/networks.
Google is updating how articles are shown. Don’t miss our leading home lab and tech content, written by humans, by setting Virtualization Howto as a preferred source.


