Installing and Connecting PowerShell Az Module with Microsoft Azure
Interacting with Microsoft Azure is certainly achievable with the Azure portal, however, perhaps one of the huge advantages and features of cloud environment such as Microsoft Azure is the ability to interact programmatically with all aspects of the cloud. Microsoft’s PowerShell scripting language has gained huge adoption among administrators, engineers, and DevOps folks both on-premises as well as in the cloud. Working with Azure via PowerShell code is certainly a very powerful option for interacting with the Azure environment. As most know, Powershell has been undergoing a transformation from a Windows-only solution to a true cross-platform language that can be used on many different platforms. This has been made possible with PowerShell Core. Up until the end of 2018, Azure’s legacy PowerShell module (AzureRM) has not been cross-platform. However, the Azure team in December 2018 released the Azure “Az” PowerShell module that is the roadmap moving forward for interacting with Azure via PowerShell. In this post, we will take a look at installing and connecting PowerShell Az module with Microsoft Azure to see how the module can easily be installed and used for interacting with Azure environments.
What is Microsoft Azure PowerShell Az Module?
Azure PowerShell Az module is the way forward for PowerShell with Azure and those who currently have scripts written for AzureRM module for Azure need to begin migrating these over to using the Az module. There are some ways to get around having to make a hard switch at the moment from AzureRM to Az including using PowerShell Core for AZ, using AzureRM aliases in Az, and other means. However, the writing is certainly already on the wall that Az is the only way forward. In fact, only bug fixes will be released for the existing AzureRM module and new functionality will only be released for the Azure PowerShell Az module.
Many of the improvements with the Azure Az command come in the way of shorter commands, improved stability, and cross-platform support. At this point, it already offers feature parity with AzureRM, so customers are not losing any functionality migrating over to using the new module. It is based on the .NET Standard library which allows it to run on both PowerShell 5.x and PowerShell 6 which allows the cross-platform functionality.
Migrating from AzureRM PowerShell Module to Az
If customers have already uninstalled AzureRM module in favor of Az, they can run Az in “compatibility mode” to allow using existing scripts while working on updating those scripts to using the new syntax. An important consideration for the compatibility mode is to make sure that only the Az module is installed and AzureRM has been uninstalled.
You can check to see if you have the AzureRM module installed with the following command:
Get-InstalledModule -Name AzureRM -AllVersions
How do you uninstall the AzureRM PowerShell module?
Uninstall-Module -Name AzureRM
To enable the new compatibility mode, use the cmdlet:
Enable-AzureRmAlias
Installing and Connecting PowerShell Az Module with Microsoft Azure
The first thing we want to do is update the PowerShellGet module which contains cmdlets for discovering, installing, updating, and publishing PowerShell packages whcih contain PowerShell artifacts from the PowerShell gallery. The PowerShell gallery is the central repository for PowerShell content. It contains useful PowerShell modules containing PowerShell commands and DSC resources, powershell scripts, etc.
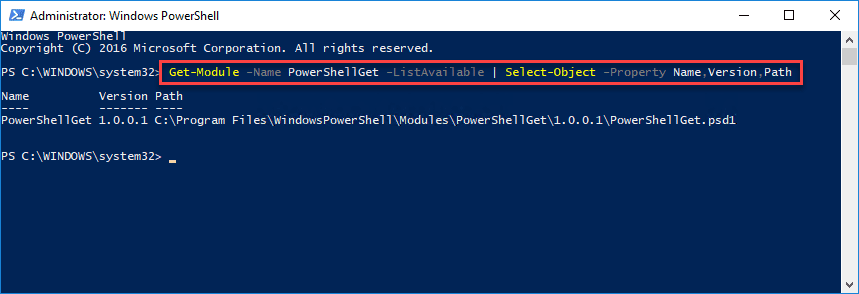
You can check for the currently installed version of PowerShellGet with the following command:
Get-Module -Name PowerShellGet -ListAvailable | Select-Object -Property Name, Version, Path
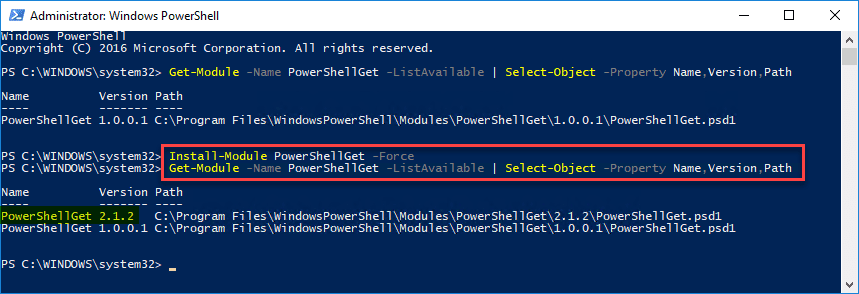
To install the latest PowerShellGet module use the following command:
Install-Module PowerShellGet -Force
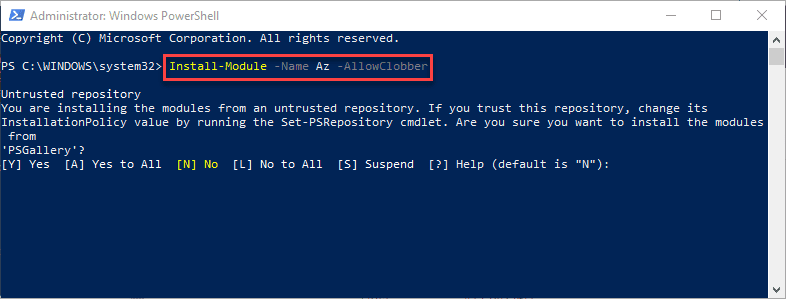
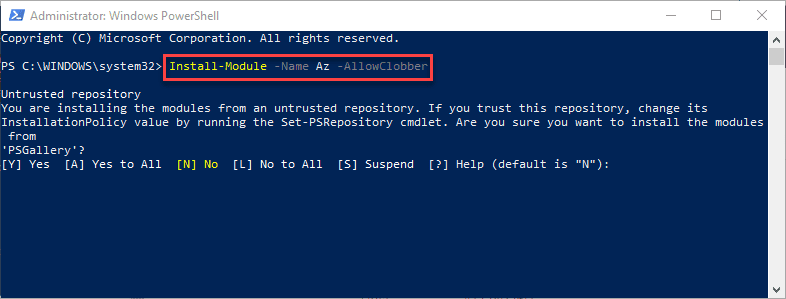
Now, moving on to the actual installation of the Azure Powershell Az Module. To install the latest Az module, use the following command:
Install-Module -Name Az -AllowClobber
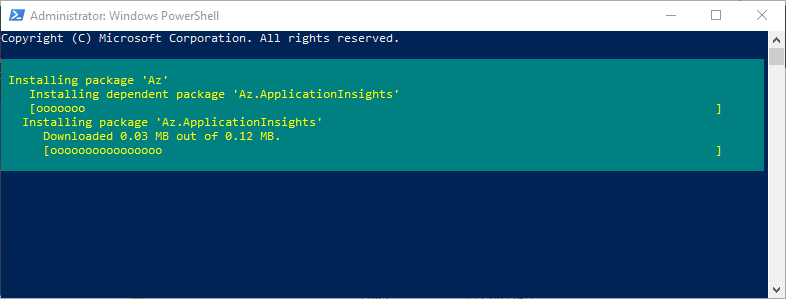
The package installation for the Az module proceeds.
Once the module is loaded, import the module into the PowerShell session with the command:
Import-Module Az
You can verify the module installation with the command:
Get-InstalledModule -Name Az -AllVersions
Once the module is installed and loaded into the PowerShell session, we can now connect to the Azure instance:
Connect-AzAccount
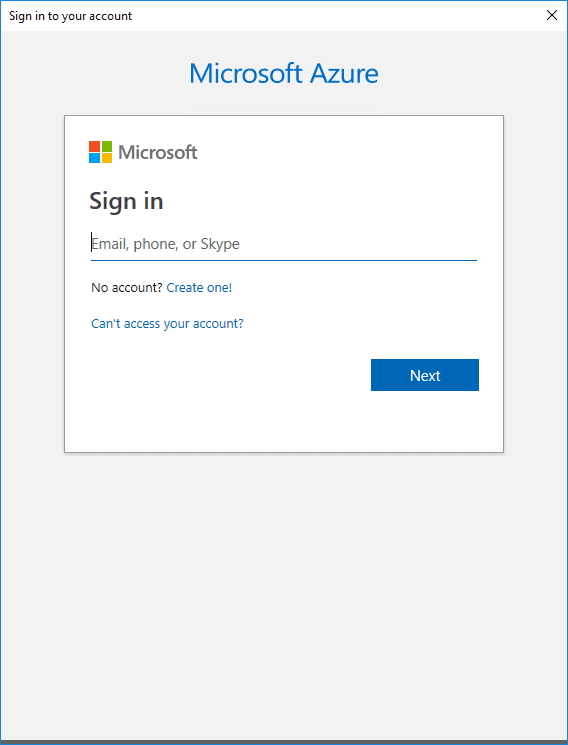
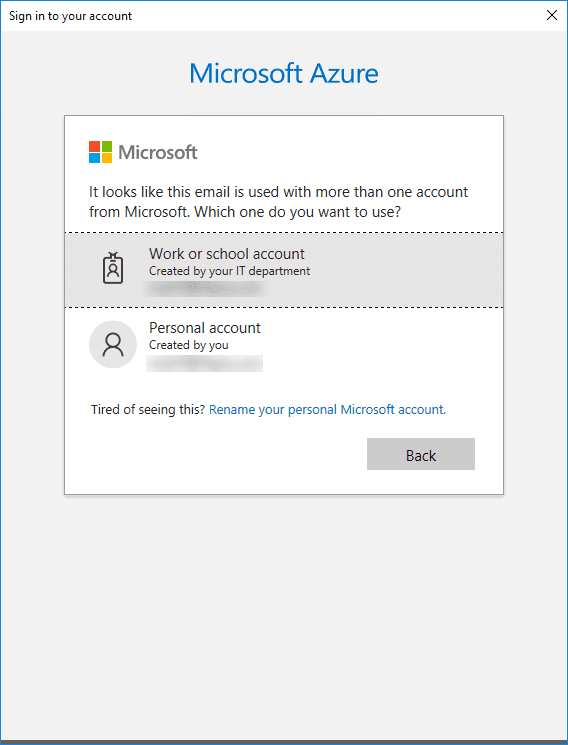
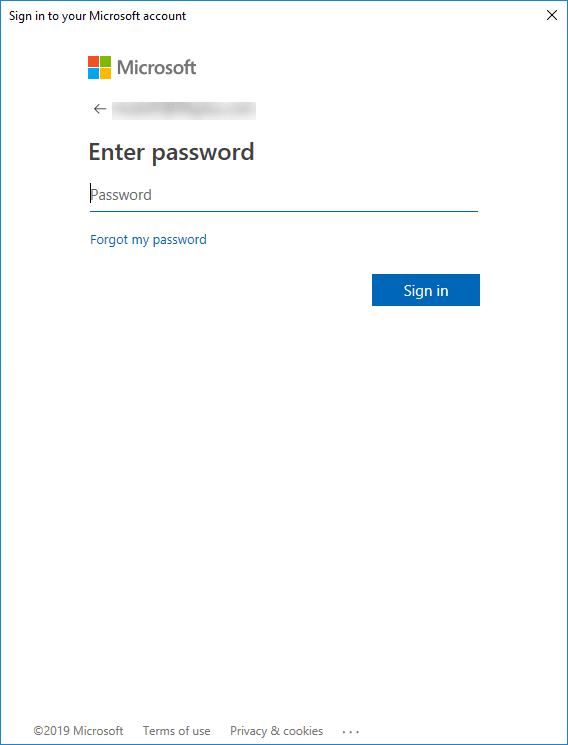
This will launch the normal Microsoft Azure portal login GUI screens, having you enter your Azure Portal email address, account type, and password.
After entering credentials for the Azure portal, you should be connected to the Azure Portal via PowerShell. To verify, you can use the following cmdlet:
Get-AzureSubscription

Azure PowerShell Resources
- https://docs.microsoft.com/en-us/powershell/azure/new-azureps-module-az?view=azps-1.6.0
- https://docs.microsoft.com/en-us/powershell/azure/migrate-from-azurerm-to-az?view=azps-1.6.0
- https://docs.microsoft.com/en-us/powershell/azure/uninstall-az-ps?view=azps-1.6.0
Wrapping Up
It is extremely easy to get started using PowerShell connected to Microsoft Azure public cloud. Installing and Connecting PowerShell Az Module with Microsoft Azure is the new way forward to utilize the newest functionality from a PowerShell modules perspective connected to Azure. As shown, this process is just a few steps including updating the PowershellGet module, uninstalling the AzureRM module (if installed and you want to use compatibility mode), and installing the Az module. After installation, you can simply connect to the Azure subscription via PowerShell. Next, we will take a look at some basic PowerShell Az commands to perform actions like creating VMs, interacting with them, etc. Stay tuned!


