Upgrade to VMware vSphere ESXi 6.7 Update 1 using VUM
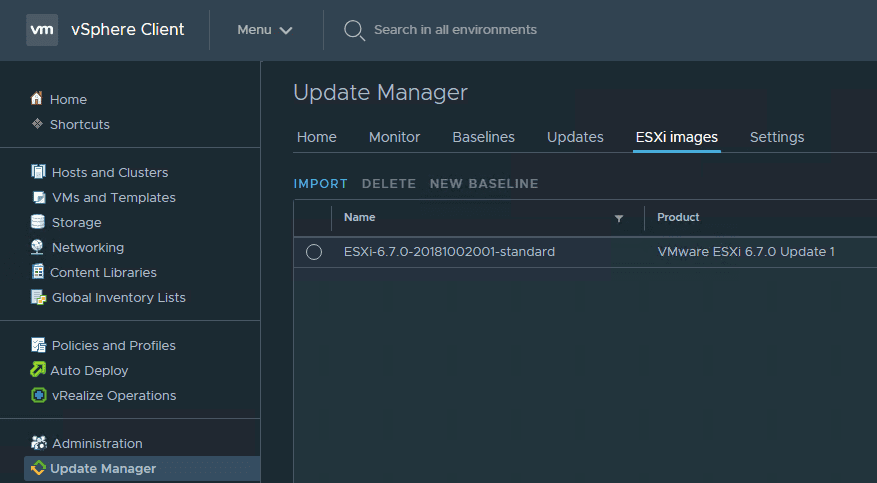
With the availability to download vSphere 6.7 Update 1, getting the home lab up to the latest and greatest has been a priority. The new vSphere release contains exciting new functionality across the board. Who of us has not been anxiously awaiting the day when the HTML 5 client would be fully featured and we can do away with the Flex client? In the home lab this has been a long time coming. The day has finally arrived! I have been running the various patch levels of vSphere 6.7 in the home lab up until Update 1 was available. Using the vSphere Update Manager or VUM, I was able to easily get all hosts upgraded to Update 1 without any issues. In this post, we will take a look at how to Upgrade to VMware vSphere ESXi 6.7 Update 1 using VUM and the process to get the baseline created and actually perform the upgrade.
Upgrade to VMware vSphere ESXi 6.7 Update 1 using VUM
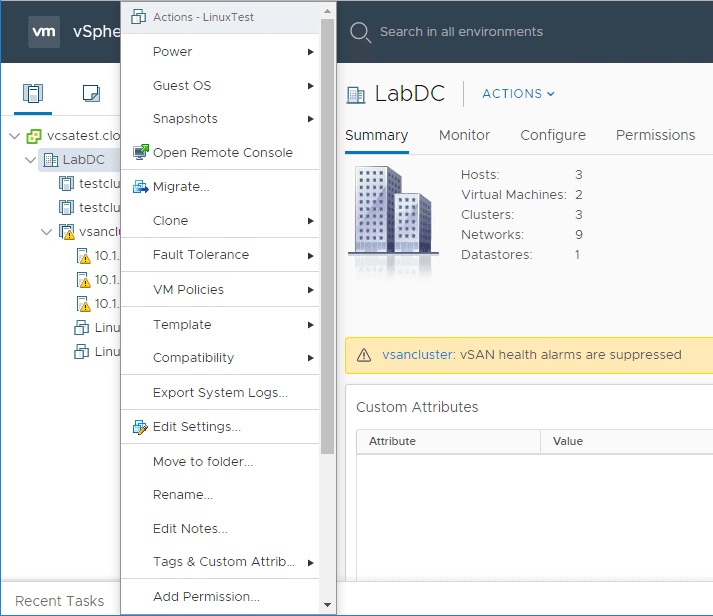
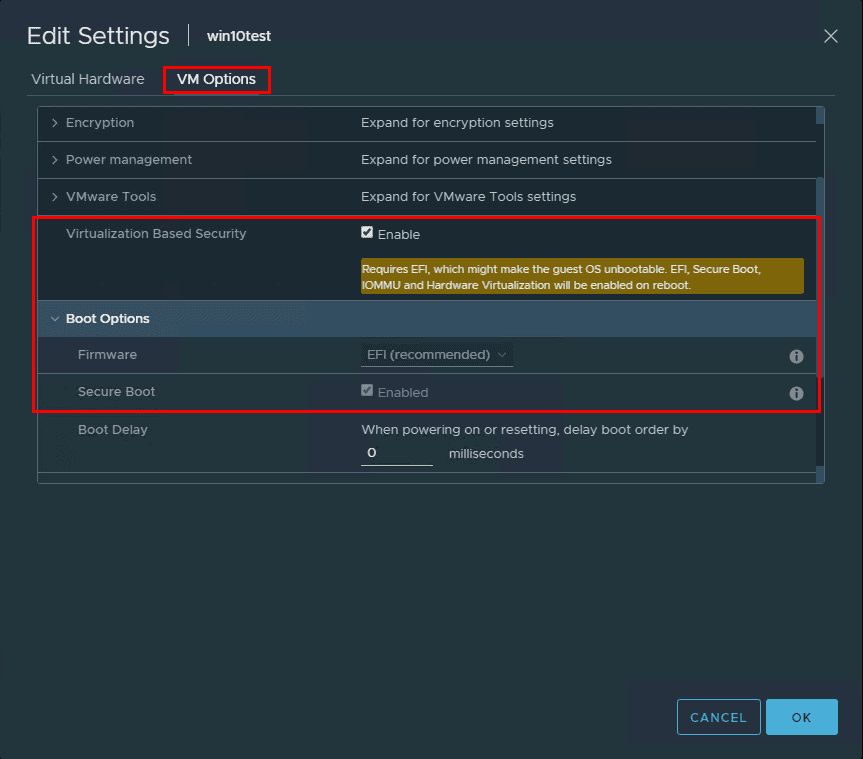
One of the great new features with the HTML 5 client is the ability to have “dark mode”. While this doesn’t add tremendous capabilities to the functionality of vSphere itself, dark mode themes are extremely popular across the board and are arguably easier on the eyes. In the walk through of the Update Manager process, I will be using the dark mode them in the vSphere client to perform the actions.
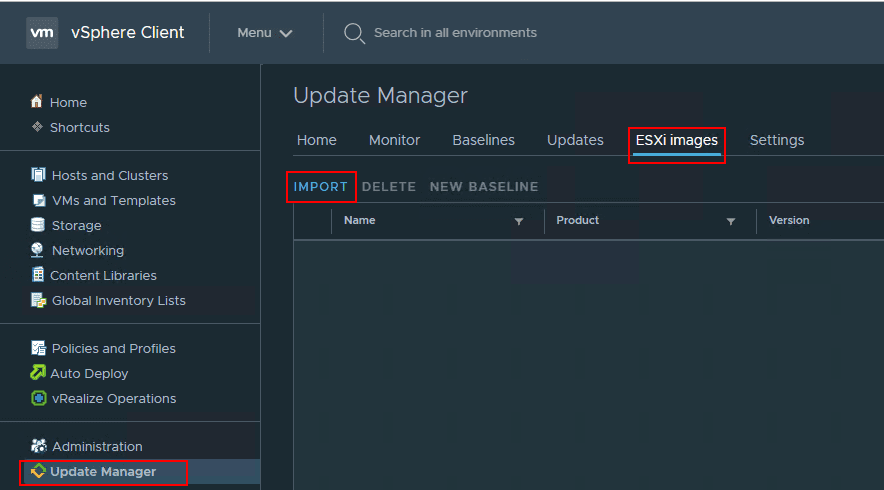
Navigate in the HTML 5 vSphere client to Update Manager >> ESXi Images >> Import to begin importing the ESXi 6.7 Update 1 ISO image for updating your hosts.
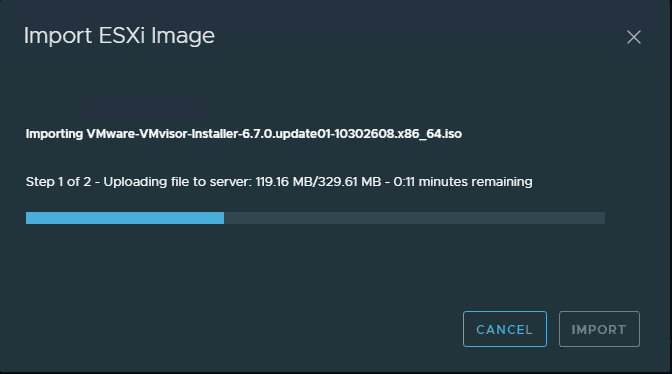
The Import ESXi Image wizard uploads the ISO and imports it into the Update Manager library.
Now that the ESXi image is imported, we can create a new baseline to connect to the newly added ISO image in Update Manager.
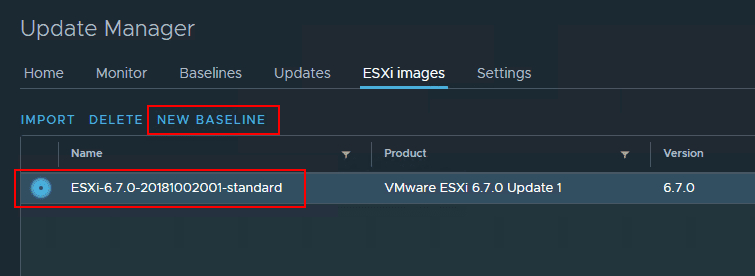
The 3-step Create Baseline Wizard begins. The first step as you can expect, allows naming the baseline.
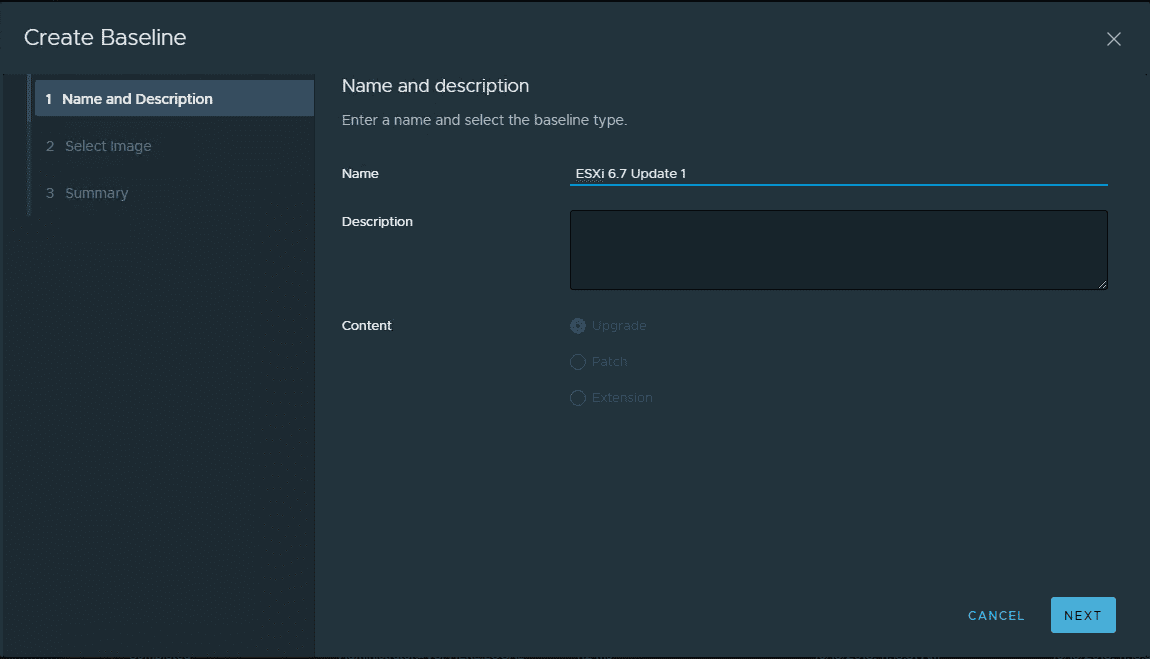
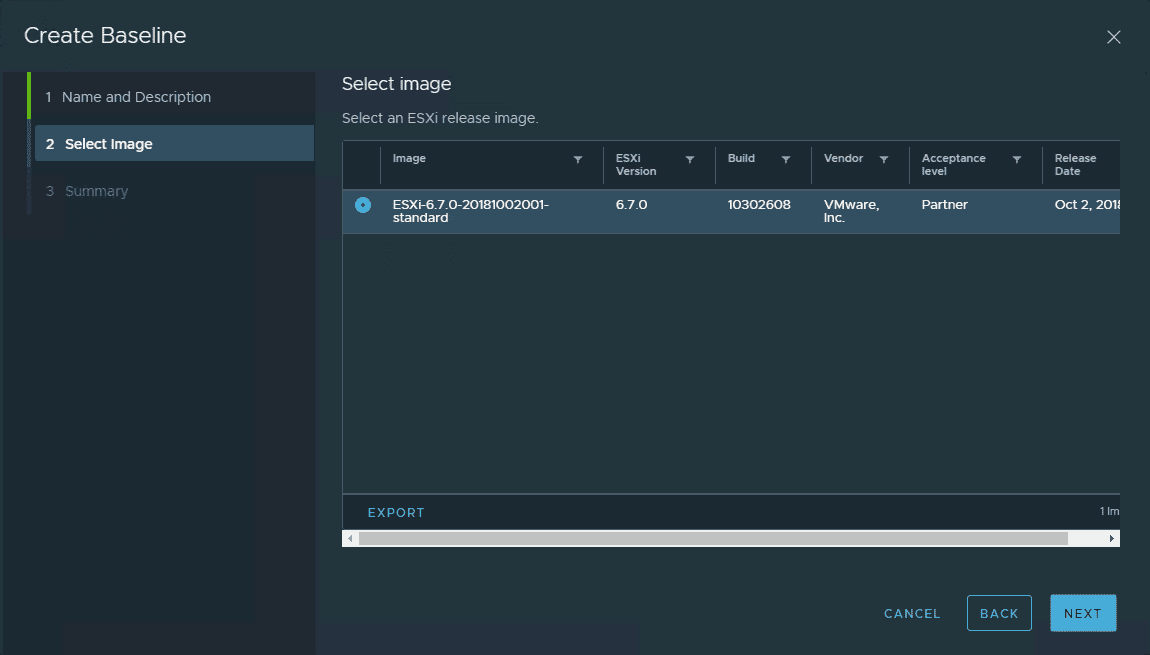
Next, we actually select the ISO image to be used in the baseline for remediation. You should see the newly uploaded image available to select for the baseline.
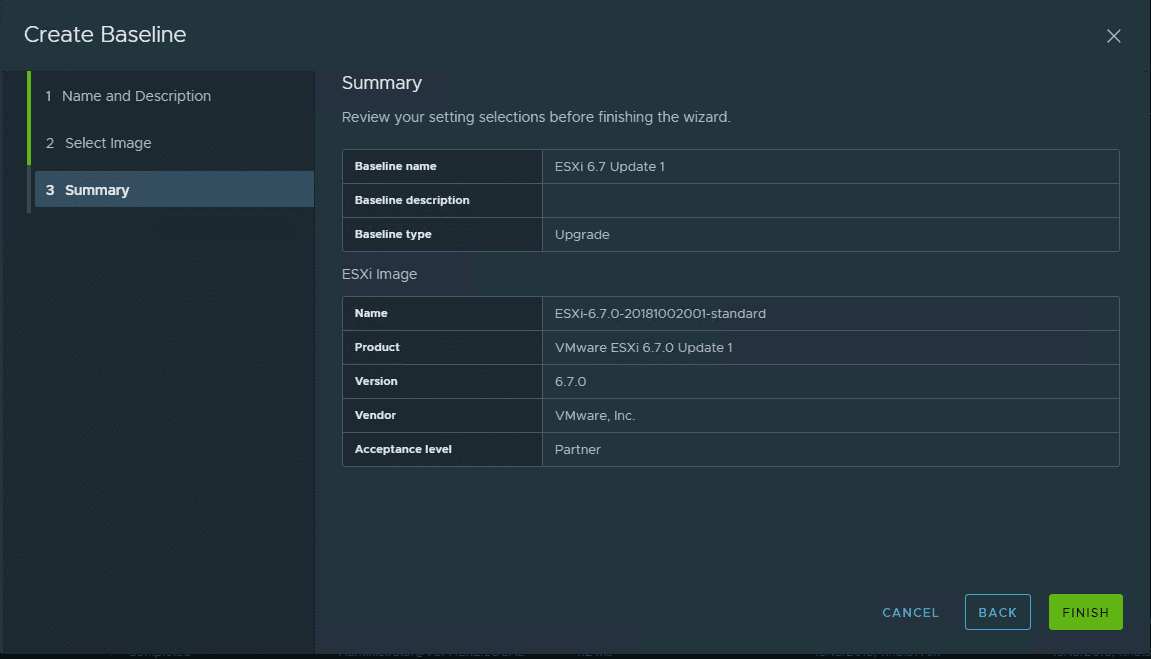
On the final step, we have the summary screen to finalize the baseline creation.
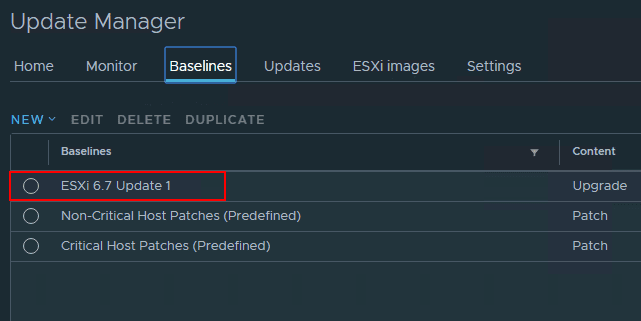
You can verify the baseline is created after finalizing the wizard.
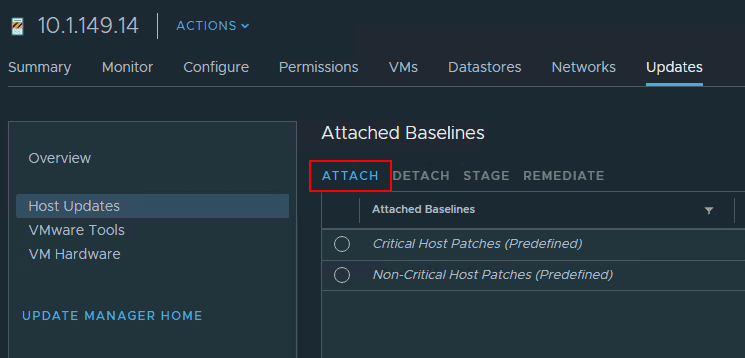
To remediate with the newly created baseline, click your host, Updates >> Attach to attach the newly created baseline.
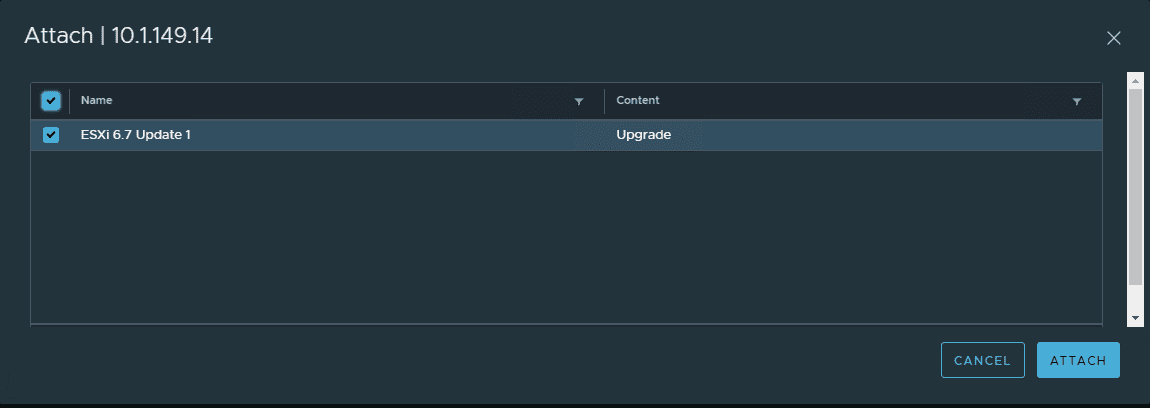
You will see the new baseline available to attach.
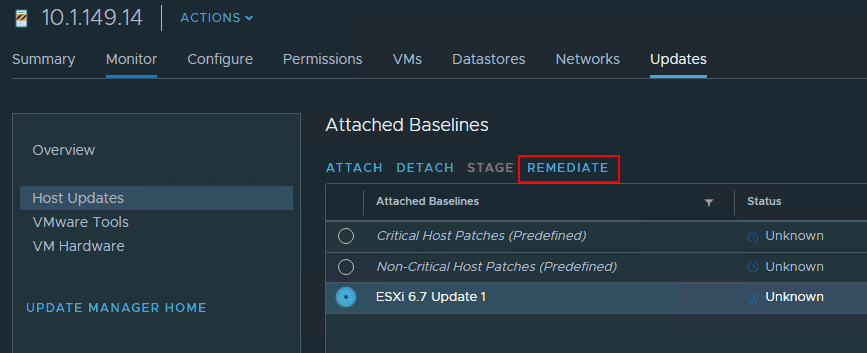
Now that the baseline is attached, click the Remediate button and select the newly attached baseline.
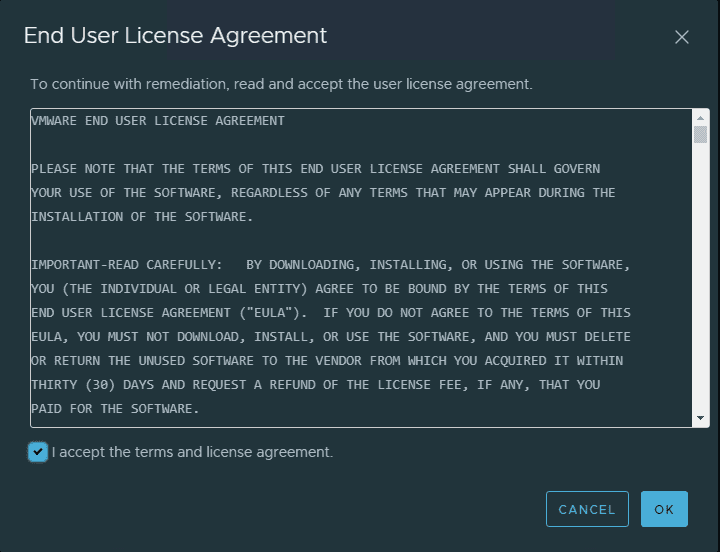
Accept the EULA for the vSphere 6.7 Update 1 release.
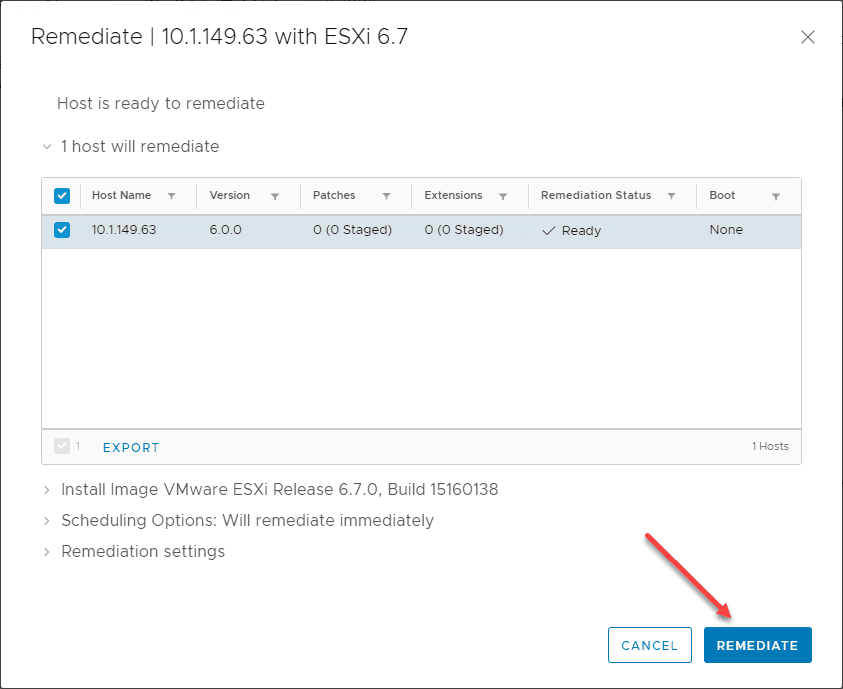
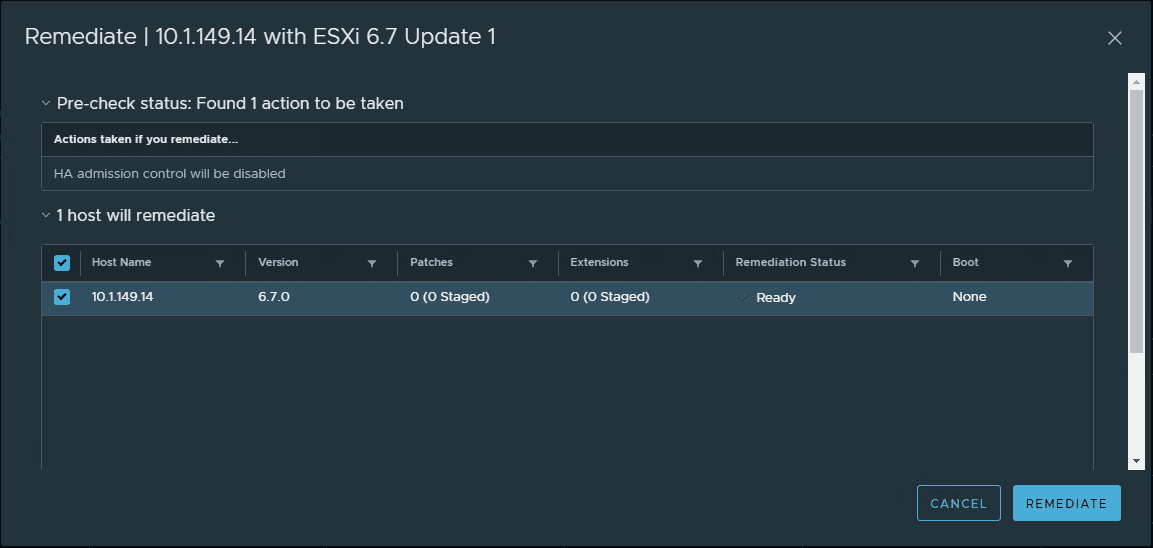
The Pre-check status screen will display the action that will be taken.
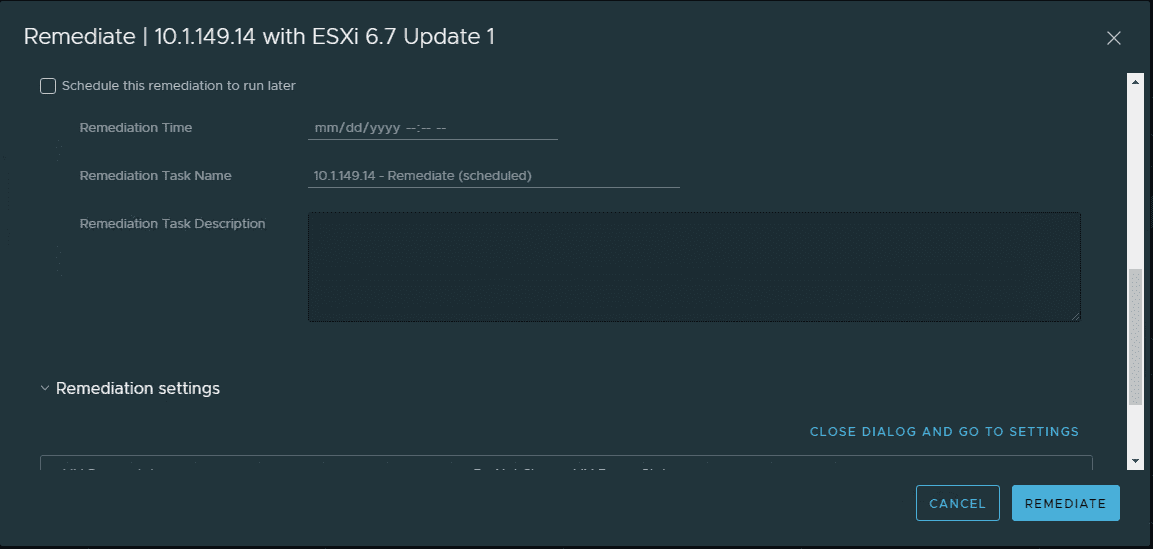
If you scroll down, you will see additional options and configuration to be made on the remediate action. To begin click the Remediate button.
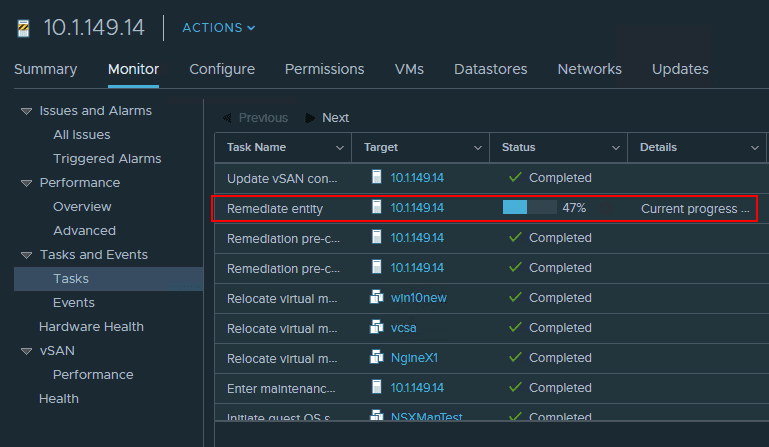
In the Tasks of the host, you will see the Remediate entity task kick off and view progress.
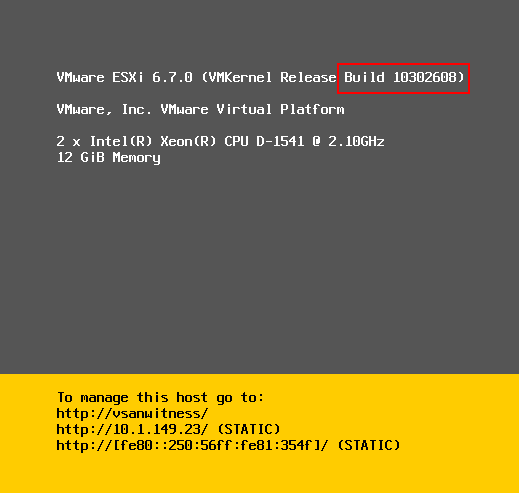
After the host updates using VUM, you will see the new build number for vSphere 6.7 Update 1:
- Build 10302608
Takeaways
The process to Upgrade to VMware vSphere ESXi 6.7 Update 1 using VUM is incredibly easy. Rollling through a vSphere cluster using VUM is a great way to quickly get all hosts updated to the latest and greatest release. Using the new HTML 5 vSphere client worked flawlessly and I didn’t encounter any issues with the HTML 5 client running through the process to upgrade to vSphere 6.7 Update 1. The only glitch I have seen so far was a display glitch where the vSAN properties are still displayed in the white theme inside of the dark theme box. For the vSAN upgrade portion, I switched the theme back to the default theme for administering the vSAN upgrade. Speaking of the vSAN upgrade, in the next post, we will take a look at the additional steps to upgrade VMware vSAN to vSAN 6.7 Upgrade 1, including the on-disk format version. Stay tuned!


