Installing VMware vCenter Site Recovery Manager SRM 8.1
One of the exiting recent announcements from VMUG was the addition of VMware’s Site Recovery Manager for vSphere being added to the catalog of downloable software for VMUG Advantage Subscribers. Since the announcement, among other things going on in the home lab, I have been wanting to get an instance of SRM up and running inside the home lab to take it for a spin as it has been a few versions ago since I have played around with it and its capabilities. If you are not familiar with Site Recovery Manager or SRM, it is VMware’s solution for automated disaster recovery and failover. SRM can make use of third party back solutions or VMware’s vSphere Replication to copy data between primary and secondary sites. The process for failover is then automated by creating plans to start virtual machines in the correct order, reconfiguring network connections, etc. So it is a key component if using VMware’s native software component offerings in assuring a smooth disaster recovery experience and ensuring business continuity. The first step however is to stand up Site Recovery Manager. What is involved with installing Site Recovery Manager? Let’s take a look at Installing VMware vCenter Site Recovery Manager 8.1 and see what the process looks like.
Installing VMware vCenter Site Recovery Manager SRM 8.1
Unlike many of the OVA/OVF deployed solutions, Site Recovery Manager or SRM is a Windows executable package that is downloaded from VMware. The package that I downloaded and installed at the time of this writing is:
VMware-srm-8.1.0-8527244.exe – Size on disk 369,618 KB So 361 MB or so. Not at large a download as you might expect for a solution that provides fully automated disaster recovery and automation. The system requirements as outlined by VMware include:
|
Component |
Requirement |
|---|---|
|
Processor |
At least two 2.0GHz or higher Intel or AMD x86 processors. Site Recovery Manager deployments that manage large environments require four 2.0GHz CPUs. |
|
Memory |
2GB minimum. You might require more memory if you use the embedded database, as the content of the database grows. The memory requirement increases if Site Recovery Manager manages large environments. |
|
Disk Storage |
5GB minimum. If you install Site Recovery Manager on a different drive to the C: drive, the Site Recovery Manager installer still requires at least 1GB of free space on the C: drive. This space is required for extracting and caching the installation package. You might require more disk storage if you use the embedded database, as the content of the database grows. |
|
Networking |
1 Gigabit recommended for communication between Site Recovery Manager sites. Use a trusted network for the deployment and use of Site Recovery Manager and for the management of ESXi hosts. |
We won’t go in depth about licensing in this post, however, it is important that you understand what the license requirements are for SRM:
For my home lab environment, I am using a Windows Server 2016 Server template cloned out to a purpose built VM for housing SRM. Let’s see what the installation looks like running through the Install wizard.
VMware Site Recovery Manager 8.1 Installation Screenshots
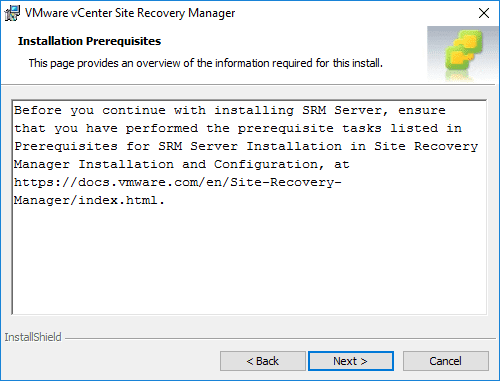
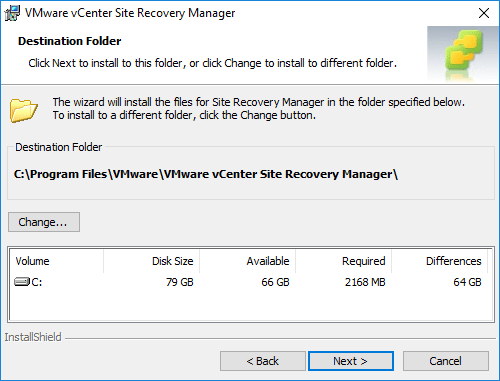
Below are screenshots taken from running the installation of VMware vCenter Site Recovery Manager 8.1 in Windows Server 2016. After downloading the executable, the installation process is simply “next, next, finish” (with proper forethought of course). Before beginning, make sure you have the FQDNs of Platform Services controller, vCenter Server, Windows service account if you choose to scope this down as well as what type of DB configuration you want to use as you will see below.
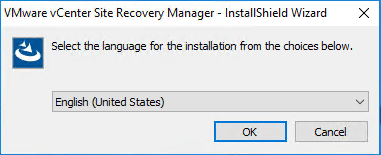

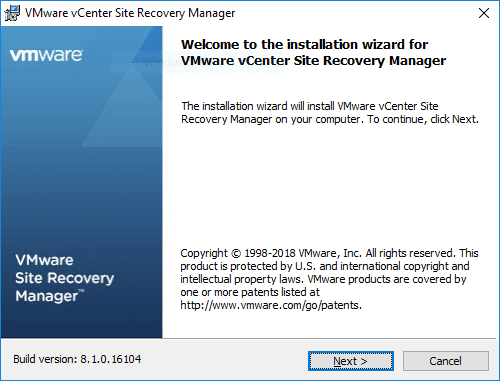
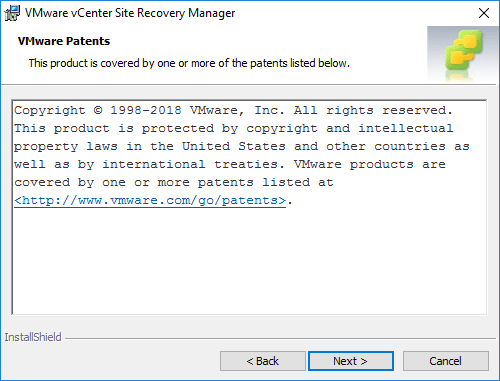
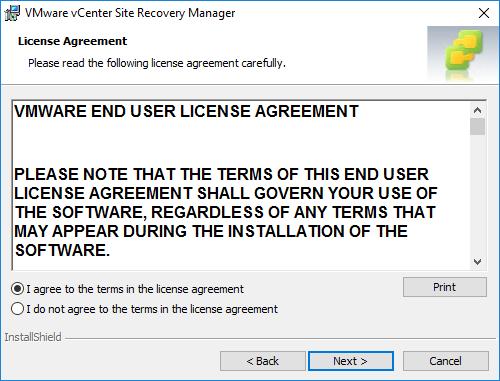
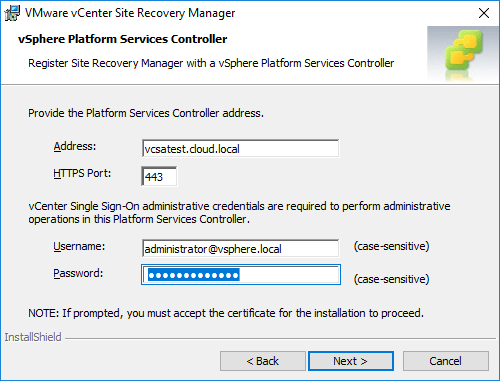
Here you point the installation at your PSC if you have an external configuration, however, will be the same as vCenter if you are using the embedded configuration.
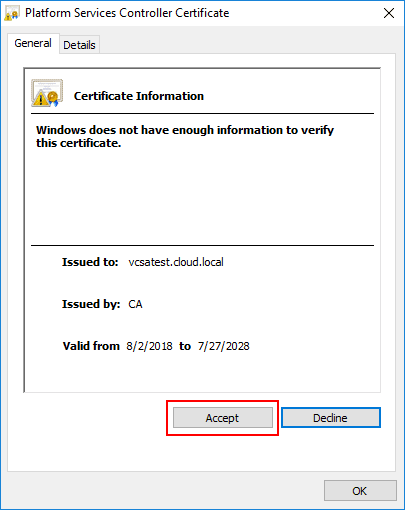
You will be prompted to Accept the certificate presented by the PSC server/vCenter server. Be sure to click Accept and not OK as this will simply take you back to the install and you will wonder why it is not moving forward.
Next, you enter the vCenter Server FQDN address.
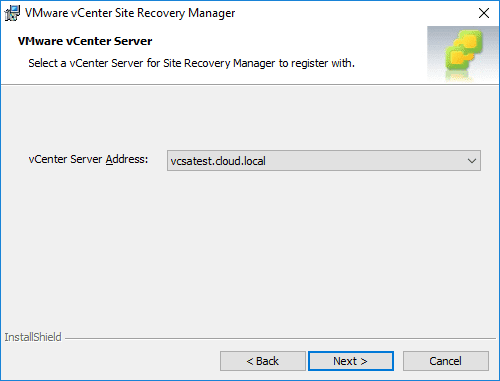
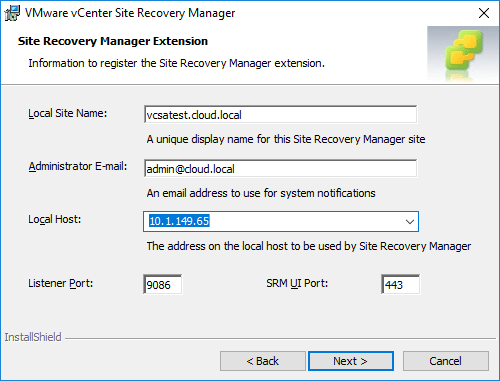
Next, the information that is presented and registered with your vCenter Server regarding SRM. Take note of ports configured if there are any firewalls to be considered in between.
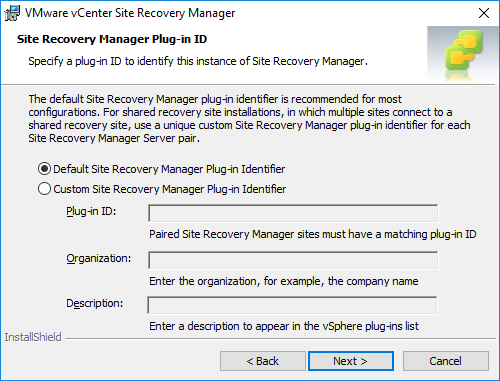
Choose the default site recovery manager plug-in identifier or a customer identifier. For most, the default is what you will want.
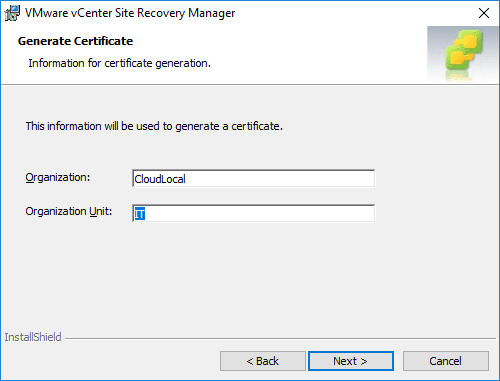
The installation will prompt you to choose to generate a certificate for the SRM installation. You can also choose to use an existing certificate.
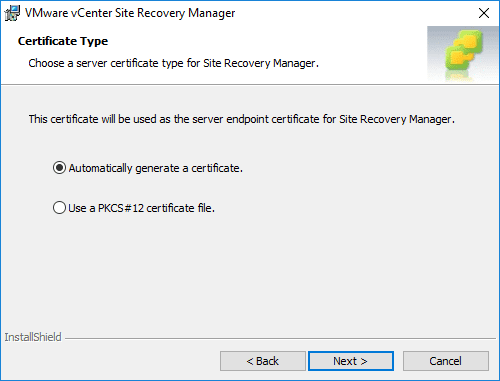
Choose the certificate organization information.
Next is one of the most important considerations for the installation. Choose the DB configuration. You can choose to utilize the embedded database or connect the installation to an external DB such as SQL Server.
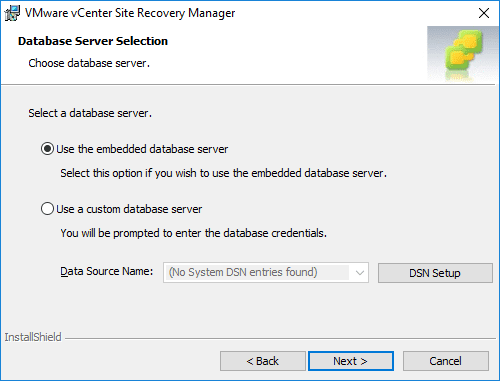
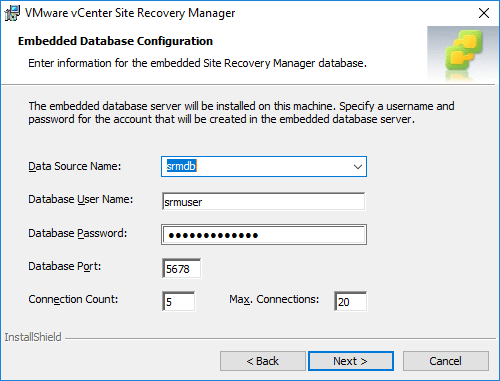
For simplicity in the home lab, I simply chose the embedded Postgres option. You have to create a data source along with user credentials for the DB.
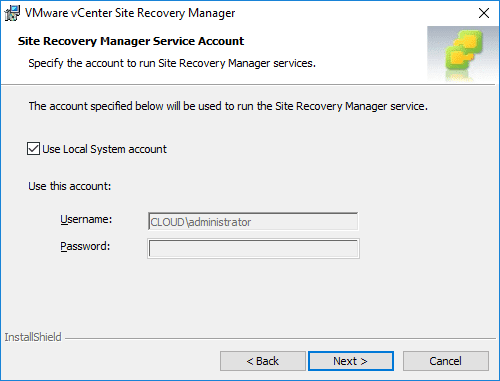
On the Windows side, you need to either select the Local System account or choose a specific service account for the Windows service that SRM runs under.
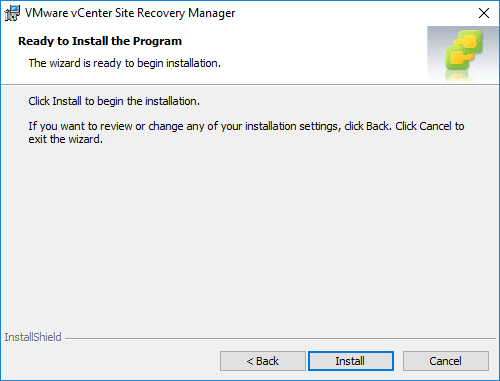
Now, the installation is actually ready to begin.
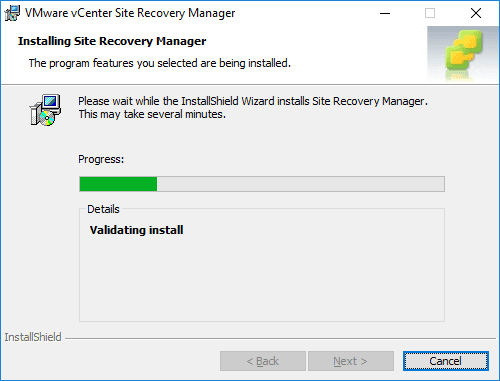
Installation begins and copies files, etc.
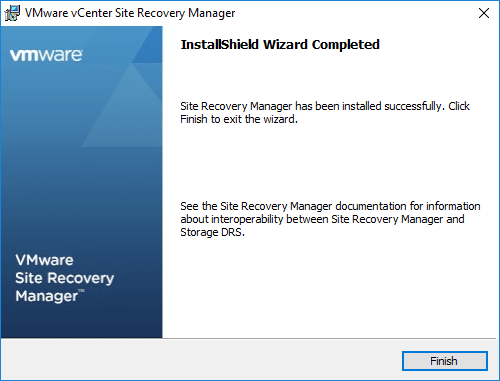
The installation is successful.
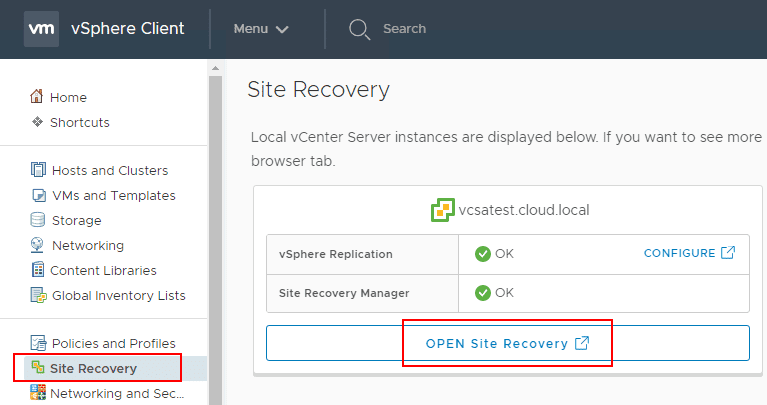
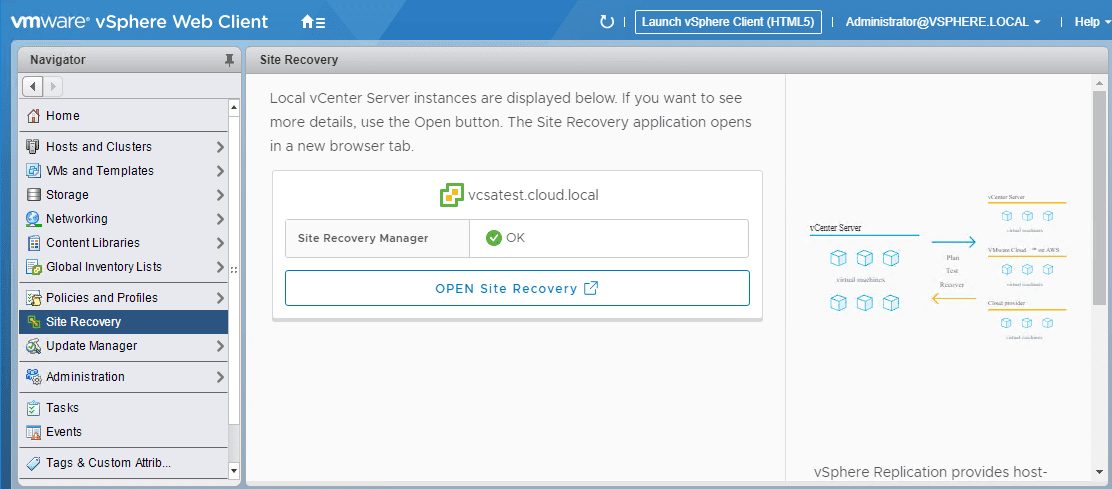
Now that SRM is installed, you can navigate to Home >> Site Recovery. The Open Site Recovery link will open the link to your SRM server to begin setting up the Site Pair.
Takeaways
Since being added to VMUG Advantage, VMware vCenter Site Recovery Manager is a great new piece of software that VMUG subscribers will be able to take advantage of for lab purposes. Installing VMware vCenter Site Recovery Manager SRM 8.1 is extremely easy as it is a simple Windows installation to get the extension added into vCenter Server. Now, the fun begins setting up a Site Pair and finishing out a test configuration. Stay tuned as I delve more into Site Recovery Manager in the home lab with the configuration piece coming next.


