Deploy Netwrix Auditor Virtual Appliance
Netwrix Auditor is a great tool for automating the auditing of your Infrastructure. It is highly capable and audits just about any type of environment that you can think of including Windows Servers, VMware environments, SQL server, etc. Recently, they have released the ability to deploy Netwrix Auditor Virtual Appliance which allows one to easily deploy Auditor with the virtual appliance means rather than having to install Netwrix Auditor on top of an existing Windows installation. Usually we are used to seeing Linux with a virtual appliance installation. However, the virtual appliace for Netwrix Auditor is a 180-day trial version of Windows Server 2012 R2 installation with the components already installed. In the lab below, we look at this new means of provisioning Netwrix Auditor in a VMware environment.
Deploy Netwrix Auditor Virtual Appliance
As mentioned above, the virtual appliance is a trial copy of Windows Server 2012 R2 with all the necessary components installed and configured including:
- Microsoft SQL Server 2014 Express with Reporting Services
- Group Policy Management Console
- The latest version of Netwrix Auditor with a trial license
- Scripts necessary to atuomate virtual appliance provision
- .NET Framework 3.5 SP1
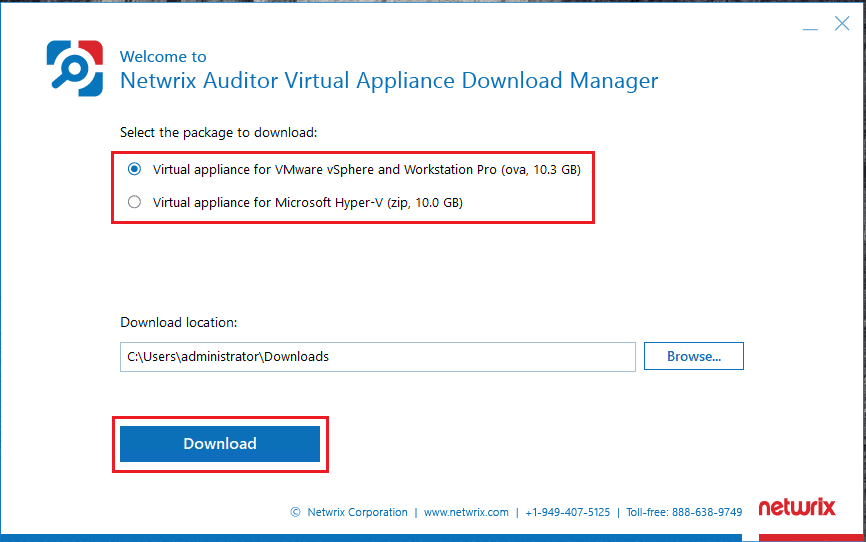
To obtain the appliance, the first thing to be done is to download the installer for the virtual appliance from Netwrix. This is a bit different approach as you have to first download the “downloader” which will then download the virtual appliance. You can fill out the Netwrix form to evaluate the appliances. To do that, go to the link here and download.
After you download the “downloader” and unzip, the contained executable will launch the downloader. What you will notice is that the OVA appliance is a hefty download, weighing in at 10.3 GB for VMware and 10 GB for Hyper-V.
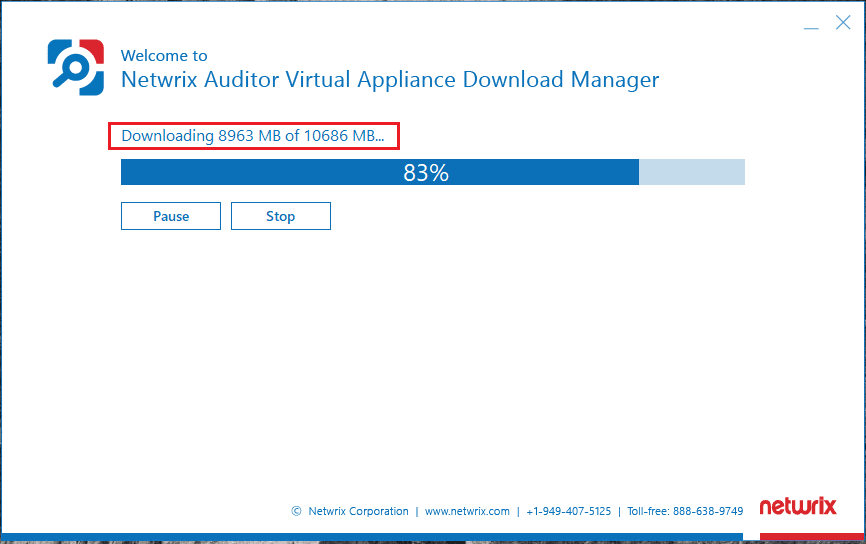
Download is rolling…
Download finishes and you should have the .ova file.
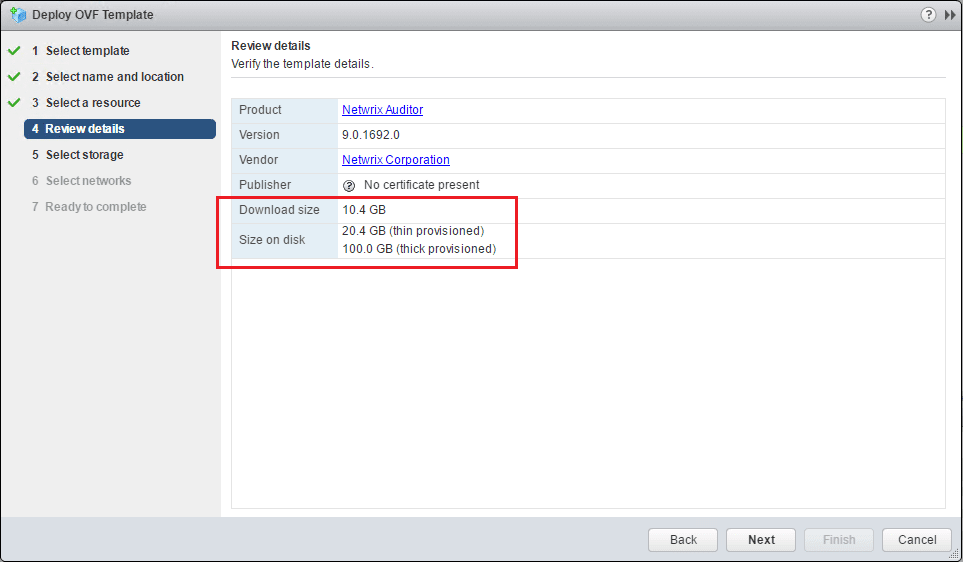
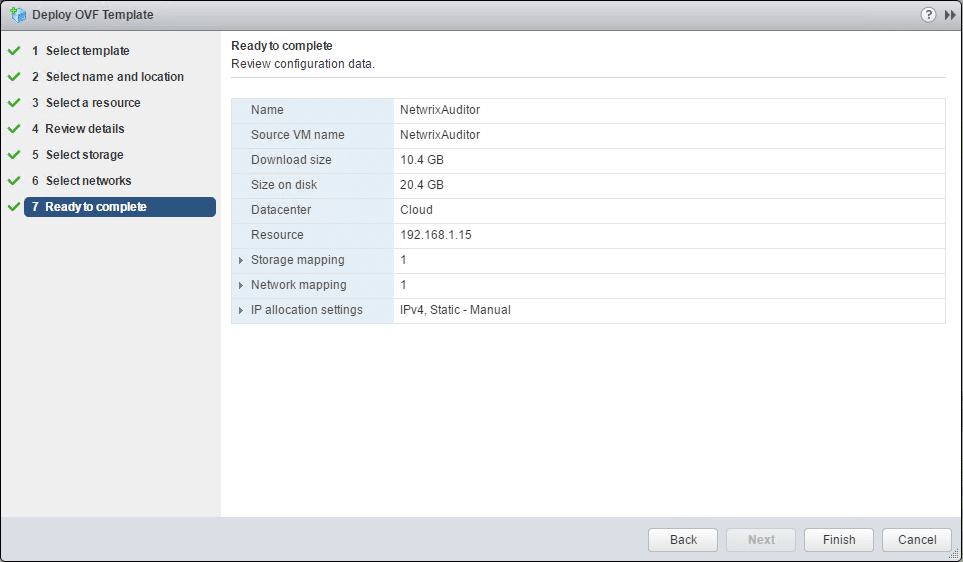
OVA provision is just the normal process in the web client. We can see the default setting here as far as disk space is concerned. Thin provisioning requires 20.4 GB and thick provisioning requires 100 GB on disk.
For the lab environment, I chose to thin provision.
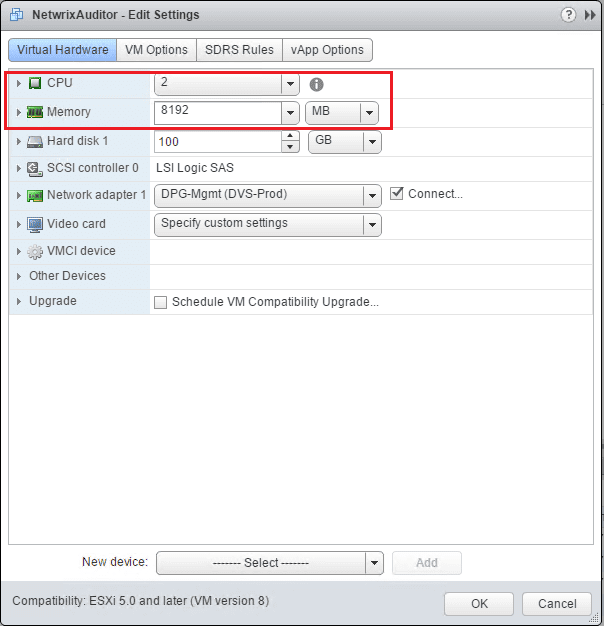
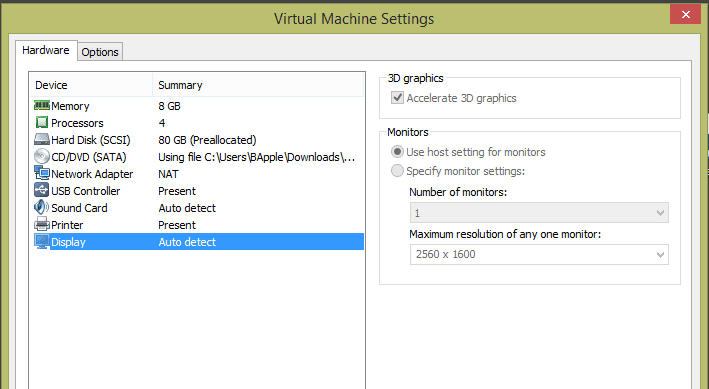
Once the appliance is provisioned, a quick look at the resources assigned reveals 2 vCPUs and 8 GB memory provisioned.
Virtual Appliance Initial Configuration
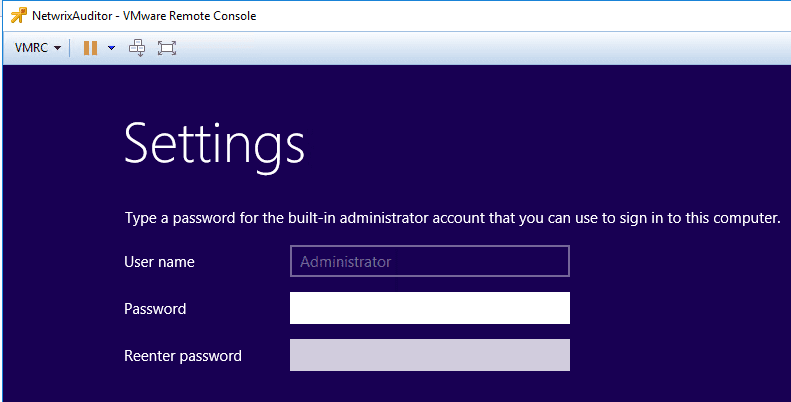
Once the virtual machine boots we are presented with the normal change password dialog in order to set the password for the Administrator account.
Once the password is set, the Netwrix Auditor Virtual Appliance Configuration PowerShell script kicks off which performs the initial configuration of the server. First, the license agreement prompt.
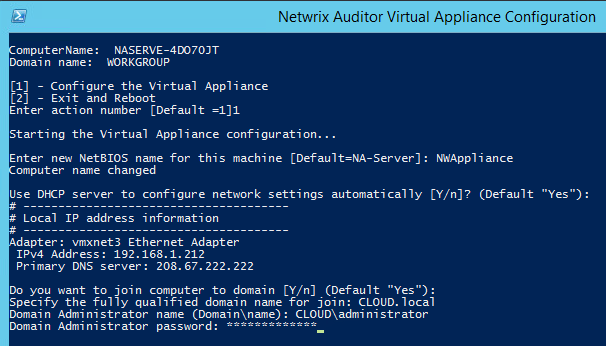
Next, we are prompted to configure the name of the server, IP address information, and joining a domain. After that, (not shown below), SQL installation is configured and then the server will reboot.
When the server reboots and you login once again, we see another PowerShell script kick off to start up Netwrix Auditor. Qu
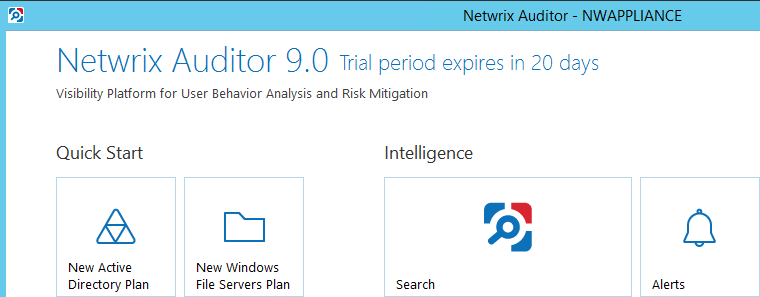
Now, we are to the point of configuring our Netwrix Auditor installation by setting up Monitoring Plans, etc.
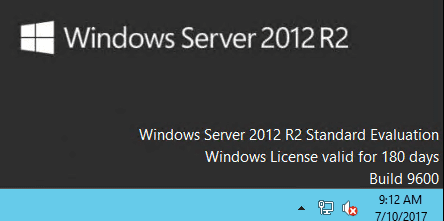
As noted above as well, the Windows SErver 2012 R2 Standard installation is running in 180 day trial license mode.
Thoughts
The ability to Deploy Netwrix Auditor Virtual Appliance to provision a Netwrix Auditor environment is a nice way to accomplish some of the heavy lifting with the installation of Windows and the Netwrix Auditor installation. The appliance installation gets you past most of the mundane tasks of installing the core components for the Netwrix Auditor installation. Basically, once the appliance is installed and you run through the configuration script, you are ready to begin configuring your monitoring plans with Auditor.


