Installing Avago LSI StorCLI VMware ESXi
Installing Avago LSI StorCLI VMware ESXi
Similar to installing the Avago/LSI SMIS provider, the process to install the StorCLI is straightforward and simply includes copying the .vib file to the ESXi host and then installing using the esxcli software vib install -v command pointed to the .vib. The nice difference in installing StorCLI from installing the SMIS provider is that the StorCLI does not require a reboot.
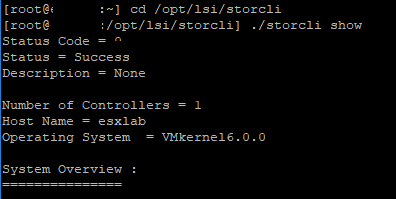
After installation, we need to change our working directory to /opt/lsi/storcli where we can then run the storcli command. Below we are running the storecli show command.
Silence Alarm Avago LSI StorCLI
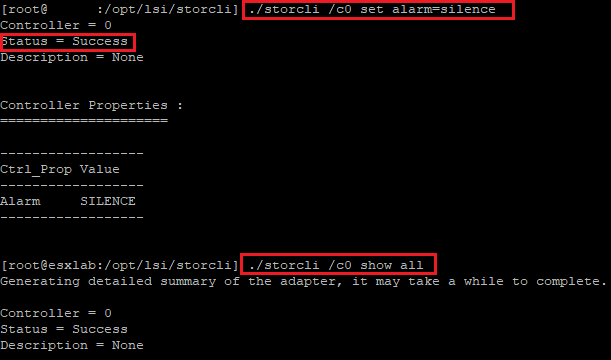
If you are not able or have not installed the SMIS provider, you can using the StorCLI, silence an alarm that is sounding due to a failure of a drive, etc. To silence the alarm, we enter the controller number and the corresponding command for interacting with the alarm:
./storcli /c0 set alarm=silence
./storcli /c0 set alarm=disable
./storcli /c0 set alarm=enable
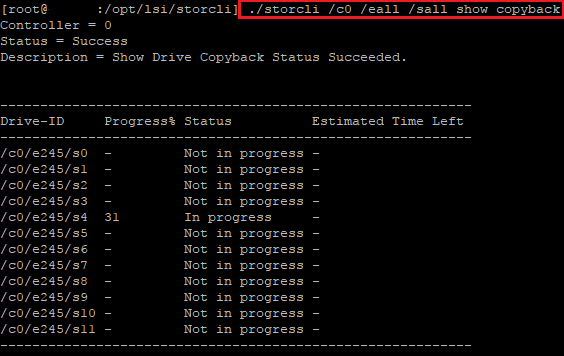
Avago LSI StorCLI check status of copyback or rebuild operation
To check a copyback operation, we simply enter the command:
./storcli /c0 /eall /sall show copyback
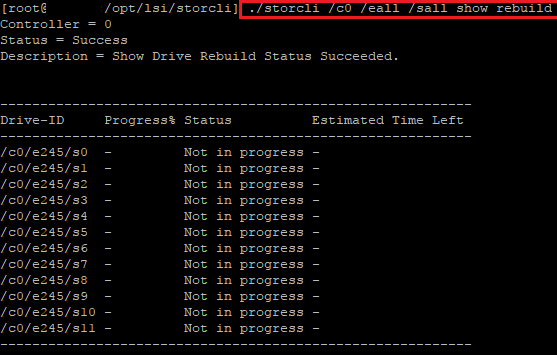
For rebuilds:
./storcli /c0 /eall /sall show rebuild
Avago LSI StorCLI change rebuild rate
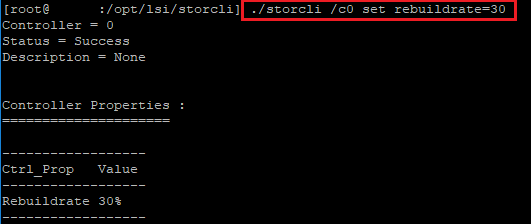
To set the rebuild rate of the controller, we can use the following command:
./storcli /c0 set rebuildrate=30
Thoughts
I like the tools that are provided by Avago/LSI to interact with the RAID controllers and affect change to the controller while booted into an operating system. The VMware SMIS provider is a great way to remotely monitor an Avago/LSI system remotely. If you don’t have the luxury of a maintenance period to reboot a host, the StorCLI is a nice alternative to using the Storage Manager application. The StorCLI is all command line driven, however, has most if not all of the functionality of the Storage Manager application. Installing Avago LSI StorCLI VMware ESXi can provide a great alternative to having a maintenance period and needing a reboot to interact with the Avago/LSI RAID controller.


