Configure VMware vSphere Cluster with Web Client or PowerCLI
As powerful as VMware ESXi is out of the box in a standalone single server format, we really don’t get all the benefits of running a hypervisor in a single server standalone configuration. The real power with VMware vSphere comes with standing up a VMware cluster. To do this we need VMware vCenter Server to unlock the cluster configuration and enable the cluster features that come with it. In this post we will take a look at how to configure a VMware cluster both from a Web Client perspective as well as using VMware PowerCLI. Let’s look at how to configure VMware vSphere Cluster with Web Client or PowerCLI.
Configure VMware vSphere Cluster with Web Client or PowerCLI
First of all, what is a VMware cluster?
What is a VMware Cluster?
A cluster in simple terms is a collection of ESXi hosts that work together. These individual hosts work together in the cluster to pool resources together so they perform as one unit. Without the cluster, we cannot unlock the true high availability and resource scheduling features that come with VMware vSphere in an enterprise cluster environment.
Web Client
First we will look at the process of creating a VMware cluster using the Web Client. While 6.5 still has ties to the Flash Web Client, hopefully this will change soon when VMware releases the full HTML5 client. For now, we have to stick with the flash based web client for now. The thing about the flash client is that even with all the performance improvements it is still a “steaming pile” when it comes to doing things quickly.
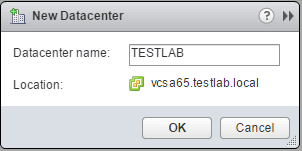
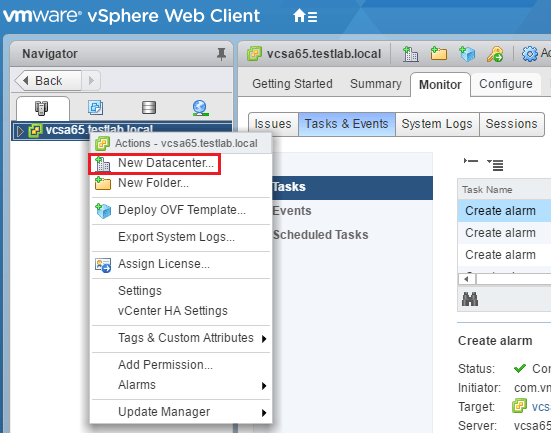
The first thing we need to do is create a Datacenter. A Datacenter is an aggregation of all the different types of objects needed to do work in virtual infrastructure: hosts, virtual machines, networks, and datastores. We need to create either a Datacenter or Folder to put our cluster in. Since a Datacenter holds all object types, this is our first step.
Name the Datacenter.
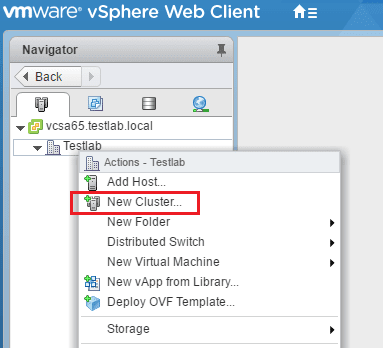
Next, we need to create a Cluster. The cluster object is what will hold all the hosts that we want to join together in the cluster configuration.
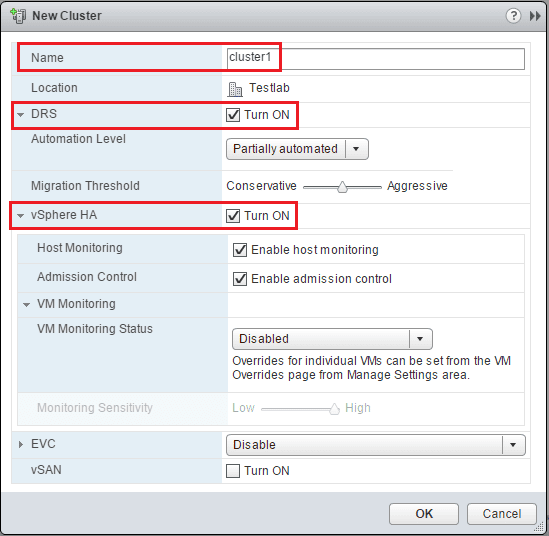
Once we choose the New Cluster option by right clicking on our Datacenter, we have the options to Name the cluster, as well as setup DRS and vSphere HA. Distributed Resource Scheduler is what keeps the cluster resources balanced and new features in 6.5 even build more on on existing features. The vSphere HA feature uses a heartbeat mechanism to restart VM resources if they go down on a particular host.
Adding Hosts
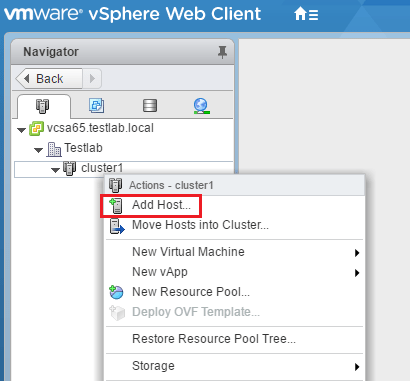
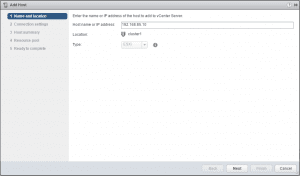
Now, we can start adding hosts to our cluster.
This launches the Add Host wizard. Here it is basically a next, next, finish operation. But, we have to do this for all hosts we add into the cluster.
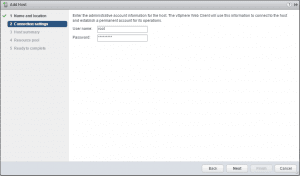
Enter user/pass information.
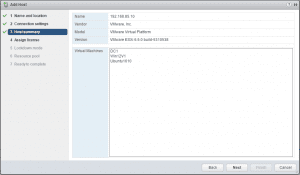
Summary of the host and what VMs are in its inventory.
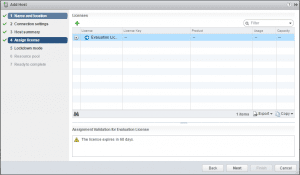
Add a license or simply choose to operate in Evaluation mode.
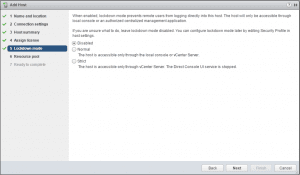
Make choices on Lockdown mode. This prevents users from logging directly into the host.
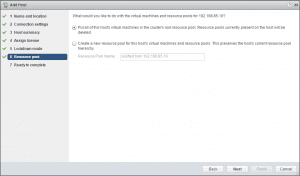
Next we can choose what to do on the resource side of things. We can choose to put all the host’s virtual machines in the cluster root resource pool or create a new one.
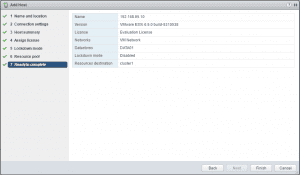
Finally, we are ready to complete.
So as you can see above, many screens and very labor intensive. Now, let’s take a look at how to make this process quick and easy! In steps PowerCLI!
PowerCLI
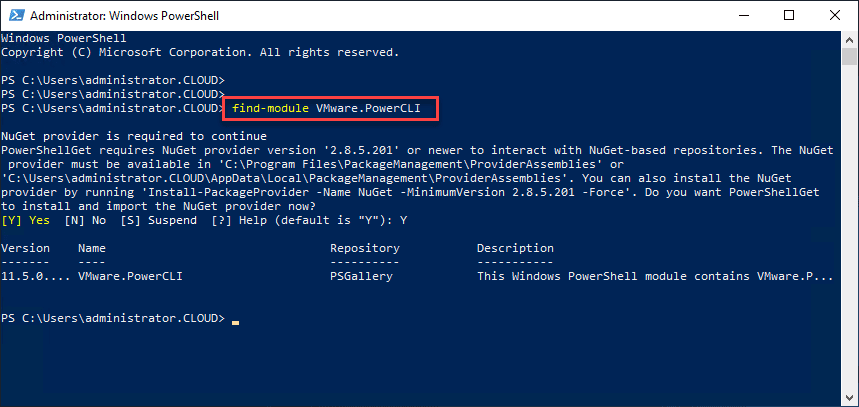
As labor intensive as the above is through the Web Client, we can take care of all of these actions with VMware PowerCLI which is VMware’s PowerShell environment to interact with vSphere. The below assumes we have already connected to our vCenter server with the connect-viserver commandlet.
Below we declare a few variables related to getting our Datacenter and cluster created, and the hosts added. Using a simple text file with the ESXi host names, we feed that into the $esxhosts variable.
#Variables
$esxhosts= get-content c:toolshosts.txt
$hostcreds=get-credential
$DC='Testlab'
$cluster='cluster1'

#Create Datacenter
$folder = get-folder Datacenters
Write-Host "Creating Datacenter"
New-Datacenter -Location $folder -Name Testlab

#Create Cluster
Write-Host "Creating Cluster"
New-Cluster -Location $DC -Name cluster1 -DRSEnabled -HAEnabled -DrsAutomationlevel PartiallyAutomated

#Loop to add our hosts to the cluster
foreach ($esxhost in $esxhosts) {
    Add-VMHost -Name $esxhost -Credential $hostcreds -Location $cluster -Force:$True
    }
In a matter of seconds, we have performed the same operation that takes a couple of minutes in the Web Client. PowerCLI makes life so much easier than dealing with the Web Client in its flash form.
Thoughts
When we configure VMware vSphere Cluster with Web Client or PowerCLI we have many options available to us. The Web Client is slow and cumbersome but does provide comfort for many who are still most comfortable with a point and click type interface. PowerCLI is hands down a better, quicker, more efficient way to get things done in the vSphere environment. The simple script above shows that to be true. So dust off your PowerShell skills and get to using PowerCLI with your VMware environment.


