Restoring Hyper-V VMs with Nakivo Backup and Replication V7

Nakivo Backup & Replication V7 Beta introduced Hyper-V backups. I am very pleased with the initial showing of this feature in V7. Nakivo has extended their very powerful and robust backup solution that we have seen for VMware as well as AWS into the world of Microsoft Hyper-V environments and it now allows ones to use a single solution to cover gamut across VMware, AWS, and Hyper-V. Nakivo’s HTML5 interface has always been a strong point of the solution that includes a very streamlined and efficiently footprinted backup appliance that can be provisioned in minutes. Let’s take a look at Restoring Hyper-V VMs with Nakivo Backup & Replication V7.
Restoring Hyper-V VMs with Nakivo Backup and Replication V7
Let’s take a look at a couple of methods to restore your Hyper-V VM with Nakivo – full VM restore and file restore.
Full VM Restore
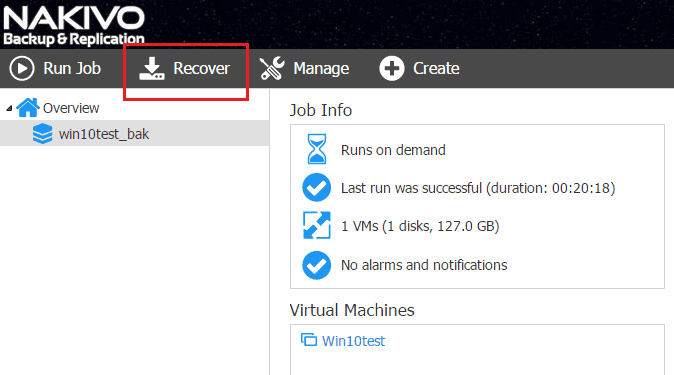
After getting a good backup of the VM from Hyper-V with Nakivo, choose Recover.
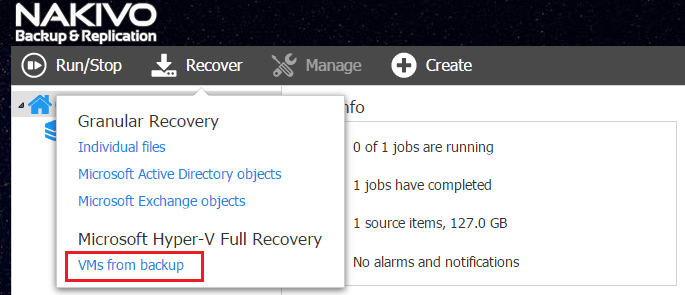
First, let’s take a look at a full VM restore. So here we choose VMs from backup.
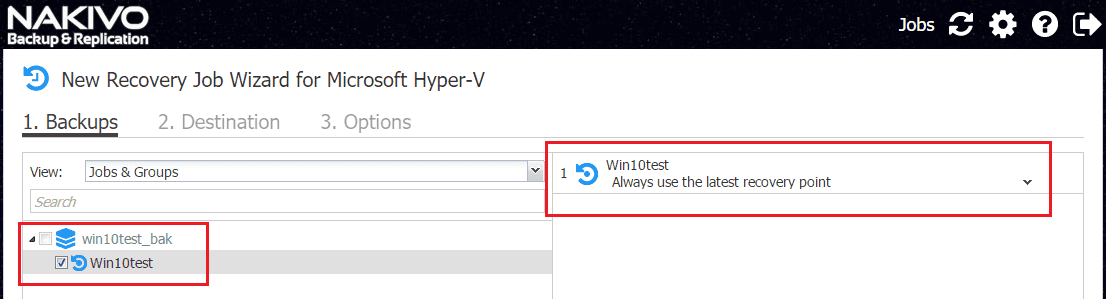
Select the backup that you want to restore. Notice on the right hand side, you can choose the actual restore point of that backup if you have multiple restore points to restore from.
On the Destination screen, we choose the host or container, and the path as well as network for restoration. If you expand the VM itself, you see the options in more detail.
On the Options screen, we can name the restore job, choose whether or not to power on the restored VM, change the MAC address, recovery mode, append to the name, pre and post actions, etc.
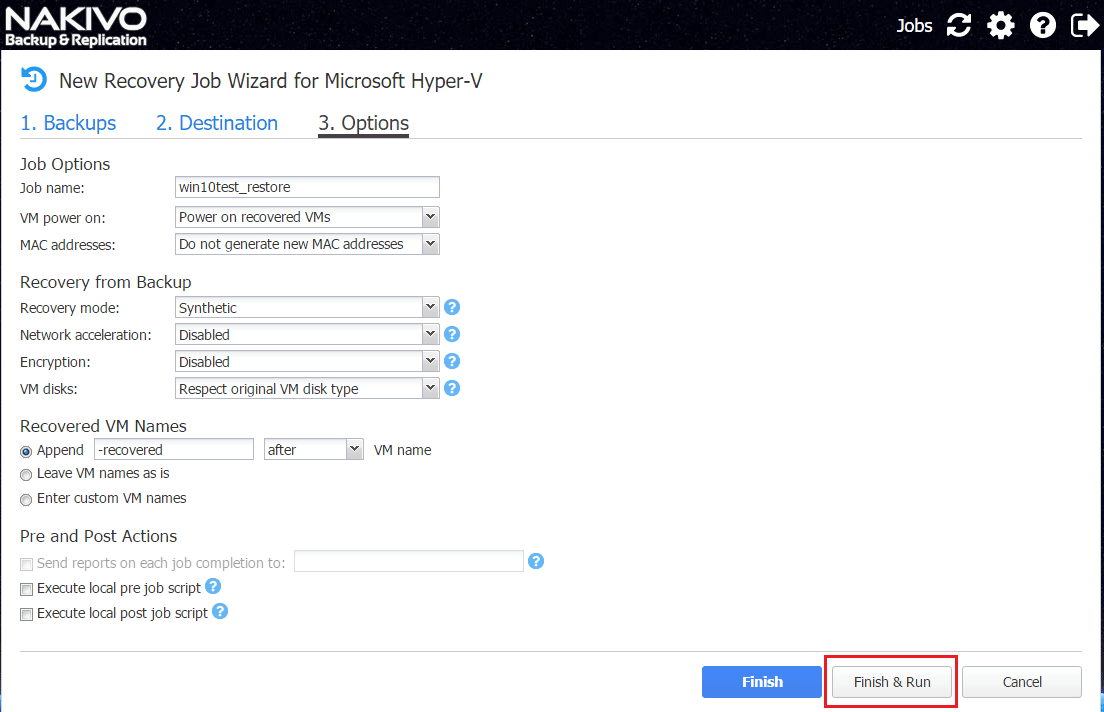
Once you click the Finish & Run button, you will have another box open to confirm the Run action.

Restoration begins.
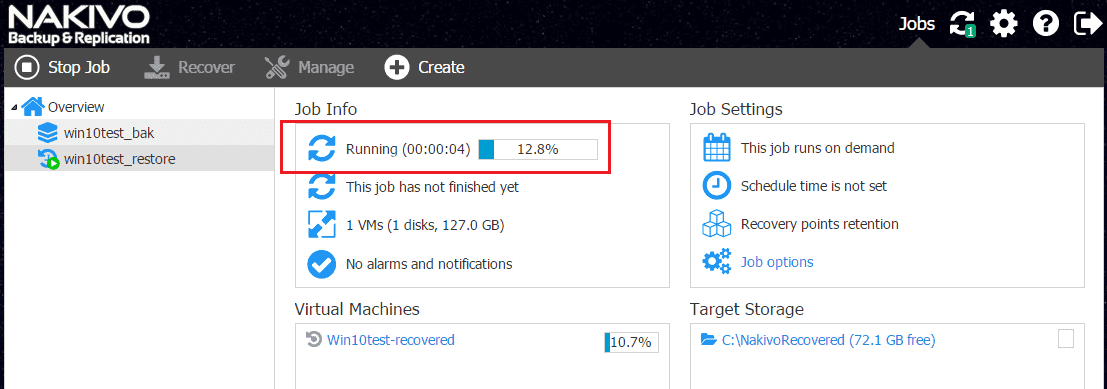
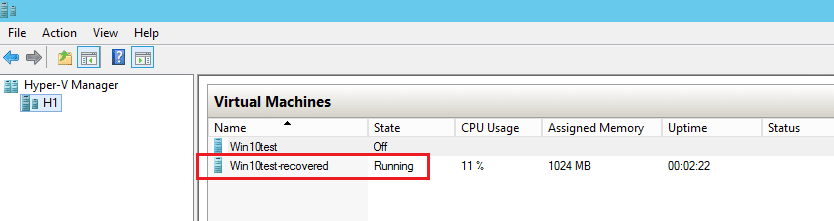
In a short while, the restoration of the full VM is finished along with the restore duration time displayed for us.
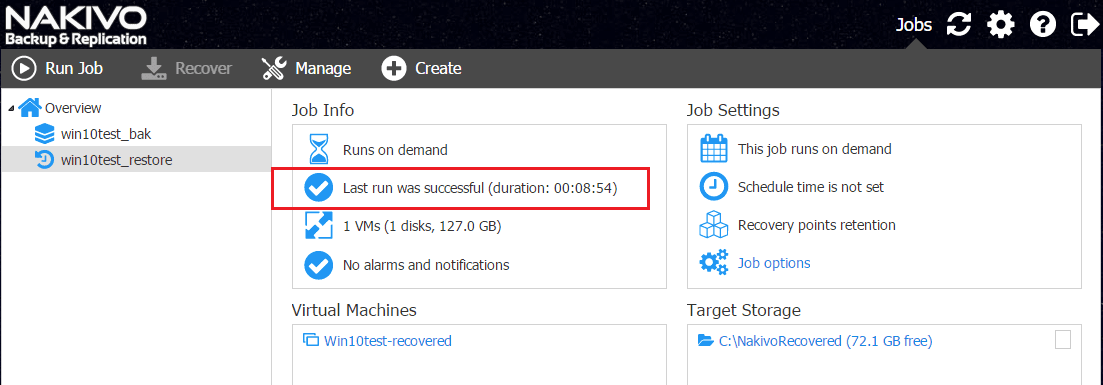
As you can see with the restore process, our Hyper-V VM is restored to Hyper-V without any low level interaction with Hyper-V. We didn’t have to import the virtual machine as this is done for us automatically.
File Level Restore
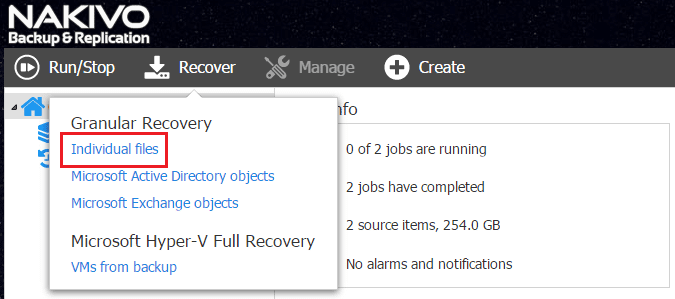
We can also perform a file level restore for our Hyper-V VM. Select Recover >> Individual files to initiate the file recovery wizard.
Here, like the full VM restore, we select the particular backup we want to restore from as well as the restore point if we have more than one.

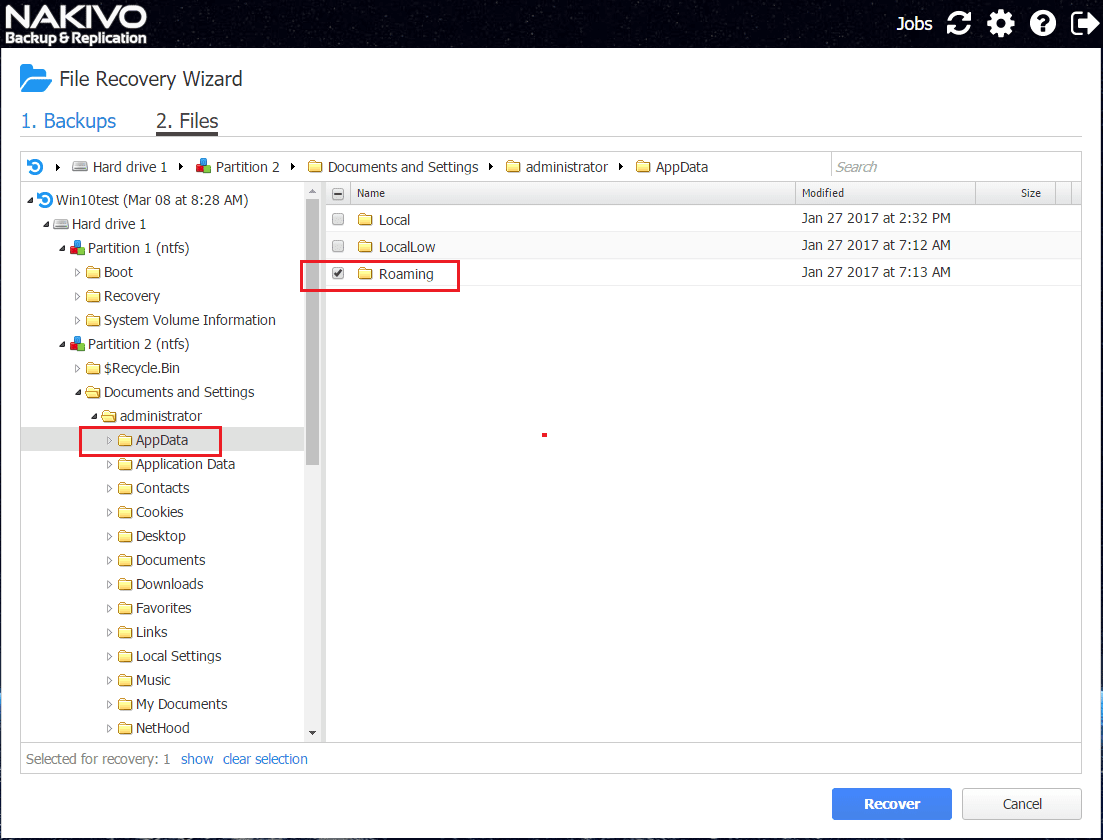
On the Files page, we can granularly select the particular folder or files or both that we want to restore.
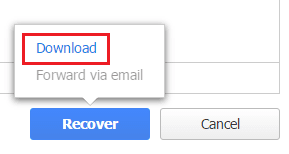
When we click the Recover button, we have a popup that gives us the option to either Download or Forward via email. The email option is greyed out for me as in my lab environment I didn’t have email configured.
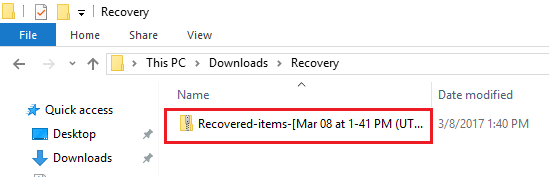
When selecting the Download option, the files are zipped up and downloaded to your default download location.
Thoughts
Nakivo Backup & Replication V7 even in Beta form is one of the best Hyper-V backup and restore platforms out there. Nakivo simply keeps getting better and better with each version and expanding their offerings based on what people are using in their environments. The quick and efficient Nakivo interface looks better than ever in V7 and blazingly fast. As you can see with Restoring Hyper-V VMs with Nakivo Backup and Replication V7, Nakivo allows the quick and easy restoration either in full VM or file level form of Hyper-V VMs. We eagerly await the GA release of this much anticipated version of Nakivo Backup & Replication that adds Hyper-V support.