How to Verify VM Backups with Nakivo
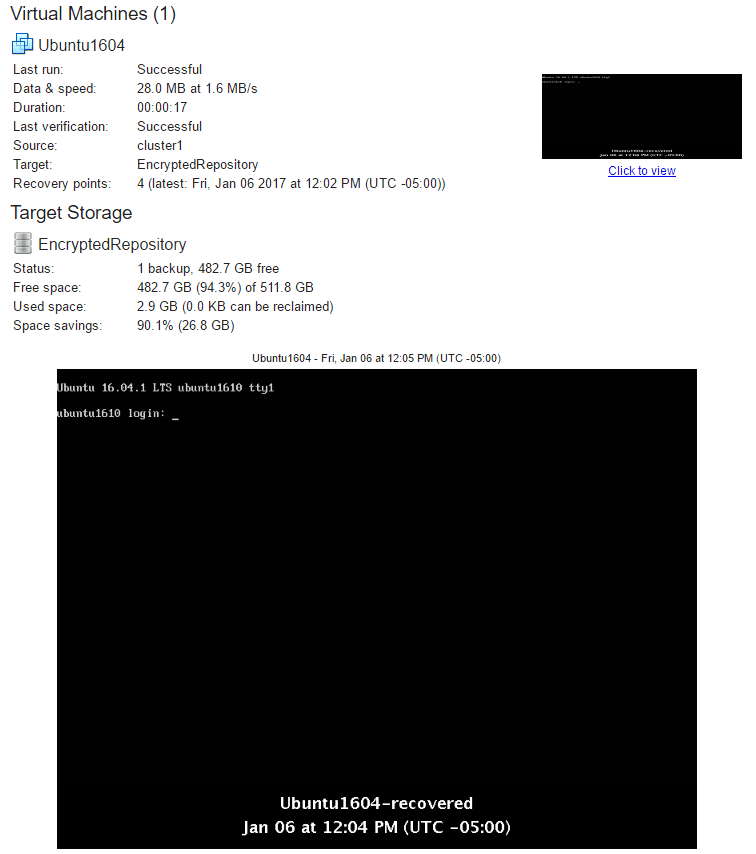
It can’t be stressed enough with backing up virtual environments, how important it is to verify your backups. You can easily do that with Nakivo Backup and Replication verify backups with screenshots. What better way to verify your backups than to have a backup report emailed to you along with a screenshot of the backed up VM in a booted state? Very nice. Let’s take a look at how to verify VM backups with Nakivo Backup and Replication appliance to capture screenshots of the backed up VM and get these emailed to us.
How to Verify VM Backups with Nakivo
Let’s see how this works. The Nakivo screenshot verification feature utilizes the Flash VM Boot technology. The Flash VM Boot technology uses iSCSI technology to present VM disks stored in the backup repository to an ESXi host directly. The Nakivo Transporter that is assigned to the Backup Repository is leveraged to mount the disks to the target ESXi host. The VMs see the disk as RDM disks in virtual compatibility mode.
Configuring Nakivo to talk to iSCSI
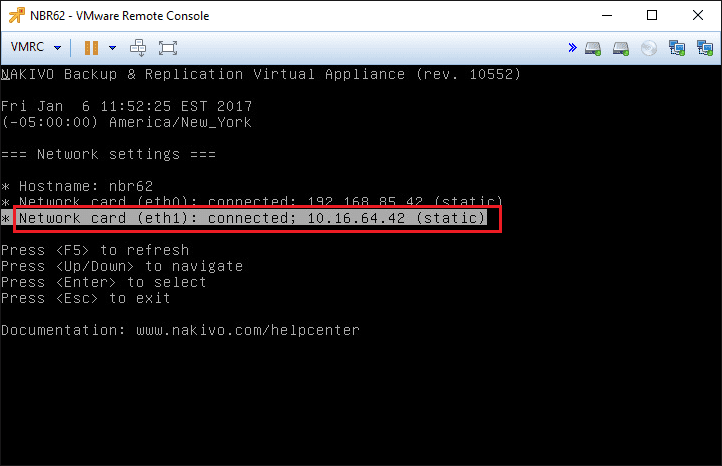
The first thing that we need to do with our Nakivo appliance, is configure the network so that the NBR appliance can talk to the iSCSI network of our ESXi hosts. To do that, we need to add a network adapter to the appliance and make sure we have connectivity at layer 2 and layer 3 to the iSCSI subnet. So, this would include VLAN ids, etc.
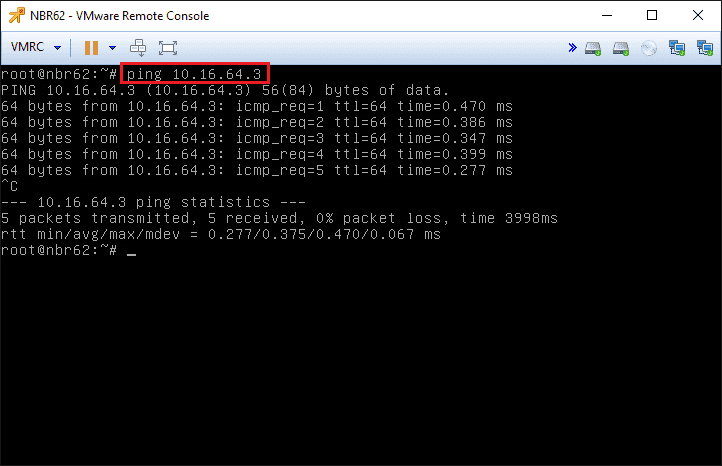
After we have added the network card and assigned an IP address within the configured iSCSI range, we can then test connectivity to one of the vmkernel IPs.
Below is pinging one of the iSCSI vmkernel ports.
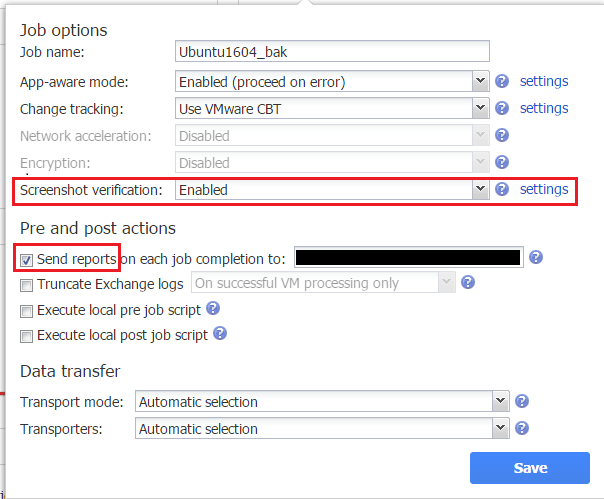
Within the backup job, you need to have the screenshot verification configured along with the host parameters you want to present the Flash VM Boot to. The Send reports line allows you to configure an email address to send the backup job report to.
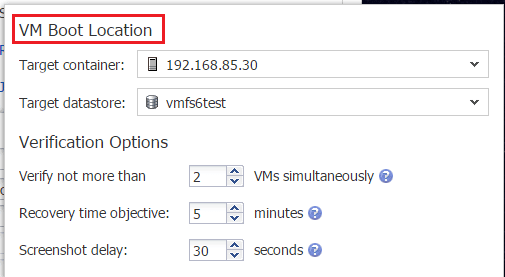
Clicking settings on the Screenshot verification configuration takes you to the below box. The below configuration allows you to control the VM Boot Location – choosing a target container, target datastore, and verification options.
Screenshot Verification in action
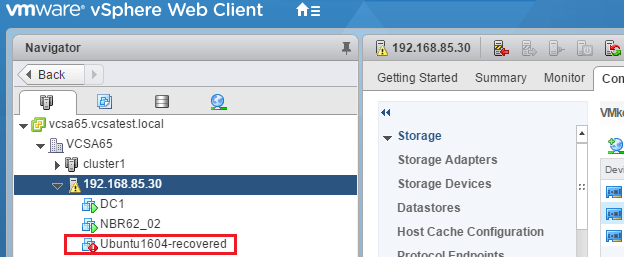
After the backup job has completed successfully, we see the screenshot verification in the form of the Flash VM Boot taking place. You will notice the “to be verified” VM presented to vCenter.
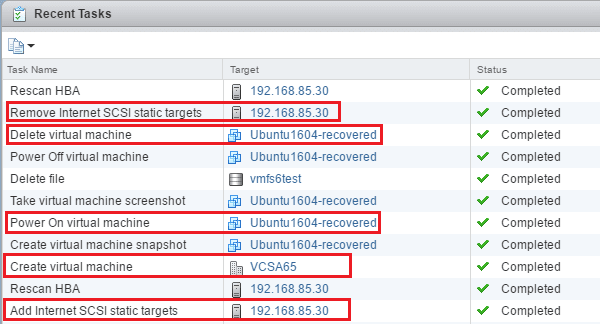
In the vCenter Tasks, you see the Internet SCSI static targets being added, virtual machine powered on, virtual machine powered off, and deletion as well as the removal of the iSCSI targets.
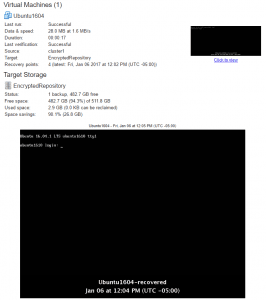
The great thing about screenshot verification is that you can have it sent via email as show in the configuration above. When the backup job and screenshot verification is completed, the email contains the screenshot of the VM in a booted state. This is a great way to verify that your backups truly work. So often, many have restored backups of VMs only to find a bluescreen when booted or corruption with a boot disk.
Thoughts
When we look at how to verify VM backups with Nakivo, they have truly provided a great way here to verify backed up VMs in a way that can boost confidence in the validity of the backup itself. This allows you to truly know that backed up data is good and when you need your backed up VMs to work and take over for production, they are ready and able.


