Veeam Linux Agent Installation and Configuration
Today, Veeam released the Linux agent for physical Linux workloads running in your environment. This helps to bridge the gap that you may have had before with using Veeam as a backup product for your virtual infrastructure and using something else for physical workloads. The Linux agent is now available for trial download to take it for a spin. The great thing about the new Veeam agents – Linux and the soon to be released Windows agents, is they integrate with Backup and Replication 9.5. Let’s take a look at the Veeam Linux Agent Installation and Configuration.
Veeam Linux Agent Installation and Configuration
Let’s take a look at the installation process of getting the agent on a linux box and then configuring the agent to communicate with the Backup and Replication 9.5 backend server. The tests and screenshots below are with an Ubuntu 16.04 server.
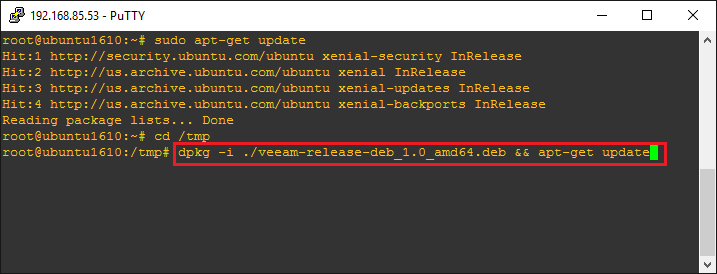
The User guide from Veeam for the Linux agent shows the syntax on various versions of Linux. To install in Ubuntu:
dpkg -i ./veeam-release* && apt-get update
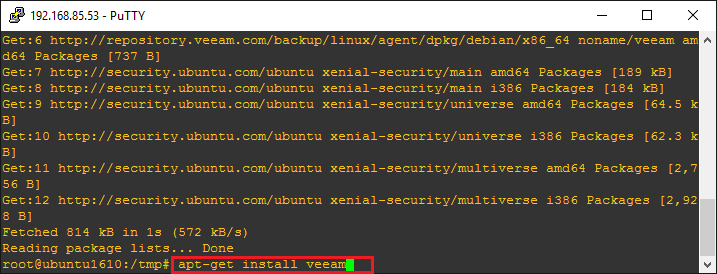
After running the dpkg command, you run
apt-get install veeam
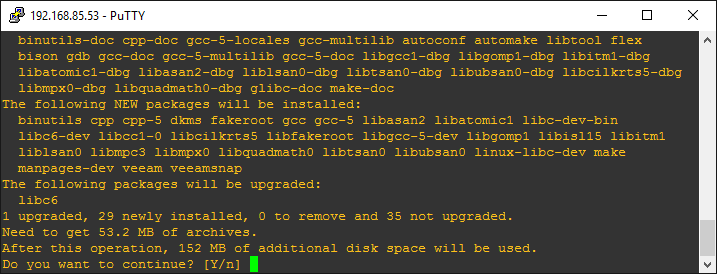
Follow the prompts to get the package installed.
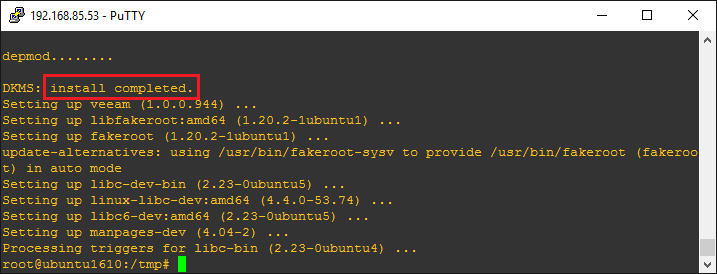
Install should complete very shortly.
To begin the Veeam Config UI you run the command
veeamconfig ui
Note I had to install the ncurses header and libs as well as reboot before this would launch.
sudo apt-get install libncurses5-dev libncursesw5-dev
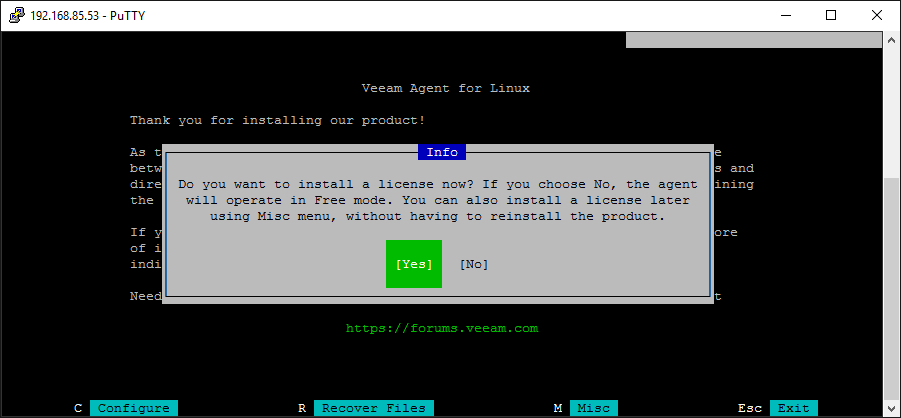
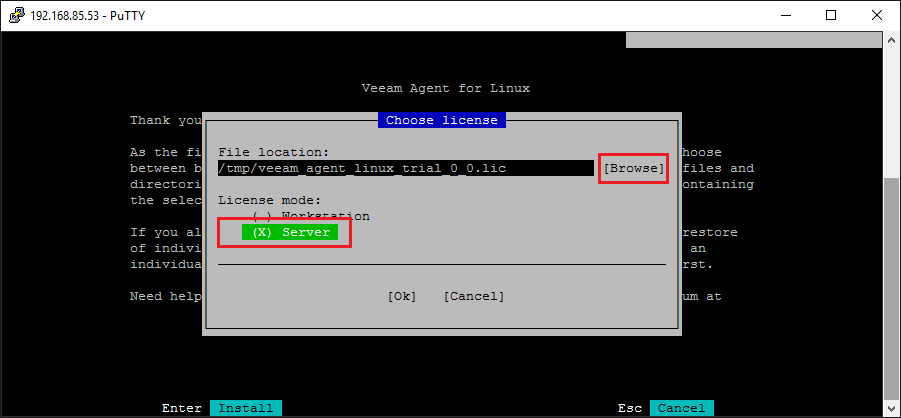
The UI will ask you to install the license. I simply SCP’ed the trial license file to my /tmp directory and pointed the UI config to that file.
Here I have browsed to the license file and selected Server. The differences are explained here:
Server – a mode that provides access to all product functions and is intended for performing
data protection tasks on servers that run Linux OS. Veeam Agent for Linux can operate in the
server mode if a commercial license that supports this mode is installed on the protected
computer.
Workstation – a mode that offers limited capabilities that are sufficient for performing data
protection tasks on desktop computers and laptops that run Linux OS. Veeam Agent for Linux
can operate in the workstation mode if a commercial license that supports this mode is
installed on the protected computer.
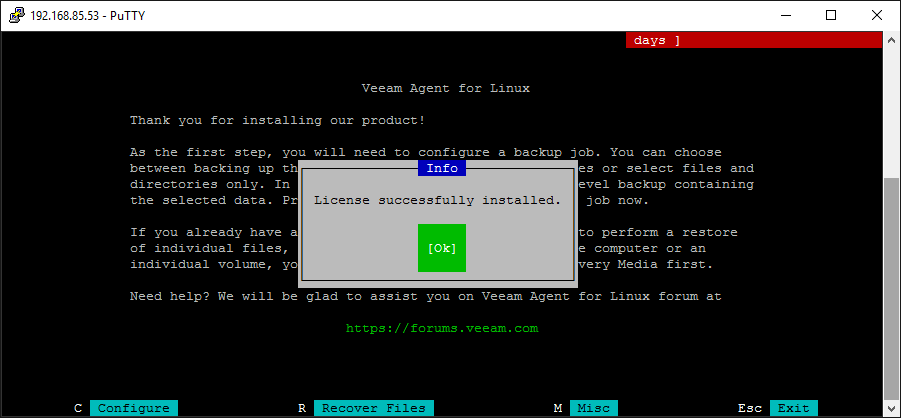
License is installed successfully.
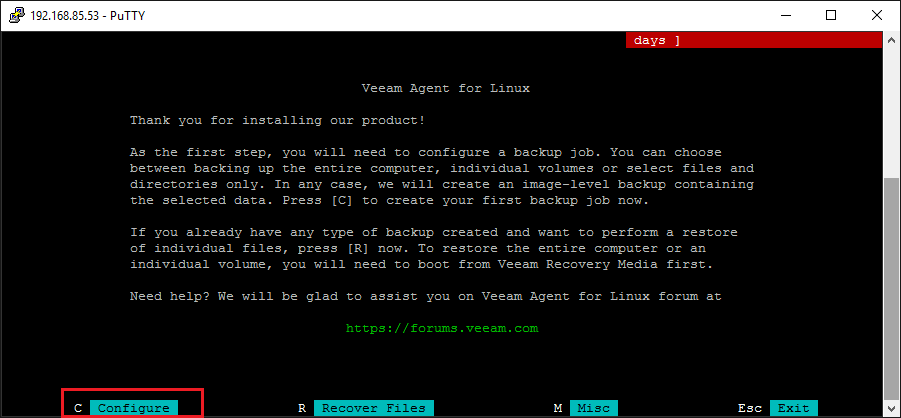
Now we can Configure the backup.
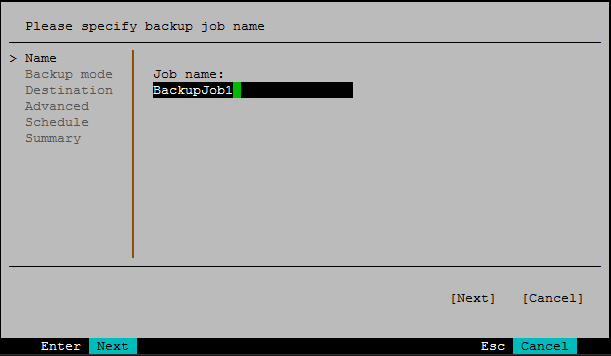
Name the backup job.
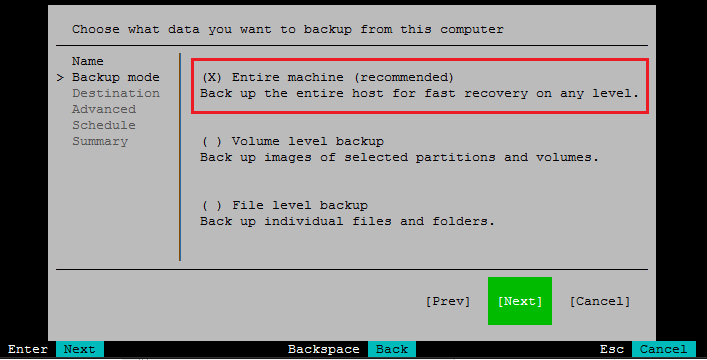
Here we can select to backup the entire machine, volume, or file level. We will choose Entire machine.
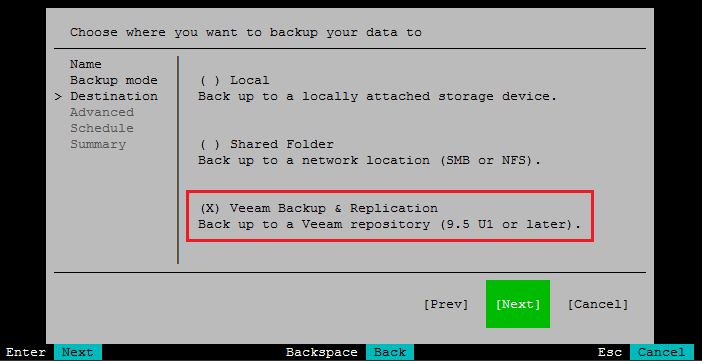
Since we want to interact with our Veeam Backup & Replication server, we select it here.
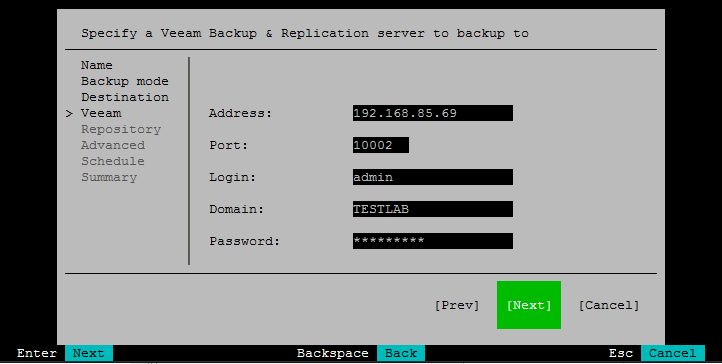
We entered the connection information including address, port, login, domain, and password.
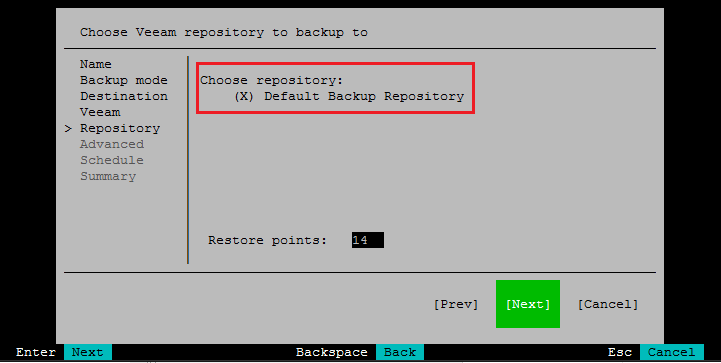
Select the Backup repository target.
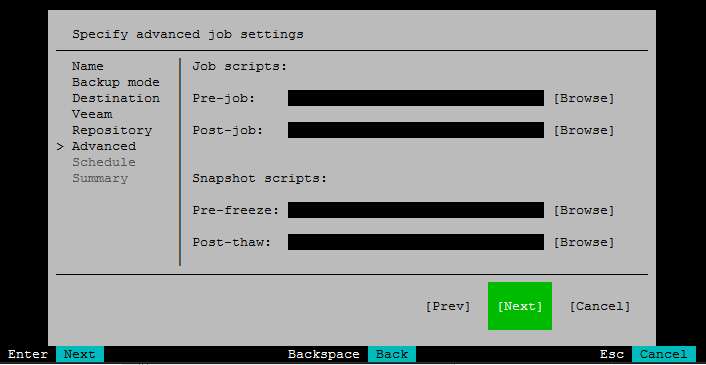
We can choose some advanced settings here such as pre and post job scripts.
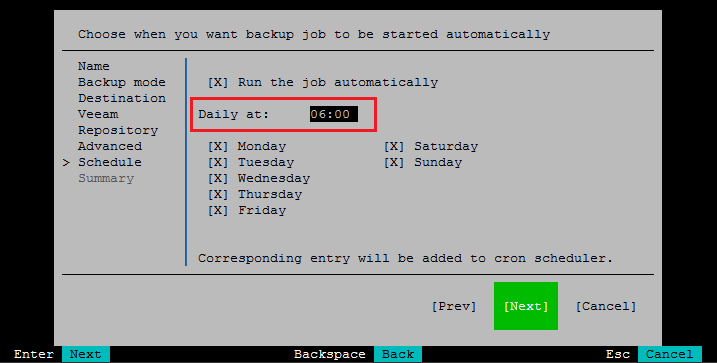
I was surprised on the Schedule to only see Daily configurable. I want to do more testing to see if via commandline we can scope this to hourly or even sooner.
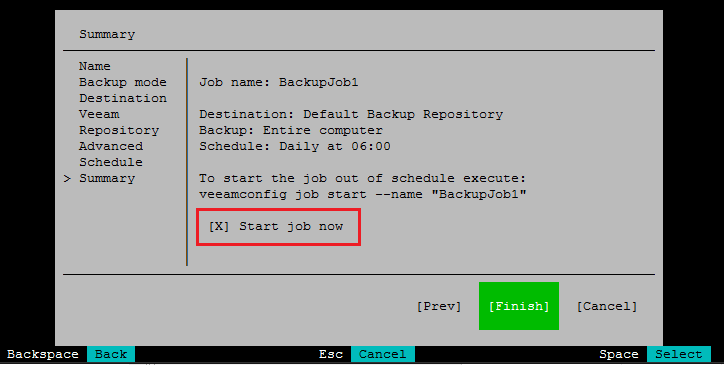
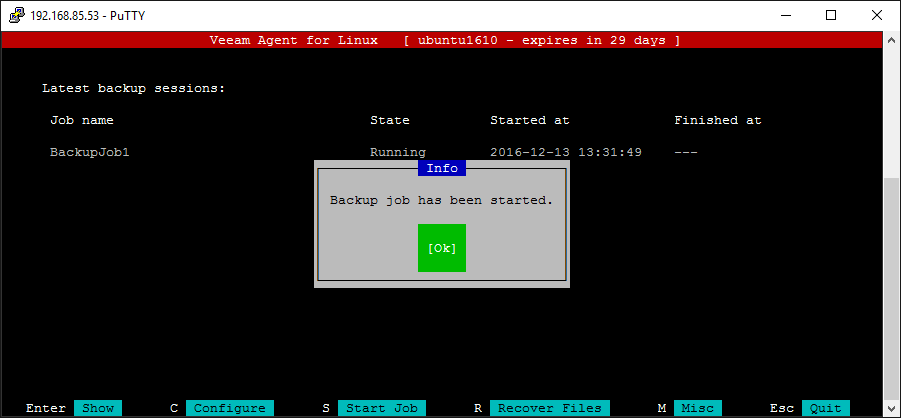
We can start the job now.
The backup job starts.
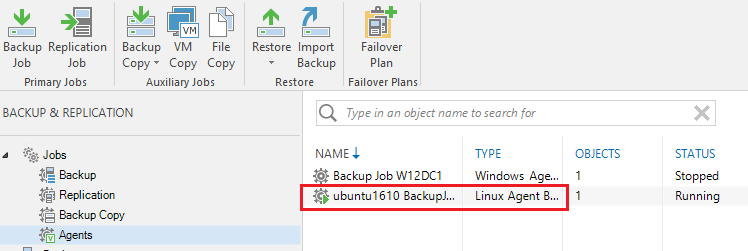
We can see on our Backup & Replication 9.5 server the Linux agent job running.
Thoughts
The Veeam Linux Agent Installation and Configuration is very easy and intuitive and will most definitely help bridge the gap with the mix of virtual and physical environments that are still running in many enterprises today. The agents provide a good way to back up these physical workloads. As we dig deeper into the functionality, we will provide some follow up posts as we uncover more configuration and feature use cases.


