Upgrade VMware vCenter VCSA appliance 6.0 to 6.5
The core of all vSphere functionality is vCenter server. VMware has definitely embraced and chosen the VCSA appliance as the way forward in version 6.5. VCSA 6.5 has all of the functionality of the Windows vCenter server including Update manager which had long been a reason why many had stayed with the Windows Server implementation of vCenter. As we mentioned in a previous post there are some really amazing improvements in vCenter 6.5. Let’s take a look at how to upgrade VMware vcenter VCSA appliance 6.0 to 6.5.
Upgrade VMware vCenter VCSA appliance 6.0 to 6.5
One of the first notable improvements in the new VCSA 6.5 appliance is the improved installer/upgrader. The install of VCSA 6.0 was an awkward browser implementation relying on a client plugin to initiate the installer. We all know how much of a pain this was a the client plugin was flaky and often presented issues in the browser.
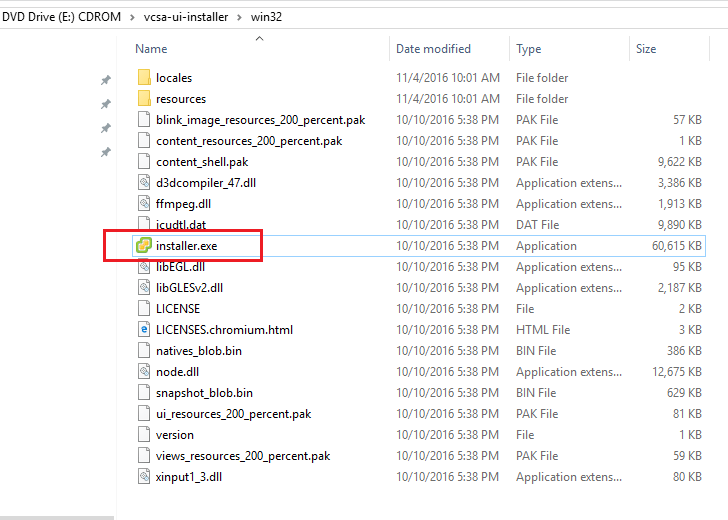
Now you download the ISO image from VMware, mount the ISO, and browse the ISO. For Windows, under the vcsa-ui-installer >> win32 directory there is an installer.exe file that you run with VCSA 6.5.
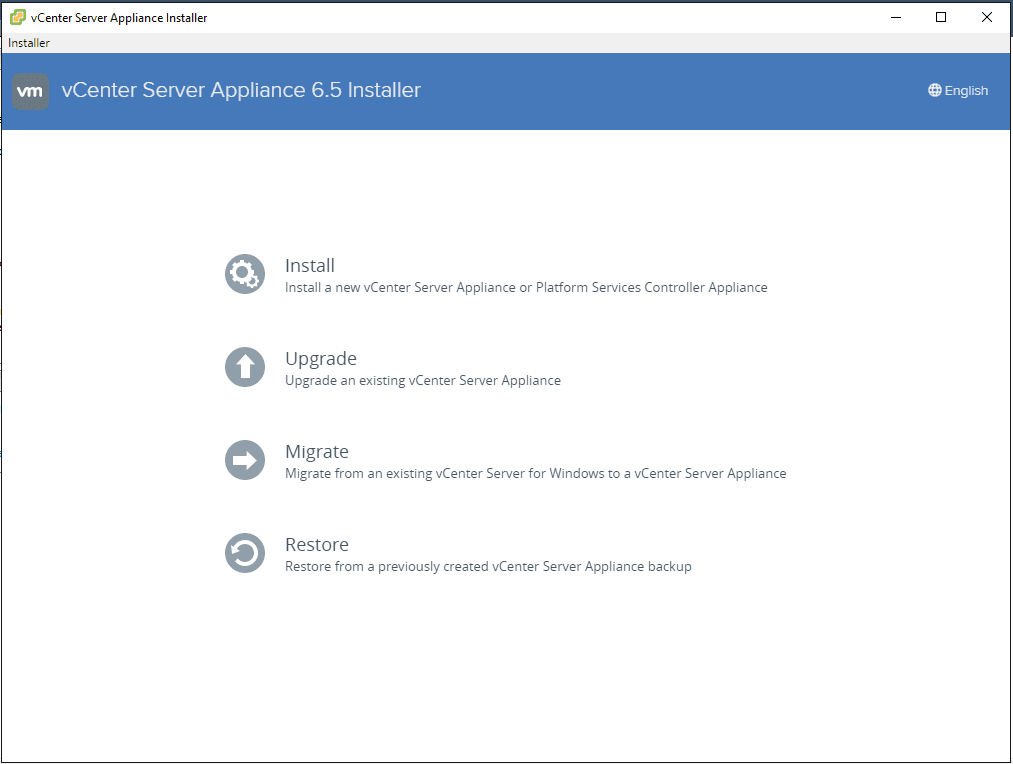
This launches the new vCenter Server Appliance 6.5 Installer with a clean interface that allows you to Install, Upgrade, Migrate, or Restore.
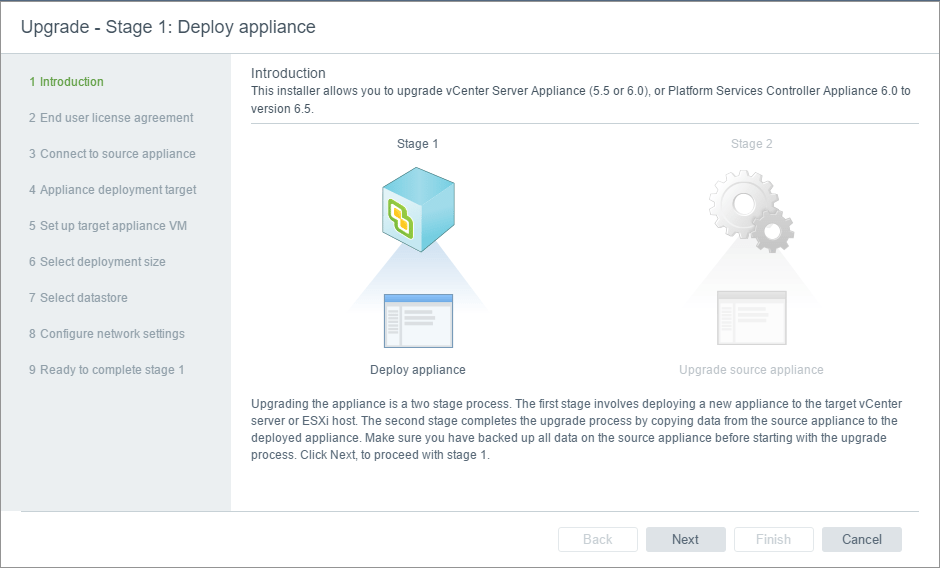
Here I selected Upgrade as I want to upgrade an existing vCenter VCSA 6.0 server. The upgrade process is a two step process:
- First, a new appliance is deployed to the target vCenter or ESXi host
- Second, the upgrade process copies data from the source appliance to the deployed appliance.
Of course, the safe directive here is to backup your source appliance before starting the upgrade process.
Stage 1
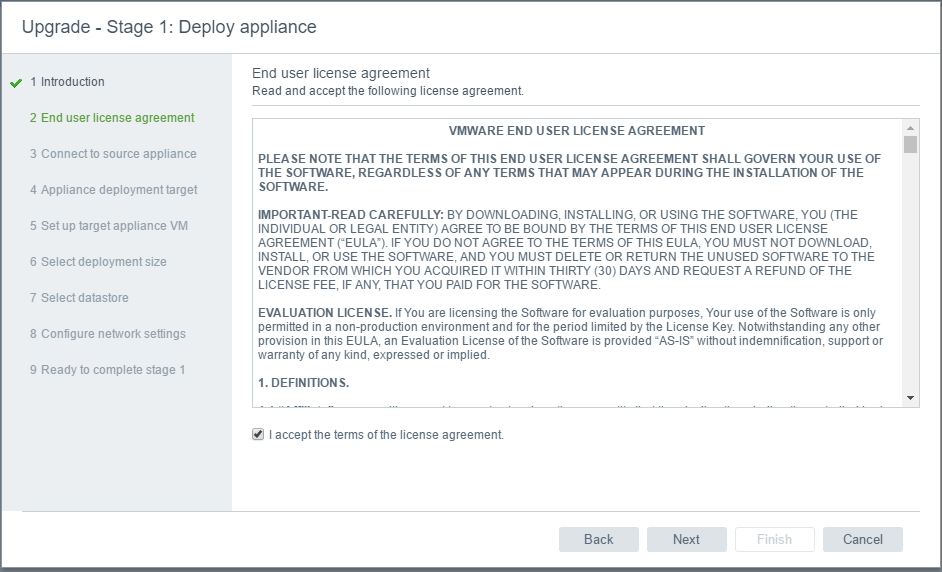
EULA agreement.
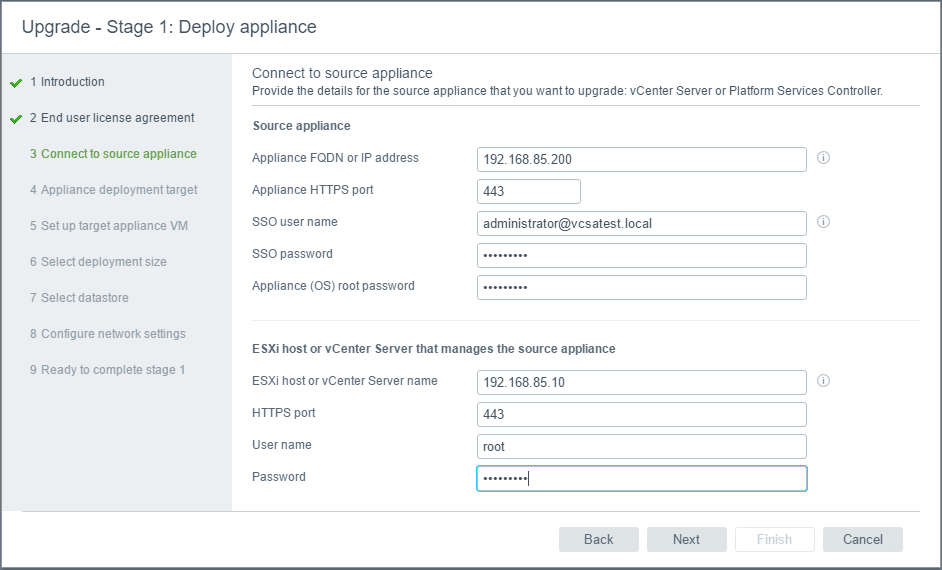
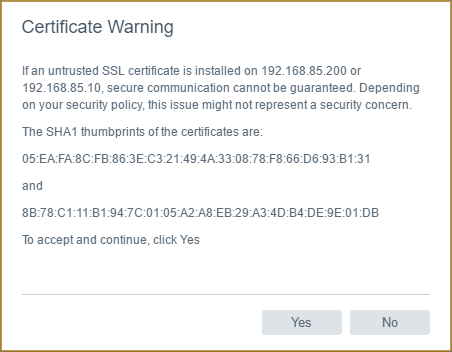
The first upgrade screen has us enter the information to the source appliance and then also the source host or vCenter server that manages the appliance.
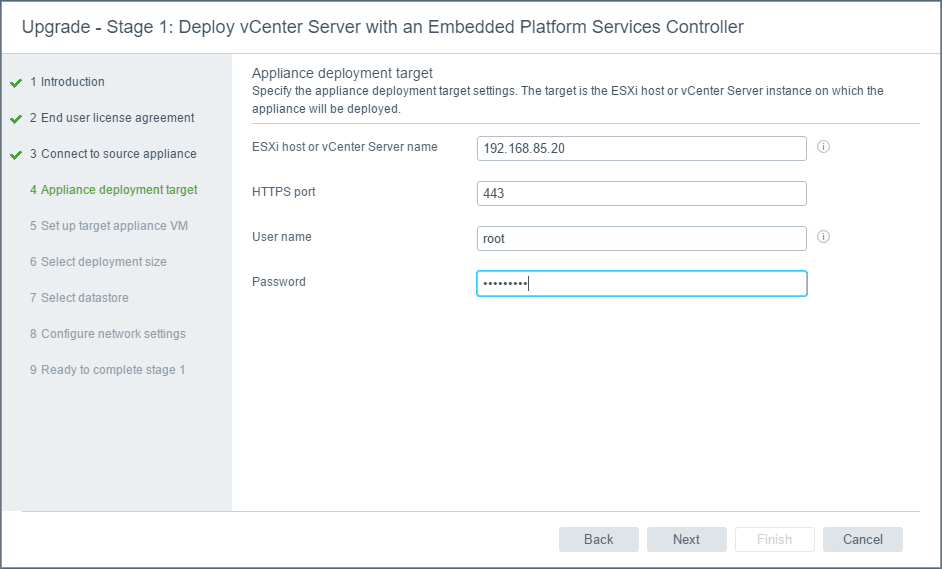
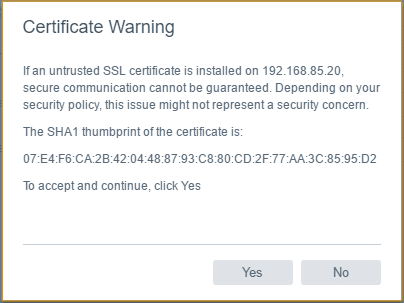
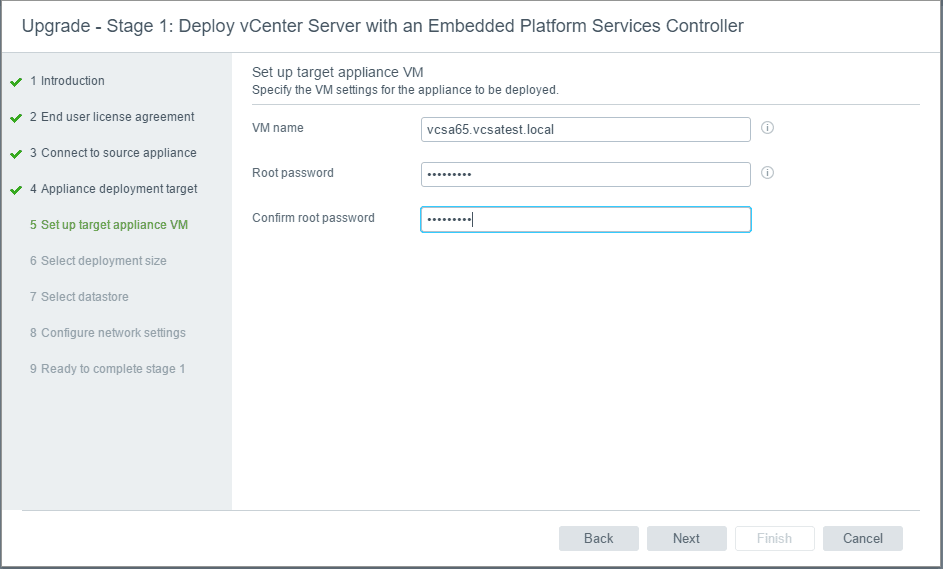
Next, we enter information for the Appliance deployment target.
Interestingly, the upgrade will create an appliance with the name you specify on this screen, but will assume the identity of the other VCSA appliance when complete (identity in the VM not in the inventory).
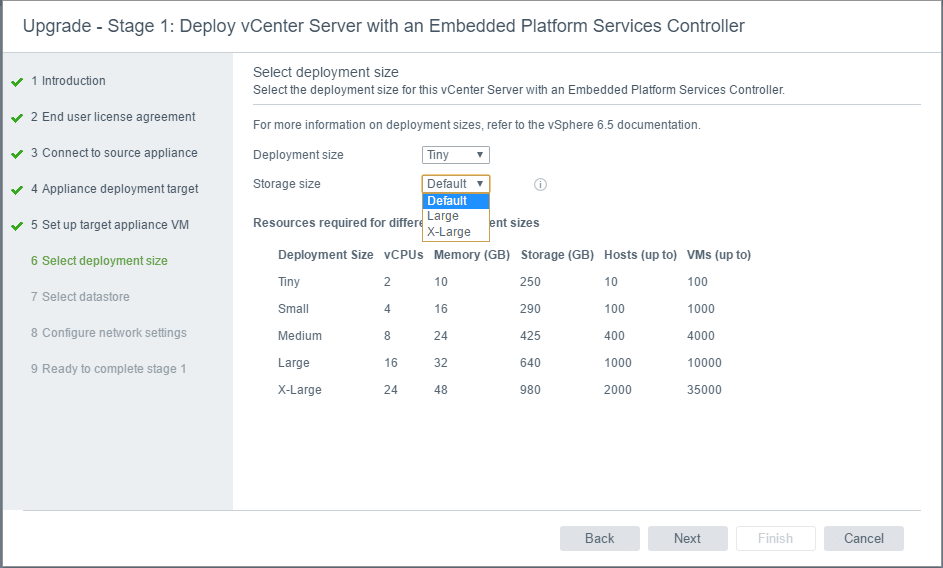
Next, we have some new options here for storage size. In many implementations, the configured storage for the VCSA 6 appliance simply were not large enough. So in the new VCSA 6.5 appliance we have the option to configure Large or even X-Large storage sizes. The sizes configured for each as you can see are on the screen.
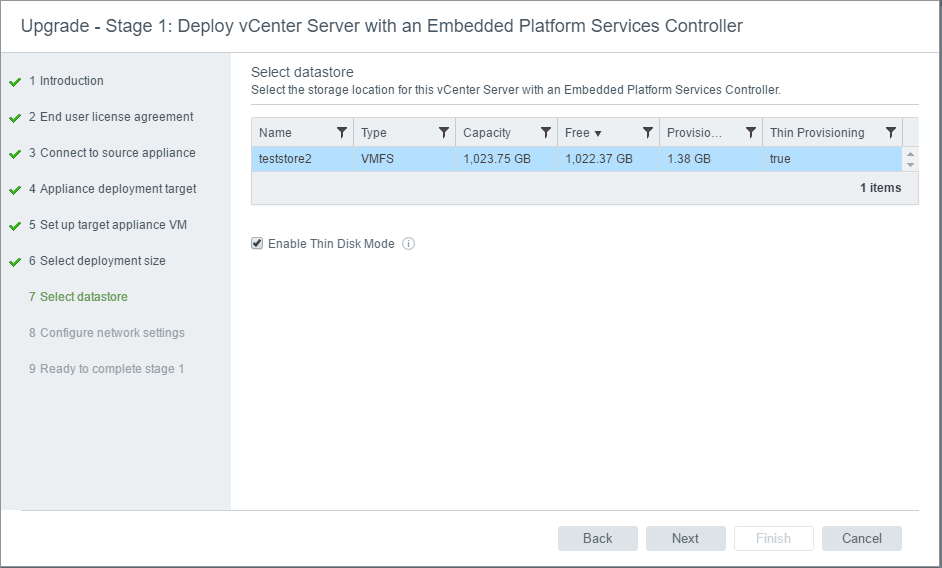
Next we select the target datastore for the deployment.
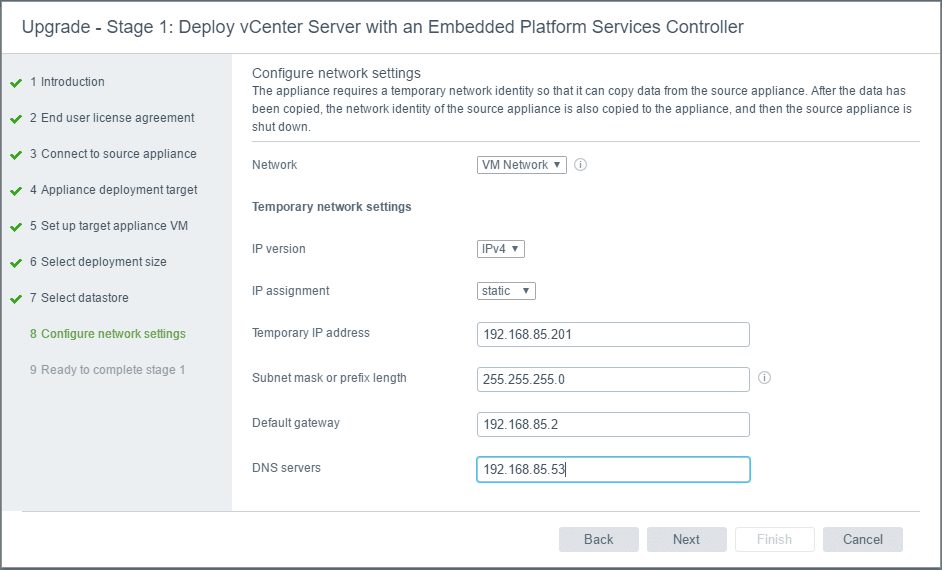
Network configuration is next. Notice the Temporary network settings. As mentioned above, the identity including network settings of the existing VCSA appliance will be assumed. So the temporary IP allows it to come on the network long enough to copy over settings and configuration from the existing appliance before assuming the identity.
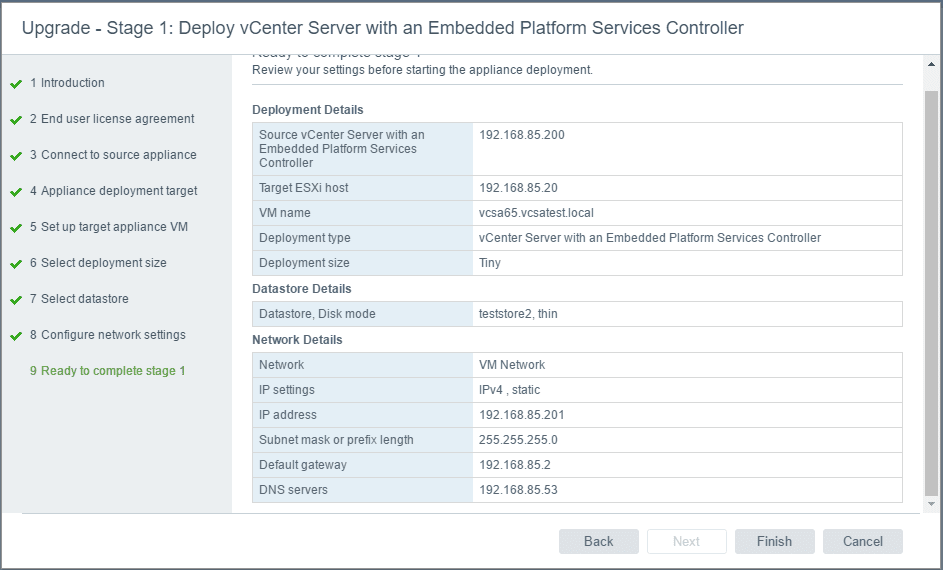
Next, we validate our choices before starting the process.
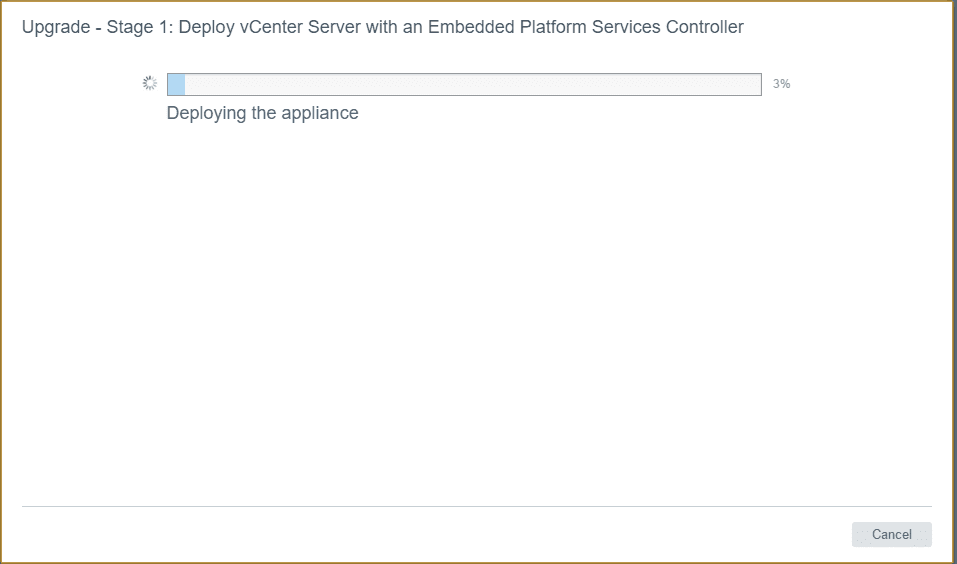
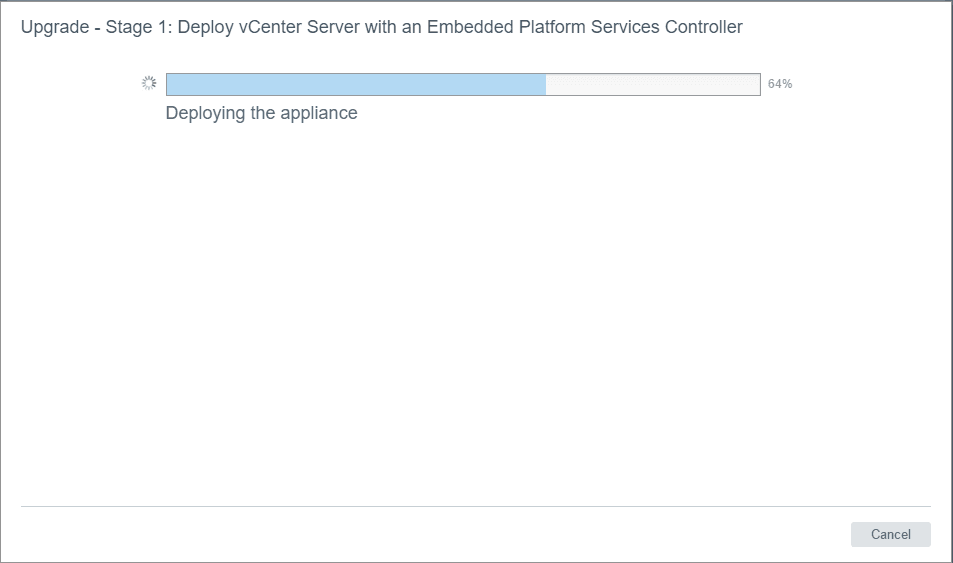
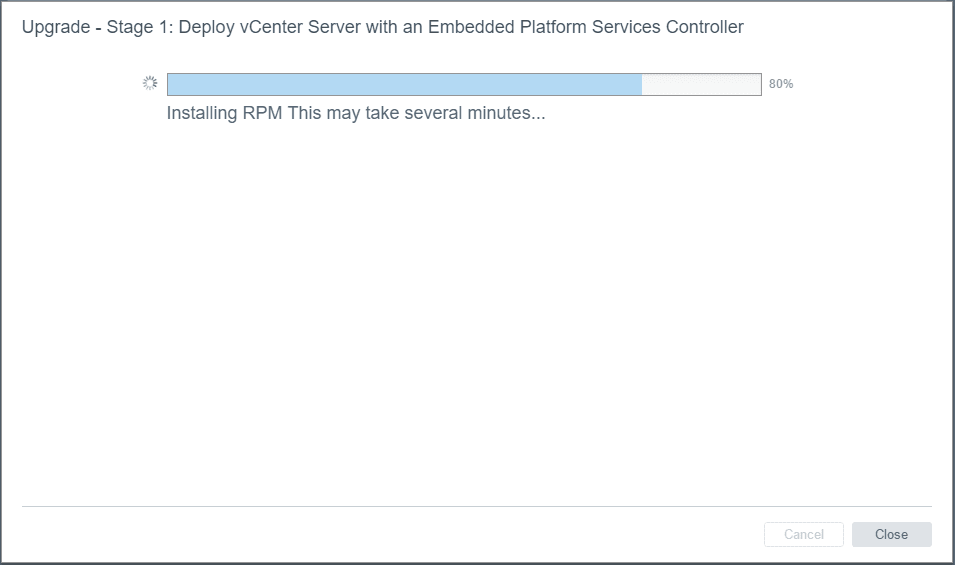
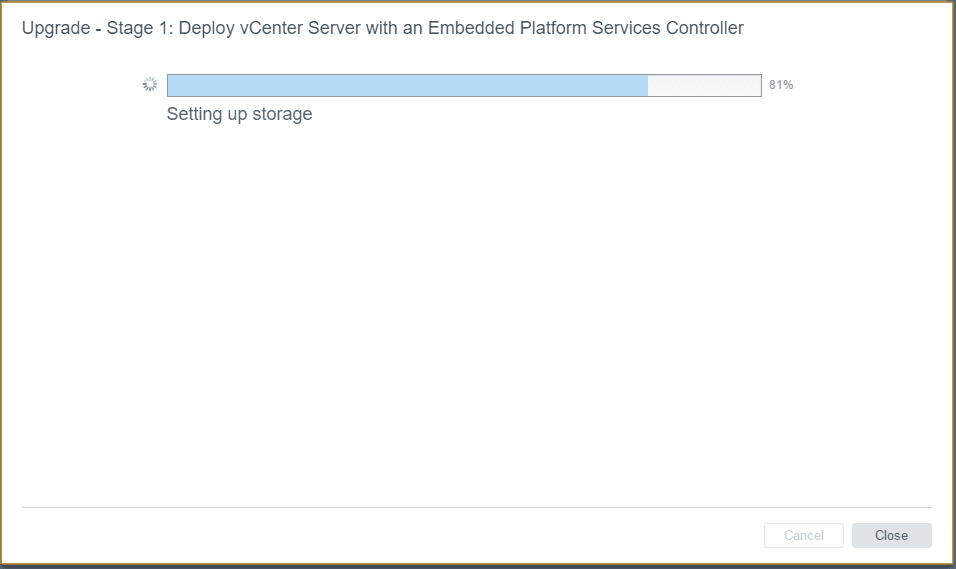
Stage 1 begins!
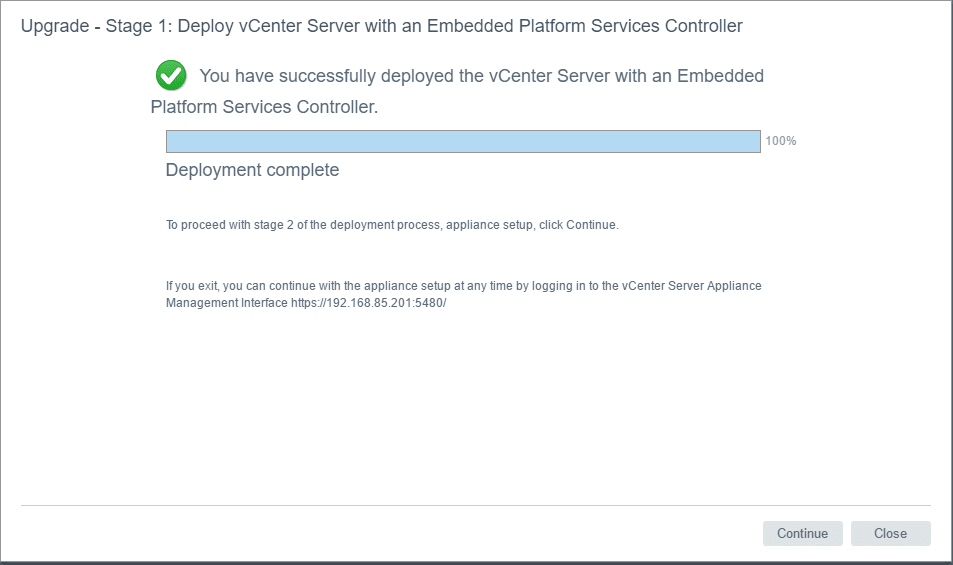
After Stage 1 is completed, you are directed to either continue or at this point you can also login to the Management interface of the temporary IP you assigned and complete setup there.
Stage 2
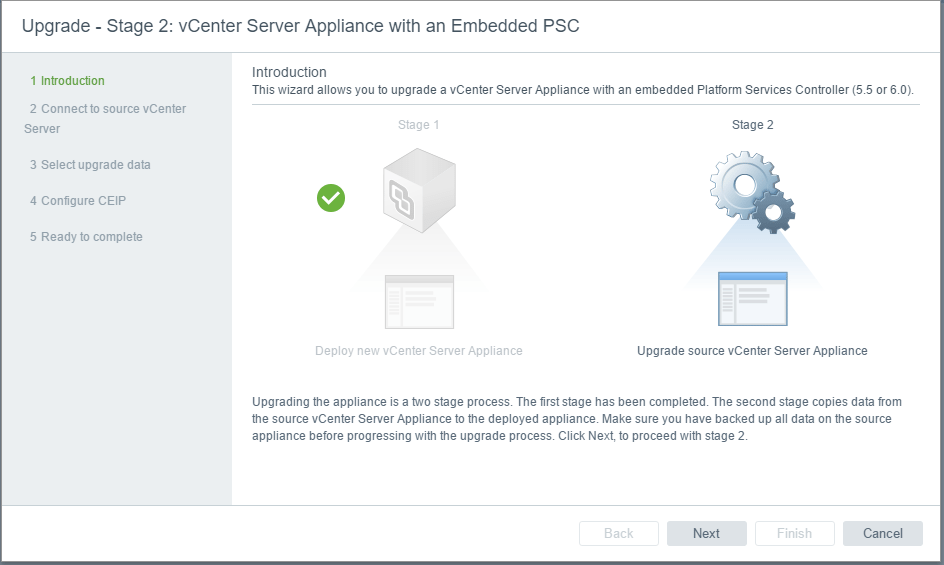
Stage 2 begins basically telling us what the beginning of Stage 1 did – that it is a 2 step process. You now see the green check by the Stage 1 portion and it is grayed out.
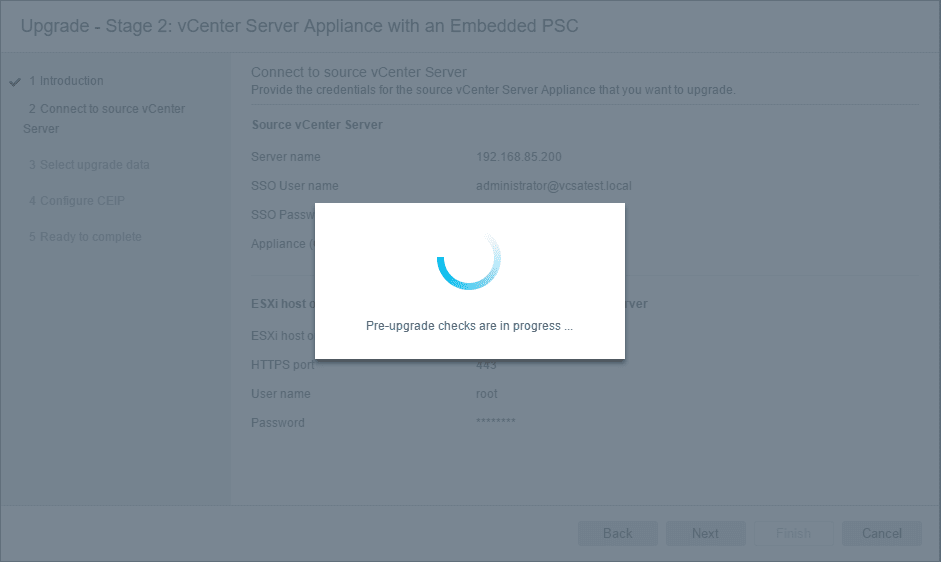
After clicking Next, the pre-upgrade checks begin.
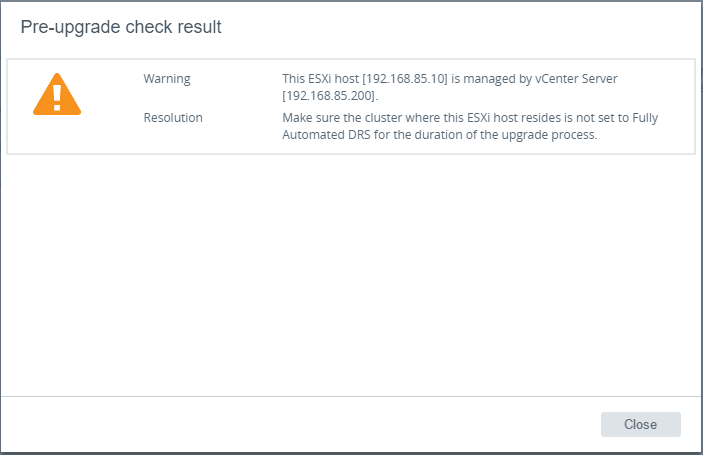
We have a warning that pops up here noting that our host that is currently housing the source vCenter server is managed by that vCenter server. It is noted that we need to make sure the cluster where this ESXi host resides is not set to Fully Automated DRS for the duration of the upgrade.
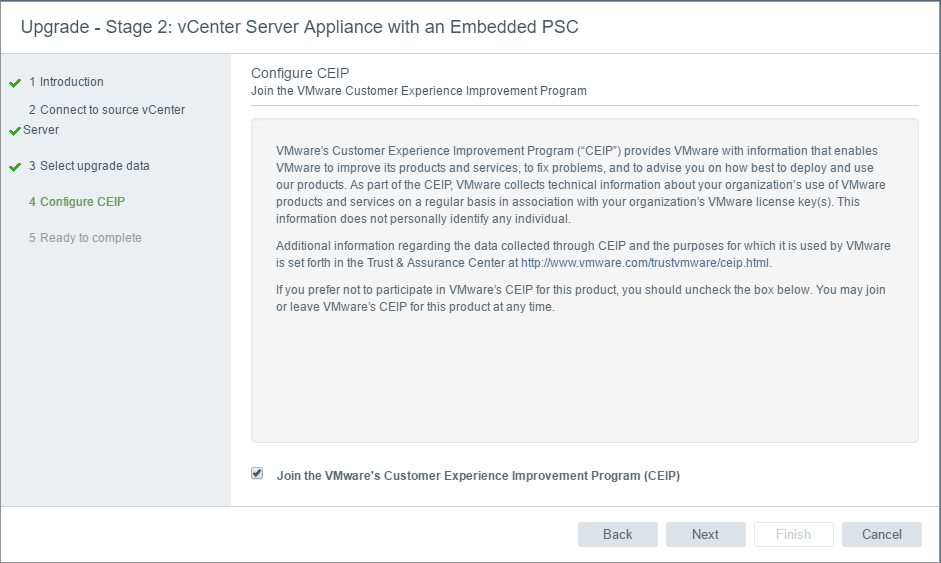
Next, we can choose the data we wish to copy from the source vCenter server. The options are:
- Configuration
- Configuration, events, and tasks
- Configuration, events, tasks, and performance metrics
The nice thing about the process is that we are told how large each of those selections will be.
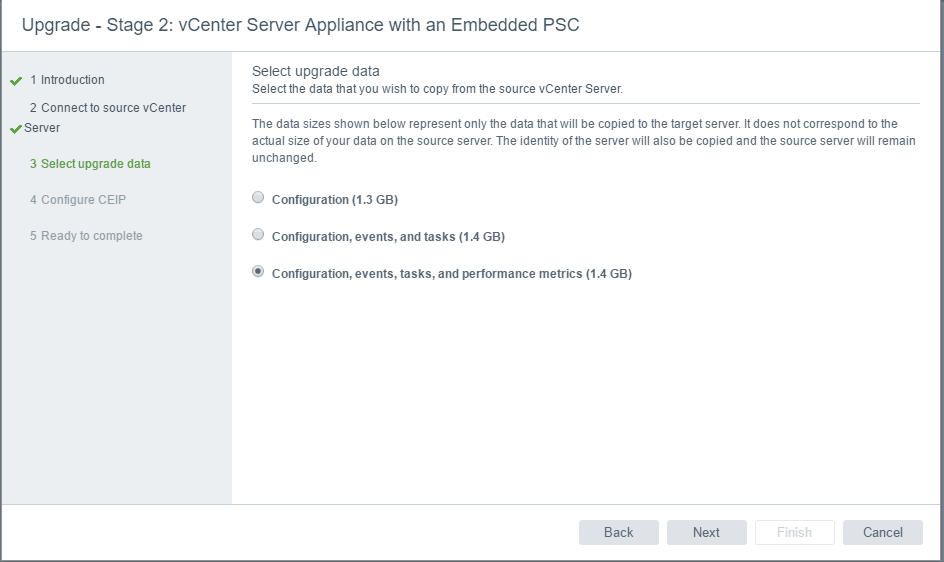
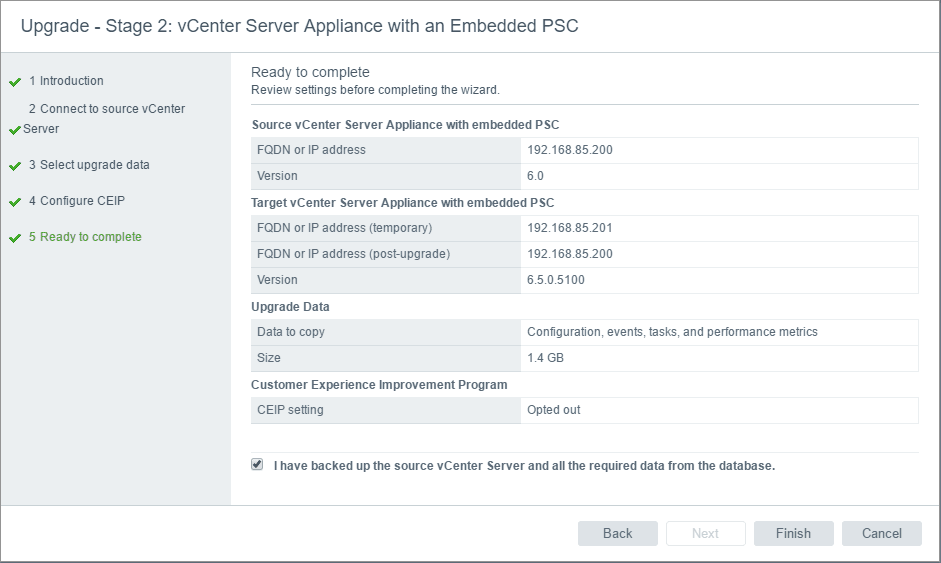
Here we have a check box where we say “I have backed up the source vCenter Server and all the required data from the database“.
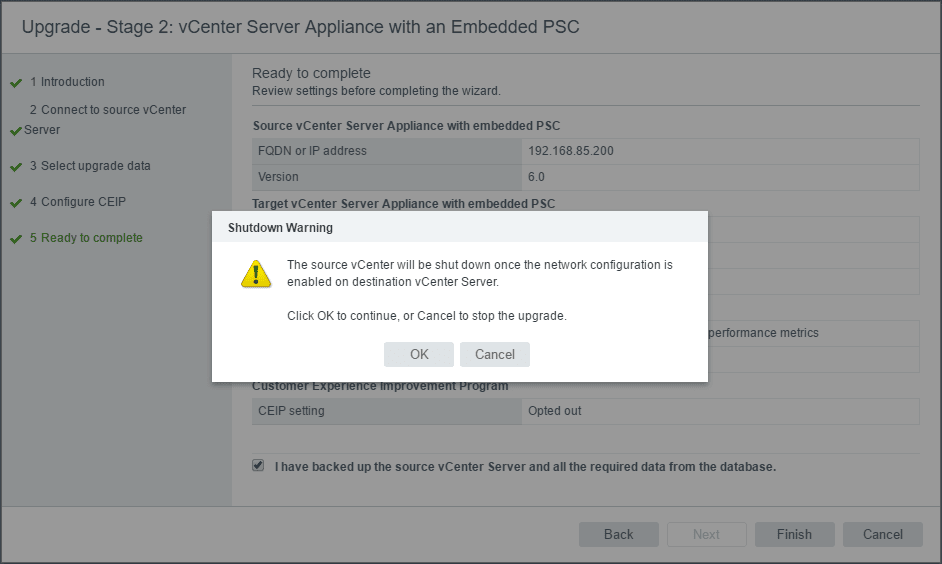
You receive a shutdown warning that the source vCenter server will be shutdown and powered off during the process.
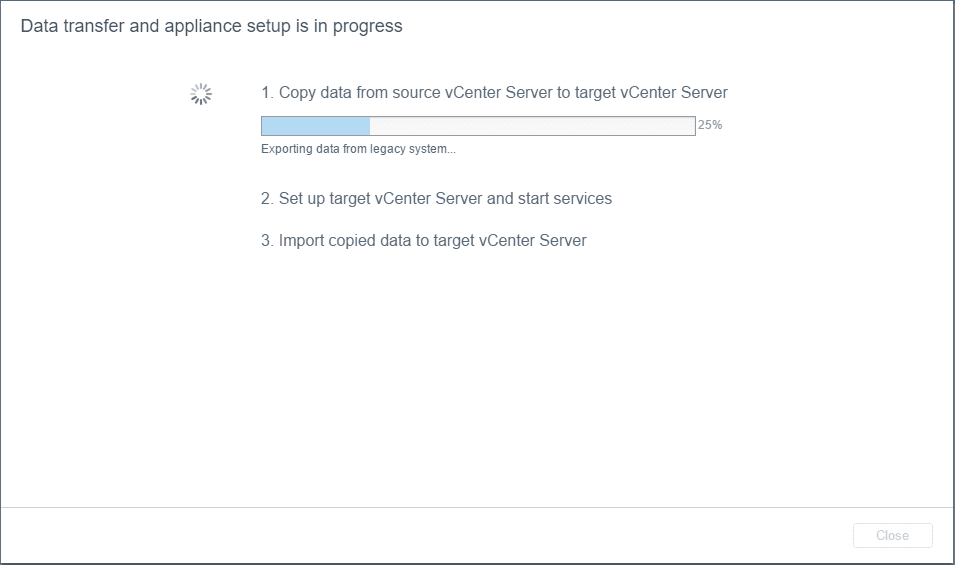
The data transfer and appliance setup begins copying data from the source vCenter server to the target vCenter server.
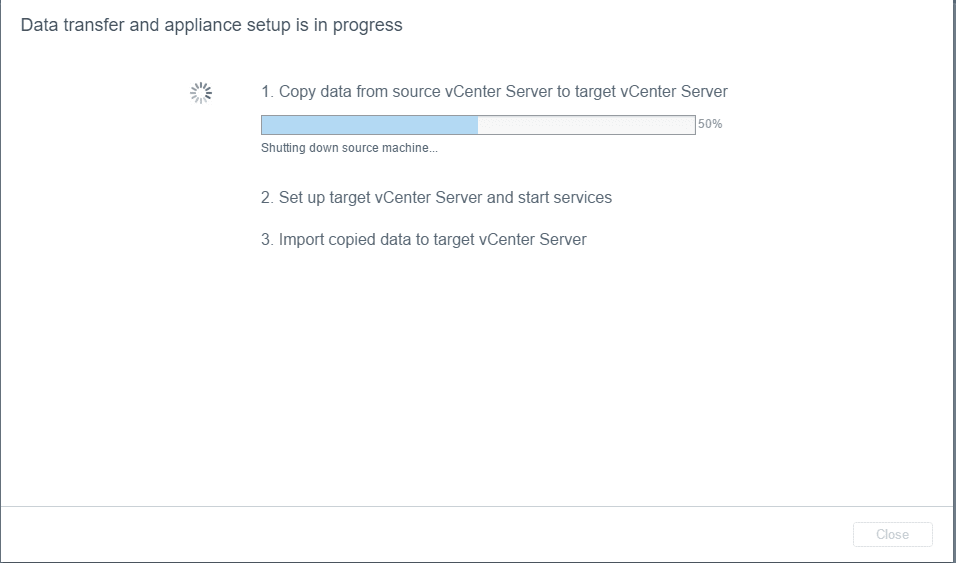
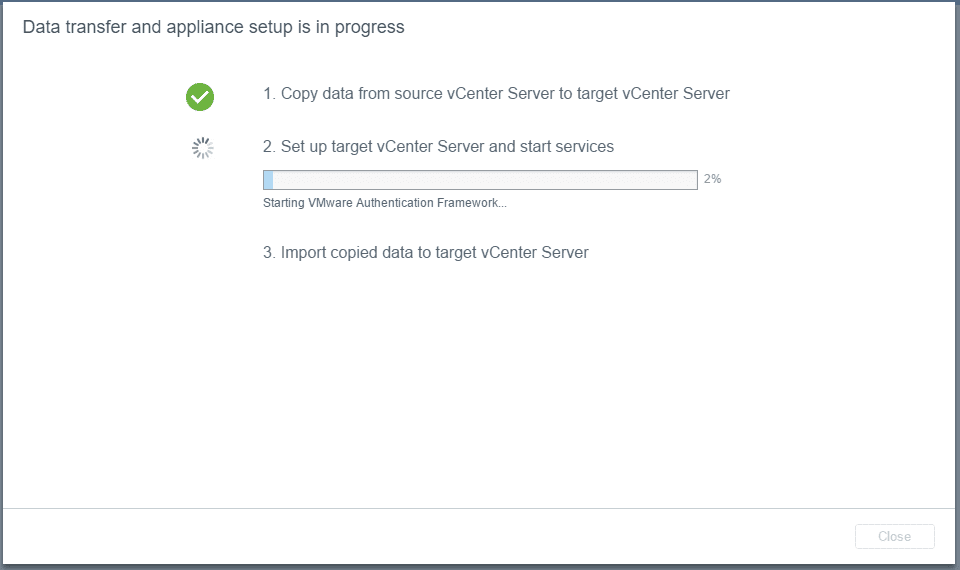
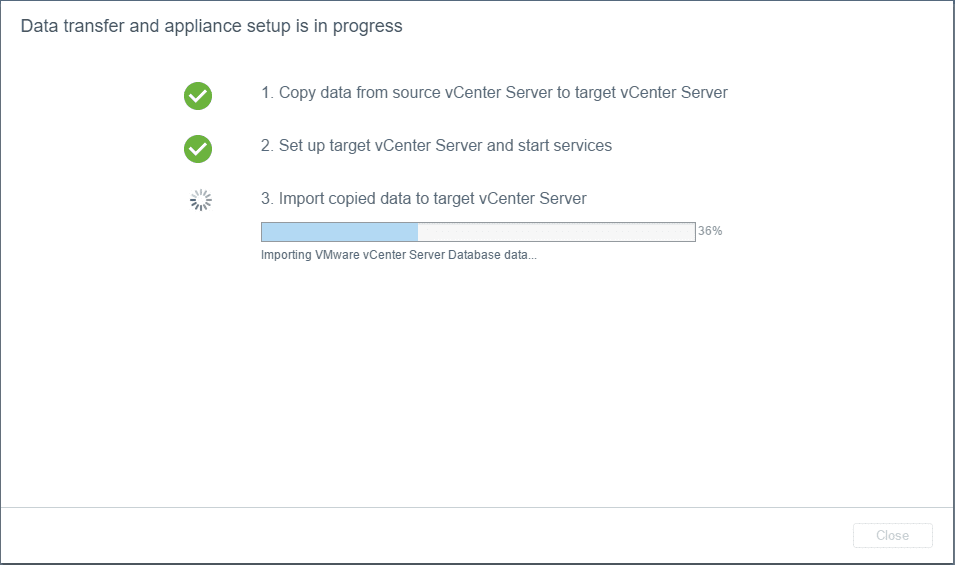
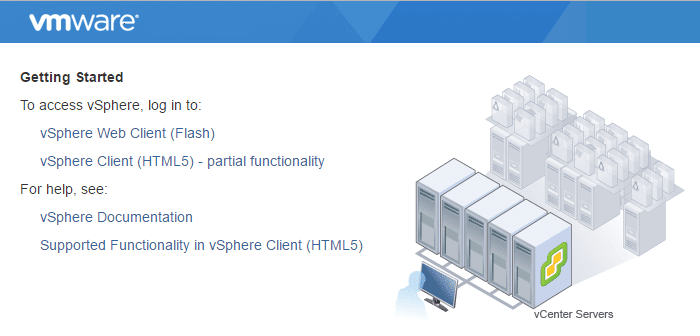
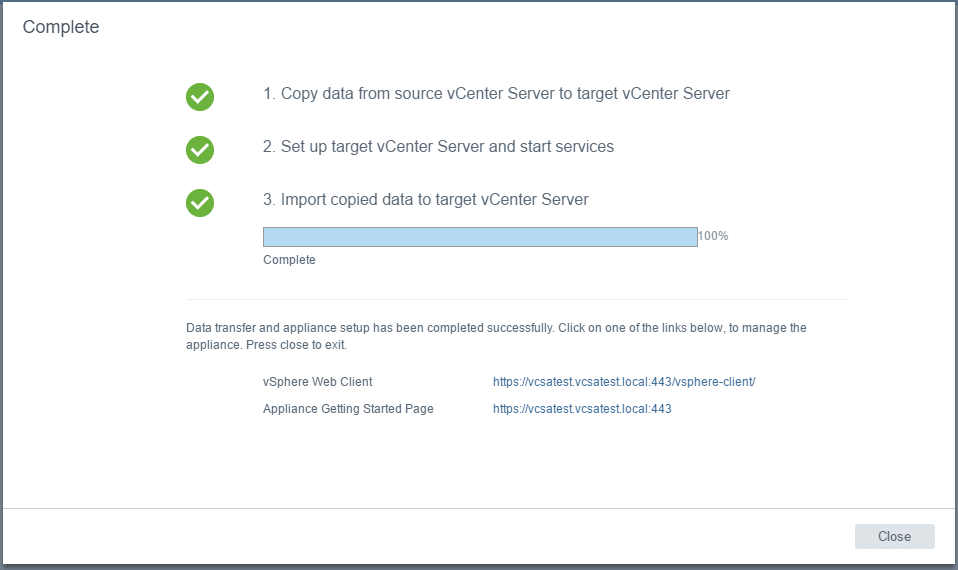
After Stage 2 is complete, we see the message that data transfer and appliance setup has been completed successfully. Also, we have links to our vSphere Web Client.
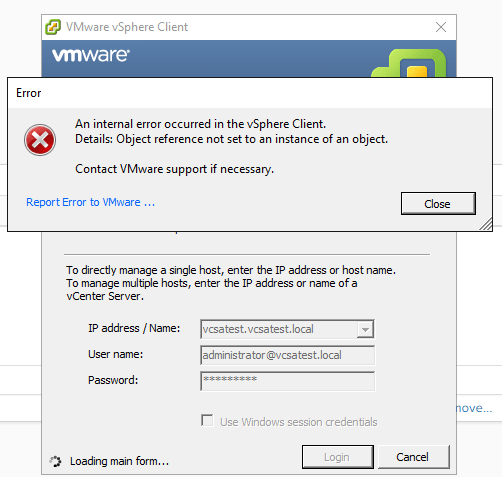
For those of you who are curious like I was, I tried connecting the vSphere client to my new VCSA 6.5 box and it is a no go. It looks like the vSphere Client has finally met the end of the road with version 6.5.
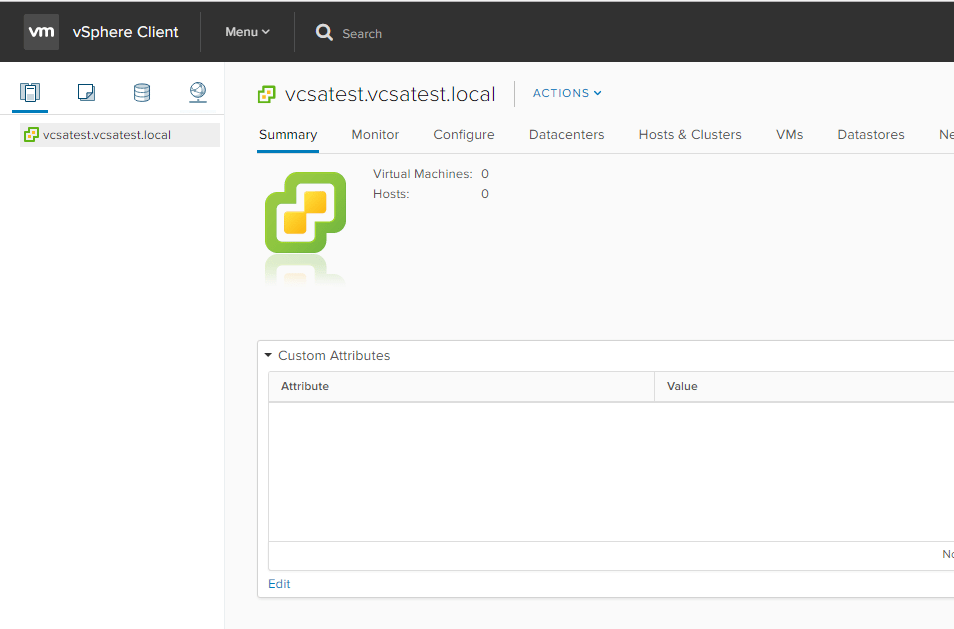
A look at the new HTML5 client. It definitely is blazingly fast! However, again it is a disappointment that it isn’t fully functional as of yet.
NOTE As mentioned in our ESXi 6.5 post here, you CAN still connect to ESXi 6.5 directly using the vSphere Client.
Thoughts
Well, hopefully you have enjoyed this walk through how to Upgrade VMware vCenter VCSA appliance 6.0 to 6.5. The new installer/updater is definitely a great improvement – no more browser hassles. The process to upgrade my lab VCSA appliance to the new version went off without a hitch. We will see on more brutal upgrades for tons of data and configurations to be brought across if that introduces more challenges.


