Update Supermicro BIOS using IPMI SUM
I really like the Supermicro IPMI interface for remotely performing administrative tasks as well as monitoring the health of the Supermicro server hardware. One of the really cool things that you can do remotely is update the motherboard BIOS firmware with the Supermicro Update Manager (SUM) that is builtin to the IPMI interface. Now this is something that I don’t think you will want to do on a daily basis, but there can be times when you may have issues with BIOS revisions that may require an update of the BIOS firmware. Recently, as reported by Tinkertry post, there is a bug that affects new Broadwell processors running on Supermicro boards. Well, I ran into the same issue on a standalone lab ESXi host running several VMs so needed to update BIOS to latest version. Let’s look at how to update Supermicro BIOS using IPMI SUM.
Update Supermicro BIOS using IPMI SUM
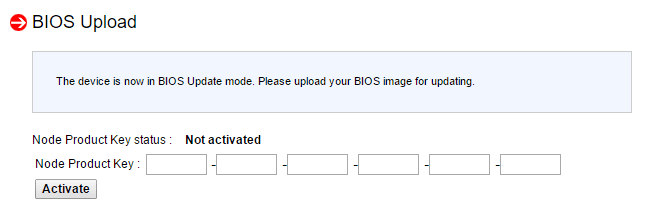
There is one caveat to using SUM as when you attempt to remotely update the BIOS, when you attempt to update the BIOS, you will be prompted for a license key to activate the SUM component in the IPMI interface.
So where do you get this key? Well, you need to check with your reseller first if you purchased your Supermicro hardware from a vendor to see if you purchased this license with your hardware. If not, you can also purchase a license key online. They are not that expensive. Below are a couple of examples:
Another option that may be of use to many especially if you simply need to do a one off BIOS update is an evaluation license. On Supermicro’s site, there is a form you can fill out to request an EVAL license for your server. You will simply provide your BMC MAC address and your reseller contact information in the request along with your email and other normal information.
IPMI SUM BIOS Update Process
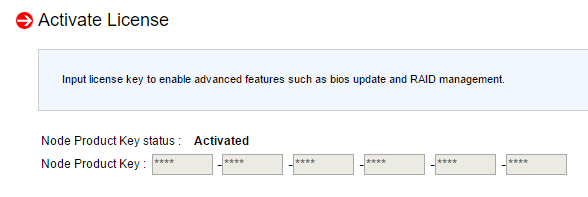
Once you obtain your BIOS update key either through a reseller or the EVAL link, you should see that the Node Product Key status shows Activated.
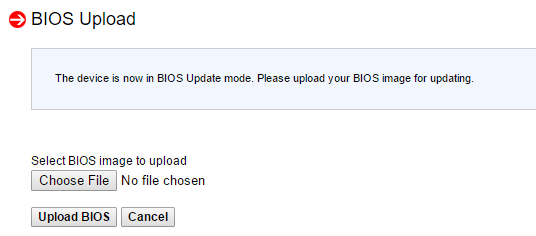
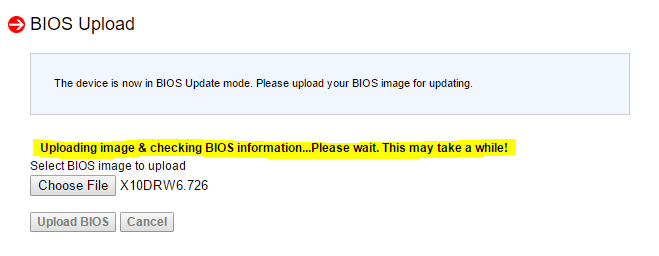
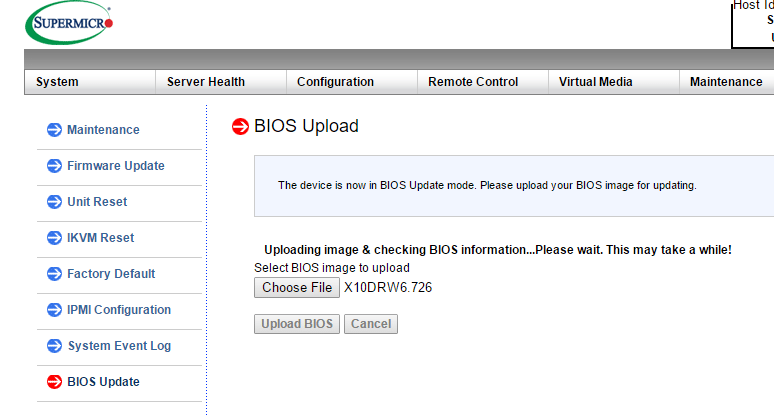
Now, we can simply navigate to our BIOS update file and upload it to the IPMI controller.
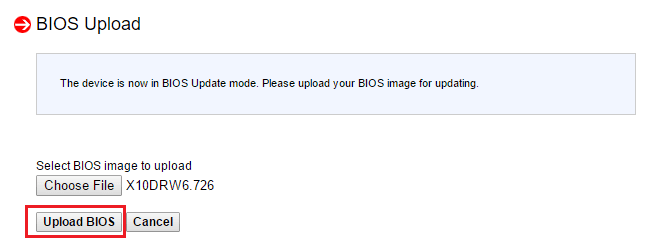
The BIOS update file is the file with the odd extension and is usually the largest file in the downloaded package.
After you have chosen the file, click the Upload BIOS button.
It will upload and check the BIOS file which in my case only took about 30 seconds or so.
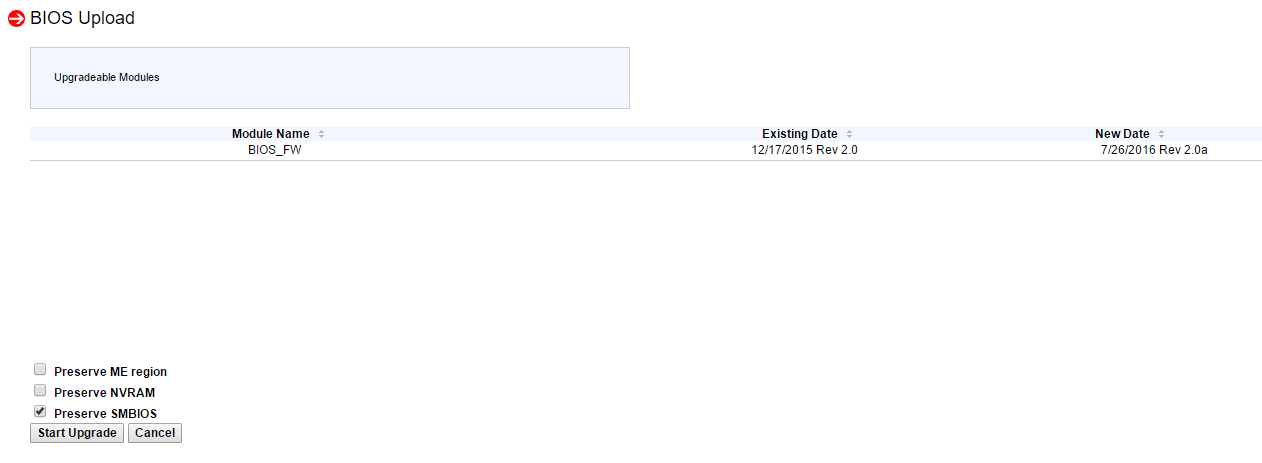
After the upload completes, you will see a screen displaying the existing BIOS date and revision and then showing the New Date and revision of the new file. When you have verified the information, choose the Start Upgrade button.
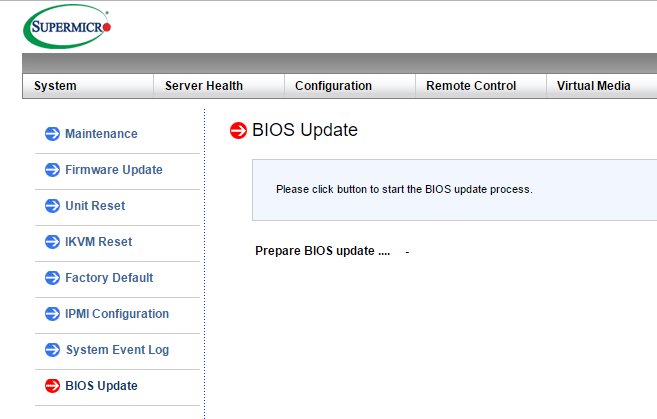
The process begins…
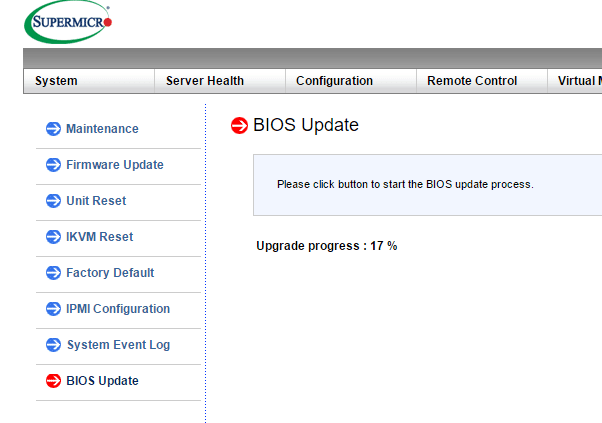
You will see the progress move forward as the BIOS update is installed.
An important detail in the process is deciding how you want to instantiate the BIOS update. The nice thing about the IPMI SUM update process is that you can choose not to reset system which allows you to basically update the BIOS and have it ready to come online at a maintenance period. You can also choose to reset the system as well which will power cycle and bring the new BIOS online immediately. If you click Cancel below, it does not reset your system and waits for you to do that at a later time.
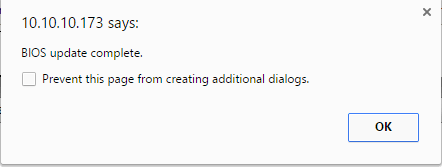
After you click Cancel if choosing a later maintenance period you will then get the message stating the BIOS Update complete and you can simply click OK.
Thoughts
I am a big fan of being able to do things remotely if needed as it gives many more options in troubleshooting and resolving unexpected issues. Even tasks such as BIOS updates can be done remotely in the case of the Supermicro IPMI update process. Hopefully this post on how to Update Supermicro BIOS using IPMI SUM will give visibility to this great feature of the Supermicro IPMI interface as well as how to use it to perform the BIOS update.


