Zerto basic setup and configuration
Zerto is a great product that allows for a DR solution that has extremely low RPO times and ease of not only failover but ALSO failback, which is a sore point in many other DR solutions – how do you get back. Also, with PCI compliance and other standards that organizations must meet. Being able to test your DR plan and have a nice report to be able to show to upper management and auditors is a necessity. Zerto makes all of this extremely easy. Let’s take a look at Zerto basic setup and configuration to get an idea of how to get up and running quickly.
Zerto basic setup and configuration
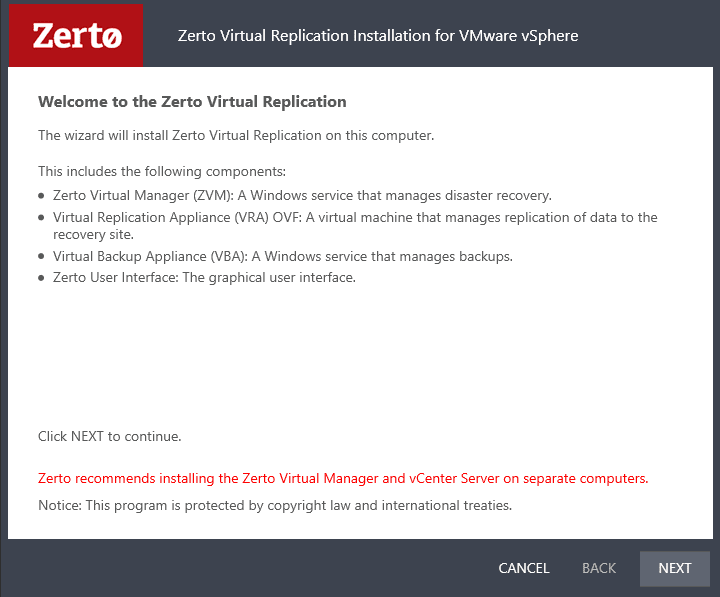
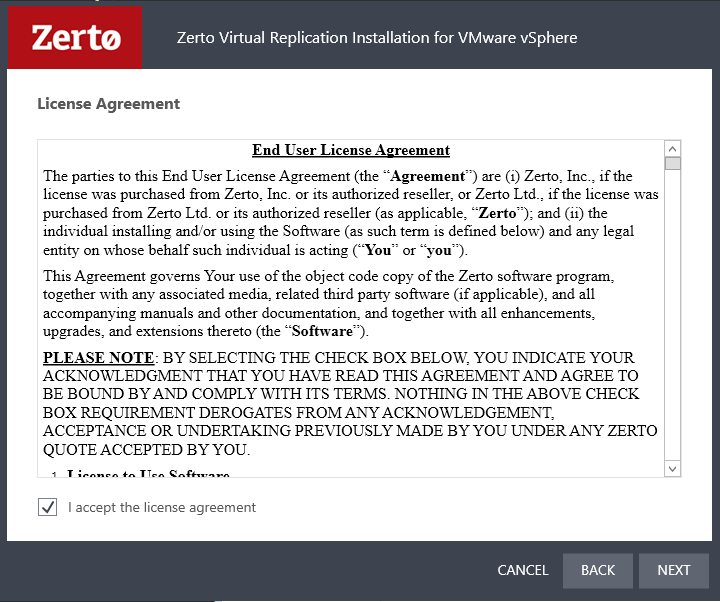
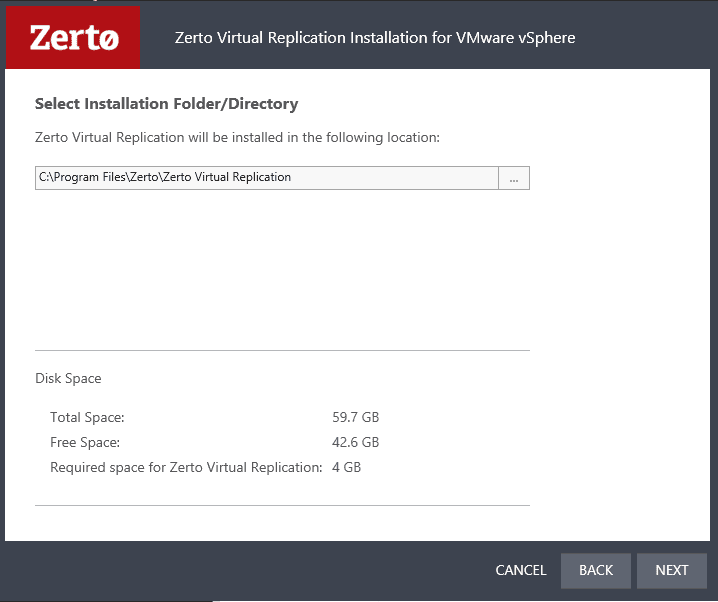
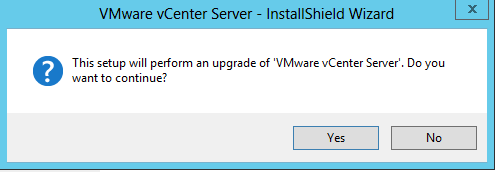
For the purposes of this install, I will be demostrating the install into a VMware environment. I spun up a nested ESXi 6.0 U2 environment with (2) two node clusters, one to simulate “Production” and the other to simulate a “DR” site. The download from Zerto is a Zip file that contains the Zerto Virtual Replication VMware Installer and a .Net framework installer for those that are in need of the .Net components. The steps below will show the installation of the Zerto Virtual Replication software on a Windows 2012 R2 VM.
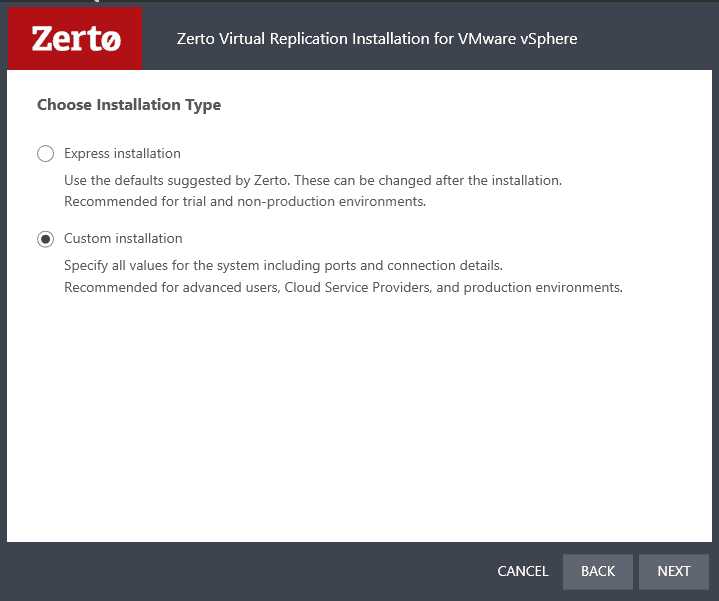
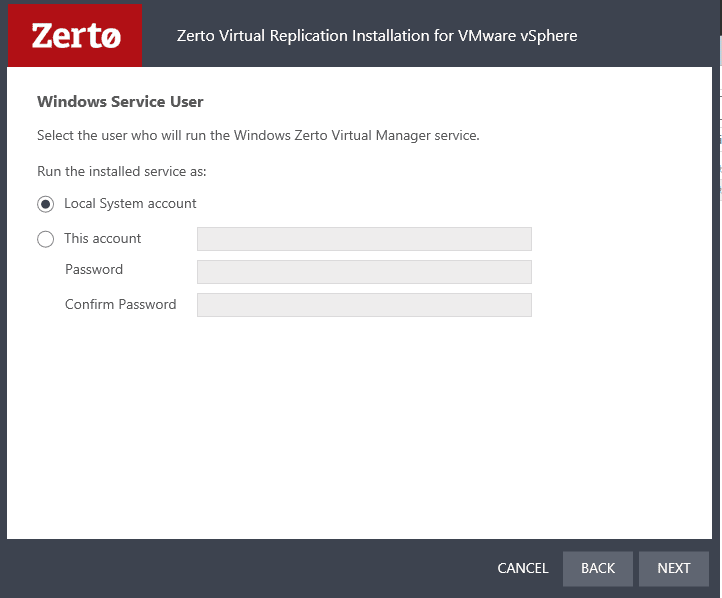
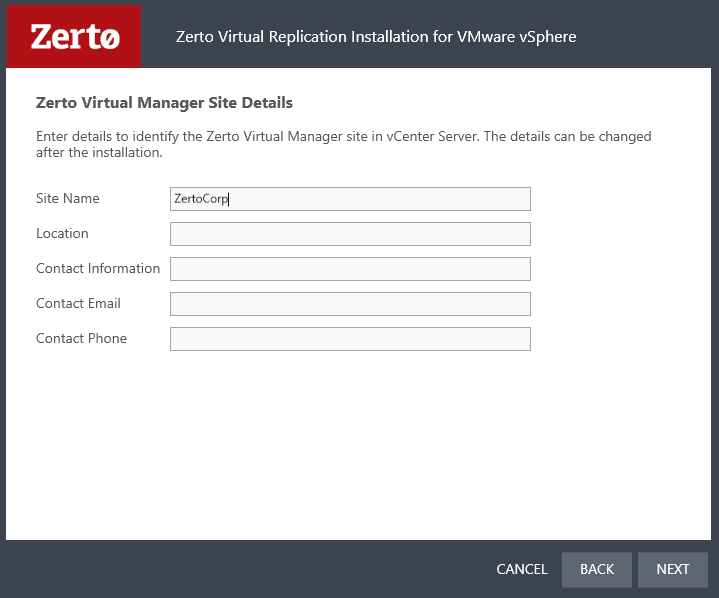
Here I chose custom installation as I wanted to see all the options available and their configuration.
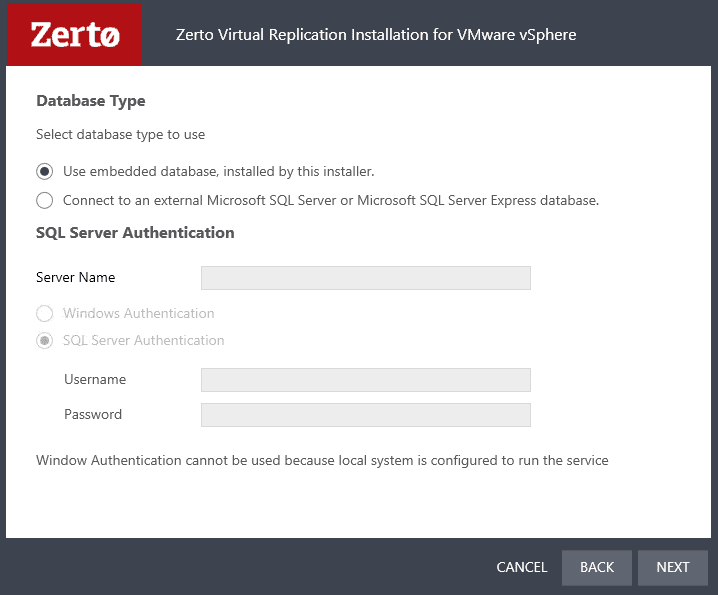
Here you can leverage an existing DB server if you like to house the Zerto database.
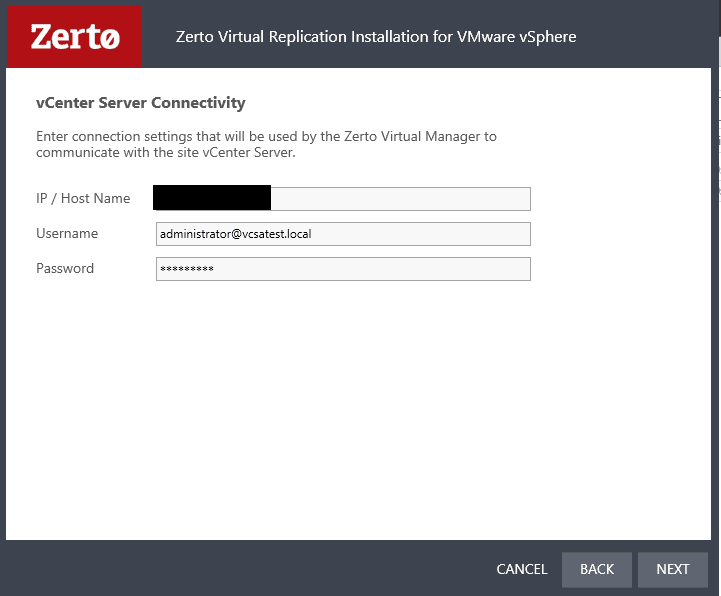
You will then need to provide connection information to your vCenter server, which in my case is running in my test lab.
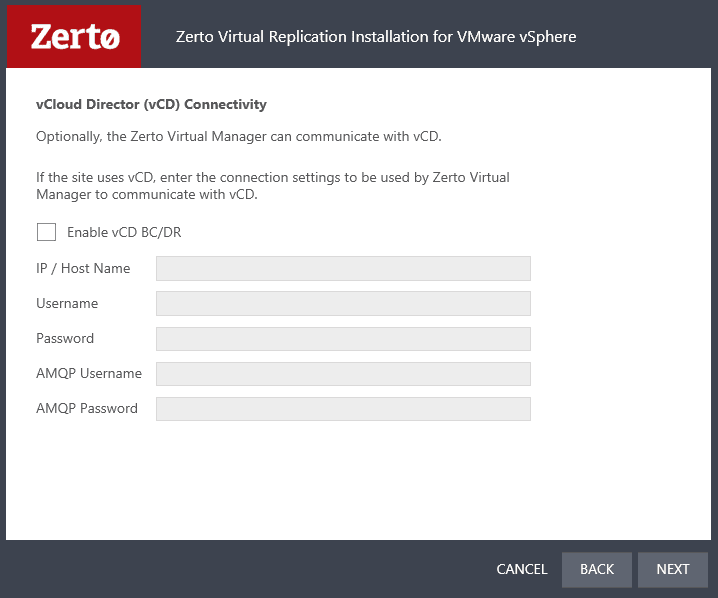
For me I don’t have any vCloud Director connections so leaving this blank.
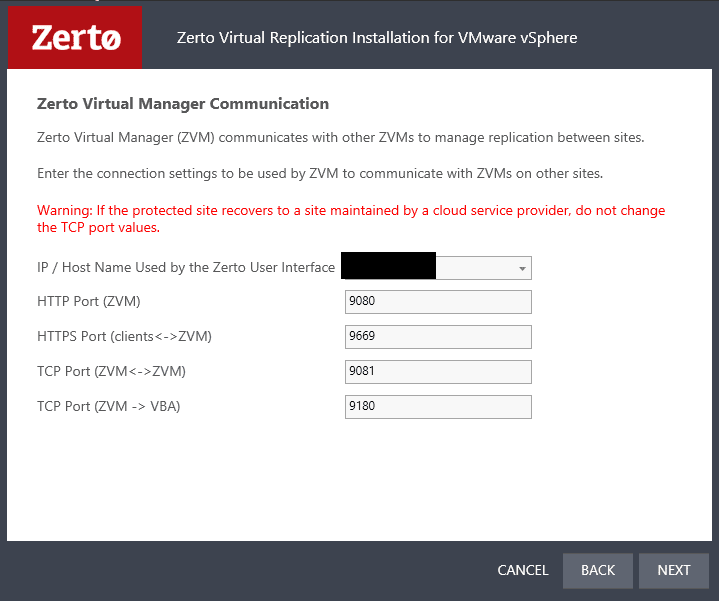
Default ports which can be changed here.
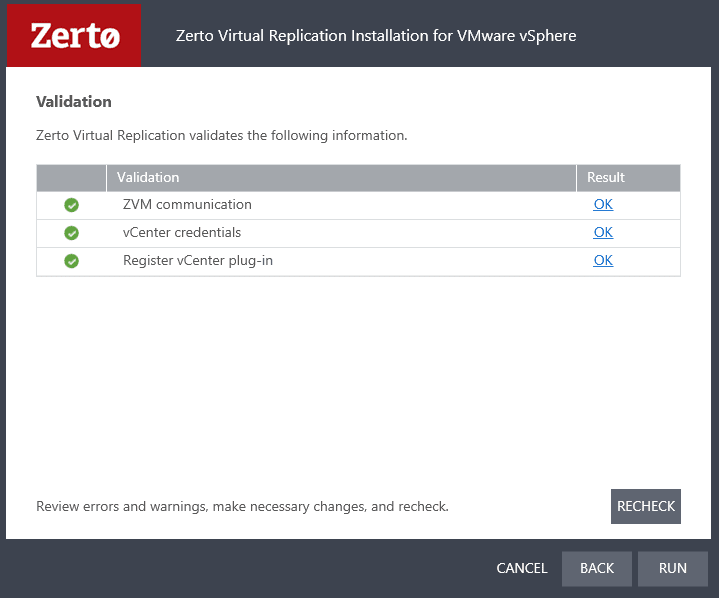
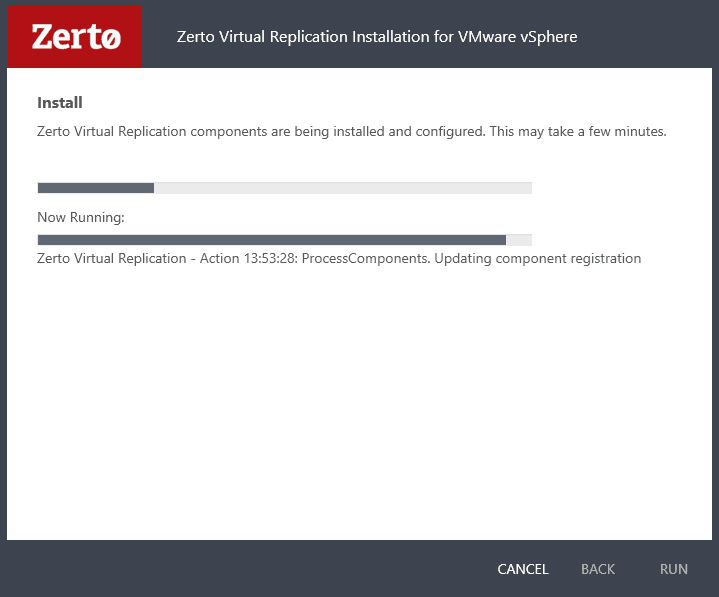
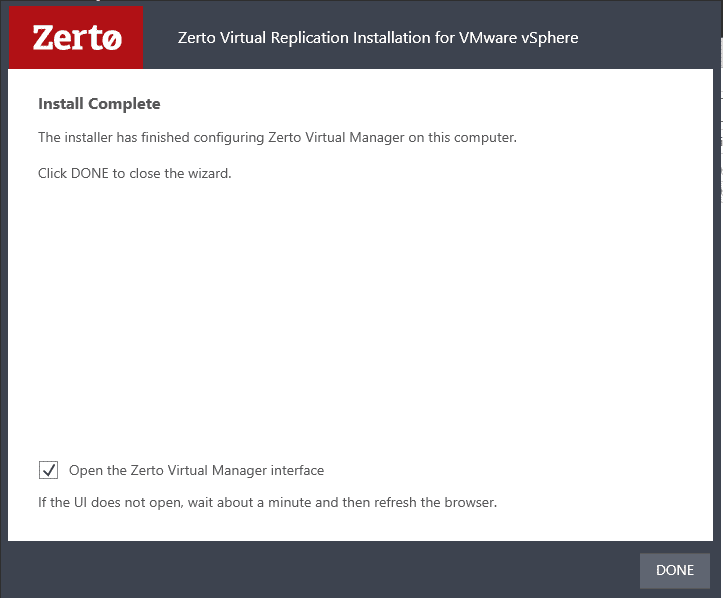
The installer will check everything first before trying to get things installed.
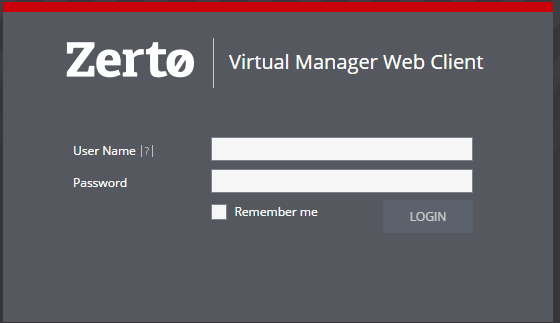
If you have the option “Open the Zerto Virtual Manager interface” selected, you should have a browser session open to your host, however, if not, you can navigate to https://<zvm ip address>:9669
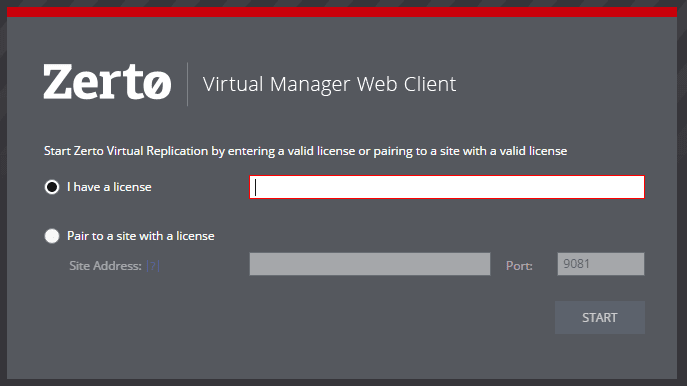
It will first redirect you to the license setup. Here you will need to enter your license information or point to a site that has a license installed.
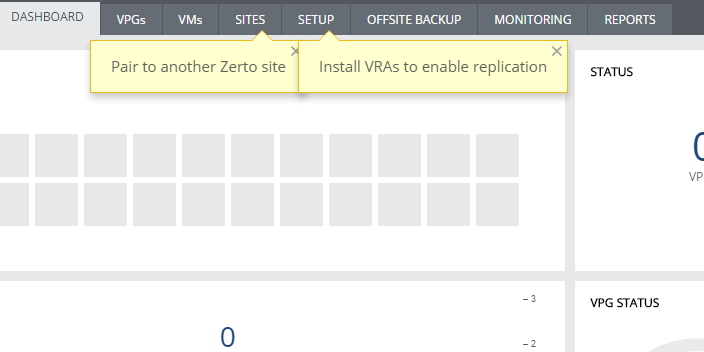
After your first login, you will see a few bubble tips that are directing you to finish out the setup which mainly consists of setting up your VRAs, sites and VPGs or virtual protection groups.
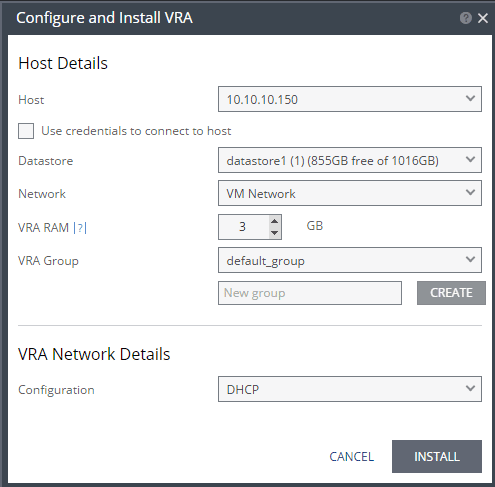
The VRAs are the appliances that are pushed out to each host that allow the Zerto replication to work. Below is a sample of configuring and installing a VRA in one of the hosts running in the test lab. You specify credentials if not using vCenter auth, datastore, network, RAM, and VRA group customization. Also, you will specify how the network addressing is configured on the VRA itself.
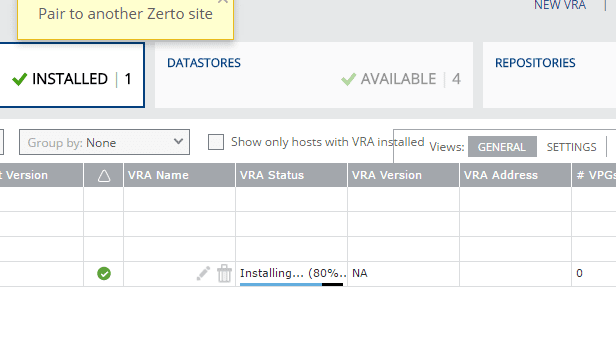
After kicking it off, you will see the progress of the VRA installation.
VPG Setup and Replication Setup
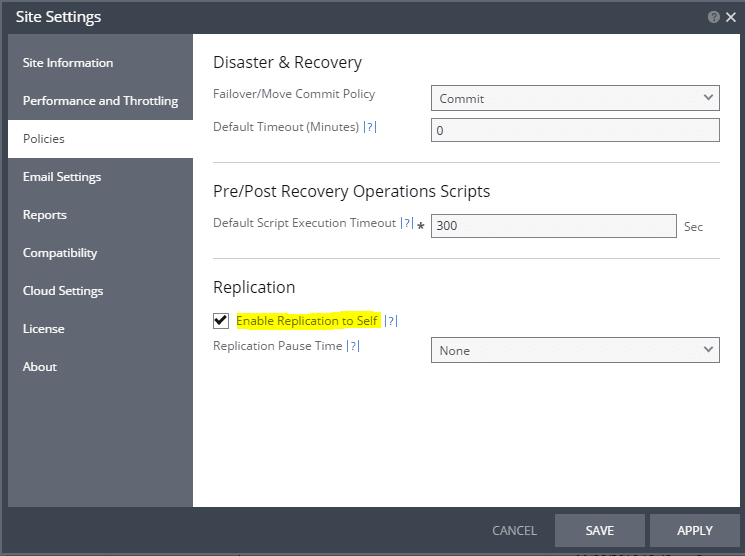
For my test environment, I have a single vCenter server configured. When you are only using one vCenter and one ZVM instance, you have to enable it to replicate to itself. There is a screen found in the setup by clicking the little menu at the right hand corner of your dashboard. Under the Policies section, at the bottom, there is a Replication section. Check the box Enable Replication to Self which enables the ability to replicate within the same ZVM and vCenter.
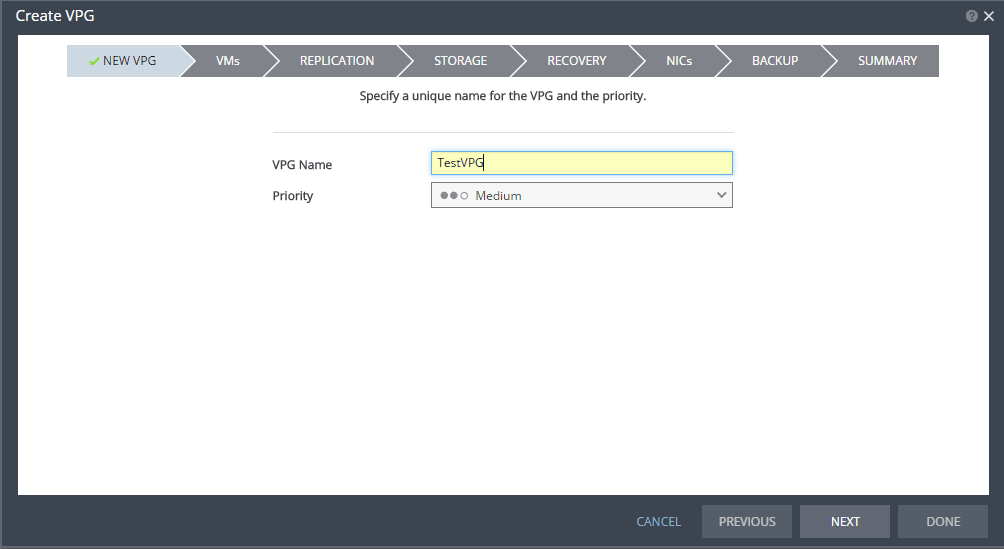
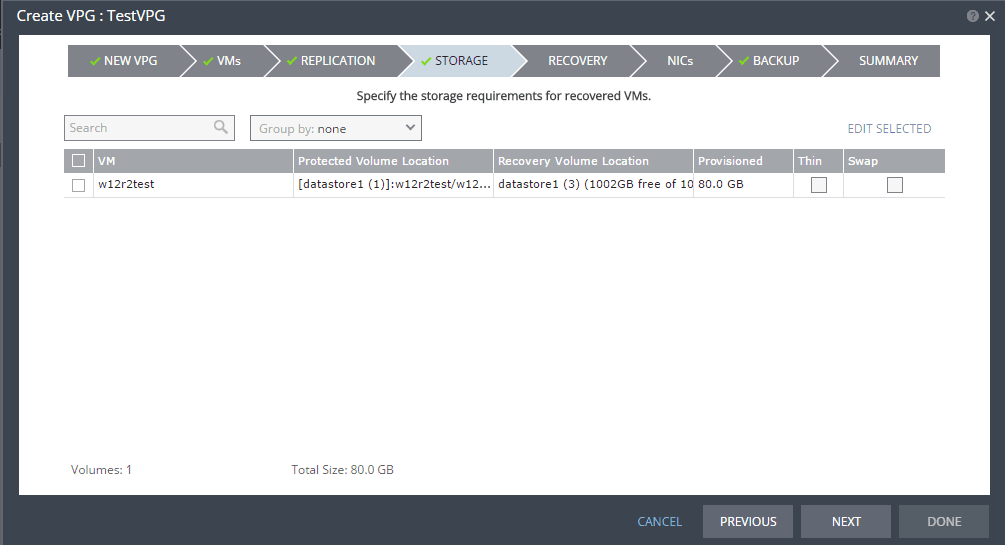
Now on to the creation of the VPG which is the heart of the Zerto methodology. VPG are virtual protection groups and define which VMs are protected more as a service instead of individual VMs. So if you have a web service for instance that you want to protect, the VPG might consist of all the servers that all the web service to work – web, application, DB servers, etc.
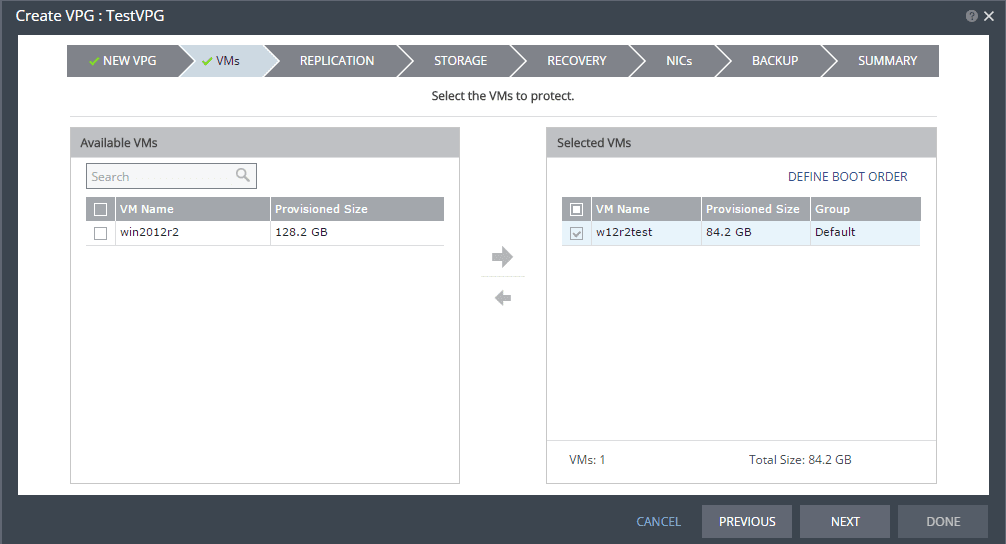
Here we actually select the VM(s) that we want to protect.
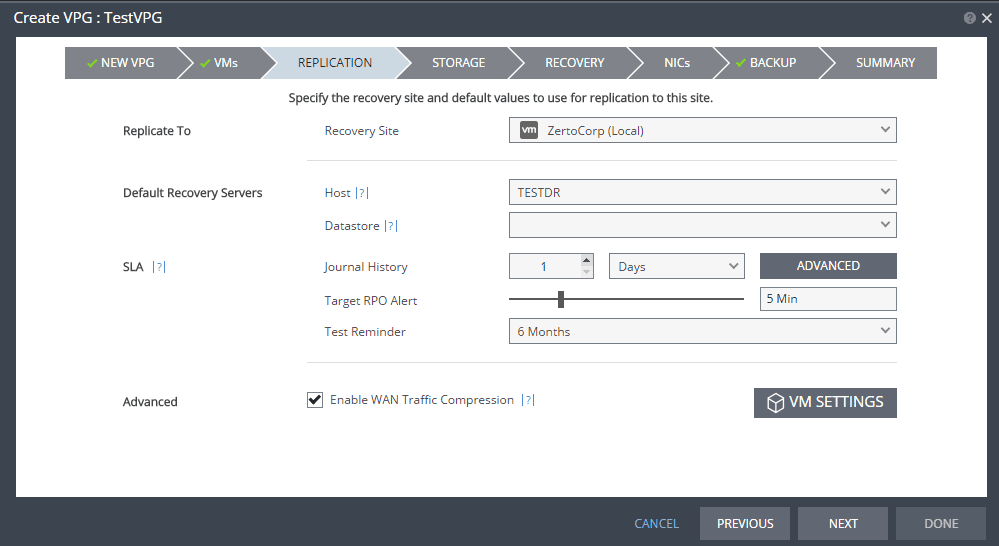
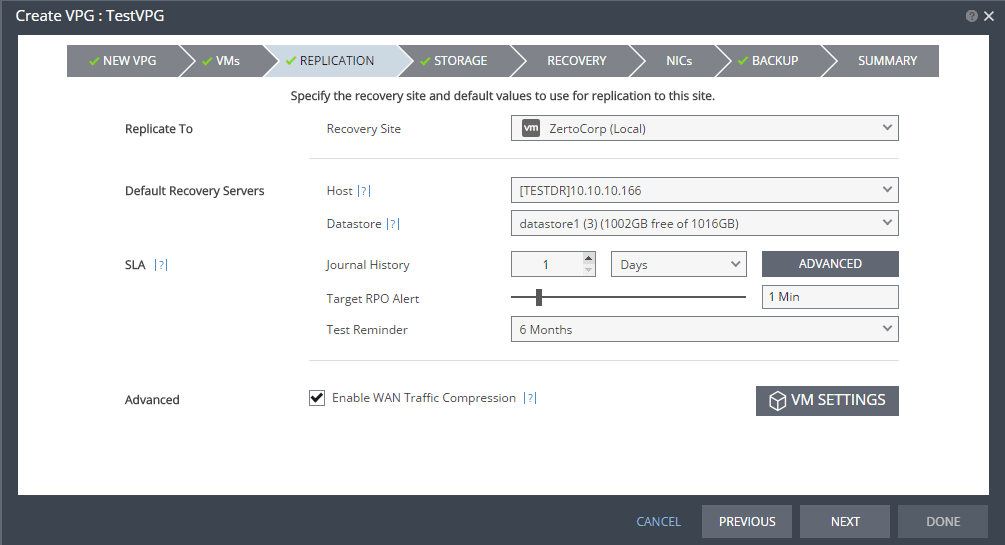
On the replication configuration, we select our default recovery servers, datastore, journal history length, RPO alert, test reminder, and WAN traffic compression.
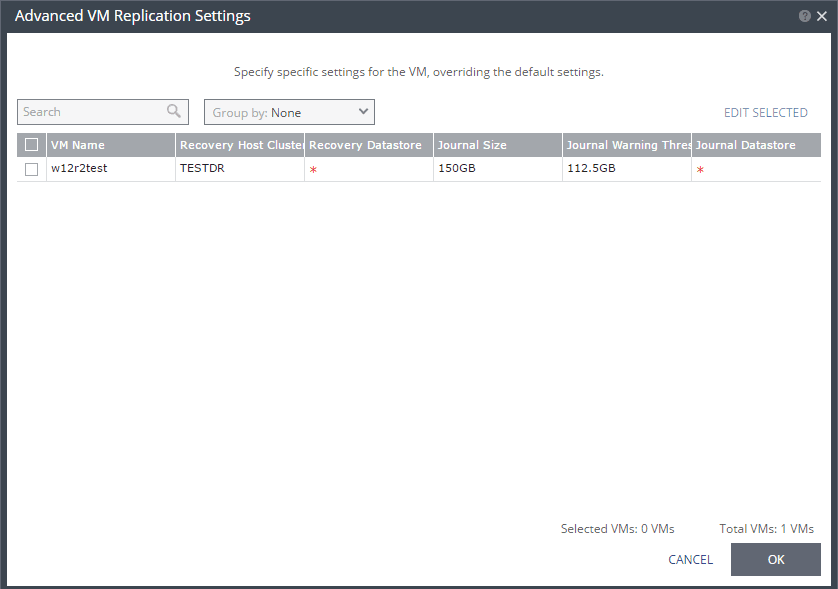
Under VM Settings, you can set some advanced options for a VM.
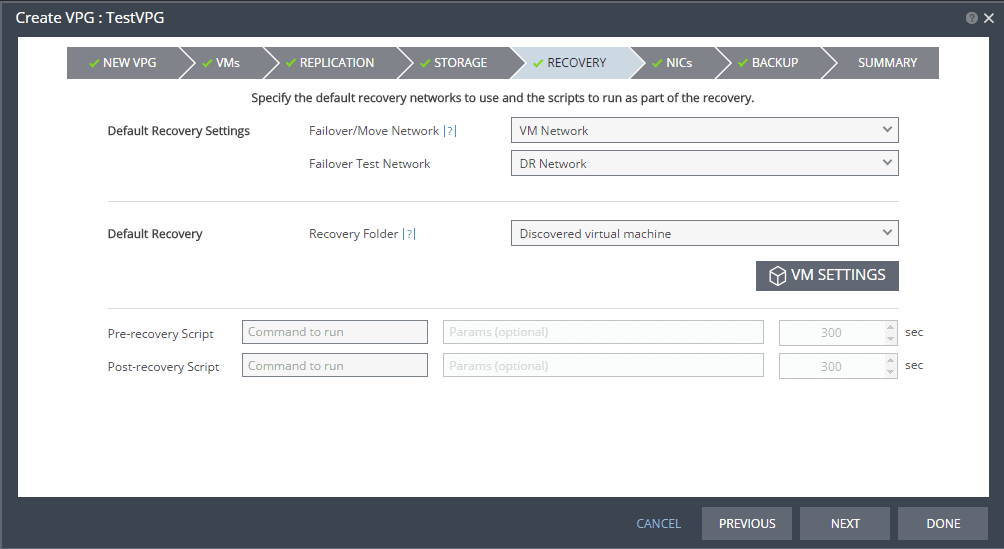
The Recovery setup is important as here we specify which networks are assigned to a real Live Failover as well as a Failover test. Also, we can specify a specific Recovery folder.
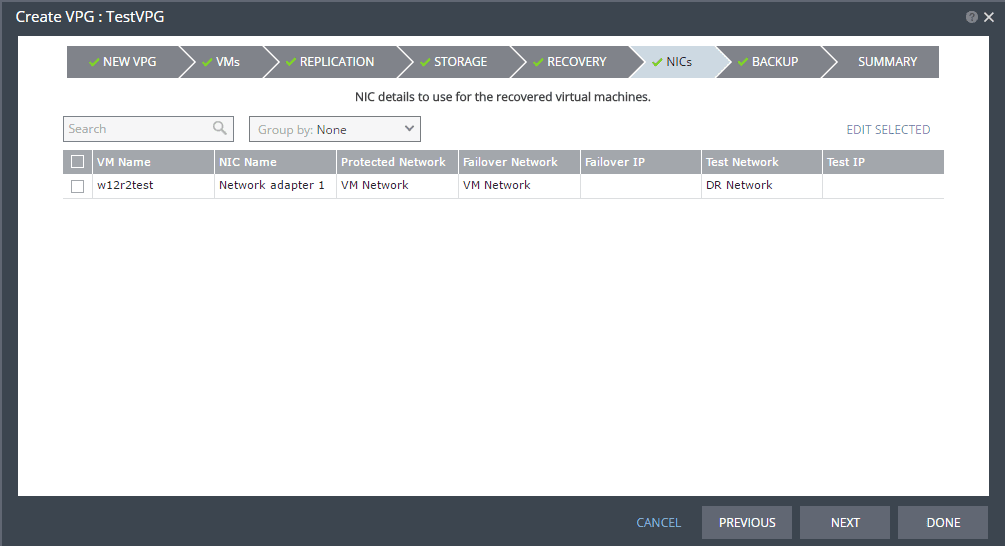
On the NICs screen, you can configure the failover IP and test IP addresses if you want to setup something specific for each VM.
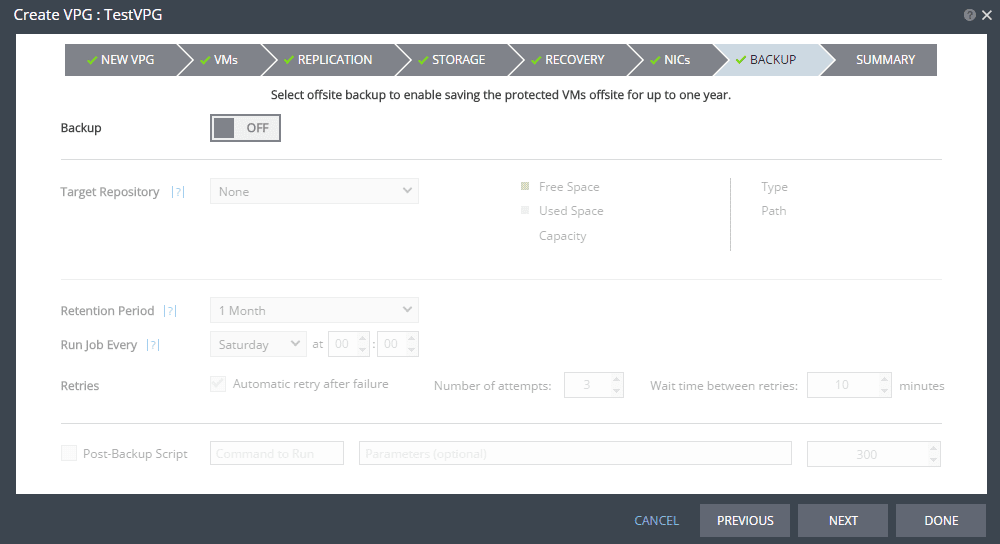
The final setup screen before the summary allows us to specify an offsite backup location, however, since I am running a simple test in a nested lab, I didn’t configure anything here.
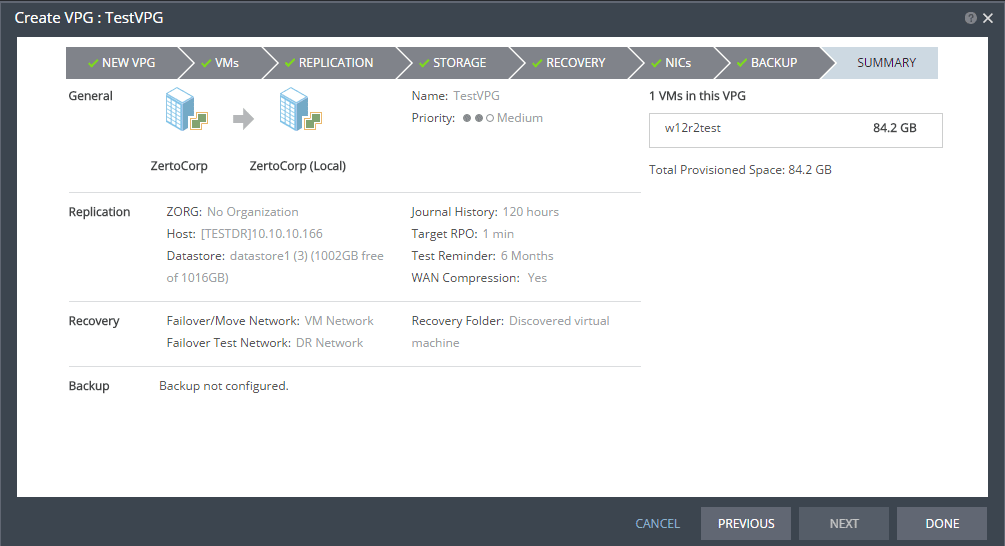
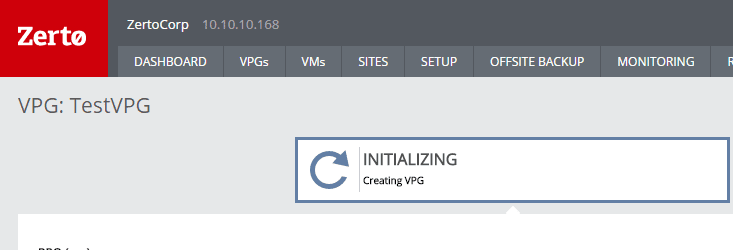
The summary screen captures the highlights of the VPG setup and configuration.
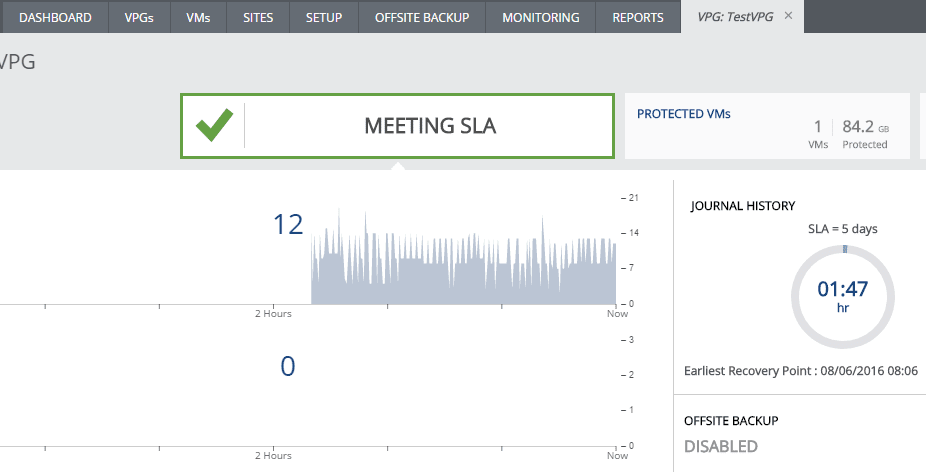
You get notifications of the SLA status in the environment fairly quickly.
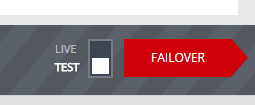
To failover or test failover, there is a simple button in the lower right hand corner of the screen that allows you to choose which operation you are performing and with a click of the “Failover” button, you can initiate a real failover or a test.
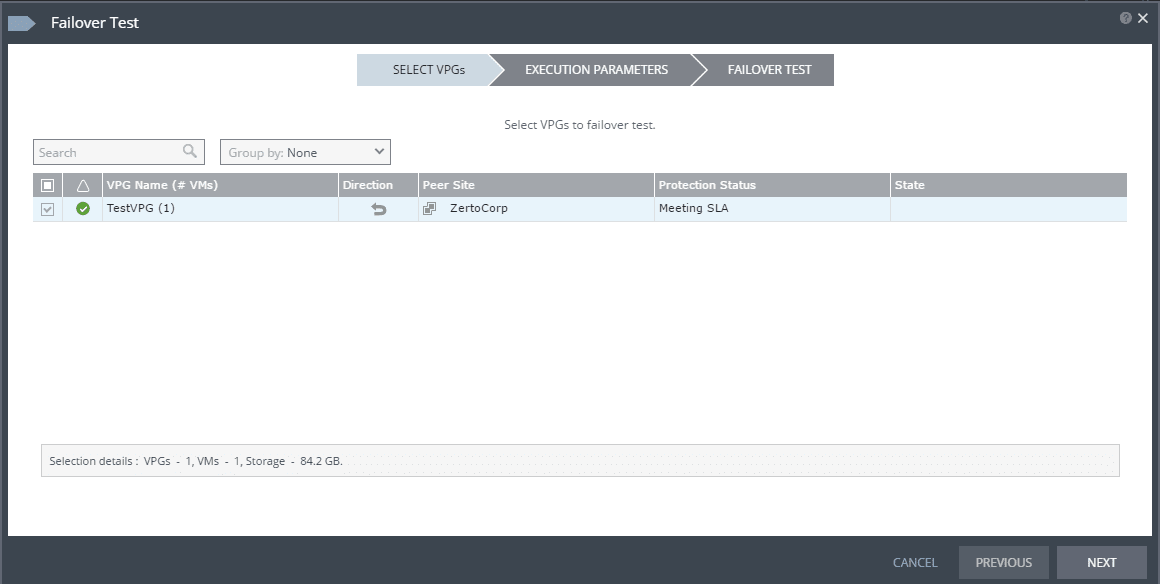
When you click the failover button, it launches the failover wizard which guides you through the failover process. The first step is to choose which VPGs you want to failover.
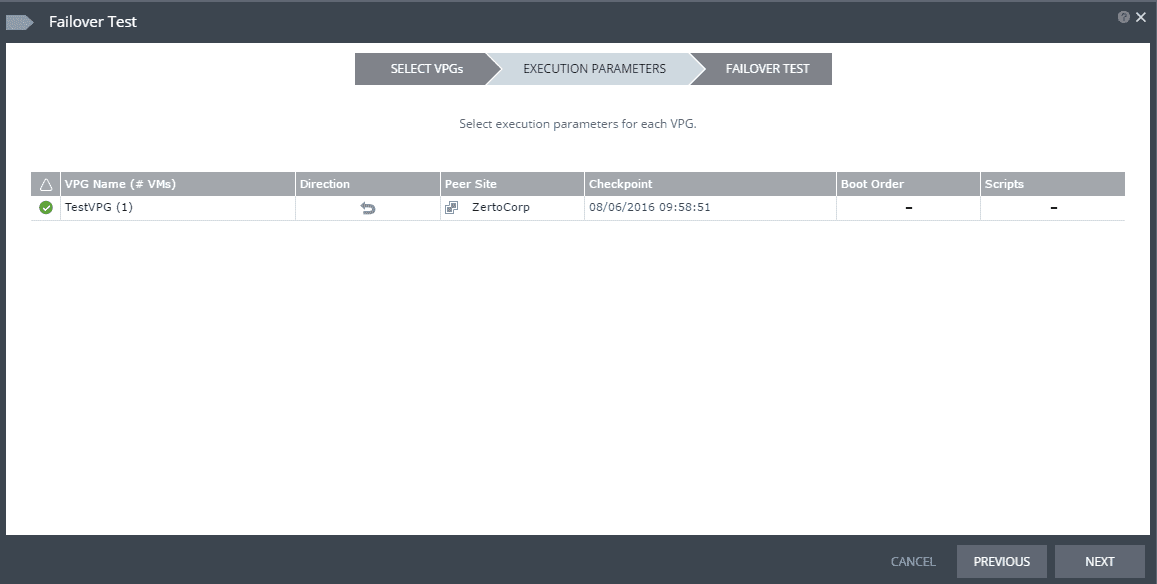
The “Execution Parameters” section allows you to choose boot order, or other scripts that you want to specify to run.
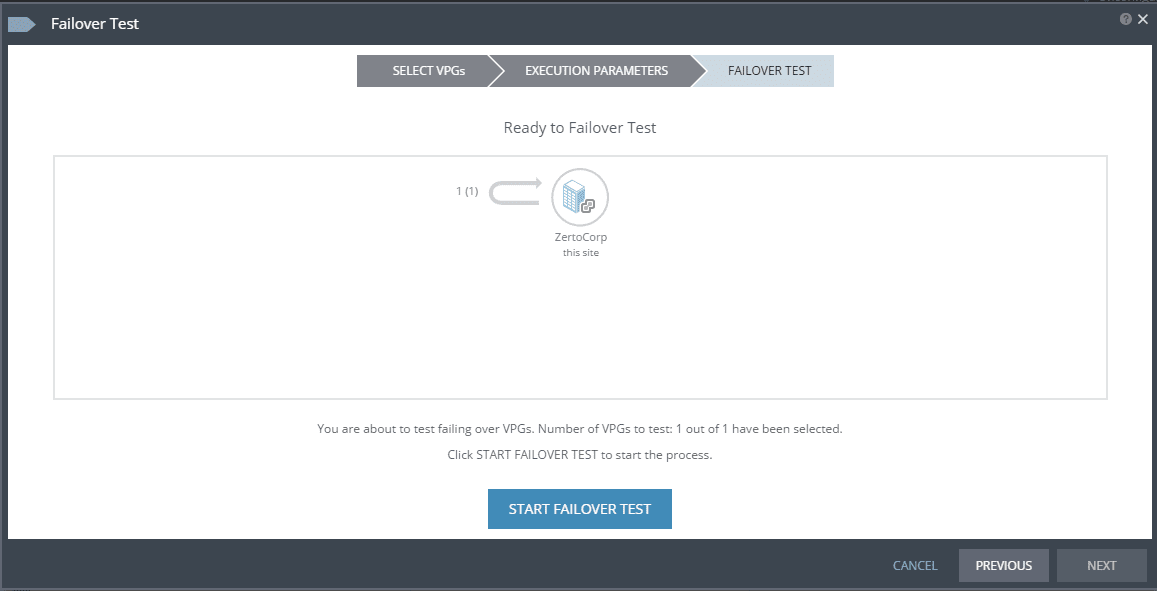
Here we are running a failover test where we are simulating the failover.
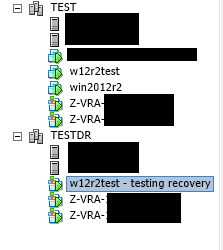
The failover test creates the target recovery machine with the designation “testing recovery” appended to the end.
To stop the test, we simply hit the “STOP” button on the running task.
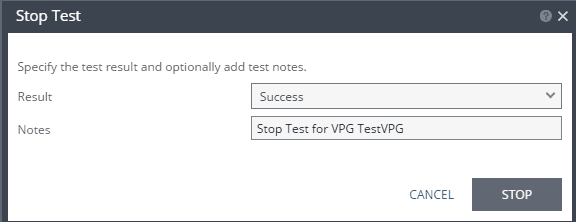
When you stop the test, you will be asked to record whether or not the test was successful.
Reporting
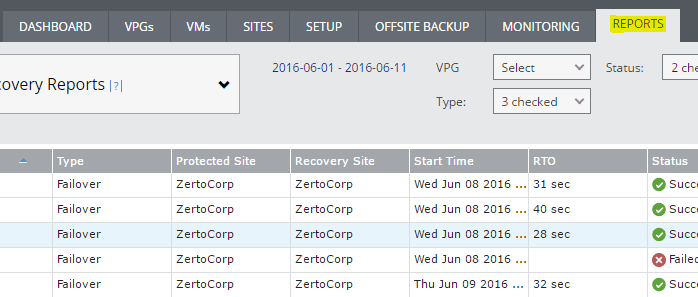
One of the things that I love about Zerto is the reporting feature. When we think of IT audits and DR, Zerto makes this part of our lives easy in that it creates really nice reports of tested DR procedures which show (1) we are doing them, (2) they are successful.
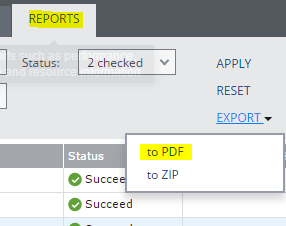
Simple click the “REPORTS” tab and then export the test you want to show in report to either PDF or ZIP format.
You then get a really nicely formatted report of the failover test that shows detailed steps, etc.
Final Thoughts
Hopefully you have found the Zerto basic setup and configuration helpful. Zerto is a really great product that allows for some of the lowest RPO times of any replication/DR software for virtualization environments. Also, the reporting and testing features baked in, make it a no brainer for audit purposes and testing DR plans.


