If you are using Rapid Recovery in your environment, you will most likely have a Linux box that you would like to add to your protected servers at some point. Recently I added a Linux box to Rapid Recovery and I wanted to write up a quick post about the process and an issue I ran into during the process. Let’s take a look at Installing Rapid Recovery agent Linux.
Installing Rapid Recovery agent Linux
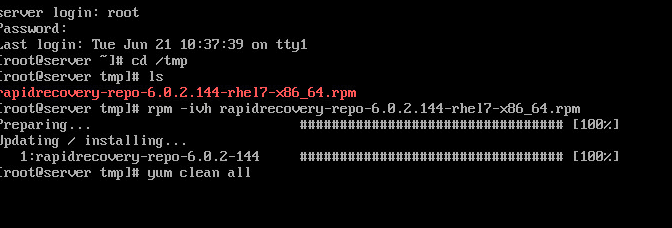
The first thing that you need to do is get the .rpm file over to your linux box. I SCP’ed the file over to the box to the /tmp directory. After you copy it over to the linux box, you run the command to establish persistent connection with the Dell repository:
rpm -ivh rapidrecoveryagentversion.rpm
Then we run the command:
yum clean all
Then finally the command:
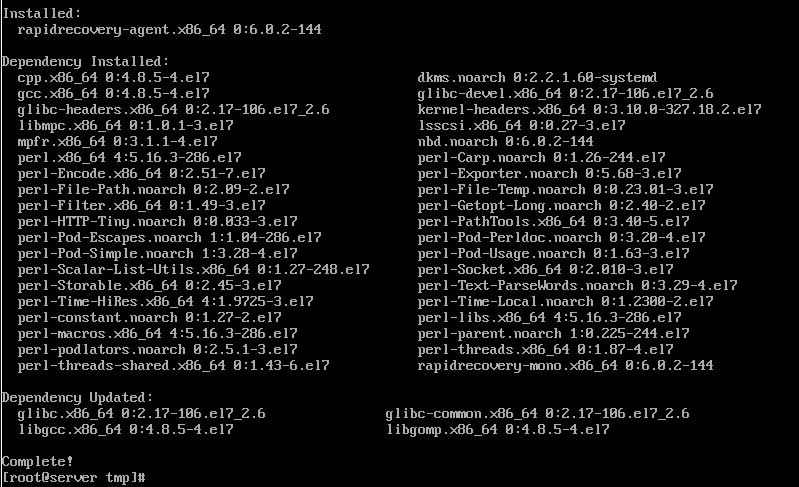
yum install rapidrecovery-agent
Configuration
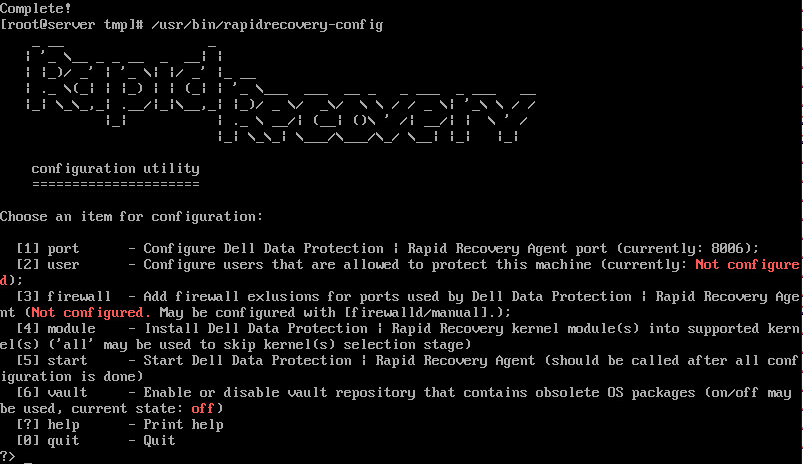
Now we run the configuration script:
/usr/bin/rapidrecovery-config
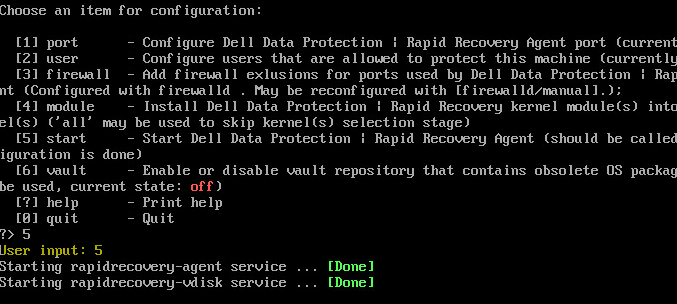
This presents with (6) options, however, really only the first (5) are necessary to get everything configured. Number (1) is already completed with the default port of 8006. If you want to change this you can certainly do so here.
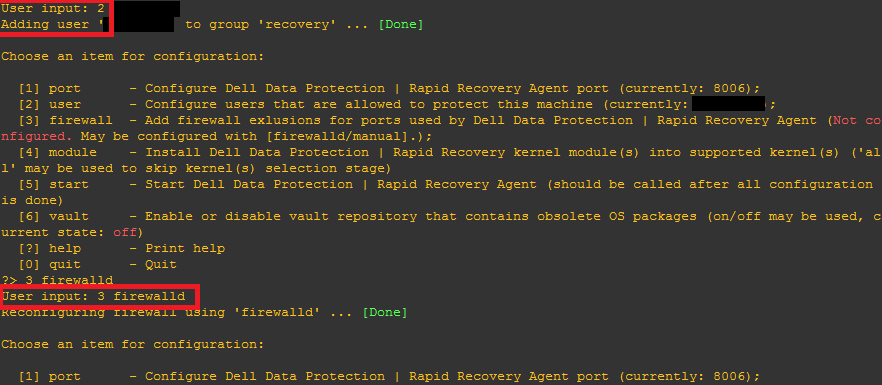
Steps 2-4 are the more critical steps. For step (2) you need to create a user for backup purposes. It will not allow you to use root (not that you should anyway, but it won’t allow it). After you create a user, simply type the following with “username” being the user you created.
2 username
Step (3) allows the necessary firewall exceptions locally if you are running a firewall. It will detect and present the option to allow the exceptions automatically by typing (3) and then the firewall you are running:
3 firewalld
Issue during Option (4)
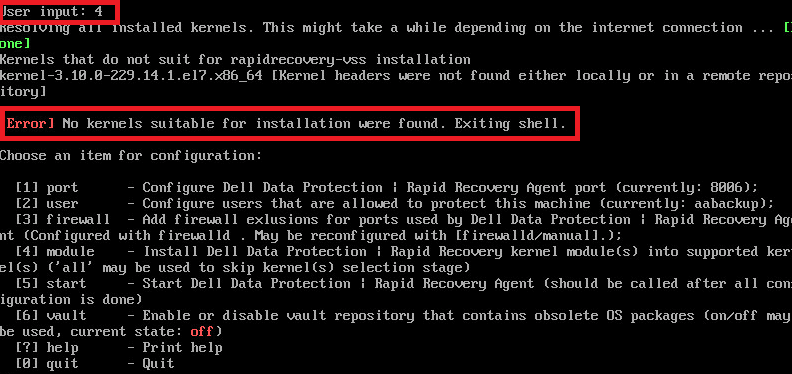
I had an issue with option (4) as it scans your kernel and decides whether or not you have a kernel suitable for installing the agent in. What was surprising is that I was running a fairly up to date Centos 7 install, but had not ran updates for a while. I would have assumed the default kernel version would have sufficed. As you can see below, it errors out with “No kernels suitable for installation were found. Exiting shell.”
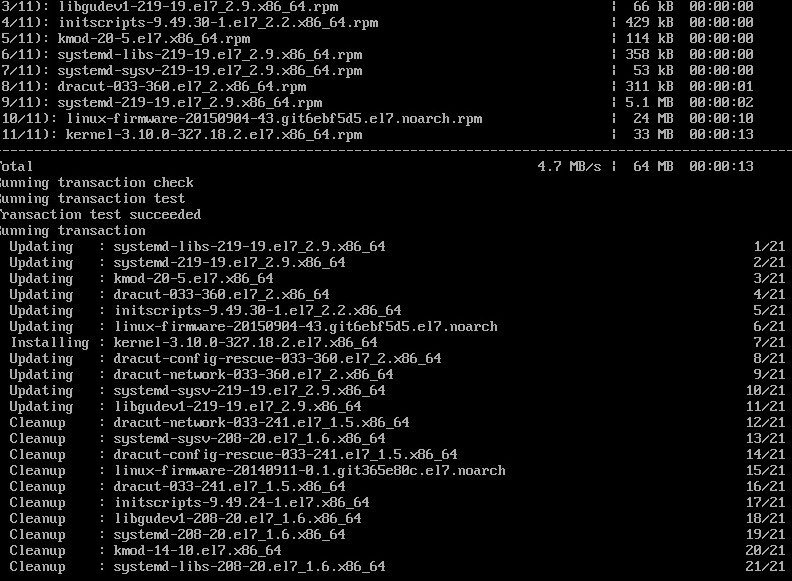
The resolution for me was to run a kernel update, which in Centos is accomplished with the command:
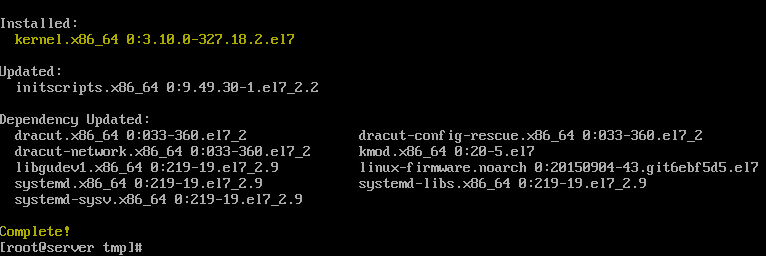
yum -y update kernel
Kernel update was successful.
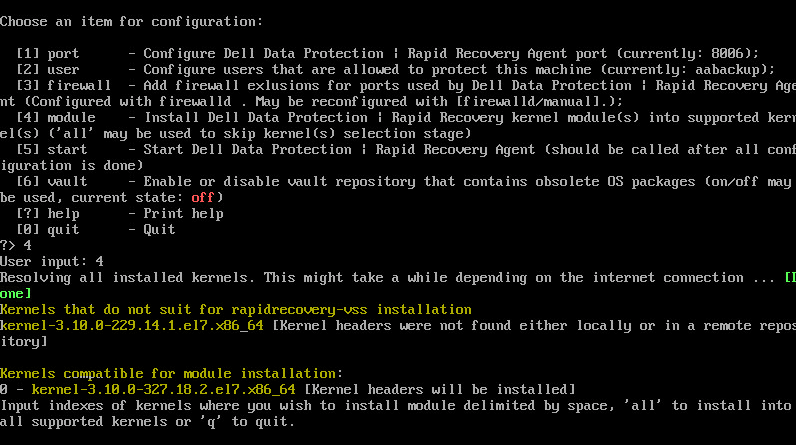
Now, we get different results when rerunning the (4) option. However, a mistake I made was to update the kernel and not reboot. To instantiate the new kernel you must reboot. Kernel updates take place offline to the kernel that is running. When you update, it places it to the side so to speak and then becomes active once you reboot. So you are able to install the Rapid Recovery agent in the new kernel, but if you try to run option (5) it will just sit there, or at least it did with my install as it can’t really start the agent as it is integrated with the new kernel that isn’t active yet.
After a reboot, the option (5) started without issue.
Final Configuration
That’s it as far as Installing Rapid Recovery agent Linux. The only thing left to do is to add the machine to protection on your Rapid Recovery core box. This process is the same as any other machine. Once you add the machine to protection, you can force a base image if you want or wait until the scheduled default hourly snapshot comes around.
Google is updating how articles are shown. Don’t miss our leading home lab and tech content, written by humans, by setting Virtualization Howto as a preferred source.


